Home>Furniture & Design>Outdoor Furniture>How To Clean Outdoor Hvac Unit
Outdoor Furniture
How To Clean Outdoor Hvac Unit
Published: January 14, 2024
Learn how to properly clean and maintain your outdoor HVAC unit with our expert tips. Keep your outdoor furniture in top condition with our helpful guide.
(Many of the links in this article redirect to a specific reviewed product. Your purchase of these products through affiliate links helps to generate commission for Storables.com, at no extra cost. Learn more)
Introduction
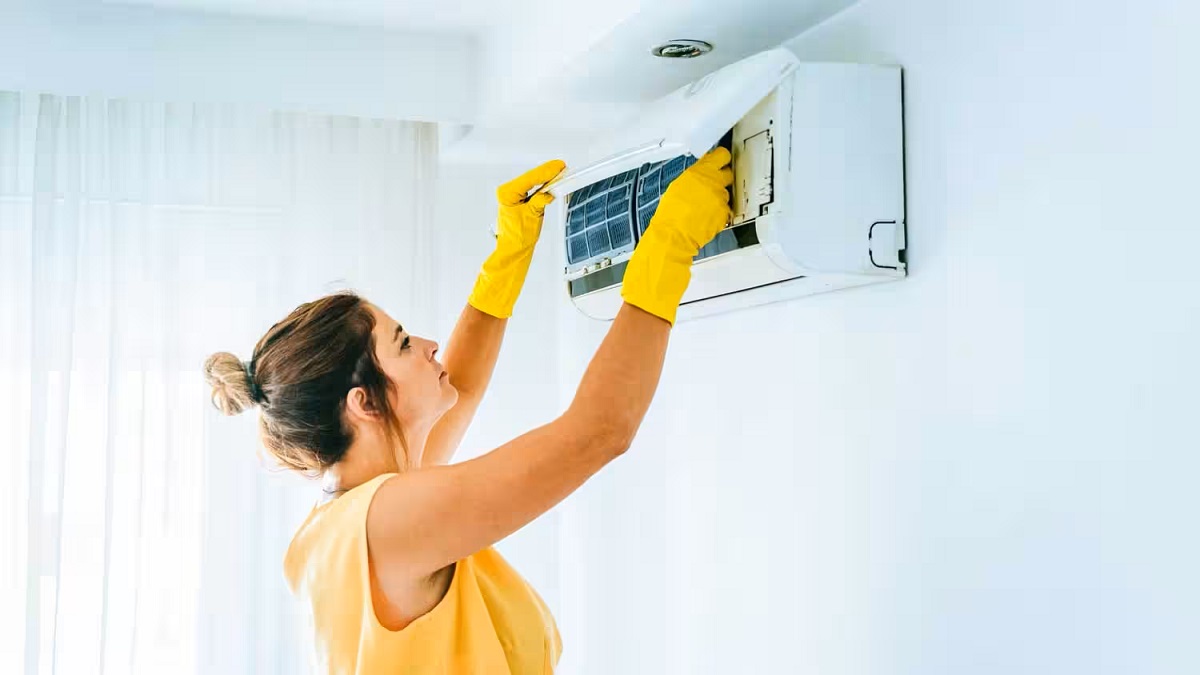
When the warm breeze of summer starts to blow, your outdoor HVAC unit becomes an unsung hero, tirelessly working to keep your home cool and comfortable. However, as it battles the elements, debris, and dust, it may start to lose its efficiency. Regular maintenance is essential to ensure that your outdoor HVAC unit continues to operate at its best.
In this guide, we will walk you through the process of cleaning your outdoor HVAC unit, helping you maintain its efficiency and longevity. By following these simple steps, you can ensure that your unit remains in top condition, keeping you cool throughout the sweltering summer months.
So, roll up your sleeves and get ready to give your outdoor HVAC unit the care it deserves. With a few basic tools and a little bit of time, you can keep your unit running smoothly and your home refreshingly cool. Let's dive in and learn how to clean your outdoor HVAC unit effectively and safely.
Key Takeaways:
- Keep your outdoor HVAC unit running smoothly by following safety precautions, using the right tools, and cleaning the fins and coils regularly. This will ensure optimal performance and extend the unit’s lifespan.
- After cleaning, reassemble and test your outdoor HVAC unit to ensure it operates efficiently. Look for consistent airflow, cool air, and consider scheduling professional maintenance for long-term reliability.
Read more: How To Clean HVAC Ducts
Safety Precautions
Before embarking on the task of cleaning your outdoor HVAC unit, it’s crucial to prioritize safety. Here are some essential safety precautions to keep in mind:
- Power Off: Always start by turning off the power to the unit at the breaker. This will prevent any accidental activation of the unit while you’re working on it.
- Protective Gear: Wear appropriate protective gear, including gloves and safety goggles, to shield yourself from debris, sharp edges, and any cleaning solutions you may use.
- Stable Surface: Ensure that the ground around the unit is stable and clear of any obstacles to prevent tripping or accidents.
- Clean Surroundings: Clear the area around the unit to create a safe and unobstructed workspace. Remove any clutter, branches, or debris that could impede your progress.
- Weather Conditions: Avoid cleaning the unit during adverse weather conditions, such as heavy rain or strong winds, to prevent accidents and ensure the effectiveness of the cleaning process.
- Chemical Handling: If you plan to use cleaning solutions, follow the manufacturer’s instructions carefully, and ensure proper ventilation in the area.
By adhering to these safety precautions, you can create a secure environment for cleaning your outdoor HVAC unit, minimizing the risk of accidents and ensuring a smooth and hassle-free maintenance process.
Tools and Materials Needed
Before you begin cleaning your outdoor HVAC unit, it’s essential to gather the necessary tools and materials. Having the right equipment at hand will streamline the cleaning process and ensure thorough maintenance. Here’s a list of the tools and materials you’ll need:
Tools:
- Screwdriver: A screwdriver, both flathead and Phillips, to remove the access panel and fasteners.
- Soft Brush: A soft-bristled brush for gently cleaning the fins and coils without causing damage.
- Shop Vacuum: A shop vacuum with a soft-brush attachment to remove debris and dirt from the unit.
- Garden Hose: A garden hose with a spray nozzle for rinsing and cleaning the unit.
- Fin Comb: A fin comb to straighten any bent fins and restore optimal airflow.
Materials:
- Foaming Coil Cleaner: A foaming coil cleaner to remove dirt and grime from the coils.
- Mild Detergent: A mild detergent to clean the exterior of the unit.
- Rags or Towels: Rags or towels for wiping and drying various components of the unit.
- Protective Gloves: Protective gloves to shield your hands during the cleaning process.
- Safety Goggles: Safety goggles to protect your eyes from debris and cleaning solutions.
By ensuring that you have the necessary tools and materials on hand, you can approach the cleaning process with confidence, knowing that you’re well-prepared to give your outdoor HVAC unit the care it needs.
Read more: How To Clean AC Vent
Steps to Clean the Outdoor HVAC Unit
Now that you’ve gathered the essential tools and materials, it’s time to dive into the process of cleaning your outdoor HVAC unit. Follow these step-by-step instructions to ensure a thorough and effective cleaning:
- Turn Off the Power: Begin by turning off the power to the unit at the breaker to prevent any electrical mishaps during the cleaning process.
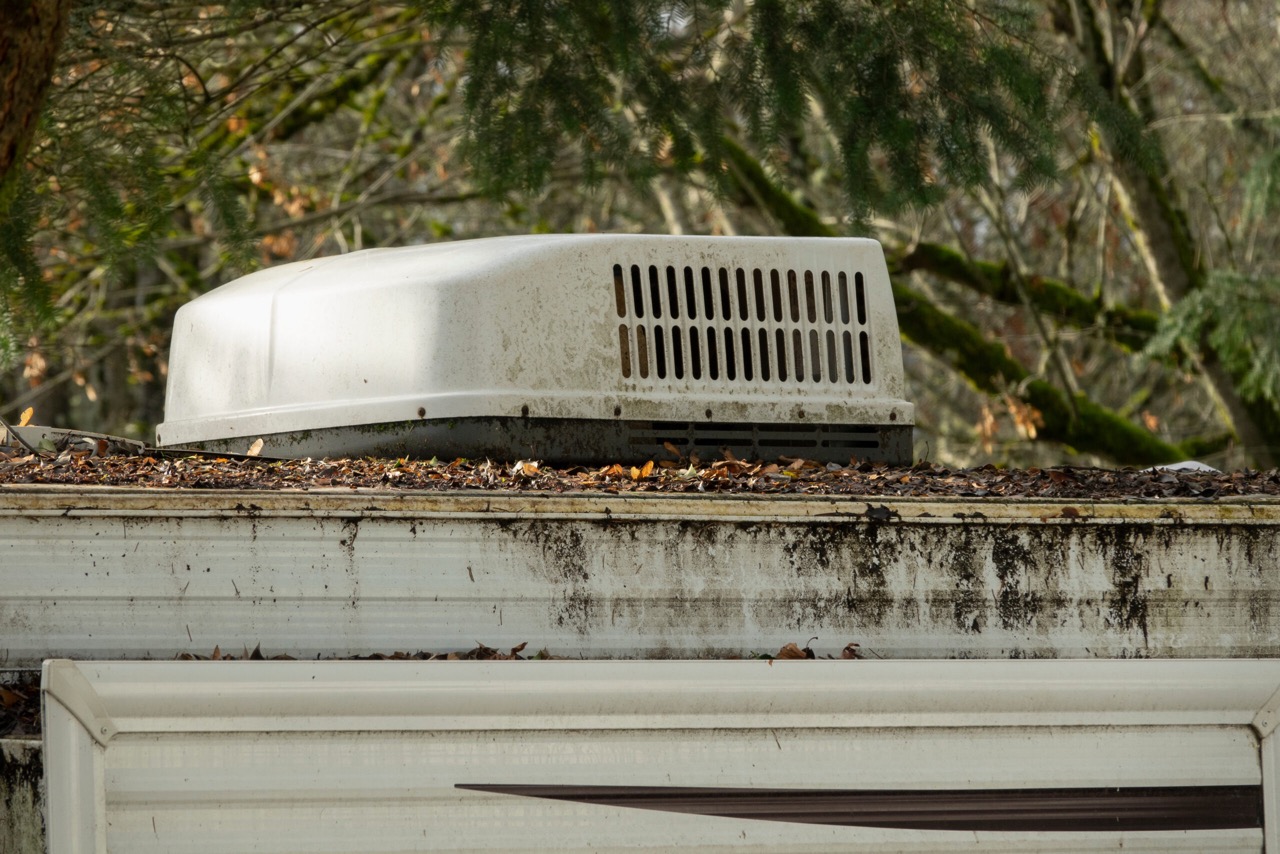
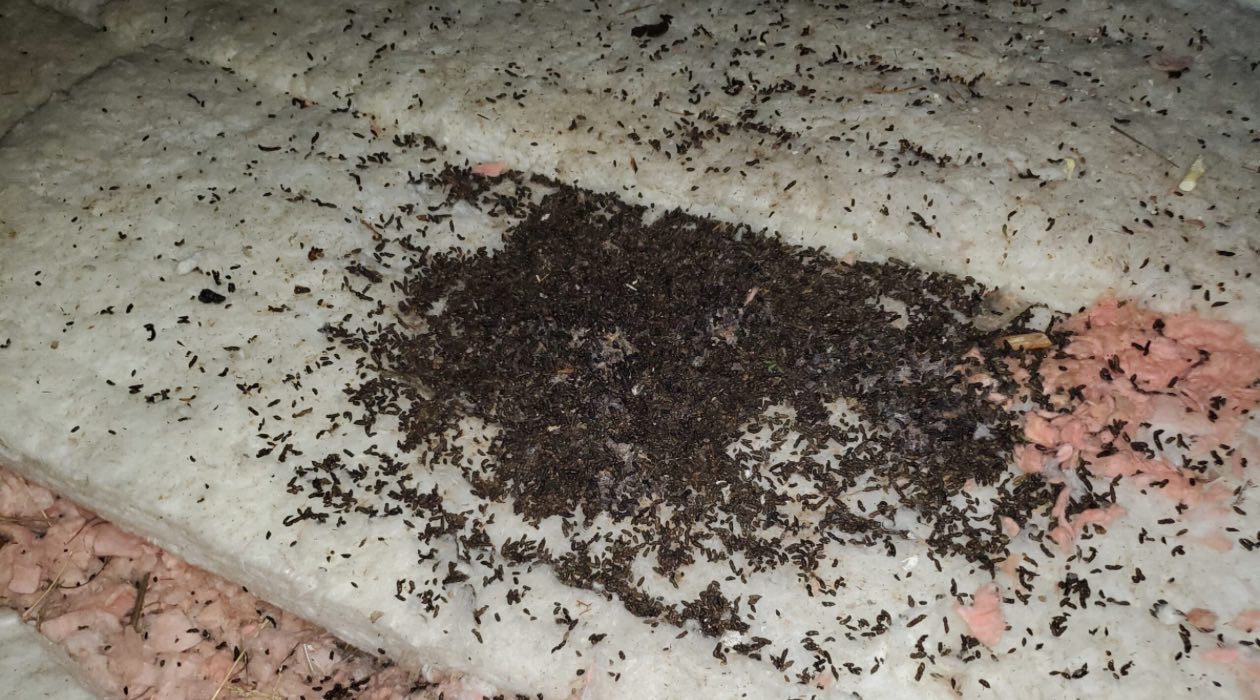
- Remove Debris: Clear away any debris, leaves, or vegetation that may have accumulated around the unit. Use a soft brush or gloved hands to gently remove larger debris.
- Remove the Access Panel: Carefully remove the access panel from the unit using a screwdriver, taking care not to damage the delicate components inside.
- Clean the Fins: Use a vacuum with a soft-brush attachment to remove dirt and debris from the fins. Be gentle to avoid bending or damaging the fins, which can obstruct airflow.
- Straighten Bent Fins: If you notice any bent fins, carefully straighten them using a fin comb to restore optimal airflow through the unit.
- Clean the Coils: Apply a foaming coil cleaner to the coils and allow it to penetrate and lift dirt and grime. Follow the manufacturer’s instructions for the appropriate dwell time.
- Rinse the Coils: After the cleaner has had time to work, use a garden hose with a gentle spray nozzle to rinse the coils thoroughly. Ensure that the water pressure is not too high to avoid damaging the coils.
- Clean the Surrounding Area: Wipe down the exterior of the unit with a mild detergent and water to remove any dirt or grime. Use a soft brush or cloth to clean hard-to-reach areas.
- Reassemble the Unit: Once the components are clean and dry, carefully reassemble the access panel, ensuring that it is securely fastened in place.
- Test the Unit: Turn the power back on at the breaker and test the unit to ensure that it is running smoothly. Listen for any unusual sounds and check for proper airflow.
By following these steps, you can effectively clean your outdoor HVAC unit, promoting optimal performance and extending its lifespan. Regular maintenance will not only keep your home comfortable but also save you from potential costly repairs down the road.
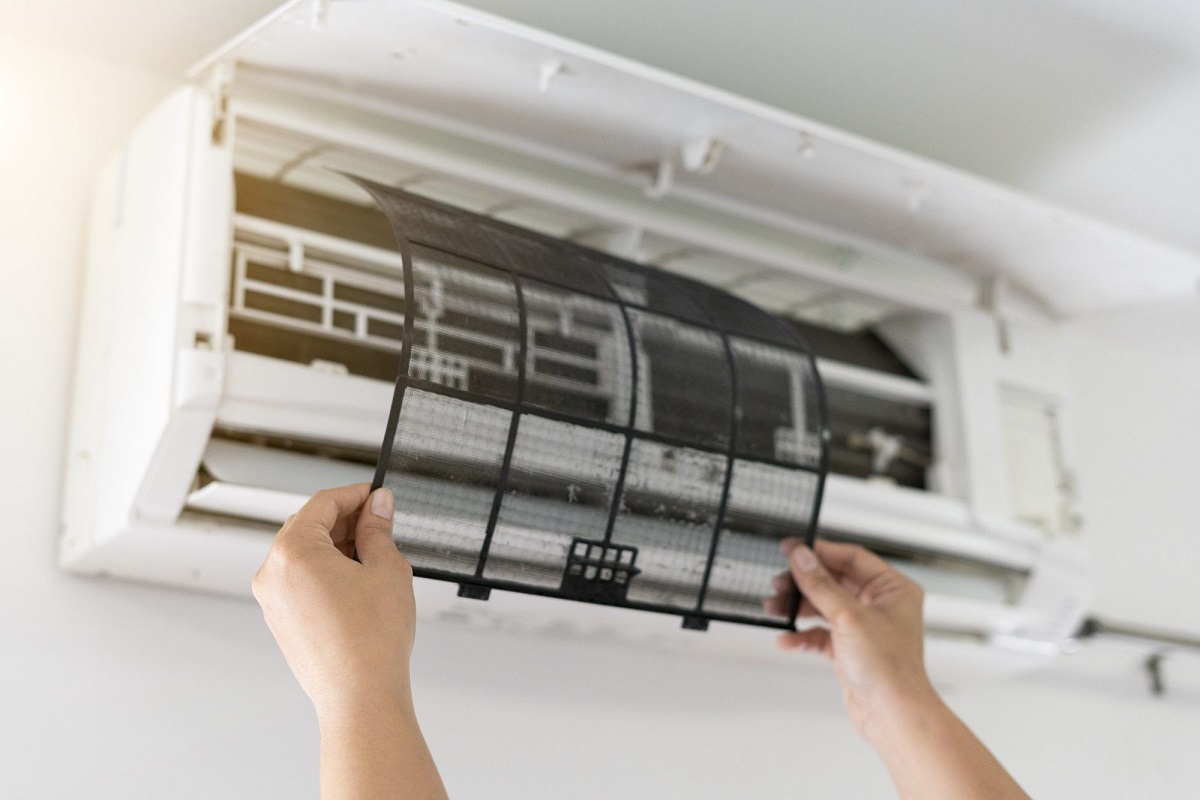
Cleaning the Fins
The fins of your outdoor HVAC unit play a crucial role in facilitating efficient airflow and heat transfer. Over time, these fins can become clogged with dirt, dust, and debris, hindering the unit’s performance. Here’s how to effectively clean the fins to ensure optimal functionality:
1. Turn Off the Power: Before cleaning the fins, switch off the power to the unit at the breaker to prevent any electrical mishaps during the process.
2. Clear Debris: Gently clear away any visible debris, leaves, or vegetation that may be obstructing the fins. Use a soft brush or your gloved hands to carefully remove larger particles.
3. Use a Vacuum: Employ a shop vacuum with a soft-brush attachment to delicately remove dirt and debris from the fins. Ensure that the vacuum is set to a low suction level to prevent damage to the fins.
4. Straighten Bent Fins: Inspect the fins for any bending or damage. If you notice bent fins, utilize a fin comb to carefully straighten them. This process will help restore unobstructed airflow through the unit.
5. Inspect for Obstructions: Take a moment to inspect the fins for any stubborn debris or blockages. Gently remove any remaining dirt using the soft brush or vacuum, ensuring that the fins are free from obstructions.
6. Reassemble Carefully: Once the fins are clean and free from debris, carefully reassemble the access panel, ensuring that it is securely fastened in place. This step sets the stage for the next phase of the cleaning process.
By following these steps to clean the fins of your outdoor HVAC unit, you can promote unimpeded airflow and heat transfer, allowing the unit to operate at its peak efficiency. This meticulous maintenance will contribute to a comfortable indoor environment and extend the lifespan of your HVAC system.
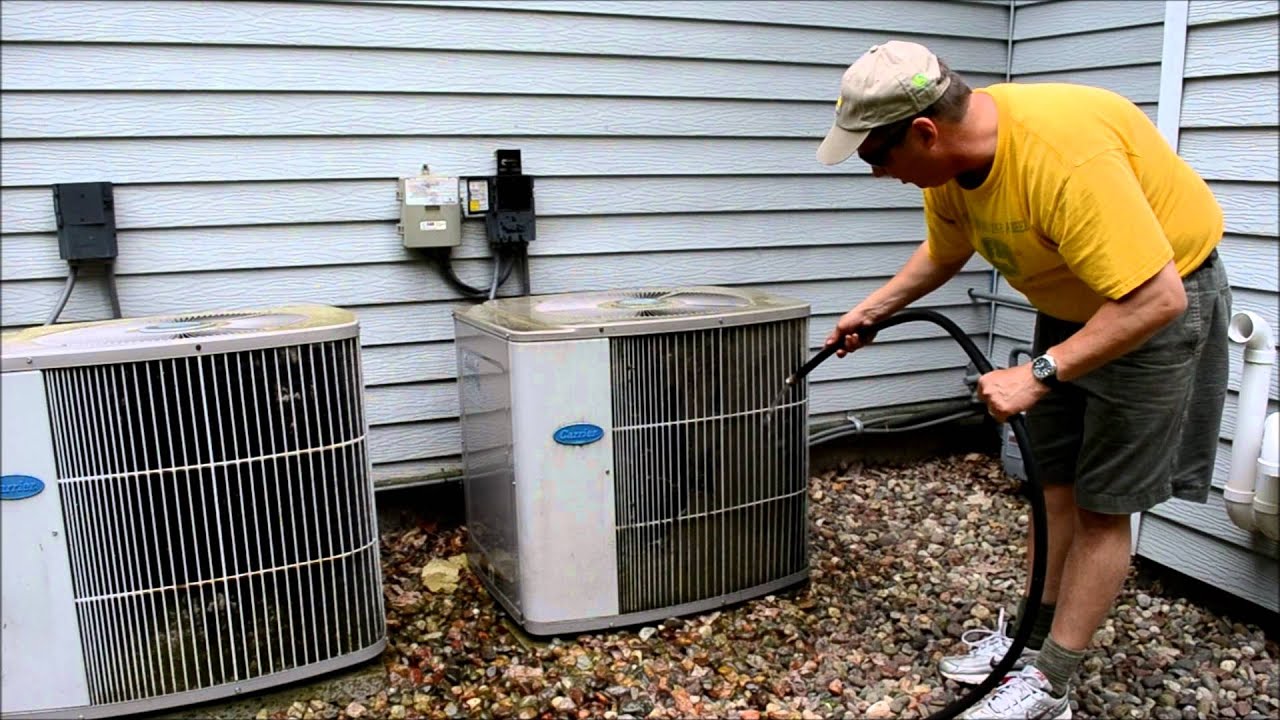
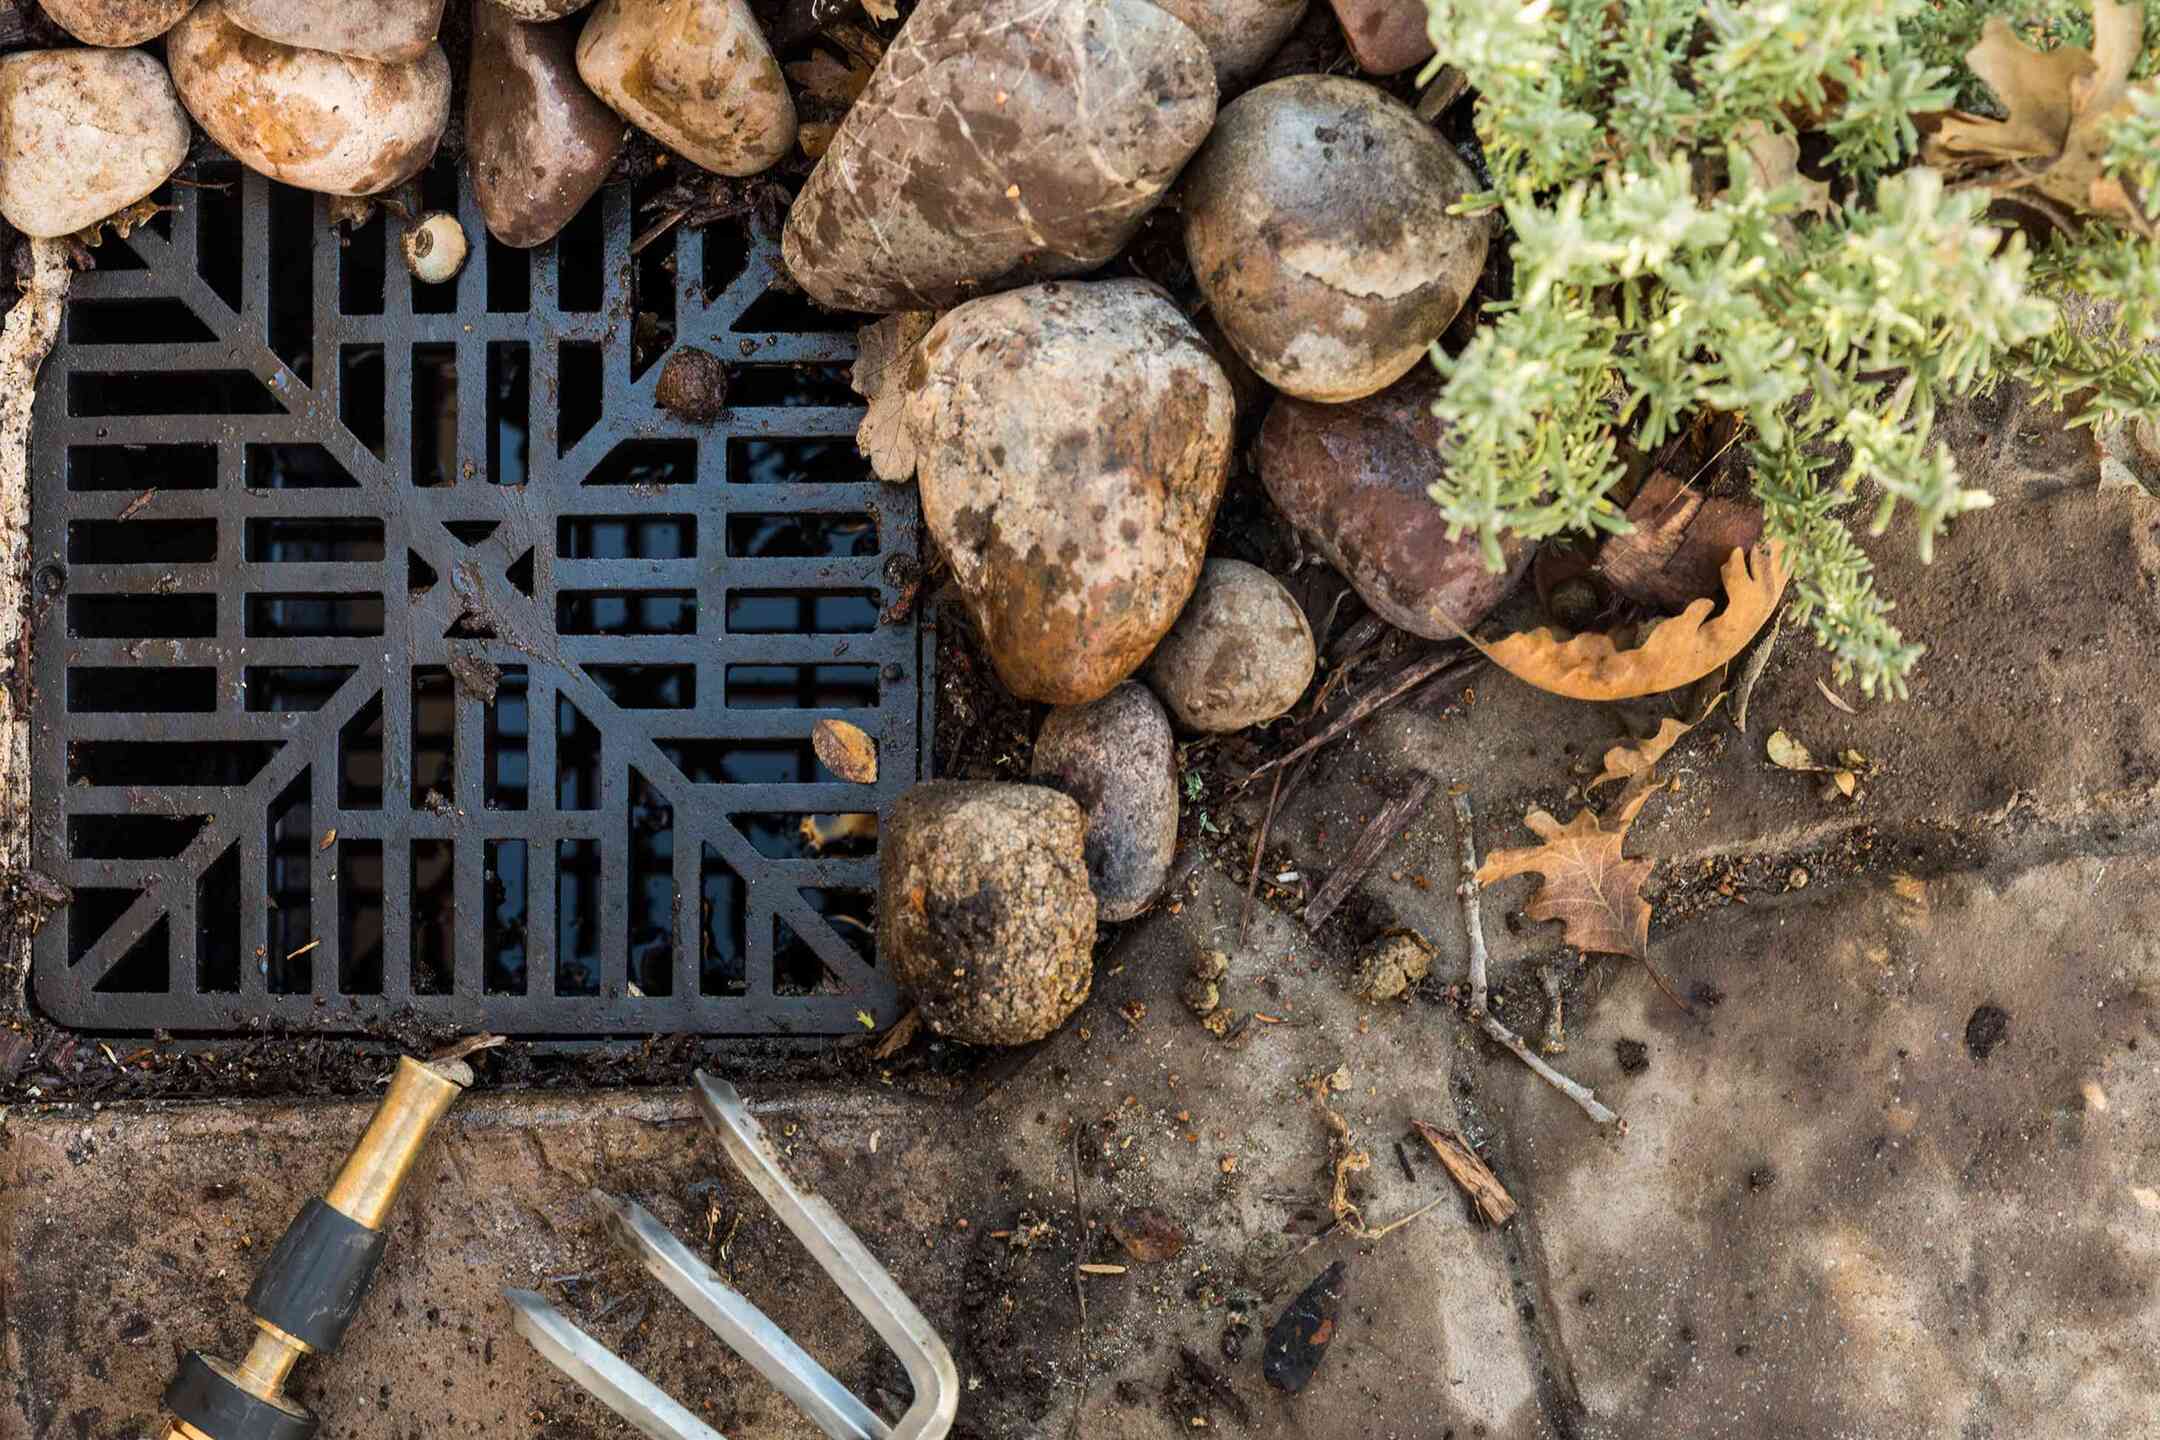
Regularly clean the outdoor HVAC unit by removing debris, such as leaves and branches, from the surrounding area. Use a garden hose to gently spray the unit to remove dirt and dust buildup. Make sure to turn off the power before cleaning.
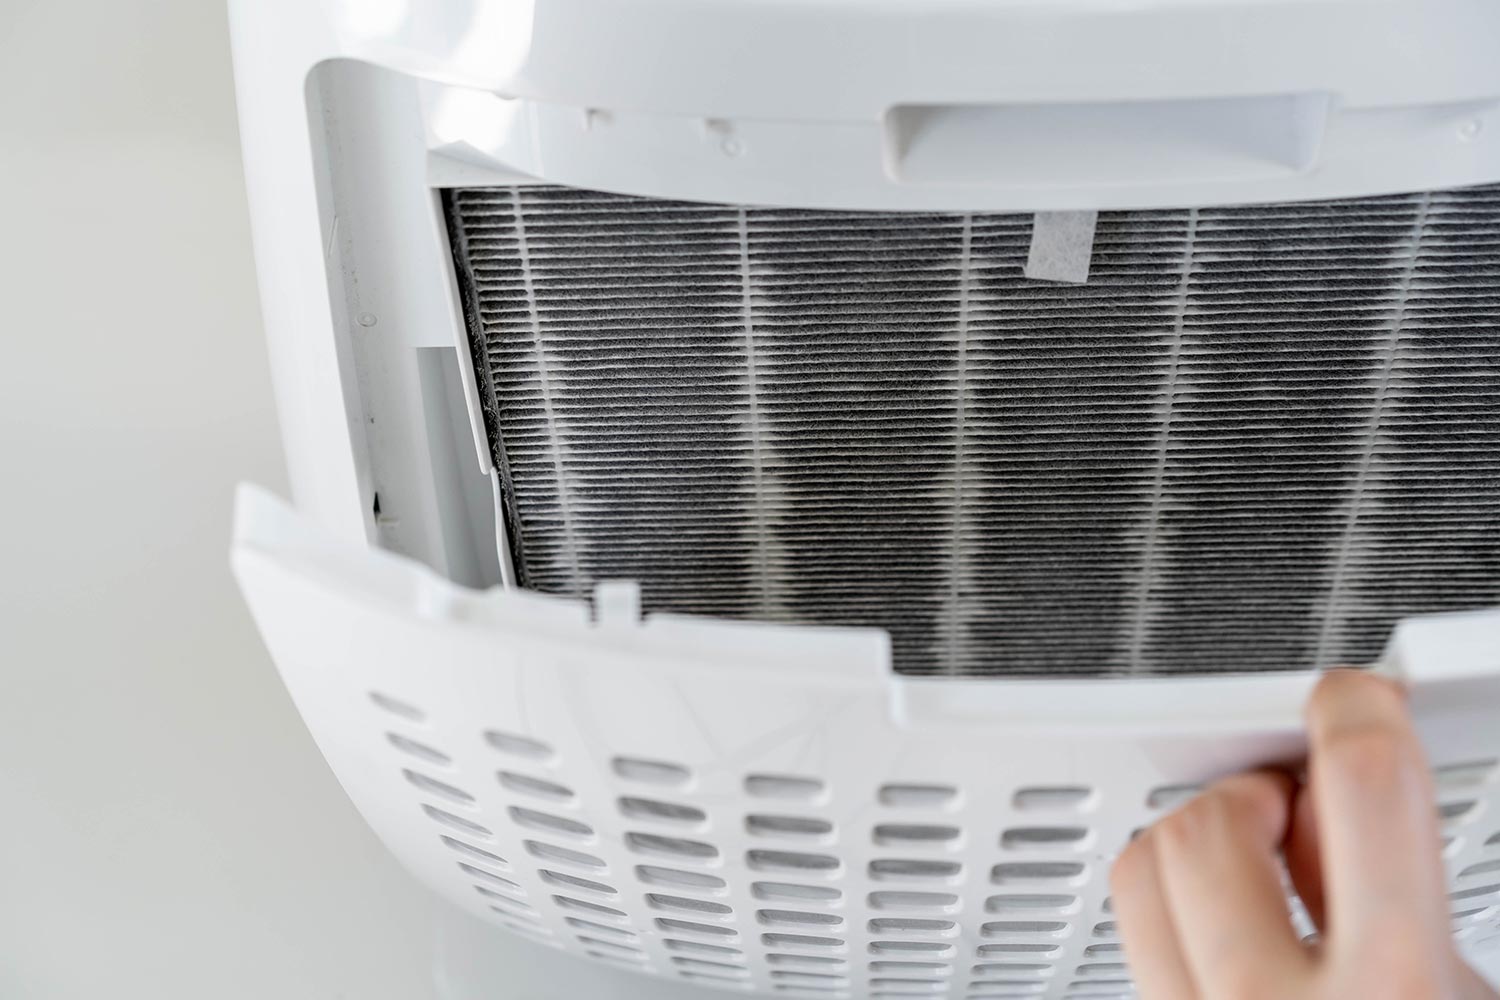
Cleaning the Coils
The coils in your outdoor HVAC unit are pivotal in the heat exchange process, playing a vital role in cooling the air that circulates through your home. Over time, these coils can become laden with dirt, grime, and debris, impeding their ability to efficiently transfer heat. Here’s a comprehensive guide on how to effectively clean the coils, ensuring optimal performance of your HVAC system:
1. Turn Off the Power: Begin by switching off the power to the unit at the breaker to mitigate the risk of electrical accidents during the cleaning process.
2. Apply Coil Cleaner: Use a foaming coil cleaner, following the manufacturer’s instructions, to apply the solution generously to the coils. This specialized cleaner is designed to penetrate and lift dirt and grime from the coils.
3. Allow Dwell Time: After applying the coil cleaner, allow it to dwell on the coils for the specified duration as per the manufacturer’s instructions. This dwell time is crucial for the cleaner to effectively break down and loosen the accumulated debris.
4. Rinse Thoroughly: Once the cleaner has had sufficient dwell time, use a garden hose with a gentle spray nozzle to thoroughly rinse the coils. Ensure that the water pressure is not too high, as excessive force can damage the delicate coils.
5. Repeat if Necessary: If the coils are heavily soiled, consider repeating the application of the foaming coil cleaner and rinsing process to ensure a thorough cleaning. It’s essential to remove all traces of dirt and grime for optimal performance.
6. Inspect for Residue: After rinsing, inspect the coils for any remaining residue or stubborn debris. If necessary, use a soft brush to delicately remove any lingering dirt, ensuring that the coils are clean and unobstructed.
7. Allow to Dry: Once the coils are clean, allow them to air dry completely before proceeding with reassembly. This step ensures that the unit is free from excess moisture, promoting efficient operation.
By meticulously cleaning the coils of your outdoor HVAC unit, you can facilitate optimal heat exchange and cooling efficiency, contributing to a comfortable indoor environment. Regular maintenance of the coils is paramount in preserving the longevity and performance of your HVAC system, ensuring reliable operation during the warmest months of the year.
Reassembling the Unit
After completing the meticulous cleaning process of the various components of your outdoor HVAC unit, it’s crucial to reassemble the unit with care and precision. Proper reassembly ensures that the unit operates seamlessly and efficiently. Follow these essential steps to reassemble the unit effectively:
1. Secure the Access Panel: Carefully position the access panel back onto the unit, ensuring that it aligns correctly with the housing. Take care to avoid pinching any wires or damaging the delicate components inside the unit.
2. Fasten the Panel: Using a screwdriver, fasten the access panel securely in place, ensuring that all screws or fasteners are tightened appropriately. This step is vital for the safety and integrity of the unit.
3. Check for Stability: Once the access panel is reattached, gently shake the unit to ensure that it is stable and that the panel is securely fastened. This check confirms that the unit is structurally sound and safe for operation.
4. Inspect the Surrounding Area: Take a moment to inspect the area surrounding the unit, ensuring that it is clear of any tools, materials, or debris. A tidy workspace promotes safety and accessibility during the reassembly process.
5. Verify Connections: Double-check all electrical connections and wires to ensure that they are securely attached and properly positioned. This step is crucial for the safe and effective functioning of the unit.
6. Clear Work Area: Clear away any tools, materials, or equipment from the vicinity of the unit, ensuring that the area is free from obstructions. This precaution promotes a safe and unobstructed workspace.
7. Power Restoration: Finally, restore power to the unit at the breaker, and perform a brief test to ensure that the unit is running smoothly. Listen for any unusual sounds and verify that the airflow is consistent and strong.
By meticulously reassembling the unit, you can ensure that it operates reliably and efficiently, providing optimal cooling for your home. Attention to detail during the reassembly process contributes to the overall performance and longevity of your outdoor HVAC unit, allowing you to enjoy a comfortable indoor environment with confidence.
Read more: How To Clean HVAC Drain Line
Testing the Unit
After completing the comprehensive cleaning and reassembly of your outdoor HVAC unit, it’s essential to perform a series of tests to ensure that the unit is operating at its best. Thorough testing allows you to verify the unit’s functionality and address any potential issues before they escalate. Follow these crucial steps to test your unit effectively:
1. Power Restoration: Begin by restoring power to the unit at the breaker. Ensure that the power is switched on securely, and the unit is ready to be tested.
2. Functional Check: Turn on the unit and observe its operation closely. Listen for any unusual sounds, such as grinding or rattling, which may indicate potential issues with the unit’s components.
3. Airflow Assessment: Stand near the unit and verify that the airflow is consistent and strong. Place your hand in front of the vents to feel the airflow, ensuring that it is not obstructed or weak.
4. Temperature Verification: Monitor the temperature of the air being expelled by the unit. The air should be cool and refreshing, indicating that the cooling process is functioning optimally.
5. Thermostat Calibration: Check the thermostat inside your home to ensure that it is accurately communicating with the outdoor unit. Verify that the desired temperature settings are being maintained effectively.
6. Run Time Observation: Allow the unit to run for a sufficient duration, observing its performance and behavior. Note any irregularities or fluctuations in its operation.
7. Professional Inspection: Consider scheduling a professional inspection and maintenance service for your HVAC system. A certified technician can perform a comprehensive assessment, addressing any underlying issues and ensuring the unit’s long-term reliability.
By diligently testing your outdoor HVAC unit, you can identify any potential concerns and address them proactively, promoting the unit’s efficiency and longevity. Regular testing and maintenance are instrumental in ensuring that your HVAC system operates seamlessly, providing consistent comfort and cooling for your home.
Frequently Asked Questions about How To Clean Outdoor Hvac Unit
Was this page helpful?
At Storables.com, we guarantee accurate and reliable information. Our content, validated by Expert Board Contributors, is crafted following stringent Editorial Policies. We're committed to providing you with well-researched, expert-backed insights for all your informational needs.


0 thoughts on “How To Clean Outdoor Hvac Unit”