Home>Furniture & Design>Outdoor Furniture>How To Frame An Outdoor Kitchen Island
Outdoor Furniture
How To Frame An Outdoor Kitchen Island
Modified: August 27, 2024
Learn how to frame an outdoor kitchen island with our expert tips and design ideas. Create the perfect outdoor space with our outdoor furniture and design inspiration.
(Many of the links in this article redirect to a specific reviewed product. Your purchase of these products through affiliate links helps to generate commission for Storables.com, at no extra cost. Learn more)
Introduction
Welcome to the world of outdoor living, where the allure of fresh air and the joy of al fresco dining come together in perfect harmony. An outdoor kitchen island is the epitome of this experience, offering a seamless blend of functionality and style that transforms your outdoor space into a culinary haven.
Imagine the sizzle of succulent steaks on the grill, the aroma of freshly chopped herbs, and the laughter of friends and family mingling around a beautifully crafted outdoor kitchen island. Whether you're a seasoned grill master or an aspiring home chef, creating an outdoor kitchen island can elevate your outdoor entertaining to new heights.
In this comprehensive guide, we will walk you through the essential steps to frame an outdoor kitchen island, from initial planning and design to selecting the right materials, building the frame, installing the countertop and appliances, and adding the finishing touches. By the end of this journey, you will be equipped with the knowledge and inspiration to embark on your own outdoor kitchen island project with confidence and creativity.
So, roll up your sleeves, unleash your inner designer, and get ready to embark on a rewarding adventure that will not only enhance your outdoor living space but also create lasting memories with loved ones. Let's dive into the art of framing an outdoor kitchen island and unlock the potential of your outdoor oasis.
Key Takeaways:
- Planning and designing your outdoor kitchen island is crucial for creating a functional and visually appealing space that integrates seamlessly with your outdoor environment.
- Selecting durable materials and adding thoughtful finishing touches can elevate your outdoor kitchen island, creating a captivating space for culinary creativity and convivial gatherings amidst the natural beauty of the great outdoors.
Step 1: Planning and Designing Your Outdoor Kitchen Island
Before diving into the construction phase, it’s crucial to lay a solid foundation through meticulous planning and thoughtful design. Begin by envisioning how you intend to use your outdoor kitchen island. Are you aiming for a compact and efficient setup, or do you dream of a sprawling culinary hub with ample seating and storage?
Consider the layout of your outdoor space and how the kitchen island will integrate with the existing landscape. Take note of natural focal points, such as a breathtaking view, a cozy fire pit, or a lush garden, and incorporate these elements into your design to create a harmonious outdoor environment.
Next, outline the essential features you wish to include in your outdoor kitchen island. This may encompass a built-in grill, a sink, storage cabinets, a refrigerator, and a bar counter. Factor in the workflow of the kitchen, ensuring that the placement of appliances and work surfaces facilitates seamless food preparation and serving.
Furthermore, contemplate the aesthetic aspects of your outdoor kitchen island. Are you drawn to a rustic, weathered look with natural stone and wood accents, or does a sleek, modern design adorned with stainless steel and polished concrete resonate with your style? Harmonizing the visual appeal of the island with the overall ambiance of your outdoor space is paramount.
As you delve into the design process, explore inspirational resources such as home design magazines, online galleries, and outdoor living expos to glean ideas and refine your vision. Additionally, take advantage of design software or consult with a professional designer to create a detailed blueprint of your outdoor kitchen island, complete with dimensions and material specifications.
Remember, the planning and design phase lays the groundwork for a successful outdoor kitchen island project. By investing time and creativity into this stage, you will set the stage for a stunning and functional outdoor culinary sanctuary that aligns with your lifestyle and aesthetic preferences.
Step 2: Selecting the Right Materials
Once you have honed in on the design of your outdoor kitchen island, the next pivotal step is selecting the materials that will bring your vision to life. The choice of materials not only influences the aesthetic appeal of the island but also dictates its durability and resilience in the face of outdoor elements.
When it comes to the framework of the island, pressure-treated wood, stainless steel, and masonry materials are popular choices. Pressure-treated wood, such as cedar or redwood, offers a natural, rustic charm and is renowned for its resistance to decay and insects. Stainless steel, on the other hand, exudes a contemporary allure and boasts exceptional durability and weather resistance, making it an ideal option for a sleek and modern outdoor kitchen island. Masonry materials, including bricks, concrete blocks, and natural stone, impart a timeless elegance and can withstand the rigors of outdoor exposure, making them a favored choice for enduring outdoor structures.
For the countertop, prioritize materials that can endure exposure to sunlight, moisture, and fluctuating temperatures. Granite, concrete, and stainless steel are exemplary choices, as they not only offer aesthetic versatility but also exhibit remarkable durability and ease of maintenance. Granite countertops infuse a touch of luxury with their natural allure and resilience against heat and scratches. Concrete countertops, customizable in color and texture, exude an industrial-chic vibe while withstanding the outdoor elements with ease. Stainless steel countertops, prized for their hygienic properties and sleek appearance, are impervious to heat, stains, and corrosion, making them a resilient and stylish option for outdoor kitchens.
When selecting appliances for your outdoor kitchen island, opt for models specifically designed for outdoor use, as they are engineered to withstand exposure to the elements. Stainless steel appliances are a popular choice, as they harmonize with various design styles and offer exceptional resistance to corrosion and weathering.
As you navigate the myriad of material options, consider not only their visual and tactile appeal but also their practicality and resilience in an outdoor setting. By choosing materials that strike a balance between aesthetics and durability, you can ensure that your outdoor kitchen island will stand the test of time while exuding timeless charm and functionality.
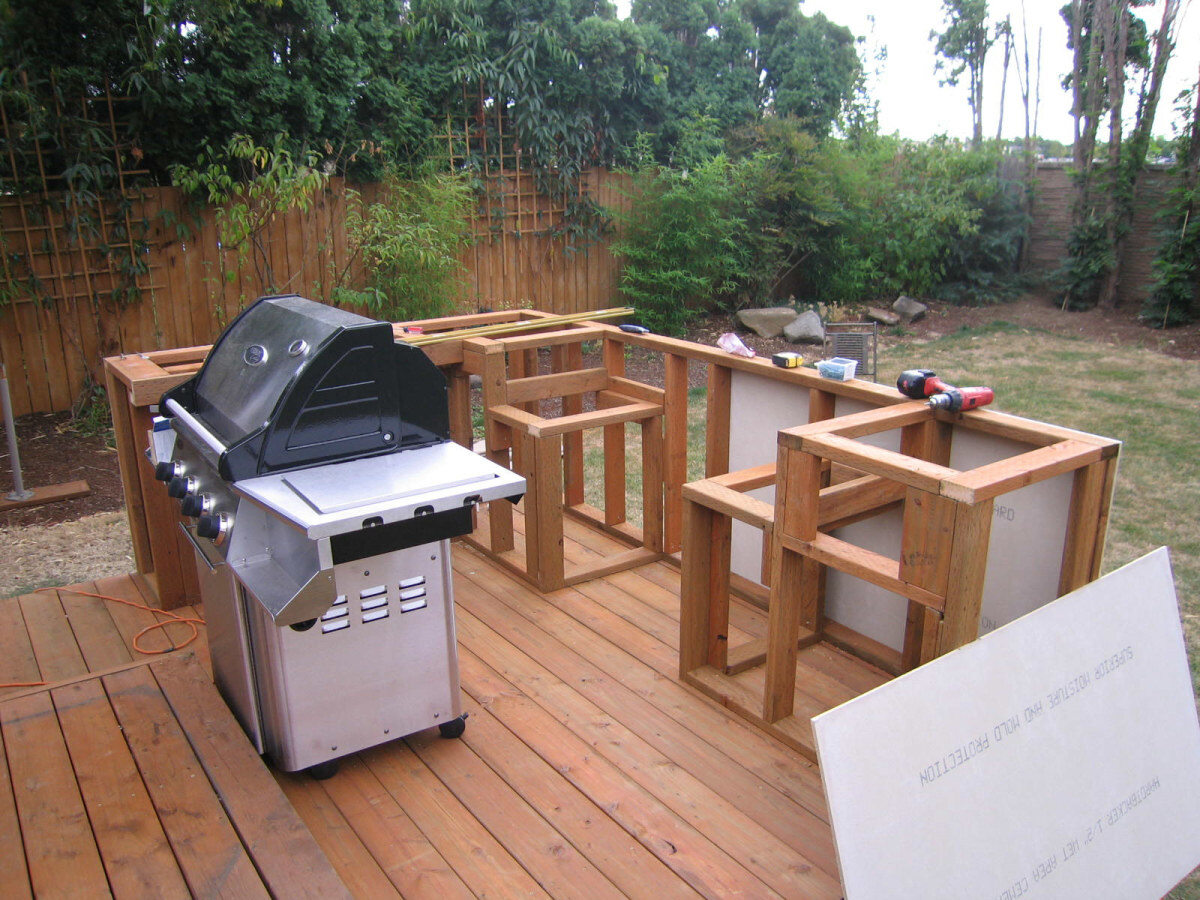
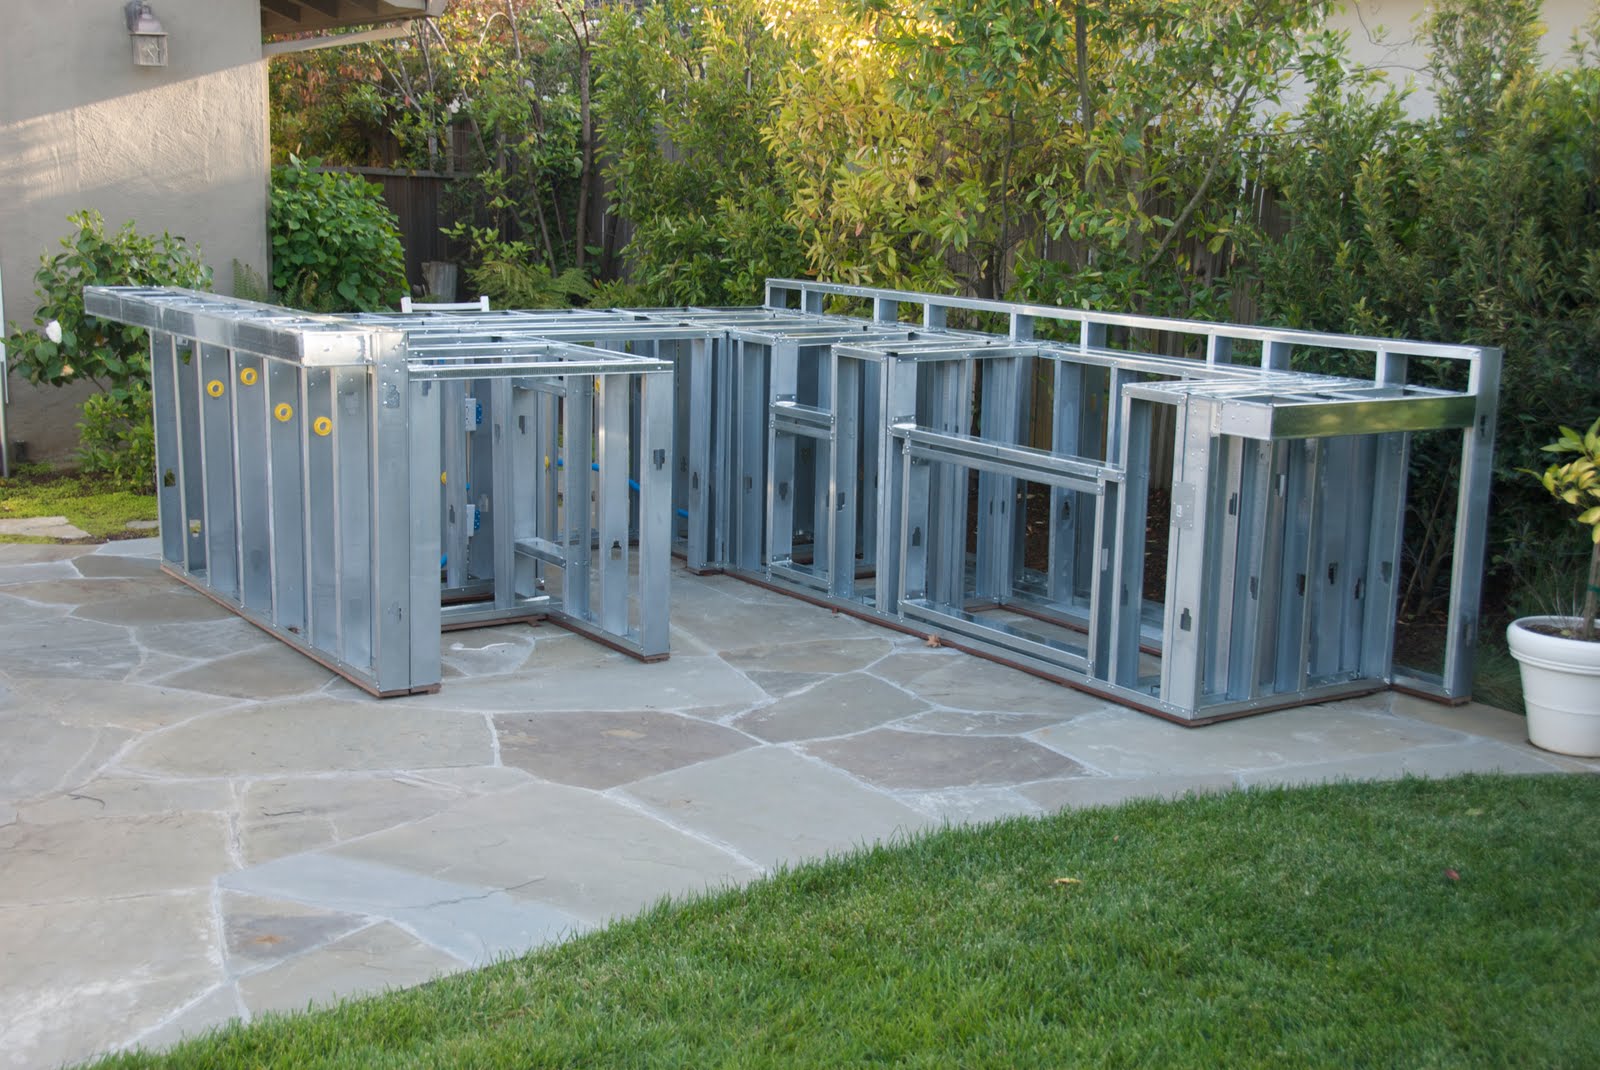
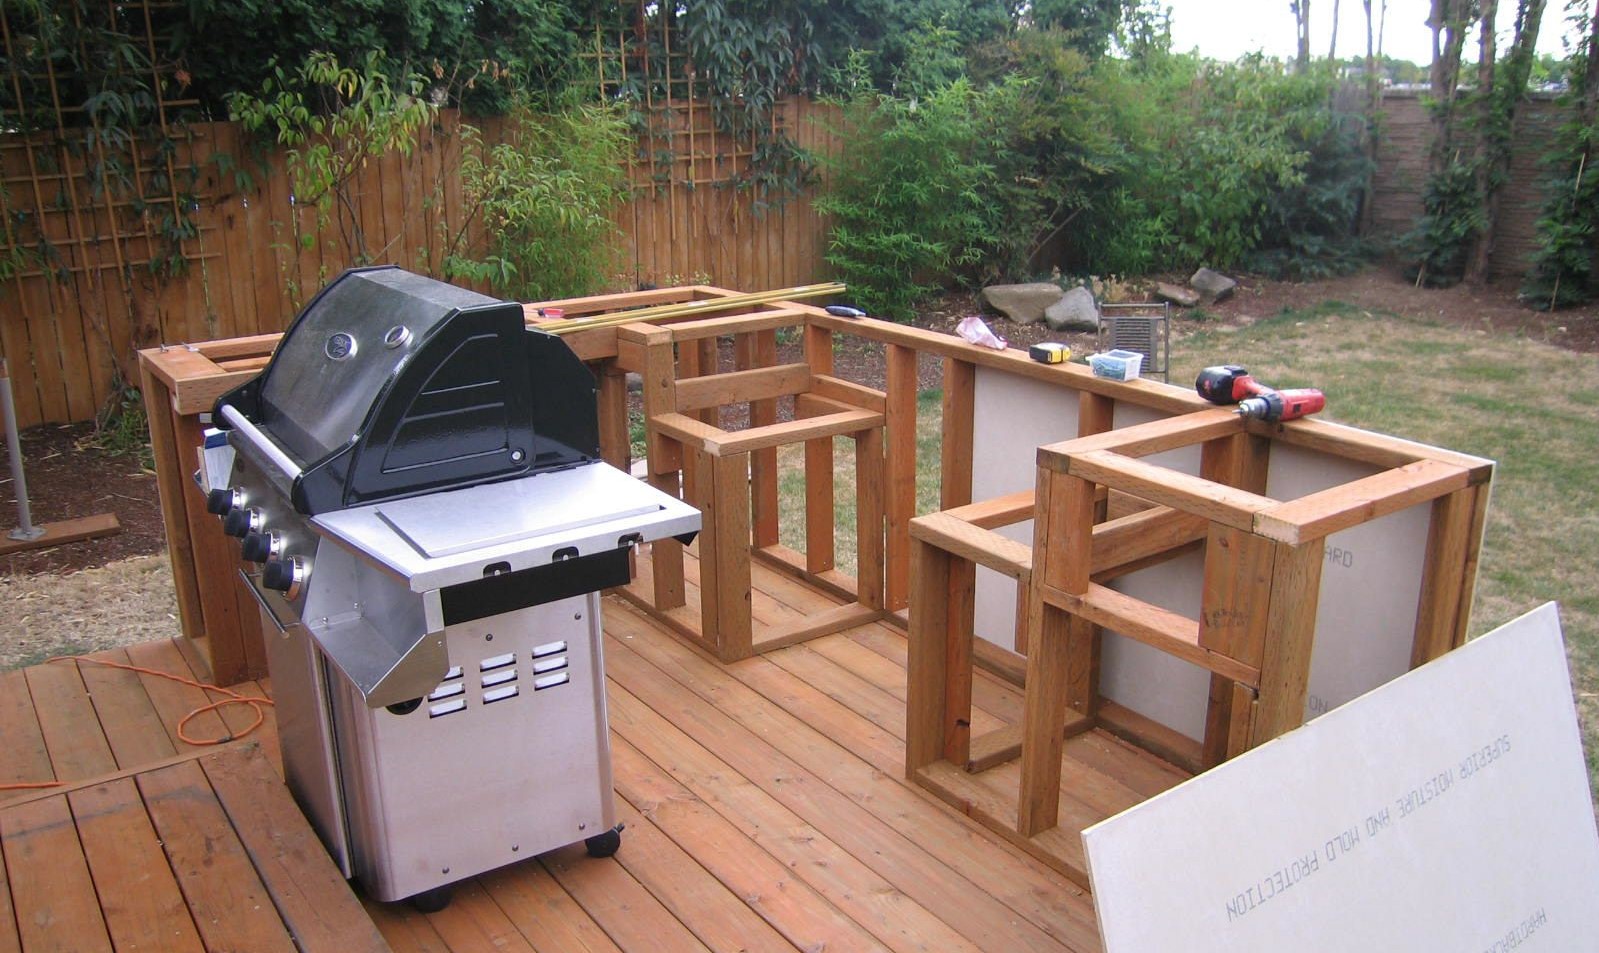
Step 3: Building the Frame
With the design and materials meticulously planned, it’s time to bring your outdoor kitchen island to life by constructing the framework that will form its structural backbone. The frame serves as the foundational support for the countertop, appliances, and decorative elements, making its construction a crucial phase in the project.
When building the frame, it’s essential to ensure that it is robust, level, and capable of withstanding the weight of the countertop and appliances. If using wood for the frame, opt for pressure-treated lumber to enhance its resistance to moisture and insects. Stainless steel frames provide a sleek and contemporary alternative, offering exceptional durability and weather resistance.
Prior to assembling the frame, meticulously measure and mark the layout of the island on the ground, ensuring that it aligns with the intended design and dimensions. Use a level to confirm that the surface is even, as this will lay the groundwork for a stable and well-balanced frame.
Assemble the frame according to the predetermined design, ensuring that the corners are square and the joints are secure. Utilize galvanized screws or stainless steel fasteners to reinforce the connections, enhancing the stability and longevity of the frame. If incorporating a bar counter or seating area, ensure that the frame accommodates the necessary overhang and support for these elements.
Once the frame is assembled, verify its stability and levelness, making any necessary adjustments to guarantee a solid foundation for the subsequent installation of the countertop and appliances. By meticulously crafting a sturdy and level frame, you will pave the way for a seamless and enduring outdoor kitchen island that embodies both form and function.
When framing an outdoor kitchen island, use pressure-treated lumber to prevent rot and corrosion. Ensure the frame is level and sturdy to support the weight of the countertop and appliances.
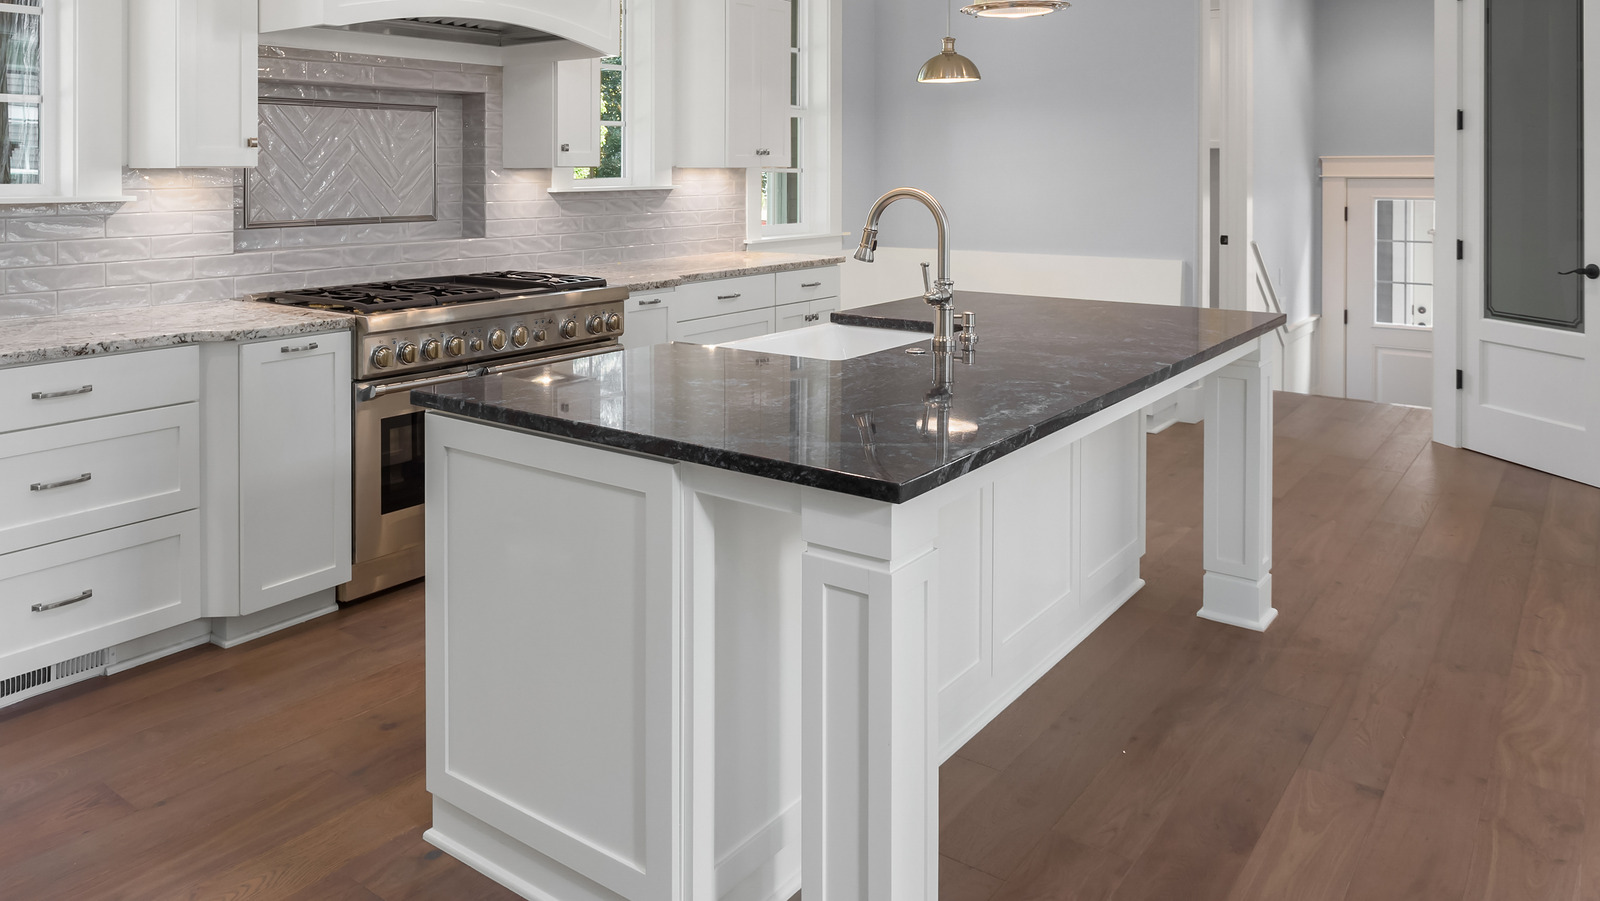
Step 4: Installing the Countertop and Appliances
As the framework of your outdoor kitchen island stands ready, it’s time to elevate its functionality and visual appeal by installing the countertop and appliances, transforming it into a culinary oasis that beckons for gourmet creations and convivial gatherings.
The installation of the countertop is a pivotal moment, as it not only provides a functional workspace for food preparation but also serves as a defining aesthetic element of the outdoor kitchen island. Whether you opt for the timeless elegance of granite, the industrial chic of concrete, or the sleek allure of stainless steel, ensure that the countertop is securely positioned on the frame, providing a level and stable surface for culinary endeavors.
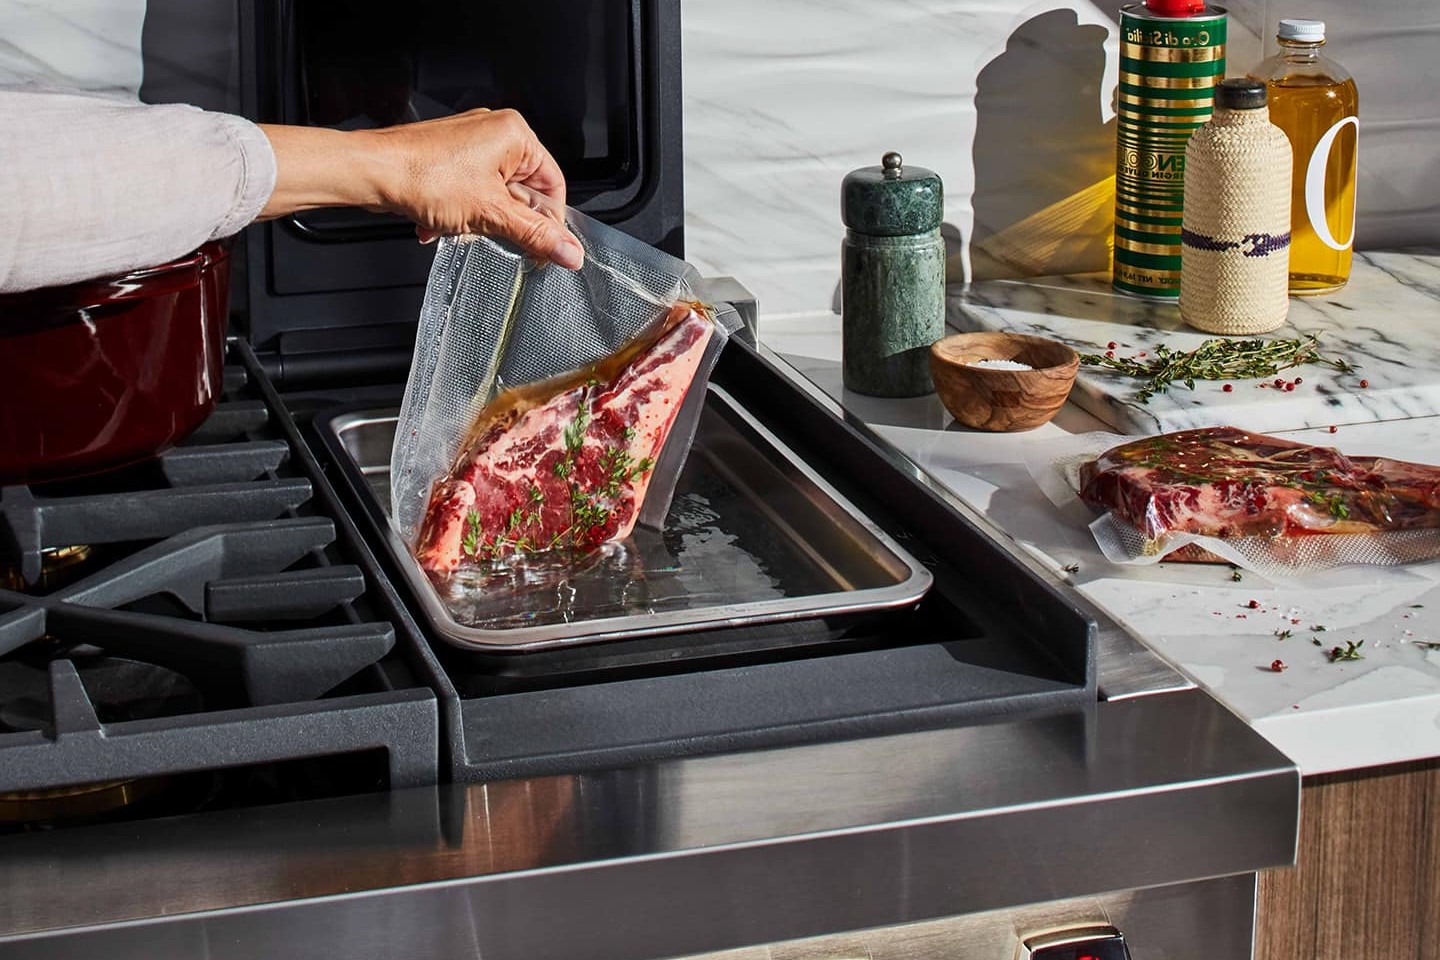
When installing appliances, such as grills, sinks, refrigerators, and outdoor-rated cabinets, prioritize seamless integration and functionality. Position the appliances in a manner that facilitates a smooth workflow, ensuring that the layout optimizes convenience and efficiency during food preparation and serving. Additionally, verify that the appliances are securely anchored to the frame, safeguarding against movement and ensuring their longevity in the outdoor environment.
For gas-powered appliances, enlist the expertise of a certified professional to handle the installation, ensuring compliance with safety regulations and optimal performance. Verify that gas lines, electrical connections, and water supply for sinks are expertly installed and concealed within the framework, preserving the seamless aesthetic of the outdoor kitchen island.
As the countertop glistens and the appliances stand poised for culinary feats, take a moment to revel in the transformation of your outdoor space. The installation of the countertop and appliances marks the culmination of your vision, breathing life into the outdoor kitchen island and setting the stage for memorable culinary experiences and convivial gatherings amidst the open air.
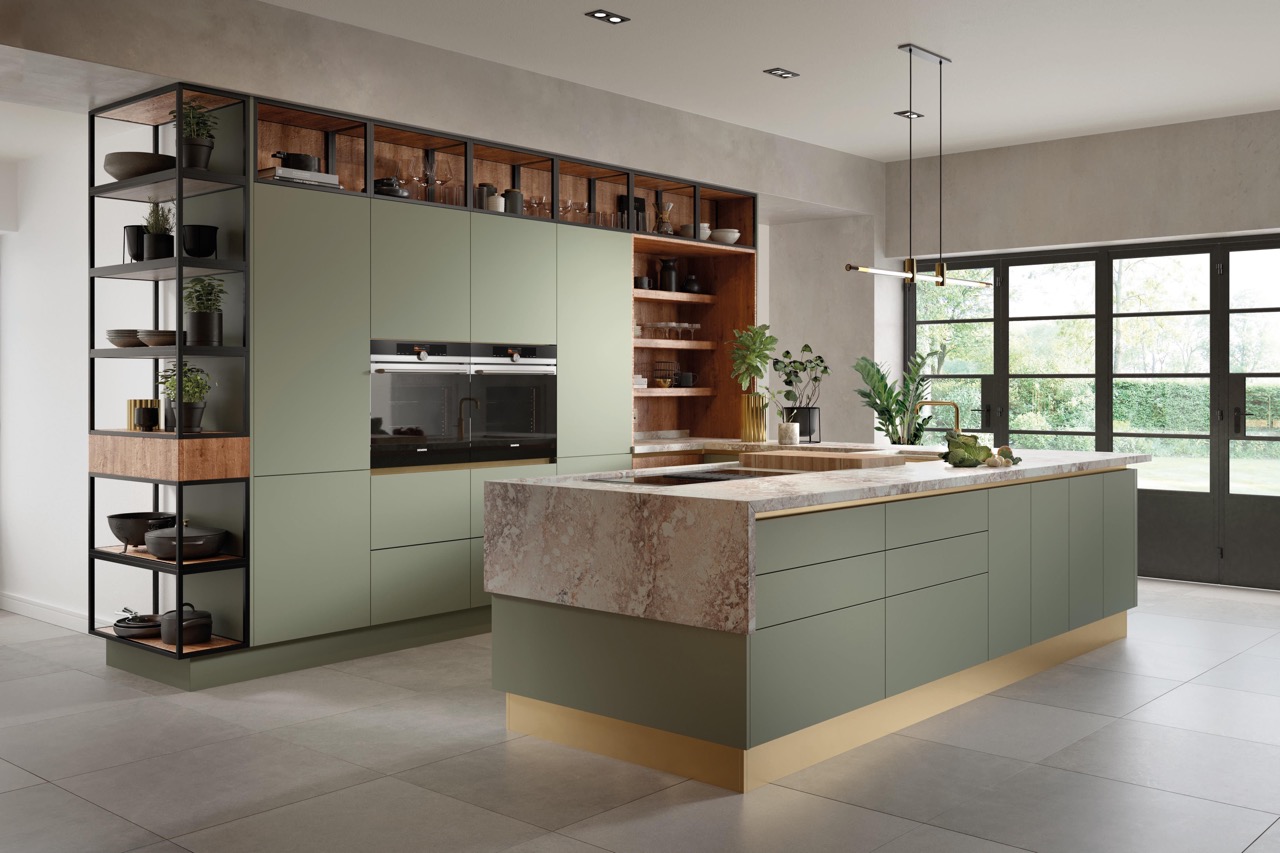
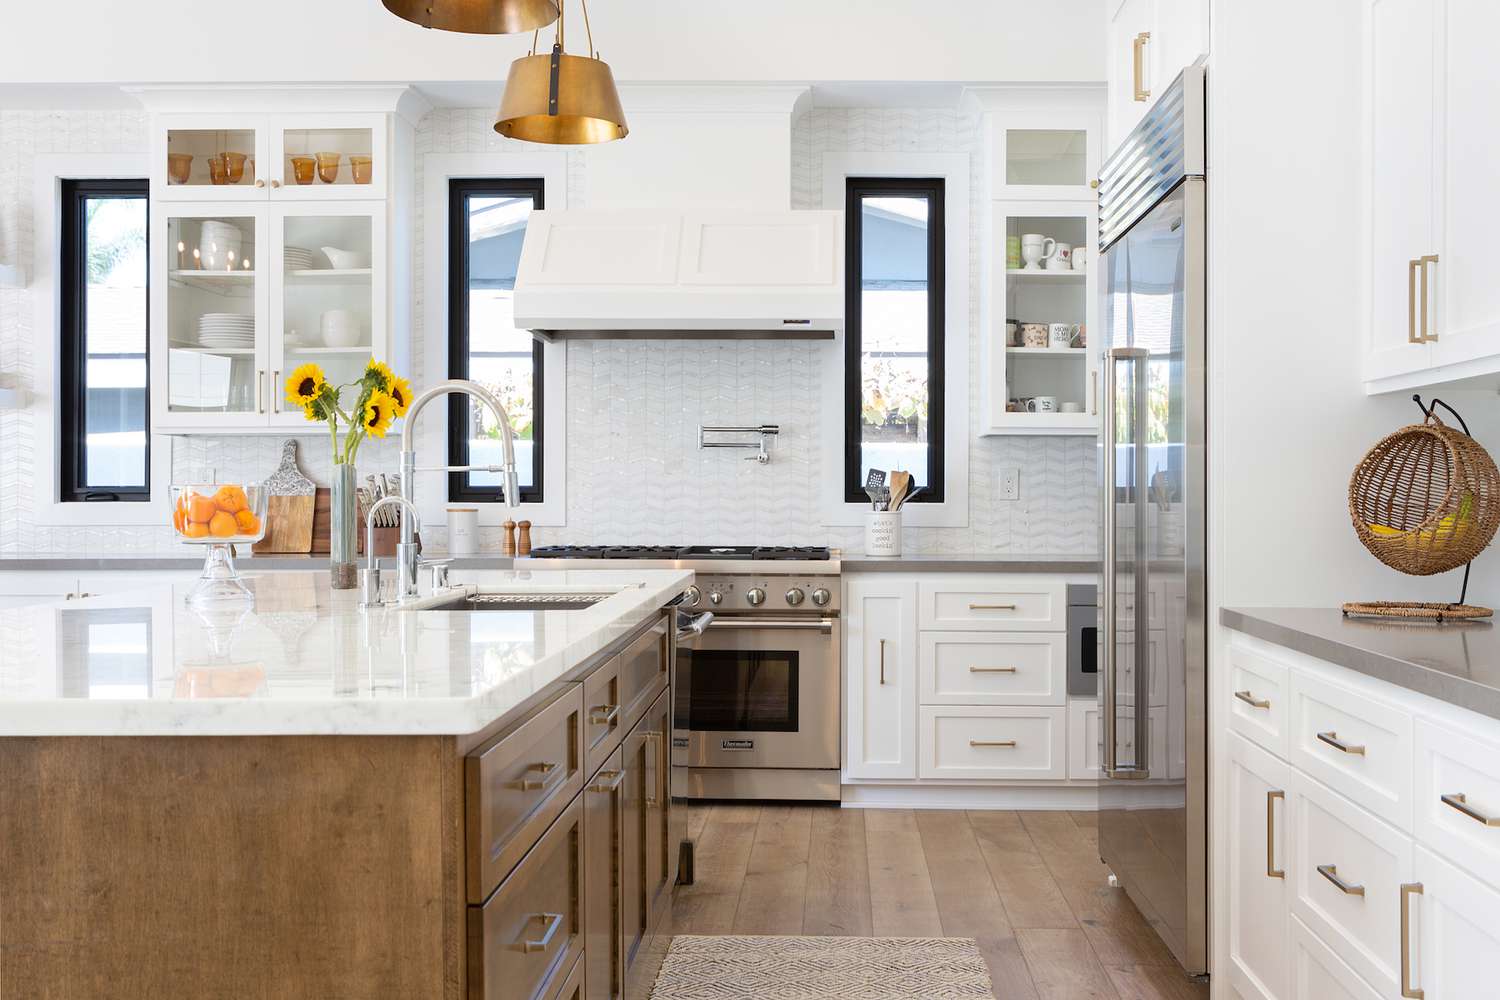
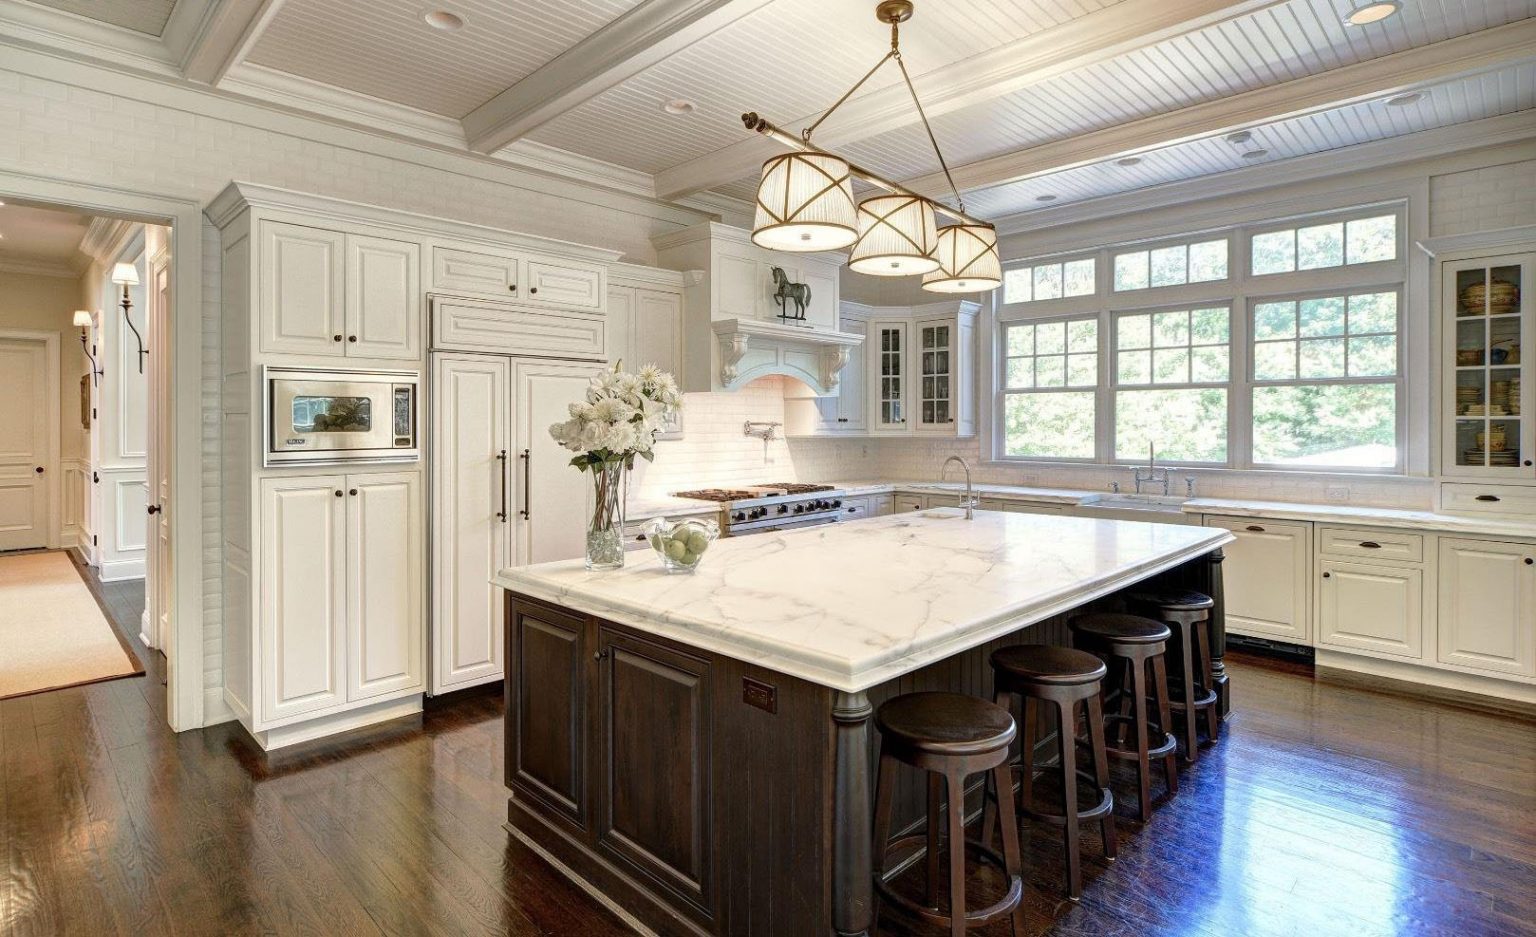
Step 5: Adding Finishing Touches and Decorative Elements
With the essential components in place, it’s time to infuse your outdoor kitchen island with character, charm, and personal flair through the addition of finishing touches and decorative elements. These embellishments not only elevate the aesthetic appeal of the island but also contribute to a welcoming and inviting ambiance that beckons for culinary creativity and convivial gatherings.
Consider adorning the perimeter of the island with tasteful lighting fixtures, such as pendant lights or sconces, to illuminate the workspace and create a captivating ambiance during evening gatherings. Additionally, integrate functional lighting solutions, such as task lighting above the grill and countertop, to enhance safety and convenience during food preparation and cooking.
Landscaping and greenery can further enrich the visual appeal of the outdoor kitchen island, seamlessly integrating it with the surrounding outdoor environment. Incorporate potted herbs, flowering plants, or a vertical garden adjacent to the island, infusing the space with natural beauty and aromatic allure while fostering a connection to nature.
To foster a convivial atmosphere, consider adding seating options around the island, whether through bar stools along a bar counter or an adjacent dining area. Select outdoor-friendly furniture that harmonizes with the design of the island, creating a cohesive and inviting space for guests to gather and savor culinary delights in the open air.
Personalize the island with decorative elements that reflect your unique style and culinary passions. Adorn the space with tasteful accessories, such as outdoor-friendly artwork, culinary-themed decor, or personalized signage, infusing the island with warmth and character that resonates with your lifestyle and interests.
Lastly, ensure that the outdoor kitchen island is equipped with functional and accessible storage solutions, such as weather-resistant cabinets and drawers, to accommodate cooking utensils, serveware, and culinary essentials. Organized and readily accessible storage enhances the efficiency and enjoyment of the outdoor culinary experience.
By infusing the outdoor kitchen island with thoughtful finishing touches and decorative elements, you will create a captivating and inviting space that beckons for culinary creativity, convivial gatherings, and cherished moments amidst the natural splendor of the great outdoors.
Conclusion
Congratulations on embarking on the journey of framing an outdoor kitchen island, a transformative endeavor that has not only enriched your outdoor living space but also kindled a passion for culinary creativity and convivial gatherings in the open air. As you stand amidst the culmination of your efforts, basking in the allure of your outdoor culinary sanctuary, it’s evident that the journey has been a rewarding fusion of creativity, craftsmanship, and the art of al fresco living.
Through meticulous planning and thoughtful design, you have crafted an outdoor kitchen island that seamlessly integrates with the natural beauty of your outdoor space, harmonizing form and function in perfect equilibrium. The selection of durable and visually captivating materials has endowed the island with enduring charm and resilience, ensuring that it will stand the test of time amidst the elements.
As you meticulously constructed the frame, installed the countertop and appliances, and adorned the island with finishing touches and decorative elements, each step has been a testament to your dedication and vision. The outdoor kitchen island now stands as a testament to your creativity and craftsmanship, ready to host culinary feats, convivial gatherings, and cherished moments amidst the splendor of nature.
As you step back and admire the culmination of your efforts, take a moment to envision the countless memories and moments that await within this outdoor culinary sanctuary. From sizzling barbecues to intimate gatherings, from culinary creations to heartfelt conversations, the outdoor kitchen island is poised to become the backdrop for cherished experiences and enduring connections.
So, as you prepare to embark on the next chapter of al fresco living, may your outdoor kitchen island serve as a steadfast companion, a source of inspiration, and a canvas for culinary creativity and conviviality. Embrace the joy of outdoor living, savor the flavors of the season, and relish the warmth of shared moments amidst the natural splendor of your outdoor oasis. Your outdoor kitchen island stands as a testament to the art of al fresco living, a testament to the joy of crafting unforgettable moments in the open air.
Frequently Asked Questions about How To Frame An Outdoor Kitchen Island
Was this page helpful?
At Storables.com, we guarantee accurate and reliable information. Our content, validated by Expert Board Contributors, is crafted following stringent Editorial Policies. We're committed to providing you with well-researched, expert-backed insights for all your informational needs.


0 thoughts on “How To Frame An Outdoor Kitchen Island”