
Articles
How To Vent An Island Sink
Modified: February 27, 2024
Learn how to properly vent an island sink in this informative article. Find step-by-step instructions and helpful tips to complete the task efficiently.
(Many of the links in this article redirect to a specific reviewed product. Your purchase of these products through affiliate links helps to generate commission for Storables.com, at no extra cost. Learn more)
Introduction
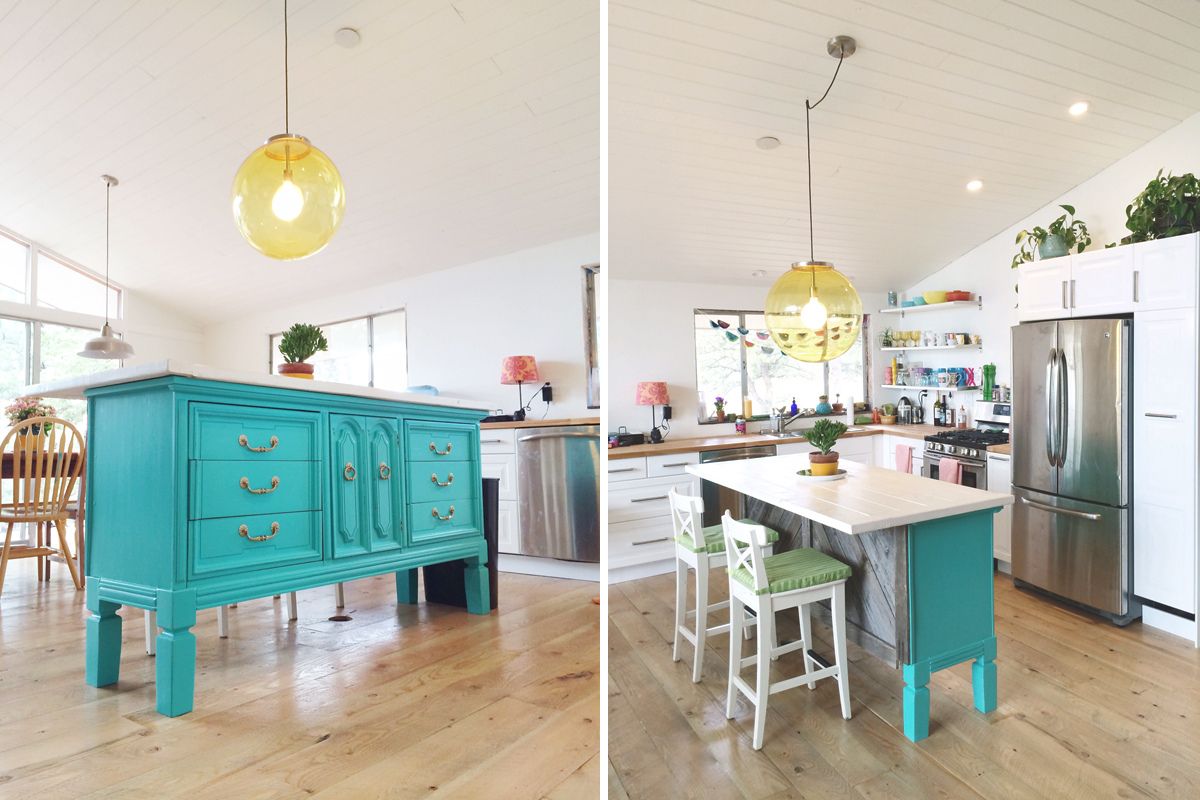
When it comes to designing a functional and aesthetically pleasing kitchen, one of the key considerations is the installation of a sink. While most traditional kitchen sinks are placed against a wall, many homeowners are opting for the modern and stylish choice of an island sink.
However, a common challenge with installing an island sink is proper ventilation. Unlike wall-mounted sinks that can be easily vented through the wall, island sinks require a more thoughtful approach to ensure effective ventilation. In this article, we will guide you through the process of venting an island sink, helping you create a well-ventilated and ideal kitchen space.
Proper ventilation is crucial for your kitchen as it helps to remove odors, moisture, and pollutants from the air. By venting your island sink correctly, you can prevent foul smells from permeating your kitchen and protect your home from the growth of mold and mildew.
In the following steps, we will provide you with a comprehensive guide on how to vent an island sink, covering everything from assessing the layout of your kitchen to installing and testing the ventilation system.
Key Takeaways:
- Proper ventilation is crucial for island sinks to prevent foul smells and mold growth. Assess space, choose the right method, and ensure efficient installation for a fresh and odor-free kitchen.
- Testing and adjusting the ventilation system is essential for optimal performance. Regular maintenance and adjustments will ensure a clean, fresh, and comfortable kitchen environment.
Read more: How To Vent Sink
Step 1: Assessing the Layout and Space
Before you start venting your island sink, it’s important to assess the layout and available space in your kitchen. This step will help you determine the most suitable ventilation method for your specific needs.
Firstly, consider the location of your island sink in relation to your kitchen. Take note of the proximity to walls, windows, and doors, as these may affect the ventilation options available to you. Keep in mind that the ventilation system needs to have a path to expel air outside.
Next, evaluate the available space and consider whether there are existing structures, such as cabinets or appliances, that could potentially obstruct the installation of a ventilation system. This assessment will help you decide whether to opt for a ducted or ductless ventilation method.
If you have ample space and minimal obstructions, a ducted ventilation system is recommended. This type of system involves the installation of ductwork that connects the island sink to an exterior wall or the roof, allowing the air to be vented outside. Ducted ventilation systems are highly effective at removing odors and contaminants from your kitchen.
However, if space is limited or you prefer a more discreet approach, a ductless ventilation system might be the better option. This type of system uses charcoal or carbon filters to trap odors and pollutants before recirculating the air back into the kitchen. While not as effective as ducted systems, ductless ventilation can still provide adequate air purification.
By assessing the layout and space in your kitchen, you’ll be able to determine the most suitable ventilation method for your island sink. This will ensure that your kitchen remains clean, fresh, and odor-free.
Step 2: Choosing the Ventilation Method
Once you’ve assessed the layout and space in your kitchen, the next step is to choose the most appropriate ventilation method for your island sink. This decision will depend on various factors such as your preferences, budget, and the feasibility of installing different systems.
As mentioned earlier, the two main ventilation options for island sinks are ducted and ductless systems. Let’s explore each option in more detail:
Ducted Ventilation:
Ducted ventilation systems are typically considered the most effective option for island sinks, as they remove odors, steam, and pollutants from the kitchen and expel them to the outside. This method requires the installation of ductwork that connects the sink to an exterior wall or the roof.
Consider the following factors when choosing a ducted ventilation system:
- Space availability: Ensure that you have enough space and clearance to install the ductwork without obstruction, especially if you have existing cabinets or appliances.
- Connection points: Determine the best connection point for the ductwork. It could be an existing vent or a new opening that needs to be created.
- Efficiency: Look for a ventilation hood or fan that has a high CFM (cubic feet per minute) rating to effectively remove odors and steam from your kitchen.
Ductless Ventilation:
Ductless ventilation systems are a convenient option for island sinks when ductwork installation is not feasible or when you prefer a more discreet approach. This method uses charcoal or carbon filters to trap odors and pollutants before recirculating the purified air back into the kitchen.
Consider the following factors when choosing a ductless ventilation system:
- Filter quality: Look for a system that uses high-quality charcoal or carbon filters to effectively trap odors and pollutants.
- Filter replacement: Check if the filters are easily replaceable and easily accessible, as they will need to be changed regularly to maintain optimal performance.
- Noise level: Consider the noise level of the ductless system, as some models can be louder than others. Look for models with quiet operation.
Ultimately, the choice between ducted and ductless ventilation depends on your specific needs and constraints. Consider factors such as kitchen layout, space availability, and budget to make an informed decision.
Step 3: Determining the Ventilation Path
Once you have chosen the ventilation method for your island sink, the next step is to determine the best ventilation path. This involves identifying the most efficient route for the ductwork or deciding on the appropriate placement of the ductless system.
For Ducted Ventilation:
If you have chosen a ducted ventilation system, follow these guidelines to determine the ventilation path:
- Exterior Wall: If your island sink is located near an exterior wall, the most straightforward route is to vent the ductwork directly through the wall. This can be done by creating a hole in the wall and connecting the ductwork to the outside.
- Roof: If your island sink is located away from any exterior walls, you may need to vent the ductwork through the roof. This typically requires professional assistance to ensure proper installation and sealing to prevent leaks.
- Ductwork Layout: Plan the layout of the ductwork to avoid obstructions and maximize efficiency. Keep the ductwork as straight and short as possible, with minimal bends or sharp angles that can impede airflow.
For Ductless Ventilation:
If you have opted for a ductless ventilation system, consider the following factors when determining the placement:
- Location: Place the ductless system within close proximity to the island sink to effectively capture and filter the odors and pollutants.
- Mounting Options: Check if the ductless system can be mounted directly on the ceiling or under the cabinets, depending on your kitchen layout and space availability.
- Air Circulation: Ensure that the ductless system has sufficient open space around it to allow for proper air circulation and filtration.
Properly determining the ventilation path is essential for effective odor and pollutant removal. It’s recommended to consult with a professional during this step, especially if you are opting for ducted ventilation and require assistance with routing the ductwork.
By carefully considering the layout of your kitchen and the best ventilation path, you can ensure optimal performance and efficiency of your island sink ventilation system.
Step 4: Installing the Ventilation System
With the ventilation path determined, it’s now time to proceed with the installation of your island sink ventilation system. Depending on the chosen method (ducted or ductless), the installation process may vary.
For Ducted Ventilation:
If you have opted for a ducted ventilation system, follow these steps for installation:
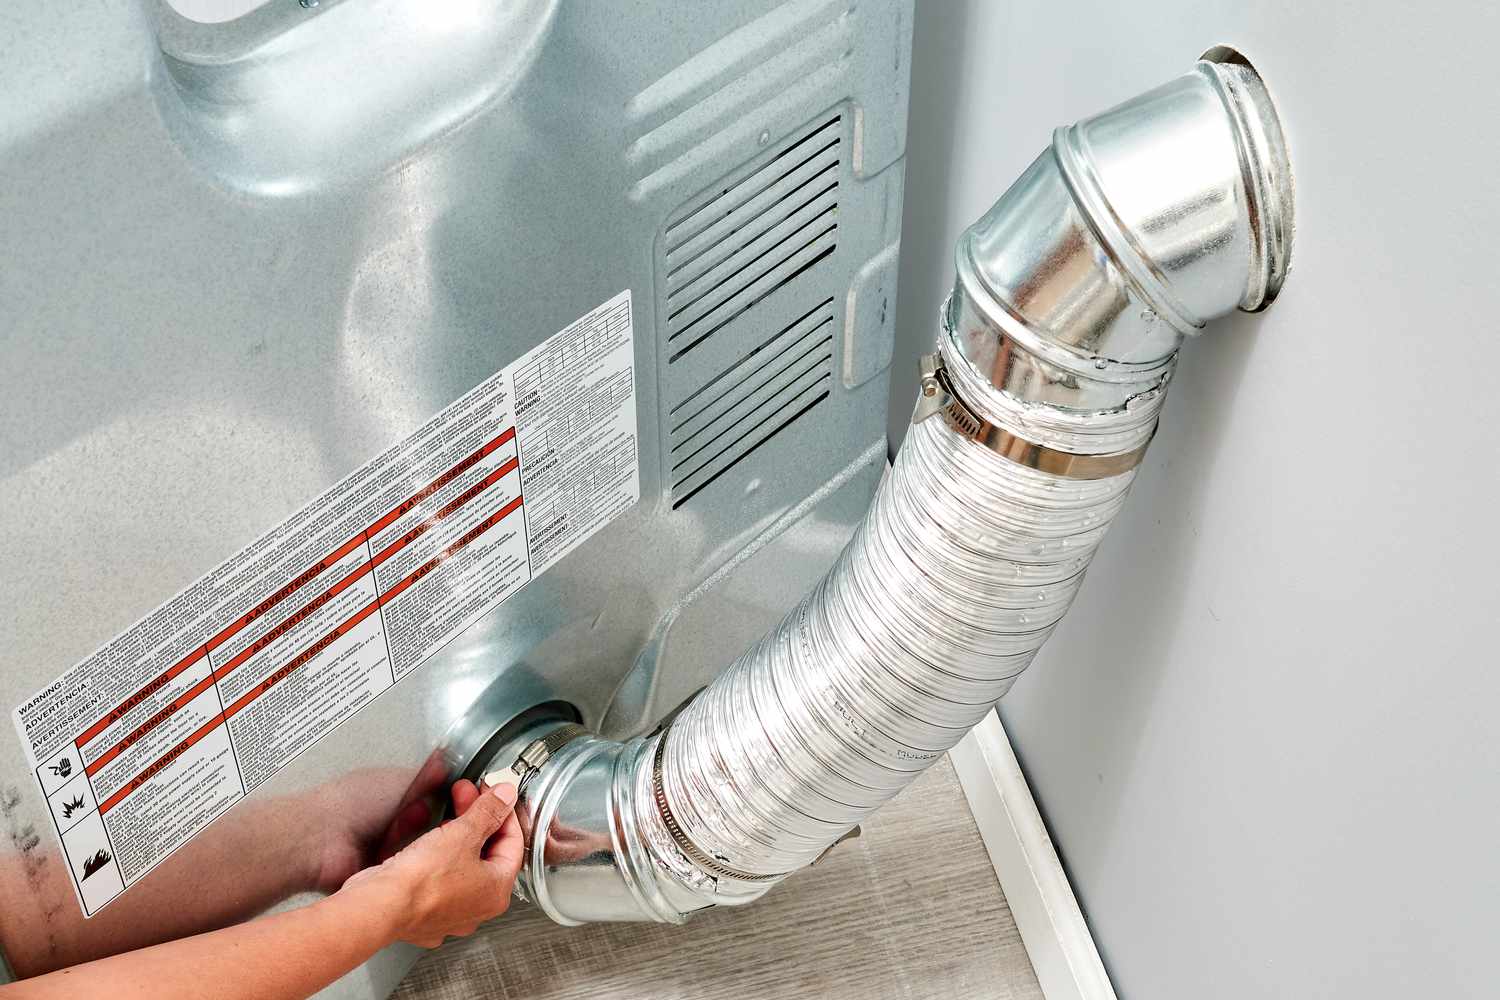
- Prepare the ductwork: Measure and cut the necessary lengths of ductwork based on the determined ventilation path. Ensure that the ductwork is the appropriate size and properly sealed to prevent air leaks.
- Create an opening: If venting through an exterior wall, create an opening that matches the size of the ductwork. Use a drill or a reciprocating saw to carefully cut through the wall.
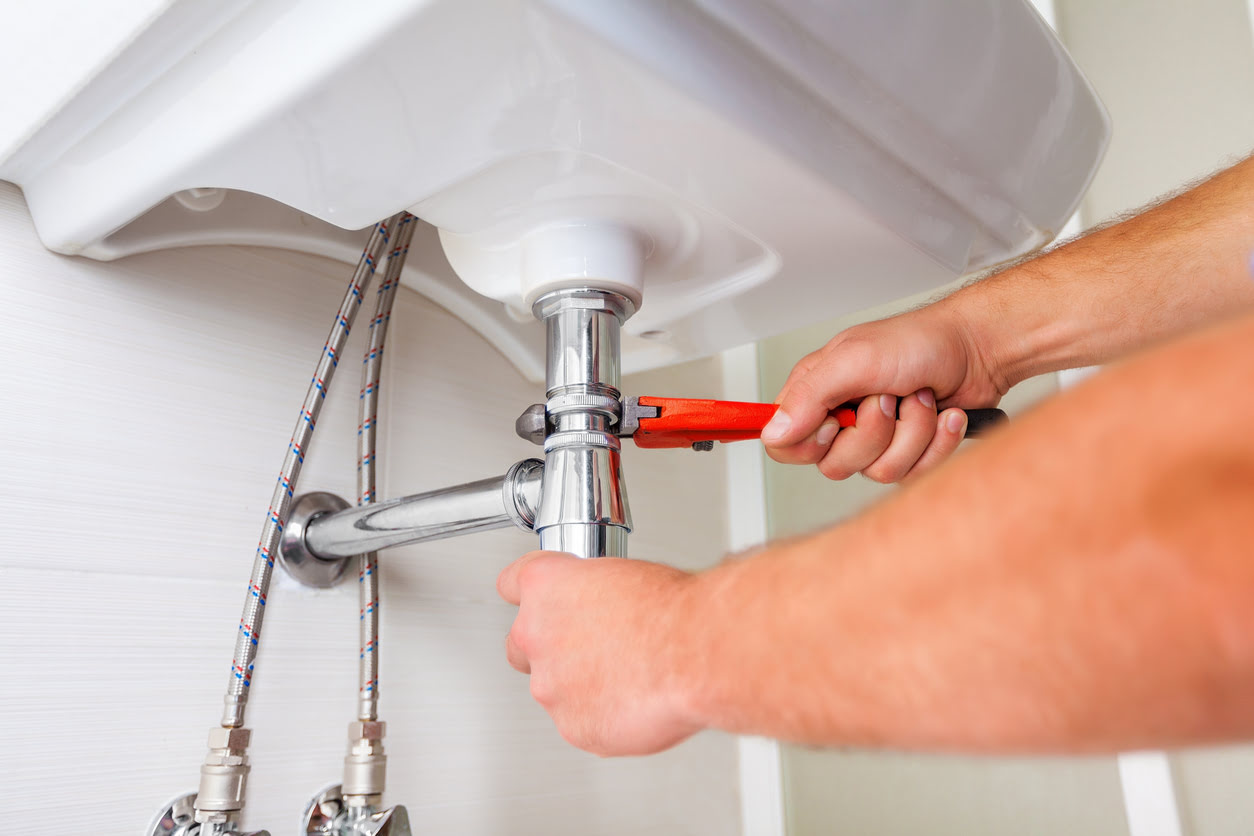
- Connect the ductwork: Attach the ductwork to the island sink and secure it with the appropriate fittings. Make sure there are no gaps or loose connections that could affect the efficiency of the ventilation system.
- Seal the connections: Use foil tape or duct sealant to seal any joints or connections to ensure a tight and secure fit.
- Install the ventilation hood or fan: Mount the ventilation hood or fan above the island sink. Ensure that it is securely fastened and aligned properly to effectively capture the air from the sink.
- Connect to the exterior: If venting through the roof, consult with a professional to connect the ductwork to a roof vent or exhaust pipe to expel the air outside.
For Ductless Ventilation:
If you have chosen a ductless ventilation system, follow these steps for installation:
- Mount the system: Depending on the chosen model, mount the ductless system either on the ceiling or under the cabinets, ensuring it is securely attached.
- Connect to power: Provide a power source for the ductless system. This could involve installing a power outlet or connecting directly to an existing electrical circuit.
- Install the filters: Insert the charcoal or carbon filters into the designated slots within the ductless system, following the manufacturer’s instructions.
- Test the system: Once the installation is complete, test the ventilation system to ensure proper operation. Run the sink and check if the system effectively captures odors and smoke.
It’s important to note that installing a ventilation system may require the assistance of a professional, especially for complex ductwork installations or connections to the exterior. Consulting with an expert can ensure a safe and efficient installation process.
By carefully following the installation instructions for your chosen ventilation method, you can successfully set up a functional and effective island sink ventilation system.
Step 5: Testing and Adjusting the Ventilation
After installing the ventilation system for your island sink, it’s important to test and make any necessary adjustments to ensure optimal performance and efficiency.
Testing the Ventilation:
Once the installation is complete, follow these steps to test the ventilation system:
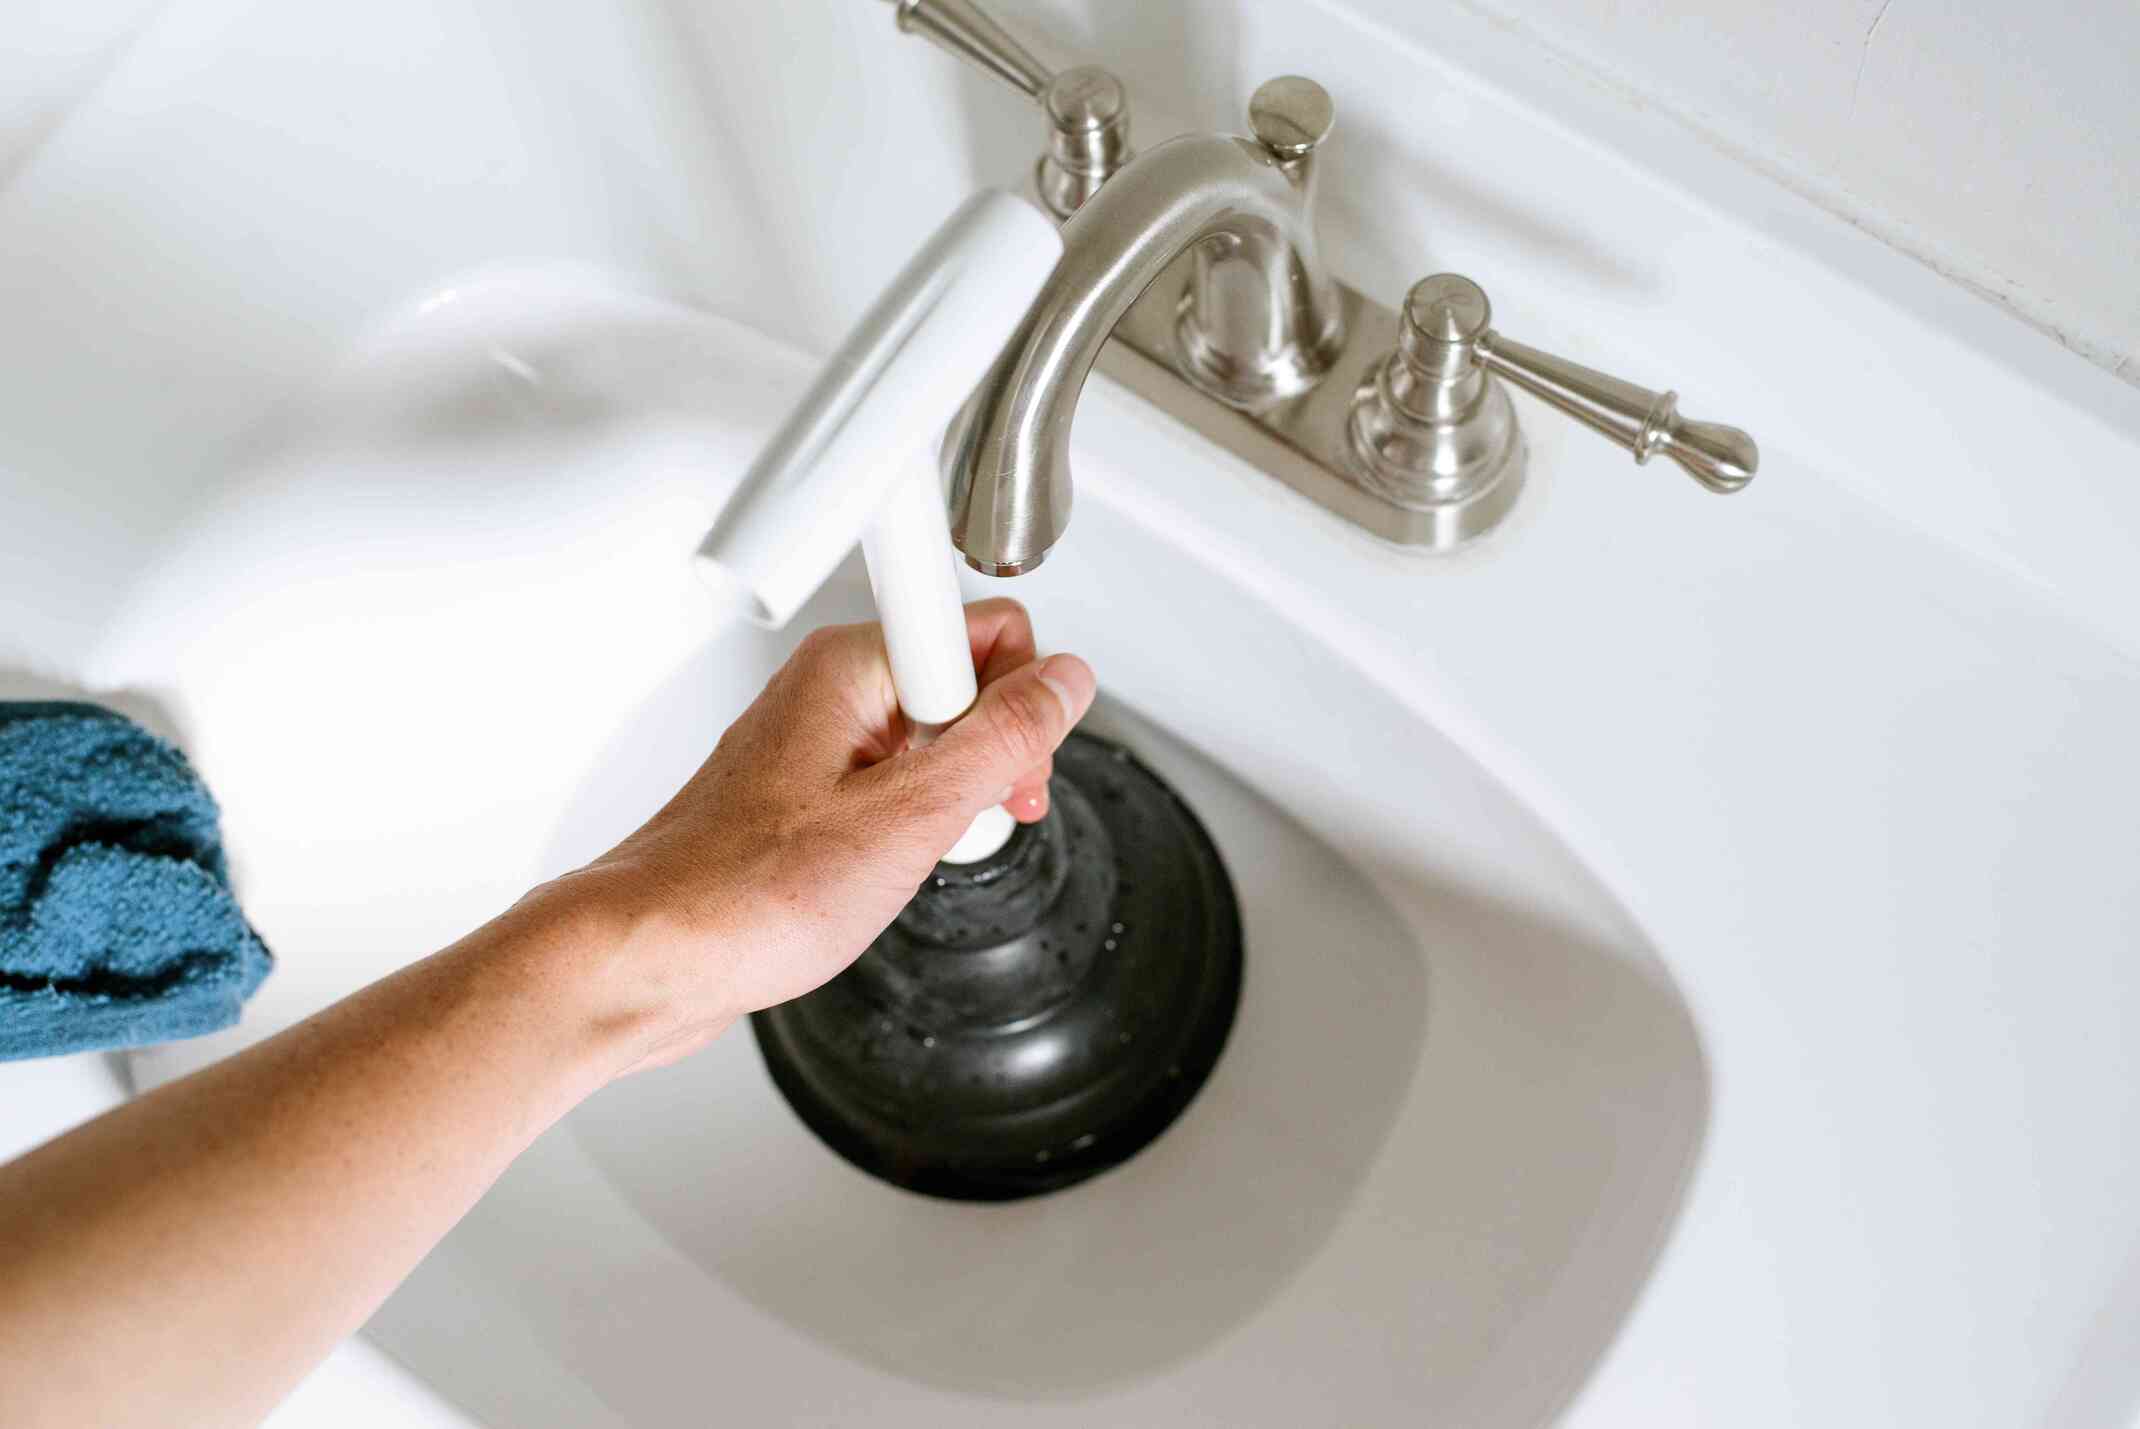
- Operate the sink: Turn on the sink and run water to generate steam and odors.
- Observe the ventilation system: Watch how the system operates and check if it effectively captures and removes the steam and odors from the kitchen.
- Check for proper airflow: Ensure that there is sufficient airflow from the sink to the ventilation system. If the airflow seems weak or restricted, you may need to adjust the ductwork or clean the filters.
- Inspect for any leaks or issues: Check for any air leaks in the ductwork or any issues with the ventilation system’s components. Address any leaks or problems promptly to maintain optimal performance.
- Monitor the odor and moisture levels: Assess whether the ventilation system effectively eliminates odors and reduces moisture in the kitchen. If you notice lingering odors or excessive moisture, adjustments may be necessary.
Read more: How To Build BBQ Island
Adjusting the Ventilation:
If you encounter any issues during the testing phase, consider the following adjustments:
- Ductwork modifications: If the airflow is weak or restricted, check if there are any blockages or obstructions in the ductwork. Clear away any debris or adjust the ductwork to ensure proper airflow.
- Filter maintenance: If the ductless system is not effectively capturing odors, check the filters. Clean or replace them as recommended by the manufacturer to maintain their efficiency.
- Consider additional ventilation: If necessary, you may need to explore additional ventilation options, such as adding an additional ventilation hood or fan, or upgrading your existing system to accommodate the needs of your kitchen.
Regular maintenance of the ventilation system is crucial to ensure its longevity and continued effectiveness. Clean or replace filters regularly, inspect the ductwork for any issues, and address any malfunctions or leaks promptly.
By thoroughly testing the ventilation system and making any necessary adjustments, you can ensure that your island sink is properly vented, resulting in a clean, fresh, and odor-free kitchen environment.
Conclusion
Venting an island sink is an essential step in creating a functional and odor-free kitchen space. By following the step-by-step guide outlined in this article, you can successfully install a ventilation system for your island sink, ensuring clean air and a pleasant cooking environment.
Start by assessing the layout and space available in your kitchen, considering factors such as proximity to walls and existing structures. Then, choose the most suitable ventilation method, whether it be the highly effective ducted system or the discreet ductless option.
Determine the ventilation path by identifying the most efficient route for the ductwork or the ideal placement of the ductless system. Consider factors such as space availability, location, and air circulation to ensure optimal performance.
Next, proceed with the installation process, following the specific instructions for your chosen ventilation method. Pay attention to proper sealing, secure connections, and correct placement of the ventilation hood or ductless system.
Once the installation is complete, thoroughly test the ventilation system to ensure it effectively captures odors, steam, and pollutants from the kitchen. Make any necessary adjustments, such as modifying ductwork, maintaining filters, or considering additional ventilation options.
Regular maintenance and prompt addressing of any issues will ensure the longevity and ongoing efficiency of your island sink ventilation system. This will result in a cleaner, fresher, and more comfortable kitchen for you and your family to enjoy.
Remember, a well-vented island sink not only enhances the functionality of your kitchen but also adds a stylish and modern touch to your overall design. So, take the necessary steps to achieve proper ventilation and experience the benefits of a well-ventilated island sink in your home.
Frequently Asked Questions about How To Vent An Island Sink
Was this page helpful?
At Storables.com, we guarantee accurate and reliable information. Our content, validated by Expert Board Contributors, is crafted following stringent Editorial Policies. We're committed to providing you with well-researched, expert-backed insights for all your informational needs.


0 thoughts on “How To Vent An Island Sink”