Furniture
How To Turn A Dresser Into A Kitchen Island
Modified: October 20, 2024
Transform your dresser into a functional kitchen island with these easy steps. Get creative with your furniture and optimize your kitchen space effortlessly.
(Many of the links in this article redirect to a specific reviewed product. Your purchase of these products through affiliate links helps to generate commission for Storables.com, at no extra cost. Learn more)
Introduction
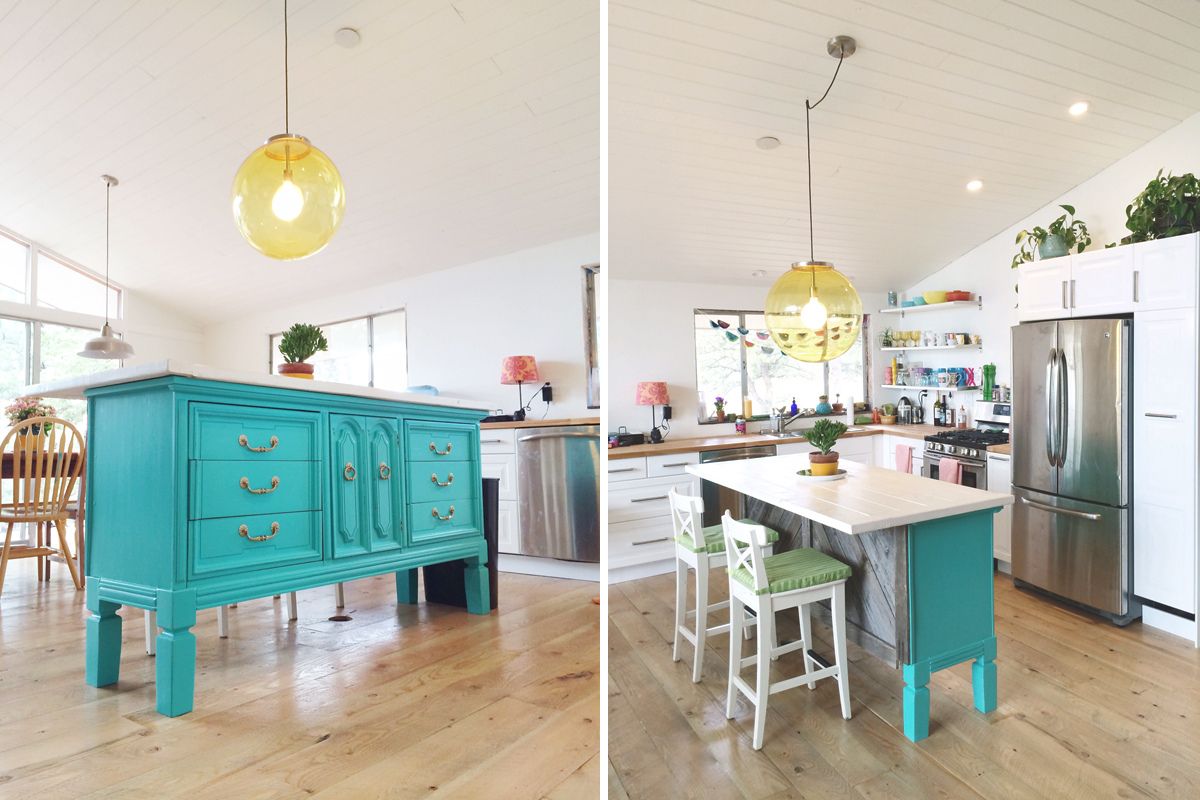
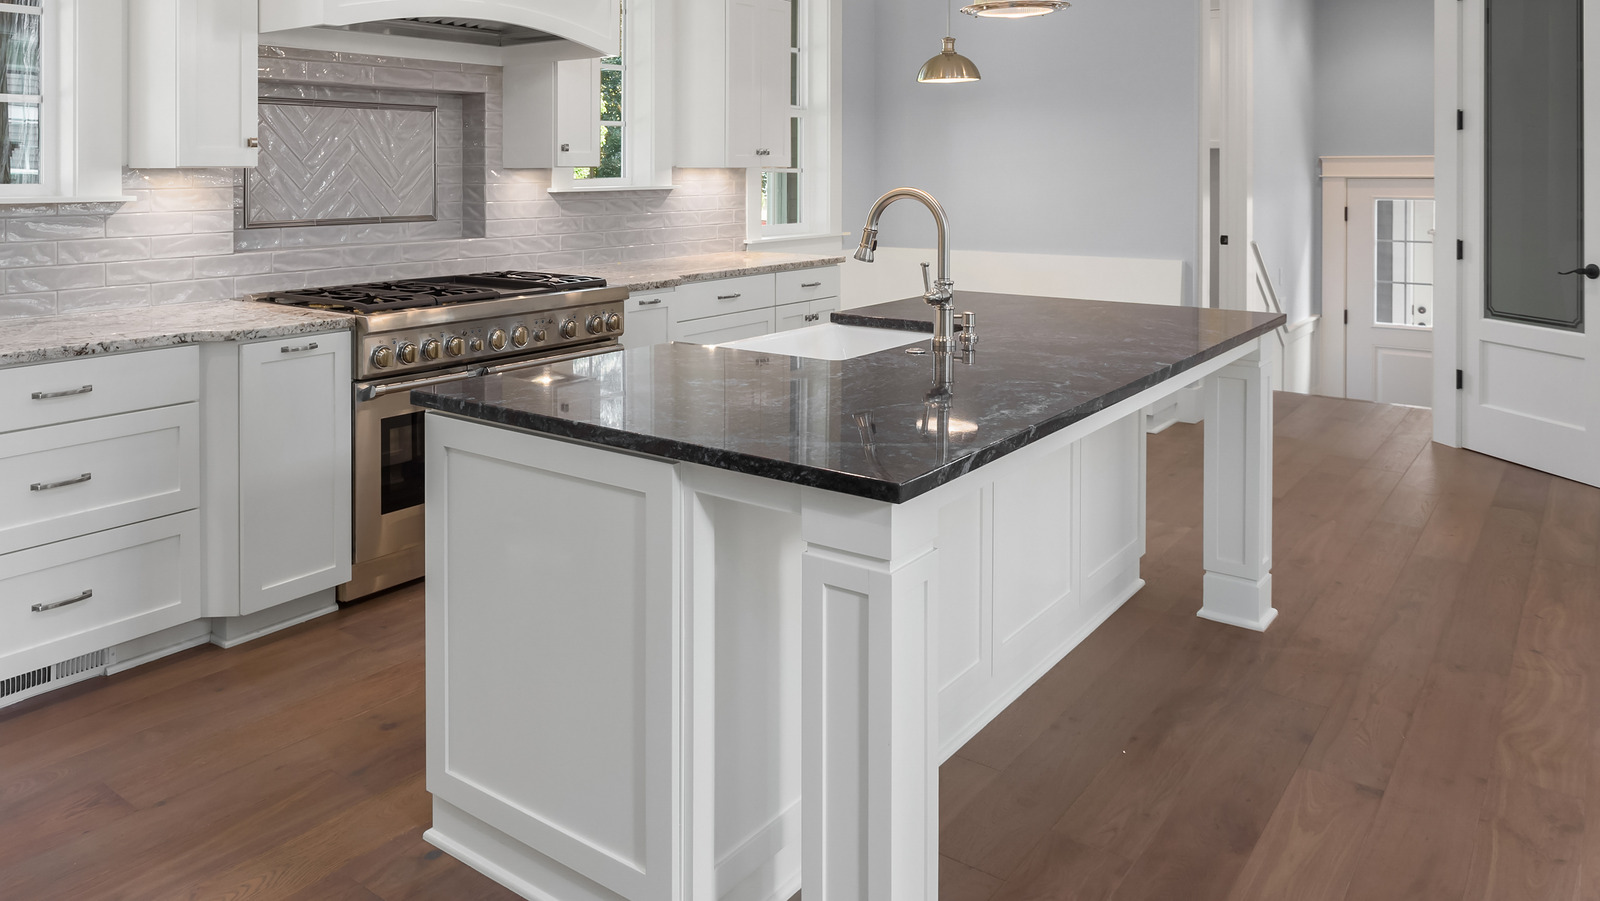
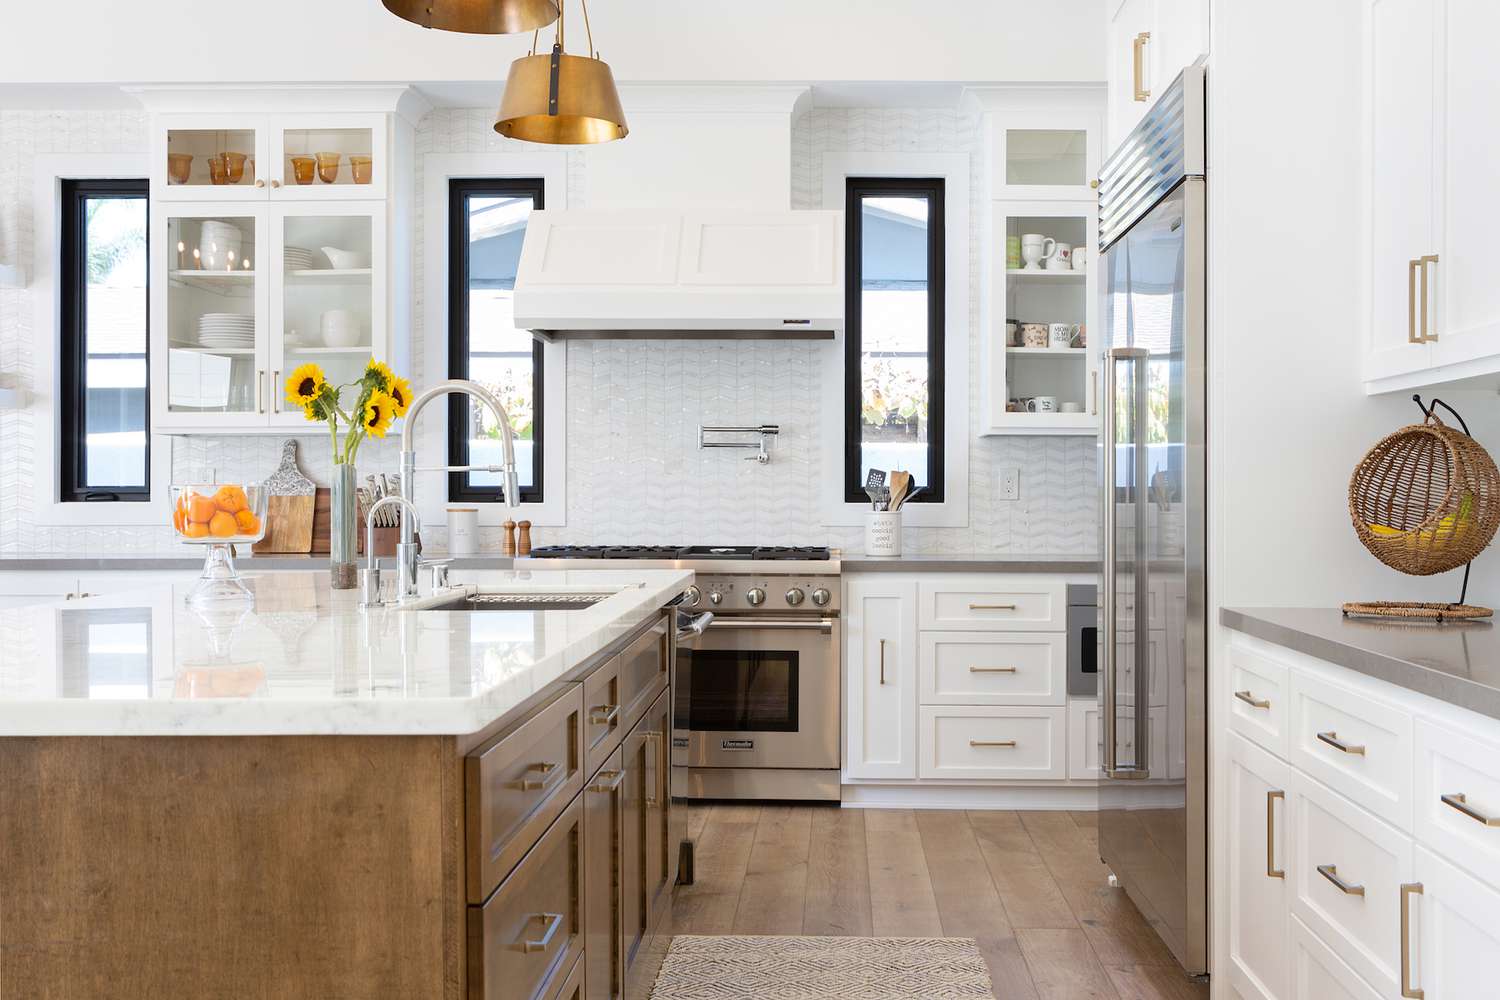
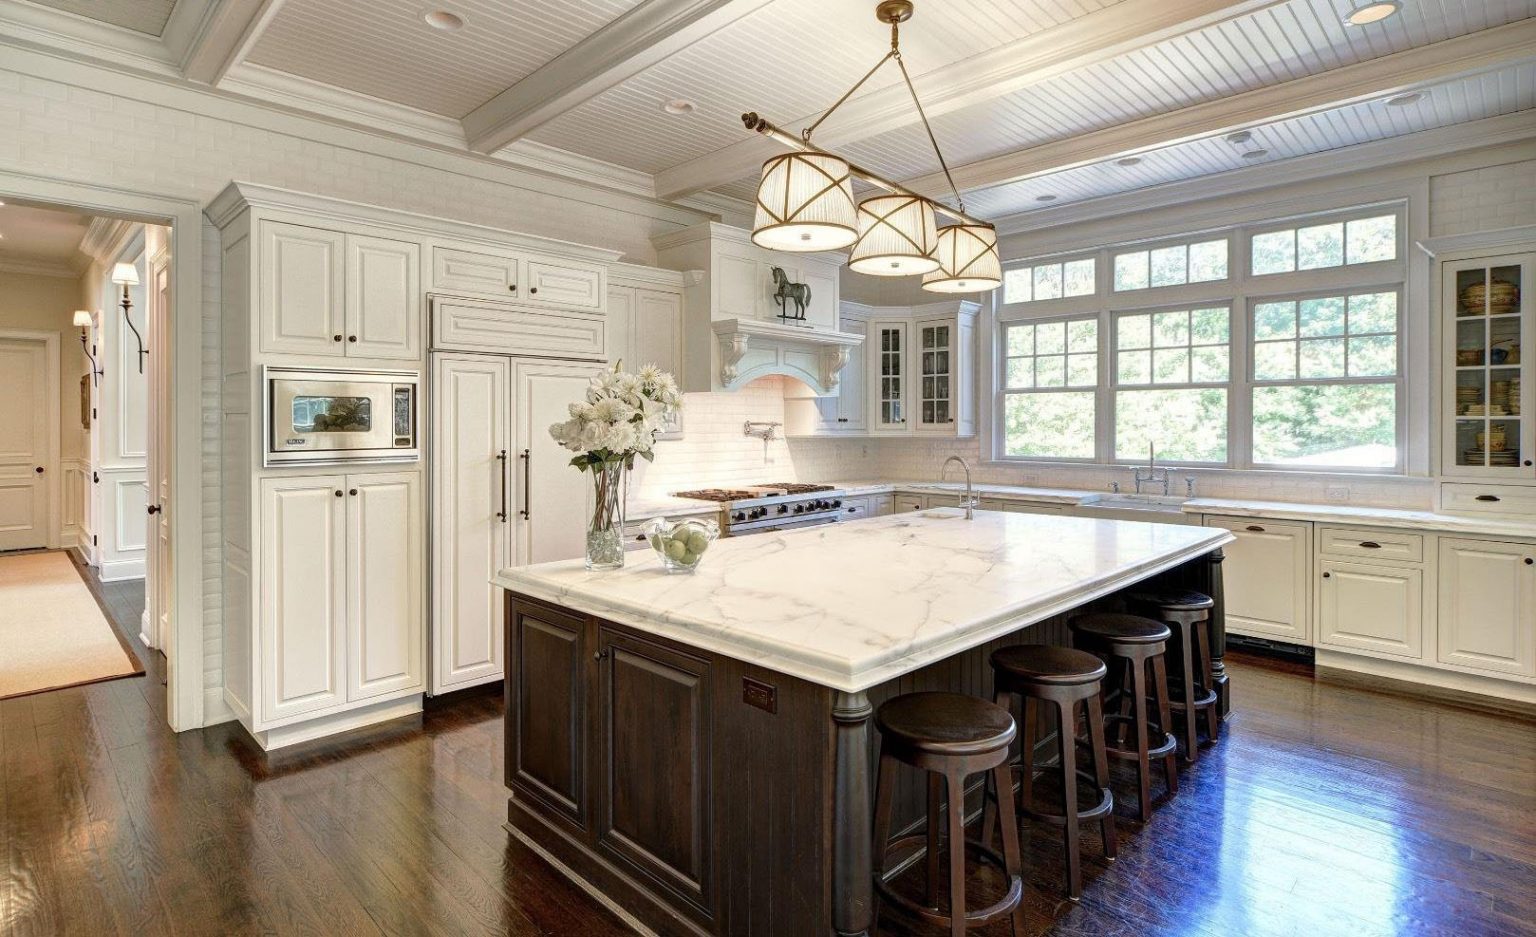
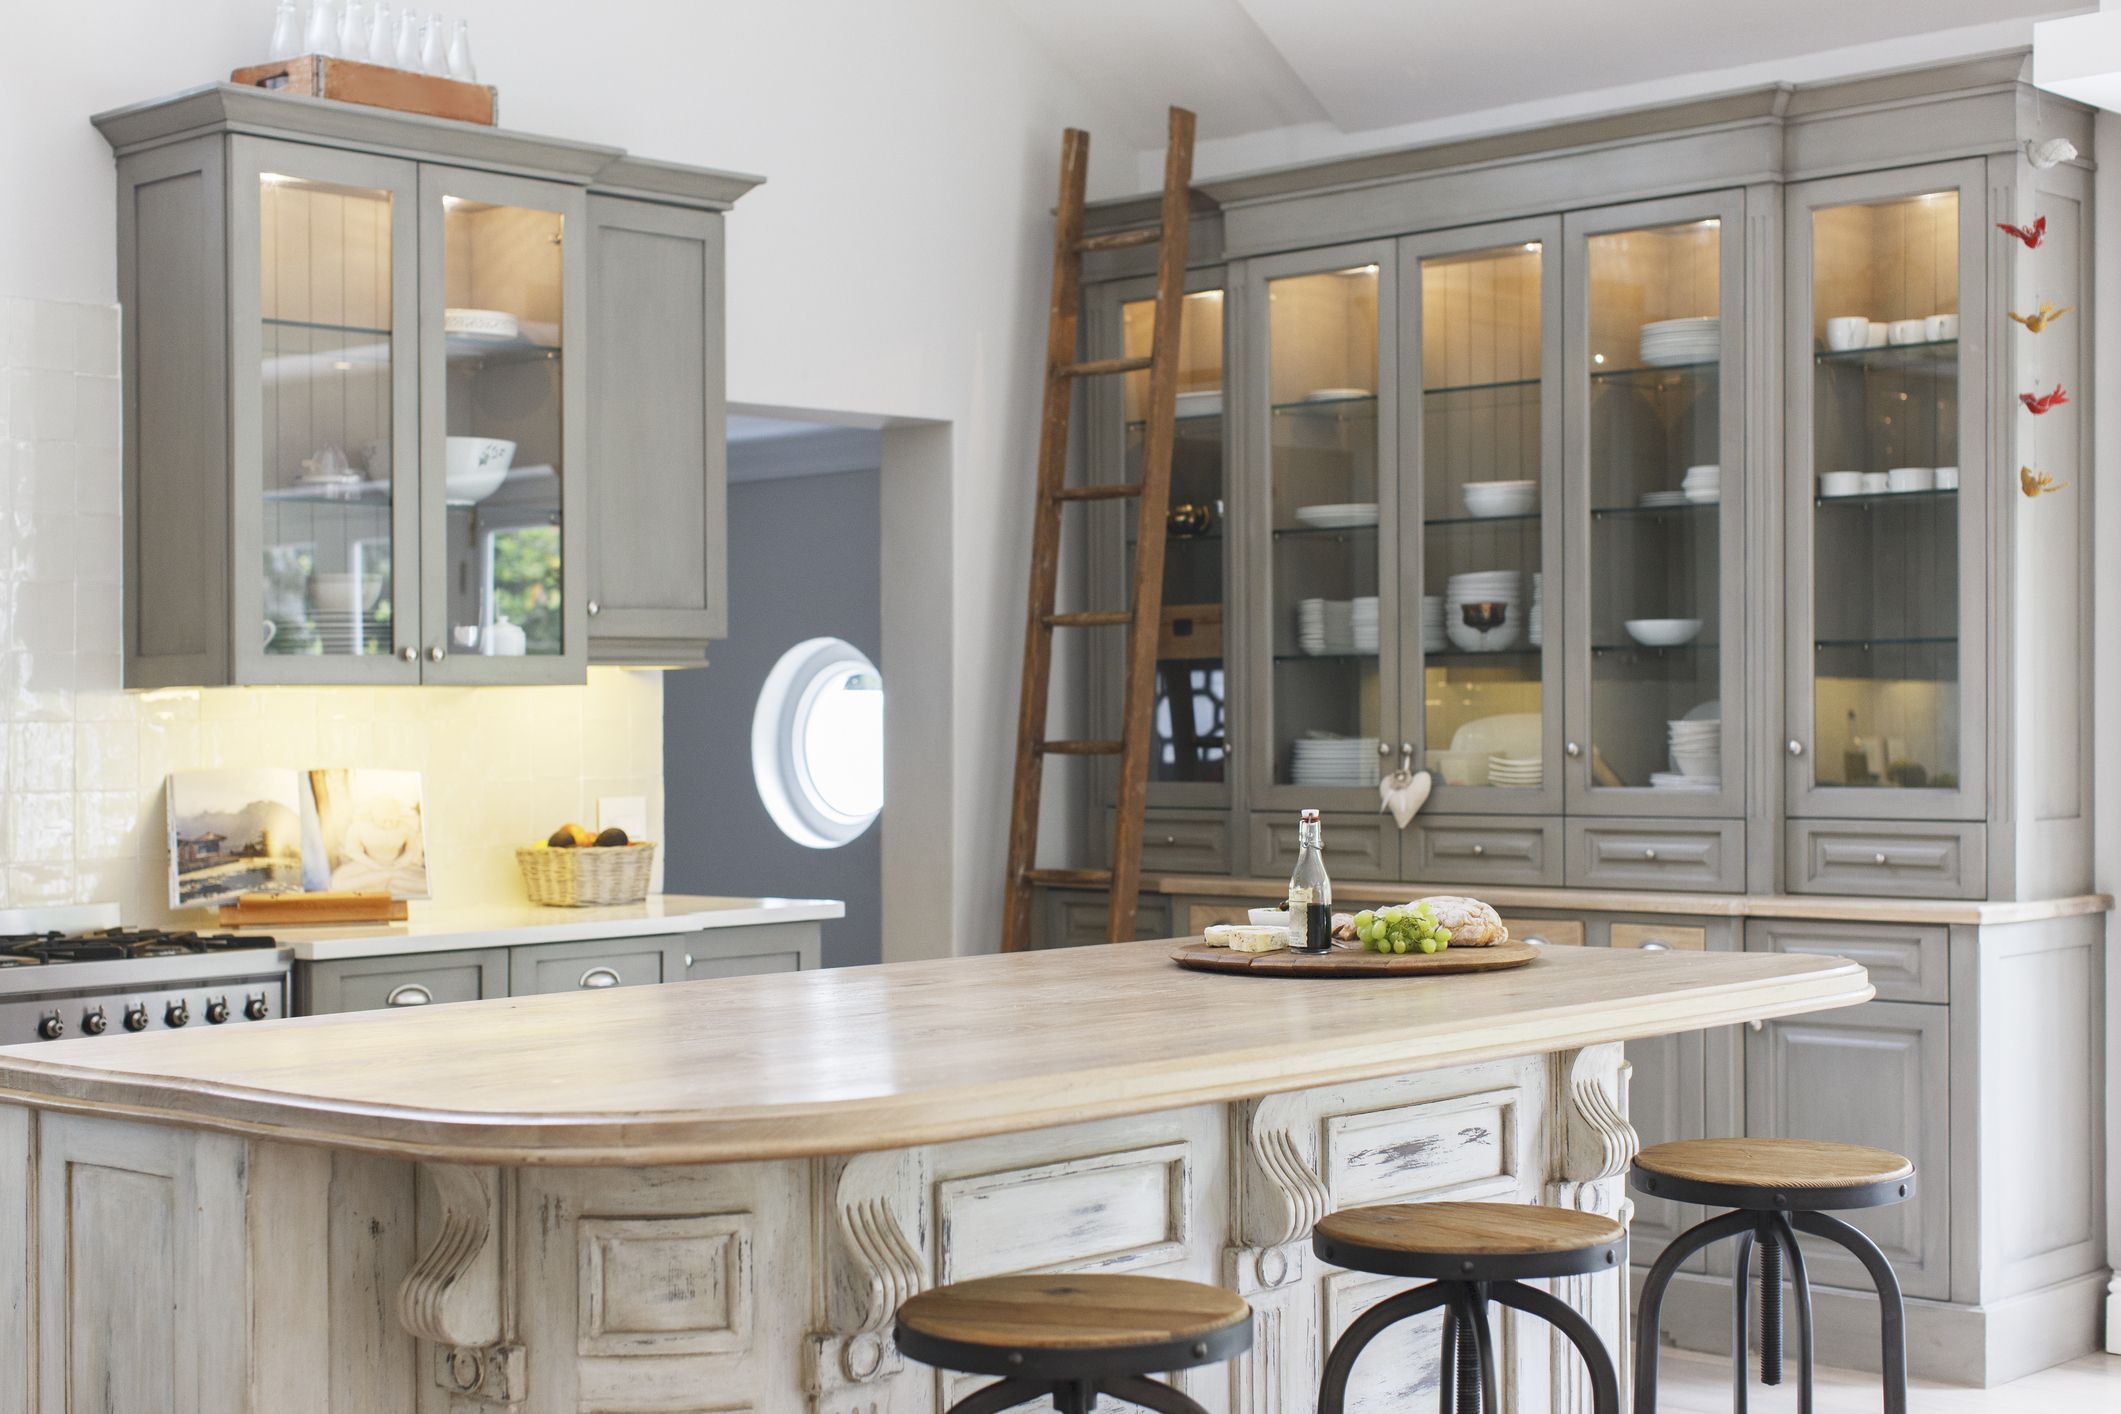
Are you looking to add functionality and character to your kitchen? Look no further than repurposing an old dresser into a stylish kitchen island. Not only will this DIY project help you maximize your kitchen space, but it will also provide a unique focal point that reflects your personal style.
In this article, we will guide you through the step-by-step process of turning a dresser into a kitchen island. From gathering the necessary materials and tools to adding finishing touches, we will cover all the essential steps to transform your old dresser into a stunning and functional piece of furniture.
Before getting started, it’s important to note that this project requires basic woodworking skills and tools. If you’re unfamiliar with woodworking, it may be helpful to enlist the assistance of a friend or family member who has experience in this area.
Now, let’s dive into the exciting world of furniture transformation and turn that old dresser gathering dust into a beautiful kitchen island that you’ll be proud to showcase in your home.
Key Takeaways:
- Transform an old dresser into a stylish kitchen island to maximize space and add a unique focal point that reflects your personal style. Enjoy the benefits of a functional and creative DIY project in your kitchen.
- Repurpose a dresser with basic woodworking skills and tools to create a customized kitchen island. Add shelving, hooks, and personalized finishes to enhance functionality and reflect your creativity.
Read more: How To Turn A Dresser Into A Cabinet
Step 1: Gather Materials and Tools
The first step in transforming a dresser into a kitchen island is to gather all the necessary materials and tools. Here’s a list of what you’ll need:
- Dresser: Choose a solid and sturdy dresser that fits the size and style requirements for your kitchen.
- Countertop: Select a countertop material that is durable and easy to clean, such as butcher block, quartz, or granite.
- Drill: You’ll need a drill to remove the drawers, shelves, and hardware from the dresser.
- Screwdriver: A screwdriver will come in handy for taking apart the dresser and attaching the wheels or legs.
- Sandpaper: Use sandpaper to smooth any rough edges and prepare the dresser for painting or staining.
- Paint or Stain: Choose a paint or stain color that matches your kitchen’s aesthetic and complements the dresser’s design.
- Brushes and Rollers: Depending on your painting technique, you’ll need brushes and rollers to apply the paint or stain evenly.
- Wheels or Legs: Decide whether you want your kitchen island to be mobile or stationary and gather the appropriate wheels or legs.
- Measuring Tape: Accurate measurements are essential for ensuring the countertop fits properly on the dresser.
- Screws or Nails: Gather screws or nails that are appropriate for attaching the countertop, wheels, or legs.
Once you have all the necessary materials and tools, you’ll be ready to move on to the next step: preparing the dresser for its transformation into a kitchen island.
Step 2: Prepare the Dresser
Before you can begin the transformation process, the dresser needs to be properly prepared. Follow these steps to ensure a smooth and successful conversion:
- Remove any hardware: Use a screwdriver to take off the drawer pulls, knobs, or any other hardware attached to the dresser. Set them aside in a safe place, as you may want to reuse them later.
- Clean the surface: Thoroughly clean the dresser with a mild detergent and warm water. Remove any dirt, dust, or grime that may have accumulated over the years. This step is crucial to achieving a smooth and even finish on your final product.
- Sand the surface: Use sandpaper to roughen up the surface of the dresser. This will help the paint or stain adhere better to the wood. Be sure to sand in the direction of the wood grain for the best results.
- Fill any holes or imperfections: If there are any holes, cracks, or imperfections on the dresser, fill them with wood putty. Follow the instructions on the putty for the best application. Once the putty is dry, sand the area to create a smooth and seamless surface.
- Remove drawers and shelves: Depending on your design preferences, you may want to remove the drawers and shelves of the dresser. Doing so will create an open space for storage or seating. Carefully take out the drawers and shelves, ensuring you keep them intact if you plan to repurpose them later.
Once you have completed these steps, the dresser will be ready for the next phase of the transformation process. Now, it’s time to remove the drawers and shelves and move on to the next step: turning the dresser into a functional kitchen island.
Step 3: Remove Drawers and Shelves
Now that the dresser is prepared, it’s time to remove the drawers and shelves to make way for the new configuration. Follow these steps to successfully remove the drawers and shelves:
- Empty the dresser: Make sure the dresser is completely empty before proceeding. Remove any items or belongings from the drawers and shelves and set them aside.
- Inspect the drawer slides: Examine the drawer slides to see how they are attached to the dresser. There are typically screws or nails securing them in place.
- Remove drawer slides: Use a screwdriver or drill to remove the screws or nails that secure the drawer slides to the dresser. Carefully lift and slide the drawer out of the dresser.
- Repeat for all drawers: Repeat the process for each drawer, removing the drawer slides and setting the drawers aside.
- Remove the shelves: If your dresser has shelves, locate the screws or nails that secure them to the dresser. Use a screwdriver or drill to remove these fasteners and carefully take out the shelves.
By removing the drawers and shelves, you create an open space within the dresser that can be utilized for storage, seating, or additional customization. It also helps to transform the dresser into a suitable structure for a kitchen island. With the initial configuration removed, you’re now ready to move on to the next step: adding a countertop to the dresser.
Step 4: Add a Countertop
Adding a countertop to your repurposed dresser will not only enhance its functionality but also give it a polished and finished look. Follow these steps to successfully install a countertop on your kitchen island:
- Measure the dresser: Start by measuring the dimensions of the top surface of the dresser. Ensure that you have accurate measurements of the width, length, and depth.
- Select a countertop material: Choose a countertop material that fits your design preference and kitchen needs. Popular options include butcher block, quartz, granite, or even reclaimed wood.
- Cut the countertop: If needed, cut the countertop to the appropriate size based on your measurements. You can use a saw or have it cut professionally to ensure precise and clean cuts.
- Place the countertop: Carefully place the countertop on top of the dresser, ensuring it aligns properly. It should overhang the edges of the dresser slightly for a more visually appealing look.
- Secure the countertop: Depending on the type of countertop material, you may need to attach it to the dresser using screws or adhesive. Follow the manufacturer’s instructions for proper installation.
Adding a countertop not only provides a practical workspace in your kitchen but also elevates the overall aesthetic of your newly transformed dresser-turned-kitchen-island. Once the countertop is securely in place, you’re ready to move on to the next step: installing wheels or legs.
When turning a dresser into a kitchen island, make sure to reinforce the top surface to support the weight of kitchen appliances or a countertop. Consider adding wheels for mobility and a fresh coat of paint for a cohesive look.
Read more: How To Turn A Dresser Into A Bench
Step 5: Install Wheels or Legs
Installing wheels or legs to your kitchen island will give it mobility or stability, depending on your preference. Here’s how you can successfully install wheels or legs to your repurposed dresser:
- Determine your desired configuration: Decide whether you want your kitchen island to be movable or stationary. If you choose mobility, wheels will be the ideal option. If you prefer stability, opt for legs.
- Measure and mark the placement: Using a measuring tape, determine the appropriate spacing for the wheels or legs on the bottom of the dresser. Mark the spots where they will be installed.
- Attach the wheels or legs: If you’re using wheels, securely screw them onto the bottom corners of the dresser. Ensure that the wheels are of appropriate size and have a locking mechanism to prevent the island from rolling unintentionally. If you’re using legs, attach them to the bottom corners of the dresser using screws or the provided mounting hardware.
- Adjust for stability: If you’ve installed wheels, make sure they are properly adjusted and leveled to maintain stability. If you’ve attached legs, double-check their stability and adjust as needed.
Installing wheels or legs provides the finishing touch to your repurposed dresser kitchen island. This step allows you to customize the island’s functionality based on your specific needs. Whether you choose wheels for easy maneuverability or legs for a stationary design, it’s time to move on to the next step: enhancing the island’s functionality with shelving or hooks.
Step 6: Enhance Functionality with Shelving or Hooks
Now that your repurposed dresser has taken the form of a kitchen island, it’s time to enhance its functionality by adding shelving or hooks. These additions will provide extra storage space and make your island even more practical. Follow these steps to successfully enhance the functionality of your kitchen island:
- Determine the placement: Assess the available space on the sides or back of your kitchen island for shelving or hooks. Decide where you want to add them based on your storage needs and the island’s design.
- Install shelves: If you’ve chosen to add shelves, measure and mark the desired location. Using a drill or screwdriver, attach the brackets or supports securely to the side or back of the island. Place the shelves on top of the brackets and adjust for levelness.
- Add hooks: If you prefer hooks for hanging utensils, dish towels, or other kitchen essentials, mark the spots where you want them to be placed. Use a drill or screwdriver to attach the hooks firmly to the sides or back of the island.
- Test stability and adjust as needed: Once the shelving or hooks are installed, test their stability by placing items on them or hanging items from the hooks. Make any necessary adjustments to ensure they are secure and capable of holding the intended weight.
By adding shelving or hooks to your kitchen island, you can maximize storage space and keep your cooking essentials within easy reach. Whether you choose to display decorative items, store cookware, or hang utensils, these custom additions will enhance the functionality of your island. With the island fully functional, it’s time to move on to the final step: finishing and personalizing your newly transformed kitchen island.
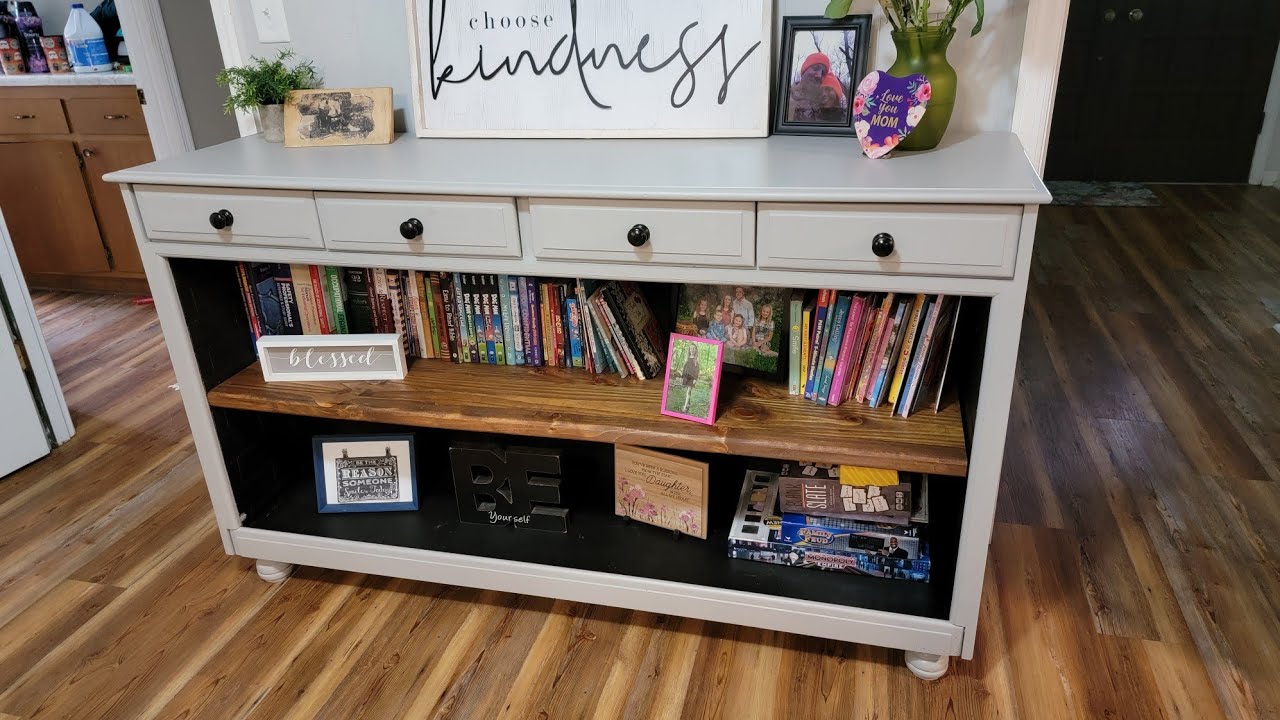
Step 7: Finish and Personalize the Kitchen Island
As you near the completion of your dresser-to-kitchen island transformation, it’s time to focus on finishing touches and personalization. Follow these steps to bring your project to its final stage:
- Paint or stain: Choose a paint or stain that complements your kitchen decor and apply it evenly to the entire dresser, including the newly added countertop. Allow sufficient drying time between coats, following the manufacturer’s instructions. Remember to protect the countertop with masking tape or a drop cloth during the painting process.
- Add decorative hardware: Reattach or replace the hardware you removed in the earlier steps. Choose knobs, drawer pulls, or handles that match your kitchen style and give your island a polished and cohesive look.
- Personalize with accessories: Add finishing touches to your kitchen island by accessorizing it. Consider placing decorative items like a fruit basket, potted herbs, or a decorative tray with kitchen essentials. This will personalize the island and make it an attractive focal point in your kitchen.
- Clean and organize: Before placing your kitchen items on the island, give it a thorough cleaning. Wipe down the surfaces, polish the countertop, and organize the shelves or hooks. This will ensure that your island is clean, functional, and ready for use.
By applying a coat of paint or stain and adding personalized elements, you can transform a simple dresser into a stunning and unique kitchen island. The final step is to step back and admire your work. You have successfully repurposed a piece of furniture and created a functional and stylish addition to your kitchen.
Remember, your newly transformed kitchen island can serve as a versatile space for meal prep, extra storage, or even a gathering spot for family and friends. Enjoy the fruits of your labor and let your creativity shine as your repurposed dresser becomes a central piece in your kitchen.
Conclusion
Congratulations on completing your dresser-to-kitchen island transformation! By repurposing an old dresser, you have not only breathed new life into a piece of furniture but also added a unique and functional feature to your kitchen.
Throughout this process, you have learned how to gather the necessary materials and tools, prepare the dresser, remove drawers and shelves, add a countertop, install wheels or legs, enhance functionality with shelving or hooks, and finish and personalize your kitchen island. Each step has contributed to the overall success of your project, allowing you to create a customized kitchen island that suits your needs and style.
Not only does your repurposed kitchen island provide additional storage and workspace, but it also serves as a conversation piece and a reflection of your creativity. It adds character to your kitchen while maximizing the functionality of your space.
Remember to take pride in your DIY accomplishment and enjoy the benefits of your newly transformed kitchen island. It’s the perfect spot for meal preparation, entertaining guests, or simply enjoying a cup of coffee in the morning.
As your needs change over time, you can continue to personalize and modify your kitchen island to suit your evolving lifestyle. Whether it’s adding more shelves, incorporating new storage solutions, or experimenting with different paint colors, your repurposed dresser offers endless possibilities.
Thank you for joining us on this journey of transforming a dresser into a kitchen island. We hope this guide has been helpful and has inspired you to embark on your own creative DIY projects in the future. Happy crafting!
Frequently Asked Questions about How To Turn A Dresser Into A Kitchen Island
Was this page helpful?
At Storables.com, we guarantee accurate and reliable information. Our content, validated by Expert Board Contributors, is crafted following stringent Editorial Policies. We're committed to providing you with well-researched, expert-backed insights for all your informational needs.


0 thoughts on “How To Turn A Dresser Into A Kitchen Island”