Home>Furniture & Design>Outdoor Furniture>How To Build An Outdoor Grilling Station
Outdoor Furniture
How To Build An Outdoor Grilling Station
Modified: October 28, 2024
Learn how to create the perfect outdoor grilling station with our expert tips and outdoor furniture designs. Elevate your outdoor space with our comprehensive guide.
(Many of the links in this article redirect to a specific reviewed product. Your purchase of these products through affiliate links helps to generate commission for Storables.com, at no extra cost. Learn more)
Introduction
Welcome to the ultimate guide on how to build an outdoor grilling station! There's something undeniably special about cooking and dining al fresco. Whether you're a seasoned grill master or just starting to explore the joys of outdoor cooking, creating a dedicated space for your grilling adventures can elevate your culinary experiences to new heights. In this comprehensive guide, we'll walk you through the essential steps of planning, designing, and building an outdoor grilling station that perfectly suits your needs and style.
Picture this: balmy summer evenings spent sizzling up savory steaks, flipping juicy burgers, and charring vibrant veggies on your custom-built outdoor grill. The tantalizing aroma of barbecued delights wafts through the air as you gather with friends and family to savor delicious meals under the open sky. With a thoughtfully designed grilling station, you can transform your backyard or patio into a hub of gastronomic delight and conviviality.
Whether you dream of a sleek and modern stainless steel setup or a rustic, stone-clad cooking oasis, this guide is your roadmap to bringing that vision to life. We'll delve into crucial considerations such as choosing the perfect location for your grilling station, selecting the right materials to withstand the elements, and incorporating functional features that enhance both the practicality and aesthetic appeal of your outdoor culinary haven.
So, roll up your sleeves, unleash your creativity, and get ready to embark on a journey to create the outdoor grilling station of your dreams. By the end of this guide, you'll be well-equipped with the knowledge and inspiration to design and build a space where the sizzle of succulent delicacies meets the fresh, open air. Let's fire up those grills and dive into the art of crafting an outdoor cooking sanctuary!
Key Takeaways:
- Create a personalized outdoor grilling sanctuary that reflects your style and culinary passions, blending functionality with aesthetics for a space that resonates with your outdoor living aspirations.
- Prioritize safety to ensure a secure and welcoming environment for cooking and entertaining, setting the stage for endless culinary adventures and unforgettable gatherings with family and friends.
Read more: How To Build An Outdoor Dog Washing Station
Planning and Designing Your Outdoor Grilling Station
Before you roll out the blueprint or start assembling materials, it’s crucial to engage in thoughtful planning and design for your outdoor grilling station. Consider this phase as the foundation for a successful and enjoyable grilling experience. Here’s how to get started:
- Assess Your Needs: Begin by envisioning how you intend to use your grilling station. Are you a fan of classic backyard barbecues, or do you aspire to create a full-fledged outdoor kitchen? Understanding your cooking habits and entertaining preferences will guide the size, layout, and features of your grilling area.
- Define Your Style: Your outdoor grilling station should seamlessly integrate with your outdoor space while reflecting your personal style. Whether you prefer a sleek, modern aesthetic or a cozy, rustic ambiance, aligning the design with your overall outdoor decor will ensure a harmonious and visually appealing result.
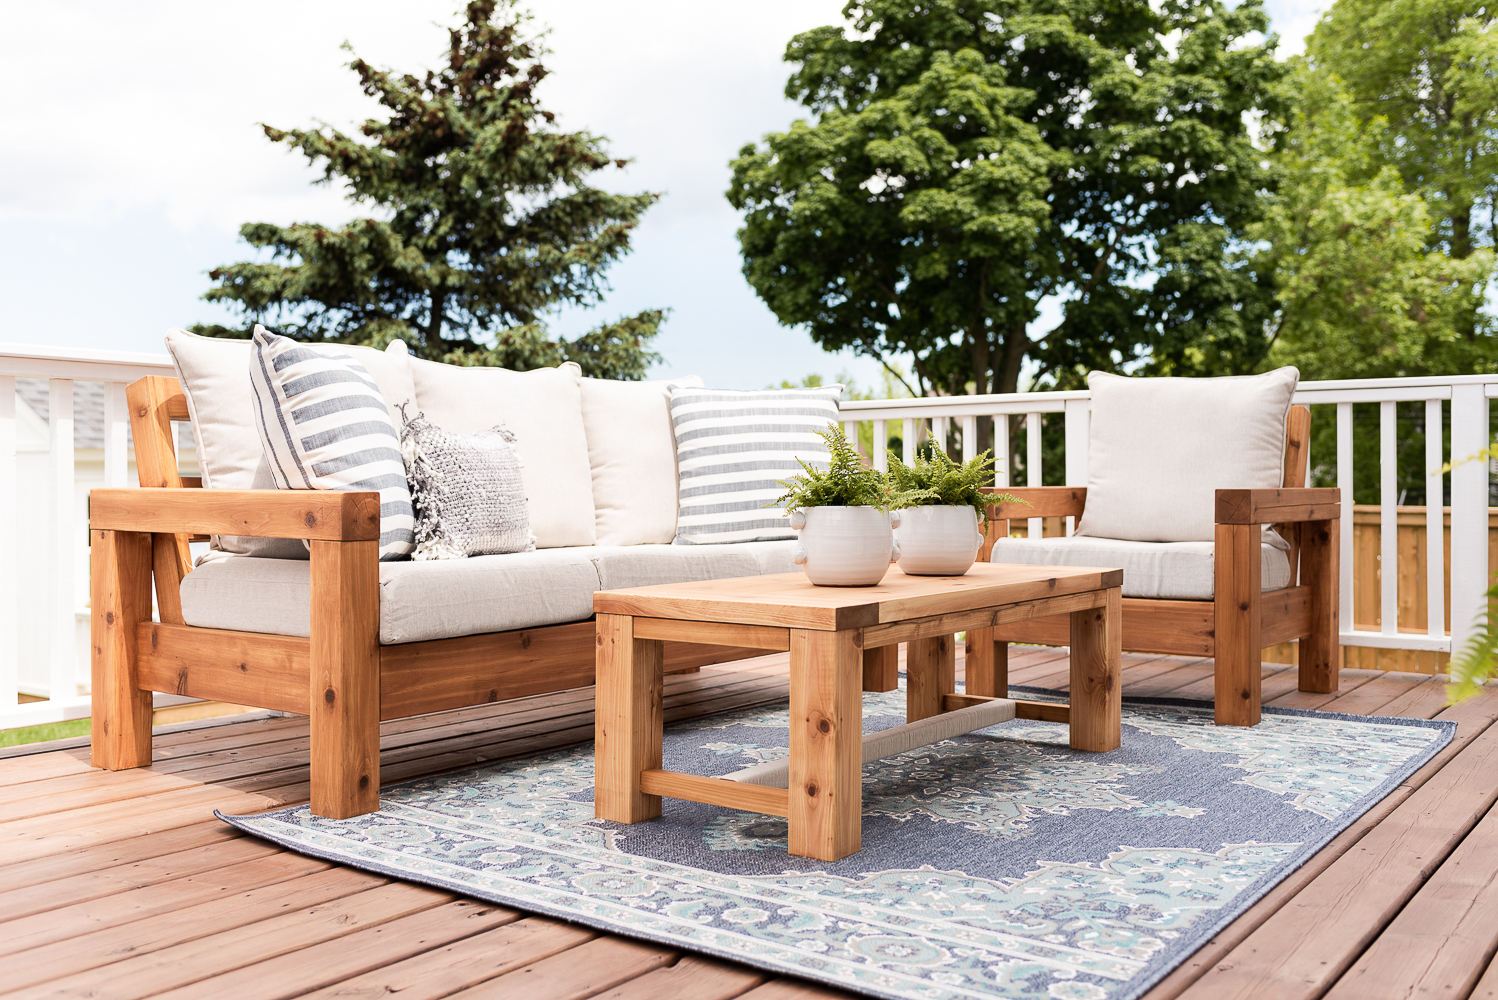
- Consider Functionality: Think beyond the grill itself. Factor in storage space for utensils, condiments, and cookware. Additionally, contemplate seating options for guests and convenient access to dining areas. The goal is to create a space that fosters both efficient cooking and enjoyable gatherings.
- Seek Inspiration: Draw inspiration from a myriad of sources, including home improvement magazines, online platforms, and even outdoor dining experiences at restaurants or friends’ homes. Keep an open mind as you gather ideas that resonate with your vision for the perfect grilling station.
By investing time in the planning and design phase, you’ll lay the groundwork for a grilling station that not only meets your practical needs but also exudes charm and functionality. With a clear understanding of your requirements and a well-defined design concept, you’re ready to move on to the next steps of bringing your outdoor grilling station to life.
Choosing the Right Location
When it comes to building an outdoor grilling station, the location is more than just a matter of convenience—it significantly influences the ambiance and functionality of your outdoor cooking space. Here’s how to select the perfect spot for your grilling station:
- Proximity to Utilities: If your grilling station will include a sink, refrigerator, or other amenities requiring water and power, consider the proximity to existing utility lines. Planning the location near these utilities can streamline the installation process and minimize additional infrastructure costs.
- Wind and Sun Exposure: Assess the prevailing wind patterns and sun exposure in your outdoor space. Position the grilling station to minimize the impact of strong winds while maximizing shade during the hottest parts of the day. This thoughtful placement can enhance comfort and ensure a more enjoyable cooking experience.
- Integration with Outdoor Activities: Take into account how the grilling station will integrate with other outdoor activities. Whether it’s adjacent to a dining area, poolside, or nestled within a lush garden, the location should foster a seamless flow between cooking, dining, and relaxation areas.
- Privacy and Ventilation: Consider the privacy of the chosen location, especially if you frequently entertain guests. Additionally, ensure adequate ventilation around the grilling area to disperse smoke and cooking odors effectively.
- Local Building Codes and Regulations: Before finalizing the location, familiarize yourself with local building codes and regulations. Certain jurisdictions may have specific requirements regarding the distance of grilling stations from structures, property lines, or combustible materials.
By carefully evaluating these factors, you can pinpoint a location that optimizes convenience, comfort, and safety for your outdoor grilling station. The right placement will seamlessly integrate your grilling area into the outdoor landscape while enhancing the overall functionality and appeal of your outdoor living space.
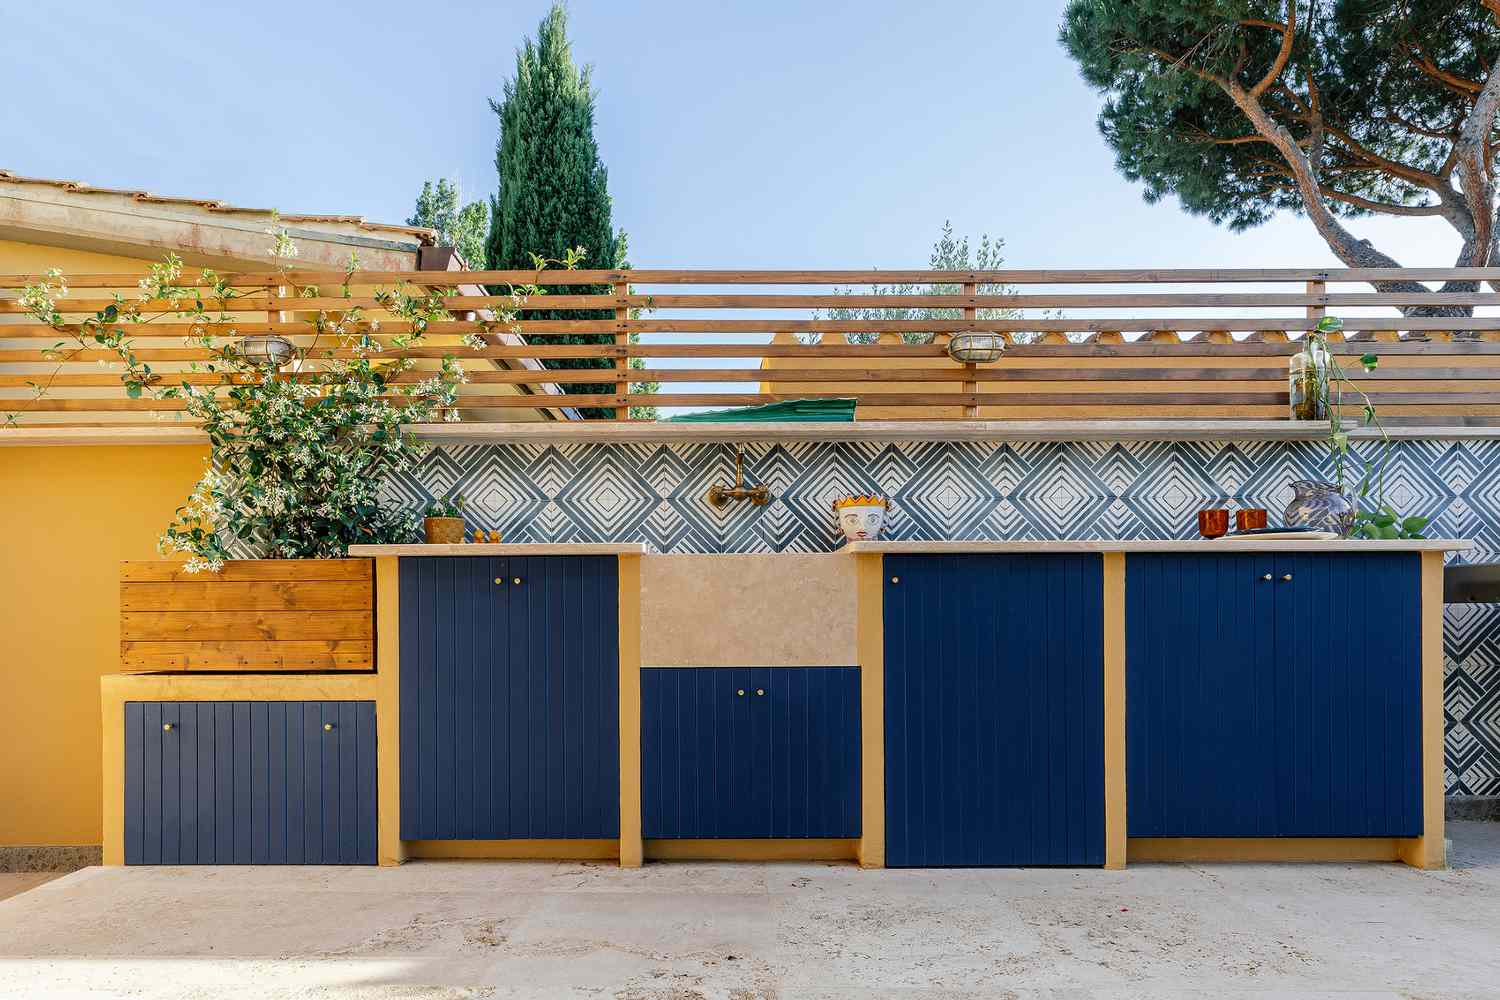
Selecting the Materials
Choosing the right materials for your outdoor grilling station is a pivotal decision that directly impacts its durability, aesthetics, and maintenance requirements. From weather-resistant surfaces to sturdy framework, every component plays a crucial role in ensuring a long-lasting and visually appealing grilling area. Here’s a guide to selecting the ideal materials for your outdoor culinary haven:
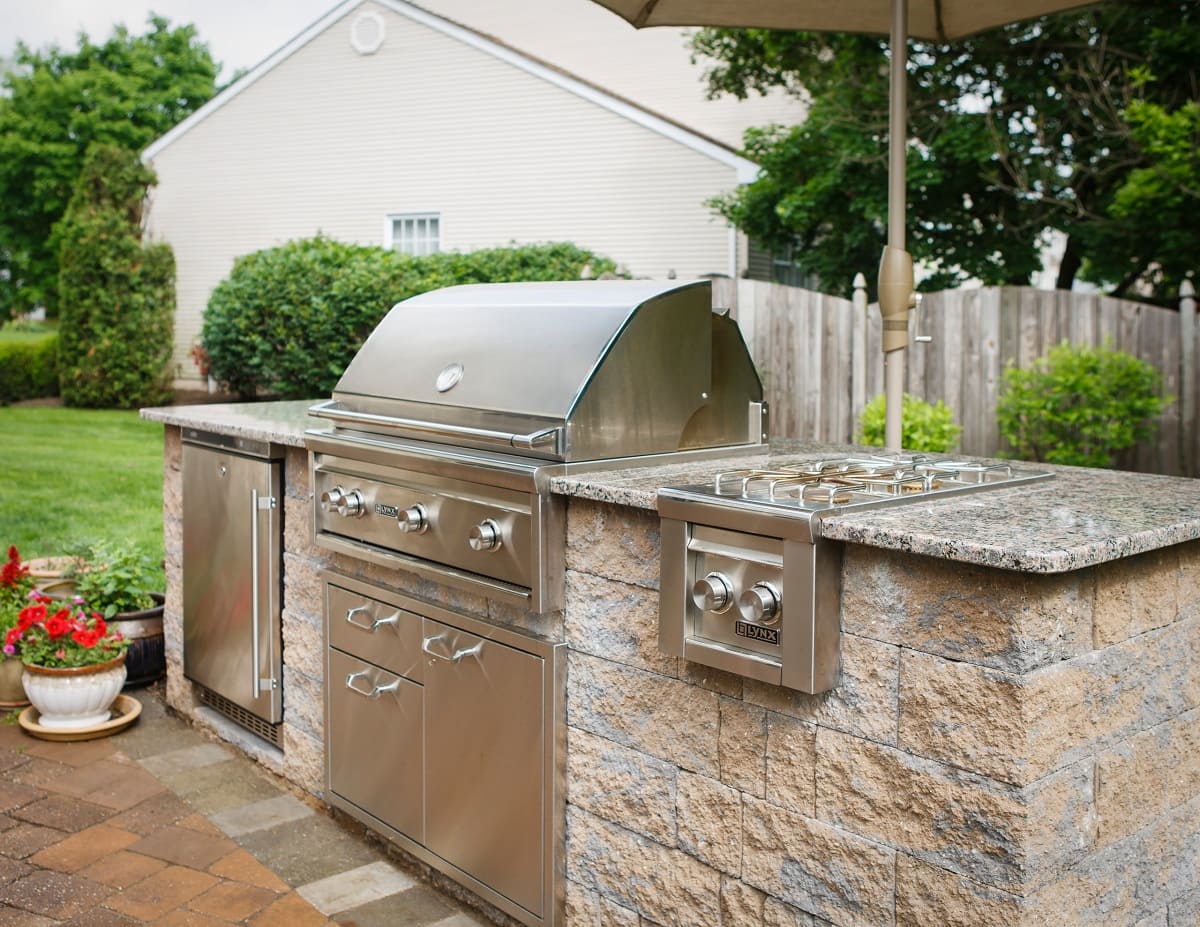
- Grill and Countertop Surfaces: Opt for materials that can withstand exposure to heat, grease, and the elements. Stainless steel is a popular choice for grills and countertops due to its durability, resistance to corrosion, and ease of cleaning. Other options include granite, concrete, and natural stone, all of which offer durability and a touch of elegance.
- Framework and Supports: When it comes to the framework of your grilling station, prioritize materials known for their outdoor resilience. Pressure-treated wood, stainless steel, and aluminum are excellent choices for framing and structural components, offering strength and resistance to moisture and insects.
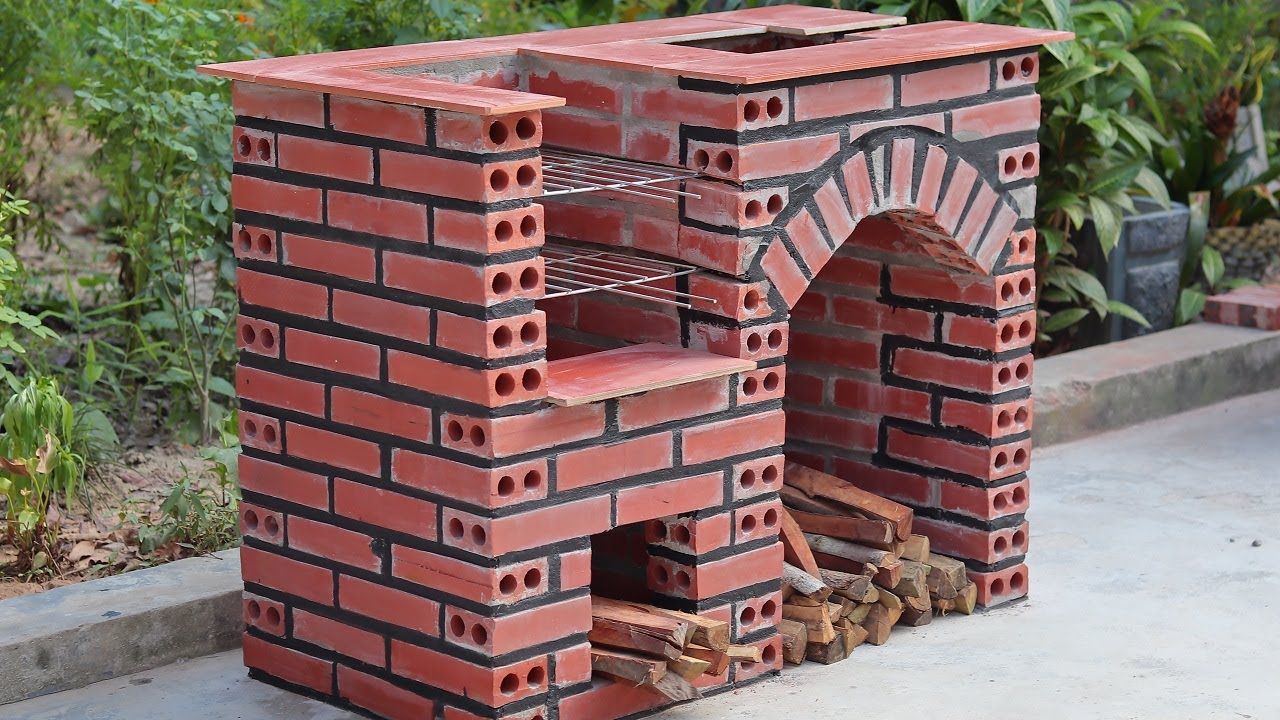
- Cladding and Finishes: Consider cladding materials that harmonize with your outdoor decor while providing protection against the elements. Stone veneer, brick, and weather-resistant composite materials can lend a touch of sophistication while ensuring long-term durability and minimal maintenance.
- Storage and Cabinetry: For storage units and cabinetry, opt for materials designed for outdoor use. Marine-grade polymer, stainless steel, and weatherproof wood alternatives are ideal choices, as they offer protection against moisture, UV exposure, and temperature fluctuations.
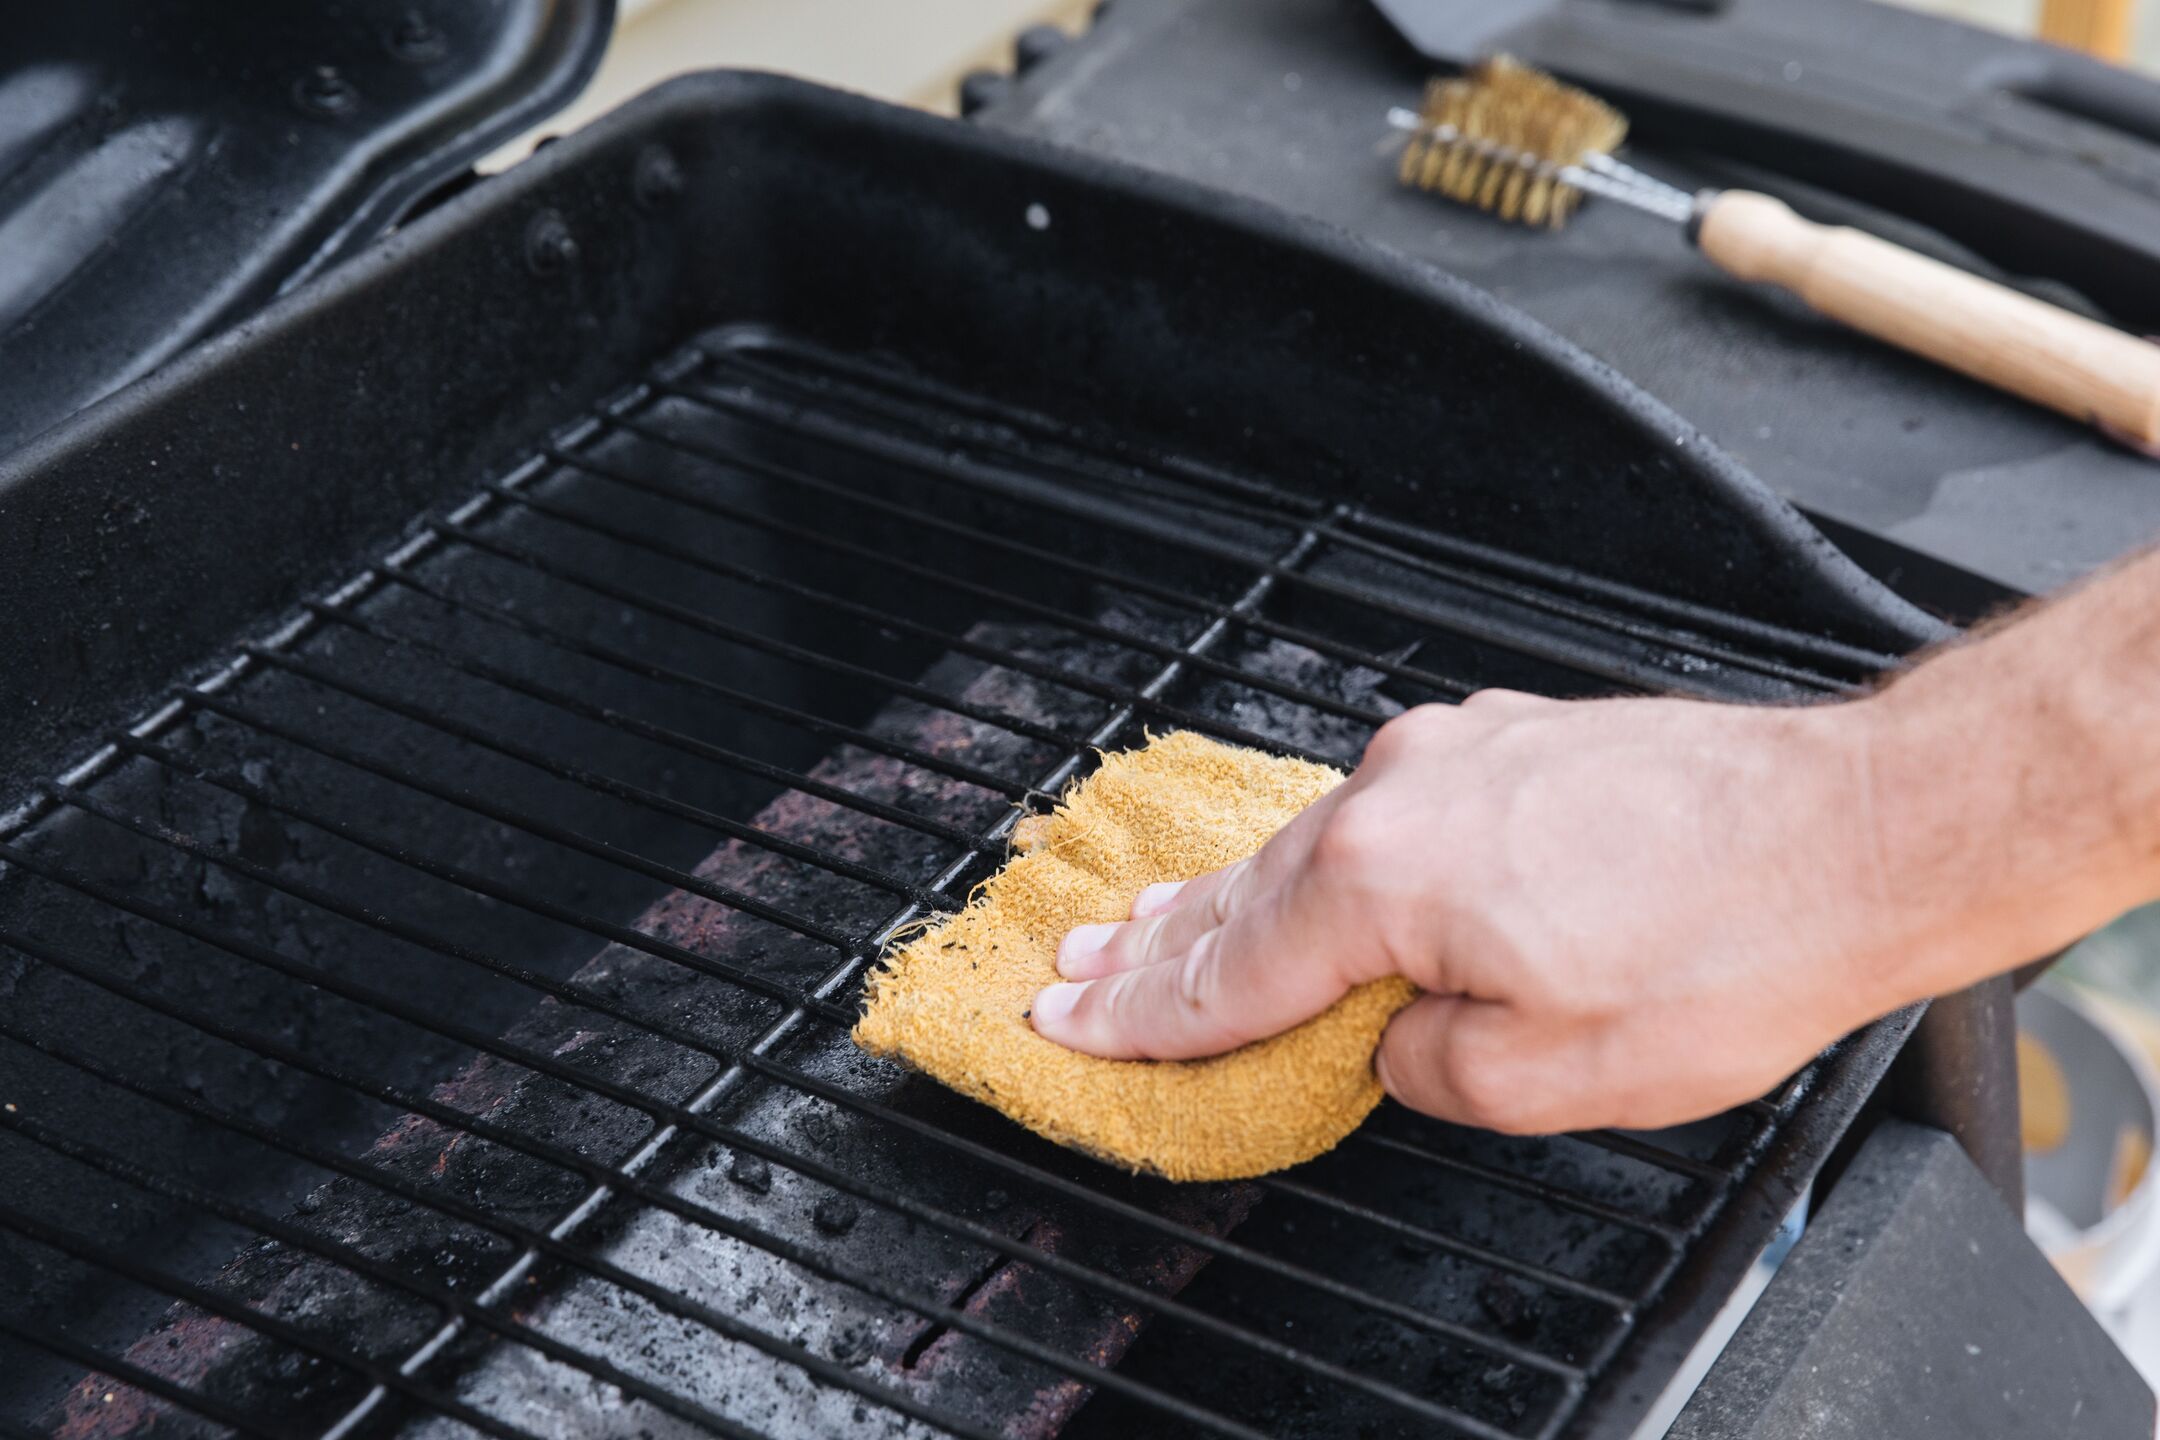
- Additional Considerations: Keep in mind the ease of maintenance when selecting materials. Choose surfaces and finishes that are easy to clean and resistant to staining. Additionally, ensure that the chosen materials complement the overall style and aesthetic of your outdoor space.
By carefully considering the characteristics and suitability of different materials, you can create an outdoor grilling station that not only withstands the rigors of outdoor cooking but also enhances the visual appeal of your outdoor living area. With the right materials, your grilling station will exude durability, style, and enduring charm for years to come.
When building an outdoor grilling station, make sure to choose durable and weather-resistant materials such as stainless steel or stone to ensure longevity and easy maintenance.
Building the Grilling Station
With the planning, design, and material selection phases complete, it’s time to roll up your sleeves and bring your outdoor grilling station to life. Whether you opt for a DIY approach or enlist the expertise of professionals, the construction phase is where your vision takes shape. Here’s a step-by-step guide to building your grilling station:
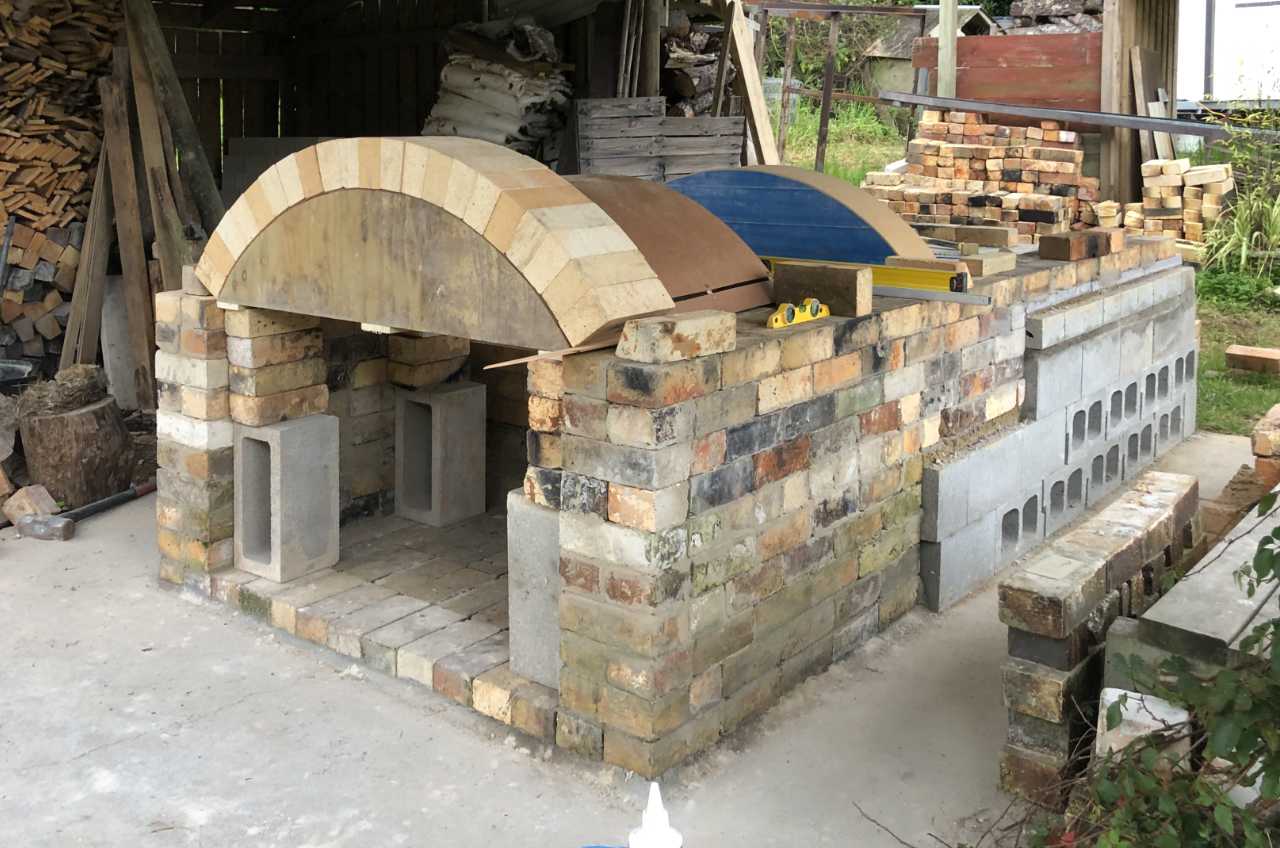
- Prepare the Foundation: If your grilling station will feature a permanent structure, such as a masonry base or concrete countertops, start by preparing the foundation. Ensure that the ground is level and stable, and follow local building codes and regulations for any necessary permits.
- Assemble the Framework: Construct the framework for your grilling station, ensuring structural integrity and stability. Whether using wood, metal, or a combination of materials, precision and attention to detail during this phase are essential for the longevity and safety of your outdoor cooking space.
- Install Countertops and Surfaces: If your grilling station includes countertops and surfaces, carefully install these components, ensuring a level and secure fit. Pay attention to sealing joints and edges to protect against moisture infiltration and enhance the longevity of the materials.
- Incorporate Functional Features: Integrate functional features such as storage cabinets, drawers, and shelving units into your grilling station. Ensure that these elements not only enhance the practicality of the space but also contribute to its visual appeal and overall cohesiveness.
- Connect Utilities and Appliances: If your grilling station includes amenities such as a sink, refrigerator, or lighting, enlist the expertise of qualified professionals to handle the installation of utilities and appliances. Prioritize safety and compliance with relevant codes and standards during this crucial phase.
- Finishing Touches: Add finishing touches such as decorative cladding, lighting fixtures, and personalized accents to infuse your grilling station with character and charm. Consider landscaping around the area to seamlessly integrate it into your outdoor living space.
Whether you’re a seasoned DIY enthusiast or entrusting the construction to professionals, the building phase is where your vision for an outdoor grilling station comes to fruition. By adhering to best practices and quality craftsmanship, you’ll soon be savoring the delights of outdoor cooking in a space that perfectly encapsulates your style and culinary aspirations.
Adding Functional Features
Integrating functional features into your outdoor grilling station goes beyond the grill itself, enhancing both the practicality and enjoyment of the space. From storage solutions to convenient amenities, these elements are essential for creating a well-equipped and efficient outdoor cooking environment. Here’s a comprehensive look at the functional features to consider for your grilling station:
- Storage Solutions: Incorporate ample storage for utensils, cookware, and grilling accessories. Weatherproof cabinets, drawers, and shelving units not only keep your cooking essentials organized and easily accessible but also contribute to the overall tidiness and functionality of the space.
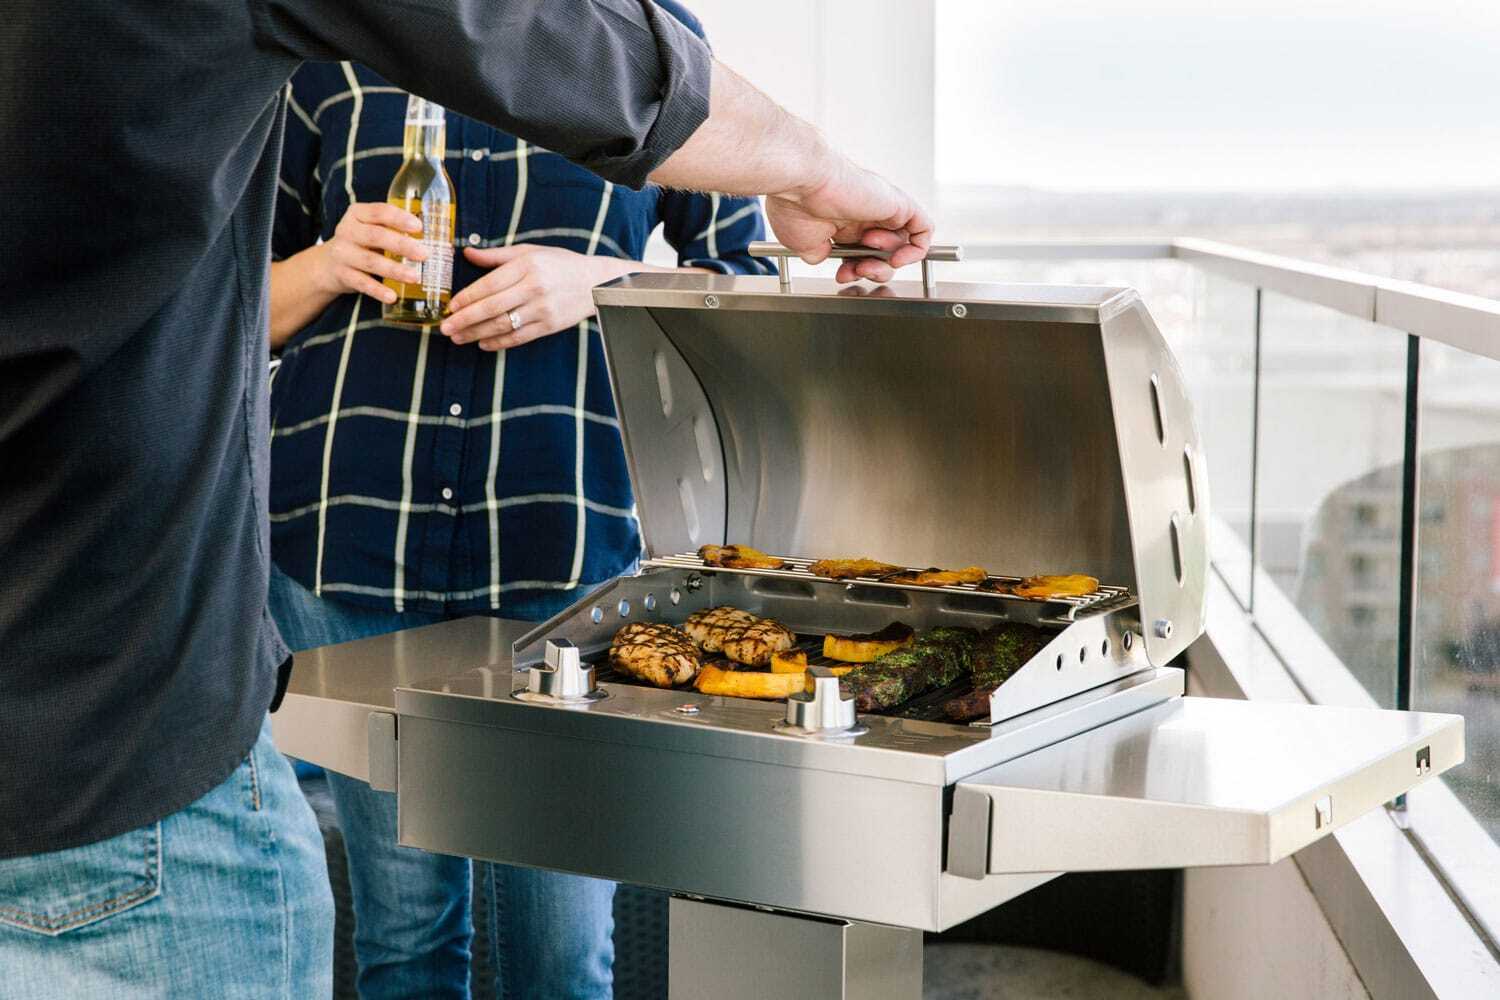
- Preparation Space: Ensure that your grilling station includes sufficient countertop space for food preparation. Whether it’s adjacent to the grill or integrated into the design, a dedicated area for slicing, seasoning, and assembling ingredients is indispensable for seamless outdoor cooking.
- Convenient Access to Utensils and Condiments: Designate specific areas for storing utensils, condiments, and grilling necessities within arm’s reach of the grill. This accessibility streamlines the cooking process and minimizes the need to shuttle between the grilling area and indoor kitchen.
- Integrated Sinks and Refrigeration: If your outdoor cooking ambitions extend to a full-fledged kitchen setup, consider integrating a sink for convenient cleanup and a refrigerator for storing perishables and beverages. These amenities elevate the functionality of your grilling station, allowing for a seamless outdoor culinary experience.
- Task Lighting and Ambient Illumination: Illuminate the grilling area with task lighting that ensures clear visibility during evening cookouts. Additionally, consider ambient lighting to create a cozy and inviting atmosphere, enhancing the overall appeal of your outdoor cooking space.
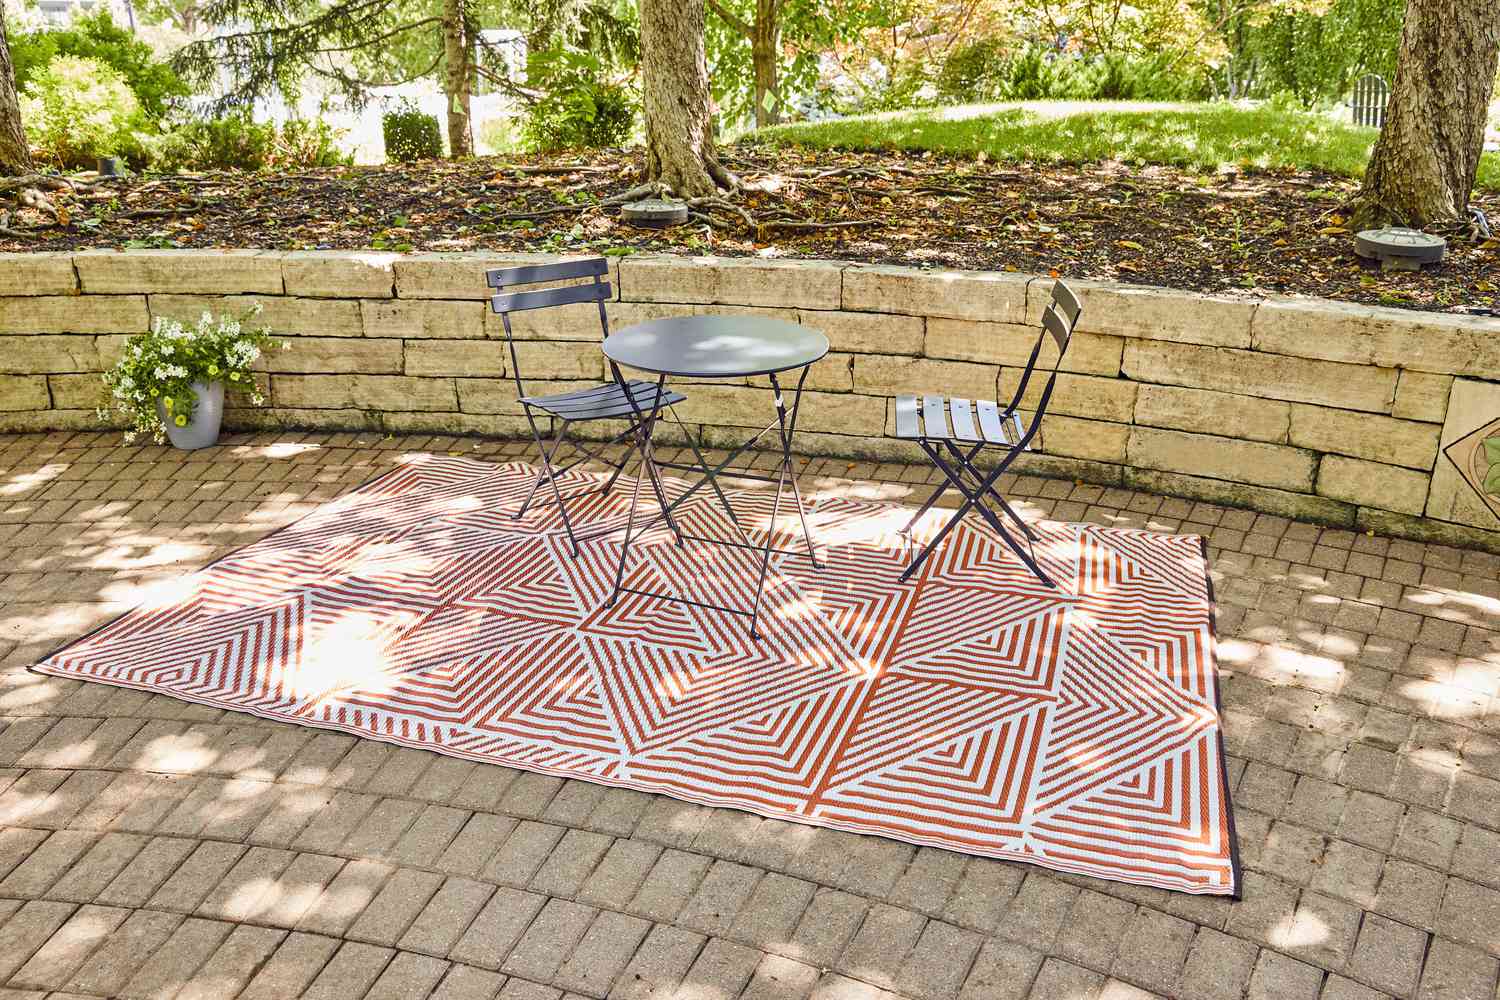
- Seating and Dining Areas: If space permits, incorporate seating and dining areas near the grilling station. Whether it’s bar-style seating, a dining table, or cozy lounging nooks, these features encourage social interaction and make outdoor dining a delightful and comfortable experience.
By thoughtfully integrating these functional features into your outdoor grilling station, you’ll create a space that caters to the practical demands of outdoor cooking while fostering a welcoming and convivial atmosphere. From efficient storage solutions to convenient amenities, these elements elevate your grilling station into a hub of culinary delight and outdoor entertainment.
Safety Considerations
When designing and building an outdoor grilling station, prioritizing safety is paramount to ensure a secure and enjoyable cooking environment for you, your family, and your guests. From fire prevention to structural integrity, addressing safety considerations at every stage of the process is essential. Here’s a comprehensive overview of the key safety considerations for your outdoor grilling station:
- Fire Safety Measures: Implement fire safety practices, such as maintaining a safe distance between the grill and any flammable materials, including structures, foliage, and outdoor furniture. Additionally, keep a fire extinguisher or fire suppression system within reach of the grilling area for prompt response to potential emergencies.
- Proper Ventilation: Ensure adequate ventilation around the grilling station to disperse smoke and cooking odors effectively. If your grilling area is situated near enclosed spaces, such as a patio roof or pergola, consider installing a vent hood to redirect smoke and fumes away from the cooking and dining areas.
- Stable and Level Surfaces: Verify that all surfaces, including countertops, flooring, and seating areas, are stable, level, and slip-resistant to prevent accidents and injuries. This is particularly crucial for areas exposed to moisture or grease during cooking activities.
- Safe Gas Line Installation: If your grilling station utilizes a gas-powered grill, enlist the expertise of a qualified professional to install and inspect the gas line. Ensure that all connections are secure, and gas lines are positioned to minimize the risk of damage or leaks.
- Electrical Safety: If your grilling station includes electrical appliances, such as outdoor lighting or refrigeration, prioritize electrical safety. Use weatherproof outlets and covers, and ensure that all wiring is installed by a licensed electrician in compliance with relevant codes and standards.
- Child and Pet Safety: Implement measures to safeguard children and pets from potential hazards in the grilling area. Consider installing safety gates or creating designated zones to prevent unsupervised access to the cooking space.
By proactively addressing these safety considerations, you’ll create an outdoor grilling station that not only excels in functionality and aesthetics but also prioritizes the well-being and security of everyone who enjoys the outdoor cooking experience. With a focus on safety, you can savor the pleasures of outdoor grilling with peace of mind and confidence in your well-crafted and secure cooking environment.
Conclusion
Congratulations on completing this journey to envision, plan, and build your outdoor grilling station! By embracing the art of outdoor cooking and creating a dedicated space for culinary adventures, you’ve embarked on a rewarding endeavor that enhances both the practicality and enjoyment of your outdoor living area. As you reflect on the insights and guidance provided in this comprehensive guide, here are some key takeaways to inspire and guide you:
- Personalized Culinary Sanctuary: Your outdoor grilling station is a reflection of your culinary passions and lifestyle. Embrace the opportunity to infuse your personal style and preferences into the design, creating a space that resonates with your outdoor living aspirations.
- Functional and Aesthetic Harmony: Balancing functionality with aesthetics is the hallmark of a well-designed grilling station. From storage solutions to material selection, every element should contribute to both the practicality and visual appeal of the space.
- Safety as a Priority: Prioritizing safety considerations ensures that your outdoor grilling station is a secure and welcoming environment for cooking and entertaining. By addressing fire safety, ventilation, stability, and other crucial factors, you create a space where peace of mind accompanies culinary creativity.
- Endless Culinary Adventures: With your outdoor grilling station in place, you’re poised to embark on a journey of culinary exploration and delightful gatherings. Whether it’s sizzling up classic barbecue favorites or experimenting with new recipes, your outdoor cooking sanctuary sets the stage for memorable gastronomic experiences.
As you apply the knowledge and inspiration gained from this guide, remember that the process of building an outdoor grilling station is a reflection of your creativity, passion for outdoor living, and desire to create unforgettable moments with family and friends. Whether you opt for a sleek, modern design or a charming, rustic ambiance, your grilling station is a canvas for culinary artistry and outdoor conviviality.
So, embrace the sizzle of succulent delicacies, the warmth of the open flame, and the joy of al fresco dining. Your outdoor grilling station is more than a cooking space—it’s a testament to your love for outdoor living and the boundless possibilities of creating lasting memories in the fresh, open air.
Frequently Asked Questions about How To Build An Outdoor Grilling Station
Was this page helpful?
At Storables.com, we guarantee accurate and reliable information. Our content, validated by Expert Board Contributors, is crafted following stringent Editorial Policies. We're committed to providing you with well-researched, expert-backed insights for all your informational needs.

0 thoughts on “How To Build An Outdoor Grilling Station”