Articles
How To Prime A Water Pump On A Well
Modified: August 27, 2024
Learn the steps on how to prime a water pump on a well with our informative articles. Find expert tips and advice to ensure optimal performance.
(Many of the links in this article redirect to a specific reviewed product. Your purchase of these products through affiliate links helps to generate commission for Storables.com, at no extra cost. Learn more)
Introduction
Welcome to this guide on how to prime a water pump on a well. If you rely on a water well for your water supply, it’s essential to understand how to properly prime your water pump. Priming is the process of filling the pump with water to create the necessary pressure for it to function. Without proper priming, your water pump may not work effectively, resulting in a lack of water flow and potential damage to the pump.
In this article, we will explain what a water pump on a well is, the importance of priming, and the step-by-step process of priming a water pump. We will also discuss the safety precautions you should take before attempting to prime the pump. So, let’s get started!
Key Takeaways:
- Properly priming your water pump on a well is crucial for optimal performance, preventing damage, and reducing energy consumption. Following safety precautions and manufacturer’s instructions is essential for a successful priming process.
- Testing the water pump after priming ensures a reliable and consistent water supply. Monitoring the pump’s performance and addressing maintenance needs will contribute to its long-term functionality and efficiency.
Read more: How To Prime A Rv Water Pump
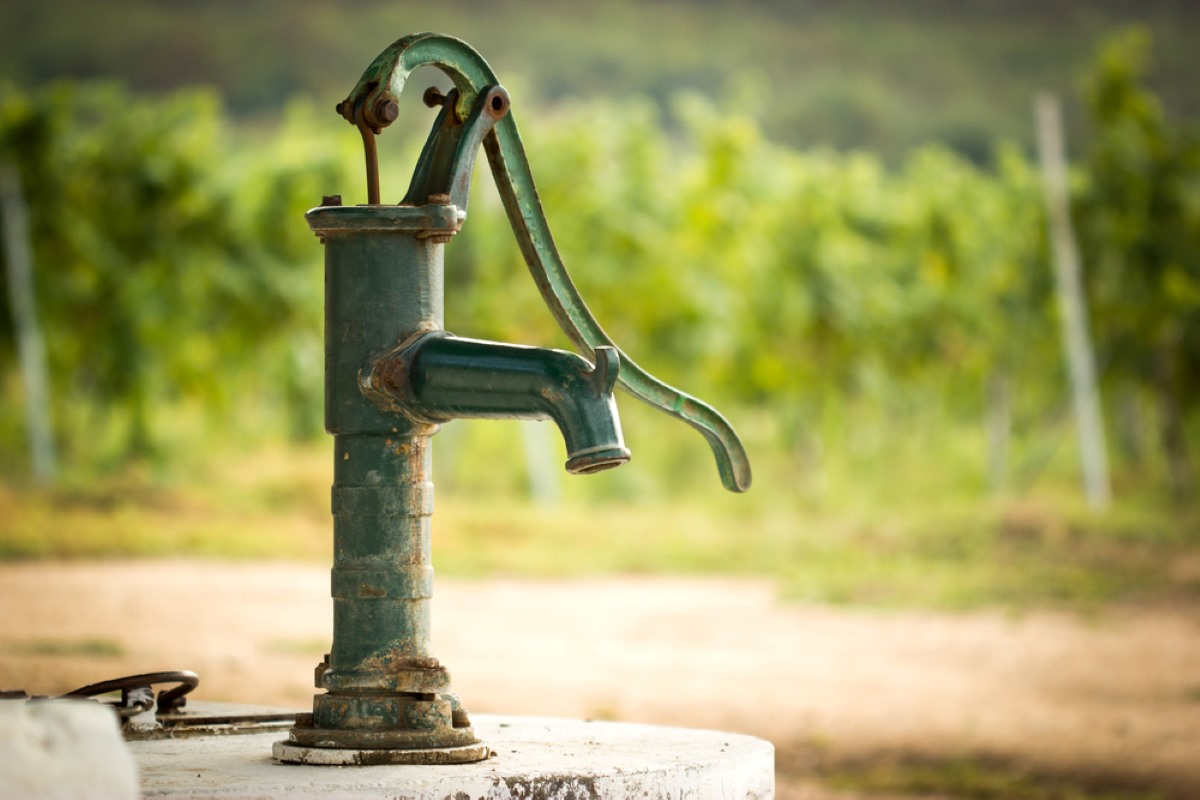
What is a water pump on a well?
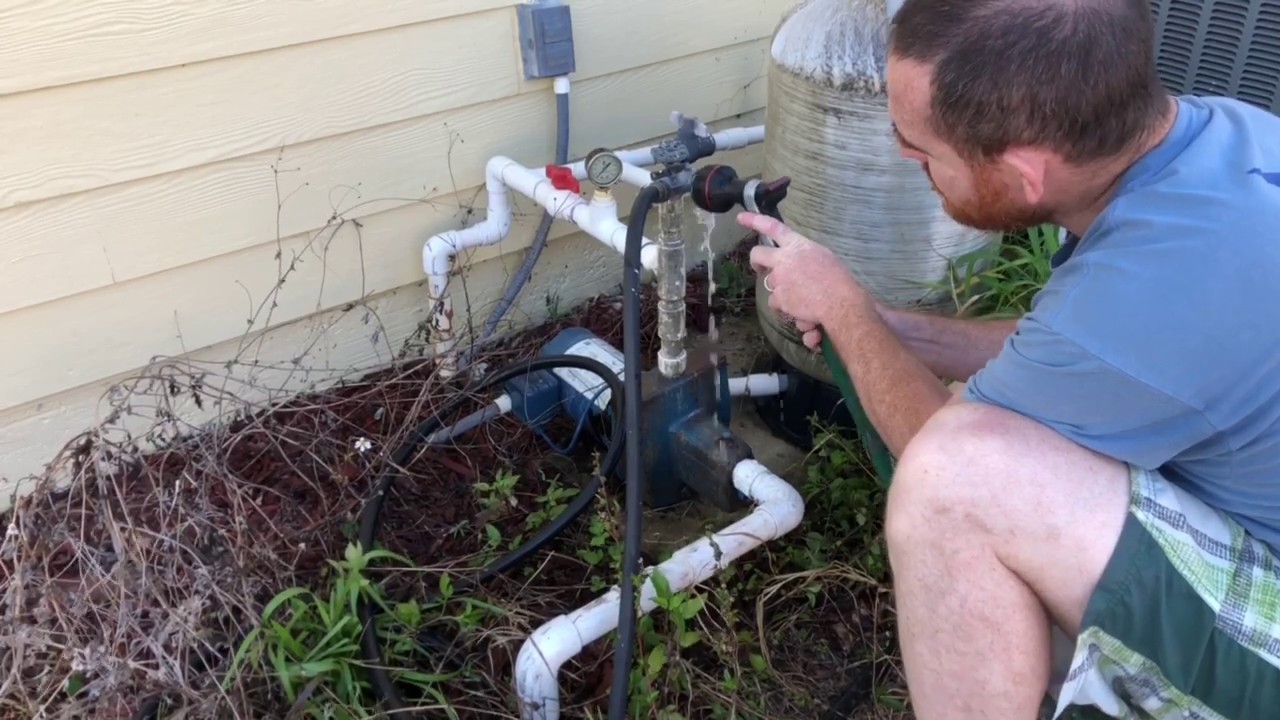
A water pump on a well is a crucial component of a well water system. It is responsible for drawing water from the well and delivering it to the desired locations in your home or property. The pump is typically located above ground level and connected to the well through pipes or hoses.
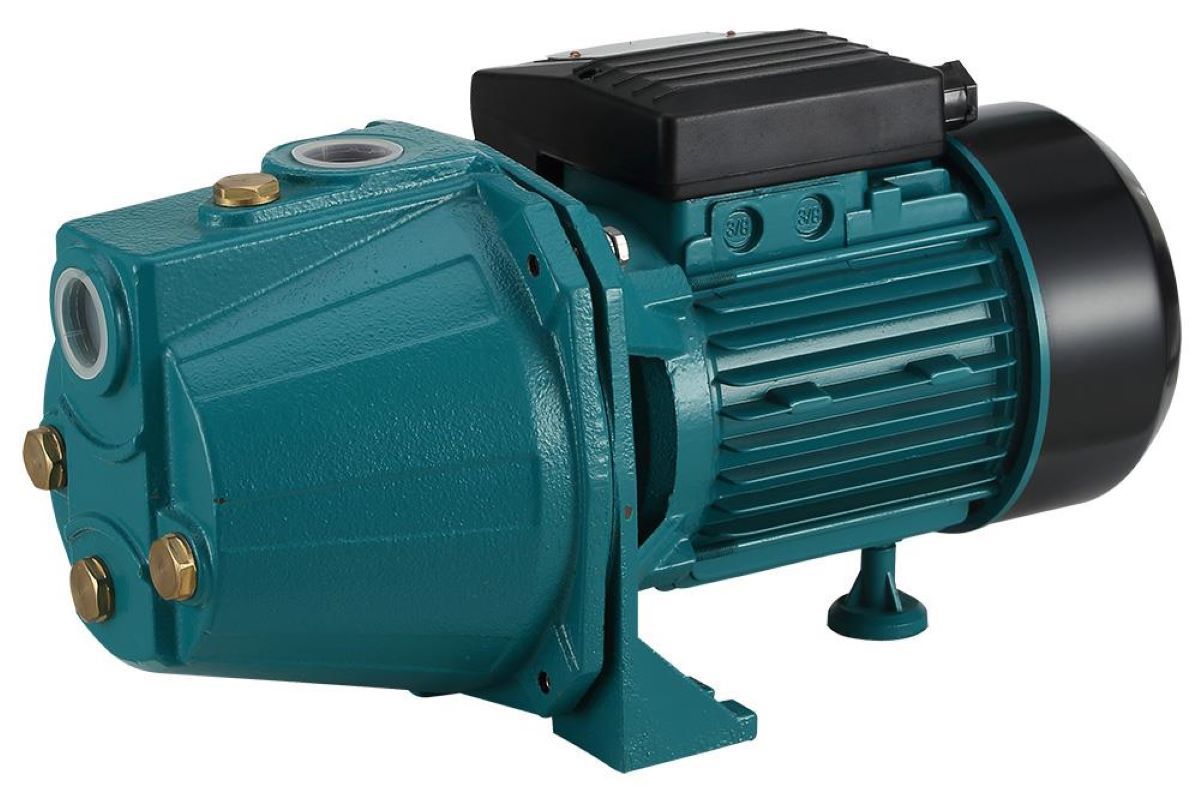
There are two common types of water pumps used in well systems: jet pumps and submersible pumps. Jet pumps are surface-mounted and use suction to pull water from the well. Submersible pumps, on the other hand, are submerged in the well and use a series of impellers to push the water upwards.
No matter the type of pump, their primary function is to create the necessary pressure to move the water from the well to your plumbing system. This pressure allows for a consistent and reliable water flow throughout your home.
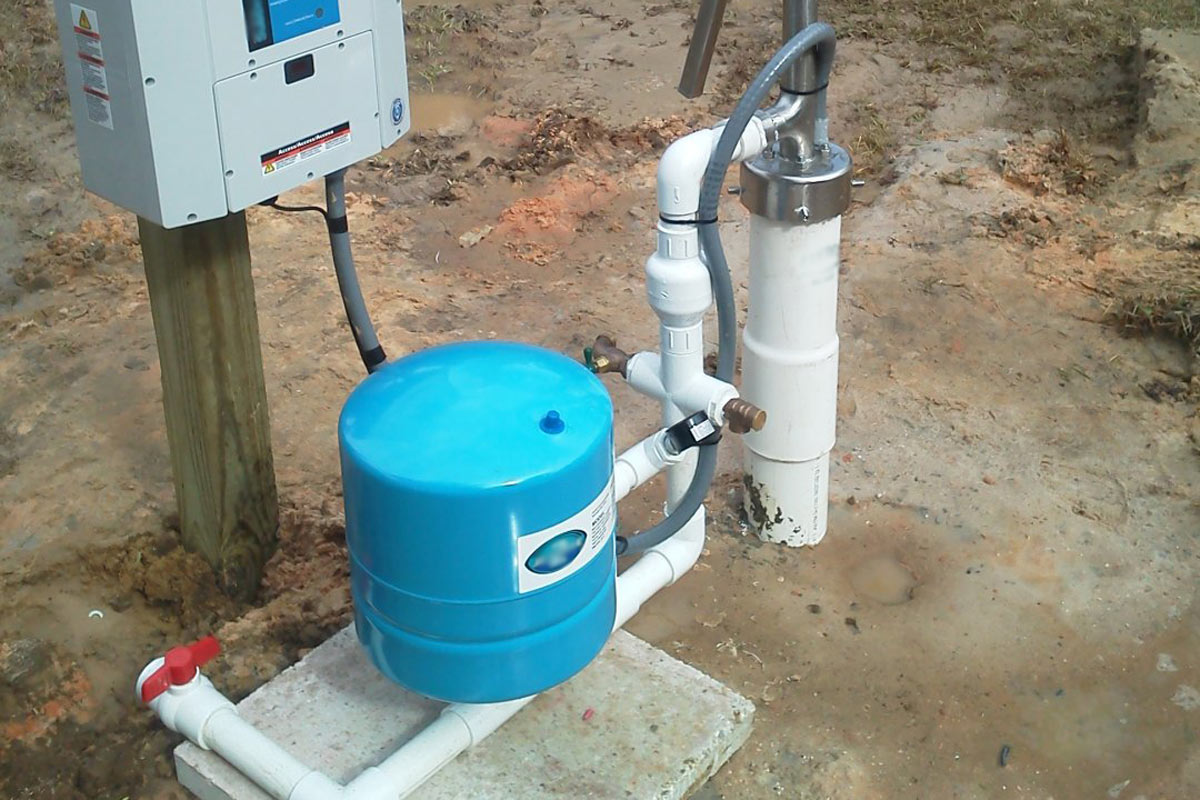
Water pumps on wells are typically powered by electricity. They are connected to the power supply and controlled by a switch or a pressure tank. When the water pressure drops below a certain level, the pump will automatically activate to maintain the desired pressure. This ensures that you always have access to water whenever you need it.
Understanding the basics of a water pump on a well is crucial when it comes to priming. Now, let’s explore why priming is important for the proper functioning of your water pump.
Why is priming important?
Priming is an essential step in maintaining the efficiency and functionality of your water pump on a well. When a pump is primed, it is filled with water to create the necessary pressure for it to operate effectively. Without proper priming, the pump may not be able to generate sufficient pressure, resulting in a decreased water flow or complete failure of the pump.
Here are a few reasons why priming is important:
- Ensures optimal pump performance: Priming the pump ensures that it is filled with water and ready to function at its best. This allows the pump to generate the necessary pressure and deliver a consistent water flow throughout your plumbing system.
- Prevents damage to the pump: Operating a water pump without proper priming can lead to dry running, which means the pump is running without water. This can cause damage to the pump’s internal components, such as the impellers or seals, and may result in costly repairs or even the need for a replacement pump.
- Allows for efficient water extraction: By priming the pump, you create a vacuum that helps pull water from the well more effectively. This improves the efficiency of the pump, allowing it to extract water more efficiently and ensuring an adequate water supply for your household needs.
- Reduces energy consumption: A properly primed pump can operate more efficiently, consuming less energy to deliver the desired water flow. This can help reduce your energy costs and promote environmentally-friendly practices.
Priming your water pump is a crucial step that ensures the smooth operation of your well water system. It not only improves the performance of the pump but also helps prevent costly damage. Now that we understand the importance of priming, let’s discuss the safety precautions you should take before starting the priming process.
Safety precautions before priming
Before you begin the process of priming your water pump on a well, it’s important to keep safety in mind. Working with electrical equipment and water can pose certain risks, so here are some crucial safety precautions to follow:
- Shut off the power supply: Before working on the pump, locate the circuit breaker or switch that controls the power supply to the pump. Turn off the power to ensure there is no risk of electric shock during the priming process.
- Wear protective gear: It’s essential to wear appropriate protective gear, such as gloves and safety glasses, to protect yourself from any potential hazards or accidents.
- Inspect the pump: Before starting the priming process, visually inspect the pump and its components. Look for any signs of damage, leaks, or loose connections. If you notice any issues, it’s best to address them before proceeding with the priming.
- Ensure proper ventilation: Priming a water pump can release gases or fumes, especially if the pump has been inactive for a while. Make sure you are working in a well-ventilated area to avoid inhaling any harmful substances. If necessary, wear a mask to protect yourself.
- Follow manufacturer’s instructions: Every water pump may have specific guidelines and instructions for priming. It’s crucial to read and follow the manufacturer’s instructions to ensure a safe and successful priming process.
- Use approved water sources: When filling the pump with water, ensure that the water source is clean and free from pollutants. Using contaminated water can lead to damage to the pump or cause issues with your water supply.
- Avoid over-priming: Over-priming the pump by filling it with excessive water can lead to problems. Follow the recommended priming guidelines provided by the manufacturer to prevent any potential issues.
By following these safety precautions, you can minimize the risks associated with priming your water pump on a well. Once you have taken the necessary precautions, you are ready to proceed with the priming process. In the next section, we will outline the step-by-step instructions to prime your water pump successfully.
Step 1: Shutting off the power supply
Before you begin the process of priming your water pump, the first and most crucial step is to shut off the power supply. This step is essential to ensure your safety and prevent any potential electrical hazards.
To shut off the power to your water pump, follow these steps:
- Locate the electrical control panel or the circuit breaker box in your home.
- Look for the circuit breaker or switch that controls the power supply to the water pump. It may be labeled as “Water Pump” or something similar.
- Flip the switch or turn off the corresponding circuit breaker to disconnect the power supply to the pump.
Once the power supply is shut off, it is important to double-check that no electricity is reaching the water pump. You can do this by attempting to turn on the pump or using a voltage tester to ensure there is no electrical current present.
Remember, working on a water pump that is still connected to the power supply can be extremely dangerous and may result in electric shock or injury. Always prioritize safety and ensure the power supply is completely shut off before proceeding with the priming process.
Now that you have safely shut off the power supply, you can move on to the next step: locating the prime plug on your water pump.
Read more: How To Winterize Well Water Pump
Step 2: Locating the prime plug
After ensuring the power supply is shut off, the next step in priming your water pump is to locate the prime plug. The prime plug is a small opening or valve on the pump that allows you to add water and prime the pump.
Here are the steps to locate the prime plug:
- Refer to the user manual or documentation that came with your water pump. It should provide specific instructions on where to find the prime plug.
- Inspect the pump itself. Look for any visible signs of a prime plug, such as a small opening or a valve. It is typically located near the intake pipe or near the bottom of the pump housing.
- If you’re having trouble finding the prime plug, consult a professional or contact the manufacturer for assistance. They can guide you through the process or provide you with specific information regarding your pump model.
It’s essential to locate the prime plug before proceeding to ensure you can easily access it when adding water to prime the pump. Once you have successfully located the prime plug, you can move on to the next step: opening the prime plug.
Remember to always prioritize safety and follow any specific instructions provided by the manufacturer when working on your water pump. Now that you know where to find the prime plug, let’s move on to the next step of the priming process.
To prime a water pump on a well, fill the pump with water to remove any air. Use a priming plug or valve to add water until the pump is fully primed.
Step 3: Opening the prime plug
With the power supply shut off and the prime plug located, you are ready to proceed to the next step: opening the prime plug. Opening the prime plug will allow you to access the interior of the pump and add water for priming.
Follow these steps to open the prime plug:
- Ensure you have a bucket or container nearby to catch any water that may come out when you open the prime plug.
- Gently remove any covers or protective caps that may be covering the prime plug.
- Using a wrench or pliers, carefully loosen the prime plug in a counterclockwise direction. Be cautious not to apply excessive force, as you don’t want to damage the plug or the surrounding components.
- Once the prime plug is loosened, continue to unscrew it by hand until it is completely removed. Set the prime plug aside in a safe place for future use.
By opening the prime plug, you create an opening that allows you to add water to the pump during the priming process. However, it’s important to note that each pump model may have slightly different instructions for opening the prime plug. It is recommended to refer to the manufacturer’s guidelines or user manual for specific instructions related to your pump.
Now that the prime plug is open, you can move on to the next step: filling the pump with water to initiate the priming process.
Step 4: Filling the pump with water
Now that the prime plug is open, you can proceed with filling the pump with water. Filling the pump with water is a critical step in the priming process, as it creates the necessary pressure for the pump to function effectively.
Follow these steps to fill the pump with water:
- Take your bucket or container and fill it with clean and fresh water.
- Carefully pour the water into the open prime plug of the pump, ensuring that it flows directly into the pump’s interior.
- Continue adding water until you see it reaching the top of the prime plug opening. This indicates that the pump is adequately filled with water.
- Observe the water level inside the pump and ensure it does not overflow. If needed, you can drain some water out to prevent overflow.
It’s important to remember that while filling the pump with water, you should avoid introducing any debris or contaminants into the pump. Using clean water from a reliable source will help maintain the integrity of the pump and prevent potential issues.
Once you have filled the pump with water, you are ready to move on to the next step: closing the prime plug and preparing to turn on the power supply.
Keep in mind that the steps provided here are general guidelines, and the specific instructions for filling the pump may vary depending on the manufacturer’s recommendations. Always refer to the user manual or consult with a professional if you have any doubts or concerns.
Step 5: Closing the prime plug
After the pump has been filled with water, the next step is to close the prime plug. Closing the prime plug seals the pump and ensures that water doesn’t leak out during operation. It also helps to maintain the pressure inside the pump.
Follow these steps to close the prime plug:
- Take the prime plug that you previously removed and ensure that it is clean and free from any debris or damage.
- Insert the prime plug back into the opening of the pump where it was removed, aligning it properly.
- Gently turn the prime plug clockwise to tighten it. Use a wrench or pliers if necessary, but be careful not to overtighten and risk damaging the plug or the pump.
- Ensure that the prime plug is securely tightened, but also leave it loose enough to allow for easy removal in case of future maintenance or priming needs.
Once the prime plug is closed, the pump is now sealed and ready for the next step in the priming process.
Remember, each pump model may have specific instructions for closing the prime plug, so it’s important to follow the manufacturer’s guidelines or user manual for your specific pump to ensure proper sealing.
Now that the prime plug is closed, you can move on to the next step: turning on the power supply to activate the pump.
Read more: How To Fix A Well Water Pump
Step 6: Turning on the power supply
With the prime plug securely closed, you can now proceed to turn on the power supply to activate the water pump. This step allows the pump to start operating and building pressure, ultimately delivering water to your plumbing system.
Follow these steps to turn on the power supply:
- Go back to the electrical control panel or circuit breaker box where you initially shut off the power supply.
- Locate the circuit breaker or switch that controls the power to the water pump.
- Flip the switch or turn on the circuit breaker to restore the power supply to the pump.
- Listen for any sounds or indications that the pump has started running, such as humming or vibrations.
Once the power supply is turned on, the water pump should start operating and building pressure within the system. Be patient, as it may take a moment for the pump to reach full functionality.
It’s important to note that some pumps may have an additional control unit, such as a pressure tank, that needs to be turned on as well. Refer to the manufacturer’s instructions or user manual to determine if there are any additional steps needed to activate your specific water pump system.
After turning on the power supply, you are almost ready for the final step: testing the water pump to ensure it is primed and functioning correctly.
Take caution when dealing with electrical components and always prioritize your safety. If you are unsure about the process, it’s best to consult with a professional or contact the manufacturer for guidance.
Step 7: Testing the water pump
Once the power supply is turned on and the pump has had a chance to build pressure, it’s time to test the water pump to ensure that it is properly primed and functioning correctly. Testing the pump allows you to verify that water is being delivered as expected and that there are no issues with the priming process.
Follow these steps to test the water pump:
- Open a faucet or valve in your plumbing system to release any air that may be trapped inside the pipes.
- Allow the water to run for a few minutes to purge any air from the system. You may initially experience sputtering or inconsistent water flow, but this should improve as the air is expelled.
- Check the water flow from the faucet or valve. Ensure that there is a steady and continuous flow of water.
- Inspect the water pressure coming from the faucet or valve. It should be consistent and within the normal range for your specific water system.
- If the water flow or pressure appears to be low or inadequate, there may still be air trapped in the system. Repeat the process of opening faucets or valves to purge any remaining air.
- If the water flow and pressure are satisfactory, you have successfully primed and tested your water pump.
It’s important to note that air pockets can sometimes take time to fully dissipate from the plumbing system, so continue to monitor the water flow and pressure over the next several hours or days to ensure that it remains consistent. If you notice any significant changes or issues, it may be necessary to repeat the priming process or seek professional assistance.
By properly testing the water pump, you can verify that it has been primed correctly and is functioning as expected. Congratulations! You have successfully completed the priming process and can now enjoy a reliable and consistent water supply from your well system.
Remember to periodically monitor your water pump’s performance and address any maintenance or repair needs to ensure its continued functionality.
With the completion of this final step, your water pump priming process is now concluded.
Conclusion
Priming a water pump on a well is a crucial process that ensures the optimal performance and efficiency of your well water system. By following the steps outlined in this guide and taking the necessary safety precautions, you can successfully prime your water pump and enjoy a reliable water supply for your home or property.
From understanding the importance of priming to locating the prime plug, filling the pump with water, and testing its functionality, each step plays a vital role in the overall priming process. By properly priming your water pump, you can prevent damage, improve energy efficiency, and ensure a consistent water flow throughout your plumbing system.
Remember to always prioritize safety when working with electrical equipment and water. Shutting off the power supply, wearing protective gear, and following the manufacturer’s instructions are essential to protect yourself and prevent accidents.
If you are unsure about any aspect of the priming process or encounter any difficulties, it’s always recommended to consult with a professional or contact the manufacturer for guidance. They can provide specific instructions and address any concerns you may have.
By taking the time to properly prime your water pump, you are investing in the long-term functionality and reliability of your well water system. Regularly monitor the performance of your pump and address any maintenance or repair needs promptly to ensure its continued efficiency.
With the completion of the priming process, you can now enjoy a dependable water supply that meets your household needs. Remember to periodically check and maintain your water pump to ensure its longevity and sustained performance.
We hope that this guide has provided you with the knowledge and confidence to successfully prime your water pump on a well. Thank you for reading, and may your well water system continue to serve you well for years to come.
Frequently Asked Questions about How To Prime A Water Pump On A Well
Was this page helpful?
At Storables.com, we guarantee accurate and reliable information. Our content, validated by Expert Board Contributors, is crafted following stringent Editorial Policies. We're committed to providing you with well-researched, expert-backed insights for all your informational needs.


0 thoughts on “How To Prime A Water Pump On A Well”