Home>Home Security and Surveillance>How To Mount A Wyze Outdoor Camera
Home Security and Surveillance
How To Mount A Wyze Outdoor Camera
Modified: March 6, 2024
Learn how to mount a Wyze outdoor camera for effective home security and surveillance. Step-by-step guide to ensure proper installation and maximum protection.
(Many of the links in this article redirect to a specific reviewed product. Your purchase of these products through affiliate links helps to generate commission for Storables.com, at no extra cost. Learn more)
Introduction
Welcome to the world of home security and surveillance! In today’s technology-driven era, it is essential to prioritize the safety and protection of our homes and loved ones. One effective way to achieve this is by installing outdoor cameras that can monitor and deter potential threats.
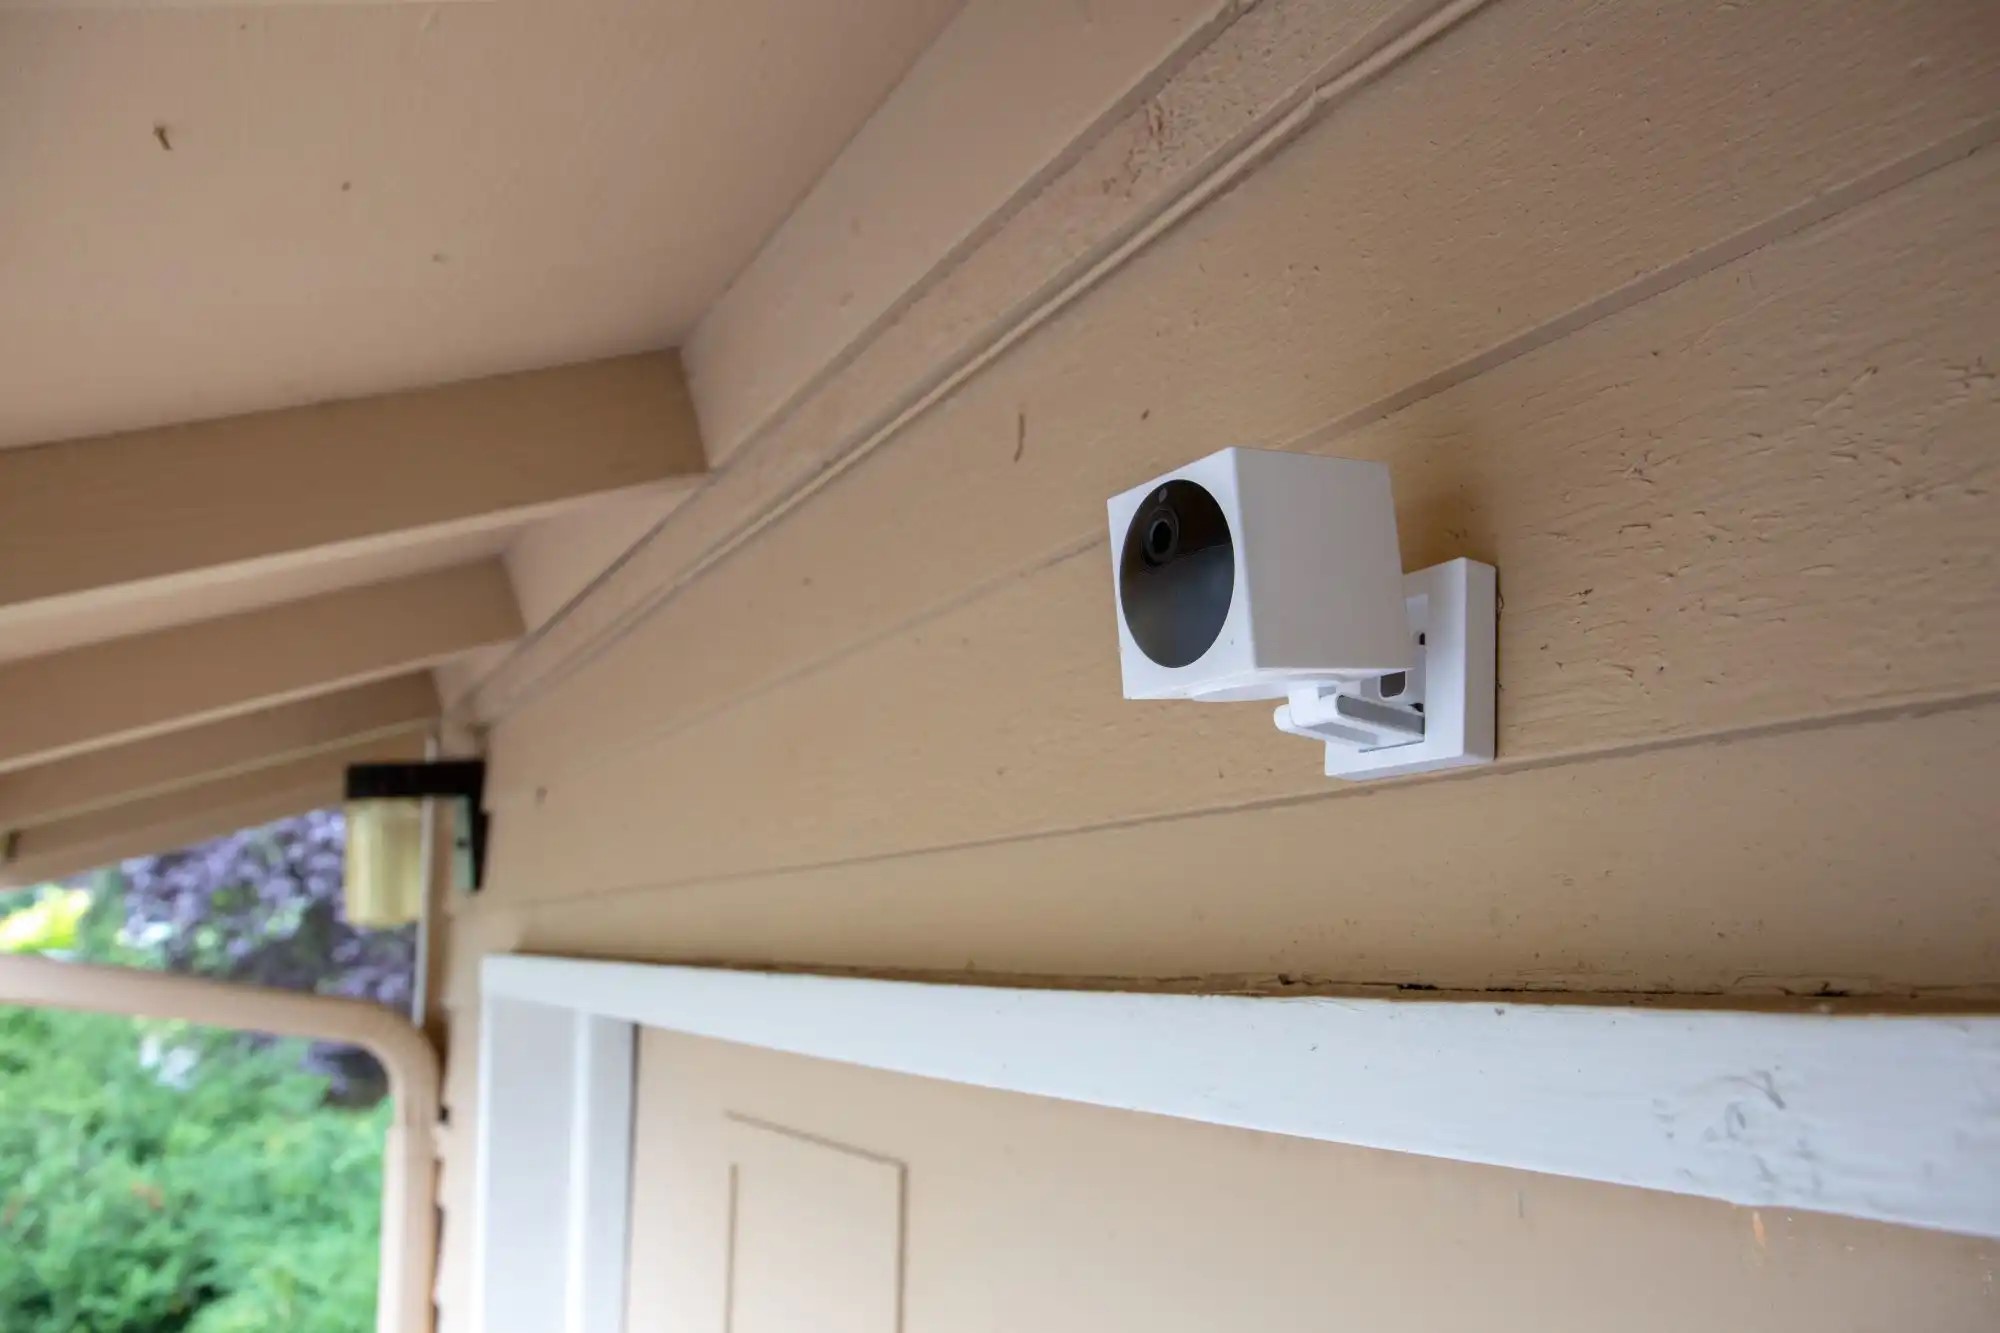
One popular option in the market is the Wyze Outdoor Camera, known for its reliability, affordability, and advanced features. Whether you are a DIY enthusiast or someone with minimal technical experience, mounting the Wyze Outdoor Camera can be a straightforward process when following the right steps.
In this comprehensive guide, we will walk you through each step of the mounting process, ensuring that you can successfully set up your Wyze Outdoor Camera and start enjoying enhanced security for your home. So, let’s get started!
Key Takeaways:
- Mounting a Wyze Outdoor Camera is a straightforward process that involves unboxing, choosing the right location, preparing the surface, and adjusting the camera angle for optimal surveillance coverage.
- Ensure a proper connection and configuration of settings to enjoy enhanced security and peace of mind with your Wyze Outdoor Camera. Regular maintenance and testing will maximize its security capabilities.
Read more: How To Mount Wyze Outdoor Camera
Step 1: Unboxing the Wyze Outdoor Camera
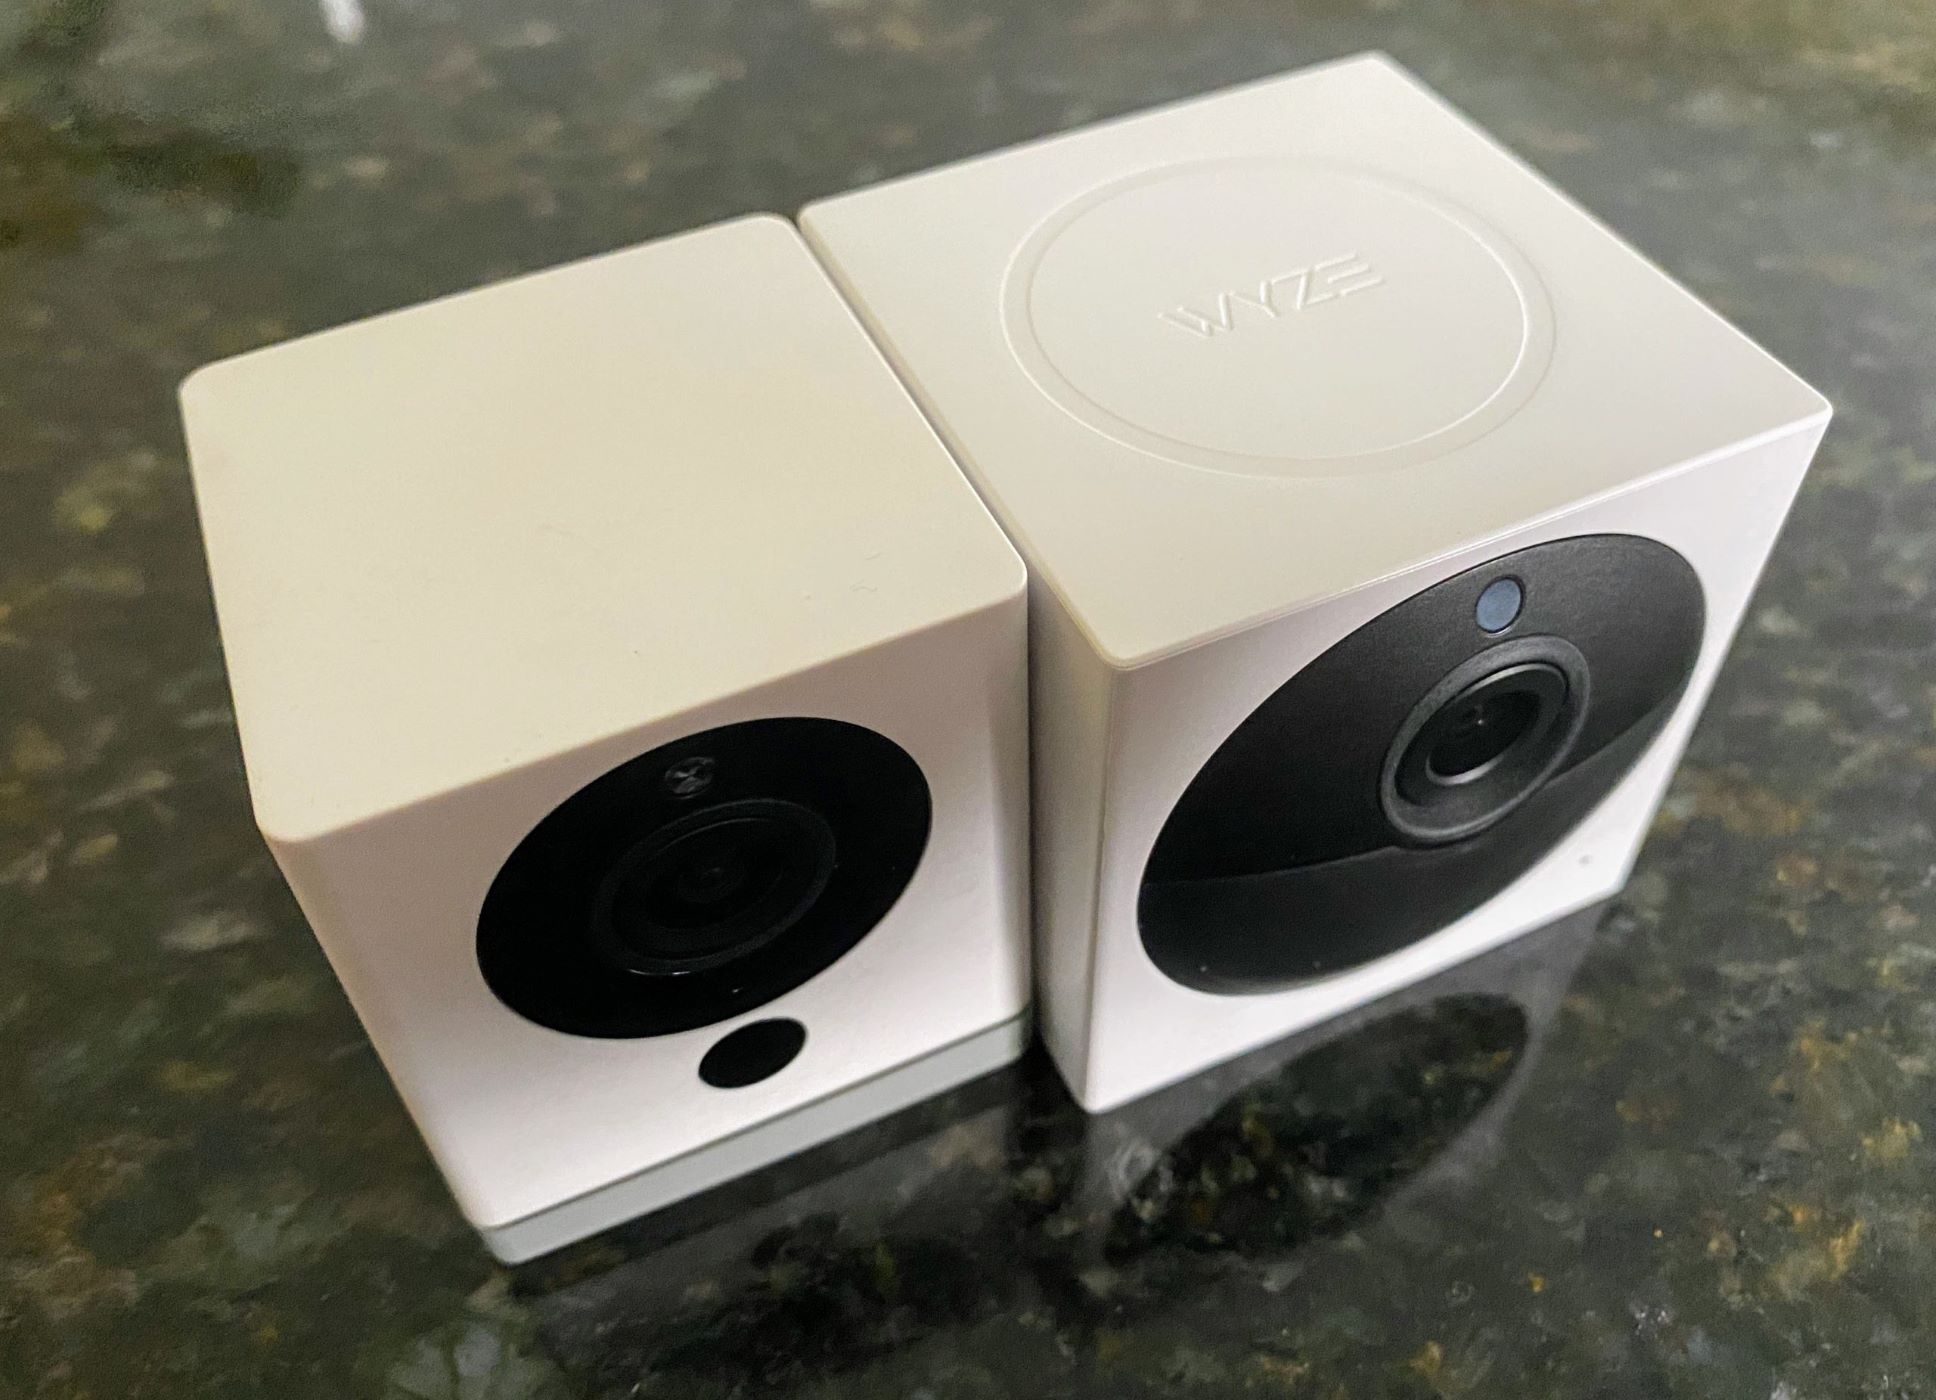
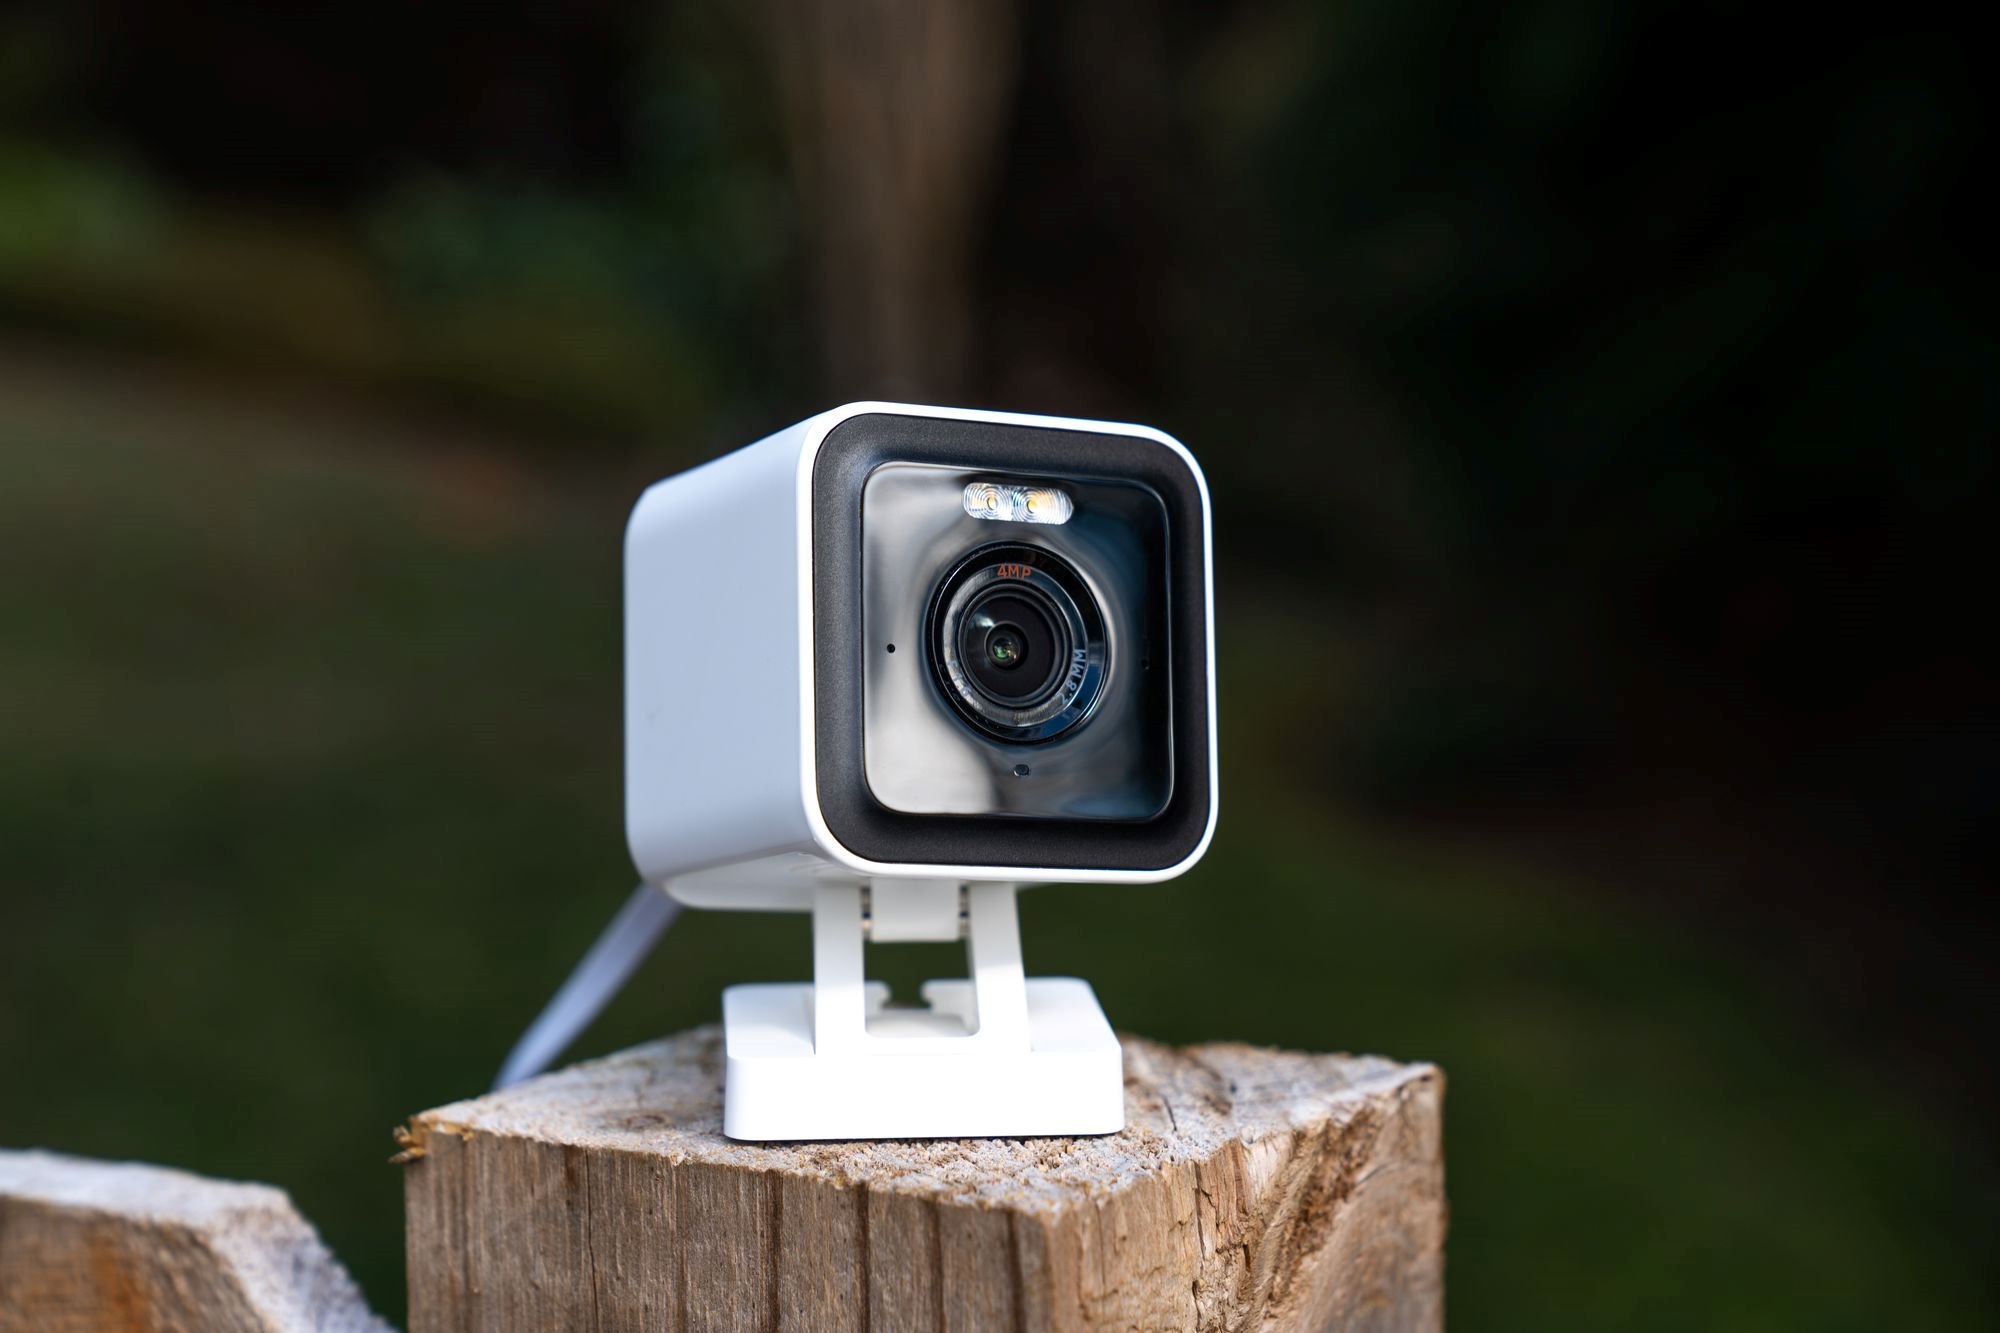
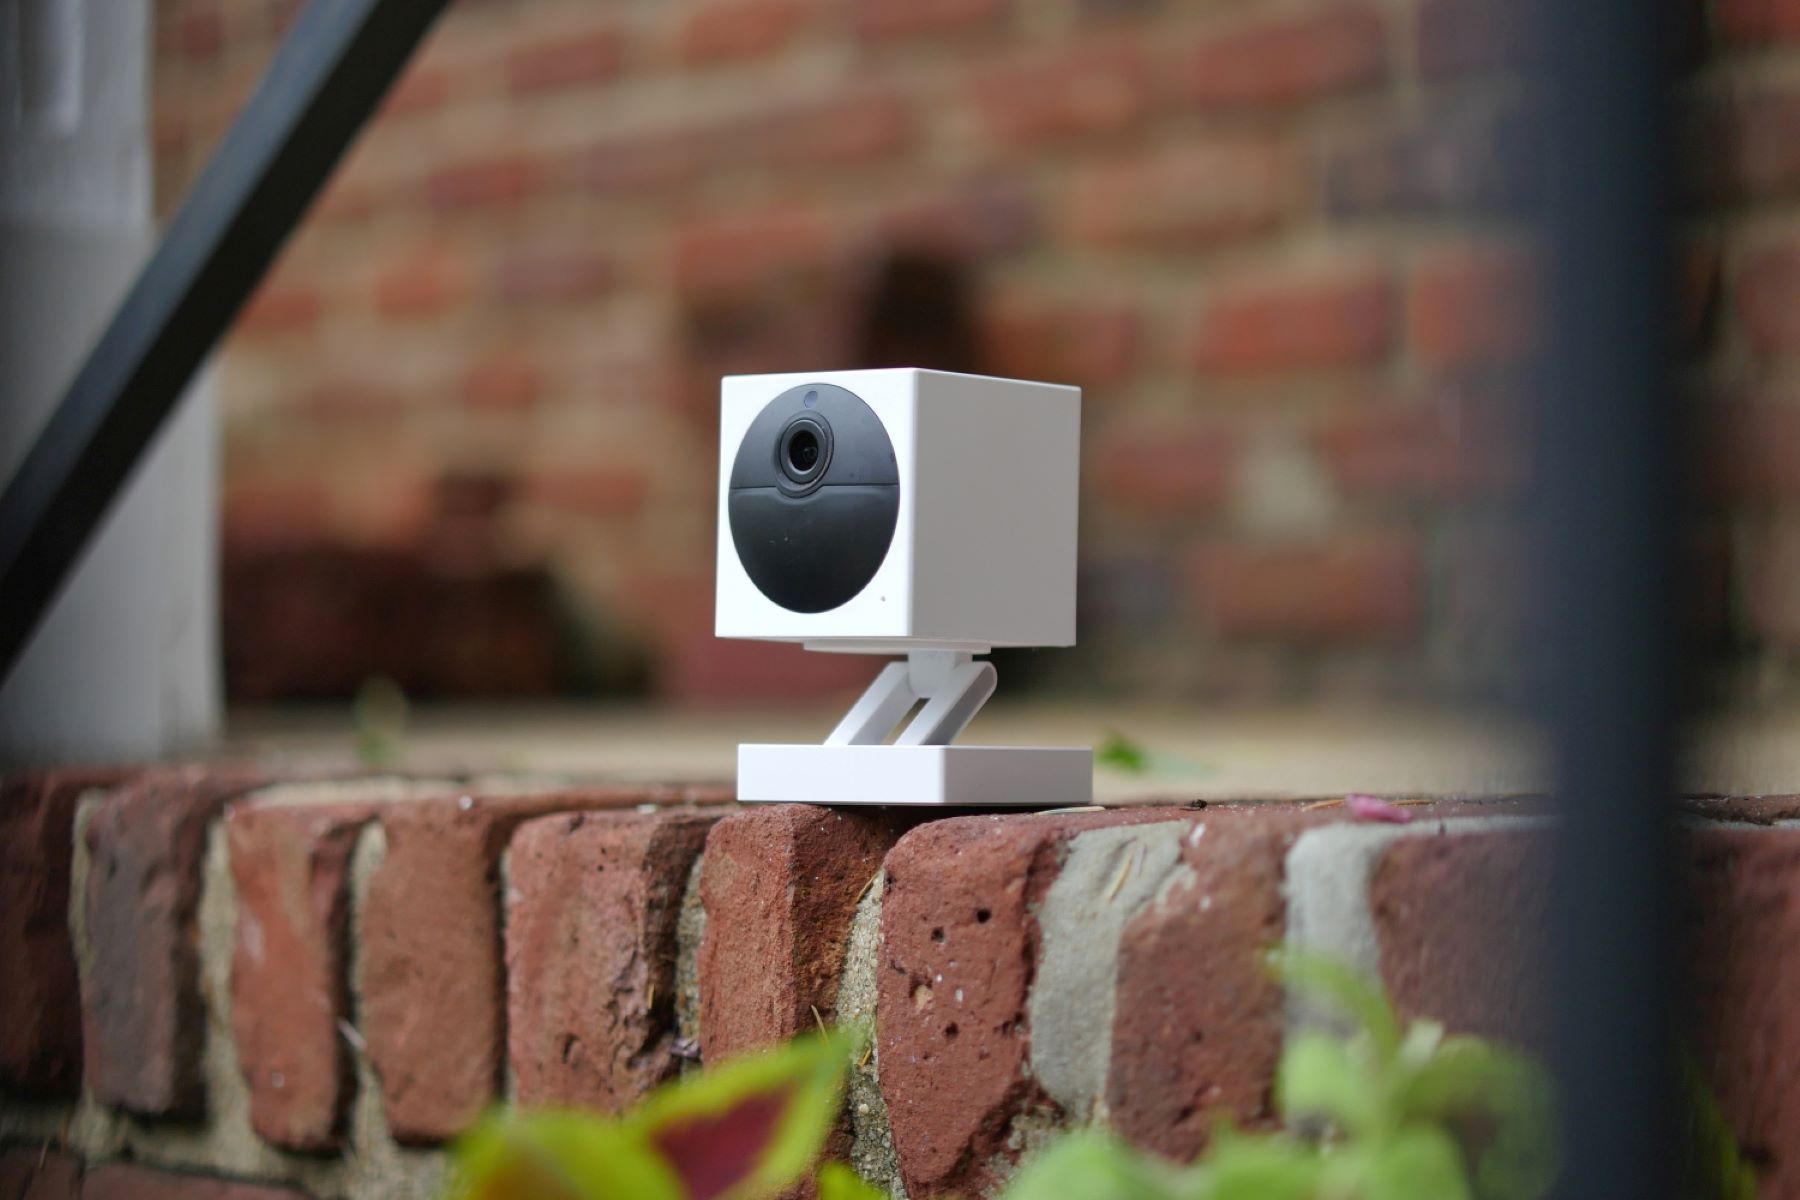
The first step in setting up your Wyze Outdoor Camera is unboxing it and familiarizing yourself with its components. When you open the box, you will find the camera itself, along with a mounting plate, mounting screws, a USB cable, and a quick start guide.
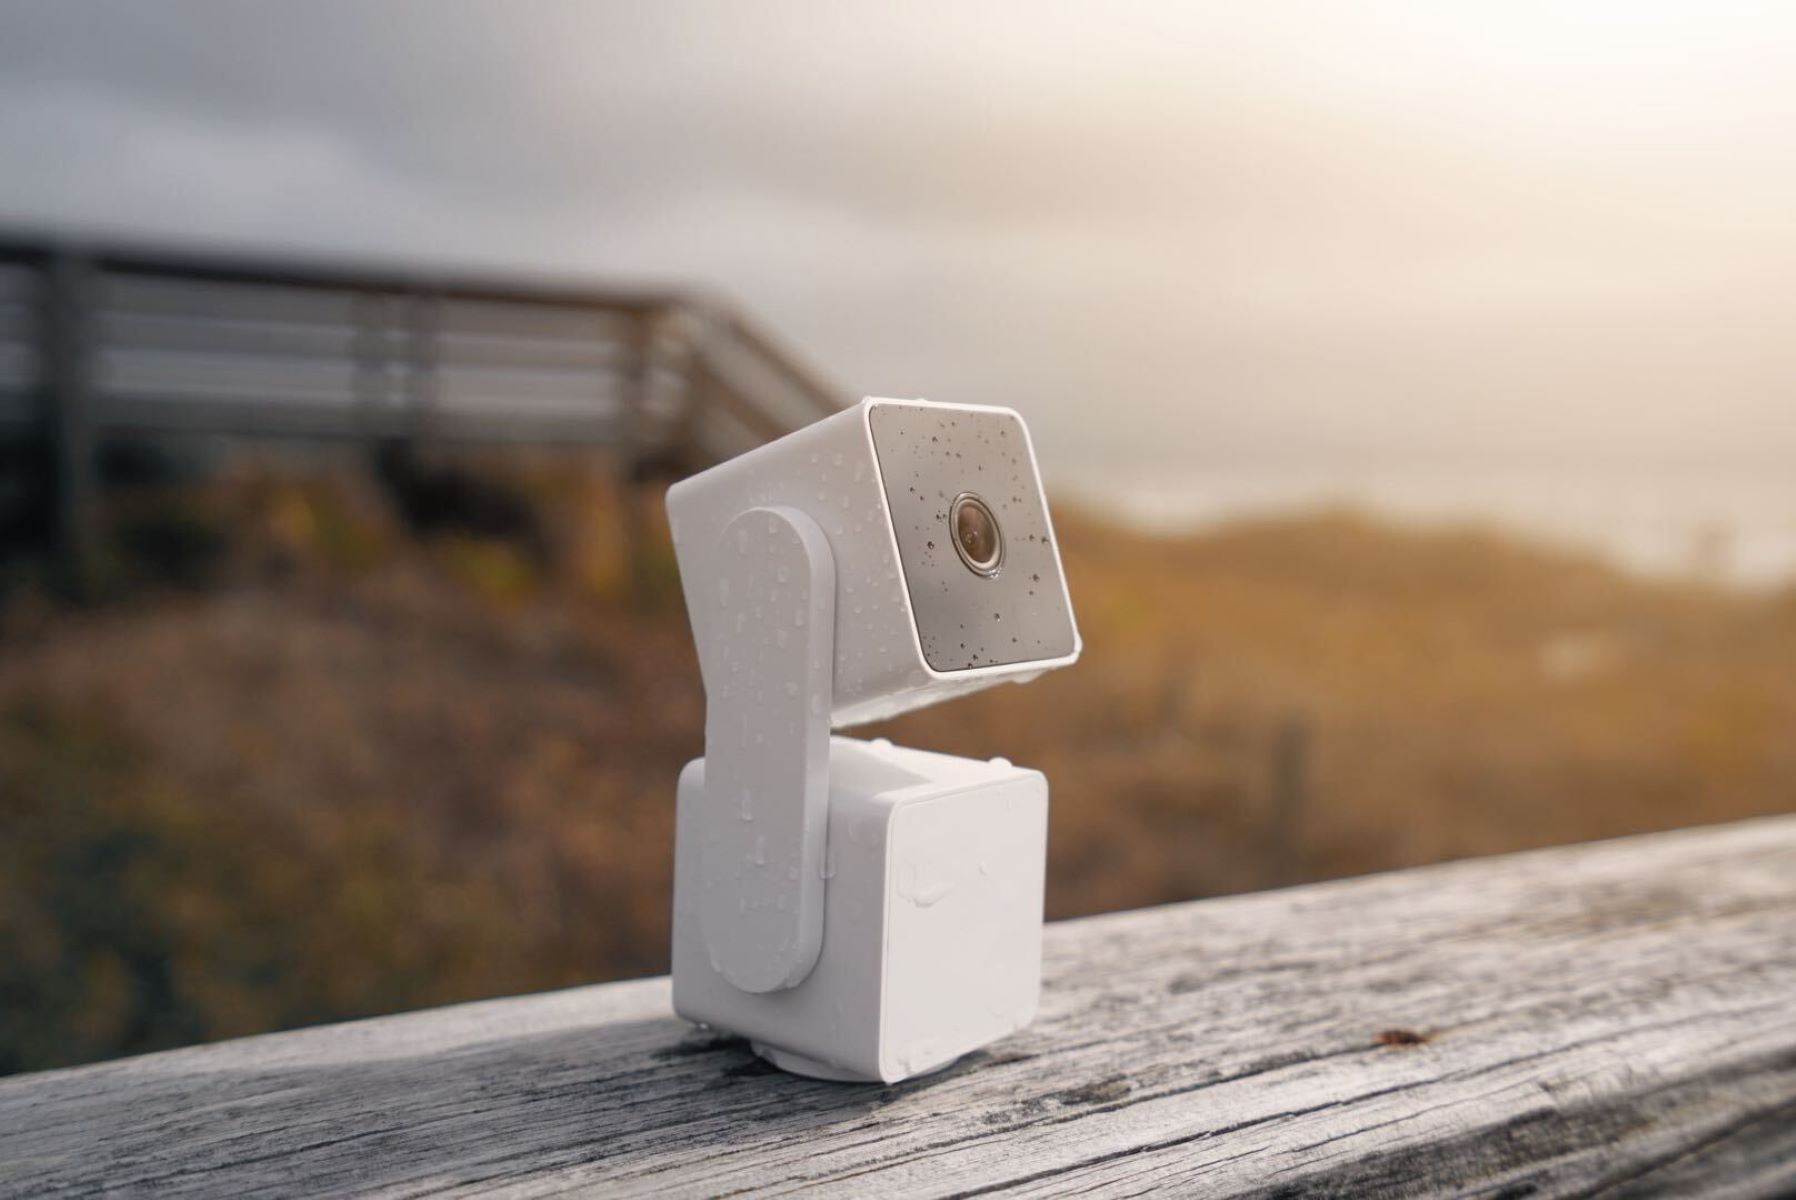
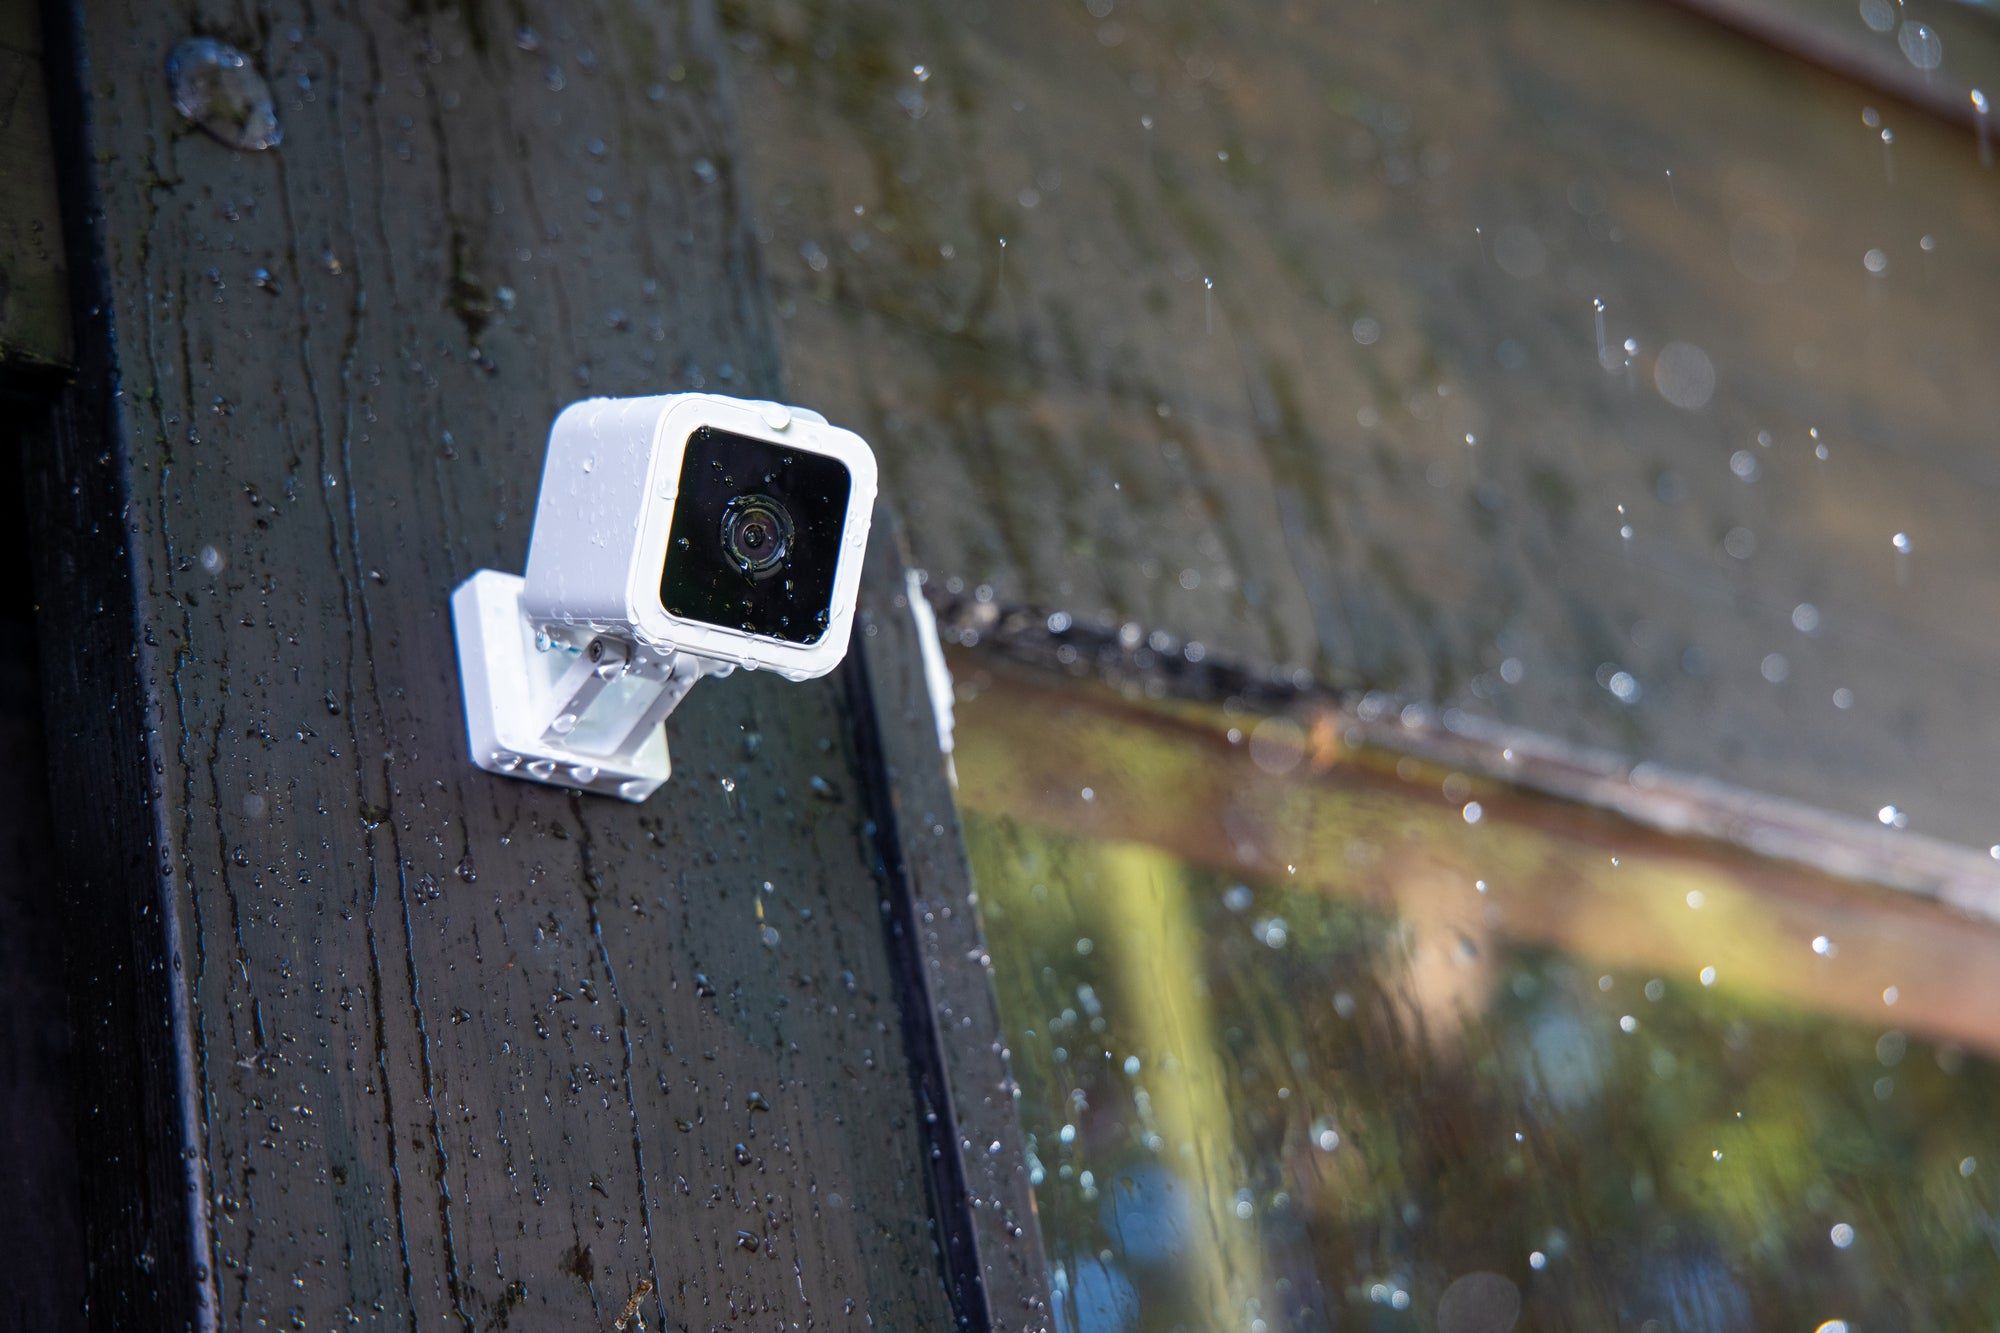
Take a moment to carefully examine each component and ensure that everything is in good condition. It’s important to note that the Wyze Outdoor Camera is designed to withstand different weather conditions, making it suitable for outdoor use.
Before proceeding to the next step, it’s a good idea to charge the camera using the provided USB cable. Connect one end of the cable to the camera and the other end to a power source. Allow the camera to charge fully, ensuring that it has enough battery life for the setup process.
Once your Wyze Outdoor Camera is fully charged, you’re ready to move on to the next step: choosing the best mounting location.
Step 2: Choosing the Mounting Location
Choosing the right location for mounting your Wyze Outdoor Camera is crucial for optimal surveillance coverage. Before making a decision, consider the following factors:
- Visibility: Ensure that the camera is easily visible to deter potential intruders. A visible camera acts as a deterrent and can help prevent break-ins.
- Coverage Area: Identify the areas you want the camera to monitor, such as entry points, driveways, or backyard. This will help you determine the best angle and position for your camera.
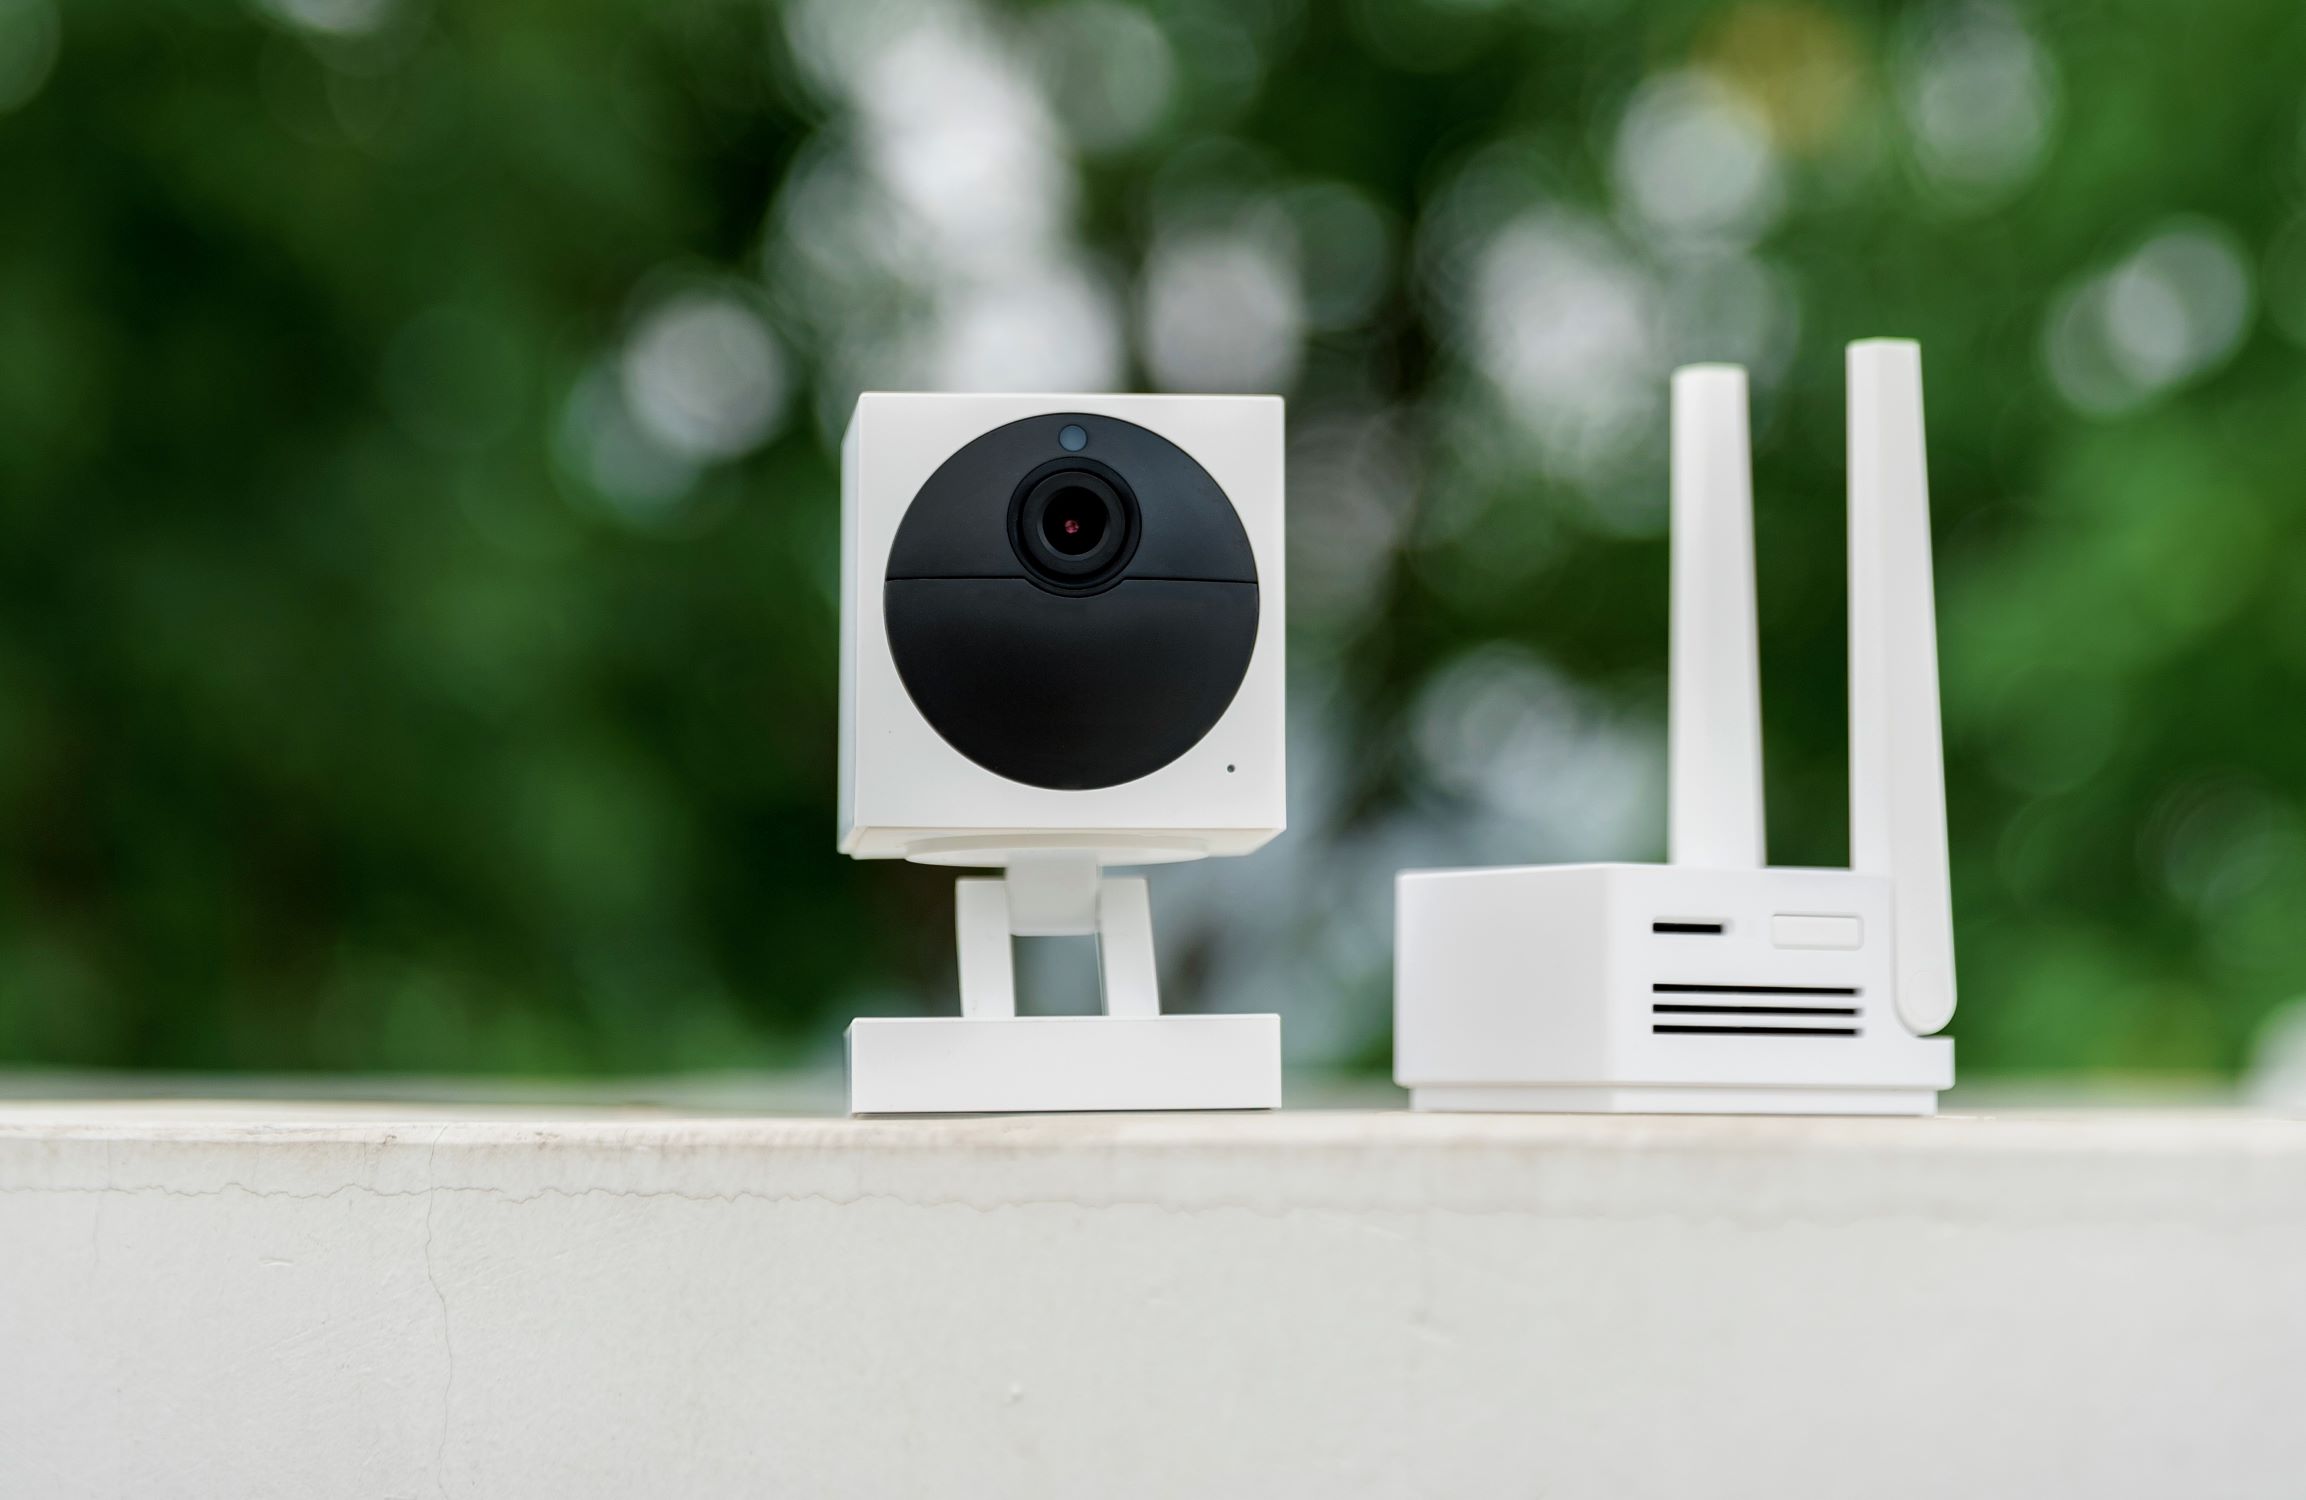
- Power Source: The Wyze Outdoor Camera is battery-powered, eliminating the need for electrical wiring. However, ensure that the mounting location is within range of a Wi-Fi network for a reliable connection.
- Obstructions: Check for any potential obstructions, such as trees or bushes, that may limit the camera’s field of view. Clearing these obstructions will ensure maximum coverage.
- Accessibility: Consider the accessibility of the mounting location for easy installation and maintenance. You don’t want to choose a location that is difficult to reach or requires special equipment.
Once you have evaluated these factors, select a suitable mounting location that meets your requirements. It’s a good idea to test the Wi-Fi signal strength at the chosen location using your smartphone or Wi-Fi analyzer app to ensure a reliable connection.
With the mounting location chosen, it’s time to prepare the mounting surface for installation. Let’s move on to the next step!
Step 3: Preparing the Mounting Surface
Now that you have chosen the ideal location for your Wyze Outdoor Camera, it’s important to prepare the mounting surface to ensure a secure and stable installation. Follow these steps:
- Clean the Surface: Start by cleaning the chosen mounting surface to remove any dirt, dust, or debris that may affect adhesion. Use a cloth or cleaning solution, if necessary, to ensure a clean and smooth surface.
- Inspect the Surface: Check for any irregularities or roughness on the surface that may hinder the mounting plate’s adhesion. If needed, gently sand or smoothen the area to create a flat and even surface.
- Mark the Mounting Holes: Take the mounting plate provided with the Wyze Outdoor Camera and hold it against the chosen surface. Use a pencil or marker to mark the positions of the mounting holes. This will serve as a guide during the installation process.
- Prepare Mounting Holes: Using an appropriate drill bit and drill, carefully create pilot holes at the marked positions. Ensure that the holes are slightly smaller than the mounting screws to ensure a snug fit.
By properly preparing the mounting surface, you are setting a solid foundation for the camera installation. With the surface prepared, it’s time to move on to attaching the mounting plate. Let’s proceed to the next step!
Step 4: Attaching the Mounting Plate
With the mounting surface prepared, it’s time to attach the mounting plate for your Wyze Outdoor Camera. Follow these steps:
- Align the Mounting Plate: Take the mounting plate and align it with the pilot holes you created in the previous step. Ensure that the plate is level and in the desired position.
- Secure the Mounting Plate: Once aligned, use the provided screws to secure the mounting plate to the surface. Start by inserting the screws into the pilot holes and tighten them using a screwdriver or drill. Make sure not to over-tighten them to avoid damaging the mounting plate or the surface.
- Double-Check Stability: After securing the mounting plate, give it a gentle push and ensure that it is firmly attached to the surface. Check for any wobbling or instability, as this can affect the camera’s positioning and functionality.
By securely attaching the mounting plate, you are creating a stable base for your Wyze Outdoor Camera. Now, it’s time to adjust the camera angle to achieve the desired surveillance coverage. Let’s move on to the next step!
When mounting a Wyze Outdoor Camera, make sure to choose a location with a strong Wi-Fi signal and a clear view of the area you want to monitor. Also, use the included mounting kit for a secure installation.
Read more: How To Playback On Wyze Outdoor Camera
Step 5: Adjusting the Camera Angle
Now that the mounting plate is securely attached, it’s time to adjust the angle of your Wyze Outdoor Camera for optimal surveillance coverage. Follow these steps:
- Loosen the Camera Mount: Locate the screw on the mounting plate that holds the camera mount in place. Use a screwdriver or Allen wrench to loosen the screw, allowing you to adjust the camera’s angle.
- Position the Camera: Once the screw is loosened, adjust the camera to the desired position. You can tilt it up, down, left, or right to achieve the optimal field of view and coverage area. Take into consideration the areas you want to monitor, such as entryways or driveways.
- Tighten the Camera Mount: After adjusting the camera angle, securely tighten the screw on the mounting plate to hold the camera in place. Make sure not to overtighten it, as you might risk damaging the camera mount.
It’s important to note that the Wyze Outdoor Camera has a wide viewing angle, allowing you to capture a broad area even with a single camera. Experiment with different angles and positions to find the best coverage for your specific needs.
With the camera angle adjusted, it’s time to mount the Wyze Outdoor Camera onto the mounting plate. Let’s move on to the next step!
Step 6: Mounting the Camera to the Plate
Now that the camera angle is set, it’s time to mount the Wyze Outdoor Camera onto the mounting plate. Follow these steps:
- Position the Camera: Take your Wyze Outdoor Camera and position it carefully on the mounting plate. Align the camera’s mounting screw with the corresponding hole on the plate.
- Secure the Camera: Once aligned, insert the mounting screw into the hole and tighten it using a screwdriver or Allen wrench. Make sure it is securely fastened to the mounting plate, ensuring stability and preventing any accidental movement.
With the camera mounted on the plate, give it a gentle wiggle to ensure it is securely attached. Check for any instability or movement and make any necessary adjustments to achieve a stable installation.
Once the camera is securely mounted, it’s time to ensure a proper connection and configure the camera settings. Let’s dive into the next step!
Step 7: Ensuring Proper Connection and Settings
With the Wyze Outdoor Camera mounted, it’s essential to ensure a proper connection and configure the camera settings for optimal performance. Follow these steps:
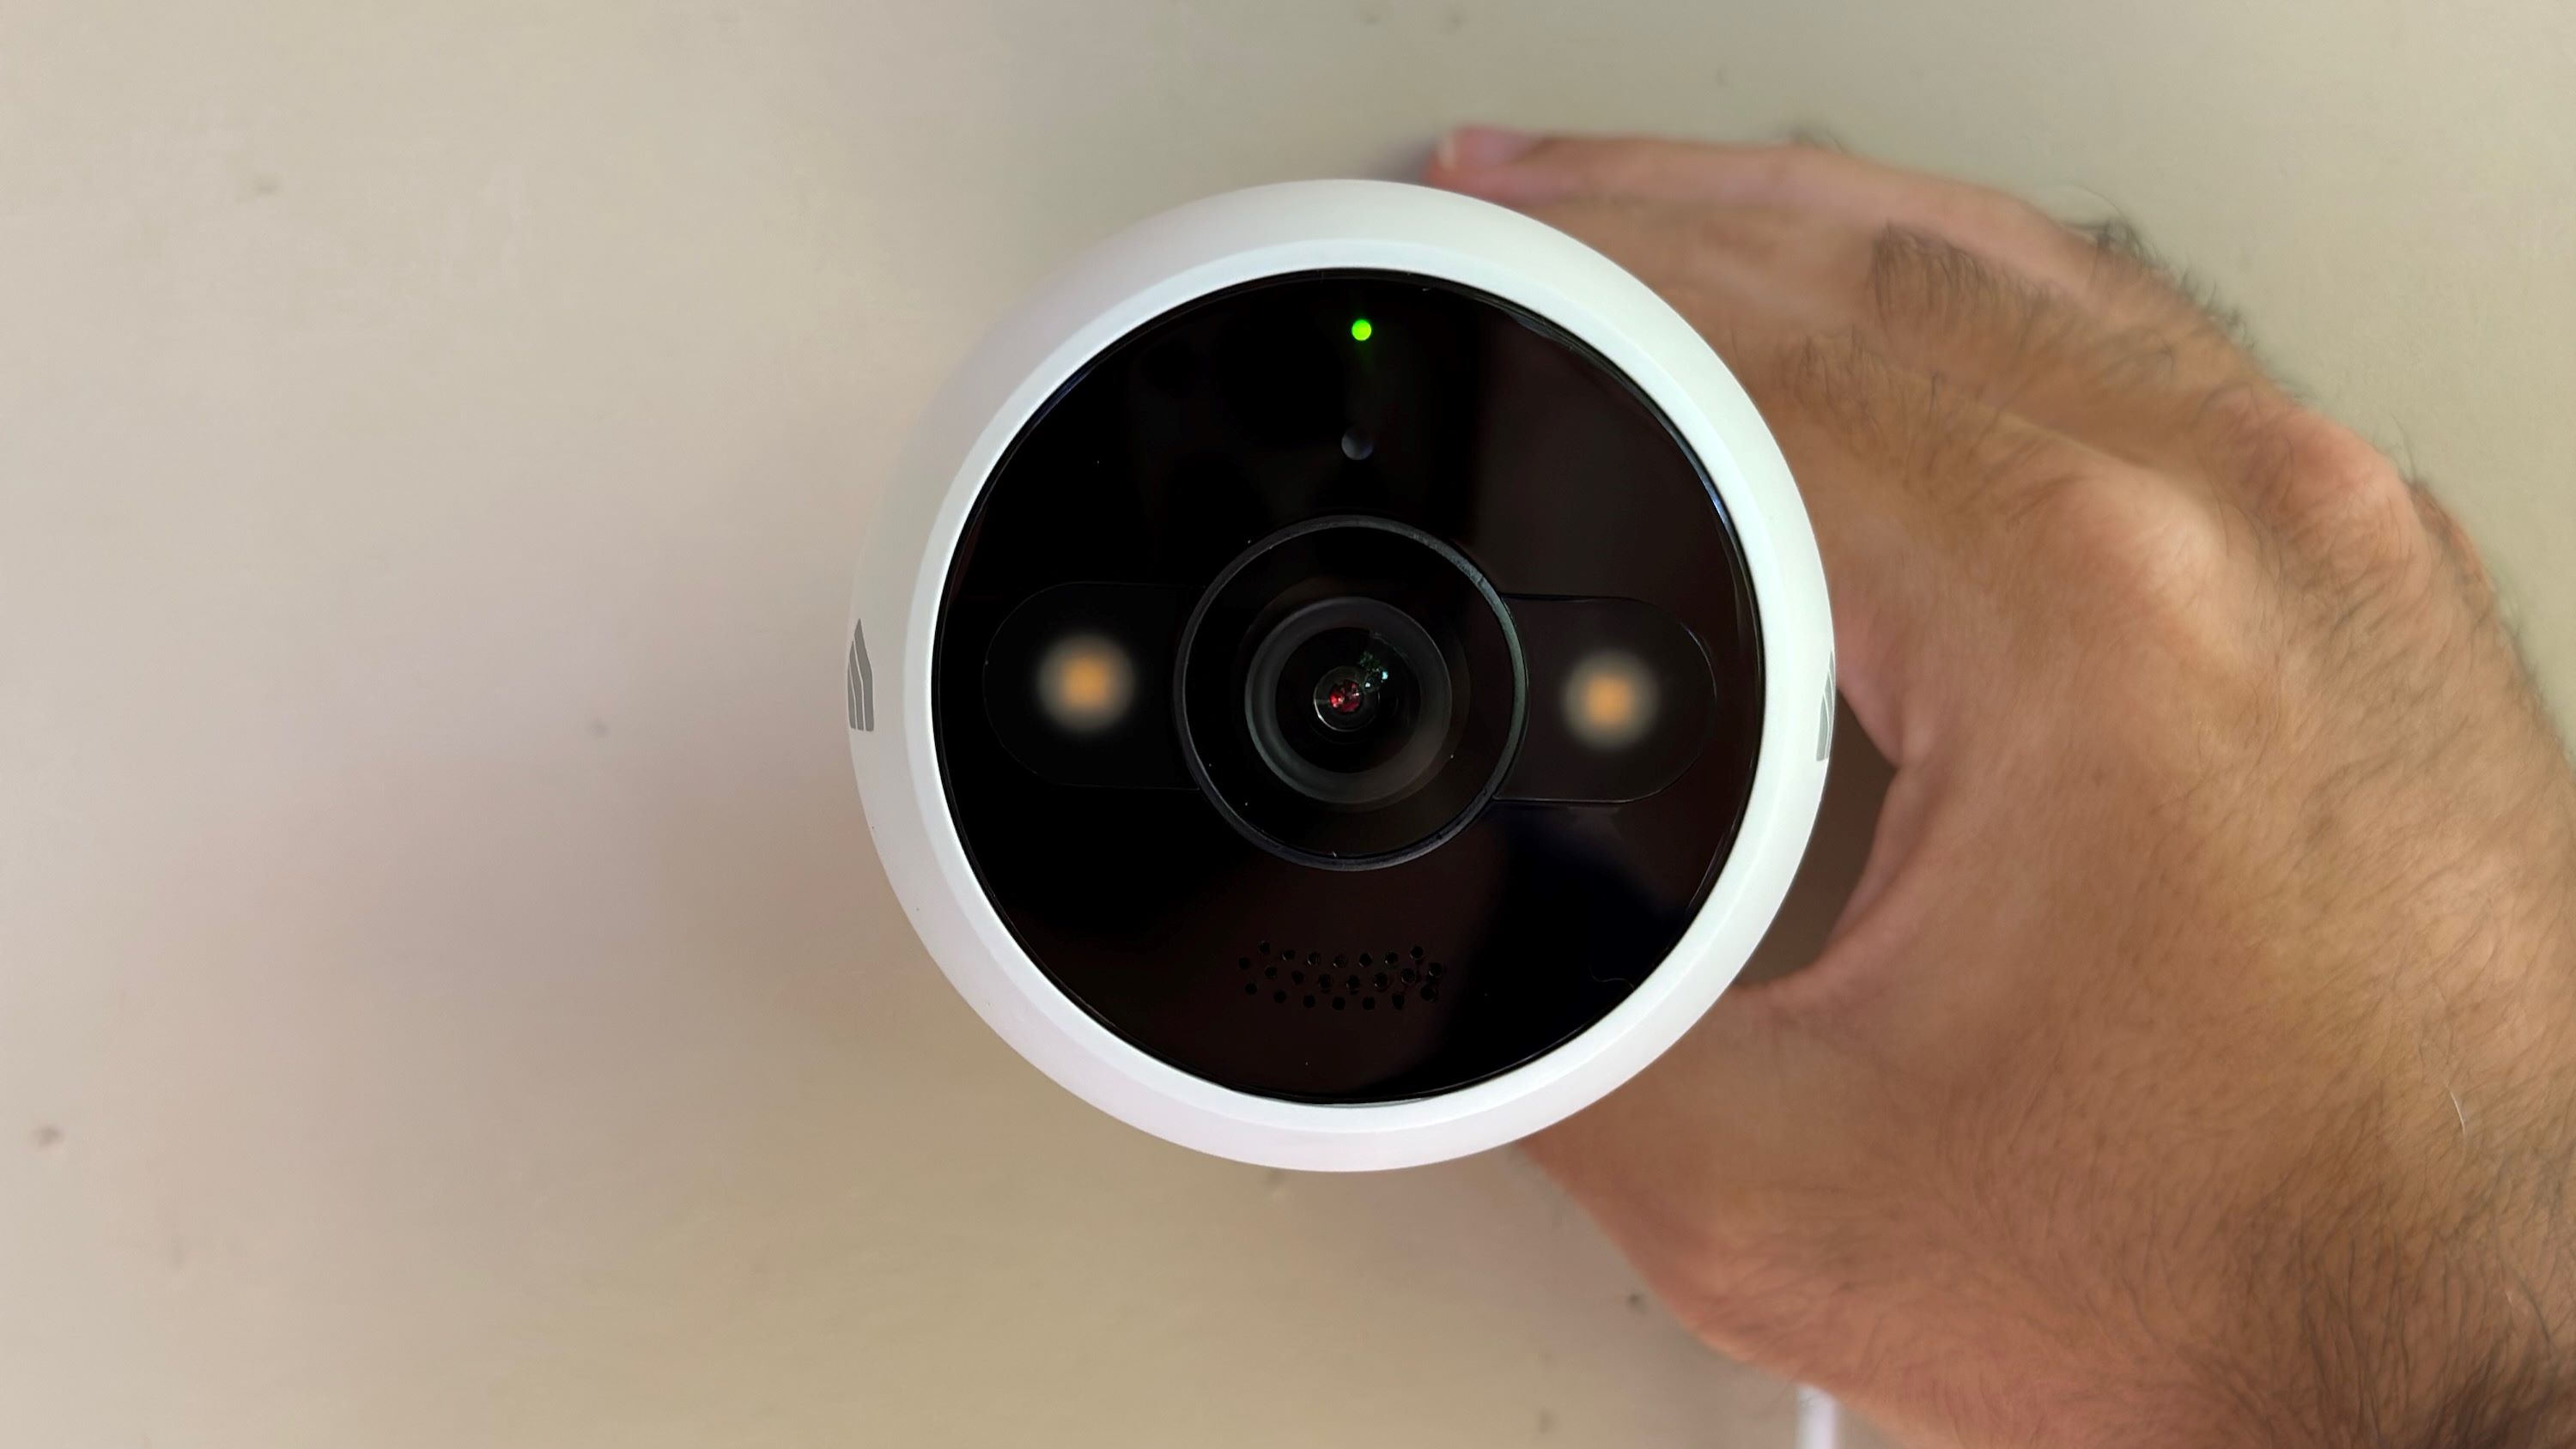
- Power On the Camera: Ensure that the Wyze Outdoor Camera is powered on by pressing the power button or following the manufacturer’s instructions. The camera should start initializing and establishing a connection with your Wi-Fi network.
- Connect to Wi-Fi: Using the Wyze app on your smartphone, follow the on-screen instructions to connect the camera to your Wi-Fi network. Make sure to choose a reliable network with a strong signal at the camera’s mounting location.
- Adjust Camera Settings: Once the camera is connected to the Wi-Fi network, use the Wyze app to access the camera’s settings. Configure options such as motion detection sensitivity, notification preferences, and video recording options. Customizing these settings will enhance the camera’s performance based on your specific needs.
- Test the Camera: After adjusting the settings, perform a test run to ensure that the camera is capturing the desired surveillance coverage and the notifications are functioning correctly. Walk around the monitored area or simulate scenarios to confirm that the camera is detecting motions accurately.
It’s essential to regularly check the camera’s performance and adjust settings if necessary. This will ensure that you have reliable and effective surveillance for your home security needs.
Congratulations! You have successfully mounted and set up your Wyze Outdoor Camera. Enjoy the enhanced security and peace of mind that comes with having a reliable outdoor surveillance system.
Remember to periodically clean the camera lens and check the battery levels to ensure optimal performance. Now sit back, relax, and let your Wyze Outdoor Camera keep a watchful eye on your property.
If you have any further questions or need assistance, always refer to the manufacturer’s documentation or contact their customer support. Stay safe!
Conclusion
Setting up and mounting a Wyze Outdoor Camera doesn’t have to be a daunting task. By following these step-by-step instructions, you can easily install the camera and ensure optimal surveillance coverage for your home.
Remember to carefully unbox the camera, choose the best mounting location, prepare the mounting surface, attach the mounting plate, adjust the camera angle, mount the camera properly, and ensure a proper connection and configuration of settings. These steps will help you achieve a secure and stable installation, providing you with enhanced security and peace of mind.
With its advanced features, durability, and affordability, the Wyze Outdoor Camera offers a reliable solution for outdoor surveillance. Whether you’re monitoring the front door, backyard, or driveway, this camera can effectively deter potential threats and give you a clear view of any activity around your home.
Don’t forget to regularly check and maintain your Wyze Outdoor Camera to ensure its continued performance. Clean the lens, check the battery levels, and adjust settings if needed. Stay vigilant and make use of the camera’s features to maximize its security capabilities.
Remember, when it comes to home security and surveillance, every step you take towards safeguarding your home and loved ones matters. With the Wyze Outdoor Camera, you can take a proactive approach to protecting your property and have peace of mind, knowing that you have an extra set of eyes watching over your home.
So, go ahead and take the first step to secure your home by mounting a Wyze Outdoor Camera. Enjoy the added security and comfort that comes with having a reliable surveillance system in place!
Frequently Asked Questions about How To Mount A Wyze Outdoor Camera
Was this page helpful?
At Storables.com, we guarantee accurate and reliable information. Our content, validated by Expert Board Contributors, is crafted following stringent Editorial Policies. We're committed to providing you with well-researched, expert-backed insights for all your informational needs.