Home>Furniture & Design>Outdoor Furniture>How To Mount Wyze Outdoor Camera
Outdoor Furniture
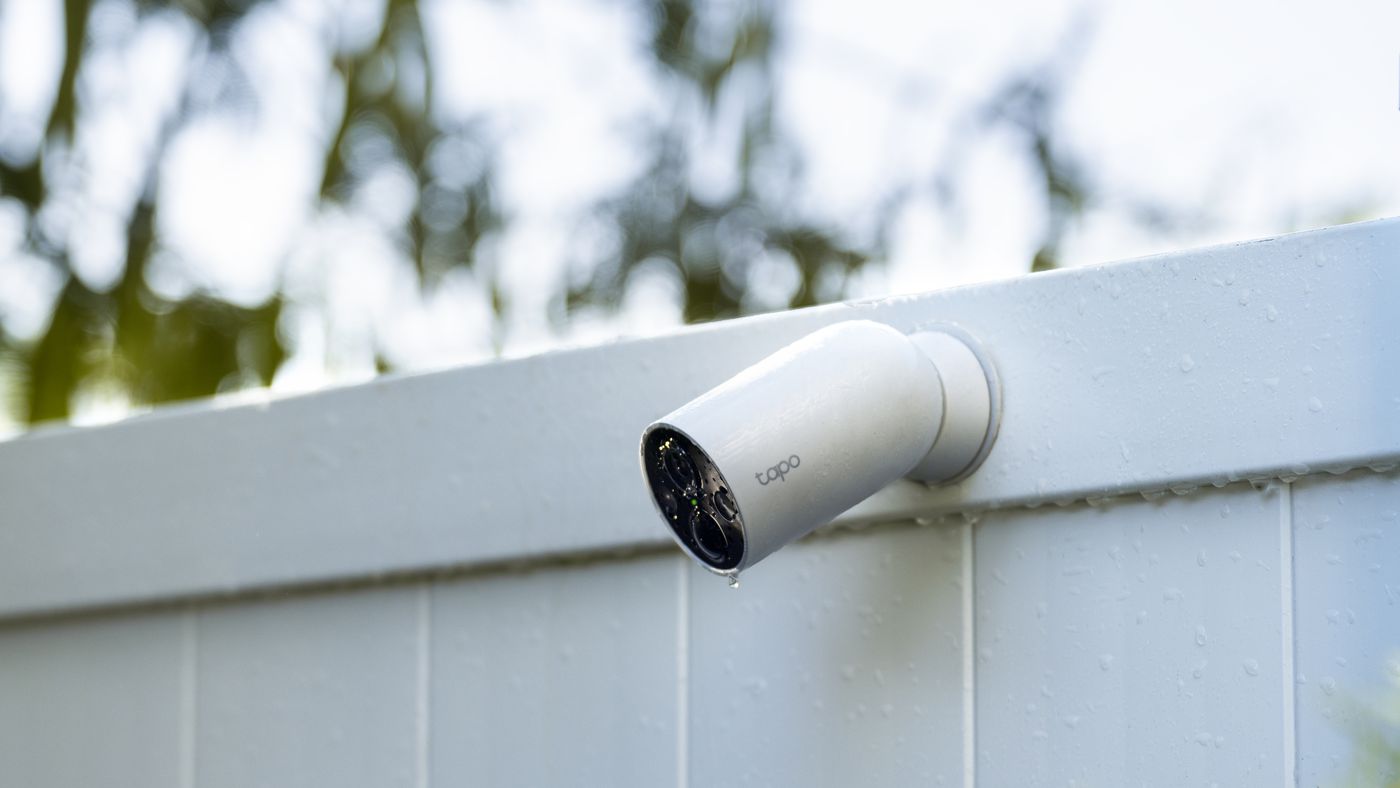
How To Mount Wyze Outdoor Camera
Modified: February 18, 2024
Learn how to properly mount your Wyze outdoor camera with our expert tips and step-by-step guide. Ensure the safety and security of your outdoor furniture with our easy installation process.
(Many of the links in this article redirect to a specific reviewed product. Your purchase of these products through affiliate links helps to generate commission for Storables.com, at no extra cost. Learn more)
Introduction
Welcome to the world of outdoor home security! As you embark on the journey of installing your Wyze Outdoor Camera, you are taking a significant step towards safeguarding your property and loved ones. The Wyze Outdoor Camera is a versatile and reliable device designed to provide you with peace of mind and a sense of security, whether you are at home or away.
In this comprehensive guide, we will walk you through the process of mounting your Wyze Outdoor Camera with ease and precision. By following these step-by-step instructions, you will be able to set up your camera efficiently and ensure optimal performance. Before you know it, you will have a powerful tool at your disposal to monitor your outdoor spaces and deter potential intruders.
Throughout this guide, we will cover everything from preparing the mounting location to securing the wiring, ensuring that you have all the necessary tools and knowledge to complete the installation successfully. Whether you are a seasoned DIY enthusiast or a first-time camera installer, this guide is tailored to provide valuable insights and actionable tips for a seamless installation experience.
So, without further ado, let's dive into the world of outdoor security and unlock the potential of your Wyze Outdoor Camera!
Key Takeaways:
- Installing your Wyze Outdoor Camera is a proactive step to safeguard your property. Follow the detailed guide to ensure a secure and vigilant outdoor surveillance system.
- By adjusting the camera position and securing the wiring, you can optimize the camera’s effectiveness and enjoy enhanced security for your outdoor spaces.
Read more: How To Mount A Wyze Outdoor Camera
Required Tools and Materials
Before you begin the installation process, it's essential to gather the necessary tools and materials to ensure a smooth and efficient setup for your Wyze Outdoor Camera. Here's a comprehensive list of what you'll need:
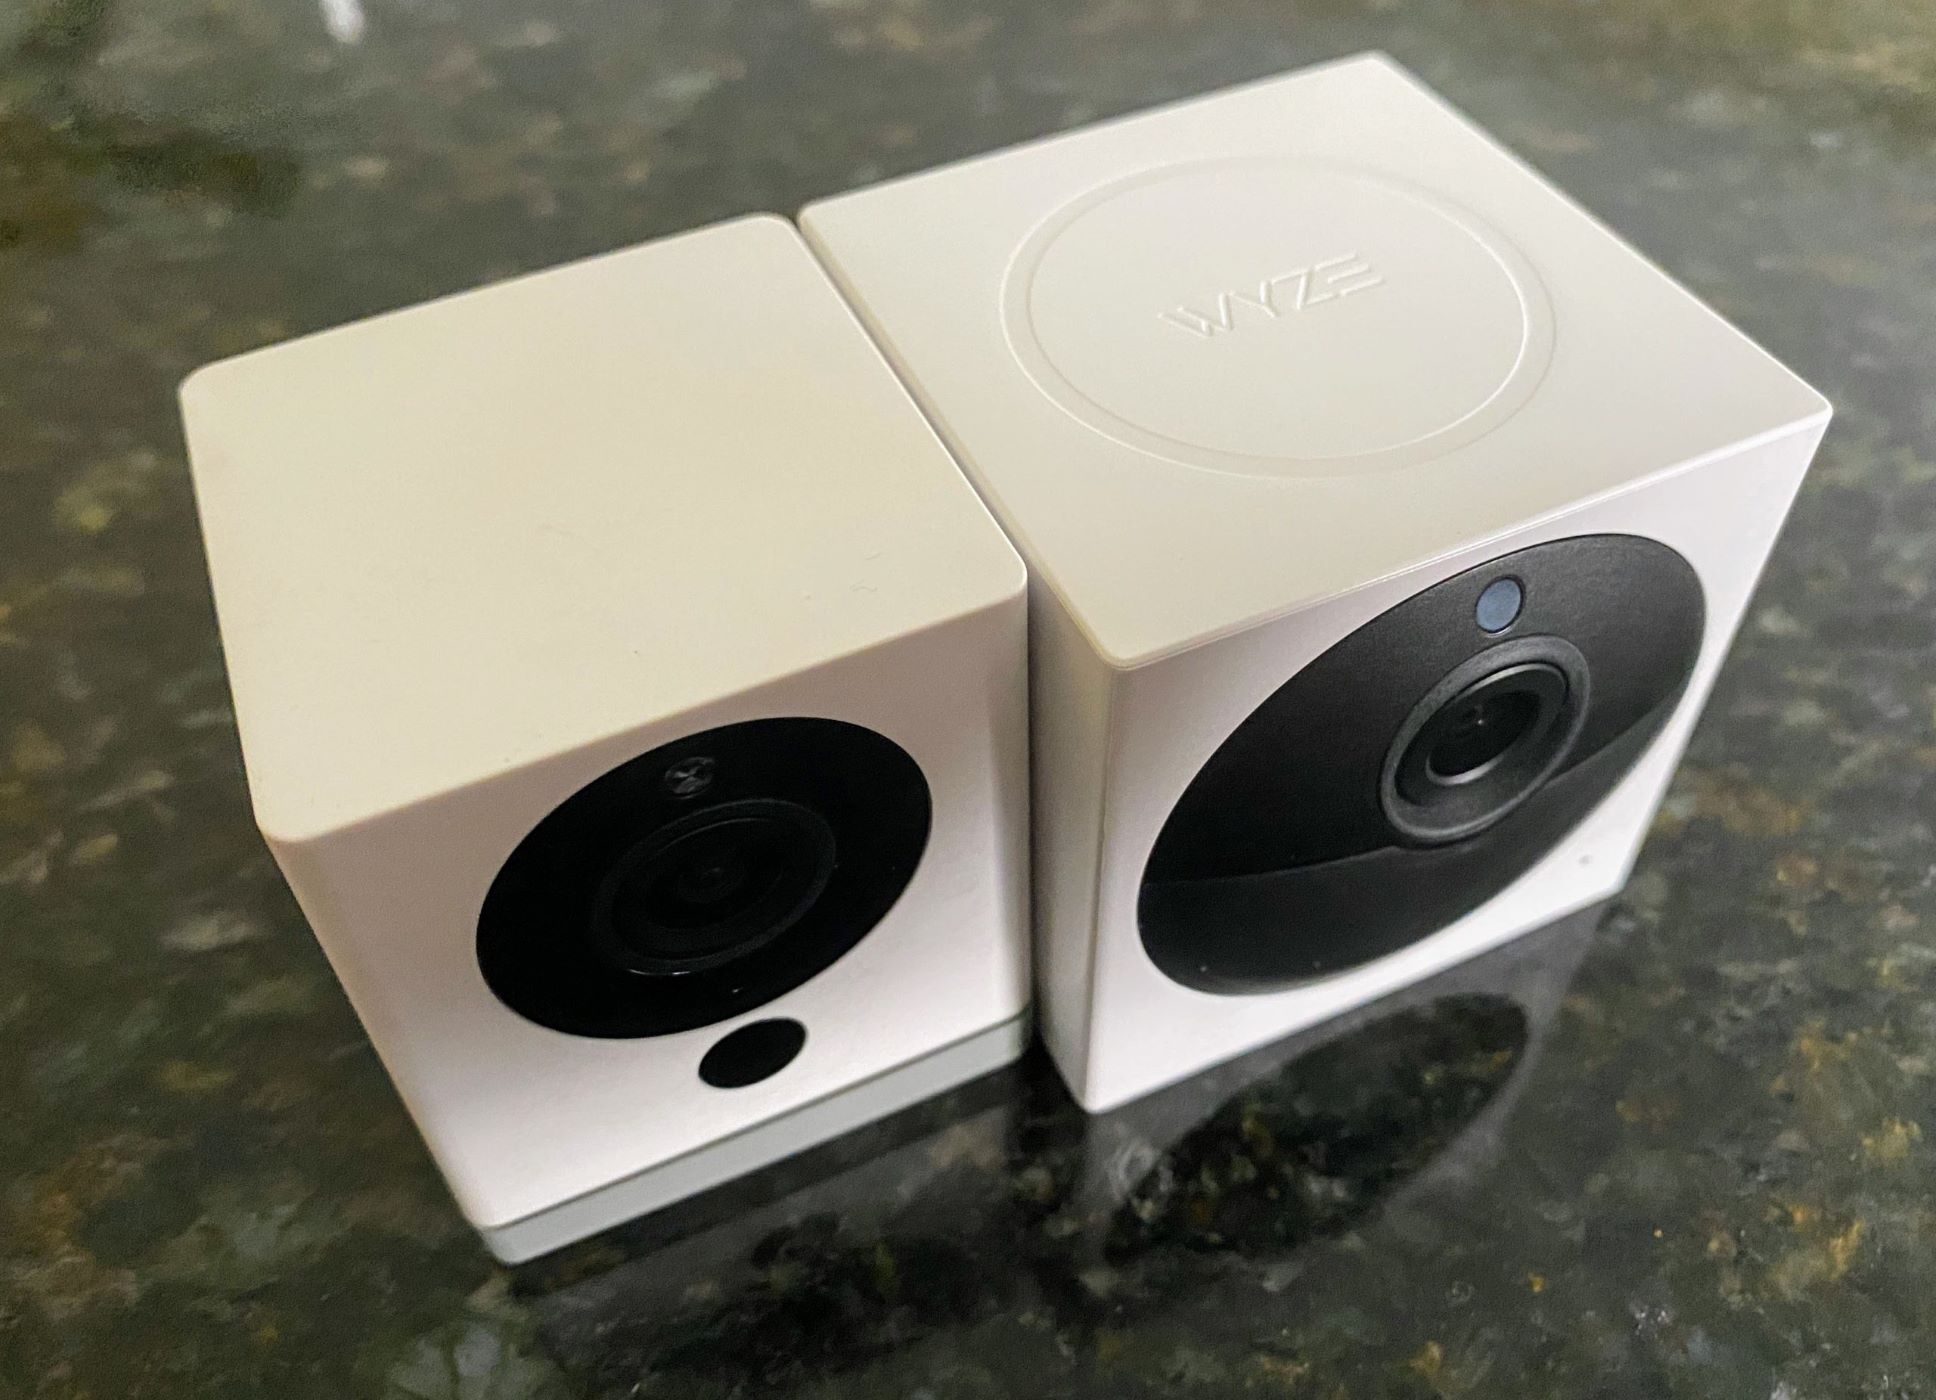
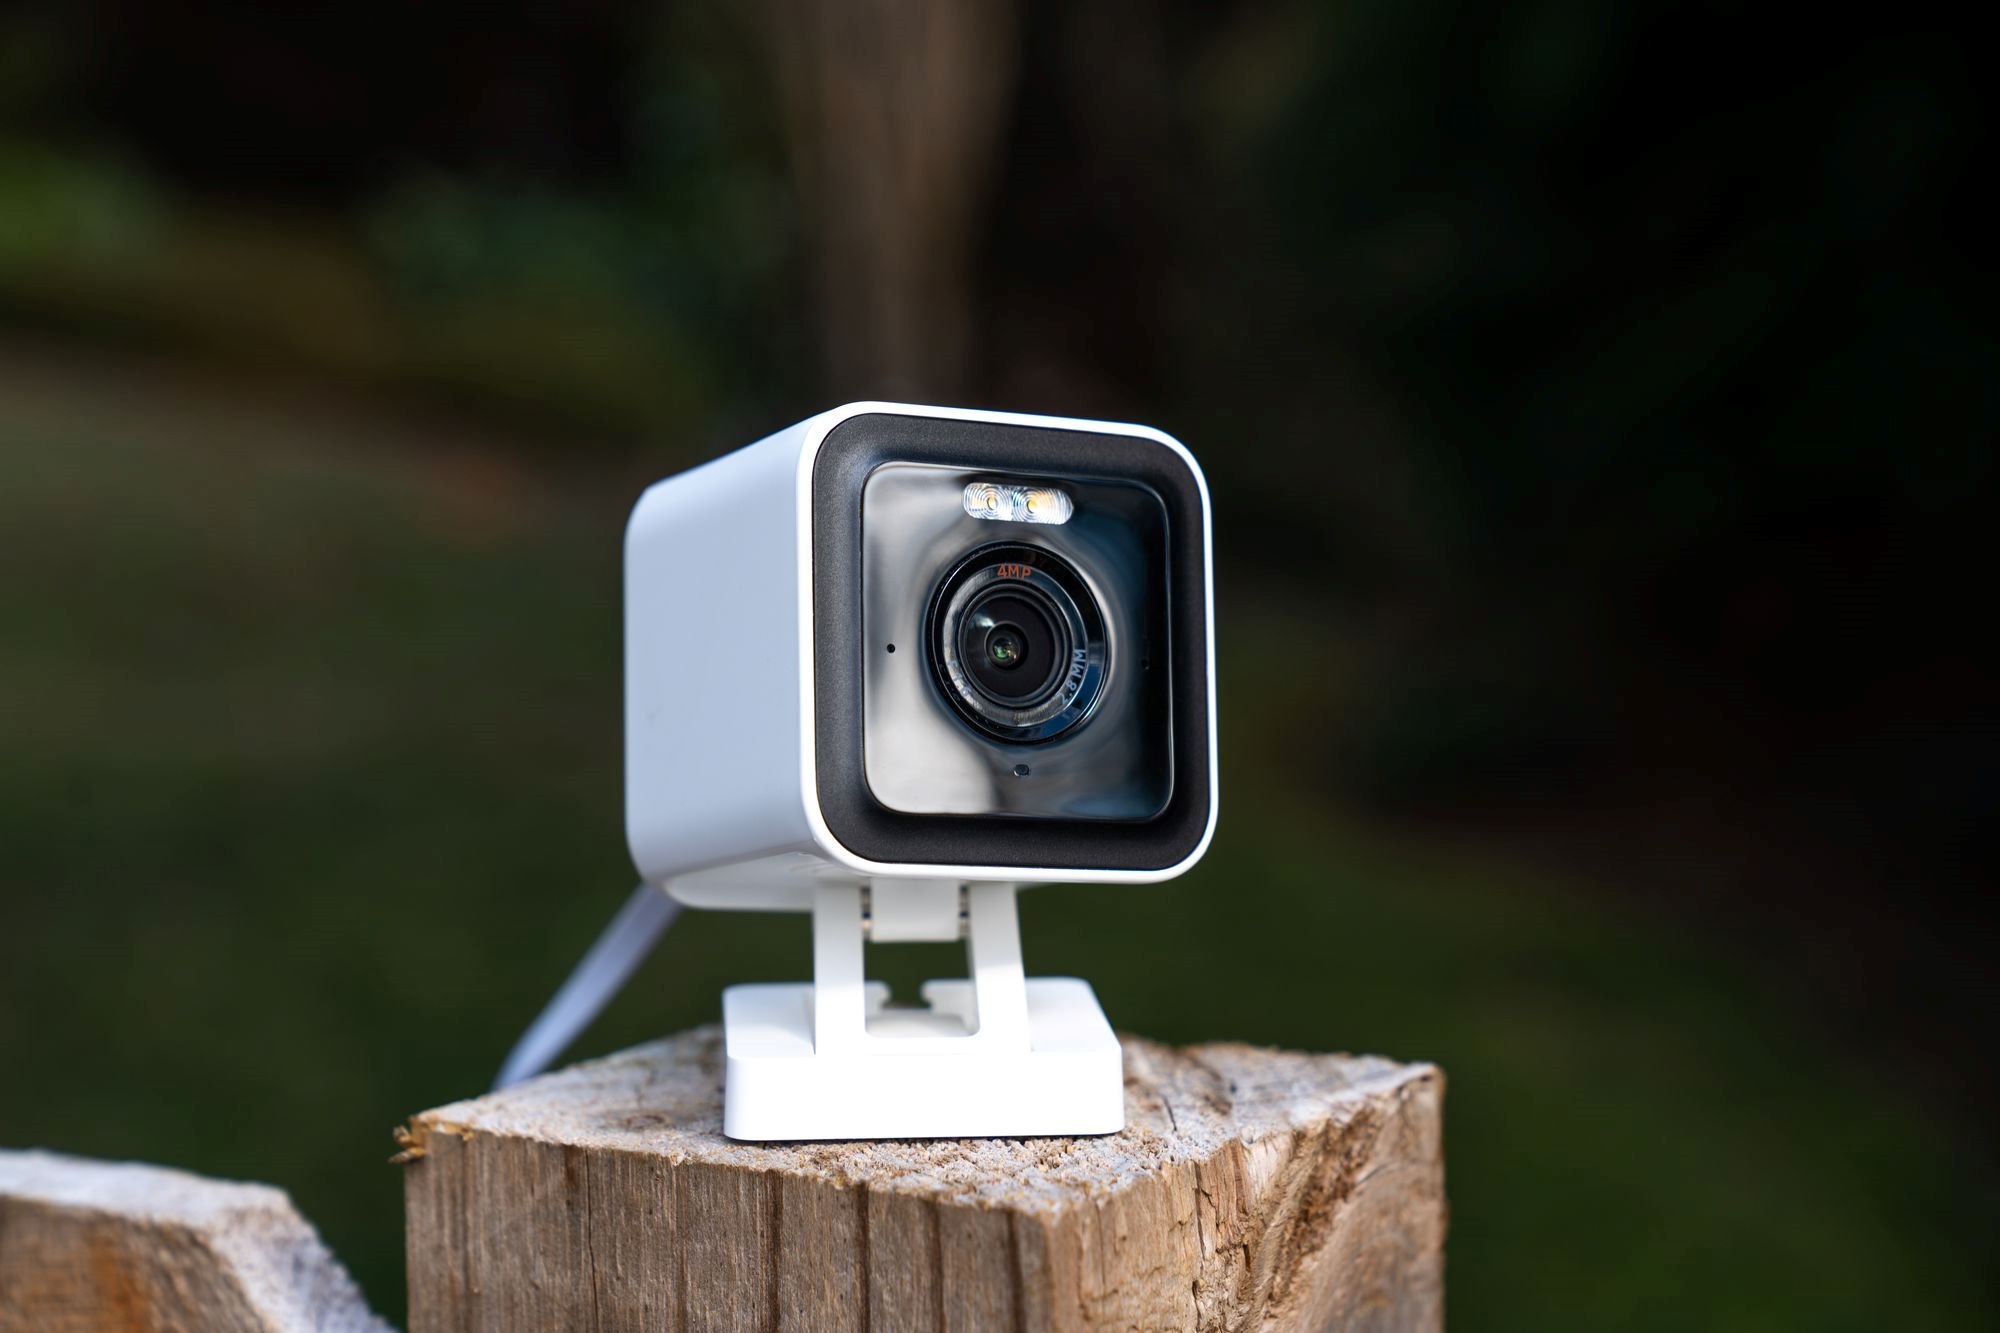
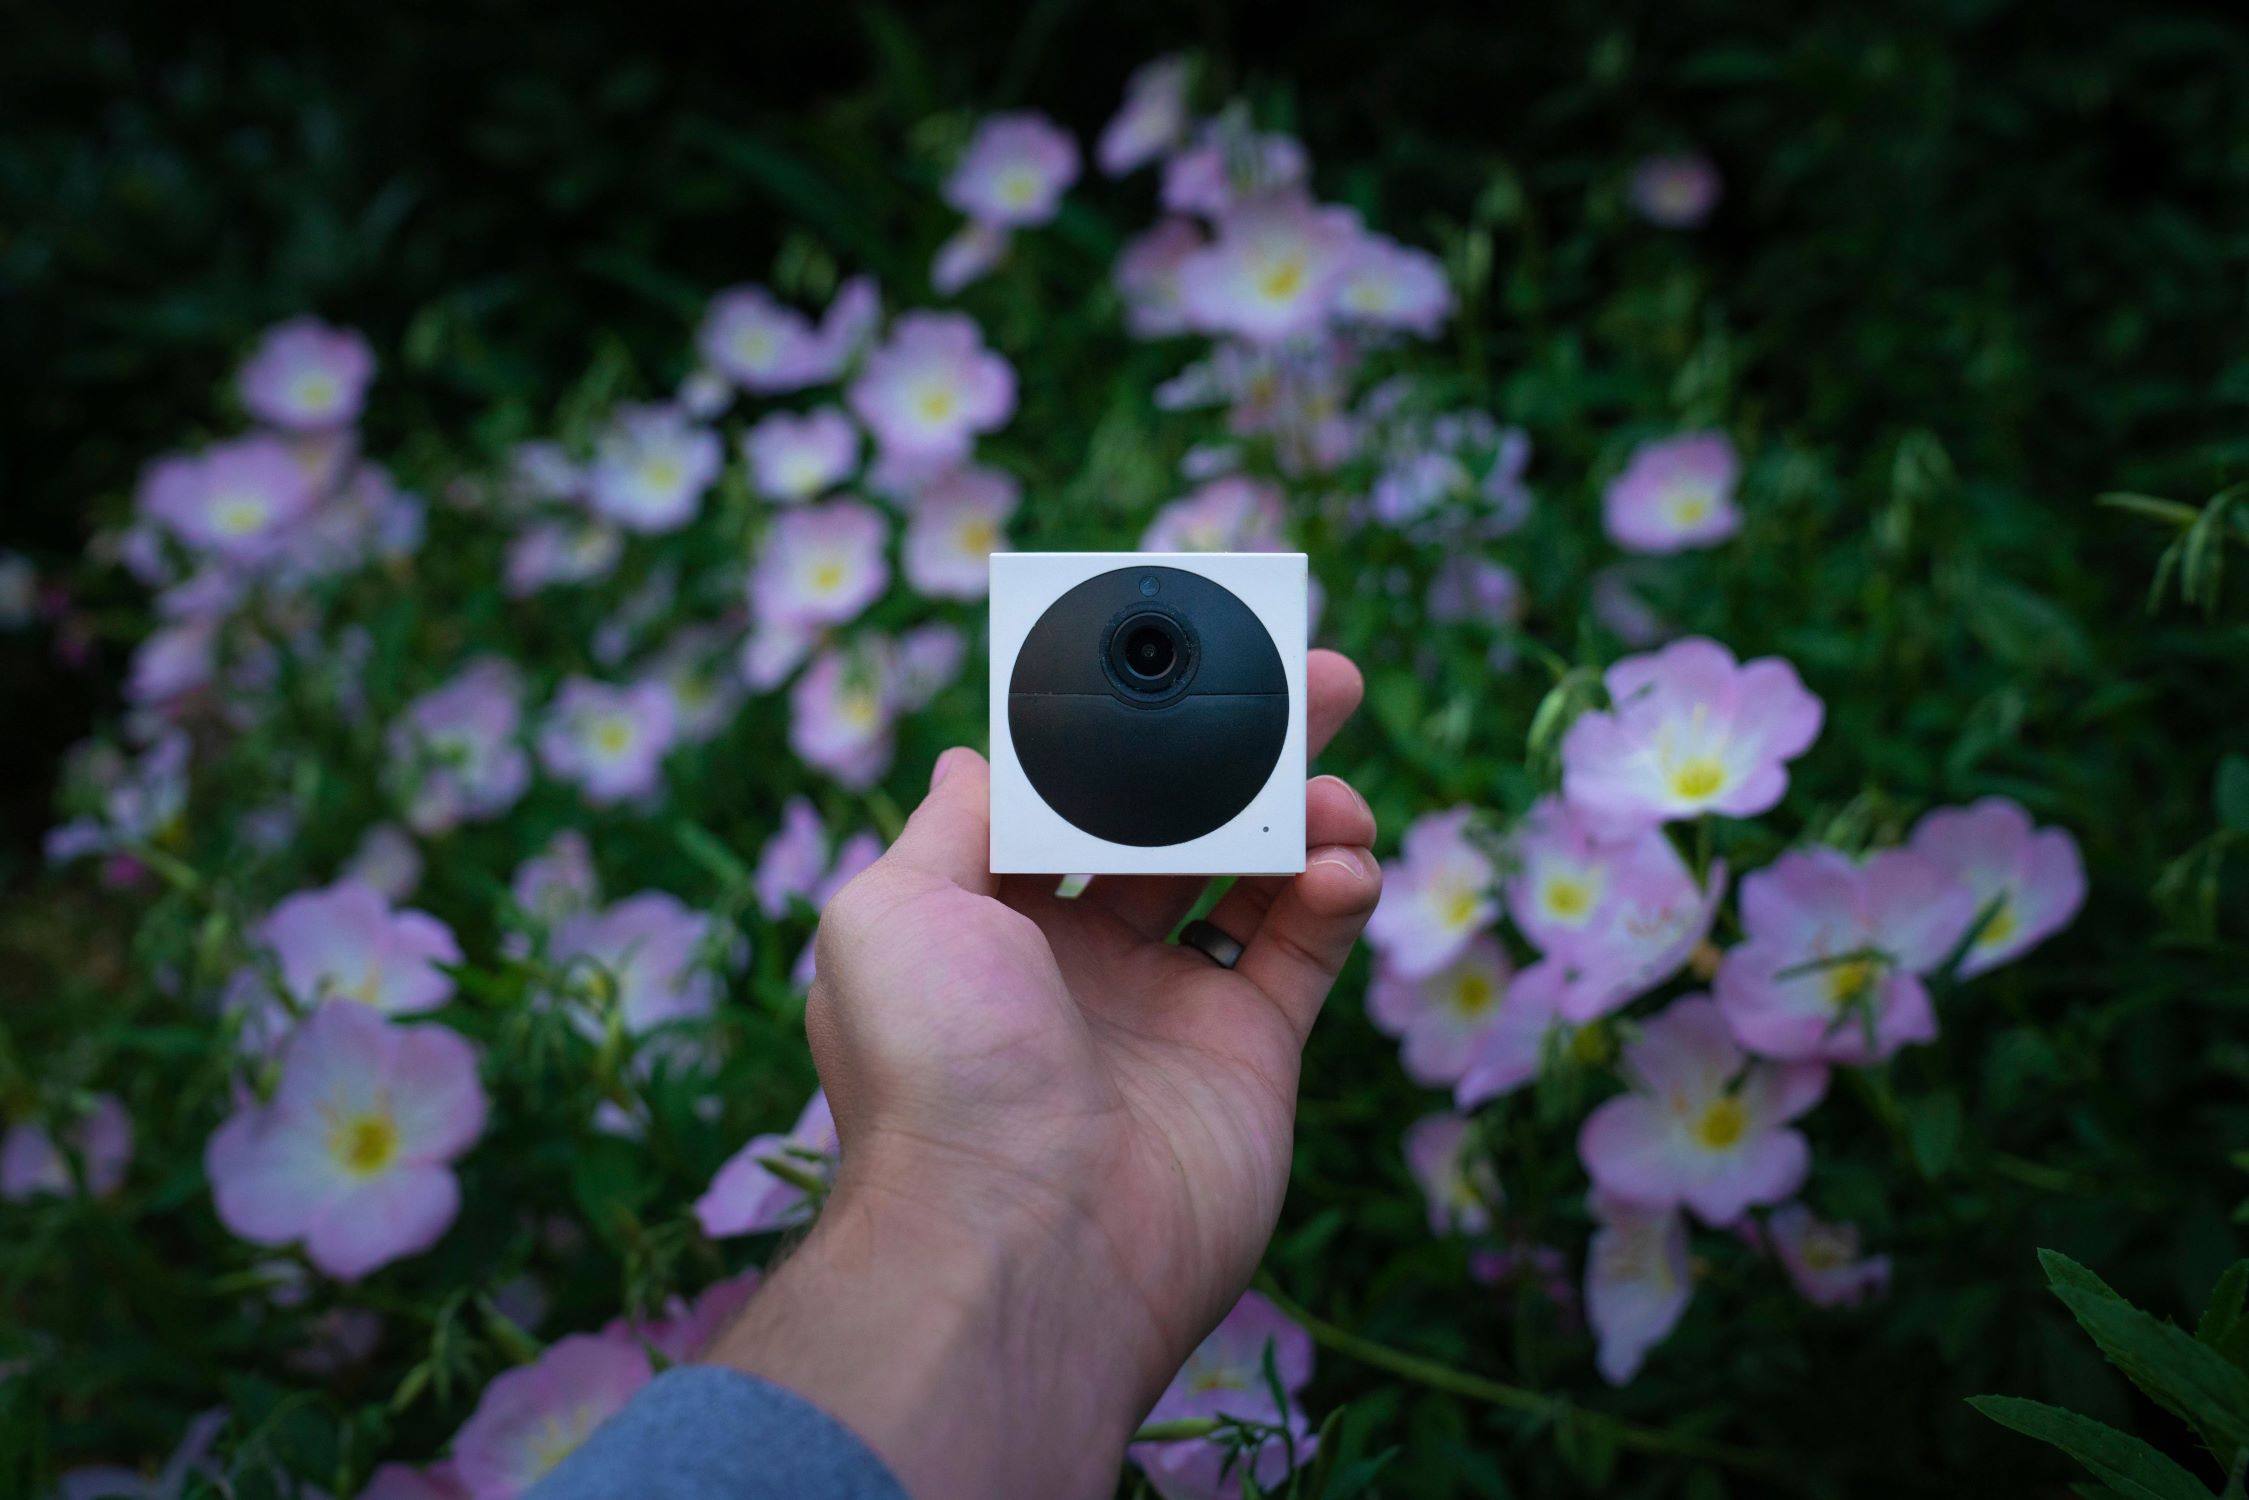
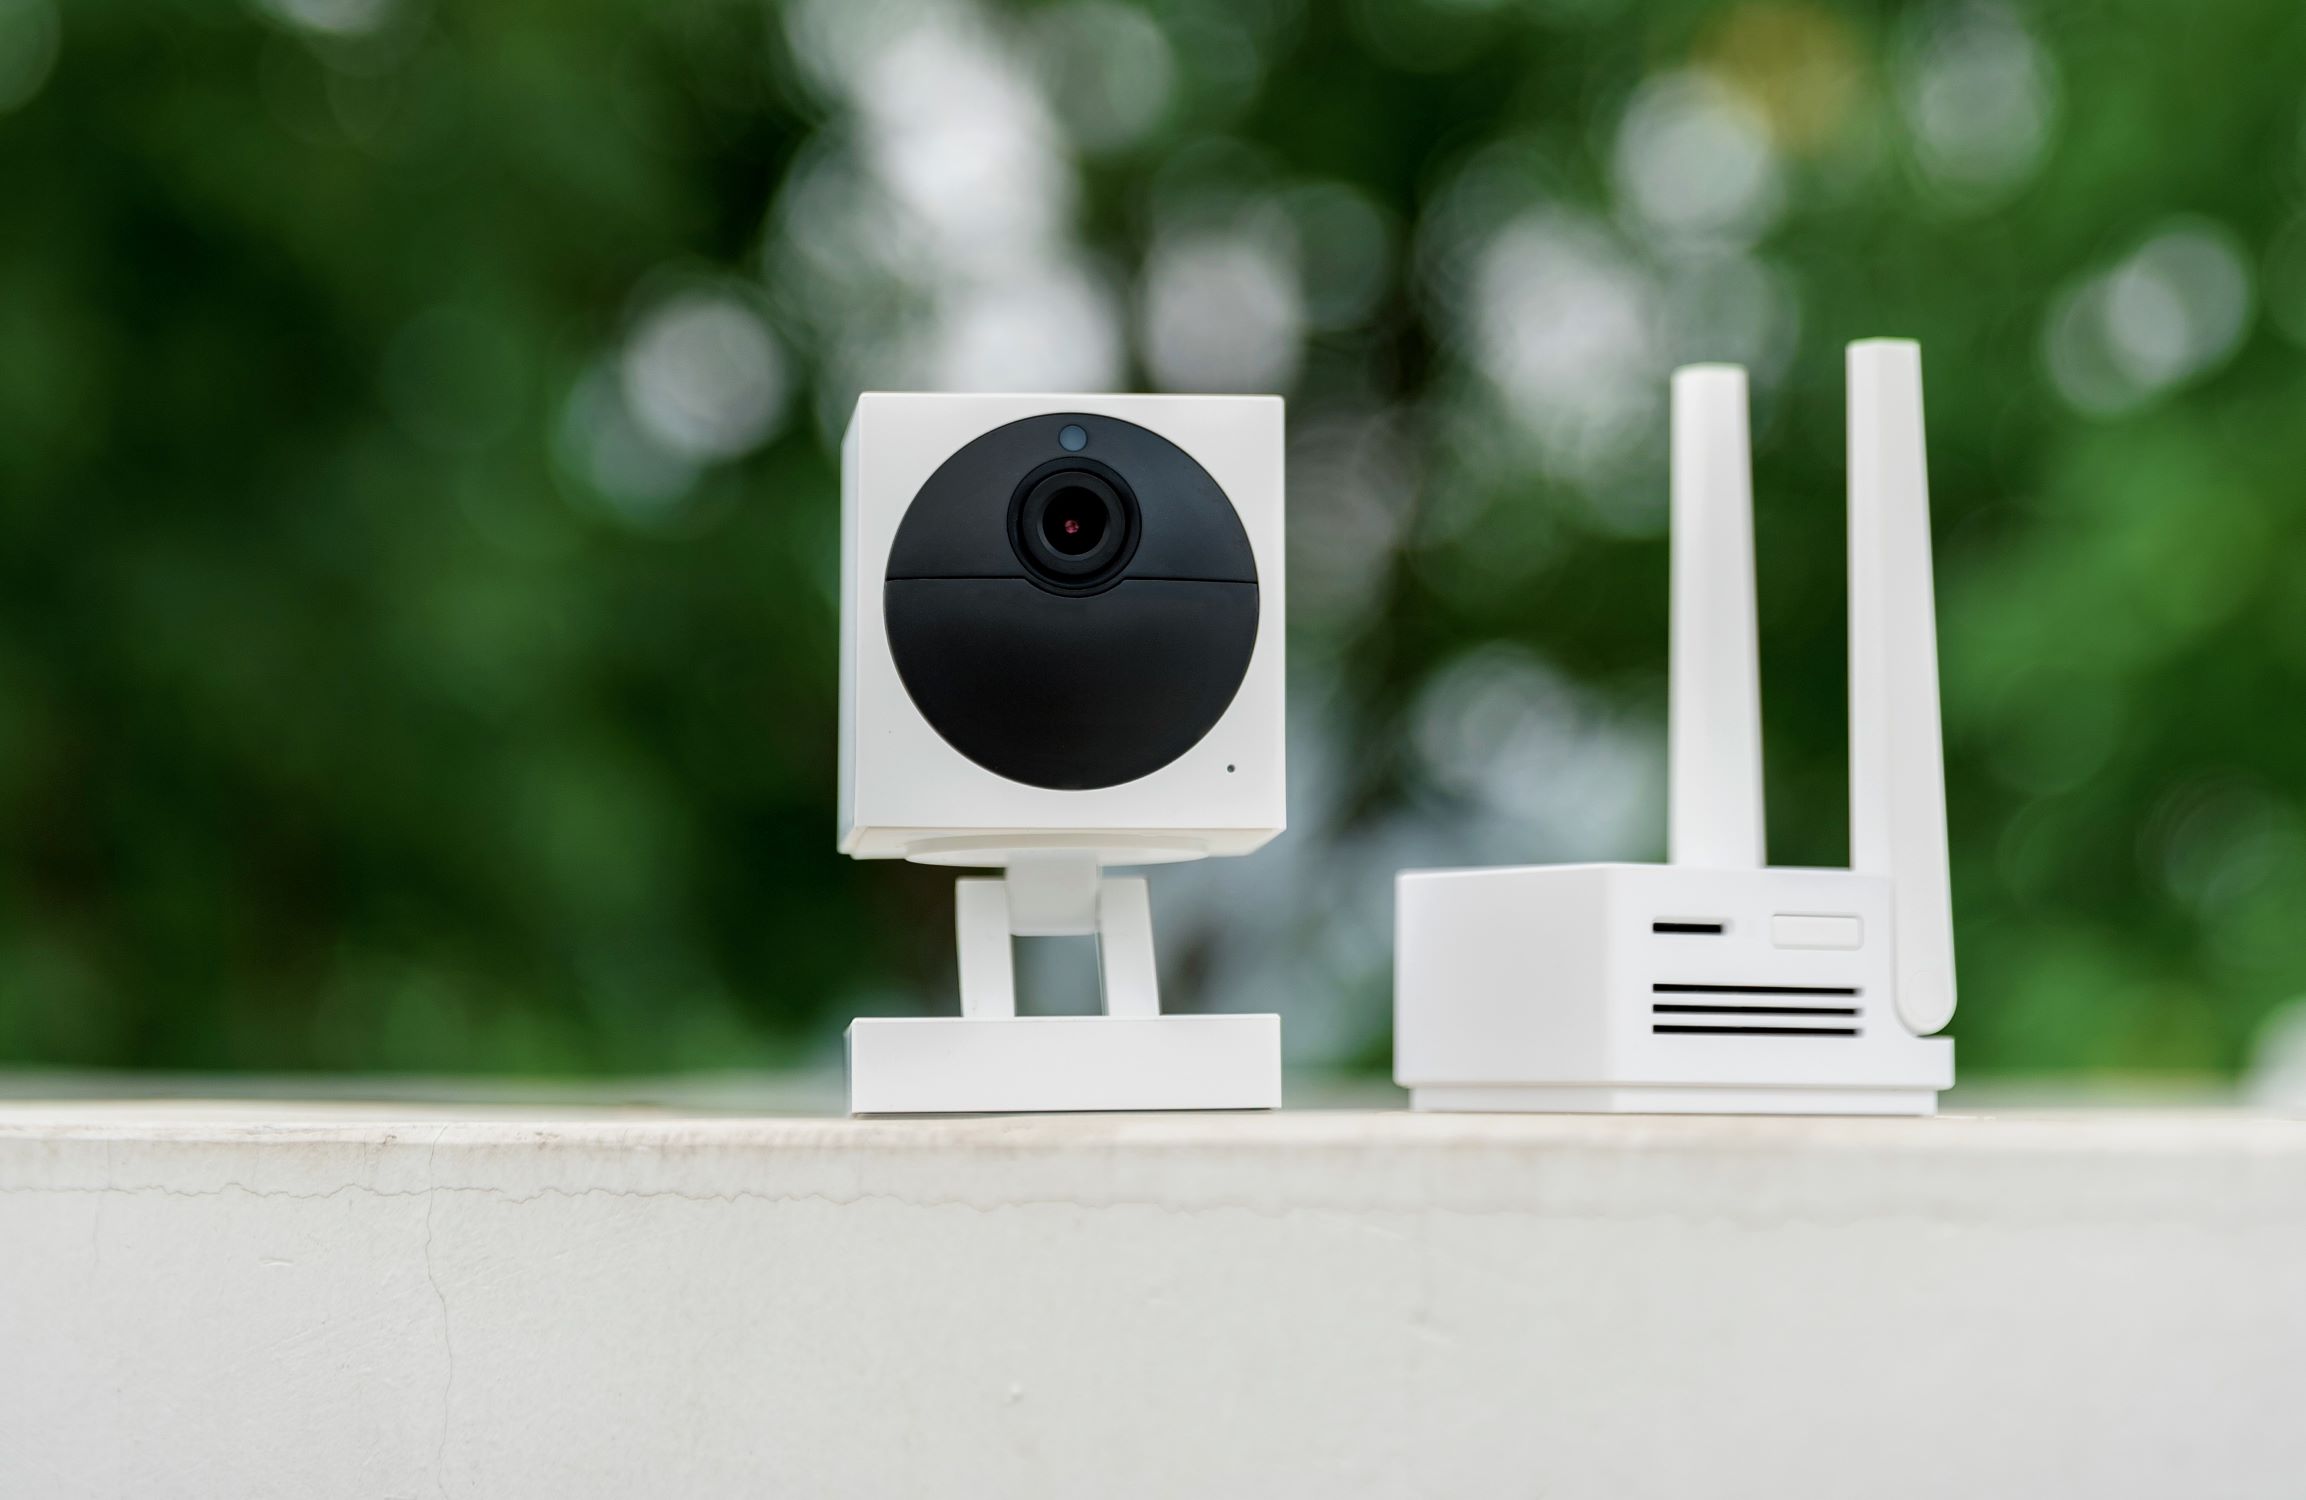
- Wyze Outdoor Camera: The star of the show, your Wyze Outdoor Camera is equipped with advanced features to capture clear and crisp footage of your outdoor space.
- Mounting Bracket: This essential component provides a sturdy base for attaching the camera to the desired location, ensuring stability and optimal positioning.
- Power Adapter and Cable: Ensure that you have the appropriate power adapter and cable to connect your Wyze Outdoor Camera to a reliable power source.
- Screwdriver Set: A versatile screwdriver set, including both flathead and Phillips head screwdrivers, will be indispensable for securing the mounting bracket and camera in place.
- Drill and Drill Bits: Depending on the mounting surface, a drill and compatible drill bits will be necessary for creating pilot holes and securing the mounting bracket.
- Level: To guarantee a straight and balanced installation, a level will aid in aligning the mounting bracket accurately.
- Weatherproof Cable Clips: These clips are designed to secure and protect the wiring, ensuring resistance to the elements and maintaining a tidy appearance.
- Weatherproof Cable Extension (if needed): If the provided cable length is insufficient for your installation, a weatherproof cable extension can bridge the gap while maintaining durability.
- Smartphone or Tablet: Your mobile device will be essential for the initial setup and configuration of your Wyze Outdoor Camera via the Wyze app.
- Sturdy Ladder: Depending on the installation height, a sturdy ladder will facilitate safe access to the mounting location.
- Protective Eyewear and Gloves: Safety first! Protective eyewear and gloves are recommended, especially when using a drill or working in outdoor environments.
By ensuring that you have all these tools and materials at your disposal, you can proceed with confidence, knowing that you are well-equipped to tackle the installation of your Wyze Outdoor Camera.
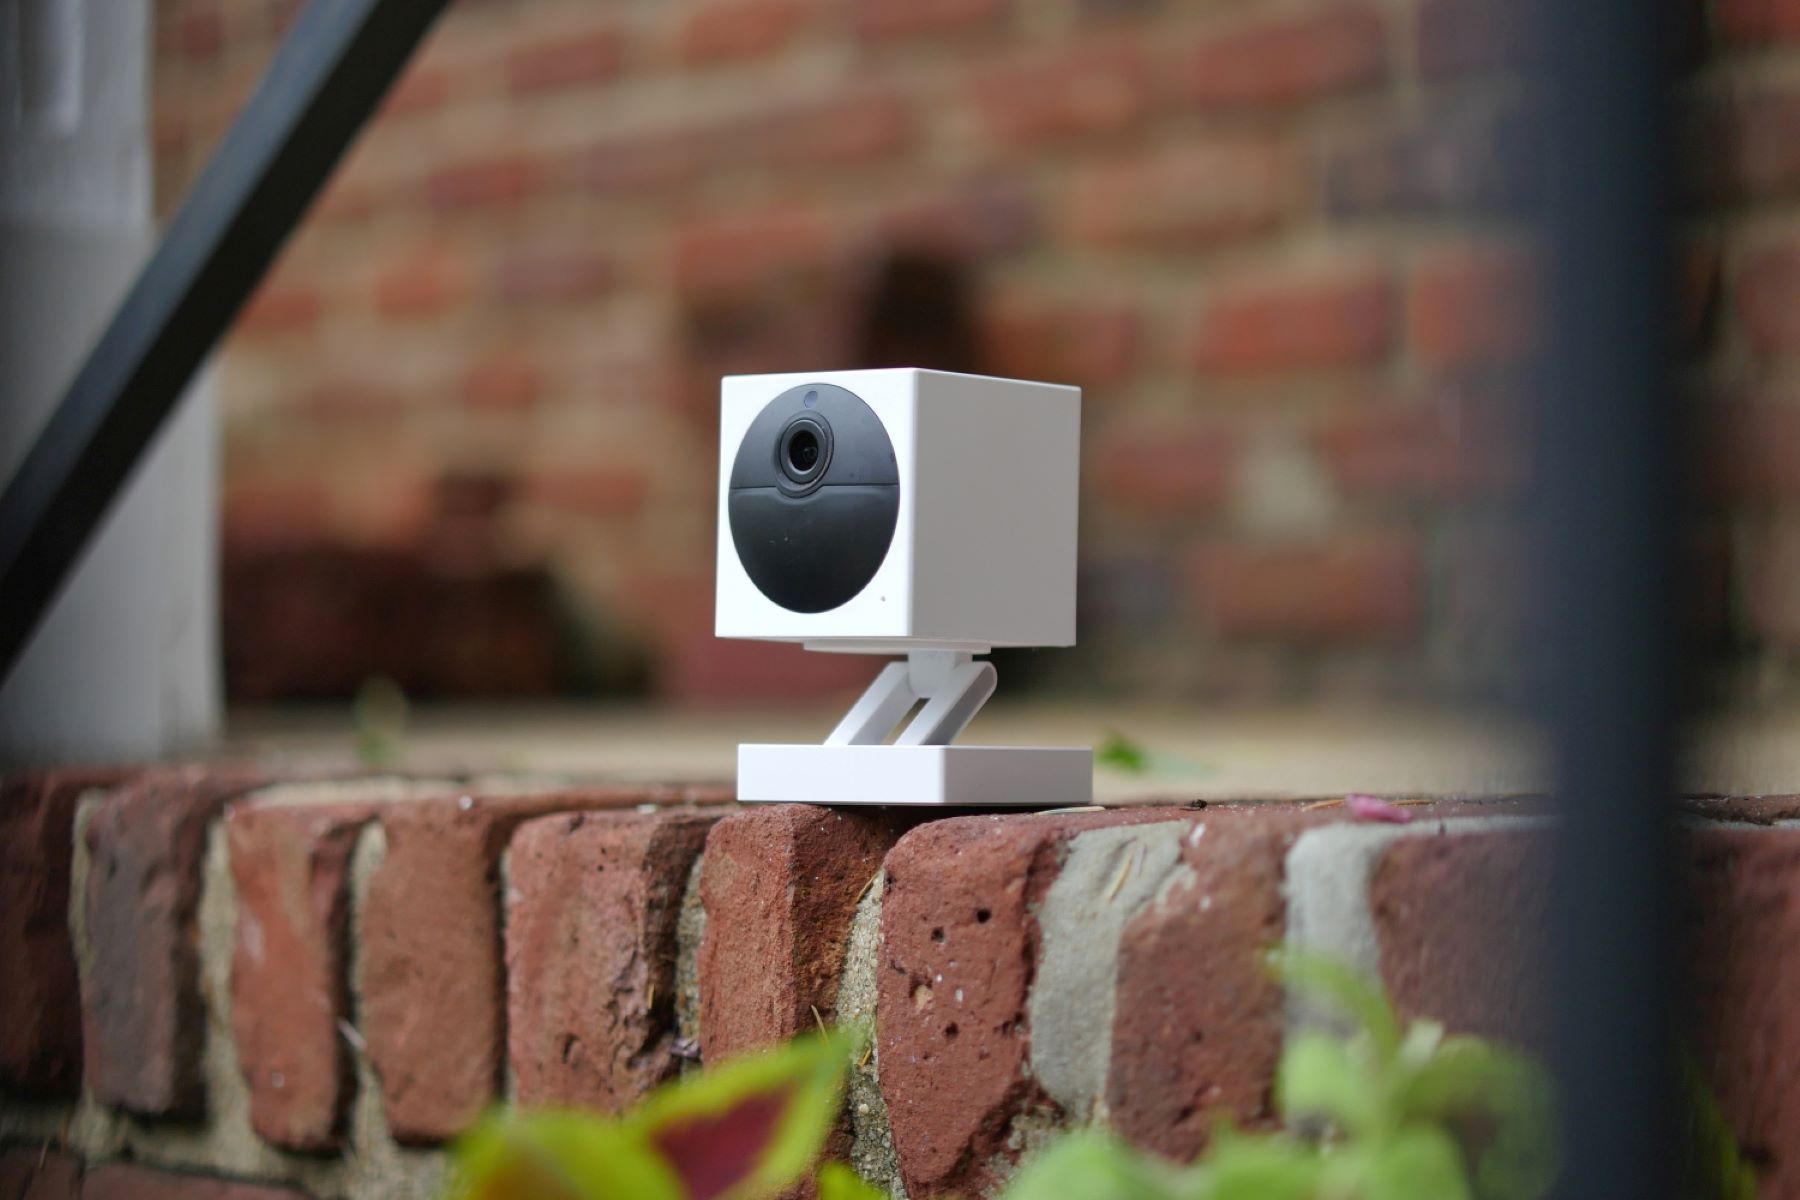
Step 1: Prepare the Mounting Location
Choosing the ideal mounting location for your Wyze Outdoor Camera is a crucial first step in the installation process. The placement of the camera will directly impact its field of view, coverage area, and overall effectiveness in monitoring your outdoor space. Here are the essential considerations to keep in mind as you prepare the mounting location:
- Survey the Area: Take a thorough look at your outdoor space and identify key areas that require surveillance. Whether it’s the front porch, backyard, or driveway, pinpointing the optimal locations will set the stage for effective monitoring.
- Consider Camera Angles: Visualize the potential camera angles from the chosen mounting locations, ensuring that they provide comprehensive coverage while minimizing potential obstructions.
- Assess Mounting Surfaces: Evaluate the surfaces available for mounting, such as exterior walls, wooden posts, or eaves. Ensure that the chosen surface is structurally sound and capable of supporting the mounting bracket and camera.
- Account for Power Source: Proximity to a reliable power source is essential for powering the Wyze Outdoor Camera. Identify nearby power outlets or consider the use of weatherproof outdoor extension cords if needed.
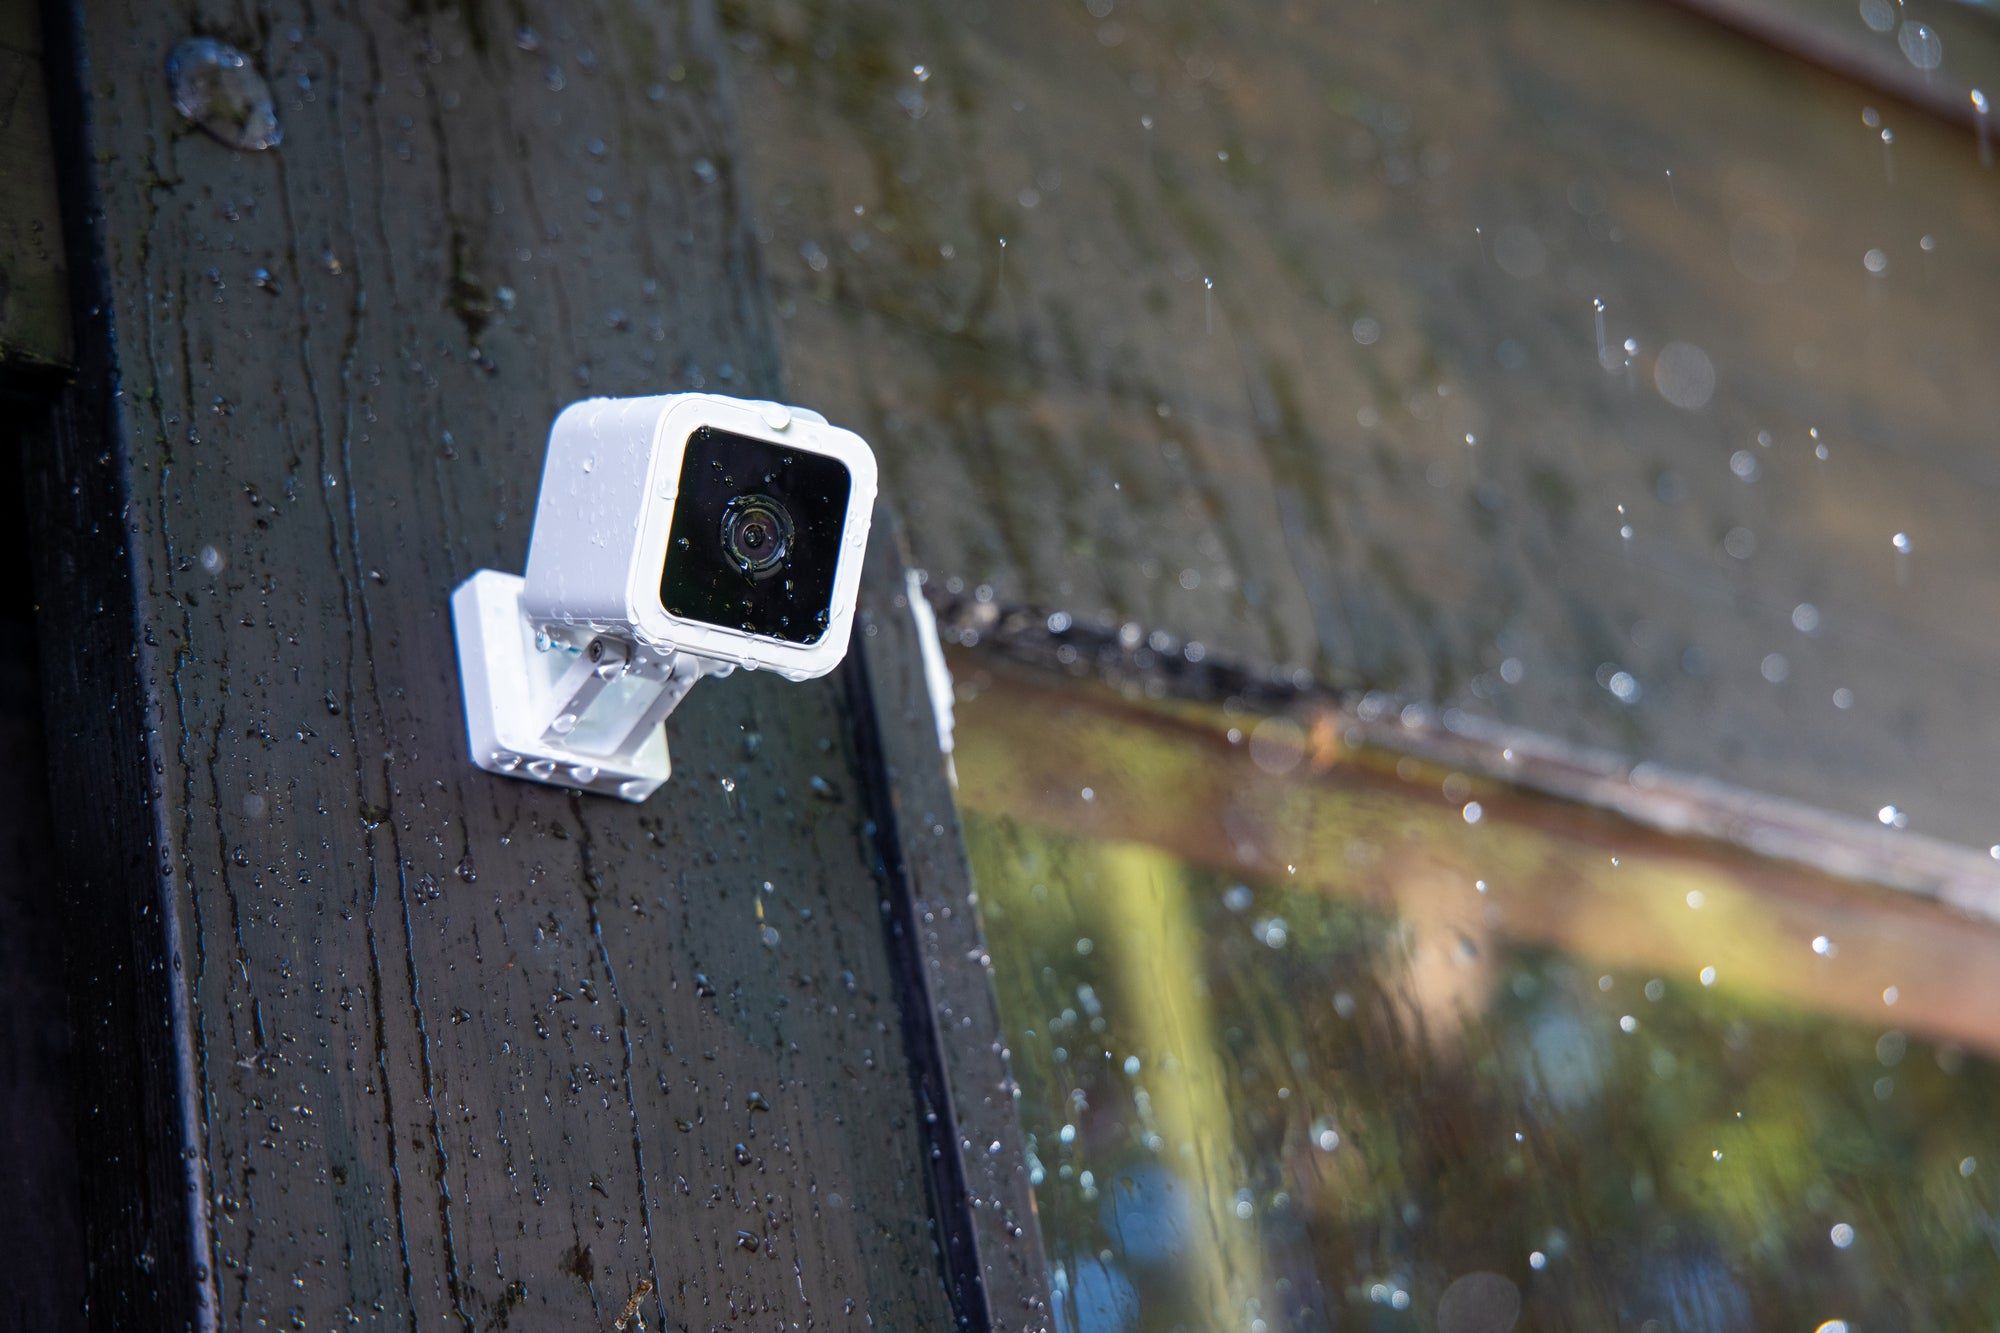
- Factor in Weather Resistance: Given the outdoor environment, it’s crucial to select a mounting location that offers protection against the elements, such as rain, wind, and direct sunlight, to maintain the camera’s functionality and longevity.
- Ensure Adequate Height: Optimal mounting height is key to capturing clear and comprehensive footage. Aim to position the camera at a height that provides an unobstructed view while remaining out of easy reach.
Once you’ve carefully assessed these factors, you’ll be well-prepared to select the perfect mounting location for your Wyze Outdoor Camera. This thoughtful approach will lay the foundation for a successful installation and ensure that your camera delivers reliable and effective outdoor surveillance.
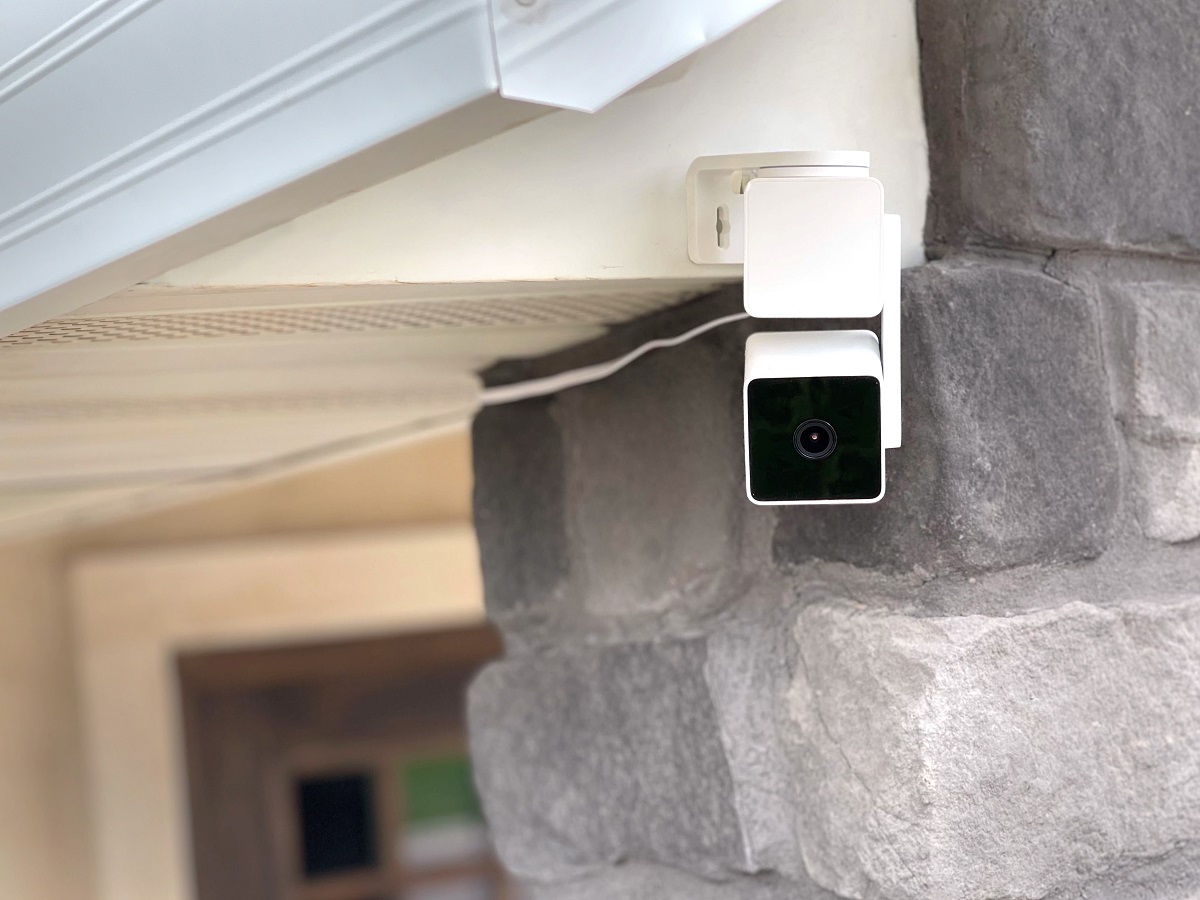
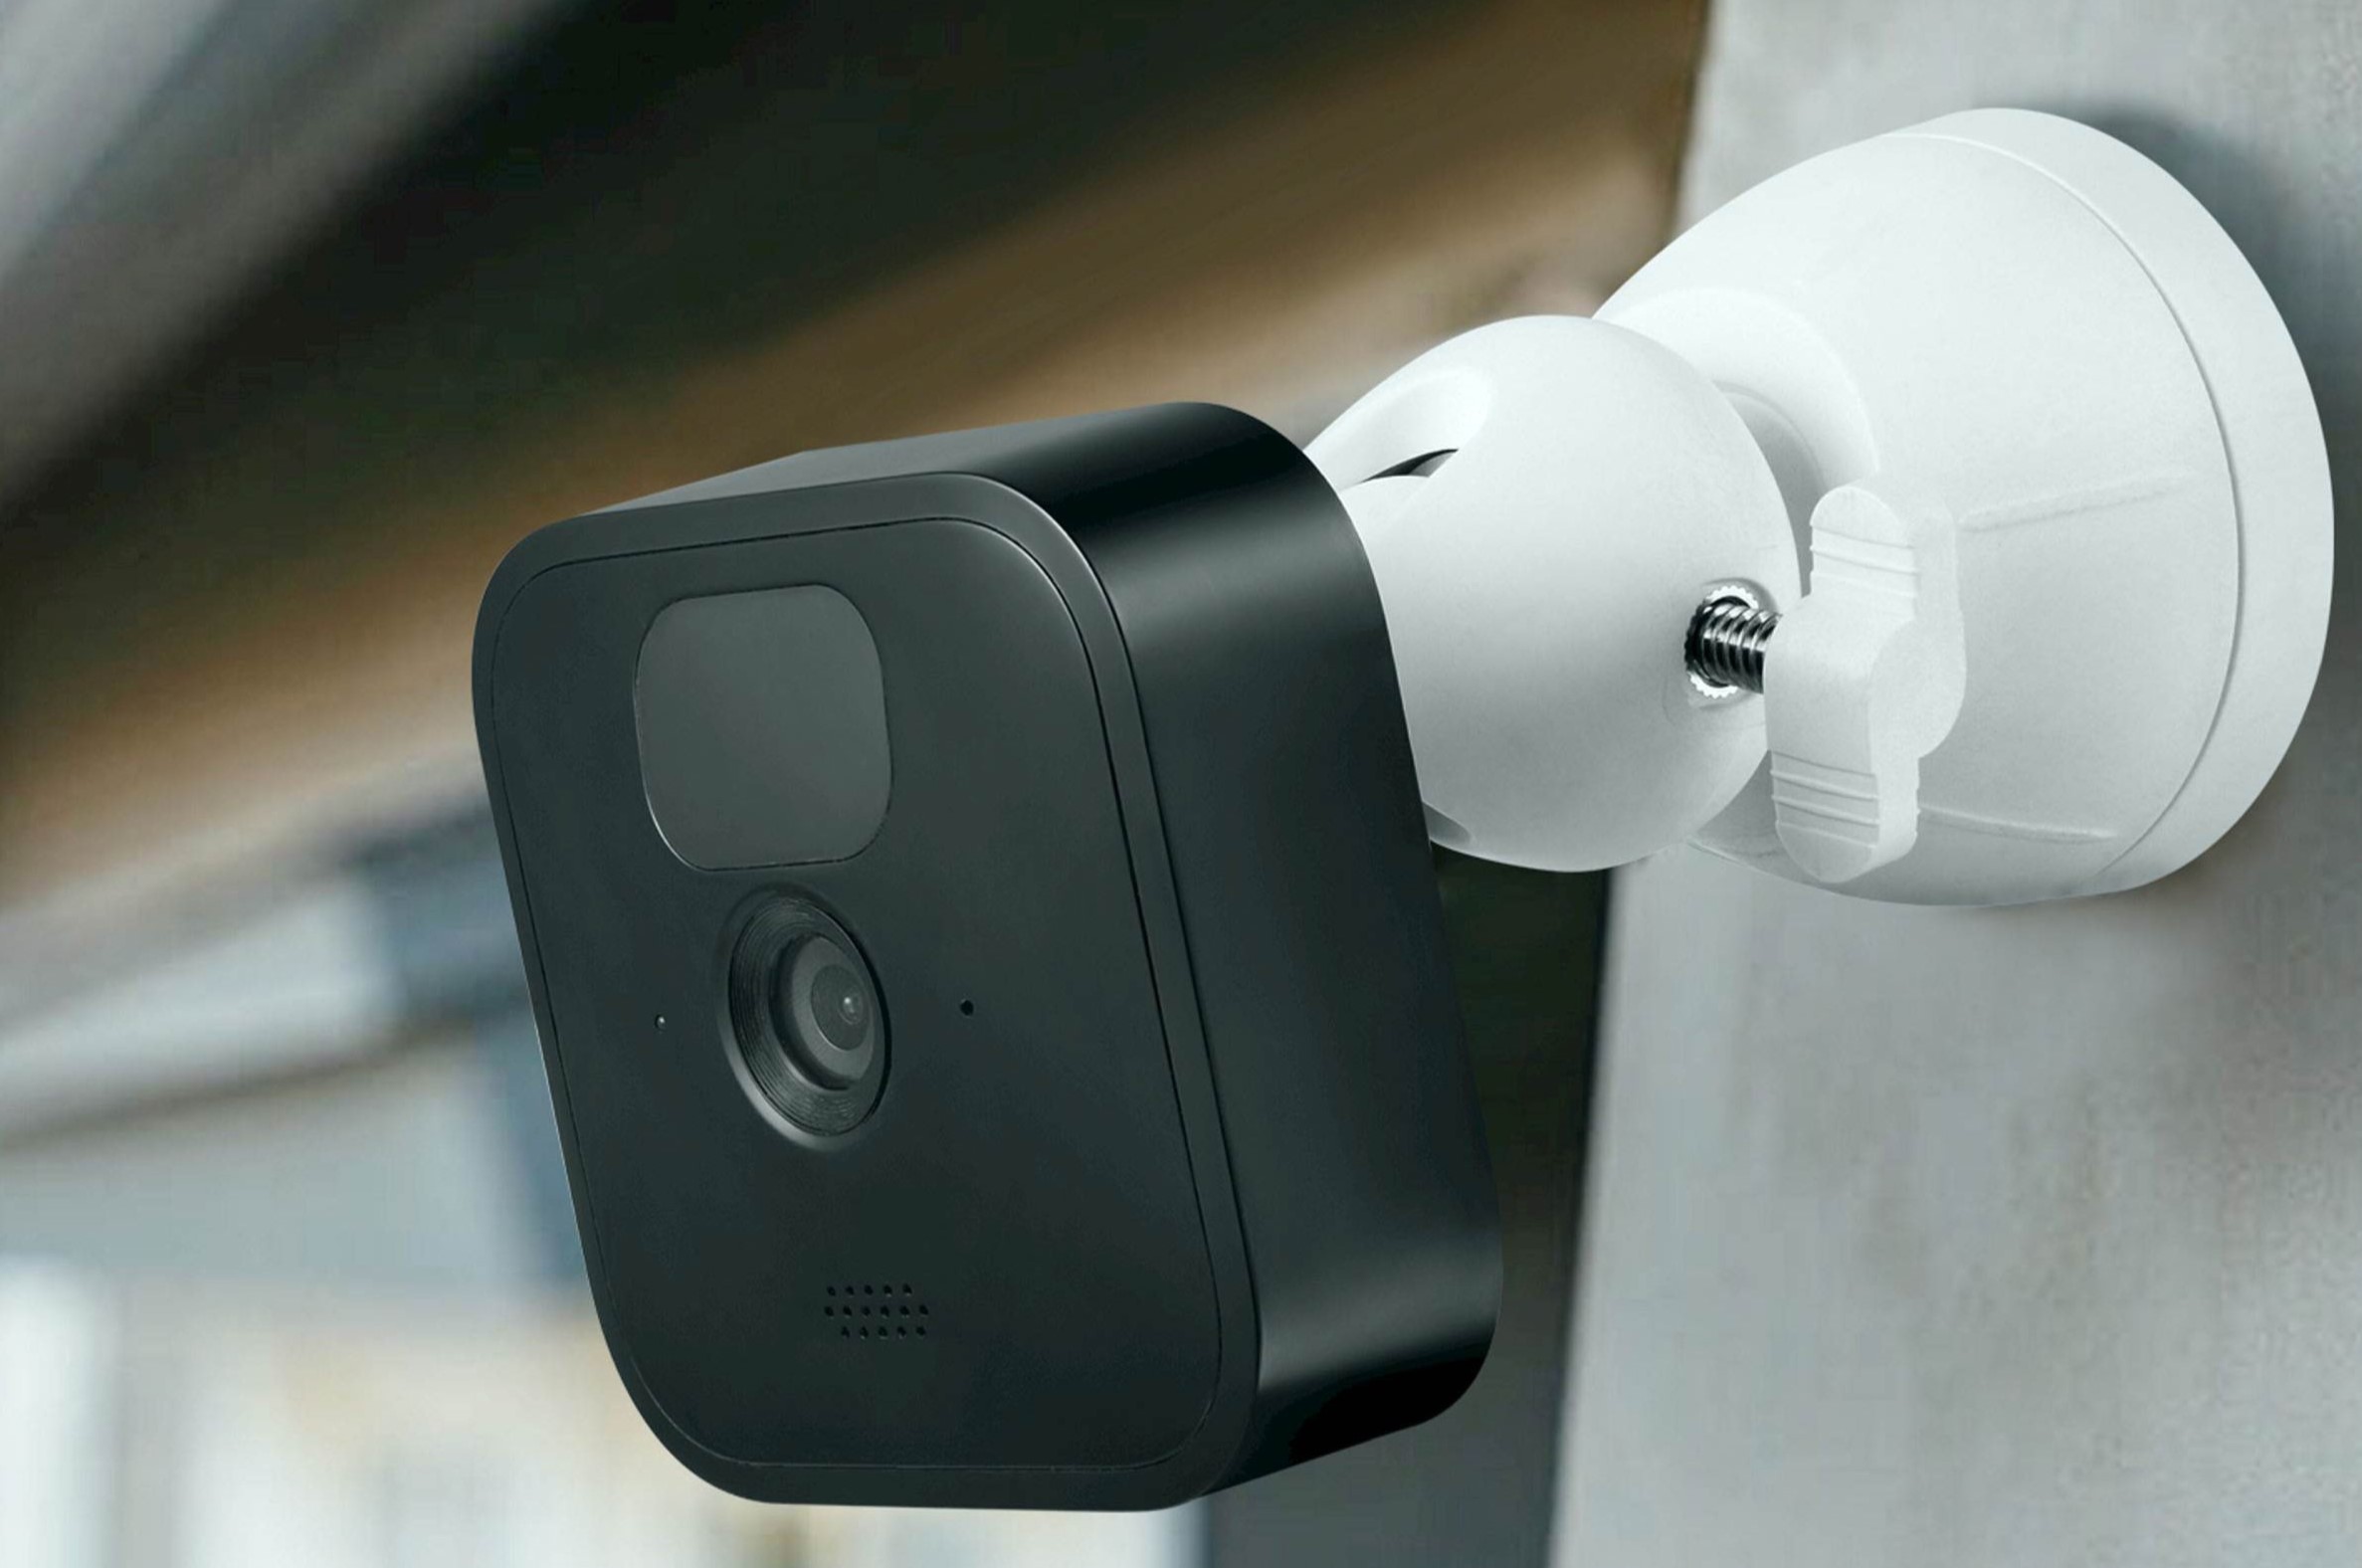
Step 2: Install the Mounting Bracket
With the mounting location selected, it’s time to proceed with installing the mounting bracket to provide a secure and stable base for your Wyze Outdoor Camera. The mounting bracket serves as the anchor point, allowing you to affix the camera in the desired outdoor location. Here’s a step-by-step guide to installing the mounting bracket:
- Mark the Drill Points: Using a pencil or marker, carefully mark the drill points on the chosen mounting surface based on the pre-drilled holes on the mounting bracket. Ensure that the markings align with the intended position and orientation of the bracket.
- Prepare the Drill: Select an appropriately sized drill bit based on the mounting hardware provided with the bracket. If necessary, use a power drill to create pilot holes at the marked points, taking care to maintain a straight and level drilling angle.
- Secure the Mounting Bracket: Align the pre-drilled holes on the mounting bracket with the pilot holes on the mounting surface. Using the supplied screws or mounting hardware, securely fasten the bracket in place, ensuring a snug and stable fit.
- Verify Stability: Once the mounting bracket is installed, perform a gentle tug or shake test to ensure that it is firmly anchored to the mounting surface. Confirm that the bracket remains stable and does not exhibit any wobbling or looseness.
- Level the Bracket: Utilize a level to confirm that the installed mounting bracket is perfectly horizontal or vertical, depending on the desired orientation. This step is crucial for ensuring that the Wyze Outdoor Camera will be properly aligned and provide accurate footage.
By following these steps, you will have successfully installed the mounting bracket, laying the groundwork for securely attaching your Wyze Outdoor Camera. The stable and properly positioned bracket will serve as the cornerstone of your camera’s installation, setting the stage for the next phase of the setup process.
When mounting a Wyze Outdoor Camera, make sure to choose a location with a strong Wi-Fi signal and a clear view of the area you want to monitor. Use the included mounting kit and follow the instructions carefully to ensure a secure and stable installation.
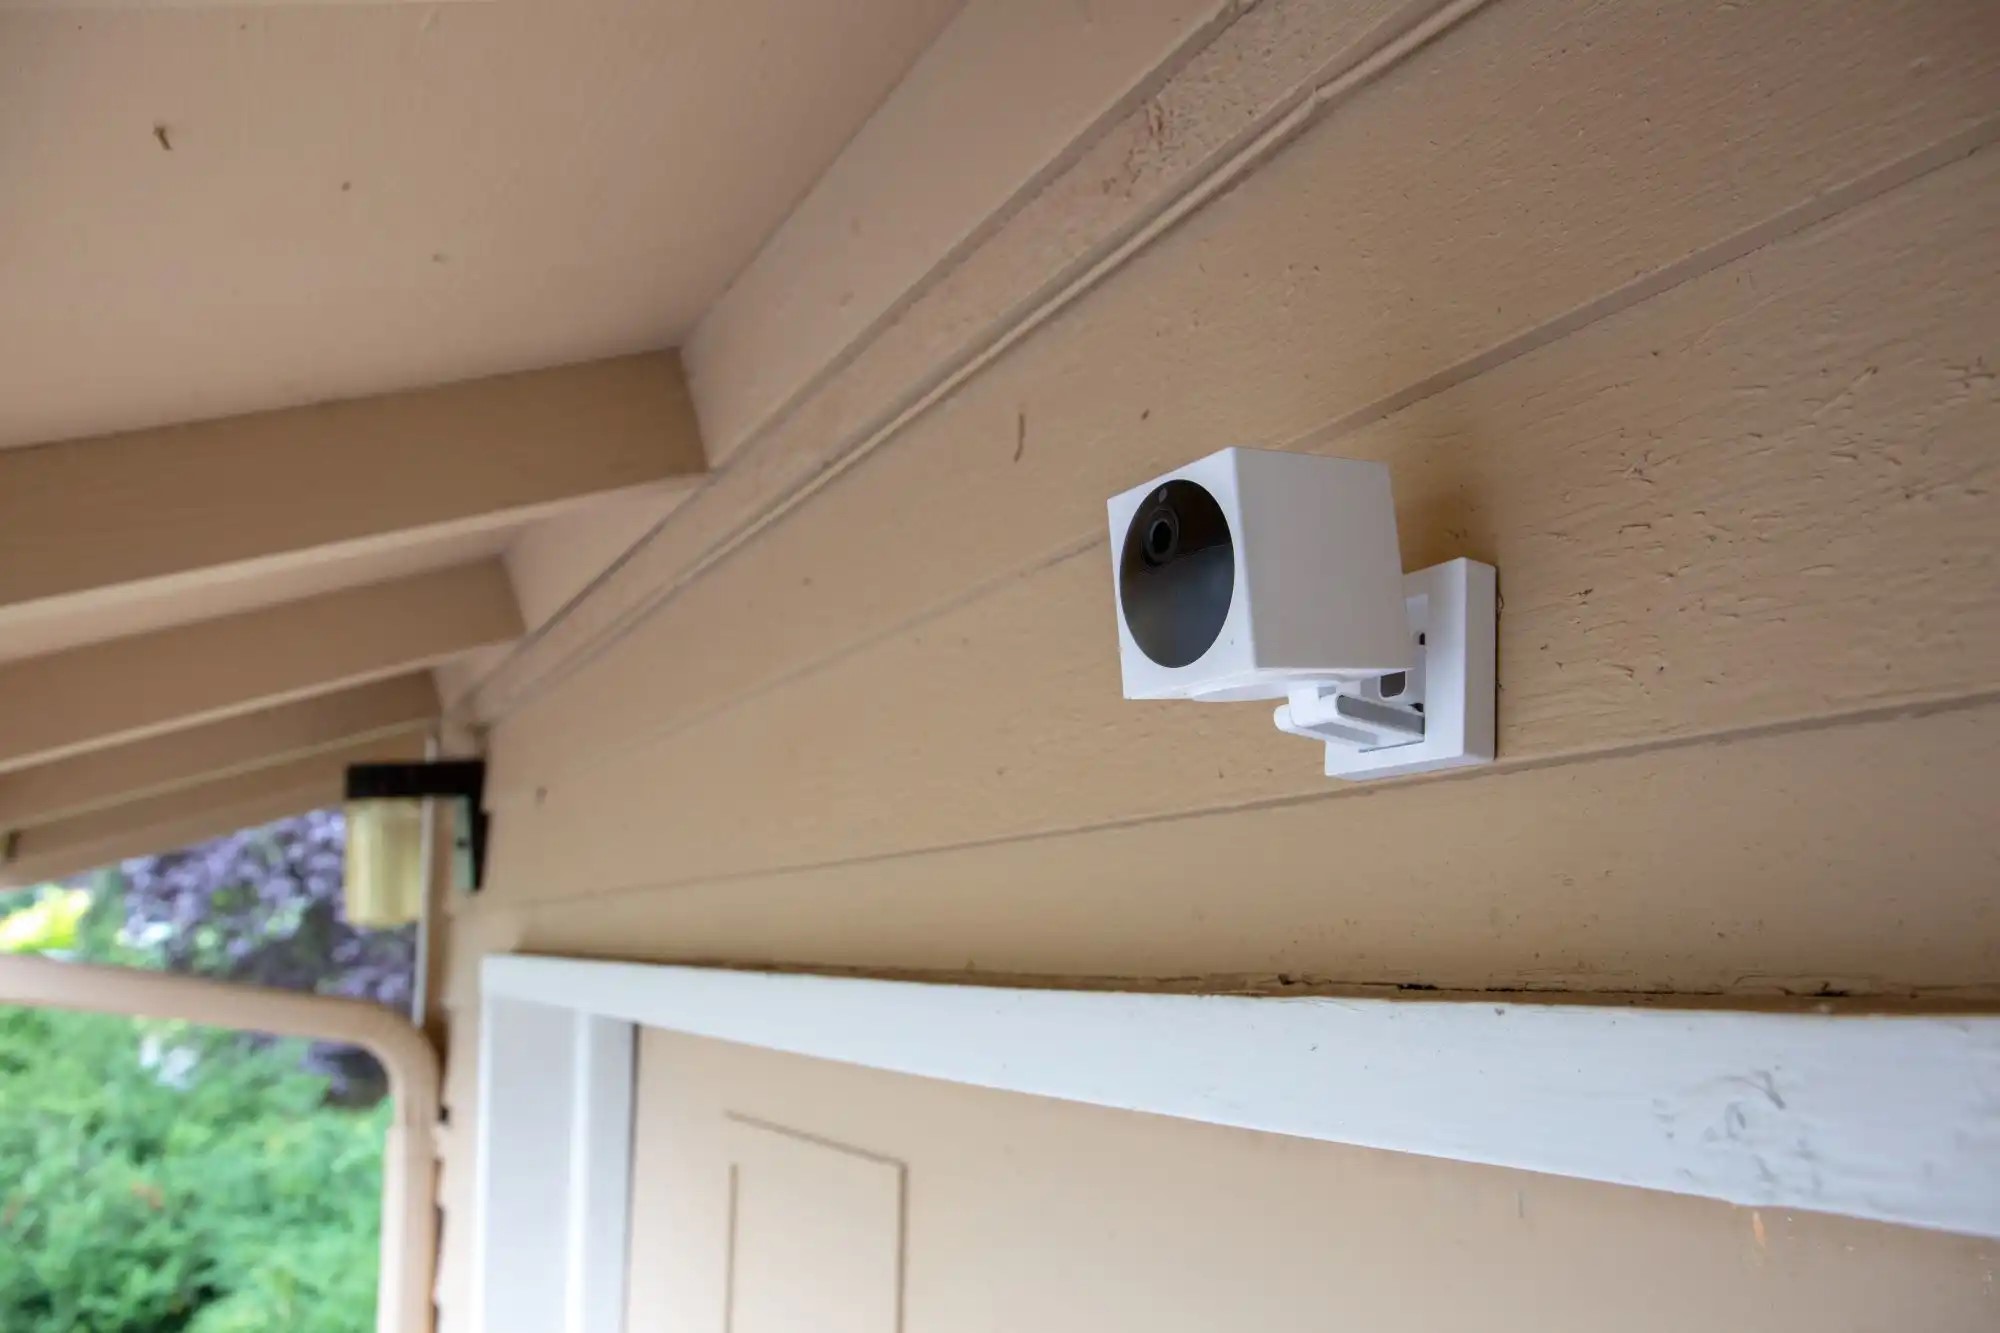
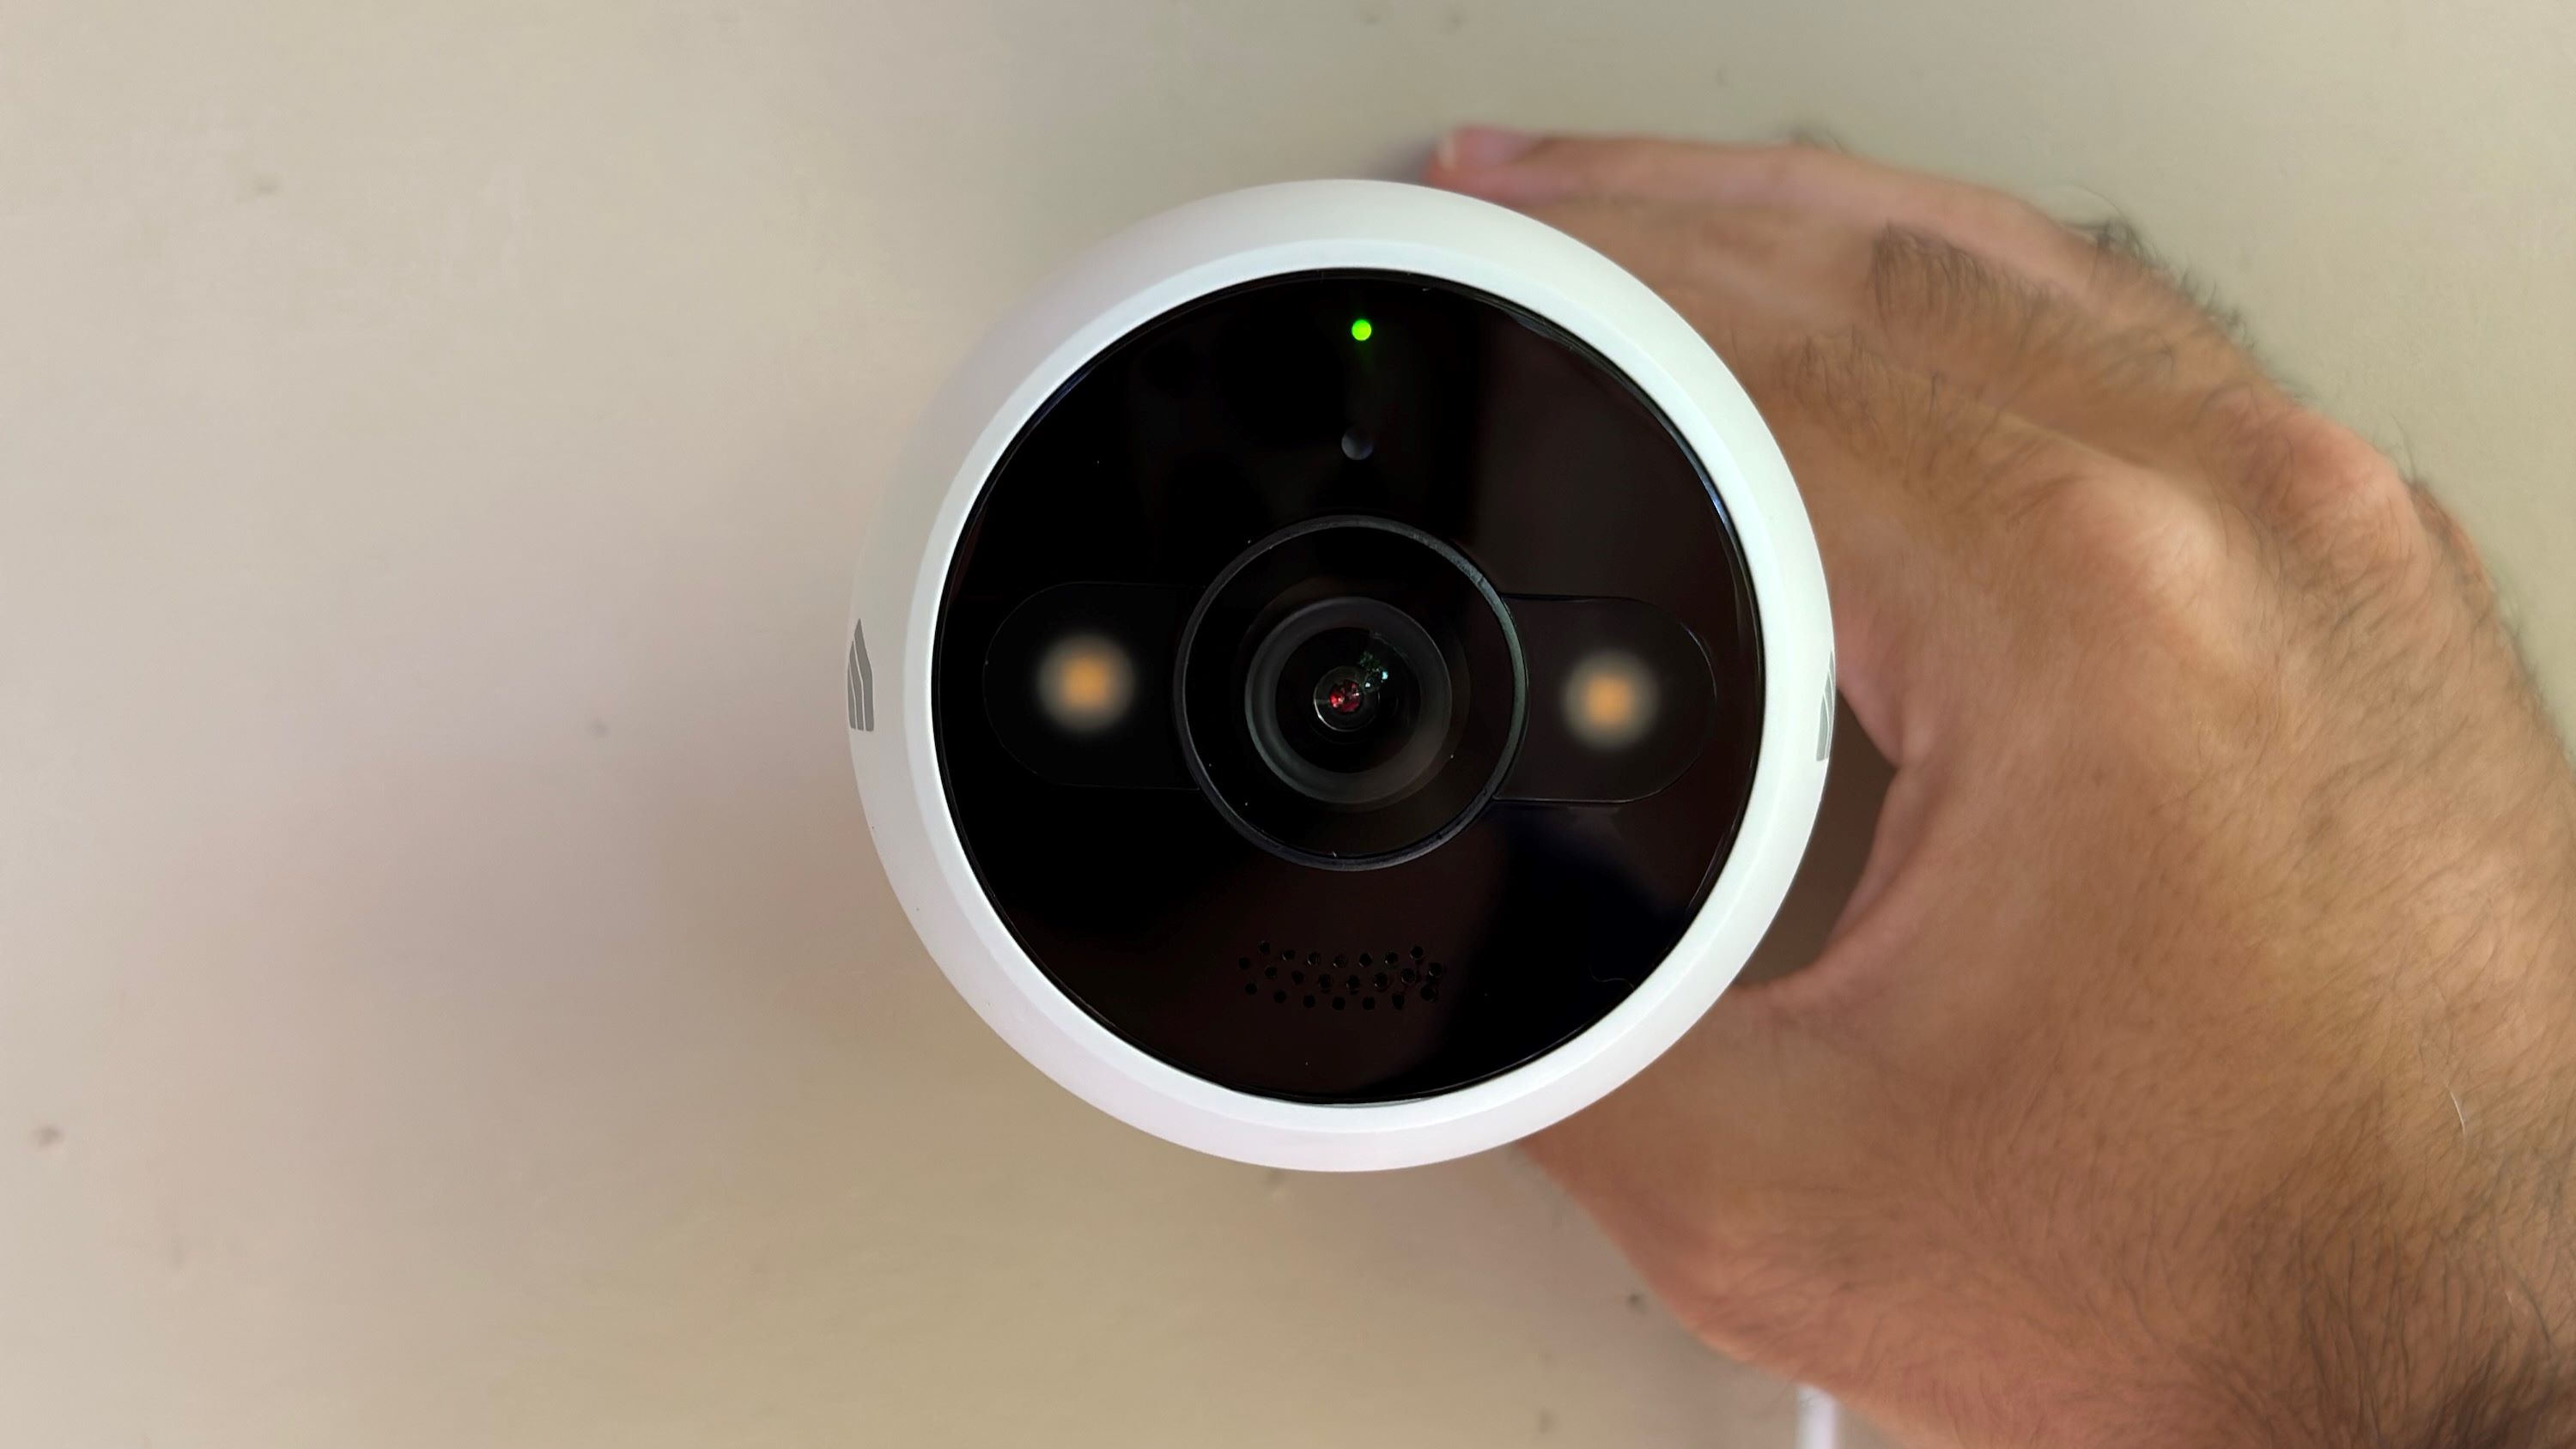
Step 3: Attach the Wyze Outdoor Camera
With the mounting bracket securely in place, it’s time to proceed with attaching your Wyze Outdoor Camera to its designated outdoor location. This pivotal step brings the installation process closer to completion, allowing you to position the camera for optimal coverage and functionality. Here’s a detailed guide on how to attach the Wyze Outdoor Camera to the mounting bracket:
- Position the Camera: Carefully position the Wyze Outdoor Camera in alignment with the mounting bracket, ensuring that the mounting screw slots on the camera align with the corresponding tabs or screws on the bracket.
- Secure the Camera: Once the camera is properly aligned with the mounting bracket, gently slide or maneuver it into place, allowing the screw slots to engage with the bracket’s tabs or screws. Apply gentle pressure to ensure a snug fit without overtightening.
- Confirm Secure Attachment: Perform a visual and tactile inspection to verify that the camera is securely attached to the mounting bracket. Check for any signs of instability or misalignment, and make any necessary adjustments to ensure a secure and level installation.
- Test Camera Movement: If your Wyze Outdoor Camera features adjustable positioning or rotation, test the camera’s movement to confirm that it can be adjusted as needed to achieve the desired field of view and coverage area.
- Activate the Camera: Once the camera is securely attached, proceed to activate and power it on according to the manufacturer’s instructions. This typically involves connecting the camera to a power source and initializing the setup process using the accompanying mobile app.
By following these steps, you will have successfully attached your Wyze Outdoor Camera to the mounting bracket, bringing you one step closer to harnessing the full potential of your outdoor surveillance system. With the camera securely in place, you can now proceed to fine-tune its position and settings for optimal performance.
Read more: How To Playback On Wyze Outdoor Camera
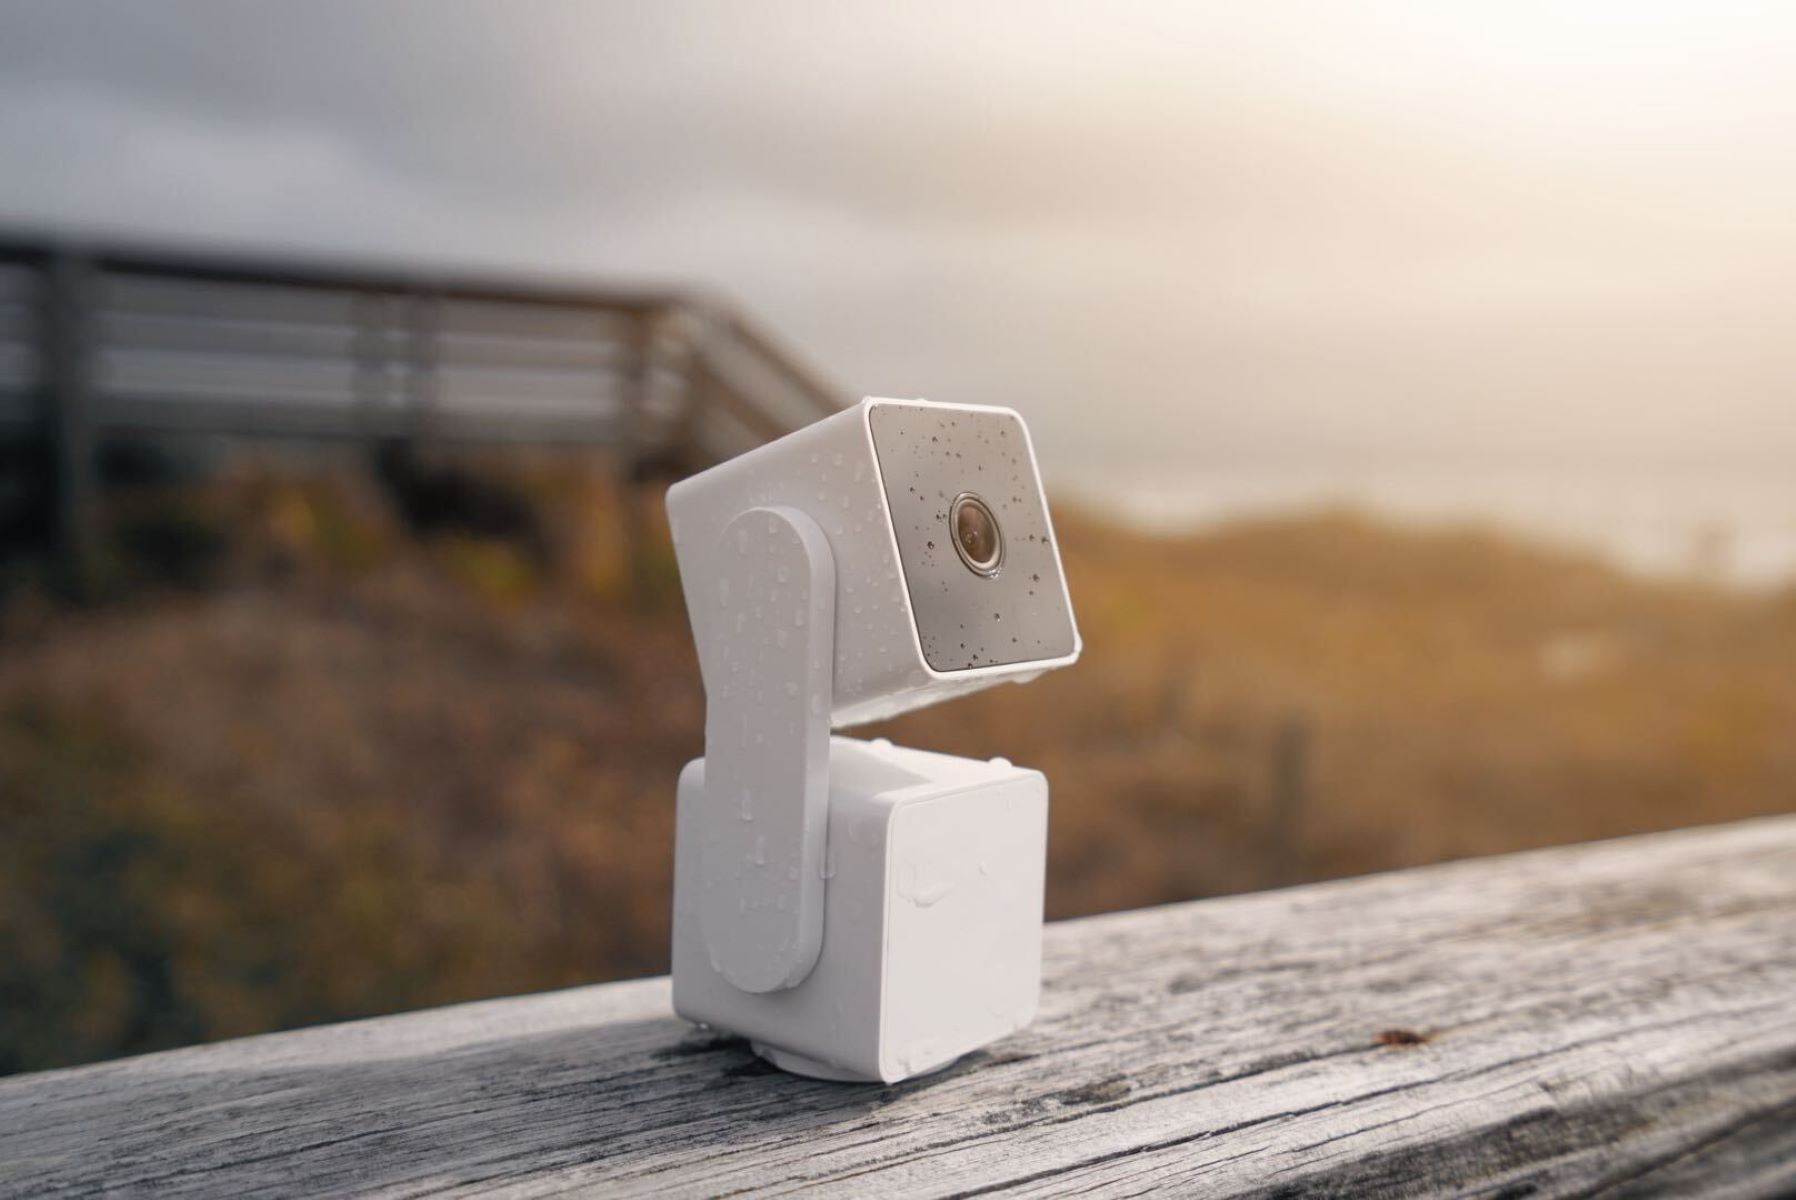
Step 4: Adjust the Camera Position
Now that your Wyze Outdoor Camera is securely attached to the mounting bracket, it’s time to fine-tune its position to ensure optimal coverage and monitoring capabilities. Adjusting the camera position is a crucial step in maximizing its effectiveness in capturing clear and comprehensive footage of your outdoor space. Here’s a detailed guide on how to adjust the position of your Wyze Outdoor Camera:
- Assess the Field of View: Stand back and evaluate the camera’s current positioning, taking note of the area it is capturing and any potential blind spots or obstructions that may impact its effectiveness.
- Utilize the Wyze App: If your Wyze Outdoor Camera offers remote positioning control via the accompanying mobile app, use this feature to adjust the camera’s angle and orientation. This allows you to fine-tune the camera’s position without physically manipulating it.
- Consider Sunlight and Glare: Take into account the direction of sunlight and potential glare that may affect the camera’s field of view. Adjust the camera’s position to minimize glare and ensure optimal visibility, especially during peak daylight hours.
- Test Different Angles: Experiment with different camera angles to capture the desired coverage area while avoiding potential visual obstructions such as foliage, structures, or other objects that may impede the camera’s view.
- Verify Image Clarity: As you adjust the camera’s position, periodically check the live feed or recorded footage to confirm that the captured images are clear, well-focused, and free from visual distortions.
- Ensure Privacy Considerations: When adjusting the camera’s position, be mindful of neighboring properties and privacy concerns. Position the camera to capture your property while respecting the privacy of others.
By carefully adjusting the position of your Wyze Outdoor Camera, you can optimize its field of view and ensure comprehensive coverage of your outdoor space. This proactive approach enhances the camera’s effectiveness in monitoring your property and provides valuable insights into outdoor activities and potential security concerns.
Step 5: Secure the Wiring
As you near the completion of your Wyze Outdoor Camera installation, it’s essential to address the wiring to ensure a tidy and secure setup. Properly securing the wiring not only enhances the aesthetics of the installation but also provides protection against environmental elements, safeguarding the camera’s functionality. Here’s a comprehensive guide on how to secure the wiring for your Wyze Outdoor Camera:
- Organize the Power Cable: Take the power cable connected to your Wyze Outdoor Camera and carefully route it along the mounting surface or adjacent structures, ensuring that it remains unobtrusive and neatly arranged.
- Use Weatherproof Cable Clips: Secure the power cable in place using weatherproof cable clips, strategically placed to prevent the cable from dangling or being exposed to potential damage from weather conditions or physical contact.
- Protective Cable Extension (if needed): If the power cable requires an extension to reach the nearest power source, utilize a weatherproof cable extension and secure the connection using appropriate waterproof connectors to maintain a reliable and weather-resistant setup.
- Conceal Excess Wiring: If there is excess wiring or cable length, consider concealing it within weatherproof cable channels or conduits to maintain a clean and professional appearance while providing additional protection against the elements.
- Verify Cable Security: Perform a visual inspection and gentle tugging of the secured wiring to confirm that it is firmly in place and resistant to movement or dislodgment. Ensure that the wiring remains taut and free from potential entanglements or hazards.
- Test Camera Functionality: Once the wiring is secured, power on the Wyze Outdoor Camera and verify that it remains operational without any issues related to the wiring setup. Confirm that the camera maintains a stable power supply and connectivity.
By meticulously securing the wiring for your Wyze Outdoor Camera, you not only enhance the overall aesthetics of the installation but also ensure the longevity and reliability of the camera’s functionality in outdoor environments. This proactive approach safeguards the wiring against potential damage and environmental factors, contributing to a seamless and effective outdoor surveillance setup.
Conclusion
Congratulations on successfully completing the installation of your Wyze Outdoor Camera! By following the comprehensive steps outlined in this guide, you have empowered yourself to harness the full potential of this advanced outdoor security device. As you admire your newly installed camera, you can take pride in knowing that your property is now equipped with a vigilant guardian, ready to capture crucial footage and provide peace of mind.
With the Wyze Outdoor Camera in place, you have established a proactive approach to safeguarding your outdoor space, deterring potential intruders, and monitoring activities in and around your property. The meticulous installation process ensures that your camera is optimally positioned, securely mounted, and equipped to withstand the rigors of the outdoor environment.
As you revel in the enhanced security and surveillance capabilities offered by your Wyze Outdoor Camera, it’s important to periodically review and adjust its settings to accommodate changes in your outdoor landscape and security priorities. Regular maintenance and attention to the camera’s positioning and functionality will further enhance its effectiveness in providing you with valuable insights and alerts.
Remember, the installation of your Wyze Outdoor Camera is just the beginning of a proactive approach to outdoor security. By staying informed about the latest firmware updates, app features, and security best practices, you can ensure that your camera remains at the forefront of your property’s defense, providing reliable monitoring and protection.
As you bask in the added layer of security and vigilance that your Wyze Outdoor Camera brings, take a moment to appreciate the proactive step you’ve taken to safeguard your home and loved ones. Your dedication to creating a secure and vigilant environment sets the stage for a safer and more resilient living space, where peace of mind and protection go hand in hand.
So, go ahead, embrace the enhanced security, and enjoy the confidence that comes with knowing that your outdoor spaces are under the watchful eye of your Wyze Outdoor Camera.
Frequently Asked Questions about How To Mount Wyze Outdoor Camera
Was this page helpful?
At Storables.com, we guarantee accurate and reliable information. Our content, validated by Expert Board Contributors, is crafted following stringent Editorial Policies. We're committed to providing you with well-researched, expert-backed insights for all your informational needs.


0 thoughts on “How To Mount Wyze Outdoor Camera”