Home>Furniture & Design>Outdoor Furniture>How To Mount Outdoor Camera
Outdoor Furniture
How To Mount Outdoor Camera
Published: January 13, 2024
Learn how to properly mount your outdoor camera with our expert tips and guidance. Ensure the safety and security of your outdoor furniture and design.
(Many of the links in this article redirect to a specific reviewed product. Your purchase of these products through affiliate links helps to generate commission for Storables.com, at no extra cost. Learn more)
Introduction
When it comes to safeguarding your property, an outdoor camera can be an invaluable addition to your security measures. Whether you want to monitor your front porch, keep an eye on your backyard, or enhance the overall security of your home, selecting and mounting the right outdoor camera is crucial. In this comprehensive guide, we will delve into the essential steps for mounting an outdoor camera, ensuring that you can make informed decisions and execute the installation with confidence.
The process of mounting an outdoor camera involves several key considerations, including selecting the right camera for your specific needs, choosing the optimal location for mounting, and executing the installation with precision. By understanding these fundamental aspects, you can effectively enhance the security of your property and gain invaluable peace of mind.
Throughout this guide, we will explore the various factors that contribute to the successful mounting of an outdoor camera. From evaluating different types of outdoor cameras to identifying the most suitable mounting locations and executing the installation process, each step plays a pivotal role in ensuring the effectiveness and reliability of your outdoor security system.
By the end of this guide, you will have gained a comprehensive understanding of the essential considerations and practical steps involved in mounting an outdoor camera. Whether you are a homeowner seeking to bolster your property's security or a business owner aiming to enhance surveillance measures, this guide will equip you with the knowledge and insights necessary to make informed decisions and execute a successful camera mounting project. Let's embark on this journey to fortify your security infrastructure and embrace the peace of mind that comes with a well-mounted outdoor camera.
Key Takeaways:
- Choose a weatherproof outdoor camera with high resolution, night vision, and wide field of view to ensure effective surveillance and peace of mind.
- Mount your outdoor camera at an optimal height and angle, considering accessibility, power source, and legal regulations, for comprehensive coverage and reliable security monitoring.
Read more: How To Mount An Outdoor Camera
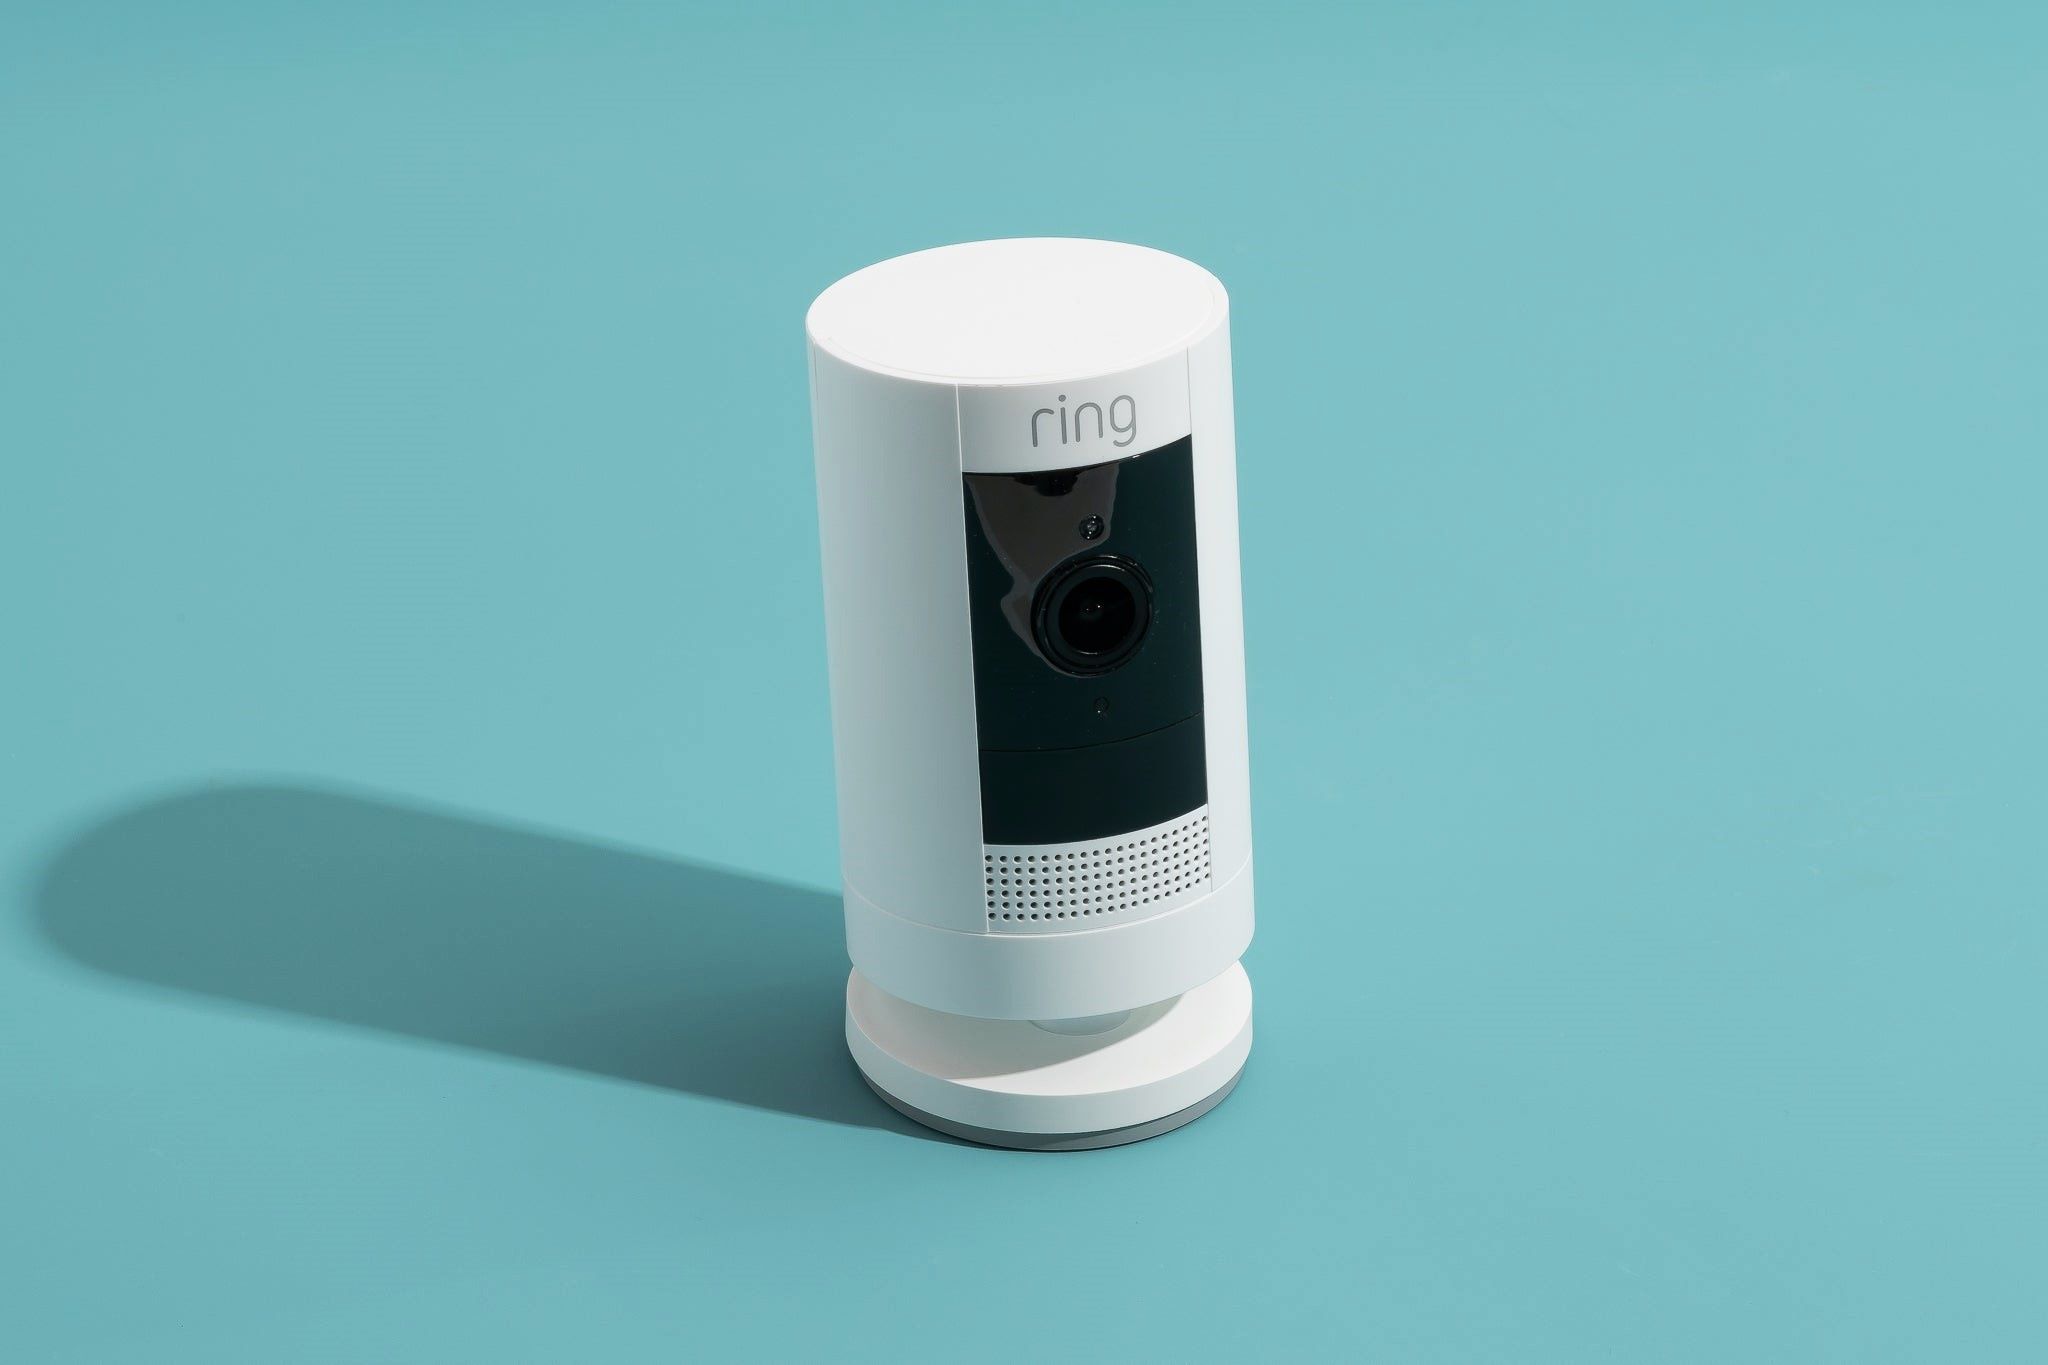
Selecting the Right Outdoor Camera
Choosing the right outdoor camera is a crucial first step in the process of mounting a reliable and effective surveillance system. With a myriad of options available in the market, it’s essential to consider several factors to ensure that the selected camera aligns with your specific security needs and preferences.
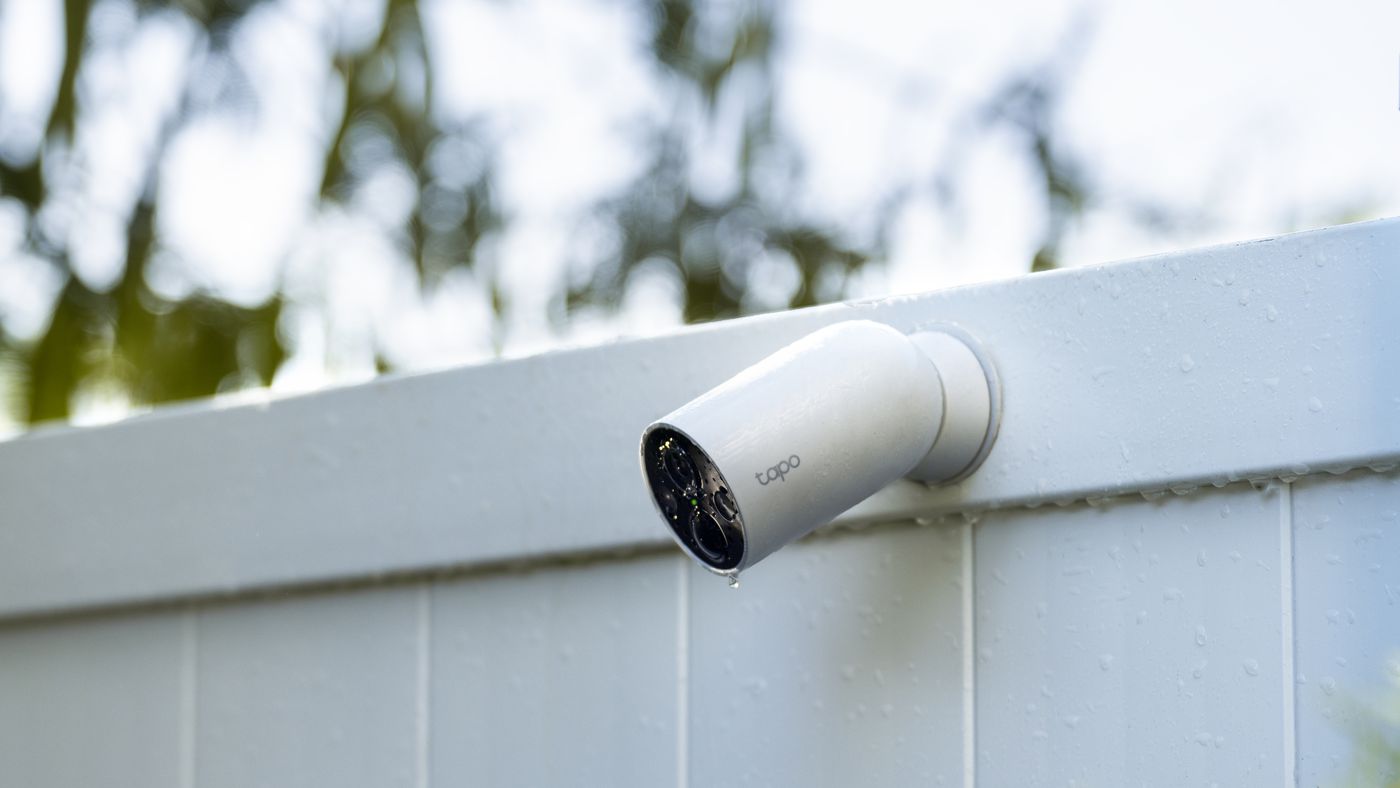
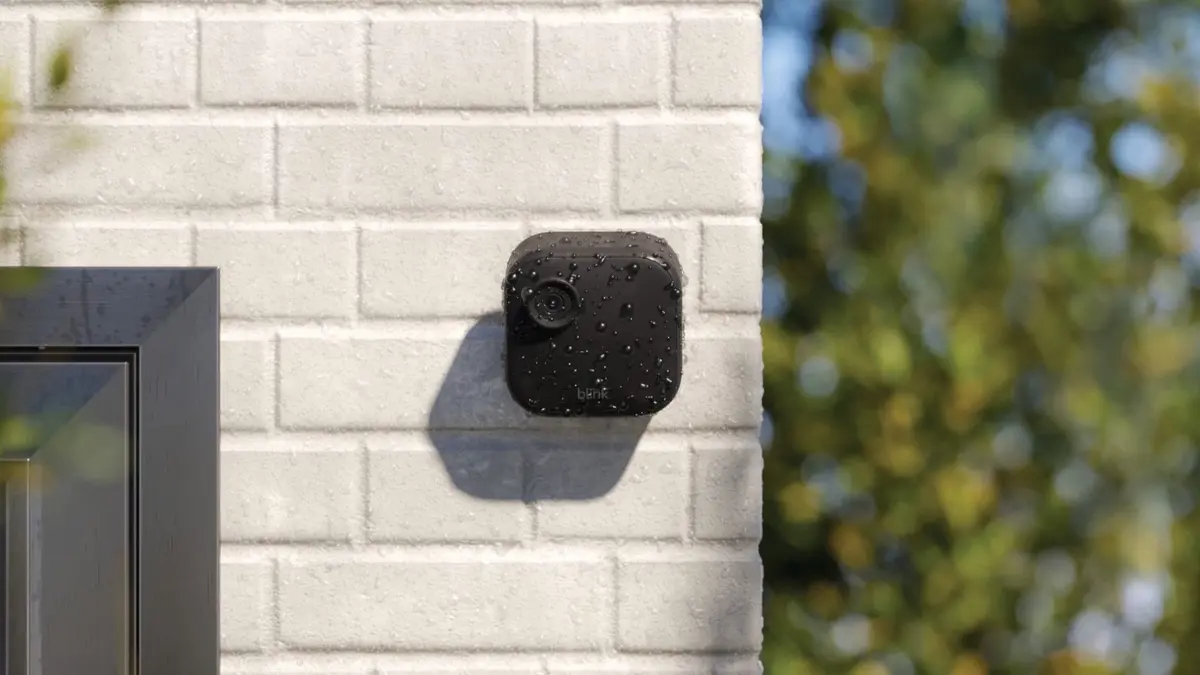
When evaluating outdoor cameras, it’s important to prioritize features that are tailored to outdoor use. Look for cameras with weatherproof and durable construction, as they will be exposed to various environmental elements. Additionally, consider the camera’s resistance to dust, moisture, and extreme temperatures, as these factors can significantly impact its performance and longevity.
Furthermore, assess the camera’s resolution and image quality to ensure that it provides clear and detailed footage, enabling effective surveillance and identification. High-definition (HD) and ultra HD (4K) cameras offer superior image clarity, allowing for enhanced monitoring and analysis of recorded footage.
Consider whether you require additional features such as night vision capabilities, motion detection, and two-way audio communication. Night vision is particularly essential for outdoor cameras, as it enables surveillance during low-light conditions or at night. Motion detection functionality can minimize unnecessary recording and alert you to potential security threats, while two-way audio communication allows for real-time interaction with individuals within the camera’s vicinity.
Another critical aspect to consider is the camera’s field of view (FOV) and the ability to adjust its viewing angle. A wider FOV can cover more area, reducing the number of cameras needed for comprehensive surveillance. Additionally, cameras with adjustable viewing angles provide flexibility in monitoring specific areas or adjusting the focus as needed.
Finally, assess the camera’s compatibility with your preferred surveillance system or software. Whether you opt for a standalone camera or a complete surveillance system, ensuring seamless integration and functionality is essential for a cohesive and efficient security setup.
By carefully evaluating these factors and prioritizing features that cater to outdoor surveillance requirements, you can confidently select the right outdoor camera for your security needs. This strategic approach lays a solid foundation for the successful mounting and utilization of your outdoor camera, empowering you to bolster the security of your property with a reliable and effective surveillance solution.
Choosing the Best Location for Mounting
Identifying the optimal location for mounting your outdoor camera is a critical decision that directly impacts its effectiveness in surveillance and security monitoring. By strategically selecting the mounting location, you can maximize the camera’s coverage, minimize blind spots, and enhance its overall functionality. Consider the following factors to determine the best placement for your outdoor camera:
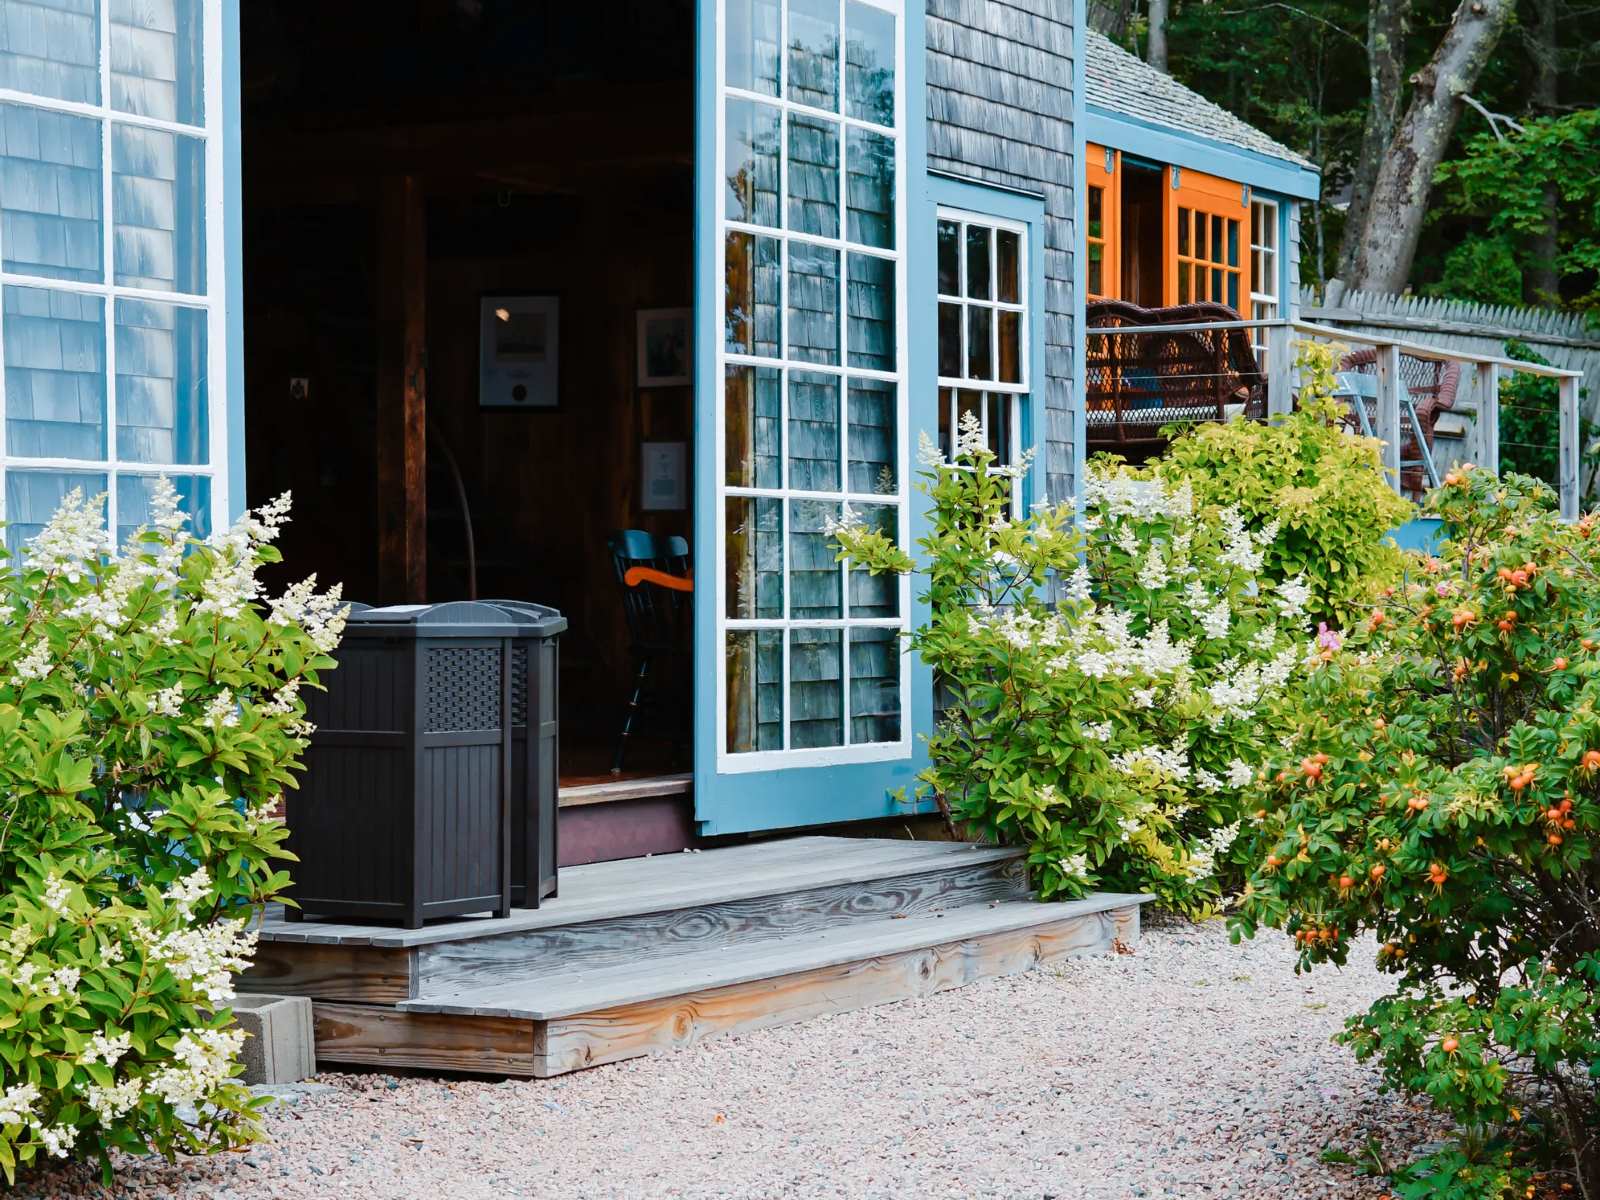
- Area of Coverage: Assess the areas you intend to monitor and prioritize locations that offer a comprehensive view of the target areas. Whether you aim to monitor entry points, driveways, or specific outdoor spaces, strategically positioning the camera to cover these areas is essential for effective surveillance.
- Height and Angle: Mount the camera at an optimal height and angle to capture clear and unobstructed footage. Avoid mounting the camera too high, as it may compromise image clarity, and ensure that it is angled appropriately to capture the desired field of view.
- Accessibility and Protection: Consider the accessibility of the mounting location for installation and maintenance purposes. Additionally, ensure that the camera is shielded from direct sunlight, precipitation, and potential vandalism to maintain its functionality and longevity.
- Power Source and Connectivity: Position the camera in proximity to a reliable power source and ensure seamless connectivity to your surveillance system or network. This facilitates convenient installation and reliable operation, minimizing potential connectivity issues.
- Legal and Privacy Considerations: Adhere to local regulations and privacy laws when selecting the mounting location. Respect the privacy of neighboring properties and ensure compliance with legal requirements related to surveillance camera placement.
Furthermore, consider the camera’s vantage point and potential obstructions that may hinder its view. Avoid positioning the camera in areas with frequent movement, such as swaying tree branches or high-traffic zones, as this can trigger unnecessary motion alerts and compromise the camera’s focus.
By carefully evaluating these factors and conducting a thorough assessment of potential mounting locations, you can identify the best position for your outdoor camera. This strategic approach ensures that the camera’s placement optimally serves your security objectives, providing comprehensive coverage and reliable surveillance capabilities.
When mounting an outdoor camera, make sure to choose a location with a clear view and good lighting. Use a sturdy mounting bracket and secure it to a solid surface to prevent tampering or theft.
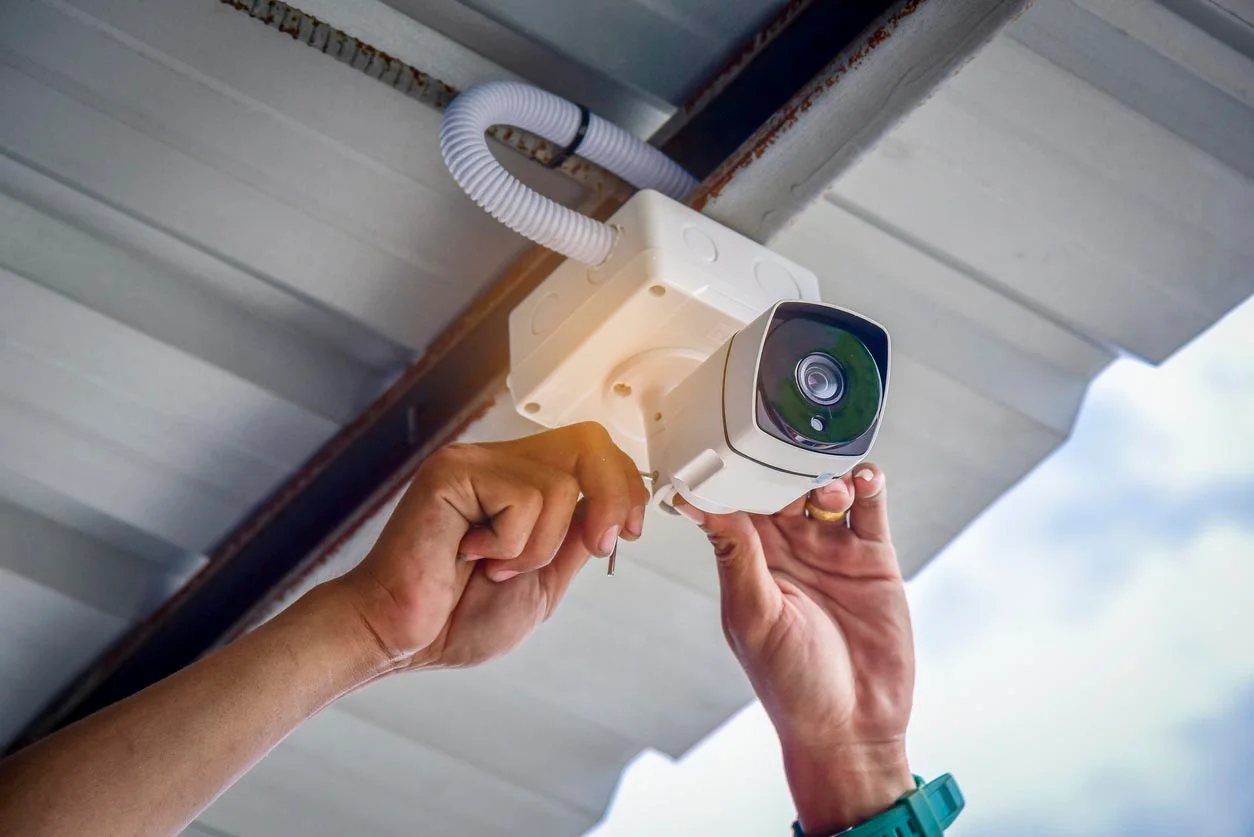
Installing the Camera
Once you have selected the ideal outdoor camera and determined the optimal mounting location, the next crucial step is the installation process. Proper installation is essential to ensure the stability, functionality, and longevity of the camera, enabling it to fulfill its surveillance role effectively. Follow these steps to execute a successful installation:
- Gather Essential Tools: Before commencing the installation, gather the necessary tools, including a power drill, screws, wall anchors, a ladder, and any additional equipment required for mounting the camera securely.
- Positioning and Marking: Position the camera mount or bracket at the selected location and mark the spots for drilling screw holes. Ensure that the mounting surface is stable and capable of supporting the camera’s weight.
- Drilling and Mounting: Use the power drill to create pilot holes for the screws, then proceed to secure the camera mount or bracket in place. If necessary, utilize wall anchors to reinforce the mounting and enhance stability.
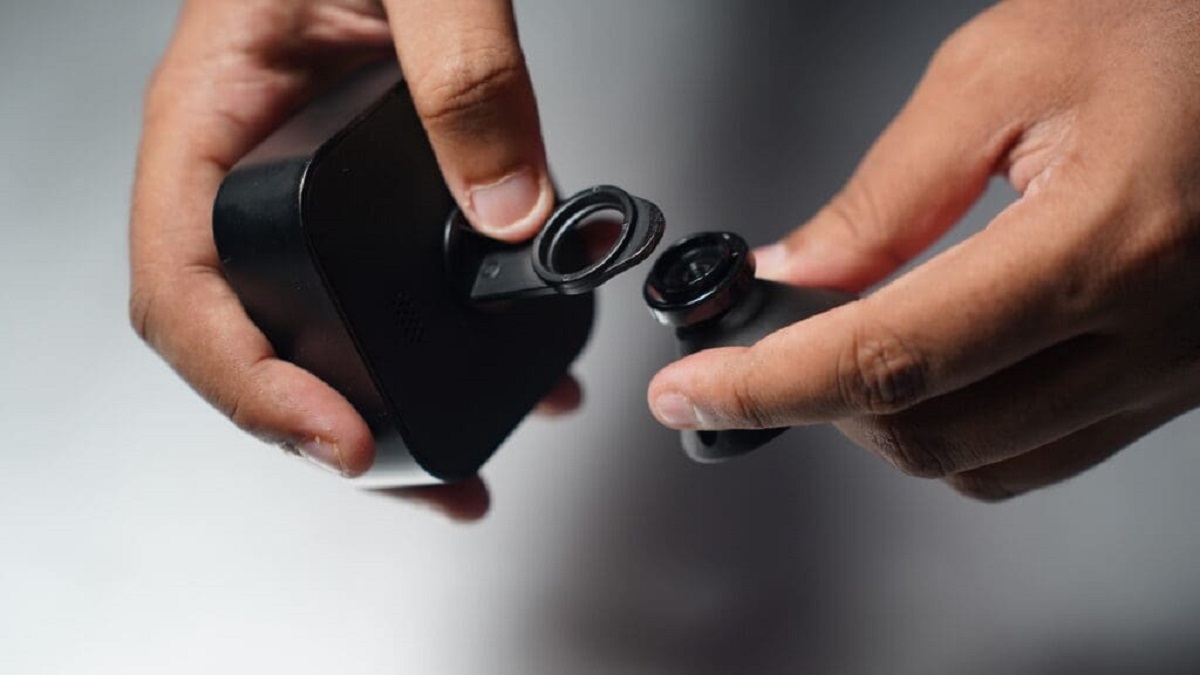
- Camera Attachment: Carefully attach the outdoor camera to the mount or bracket, ensuring a secure and firm connection. Follow the manufacturer’s guidelines for proper attachment and alignment to optimize the camera’s field of view.
- Wiring and Connectivity: If the camera requires wiring for power and connectivity, carefully route and conceal the cables to maintain a neat and unobtrusive installation. Ensure that the wiring is adequately protected from environmental elements and potential tampering.
- Power and Testing: Connect the camera to a reliable power source and verify its functionality. Adjust the camera’s angle and settings as needed to optimize its surveillance capabilities and ensure clear and effective monitoring.
Throughout the installation process, prioritize safety measures and meticulous attention to detail to ensure a secure and reliable mounting. If you encounter any challenges or uncertainties during the installation, refer to the camera’s user manual or seek professional assistance to guarantee a successful and proficient installation.
By meticulously following these installation steps and adhering to best practices, you can effectively mount your outdoor camera with confidence, setting the stage for enhanced security monitoring and peace of mind.
Adjusting and Testing the Camera
After completing the installation of your outdoor camera, the next crucial phase involves adjusting its settings and conducting comprehensive testing to ensure optimal performance and functionality. By fine-tuning the camera’s configurations and conducting thorough testing, you can verify its surveillance capabilities and address any potential issues. Follow these essential steps to adjust and test your outdoor camera:
- Camera Alignment: Verify the camera’s alignment and adjust its position to capture the intended field of view. Ensure that the camera covers the desired areas while minimizing blind spots, optimizing its surveillance effectiveness.
- Image Quality and Resolution: Access the camera’s settings to adjust image quality, resolution, and video settings. Optimize these configurations to ensure clear and detailed footage, facilitating effective surveillance and analysis of recorded video.
- Night Vision Testing: Conduct testing during low-light conditions or at night to evaluate the camera’s night vision capabilities. Verify the clarity and range of the night vision mode, ensuring reliable surveillance regardless of lighting conditions.
- Motion Detection Calibration: Fine-tune the camera’s motion detection settings to minimize false alerts while ensuring prompt notification of relevant motion events. Adjust sensitivity levels and detection zones as needed to optimize motion detection functionality.
- Remote Access and Connectivity: Verify remote access to the camera’s feed and ensure seamless connectivity to your surveillance system or monitoring platform. Test the camera’s compatibility with mobile devices and computers to facilitate convenient remote monitoring.
- System Integration: If the camera is part of a comprehensive surveillance system, ensure seamless integration with other components and verify its compatibility with the designated monitoring software or network.
Throughout the adjustment and testing phase, prioritize thoroughness and attention to detail to address any potential issues and optimize the camera’s surveillance capabilities. Regularly review the recorded footage and monitor the camera’s performance to identify and address any areas that require further adjustment or refinement.
By meticulously adjusting and testing your outdoor camera, you can maximize its effectiveness in surveillance and security monitoring, ensuring that it fulfills its role in safeguarding your property and providing invaluable peace of mind.
Read more: How To Mount A Wyze Outdoor Camera
Conclusion
Mounting an outdoor camera is a pivotal step in fortifying the security of your property and enhancing surveillance capabilities. By carefully selecting the right outdoor camera, choosing an optimal mounting location, executing a proficient installation, and conducting thorough adjustments and testing, you can establish a reliable and effective surveillance system that provides invaluable peace of mind and security.
Throughout this guide, we have emphasized the importance of strategic decision-making and meticulous execution in the process of mounting an outdoor camera. From evaluating essential features when selecting the camera to considering various factors when choosing the mounting location, each step contributes to the overall effectiveness and reliability of the surveillance system.
By prioritizing factors such as weather resistance, image quality, field of view, and integration capabilities, you can confidently select an outdoor camera that aligns with your specific security needs. Additionally, by meticulously assessing the mounting location and considering aspects such as coverage, accessibility, and legal considerations, you can ensure that the camera’s placement optimally serves your surveillance objectives.
Executing a proficient installation and conducting comprehensive adjustments and testing further solidify the camera’s role in enhancing security monitoring and providing reliable surveillance capabilities. By adhering to best practices and prioritizing attention to detail, you can maximize the camera’s effectiveness and longevity, ensuring sustained security benefits for your property.
Ultimately, the successful mounting of an outdoor camera empowers you to proactively monitor your property, deter potential security threats, and gain valuable insights through reliable surveillance. Whether you are safeguarding your home, business, or outdoor spaces, a well-mounted outdoor camera serves as a cornerstone of your security infrastructure, offering peace of mind and enhanced protection.
As you embark on the journey of mounting an outdoor camera, remember that each step, from selection to installation and testing, plays a crucial role in establishing a robust and dependable surveillance system. By leveraging the insights and best practices outlined in this guide, you can confidently navigate the process of mounting an outdoor camera, ultimately fortifying the security of your property and embracing the benefits of effective surveillance.
With a well-mounted outdoor camera in place, you can embrace enhanced security, heightened awareness, and invaluable peace of mind, knowing that your property is equipped with a reliable and efficient surveillance solution.
Frequently Asked Questions about How To Mount Outdoor Camera
Was this page helpful?
At Storables.com, we guarantee accurate and reliable information. Our content, validated by Expert Board Contributors, is crafted following stringent Editorial Policies. We're committed to providing you with well-researched, expert-backed insights for all your informational needs.


0 thoughts on “How To Mount Outdoor Camera”