
Articles
How To Light Up A Driveway
Modified: October 22, 2024
Learn how to light up your driveway with these informative articles. Discover tips, techniques, and recommendations for creating an illuminated and inviting entrance to your home.
(Many of the links in this article redirect to a specific reviewed product. Your purchase of these products through affiliate links helps to generate commission for Storables.com, at no extra cost. Learn more)
Introduction
Welcome to our comprehensive guide on how to light up a driveway. Illuminating your driveway not only adds a touch of elegance to your property but also enhances safety and security. Whether you have a long, winding driveway or a short and simple one, choosing the right lighting options and installing them correctly can make a significant difference to the overall appearance and functionality of your driveway.
In this article, we will walk you through the step-by-step process of assessing your driveway, selecting suitable lighting options, planning the layout, installing the lights, testing and adjusting the lighting, as well as providing maintenance and troubleshooting tips.
Before we dive into the specifics, it’s essential to understand the importance of driveway lighting. A well-lit driveway not only allows you and guests to navigate safely after dark but also deters potential intruders. Additionally, it adds to the curb appeal of your home, creating a warm and inviting atmosphere.
When thinking about lighting up your driveway, it’s essential to consider factors such as the length and width of the driveway, the surrounding landscape, and the desired aesthetic. By carefully planning and implementing the right lighting design, you can transform your driveway into a stunning feature that complements the overall look of your property.
Now, let’s delve into the step-by-step guide to help you light up your driveway in the most effective and visually appealing way possible.
Key Takeaways:
- Assess your driveway’s unique characteristics, such as length, slope, and obstacles, to make informed decisions when selecting lighting options and planning the layout. This ensures proper illumination and a visually appealing design.
- Regularly test, adjust, and maintain your driveway lights to optimize their performance and longevity. Customizing the lighting design to suit your specific needs and preferences is crucial for achieving the desired safety, security, and aesthetic appeal.
Read more: How To Install Driveway Lights
Step 1: Assessing the Driveway
Before you start lighting up your driveway, it’s important to assess its current condition and layout. By doing so, you can identify any potential challenges or areas that require special attention. Here are some key factors to consider when assessing your driveway:
- Length and Width: Measure the length and width of your driveway. This will help determine the number of lights you’ll need and the spacing between them. For longer driveways, you may need more lights to ensure adequate illumination.
- Slope and Grade: Take note of any slopes or grades in your driveway. This will affect the placement and angle of the lights. If your driveway has significant slopes, consider installing lights along the edges to highlight the contours and provide better visibility.
- Obstacles: Identify any obstacles such as trees, shrubs, or structures that could obstruct the light’s path. Trim any overhanging branches or vegetation to ensure the lights can illuminate the driveway properly.
- Entry and Exit Points: Determine the entry and exit points of your driveway. These areas are crucial for installing lights to guide vehicles in and out safely.
- Existing Lighting: Assess if there are any existing lights along the driveway, such as lampposts or wall-mounted fixtures. Take note of their location and functionality to determine if additional lighting is needed.
By thoroughly assessing your driveway, you’ll gain a better understanding of its unique characteristics and challenges. This knowledge will help you make informed decisions when selecting lighting options and planning the layout.
Now that you have assessed your driveway, it’s time to move on to the next step: choosing the right lighting options.
Step 2: Choosing the Right Lighting Options
When it comes to selecting the right lighting options for your driveway, there are various factors to consider, including aesthetics, functionality, energy efficiency, and maintenance requirements. Here are some popular lighting options to keep in mind:
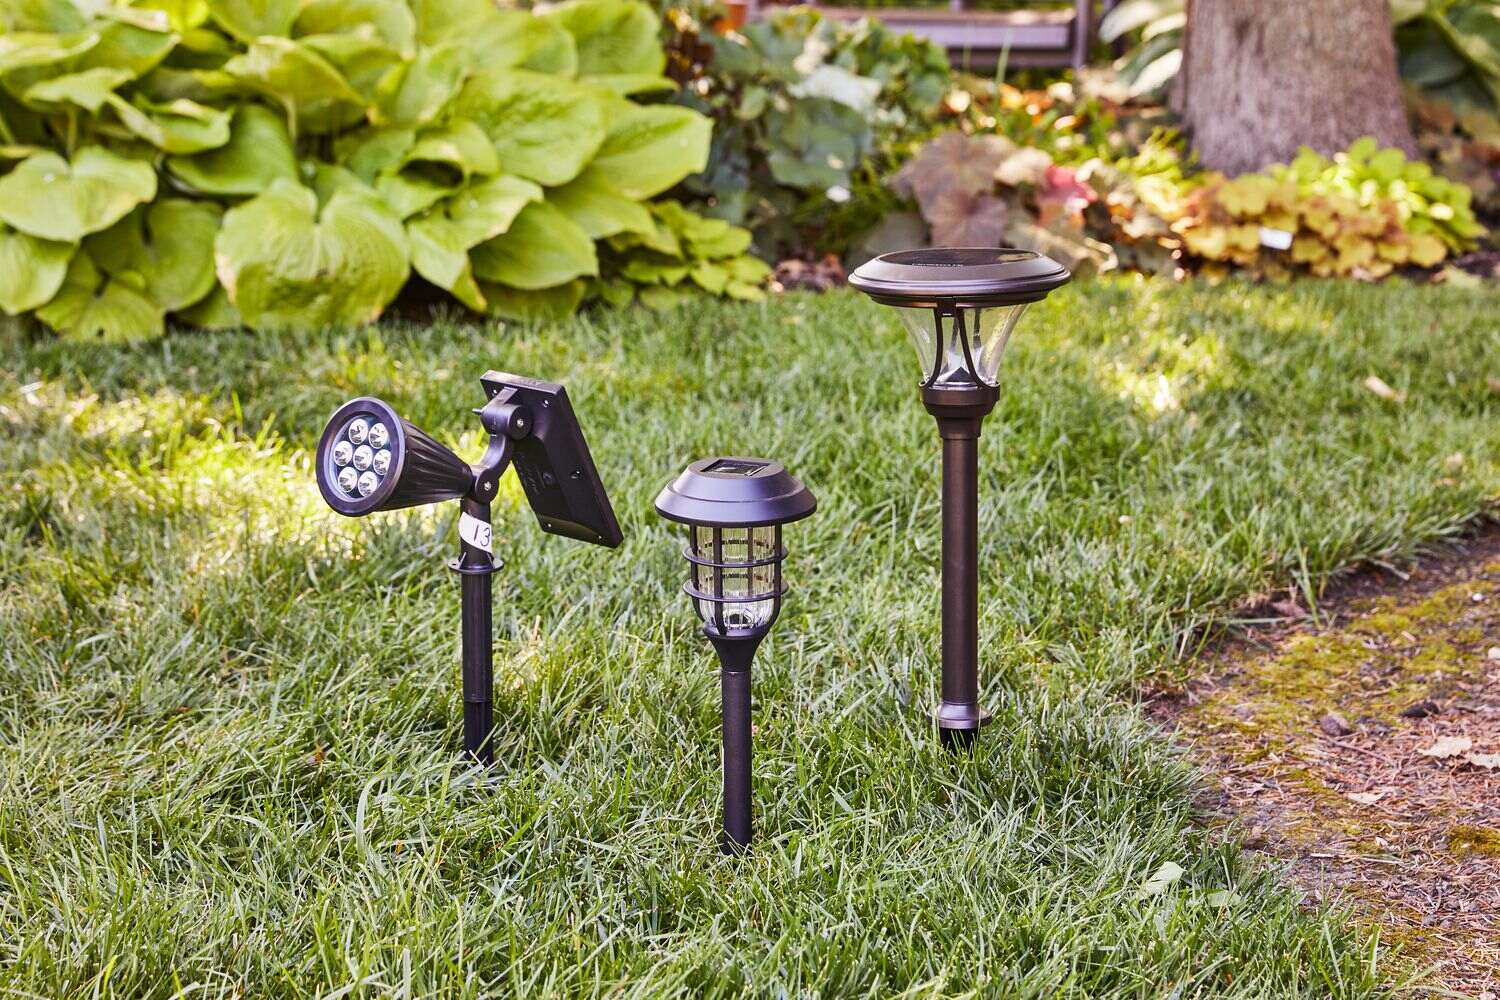
- Solar Lights: Solar-powered lights are an eco-friendly choice that harnesses sunlight during the day to illuminate your driveway at night. They are easy to install, as they don’t require any wiring or electrical connections. However, their effectiveness may depend on the amount of sunlight your driveway receives.
- LED Lights: LED lights are energy-efficient and have a long lifespan. They produce bright, crisp light and are available in various colors and styles. LED lights are also low-maintenance and can withstand different weather conditions.
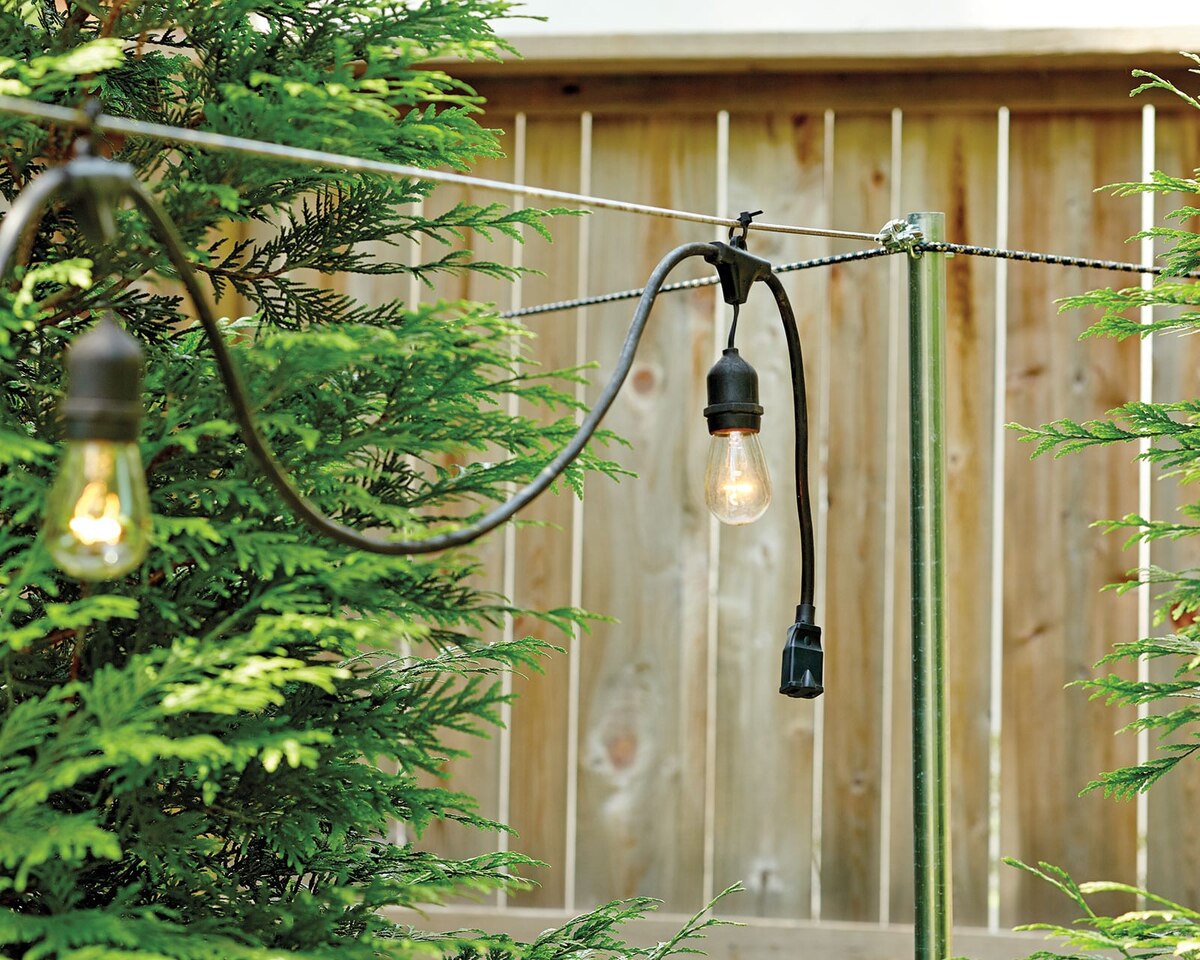
- Path Lights: Path lights are a popular choice for driveways, as they offer a subtle and inviting ambiance. They are typically installed at regular intervals along the edge of the driveway or along walkways, providing guidance and illumination.
- Spotlights: Spotlights are powerful lights that can be used to highlight specific features of your driveway, such as architectural details or landscaping. They are typically adjustable, allowing you to direct the light precisely where you want it.
- In-Ground Lights: In-ground lights are installed flush with the surface of the driveway, creating a clean and seamless look. They are ideal for illuminating the driveway without causing any obstruction.
- Motion-Activated Lights: Motion-activated lights are a practical option for enhancing security. These lights only turn on when they detect movement, helping to deter potential intruders.
- Smart Lights: Smart lighting systems allow you to control and customize the lighting settings of your driveway using a smartphone or other smart devices. You can adjust the brightness, color, and scheduling of the lights, providing convenience and flexibility.
When choosing the right lighting options, consider the overall style and design of your property. Opt for lights that complement the architectural features and landscape elements. Additionally, ensure that the selected lights are suitable for outdoor use and can withstand various weather conditions.
With the right lighting options in mind, you can now proceed to the next step: planning the layout of your driveway lights.
Step 3: Planning the Layout
Planning the layout of your driveway lights is crucial to ensure proper illumination and a visually appealing design. Consider the following tips when designing the layout:
- Key Lighting Areas: Identify the key areas along your driveway that require lighting, such as the entry point, curves, and intersections. These areas should be your priority when determining the placement of lights.
- Spacing: Determine the spacing between the lights based on the length of your driveway and the selected lighting option. As a general rule of thumb, space the lights about 8 to 10 feet apart for path lights and 15 to 20 feet apart for spotlights.
- Lighting Angles: Consider the angle at which the lights will be positioned. For path lights, aim for a slight downward angle to illuminate the ground and guide people and vehicles. Spotlights can be angled to highlight specific features or architectural elements.
- Zoning: Divide your driveway into zones to create a visually balanced lighting design. For example, you can have separate zones for the entryway, the main driveway, and any additional pathways or parking areas.
- Integration with Landscape: Blend your lighting design with the surrounding landscape. Incorporate lights near trees, shrubs, and other plantings to create a harmonious look. Avoid blocking any natural views or creating harsh lighting contrasts.
- Wiring and Connections: Determine the wiring and connections required for your chosen lighting options. Solar lights require access to sunlight, while electric lights may require underground wiring or access to a power source. Plan the wiring and connections accordingly.
Creating a rough sketch or using a design software can help you visualize the layout and make necessary adjustments before installation. Remember to consider both the functionality and aesthetics of the lighting design to achieve the desired impact.
Once you have finalized the layout, it’s time to move on to the next step: installing the lights on your driveway.
Consider using solar-powered lights to illuminate your driveway. They are easy to install, cost-effective, and environmentally friendly. Plus, they automatically turn on at dusk and off at dawn.
Step 4: Installing the Lights
Now that you have planned the layout of your driveway lights, it’s time to get hands-on and install the lights. Here are the steps to guide you through the installation process:
- Gather Tools and Materials: Before starting the installation, gather all the necessary tools and materials, including the lights, mounting brackets, screws, wiring, connectors, and any additional equipment based on your chosen lighting options.
- Locate Mounting Points: Follow your planned layout and mark the mounting points for the lights along the driveway. Use stakes or flags to indicate the exact placement of the lights.
- Prepare the Ground: Clear the area where the lights will be installed. Remove any debris, rocks, or vegetation that might obstruct the installation process. Level the ground if needed to ensure proper alignment.
- Install the Mounting Brackets: Depending on the type of lights, install the mounting brackets or fixtures using the appropriate screws and hardware. Make sure they are securely attached to the ground or any existing structures.
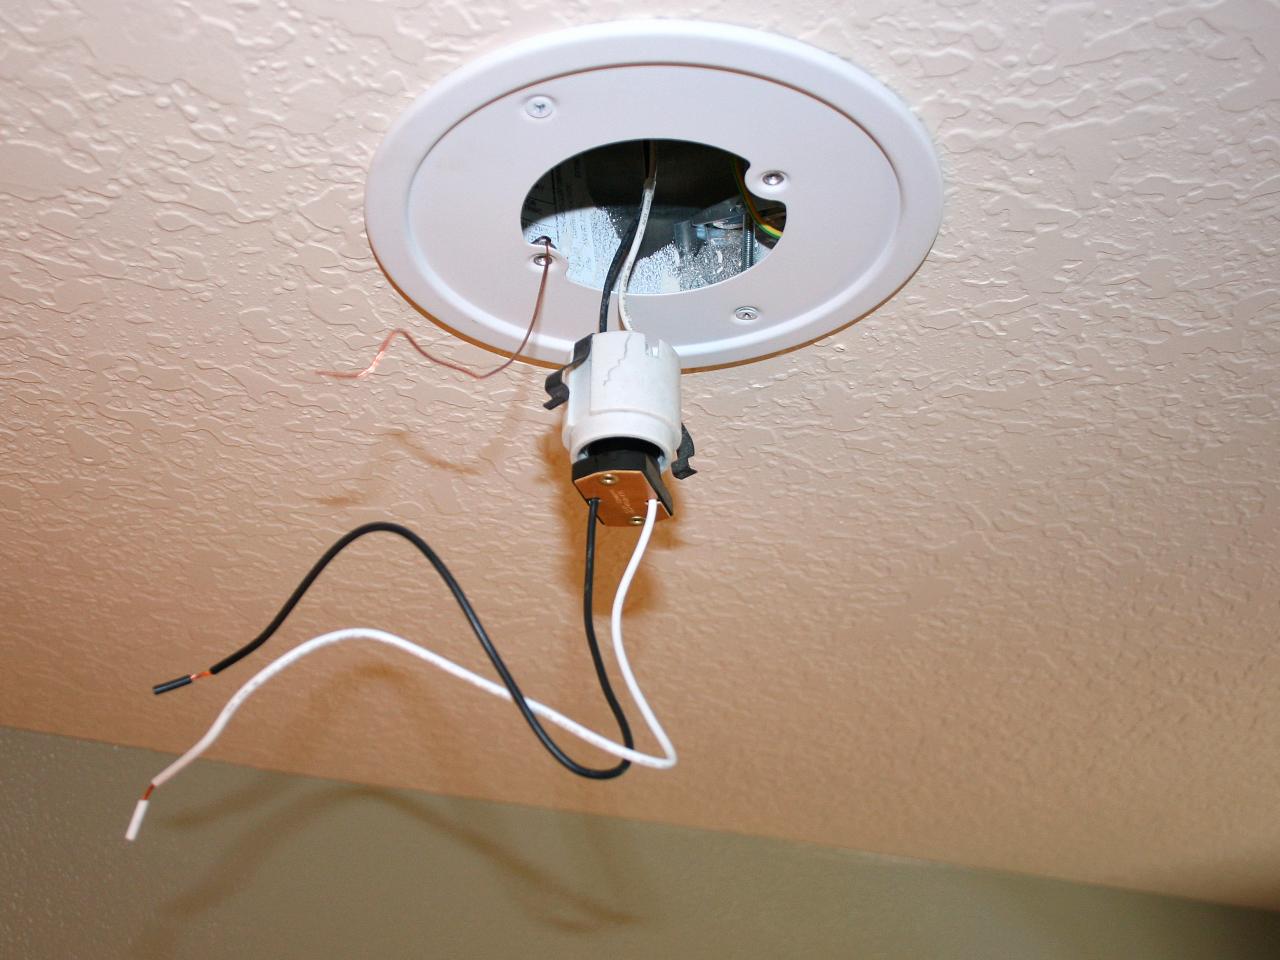
- Connect the Wiring: If your lighting system requires wiring, carefully connect the wires according to the manufacturer’s instructions. It’s recommended to bury the wiring at least 6 inches underground or use conduit for added protection.
- Place and Secure the Lights: Attach the lights to the mounting brackets or fixtures. Ensure they are positioned correctly and securely fastened in place. Adjust the angle and direction of the lights as needed.
- Test the Lights: Before finalizing the installation, test the lights to ensure they are functioning correctly. Check if they provide the desired level of illumination and adjust any settings if necessary.
- Make Final Adjustments: Take a step back and evaluate the overall appearance and functionality of the installed lights. Make any final adjustments or repositioning as needed to achieve the desired effect.
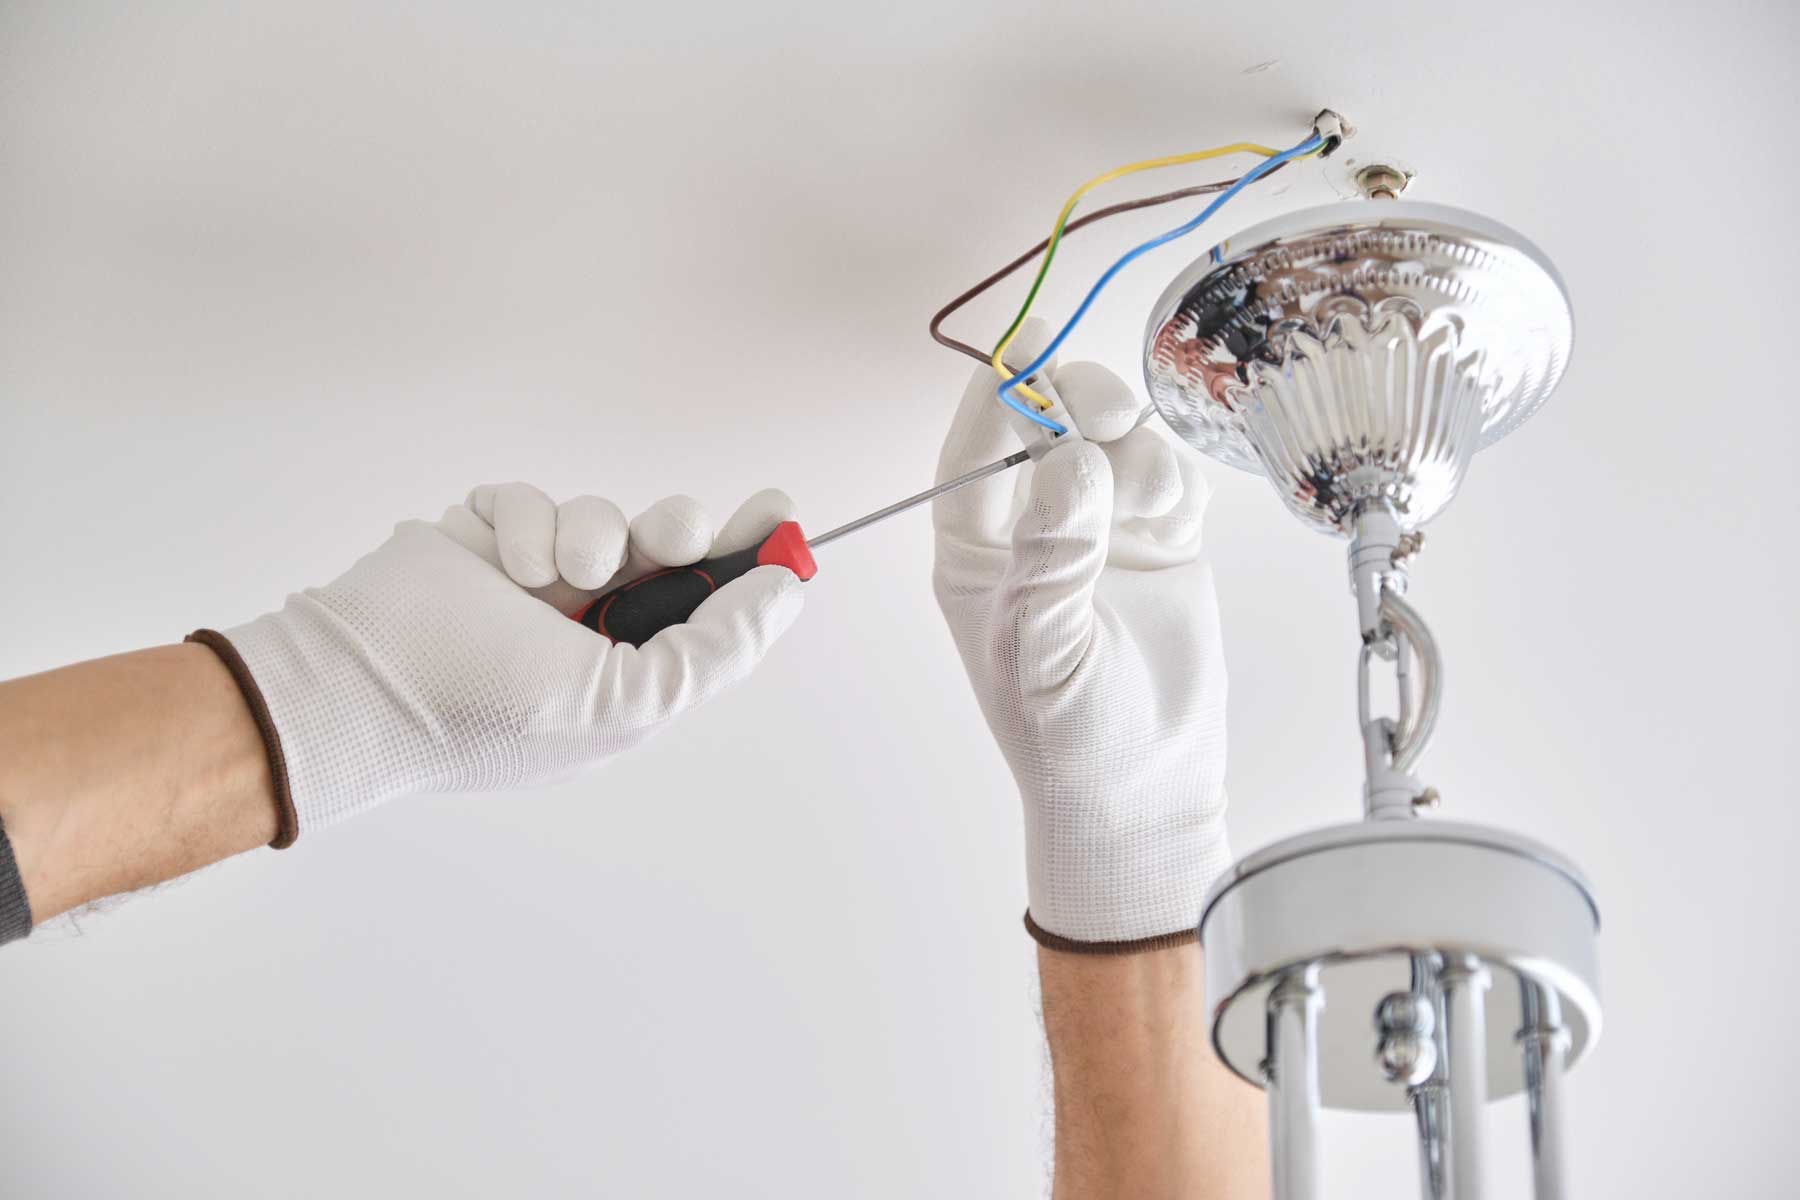
It’s important to follow the manufacturer’s instructions and safety guidelines during the installation process. If you are unsure or uncomfortable with any aspect of the installation, it’s recommended to consult a professional electrician or lighting expert.
With your driveway lights successfully installed, it’s time to move on to the next step: testing and adjusting the lighting.
Read more: How To Light Up Stairs
Step 5: Testing and Adjusting the Lighting
Once you have installed the lights on your driveway, it’s crucial to test and adjust the lighting to ensure optimal performance and visual appeal. Here are the steps to follow:
- Turn on the Lights: Activate the lights and observe their illumination. Check if they are evenly spaced and provide sufficient brightness along the driveway. Take note of any areas that may require additional lighting or adjustments.
- Walk or Drive Along the Driveway: Take a walk or drive along the driveway to experience the lighting firsthand. Pay attention to any dark spots, areas with excessive glare, or uneven lighting distribution. This will help you identify any areas that need adjustments.
- Make Angling Adjustments: If certain areas are too bright or causing glare, adjust the angle of the lights accordingly. Tilt the lights slightly downward to reduce glare and prevent light pollution. Experiment with different angles to achieve the right balance of illumination.
- Add or Rearrange Lights: If there are dark spots or areas that need more illumination, consider adding additional lights or rearranging the existing ones. This may involve adjusting the spacing or adding more lights to fill in any gaps.
- Consider Light Color: Assess the color temperature of the lights and how it complements the overall aesthetic of your driveway and property. If the lights have adjustable color options, experiment with different settings to find the most appealing and harmonious result.
- Utilize Timers or Sensors: Consider using timers or motion sensors to automate your driveway lighting. This can enhance security and energy efficiency by turning on the lights only when needed. Set timers or adjust sensor settings to align with your preferences and lifestyle.
- Observe from Different Angles and Distances: Take a step back and view your driveway lights from various angles and distances. This will help you assess how the lighting design looks from different viewpoints and make any necessary adjustments.
Remember that lighting preferences and needs may vary, so it’s important to customize the adjustments to suit your specific requirements. Regularly evaluate the performance of your driveway lighting and make any tweaks or modifications as needed.
With the lighting properly tested and adjusted, you can now move on to the final step: maintenance and troubleshooting tips.
Step 6: Maintenance and Troubleshooting Tips
Proper maintenance of your driveway lights is essential to ensure their longevity and optimal performance. Here are some maintenance and troubleshooting tips to keep in mind:
- Regular Cleaning: Clean the lights regularly to remove dirt, dust, and grime that can accumulate over time. Use a soft cloth or sponge with mild soap or cleaning solution to gently wipe the surfaces. Avoid using harsh chemicals or abrasive materials that can damage the lights.
- Check for Damage: Inspect the lights periodically for any signs of damage, such as cracks, corrosion, or loose connections. Replace any damaged components as soon as possible to prevent further issues.
- Replace Bulbs or LEDs: If you have lights that use replaceable bulbs or LEDs, monitor their lifespan and replace them when necessary. Follow the manufacturer’s guidelines for compatible replacements and ensure the power is turned off before making any bulb changes.
- Trim Surrounding Vegetation: Trim any bushes, trees, or plants near the lights to prevent them from obstructing the light output. Overgrown vegetation can cast shadows or block the light, affecting the overall illumination of your driveway.
- Check Wiring Connections: Inspect the wiring connections periodically to ensure they are secure and free from damage. Tighten any loose connections and, if necessary, use waterproof wire connectors for added protection against moisture and weather elements.
- Address Electrical Issues: In case of any electrical issues or malfunctions, contact a qualified electrician to assess the problem. It’s important to prioritize your safety and seek professional help for complex electrical repairs.
- Adjust Lighting Timers or Sensors: Periodically review and adjust the settings of your lighting timers or sensors to ensure they align with changes in daylight hours or your desired preferences. This will optimize the efficiency of your lighting system.
- Keep an Eye on Weather Conditions: Extreme weather conditions, such as heavy rain, snow, or ice, can affect the performance of your driveway lights. Check for any damage or water accumulation after severe weather events and address any issues promptly.
- Be Mindful of Wildlife: If your property is located in an area with wildlife, be conscious of their habits and movements. Adjust the lighting to avoid disturbing or attracting nocturnal animals.
By following these maintenance tips, you can keep your driveway lights in top-notch condition and ensure they continue to illuminate your driveway effectively.
With that, you have successfully gone through all the steps of lighting up your driveway. Now you can enjoy the enhanced safety, security, and aesthetic appeal that a well-lit driveway provides.
Remember to regularly assess and adjust your lighting design as needed to meet your evolving needs and preferences. Stay informed about the latest lighting technologies and trends to explore new possibilities for your driveway lighting. Happy lighting!
Conclusion
Congratulations! You have reached the end of our comprehensive guide on how to light up your driveway. By following the step-by-step process outlined in this article, you are well-equipped to transform your driveway into a well-lit and visually appealing feature.
We started by understanding the importance of driveway lighting and how it contributes to safety, security, and curb appeal. Then, we delved into assessing your driveway, considering factors like length, width, slopes, and obstacles.
Next, we explored different lighting options, including solar lights, LED lights, path lights, spotlights, in-ground lights, motion-activated lights, and smart lights. The choice of lighting options depends on your preferences, energy efficiency considerations, and the level of control you desire.
With lighting options selected, we moved on to planning the layout, taking into account key lighting areas, spacing, lighting angles, zoning, and integration with the surrounding landscape. Planning the layout ensures proper illumination and a cohesive design that complements your property’s aesthetic.
The installation process involved gathering the necessary tools, locating mounting points, preparing the ground, installing mounting brackets, connecting wiring, placing and securing the lights, and testing them for functionality.
Once the lights were installed, we emphasized the importance of testing and adjusting the lighting to ensure even distribution and optimal performance. This involved walking or driving along the driveway, making angle adjustments, adding or rearranging lights as needed, and considering light color and automation features.
Maintenance and troubleshooting tips were also provided to help you keep your driveway lights in excellent condition. Regular cleaning, checking for damage, replacing bulbs or LEDs, trimming surrounding vegetation, and addressing any electrical issues are key to ensuring long-lasting and efficient lighting.
Remember, the steps we’ve outlined are just a guide, and you have the flexibility to adapt them to your specific needs and preferences. Keep in mind that safety should always be a priority, and consulting a professional if needed is recommended.
By illuminating your driveway, you enhance both the functionality and aesthetic appeal of your property. From providing a safe path for pedestrians and vehicles to creating a welcoming ambiance, a well-lit driveway is an investment that adds value to your home.
Enjoy the process of lighting up your driveway and relish the benefits it brings. Experiment with different lighting techniques, stay up-to-date with the latest trends, and continue to maintain and adjust your lighting design as needed.
Thank you for joining us on this journey to light up your driveway. We hope this guide has been informative, inspiring, and helpful in achieving the desired lighting results. Here’s to a beautifully illuminated driveway that adds charm and practicality to your home!
Frequently Asked Questions about How To Light Up A Driveway
Was this page helpful?
At Storables.com, we guarantee accurate and reliable information. Our content, validated by Expert Board Contributors, is crafted following stringent Editorial Policies. We're committed to providing you with well-researched, expert-backed insights for all your informational needs.


0 thoughts on “How To Light Up A Driveway”