Home>Furniture & Design>Outdoor Furniture>How To Trim Outdoor Ferns
Outdoor Furniture
How To Trim Outdoor Ferns
Published: January 13, 2024
Learn the best techniques for trimming outdoor ferns to keep your outdoor furniture and design looking fresh and vibrant. Discover expert tips for maintaining your outdoor ferns.
(Many of the links in this article redirect to a specific reviewed product. Your purchase of these products through affiliate links helps to generate commission for Storables.com, at no extra cost. Learn more)
Introduction
Welcome to the wonderful world of outdoor ferns! These lush, green beauties are a delightful addition to any garden or outdoor space, adding a touch of elegance and tranquility to the surroundings. However, to keep your outdoor ferns looking their best, regular maintenance is essential. One of the key tasks in caring for outdoor ferns is trimming, which not only helps maintain their aesthetic appeal but also promotes healthy growth.
In this comprehensive guide, we will delve into the art of trimming outdoor ferns, providing you with valuable insights and practical tips to ensure that your ferns thrive and flourish. Whether you're a seasoned gardening enthusiast or a novice with a newfound love for outdoor foliage, this guide will equip you with the knowledge and skills needed to trim your outdoor ferns like a pro.
So, grab your gardening gloves and let's embark on a journey to discover the art and science of trimming outdoor ferns. By the end of this guide, you'll be ready to give your ferns the tender loving care they deserve, allowing them to take center stage in your outdoor sanctuary.
Key Takeaways:
- Trimming outdoor ferns is essential for their health and beauty. By removing dead or damaged fronds and selectively shaping healthy foliage, you can rejuvenate your fern and create a harmonious outdoor sanctuary.
- After trimming, clean up the area, hydrate the fern, and provide essential care to support its recovery. Your dedication to nurturing nature’s wonders will create a flourishing and enchanting outdoor haven.
Read more: How To Winterize Outdoor Ferns
Understanding Outdoor Ferns
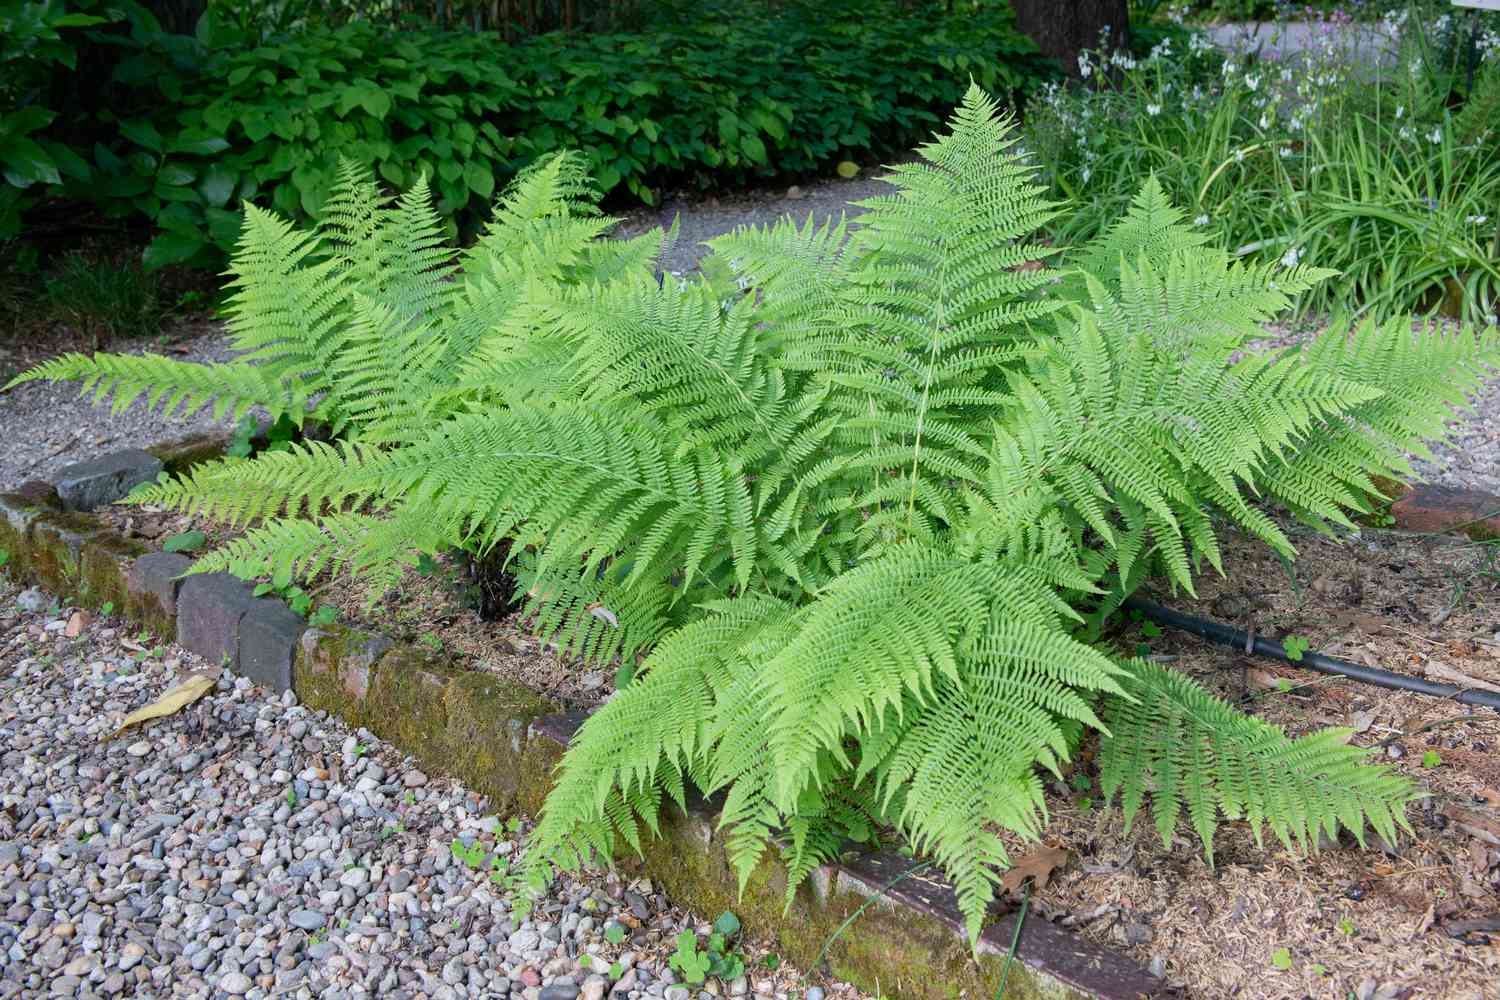
Before diving into the intricacies of trimming outdoor ferns, it’s important to develop a deeper understanding of these captivating plants. Outdoor ferns belong to the botanical group known as Pteridophytes and are prized for their feathery, delicate fronds that add a touch of grace to any garden or outdoor setting. These resilient plants have been gracing landscapes for centuries, adding a timeless allure to their surroundings.
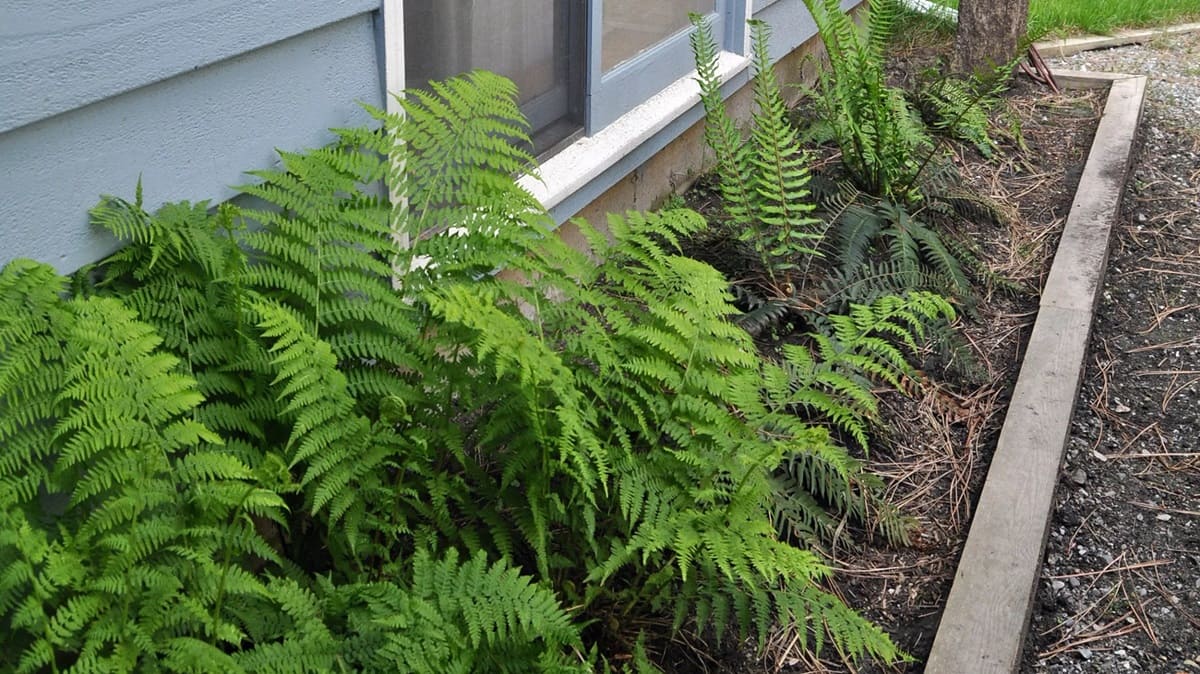
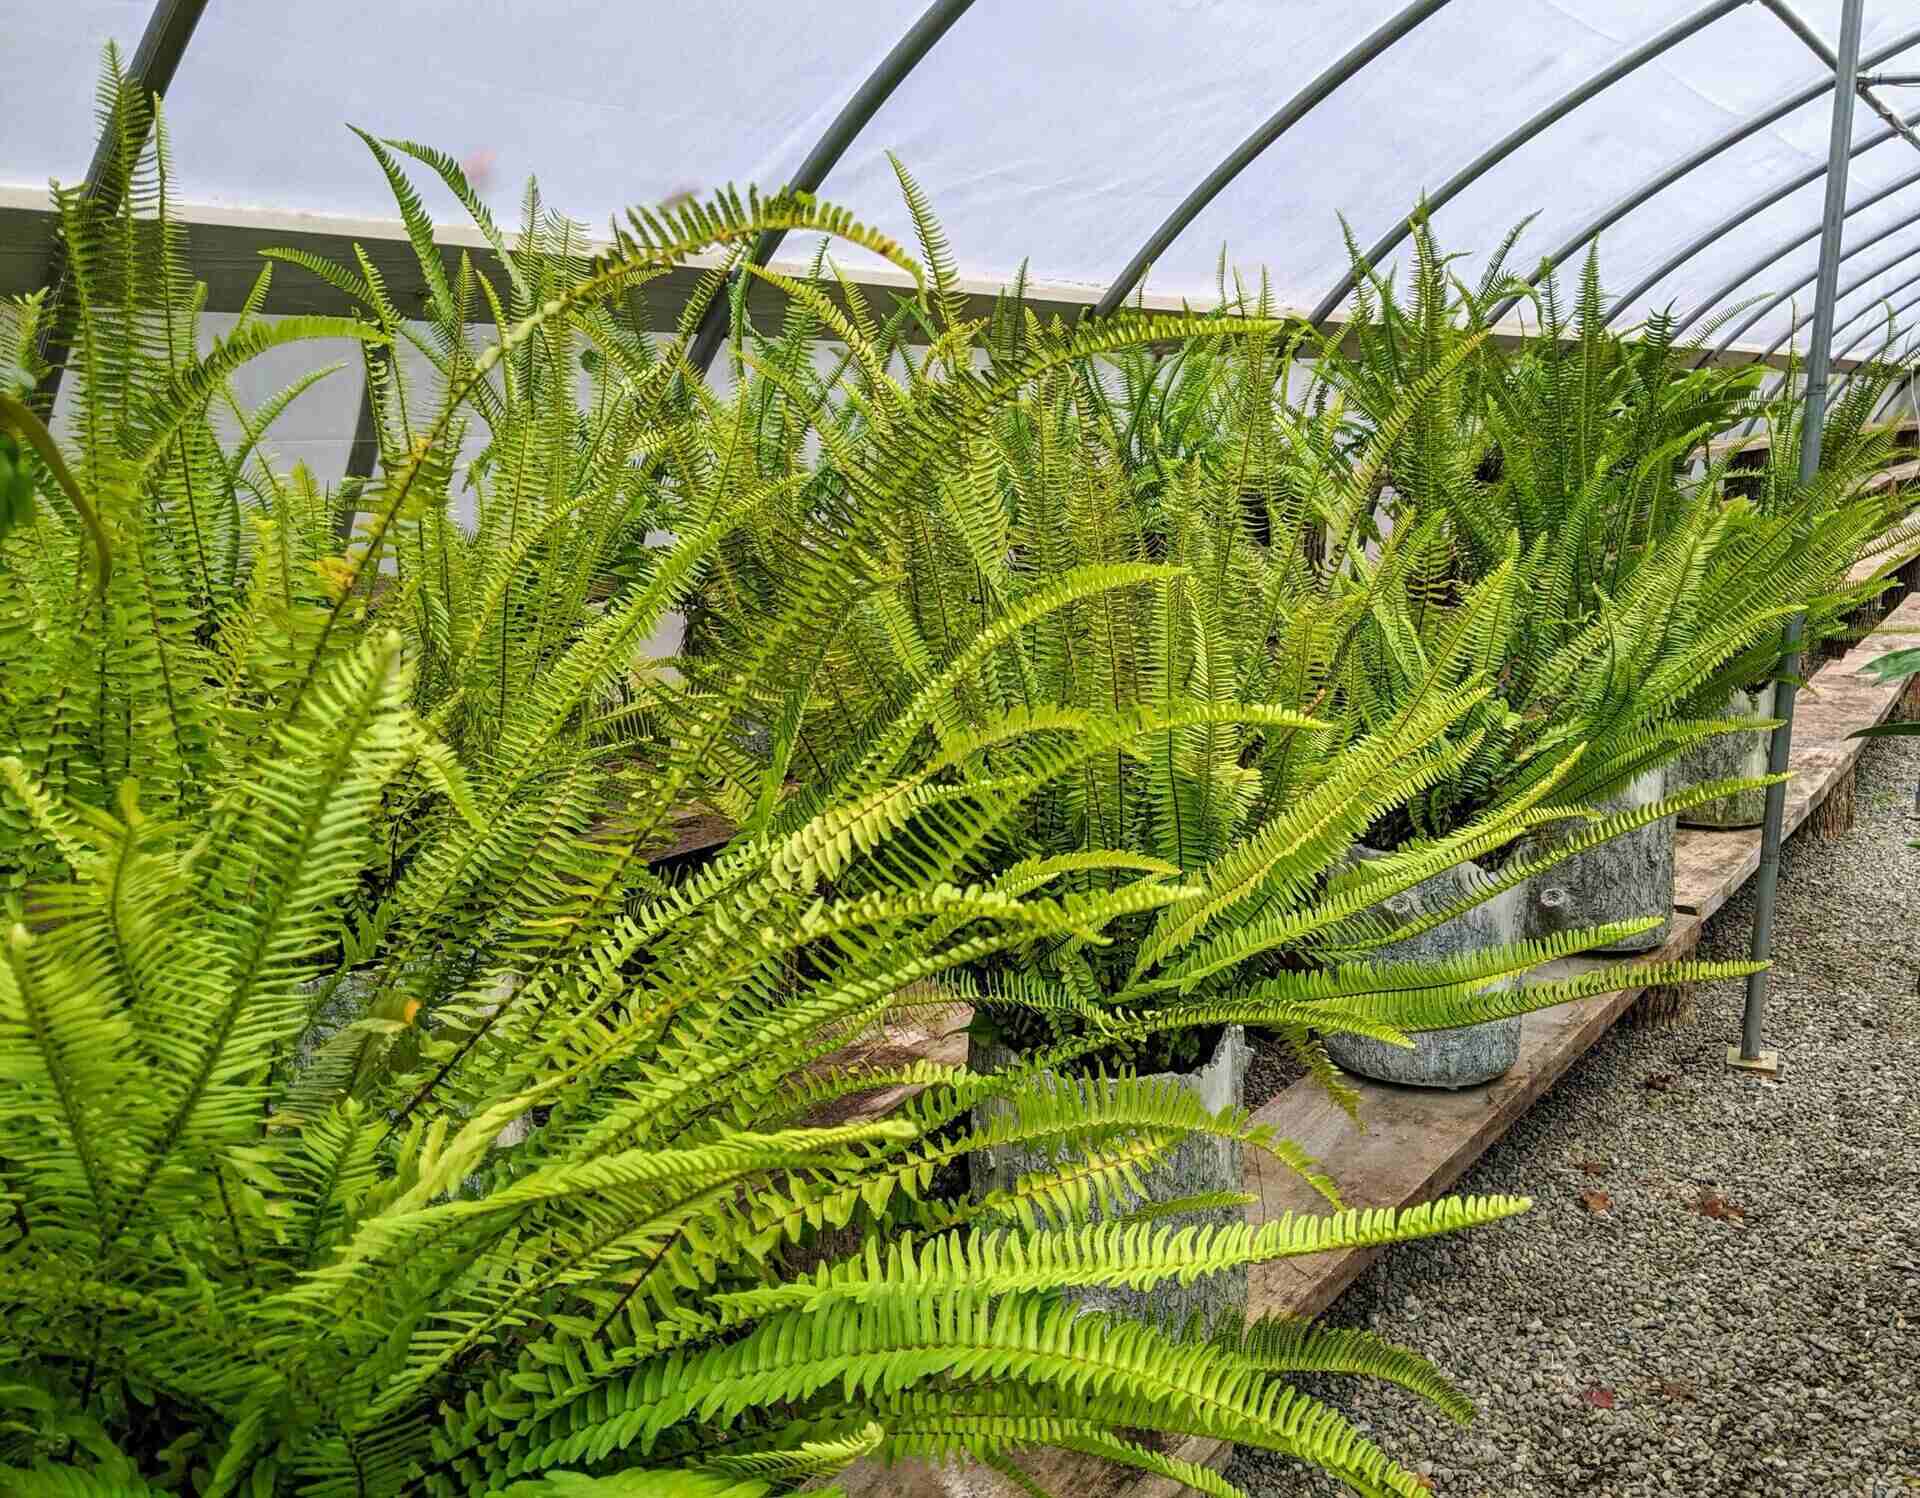
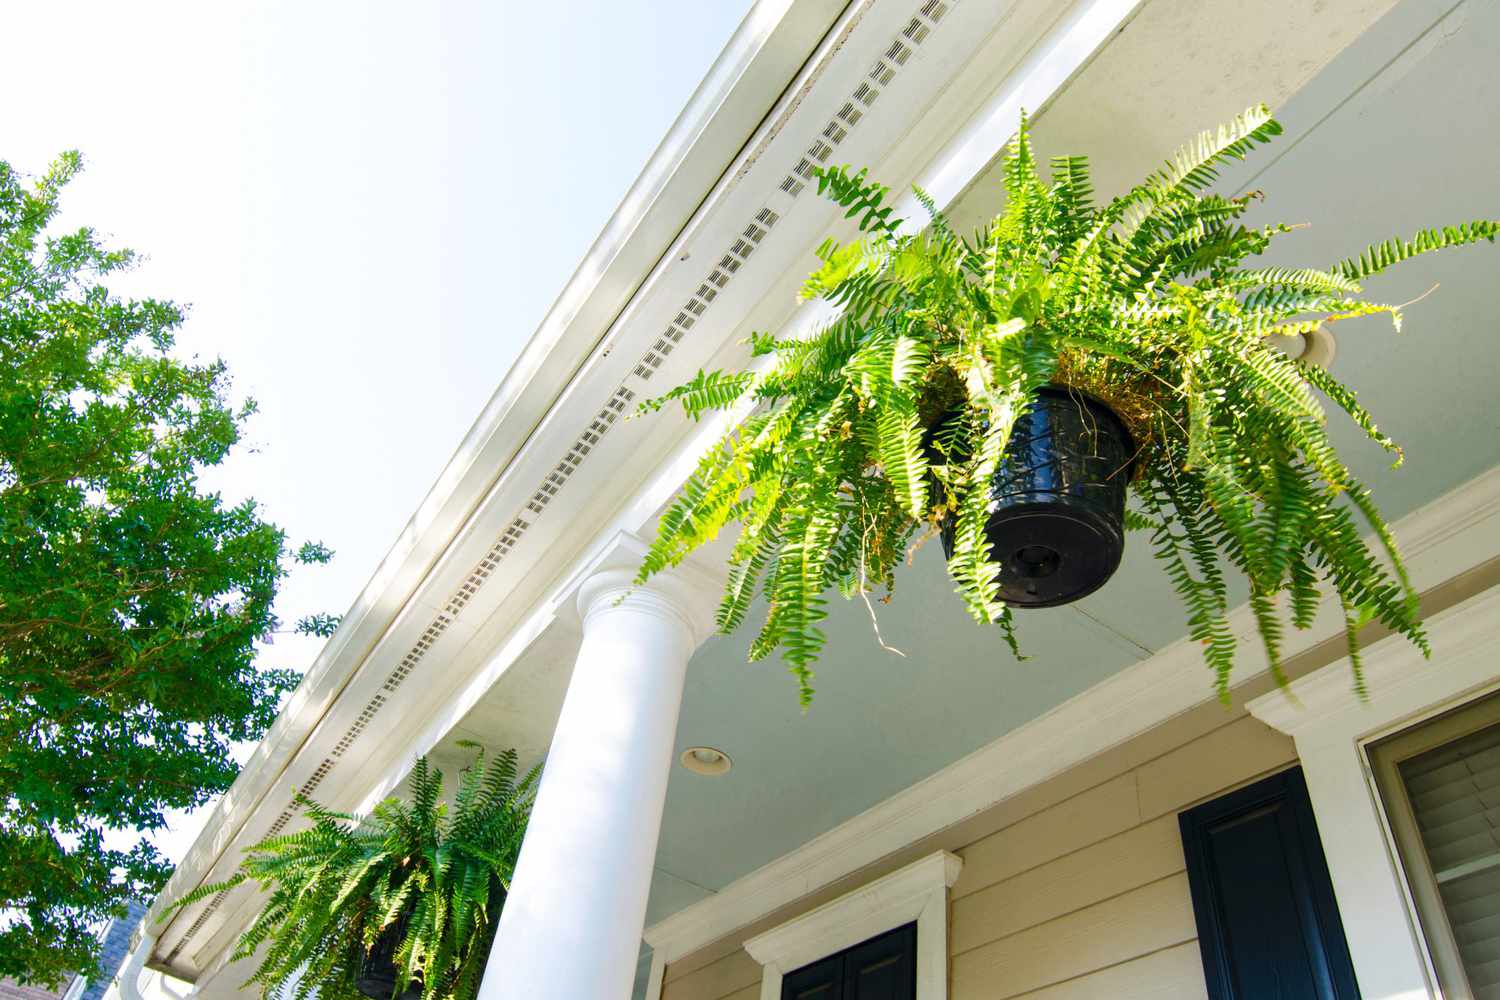
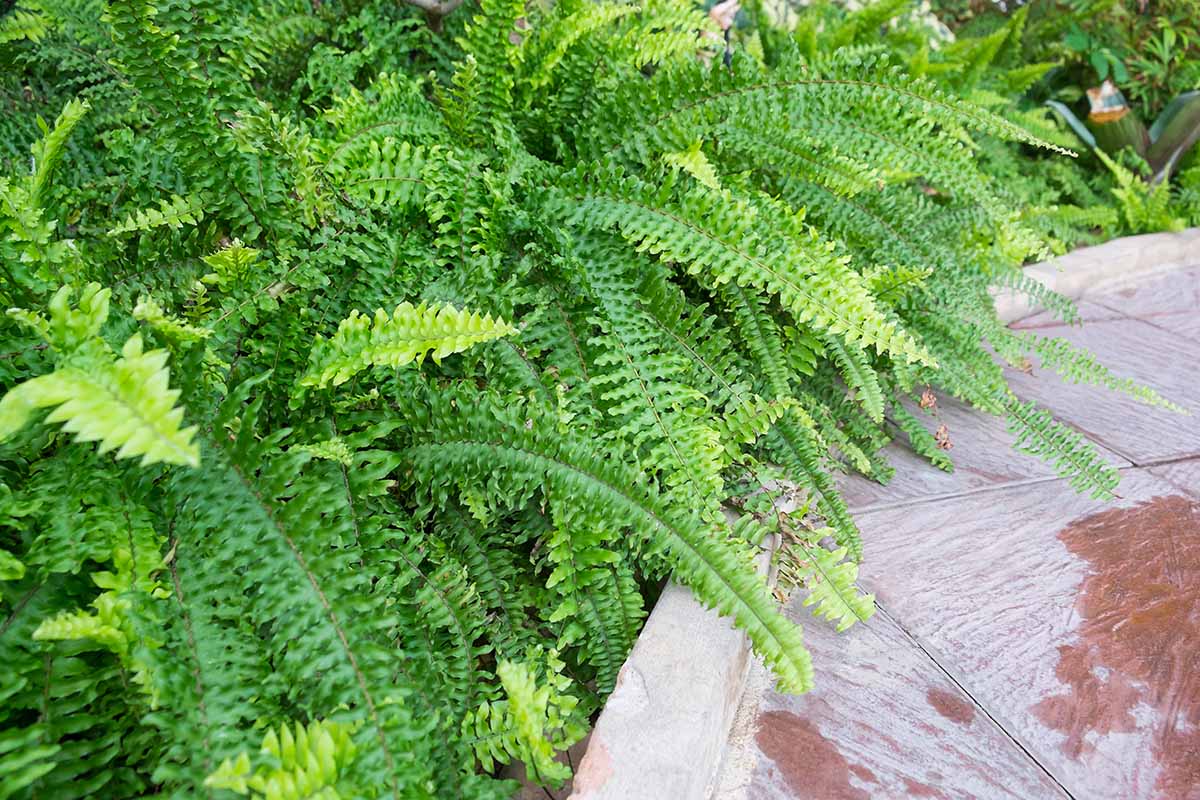
Outdoor ferns thrive in shaded or partially shaded areas with moist, well-draining soil. They are particularly well-suited for woodland gardens, shaded borders, and patio containers, where their lush foliage can create a serene and inviting atmosphere. These plants are known for their ability to purify the air, making them a valuable addition to any outdoor space.
One of the most appealing characteristics of outdoor ferns is their low-maintenance nature. However, to ensure that they continue to thrive and exude their natural charm, regular maintenance, including trimming, is essential. Trimming outdoor ferns not only helps maintain their aesthetic appeal but also promotes healthy growth by allowing new fronds to unfurl and flourish.
By understanding the unique needs and characteristics of outdoor ferns, you can create an environment that supports their growth and vitality. With this knowledge as our foundation, we can now explore the essential tools and materials needed to undertake the task of trimming outdoor ferns with confidence and precision.
Tools and Materials Needed
Before embarking on the rewarding task of trimming your outdoor ferns, it’s essential to gather the necessary tools and materials to ensure a seamless and efficient trimming process. Here’s a comprehensive list of items you’ll need:
- Pruning Shears: Invest in a high-quality pair of pruning shears with sharp blades to make clean cuts without causing damage to the fronds.
- Gardening Gloves: Protect your hands with durable gardening gloves to shield them from any sharp edges or potential irritants on the fern fronds.
- Hand Trowel: A hand trowel will come in handy for removing any debris or dead foliage from the base of the fern.
- Disinfectant: Keep a small bottle of disinfectant or rubbing alcohol to sterilize your pruning shears before and after use, preventing the spread of diseases between plants.
- Watering Can or Hose: Ensure that you have a watering can or hose nearby to hydrate the ferns after trimming, providing them with the moisture they need to recover and thrive.
- Bucket or Garden Waste Bag: Have a bucket or garden waste bag on hand to collect the trimmed fronds and any debris, keeping your outdoor space tidy.
By having these tools and materials at your disposal, you’ll be well-prepared to embark on the trimming process, allowing you to approach the task with confidence and precision. With the groundwork laid and the tools gathered, it’s time to delve into the step-by-step process of trimming your outdoor ferns to perfection.
Step 1: Assessing the Fern
Before commencing the trimming process, it’s crucial to assess the overall health and condition of your outdoor fern. This initial step sets the stage for a targeted and effective trimming session, ensuring that you address the specific needs of the plant. Here’s how to assess your fern:
Begin by closely examining the fronds of the fern. Look for any signs of damage, disease, or discoloration. Dead or yellowing fronds, often located at the base of the plant, are prime candidates for removal. Additionally, inspect the center of the fern for the presence of new growth, known as fiddleheads, which should be left undisturbed to support healthy development.
Take note of any overcrowding or intertwining of fronds, as this can hinder air circulation and sunlight exposure, potentially impacting the overall health of the plant. By identifying areas of congestion, you can strategically target them during the trimming process to promote better growth and vitality.
Assess the overall shape and size of the fern, considering the aesthetic balance it brings to its surroundings. If the fern appears unruly or disproportionate, you can tailor the trimming process to achieve a more harmonious and visually appealing form.
By carefully evaluating the condition of your outdoor fern, you’ll gain valuable insights that will inform your trimming strategy, allowing you to prioritize the removal of damaged fronds and optimize the plant’s overall appearance and well-being. With a clear understanding of your fern’s specific needs, you’re ready to move on to the next step: trimming dead or damaged fronds to rejuvenate the plant’s vitality.
When trimming outdoor ferns, make sure to use sharp, clean pruning shears to avoid damaging the plant. Trim dead or yellowing fronds at the base to encourage new growth. Avoid cutting too close to the crown of the plant to prevent injury.
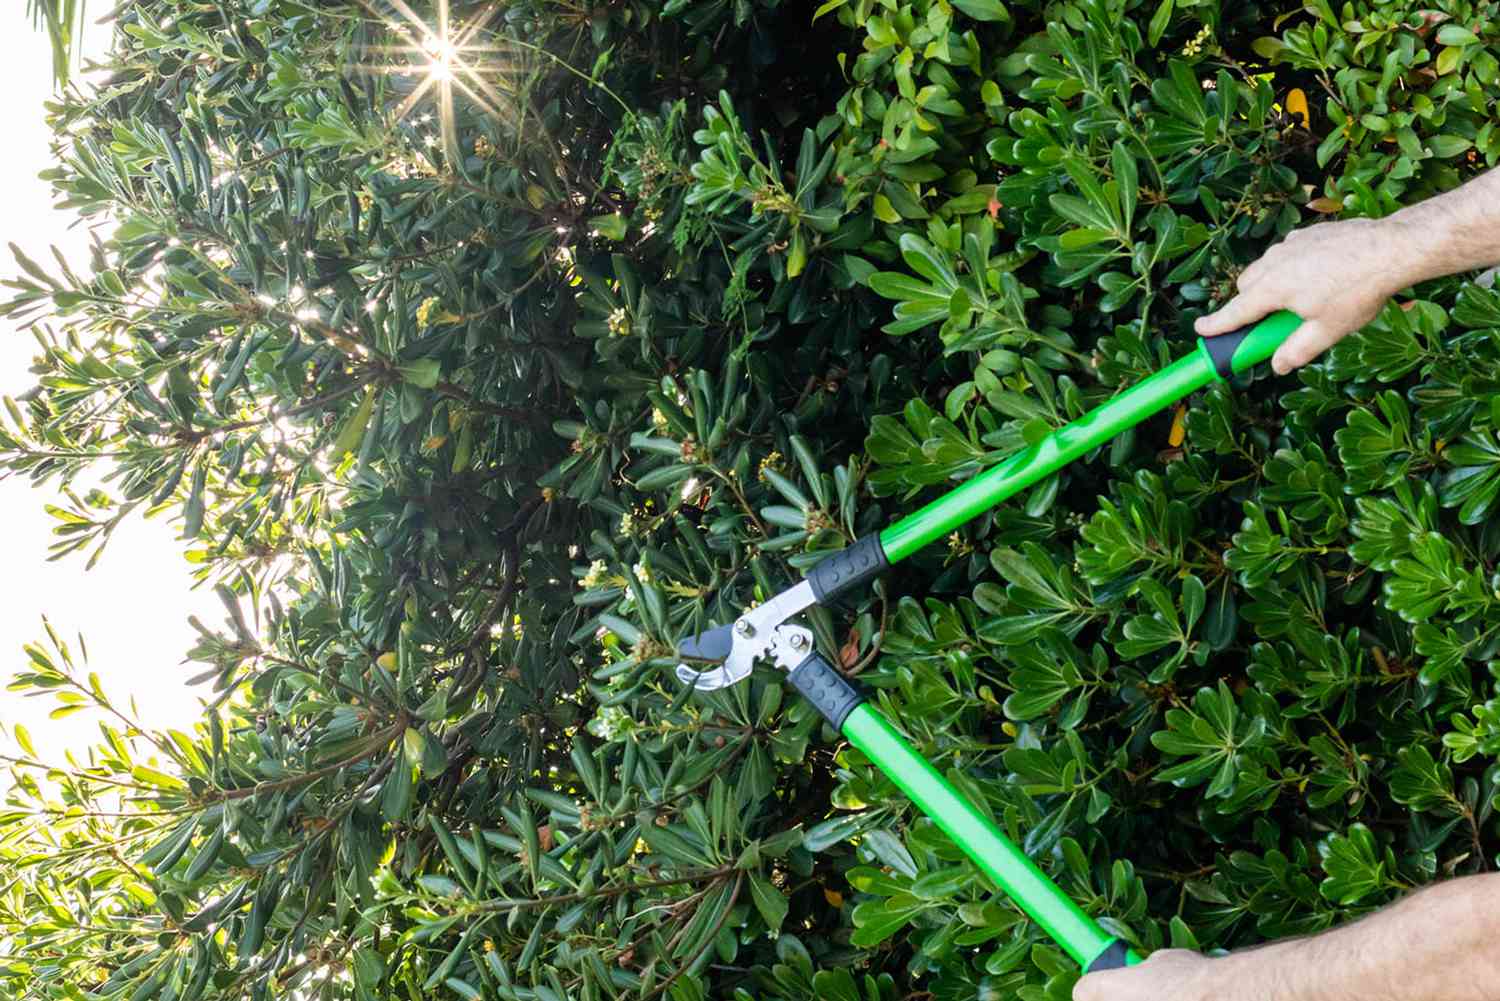
Step 2: Trimming Dead or Damaged Fronds
Trimming dead or damaged fronds is a crucial step in revitalizing the overall health and appearance of your outdoor fern. By removing these compromised fronds, you not only enhance the aesthetic appeal of the plant but also prevent the spread of disease and redirect the plant’s energy towards healthy growth. Here’s how to effectively trim dead or damaged fronds:
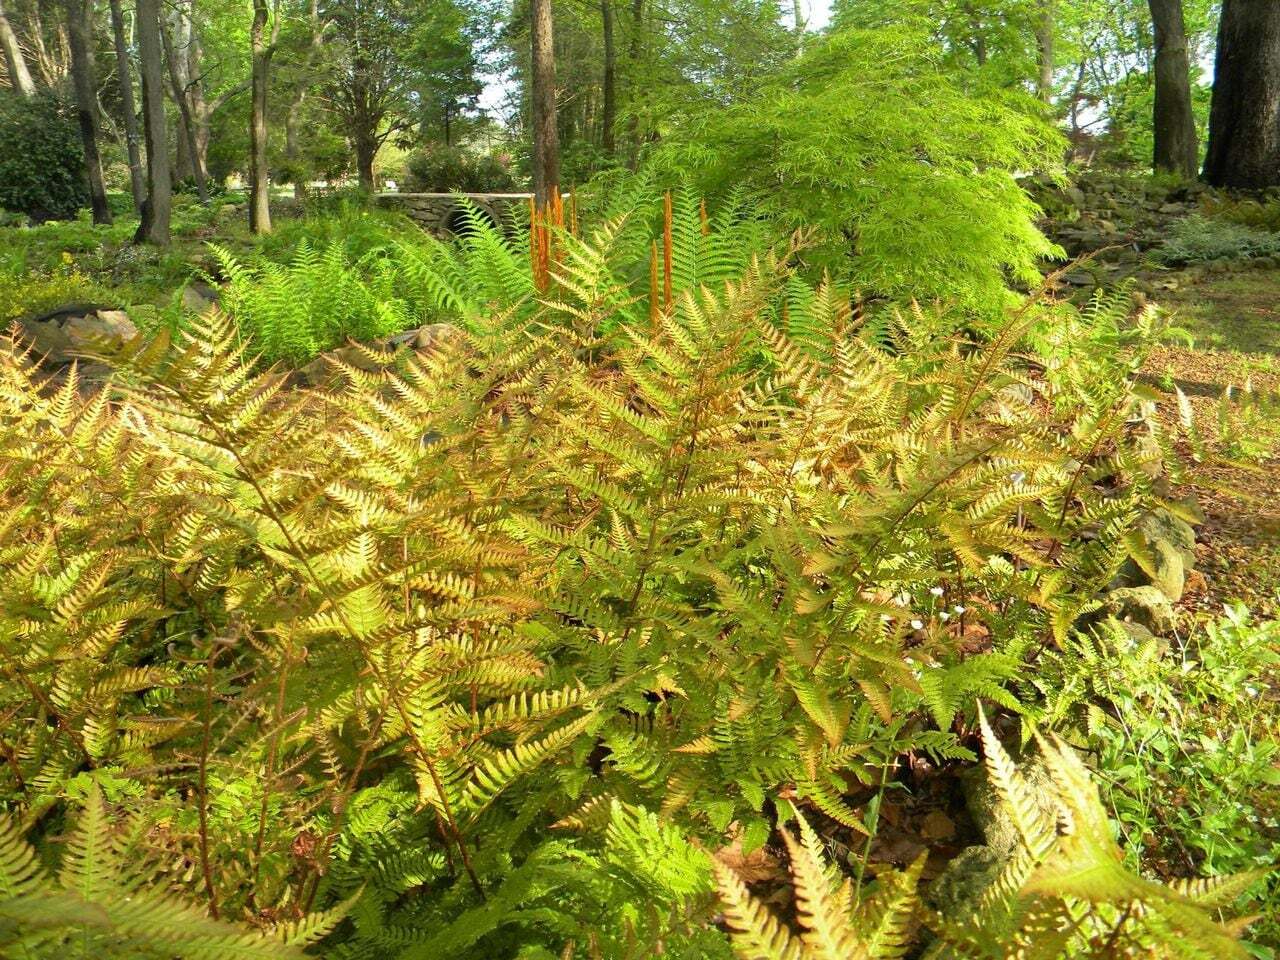
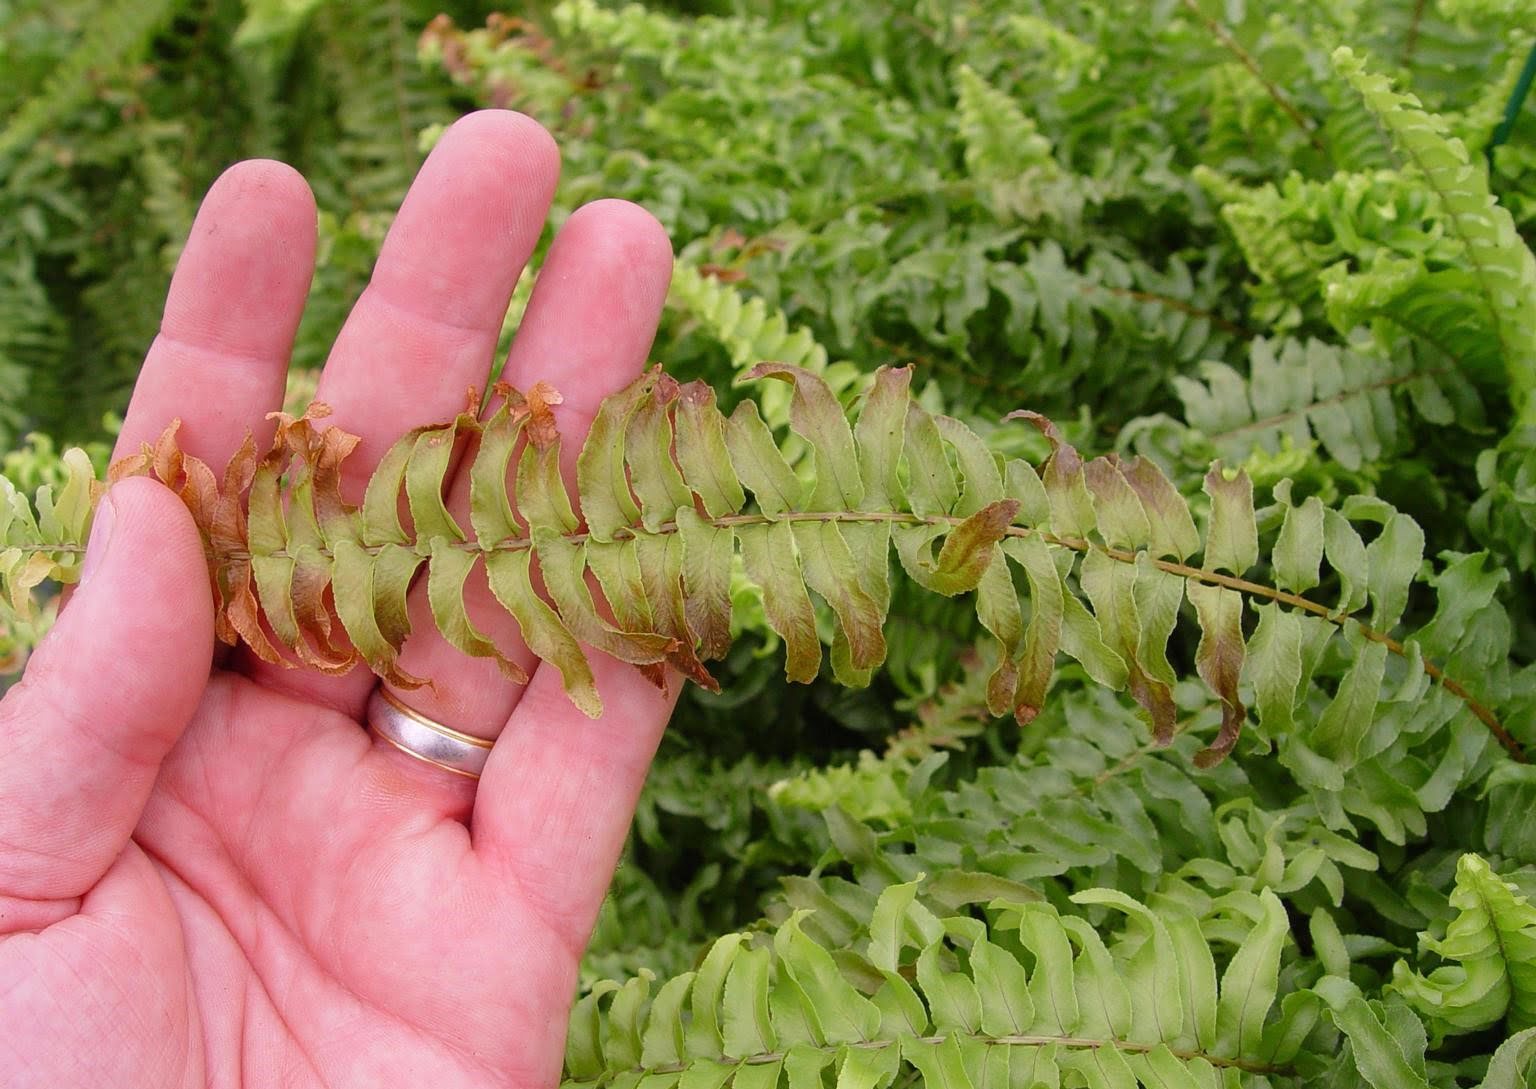
Identifying Dead or Damaged Fronds: Begin by identifying fronds that show signs of decay, discoloration, or wilting. Dead fronds are often brown, brittle, or visibly wilted, and they may detract from the fern’s natural beauty. Carefully trace each frond from the tip to the base, assessing its condition before proceeding with the trimming process.
Precision Trimming: Armed with a pair of sharp pruning shears, carefully trim the identified dead or damaged fronds at the base of the plant, ensuring clean cuts to minimize stress on the fern. Make your cuts at a slight angle, just above the base of the frond, to promote efficient healing and regrowth.
Pruning Shear Maintenance: After each cut, take a moment to sterilize your pruning shears with disinfectant or rubbing alcohol to prevent the potential spread of diseases between fronds. This simple yet vital practice helps safeguard the overall health of your outdoor fern and promotes a thriving, disease-free environment.
Thinning Out Overcrowded Fronds: In addition to removing dead fronds, consider thinning out any overcrowded areas to improve air circulation and sunlight exposure within the fern. This selective trimming approach supports the overall health and vigor of the plant, allowing the remaining fronds to thrive and flourish.
By meticulously trimming dead or damaged fronds, you’re providing your outdoor fern with a fresh start, allowing it to redirect its energy towards new growth and rejuvenation. With this essential step completed, you’re now ready to turn your attention to the process of trimming healthy fronds to maintain the plant’s vitality and visual appeal.
Read more: How Often To Water Outdoor Fern
Step 3: Trimming Healthy Fronds
Trimming healthy fronds is a delicate yet essential aspect of maintaining the overall vitality and aesthetic appeal of your outdoor fern. While it may seem counterintuitive to trim healthy foliage, this process is instrumental in promoting robust growth and preserving the plant’s natural beauty. Here’s how to approach the task of trimming healthy fronds with precision and care:
Strategic Assessment: Begin by strategically assessing the overall density and arrangement of the healthy fronds. Look for areas where the fronds may be overcrowded or intertwining, as this can impede proper air circulation and sunlight exposure, potentially hindering the plant’s overall health.
Selective Trimming: With a pair of sharp pruning shears, selectively trim a few healthy fronds that appear excessively dense or are obstructing the natural form of the fern. Aim to create a balanced and harmonious appearance while allowing ample space for new growth to unfurl and thrive.
Maintaining Proportion: Pay attention to the overall shape and size of the fern, ensuring that the trimming process preserves its natural elegance and symmetry. By maintaining proportion and balance, you can enhance the visual impact of the plant within its outdoor setting.
Encouraging New Growth: As you trim healthy fronds, keep in mind that this process stimulates the plant to redirect its energy towards producing new growth. By selectively trimming and shaping the healthy foliage, you’re encouraging the fern to flourish and maintain its vibrant allure.
Observation and Adjustment: Throughout the trimming process, step back periodically to observe the evolving appearance of the fern. Make adjustments as needed, ensuring that the trimming enhances the plant’s overall health and aesthetic appeal while respecting its natural form.
By approaching the task of trimming healthy fronds with attentiveness and a discerning eye, you’re fostering an environment that supports the long-term well-being and beauty of your outdoor fern. With the healthy fronds carefully trimmed and the plant’s vitality preserved, it’s time to transition to the final step: cleaning up and providing essential care to complete the trimming process.
Step 4: Cleaning Up
As you near the completion of the trimming process, it’s essential to focus on cleaning up the area and providing the necessary care to support the fern’s recovery and continued growth. This final step ensures that your outdoor fern is poised to thrive and radiate its natural charm in the days to come. Here’s how to effectively clean up and care for your fern after trimming:
Removing Trimmed Fronds: Gather the trimmed fronds and any debris that has accumulated around the base of the fern. Dispose of the trimmed foliage in a garden waste bag or compost pile, keeping the surrounding area tidy and free from potential disease sources.
Hydrating the Fern: After the trimming process, provide your outdoor fern with a generous watering to replenish its moisture levels and alleviate any stress caused by the trimming. Ensure that the soil is evenly moist but not waterlogged, supporting the fern’s recovery and promoting new growth.
Applying Fertilizer (Optional): Consider applying a balanced, slow-release fertilizer around the base of the fern to provide essential nutrients that support its recovery and long-term health. Follow the manufacturer’s recommendations for the appropriate application rate and frequency.
Monitoring and Care: In the days following the trimming, monitor the fern closely for any signs of stress or dehydration. Provide ongoing care, including regular watering and maintenance, to create an optimal environment for the fern’s continued vitality.
Observing New Growth: Over the coming weeks, observe the emergence of new fronds and the overall response of the fern to the trimming process. Celebrate the rejuvenated appearance of your outdoor fern as it flourishes with renewed vigor and lush, vibrant foliage.
By diligently cleaning up and providing essential care after trimming your outdoor fern, you’re setting the stage for its ongoing health and beauty. With the trimming process complete and the fern poised for continued growth, take a moment to admire your handiwork and the revitalized allure of your outdoor sanctuary.
Conclusion
Congratulations on mastering the art of trimming outdoor ferns! By embarking on this journey, you’ve not only enhanced the aesthetic appeal of your outdoor space but also nurtured the health and vitality of your beloved fern. As you reflect on the trimming process and the care you’ve provided, it’s evident that your outdoor fern is poised to thrive and captivate with its timeless allure.
Through the deliberate steps of assessing the fern, trimming dead or damaged fronds, selectively shaping healthy foliage, and providing essential care, you’ve cultivated an environment that supports the long-term well-being of your outdoor fern. Your attentiveness and precision have not only rejuvenated the plant but have also enriched your connection with nature and the outdoor world.
As you continue to care for your outdoor fern, remember to observe its growth and respond to its evolving needs. Regular maintenance, including occasional trimming and ongoing nurturing, will ensure that your fern remains a cherished focal point in your outdoor sanctuary, exuding tranquility and natural beauty.
By delving into the intricate world of outdoor ferns and mastering the art of trimming, you’ve unlocked the potential to create a captivating and harmonious outdoor space. Your dedication to the well-being of your fern serves as a testament to the transformative power of thoughtful care and the enduring allure of nature’s wonders.
As you bask in the rejuvenated elegance of your outdoor fern, take pride in the role you’ve played in nurturing its vitality and preserving its timeless charm. Your newfound expertise in trimming outdoor ferns has not only enriched your outdoor oasis but has also deepened your connection with the captivating world of foliage and natural beauty.
Embrace the ongoing journey of tending to your outdoor fern, knowing that each act of care and attention contributes to a flourishing and enchanting outdoor haven. Your commitment to the well-being of your fern stands as a testament to the transformative power of nurturing nature’s exquisite creations.
Frequently Asked Questions about How To Trim Outdoor Ferns
Was this page helpful?
At Storables.com, we guarantee accurate and reliable information. Our content, validated by Expert Board Contributors, is crafted following stringent Editorial Policies. We're committed to providing you with well-researched, expert-backed insights for all your informational needs.


0 thoughts on “How To Trim Outdoor Ferns”