Articles
How To Trim Stairs
Modified: August 27, 2024
Learn how to trim stairs with our informative articles. Get step-by-step instructions and valuable tips for a professional-looking staircase.
(Many of the links in this article redirect to a specific reviewed product. Your purchase of these products through affiliate links helps to generate commission for Storables.com, at no extra cost. Learn more)
Introduction
Trimming stairs is an important step in enhancing the aesthetic appeal and overall finish of your staircase. Whether you are renovating an existing staircase or building a new one, properly trimmed stairs can drastically transform the appearance of your home. The process involves measuring, cutting, and installing trim pieces to achieve a clean and polished look.
In this article, we will guide you through the step-by-step process of trimming stairs. We will cover everything from measuring the stairs to removing existing trim, preparing the trim pieces, cutting and installing them correctly, and adding the finishing touches. By following these instructions, you will be able to achieve professional-looking results that will elevate the beauty of your staircase.
Before we begin, it’s important to gather the necessary tools and materials. Having these at hand will make the process smoother and more efficient. Some of the tools you will need include a tape measure, miter saw, coping saw, nail gun or hammer, level, and a pencil. Additionally, you will need trim pieces, such as baseboard or quarter round molding, to match the style and design of your staircase.
Now that we have the tools and materials ready, let’s dive into the step-by-step process of trimming stairs. We will start by measuring the stairs in order to determine the length and angles required for the trim pieces.
Key Takeaways:
- Elevate the aesthetic appeal of your staircase by following a step-by-step process to measure, cut, and install trim pieces. Achieve a polished and professional look that complements your home decor.
- Choose the right trim style and material to protect and enhance the edges of your stairs. Precision and attention to detail are key in achieving a seamless and visually stunning finish.
Read more: How To Trim Garage Door
Overview of Stair Trimming
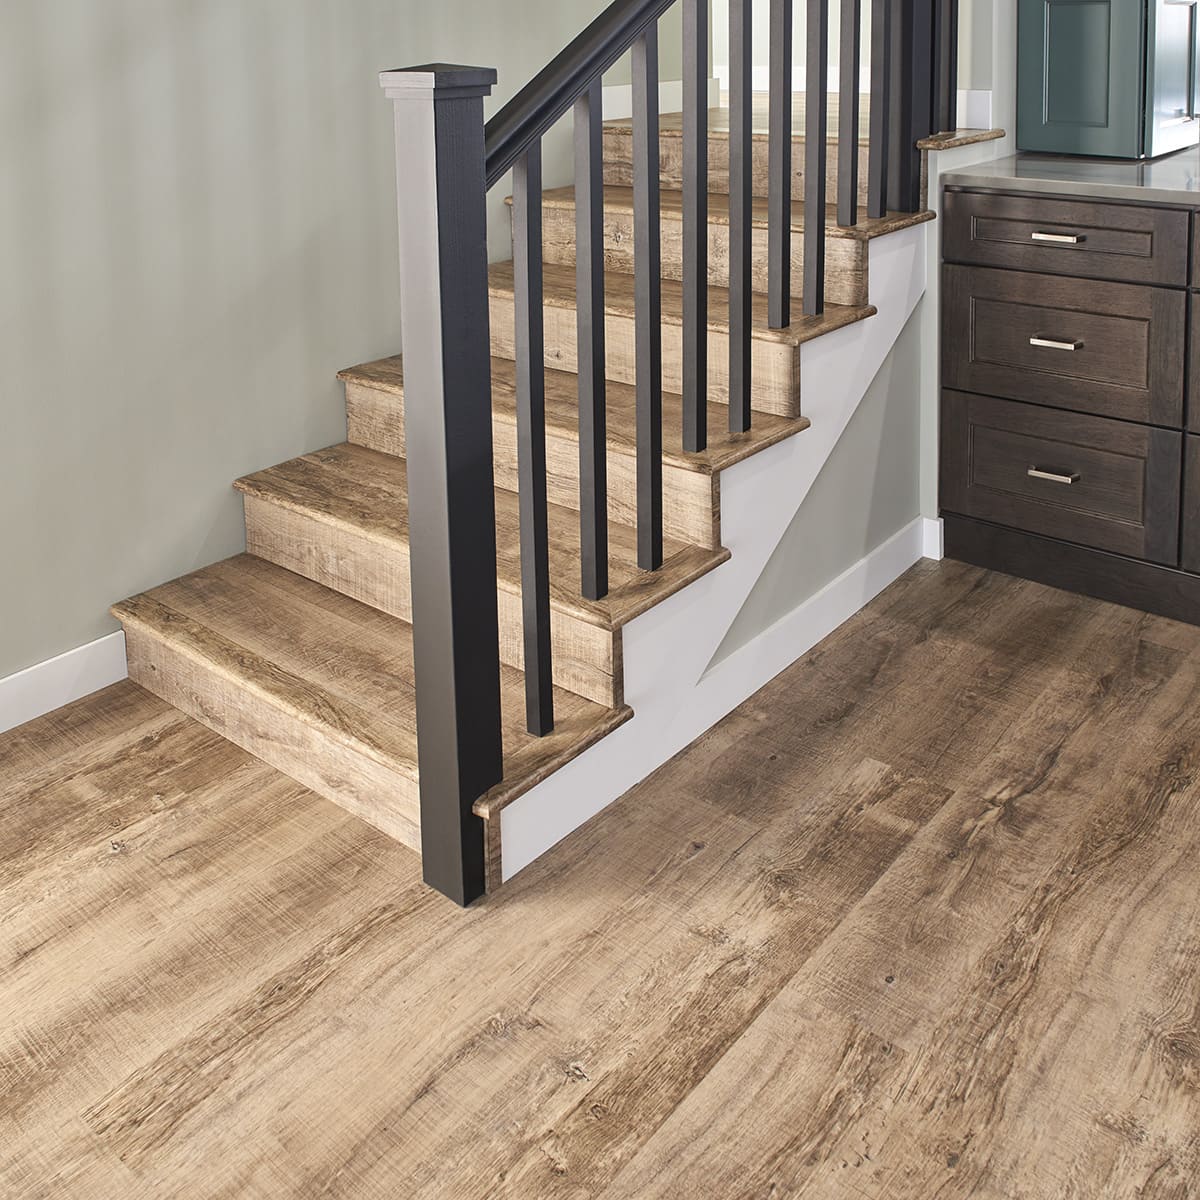
Trimming stairs involves adding decorative moldings or trim pieces to the edges and corners of the staircase. This not only enhances the appearance of the stairs but also helps to protect the edges from wear and tear. The trim pieces can be made of various materials, such as wood, PVC, or composite, and come in different styles and designs to suit your aesthetic preferences.
The purpose of stair trim is twofold. Firstly, it adds a finished and cohesive look to your staircase, tying together the overall design of your home. By selecting the right trim style and color, you can complement the existing decor and create a seamless transition between the staircase and the surrounding walls or flooring. Secondly, the trim pieces also provide a layer of protection to the edges of the stairs, preventing them from getting chipped or damaged over time.
When choosing the trim for your stairs, consider factors such as the style of your home, the materials used in the staircase construction, and the level of durability and maintenance required. For a classic look, wooden trim pieces can be stained or painted to match the staircase or other existing woodwork in your home. Alternatively, if you prefer a more modern and low-maintenance option, PVC or composite trim may be the better choice.
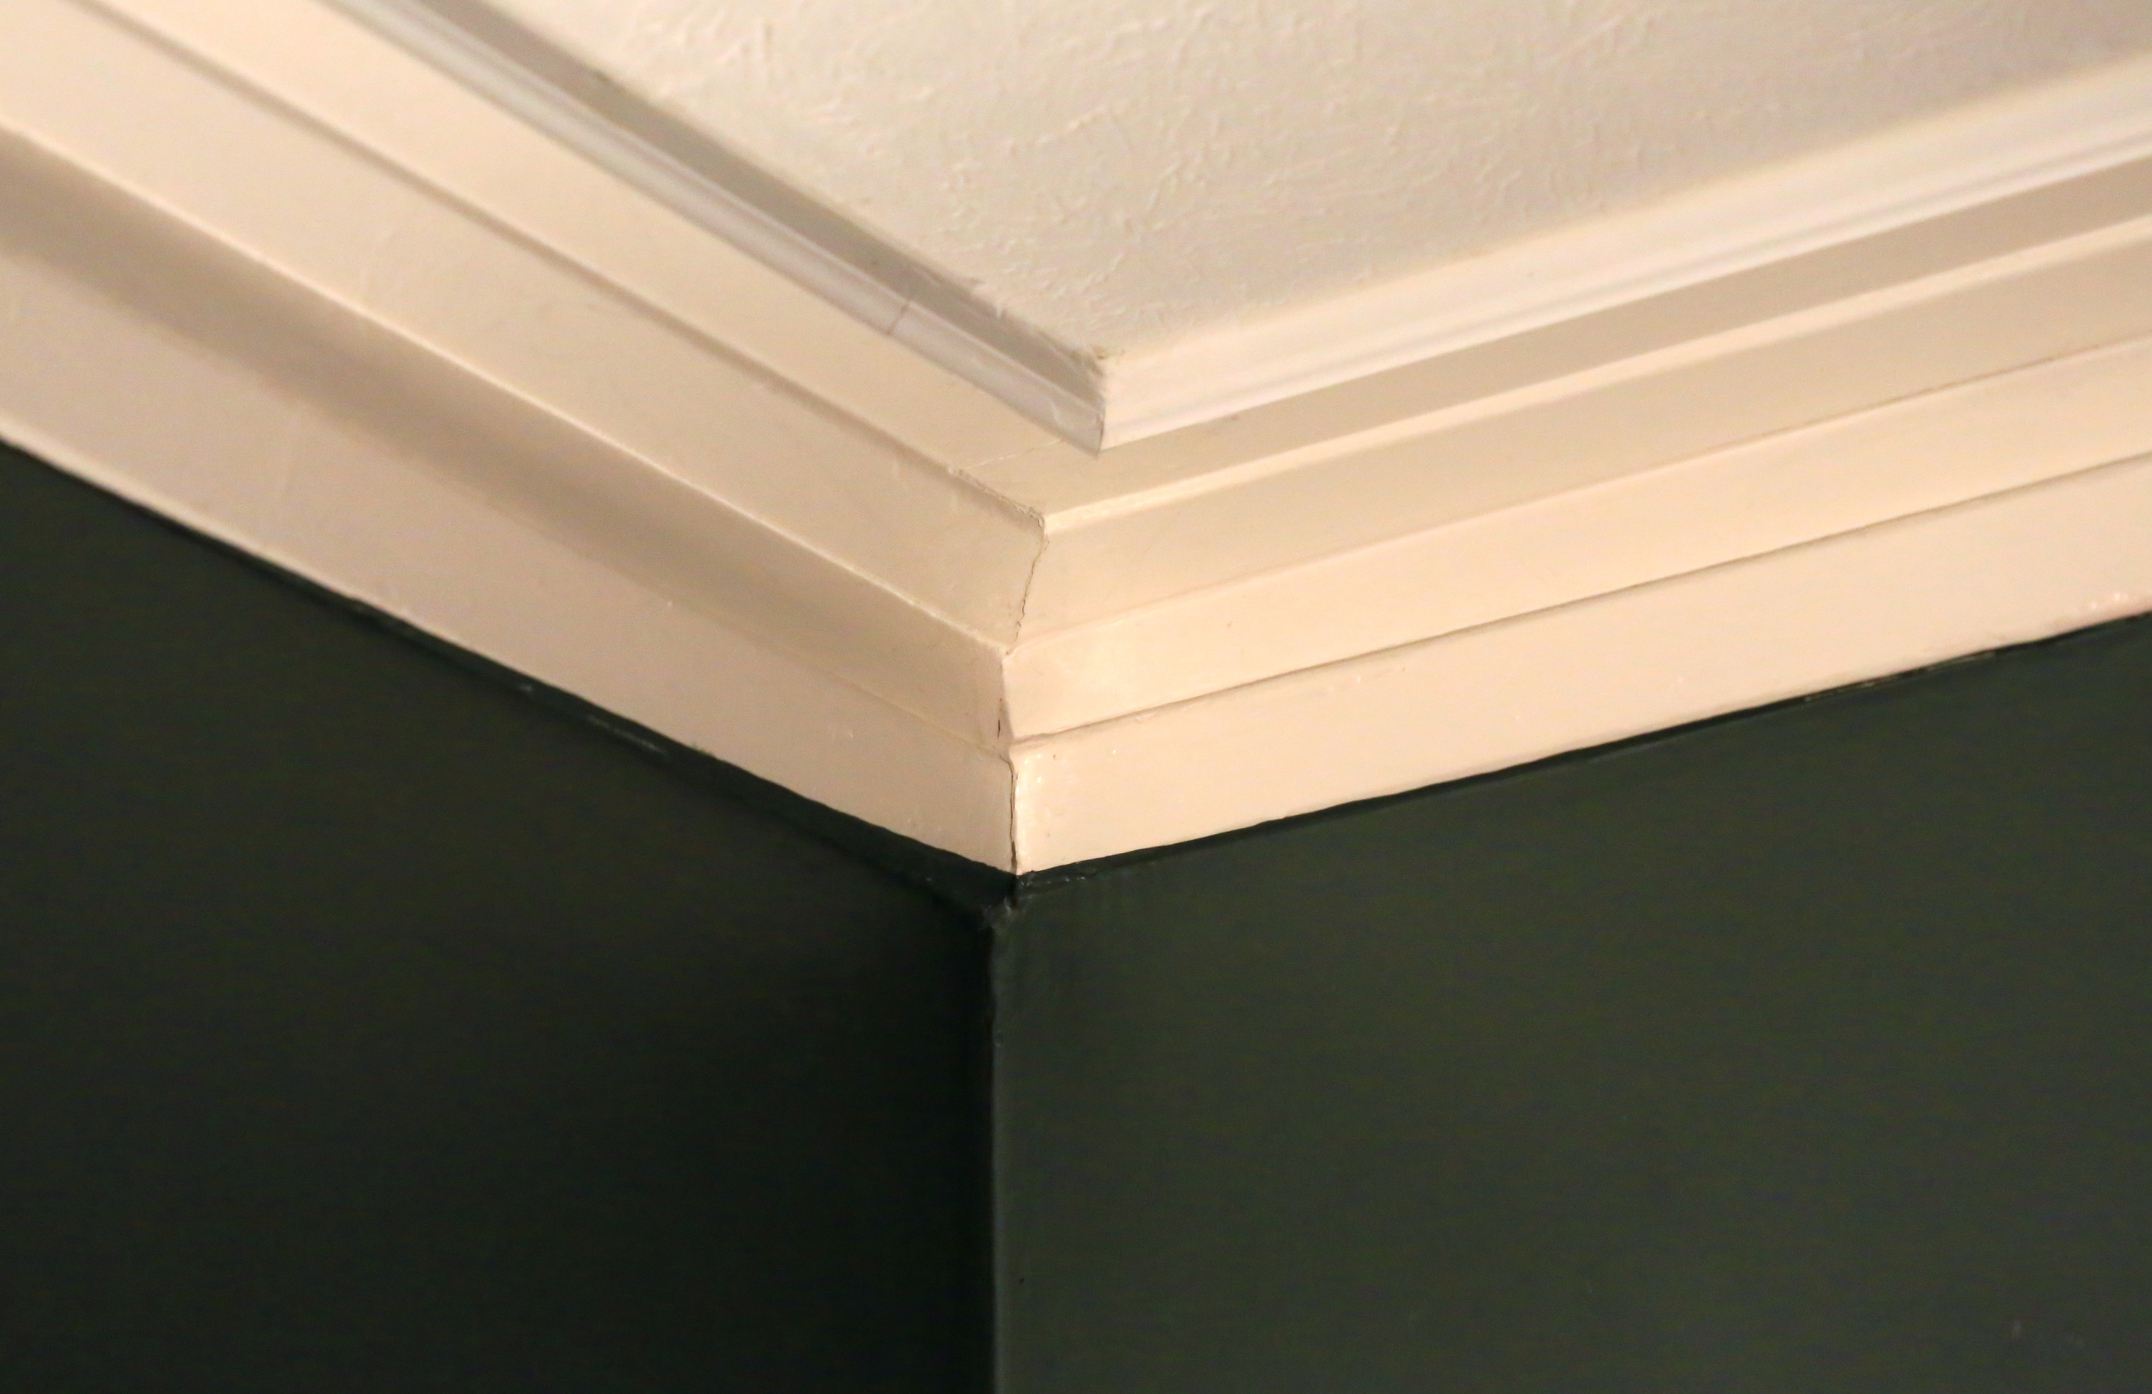
It’s important to note that trim pieces for stairs are typically installed on the vertical risers and horizontal nosings. The riser trim is the vertical piece that covers the front face of each step, while the nosing trim is the horizontal piece that covers the edge of the step. By installing trim on both the risers and nosings, you achieve a cohesive and polished look for your staircase.
Trimming stairs requires precision and careful measurements. Angles need to be accurately calculated and cuts should be made with precision to ensure a seamless fit. It’s recommended to use a miter saw for making angled cuts and a coping saw for intricate cuts, such as when trimming around curved sections or corners.
In the following sections, we will walk you through the step-by-step process of trimming stairs, from measuring the stairs to installing the trim pieces. With the right tools, materials, and attention to detail, you can achieve professional results and transform your staircase into a stunning focal point in your home.
Tools and Materials Needed
Before you begin trimming your stairs, it’s essential to gather all the necessary tools and materials. Having everything prepared beforehand will streamline the process and ensure that you have everything you need to complete the project successfully. Here is a list of the tools and materials you will need:
Tools:
- Tape Measure: Used for accurately measuring the length and dimensions of the stairs.
- Miter Saw: Necessary for making precise angled cuts on the trim pieces.
- Coping Saw: Used for intricate cuts, such as trimming around curved sections or corners.
- Nail Gun or Hammer: Depending on your preference, either a nail gun or a hammer can be used to secure the trim pieces in place.
- Level: Essential for ensuring that the trim pieces are installed straight and level.
- Pencil: Used for marking measurements and cut lines on the trim pieces.
- Safety Glasses and Work Gloves: To protect your eyes and hands during the cutting and installation process.
Materials:
- Trim Pieces: This includes baseboard or quarter round molding, which will be used to trim the stairs. Choose a style and design that complements your staircase and home decor.
- Finishing Nails or Brad Nails: These nails will be used to secure the trim pieces in place. Make sure they are the appropriate length and gauge for your trim and materials.
- Sandpaper: Helpful for smoothing out rough edges or imperfections on the trim pieces.
- Wood Glue: If you’re using wooden trim pieces, wood glue can be used as an additional adhesive to reinforce the bond.
- Paint or Stain: Depending on your preference, you may need paint or stain to finish the trim pieces and match them to your desired color scheme.
Once you have gathered all the necessary tools and materials, you’re ready to move on to the next steps of measuring and removing the existing trim. Having everything prepared will save you time and ensure a smooth and efficient trimming process.
Read more: How To Trim Greenery Bushes
Step 1: Measuring the Stairs
Before you can begin trimming your stairs, it’s essential to measure them accurately. Measuring the stairs will help you determine the length and angles needed for the trim pieces. Here’s a step-by-step guide on how to measure your stairs:
- Start by measuring the length of each step. Use a tape measure to measure the horizontal length of each step, from one side to the other. Take note of the measurements and write them down.
- Next, measure the height of each step. Measure the vertical distance from the top of one step to the top of the next step underneath. Again, record these measurements.
- If your stairs have angled or curved sections, measure the angle or curvature of those areas. This will help you determine the correct angles for cutting the trim pieces.
- Measure the width of the stair treads, which is the horizontal surface you step on. Take note of this measurement as well.
- Once you have all the measurements, calculate the lengths needed for the riser and nosing trim pieces. The riser trim pieces should be the same height as the vertical measurement you recorded earlier. The nosing trim pieces should be the same length as the width of the stair treads.
- For angled or curved sections, use the measurements you took to calculate the correct angles for cutting the trim pieces. This can be done using a protractor or a digital angle finder tool.
- Double-check your measurements to ensure accuracy. It’s always a good idea to measure twice to avoid any mistakes or miscalculations.
Once you have measured the stairs and calculated the necessary lengths and angles for the trim pieces, you can move on to the next step of removing the existing trim. Having accurate measurements will ensure that your trim pieces fit perfectly and result in a professional-looking finish.
Step 2: Removing Existing Trim
Before you can install new trim on your stairs, it’s important to remove any existing trim that might be in place. Removing the old trim will create a clean surface for the new trim pieces to be installed. Here’s a step-by-step guide on how to remove existing trim from your stairs:
- Start by using a pry bar or a putty knife to gently pry off any visible nails or screws that are securing the trim to the stairs. Be careful not to damage the surrounding surfaces or the stairs themselves.
- Once the nails or screws are removed, use the pry bar to carefully pry the trim away from the stairs. Start at one end and work your way along the length of the trim. Apply gentle pressure to release it from the surface.
- If the trim is stubborn and difficult to remove, you can use a mallet and a scrap piece of wood as a buffer to lightly tap the pry bar and loosen the trim. Again, be cautious not to cause any damage.
- Continue removing the trim piece by piece until all of it has been taken off. It’s important to remove all nails or fasteners that may still be in the stairs or the trim pieces.
- Inspect the stairs and clean off any residual adhesive or debris left behind from the old trim. A scraper or sandpaper can be helpful for this process.
Once you have successfully removed the existing trim and cleaned the surface, you’re ready to move on to the next step of preparing the trim pieces. Removing the old trim is an important step in achieving a clean and smooth installation of the new trim. Take your time and be careful during this process to preserve the integrity of the stairs and surrounding areas.
Step 3: Preparing the Trim Pieces
With the existing trim removed, it’s time to prepare the new trim pieces for installation. Properly preparing the trim pieces will ensure that they fit correctly and provide a neat and polished look to your stairs. Here’s a step-by-step guide on how to prepare the trim pieces:
- Start by measuring and marking the lengths needed for the riser and nosing trim pieces. Use the measurements you took earlier in Step 1 to determine the correct lengths for each piece. Mark the measurements on the trim using a pencil.
- Next, use a miter saw to make angled cuts on the trim pieces, if required. Set the saw to the appropriate angle based on the measurements you took for any angled or curved sections of the stairs. Carefully cut the trim pieces to the correct angles as marked.
- If you have any straight sections of the stairs, measure and mark the straight cuts needed for the trim pieces. Use the miter saw to make these straight cuts, ensuring they are precise and clean.
- Once all the cuts are made, use sandpaper to smooth out any rough edges or imperfections on the trim pieces. This will ensure a clean and professional finish when the trim is installed.
- If you are using wooden trim pieces, you may choose to paint or stain them before installation. Apply the paint or stain according to the manufacturer’s instructions and allow sufficient drying time before handling the trim pieces.
- Double-check that all the trim pieces are cut to the correct lengths and angles, and that they are smooth and free from any imperfections. This will ensure that the installation process goes smoothly and that the trim fits perfectly on the stairs.
By properly preparing the trim pieces before installation, you will save time and ensure a seamless and professional-looking finish. Take your time to measure accurately and make clean cuts, and don’t forget to sand and finish the trim as desired. With the trim pieces ready, you can move on to the next step of cutting and installing them on your stairs.
When trimming stairs, make sure to measure and mark the areas to be trimmed accurately. Use a straight edge to ensure clean and precise cuts. Always prioritize safety by using the appropriate tools and equipment.
Step 4: Cutting and Installing Trim
Now that you have your trim pieces prepared, it’s time to cut and install them on your stairs. This step requires careful precision to ensure that the trim fits snugly and creates a polished look. Here’s a step-by-step guide on how to cut and install the trim:
- Start by positioning the first trim piece on the first step. Hold it in place and check for a proper fit. If necessary, make any minor adjustments to the length or angle using a miter saw.
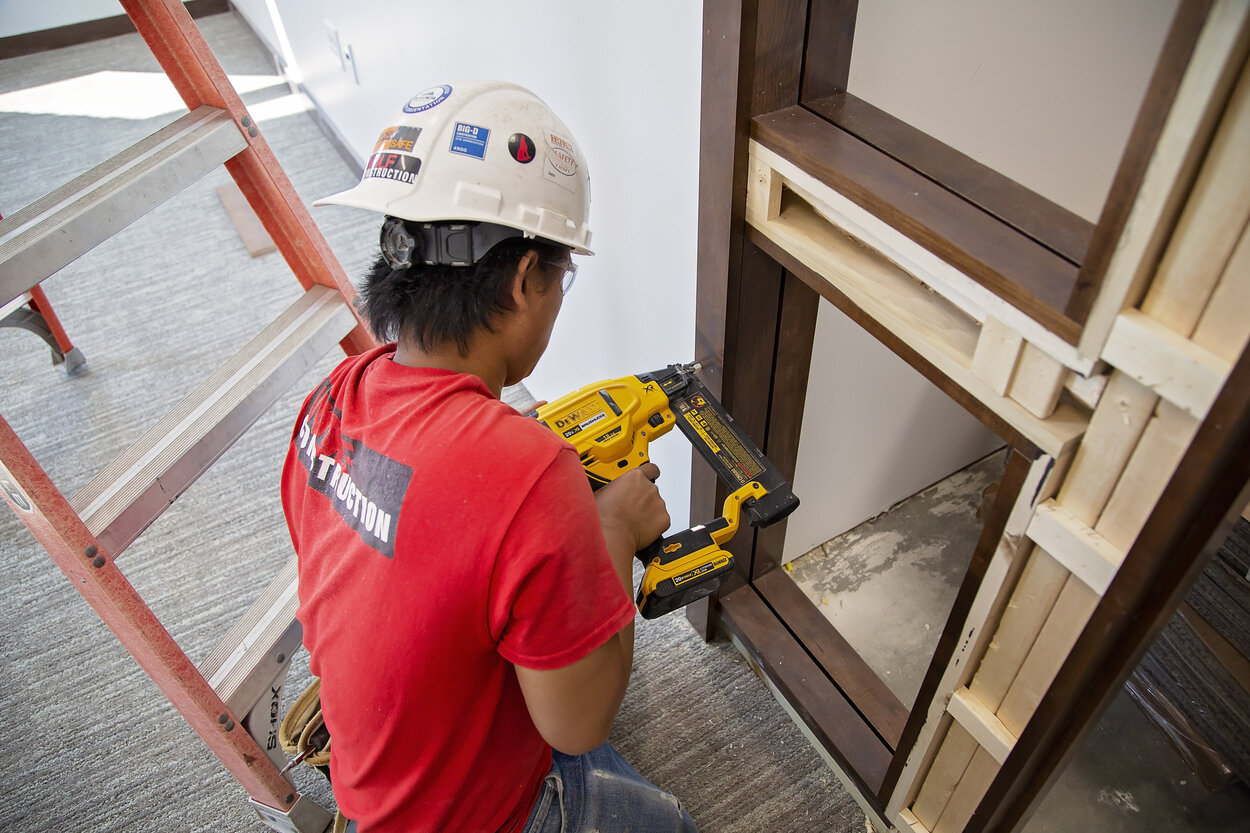
- If you’re using a nail gun, load it with the appropriate-sized finishing nails. Alternatively, you can use a hammer and finishing nails.
- Place the trim piece back in position and secure it to the step. Insert nails into the trim and drive them into the step at an angle, ensuring a secure and tight fit. Repeat this process along the entire length of the trim piece.
- Move on to the next step and repeat the process of positioning, securing, and nailing the trim on each step. Ensure that the trim pieces are aligned and level as you progress.
- For angled or curved sections of the stairs, use a coping saw to create a tight fit where the trim meets the corner or curve. This will ensure a seamless and professional look.
- Continue installing the riser and nosing trim pieces on each step until you reach the last step.
- For the last step, measure and cut the final pieces to fit snugly. Secure them in place with nails or adhesive, ensuring they are aligned with the rest of the trim and the stairs.
Throughout the installation process, periodically check the alignment and levelness of the trim pieces. Use a level to ensure that everything is straight and even. Make any necessary adjustments as needed.
Once all the trim pieces are installed, inspect your work for any loose nails or gaps. Secure any loose areas with additional nails or a suitable adhesive. Fill any gaps or holes with wood putty or caulk, and smooth out the surface for a seamless finish.
Cutting and installing the trim can be a precision task, so take your time and work carefully. With each trim piece securely in place, you are one step closer to achieving beautifully trimmed stairs!
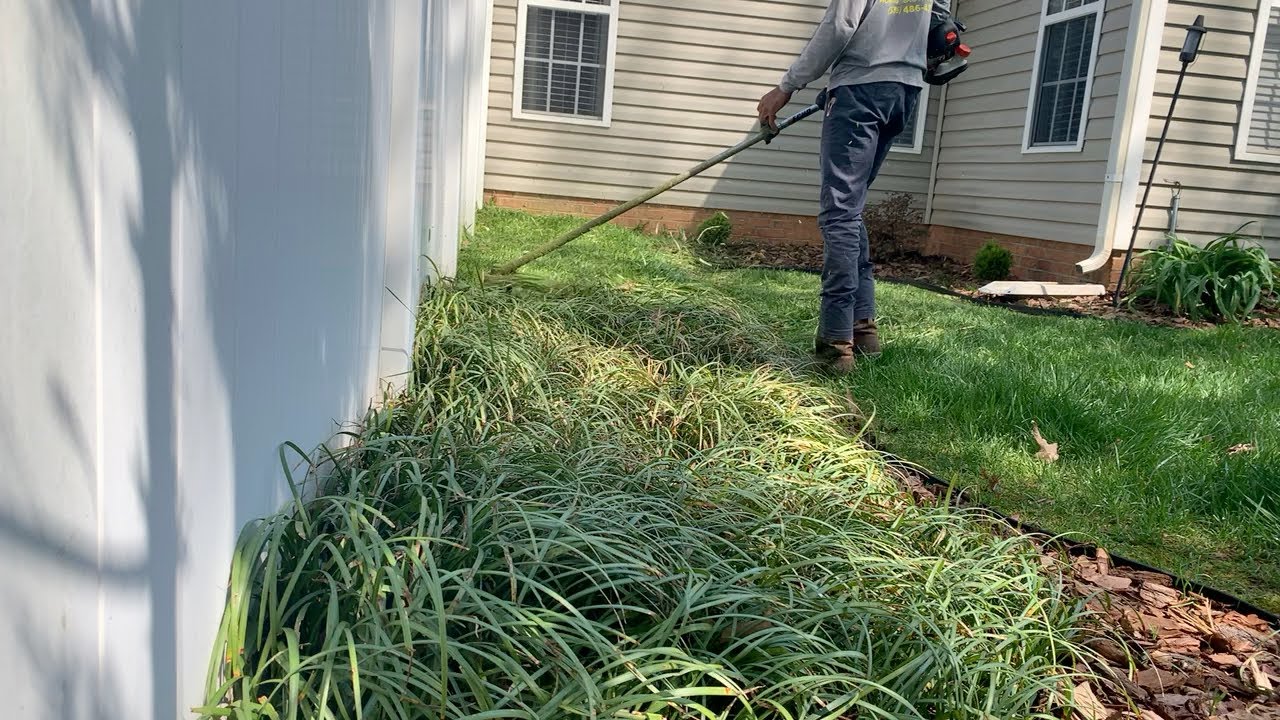
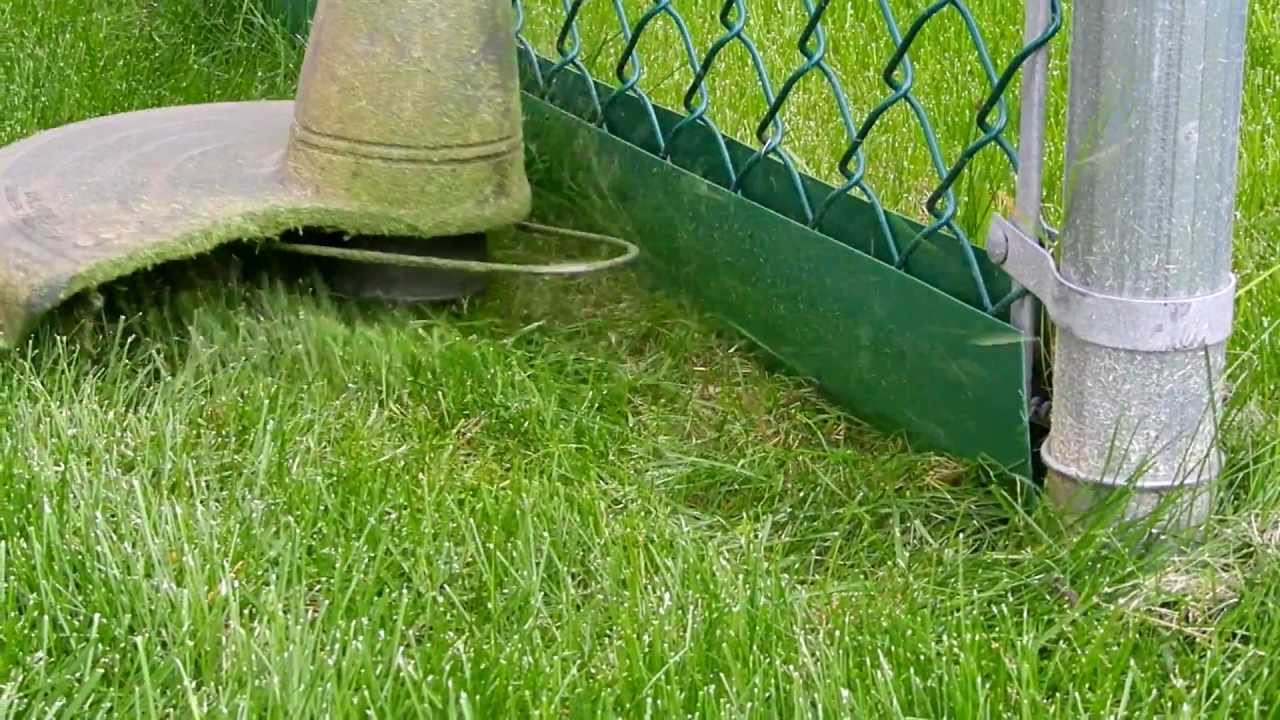
Read more: How To Trim Grass Edges
Step 5: Finishing Touches
After cutting and installing the trim on your stairs, there are a few final touches you can add to ensure a professional and polished result. These finishing touches will enhance the overall appearance and durability of your newly trimmed stairs. Here’s a step-by-step guide on how to complete the final touches:
- Inspect the trim and make sure it is securely fastened to the stairs. If you notice any loose areas or nails, reinforce them with additional nails or adhesive.
- Use wood putty or caulk to fill in any visible nail holes, gaps, or imperfections in the trim. Smooth out the putty or caulk with a putty knife, and wipe away any excess with a damp cloth.
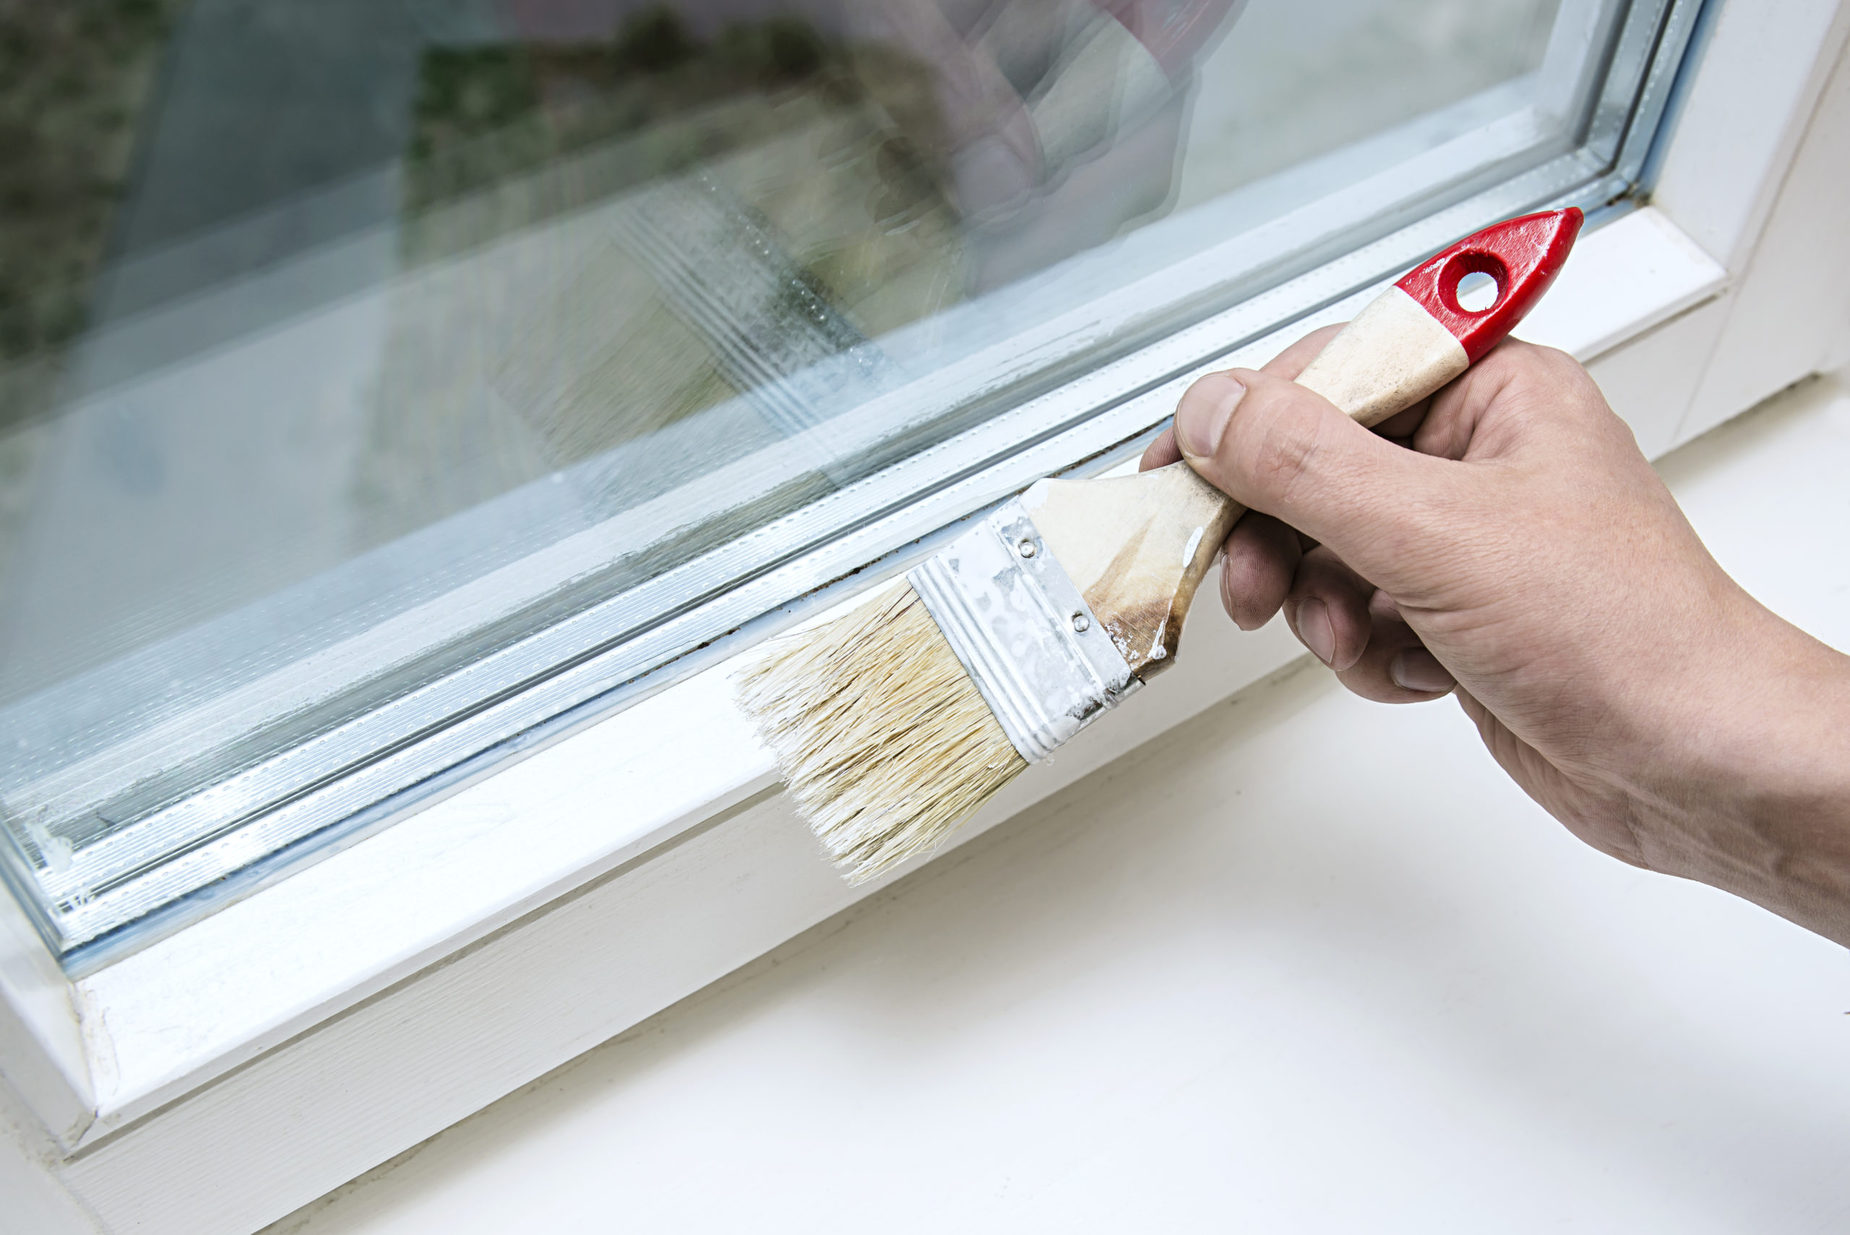
- If you prefer a seamless look, consider adding a coat of paint or stain to the trim. Choose a color that matches or complements your staircase and home decor. Apply the paint or stain evenly with a brush or sponge, allowing sufficient drying time between coats.
- Once the paint or stain is dry, apply a clear coat of protective finish to the trim pieces. This will help protect the wood and enhance its durability. Follow the manufacturer’s instructions for the specific finish you are using.
- Clean up any dust or debris from the trim installation process. Use a soft cloth or vacuum cleaner to gently remove any loose particles or dirt from the stairs and surrounding areas.
- Step back and admire your beautifully trimmed stairs! Take the time to appreciate the transformation and the effort you put into achieving a refined and elegant look.
By completing these finishing touches, you will ensure that your newly trimmed stairs not only look great but also withstand daily wear and tear. The protective finish and careful attention to detail will help maintain the trim’s appearance and longevity over time.
Remember, regular maintenance is key to preserving the beauty of your trimmed stairs. Periodically inspect the trim for any signs of damage or wear, and address any issues promptly. With proper care and maintenance, your trimmed stairs will continue to enhance the aesthetic appeal of your home for years to come.
Congratulations on completing the trimming process and adding a touch of elegance to your staircase. Enjoy the transformed look and the satisfaction of a job well done!
Conclusion
Trimming stairs is a rewarding project that can significantly enhance the appearance of your staircase and elevate the overall aesthetic of your home. By following the step-by-step process outlined in this article, you have learned how to measure the stairs accurately, remove existing trim, prepare the trim pieces, cut and install the trim, and complete the finishing touches.
Properly trimmed stairs not only add a decorative touch but also provide protection to the edges of the stairs, preventing them from getting damaged. The choice of trim style and material is crucial in achieving the desired look and durability. Whether you prefer the timeless beauty of wooden trim or the modern convenience of PVC or composite trim, there are options available to suit your preference and complement your home decor.
During the process, paying attention to precision and taking the necessary time to measure, cut, and install the trim pieces will help ensure a seamless and professional finish. Maintaining a level and aligned installation is important to create a polished appearance that will impress anyone who sees your newly trimmed stairs.
Remember, trim maintenance is essential to preserve the longevity and appearance of your newly trimmed stairs. Regularly inspect the trim for any signs of damage or wear, and promptly address any issues. This will help prolong the life of the trim and keep your stairs looking fresh and visually appealing.
Trimming your stairs can be a fulfilling project that allows you to showcase your creativity and attention to detail. The transformed look of your staircase will make a lasting impression and become a focal point in your home.
So, gather your tools, select the perfect trim pieces, and follow the step-by-step process outlined in this article to trim your stairs with confidence and achieve stunning results. Enjoy the process, and enjoy the beauty and elegance that trimmed stairs bring to your living space!
Now that you've mastered trimming stairs, why not challenge yourself with more woodworking projects? Our upcoming guide on the best woodworking techniques for 2024 offers insightful tips and tricks to enhance your skills. Whether you're a novice or a seasoned craftsman, this piece ensures you're well-equipped for any woodworking task. Don't miss out on elevating your crafting repertoire!
Frequently Asked Questions about How To Trim Stairs
Was this page helpful?
At Storables.com, we guarantee accurate and reliable information. Our content, validated by Expert Board Contributors, is crafted following stringent Editorial Policies. We're committed to providing you with well-researched, expert-backed insights for all your informational needs.

0 thoughts on “How To Trim Stairs”