Home>Furniture & Design>Bathroom Accessories>How To Trim Around Bathtub
Bathroom Accessories
How To Trim Around Bathtub
Modified: May 6, 2024
Learn how to trim around your bathtub with the right bathroom accessories. Get expert tips and tricks for a flawless finish.
(Many of the links in this article redirect to a specific reviewed product. Your purchase of these products through affiliate links helps to generate commission for Storables.com, at no extra cost. Learn more)
Introduction
Trimming around a bathtub is a crucial step in enhancing the overall aesthetics and functionality of your bathroom. Whether you are renovating your bathroom or simply looking to add a touch of elegance, properly trimmed bathtub edges can make a significant difference. This comprehensive guide will walk you through the process of trimming around a bathtub, providing you with the necessary steps and insights to achieve a professional-looking result.
Trimming around a bathtub involves precision and attention to detail, as it not only serves an aesthetic purpose but also plays a functional role in preventing water damage and maintaining cleanliness. By carefully selecting the right materials and utilizing the appropriate tools, you can transform the appearance of your bathtub area while ensuring its long-term durability.
In this guide, we will explore the essential tools and materials needed for the trimming process, as well as the step-by-step instructions for preparing the bathtub area, cutting the trim, and installing it with precision. Additionally, we will delve into the crucial final steps of caulking and adding finishing touches to complete the trim installation.
Whether you are a seasoned DIY enthusiast or a beginner looking to embark on a home improvement project, this guide will equip you with the knowledge and confidence to tackle the task of trimming around your bathtub. With a clear understanding of the process and a focus on attention to detail, you can elevate the visual appeal of your bathroom while ensuring the longevity of the trim.
As we delve into the intricacies of trimming around a bathtub, you will discover the gratifying sense of accomplishment that comes with transforming a functional space into a visually appealing and well-maintained area. So, let's embark on this journey together and unlock the potential of your bathtub area through the art of trimming.
Key Takeaways:
- Transform your bathtub area with precision and creativity by following the steps of trimming. From preparing the area to installing and finishing the trim, elevate your bathroom’s aesthetics and functionality with attention to detail.
- Embrace the art of trimming around your bathtub to infuse craftsmanship and practicality into your bathroom. Achieve a visually stunning and well-protected space by selecting the right materials and meticulously completing each step with dedication.
Read more: How To Trim Grass Around A Vinyl Fence
Tools and materials needed
When embarking on the task of trimming around a bathtub, it is essential to gather the necessary tools and materials to ensure a smooth and efficient process. Here's a comprehensive list of the items you will need:
Tools:
- Measuring Tape: Accurate measurements are crucial for achieving a precise fit when cutting and installing the trim.
- Miter Saw or Miter Box: These tools are essential for cutting the trim at precise angles, ensuring seamless corner joints.
- Coping Saw: Used for intricate cuts, especially for coping the trim to fit against irregular surfaces or corners.
- Utility Knife: Ideal for scoring and cutting the trim material with precision.
- Caulk Gun: Necessary for applying sealant or adhesive during the installation process.
- Level: Ensures that the trim is installed perfectly straight and aligned.
- Safety Glasses and Gloves: Important for personal protection during cutting and handling of materials.
Materials:
- Trim Material: Choose a suitable trim material such as PVC, wood, or composite material, based on your preferences and the existing decor of your bathroom.
- Construction Adhesive: Used to secure the trim in place, providing a strong and durable bond.
- Caulk: Select a high-quality, waterproof caulk to seal the edges of the trim and prevent water damage.
- Sandpaper: Helps in smoothing rough edges and achieving a seamless finish.
- Paint and Primer (if applicable): If you plan to paint the trim, ensure you have the necessary paint and primer to match your bathroom's color scheme.
- Wood Putty (if using wood trim): For filling nail holes and achieving a polished look with wooden trim.
By ensuring that you have these essential tools and materials on hand, you can streamline the process of trimming around your bathtub. With the right equipment at your disposal, you will be well-prepared to tackle each step of the trimming process with confidence and precision.
Preparing the bathtub area
Before diving into the actual trimming process, it is crucial to prepare the bathtub area to ensure a smooth and successful installation. Proper preparation sets the foundation for a seamless and visually appealing trim, enhancing the overall look and functionality of the bathtub space.
Read more: How To Decorate Around An Almond Bathtub
Clearing the Surrounding Area
Begin by clearing the area around the bathtub, removing any existing trim, caulk, or adhesive residue. Thoroughly clean the edges and surfaces to create a clean and smooth foundation for the new trim installation. Use a scraper or putty knife to gently remove any stubborn remnants, ensuring that the surface is free from debris and old sealant.
Measuring and Marking
Accurate measurements are essential for achieving a precise fit when installing the new trim. Use a measuring tape to measure the length of each edge of the bathtub, taking into account any corners or irregularities. Mark the measurements on the trim material, ensuring that each piece is cut to the exact size needed for a seamless fit.
Assessing the Surface
Inspect the bathtub edges and surrounding walls for any signs of damage, moisture, or mold. Address any issues such as water damage or mold growth before proceeding with the trim installation. It is essential to ensure that the surfaces are dry, clean, and free from any structural concerns that could affect the long-term integrity of the trim.
Choosing the Right Trim Material
Consider the existing decor and the level of moisture exposure in the bathroom when selecting the trim material. PVC, wood, and composite materials are popular choices for bathtub trim due to their durability and resistance to moisture. Choose a material that complements the overall aesthetic of the bathroom while offering the necessary protection against water and humidity.
Read more: How To Fill Large Gaps Around A Bathtub
Creating a Work Area
Establish a designated work area around the bathtub, ensuring that you have ample space to maneuver and work comfortably. Lay down protective coverings to safeguard the bathtub and surrounding floor from any potential damage during the installation process. By creating a well-organized and secure work area, you can focus on the task at hand without concerns about accidental damage.
By meticulously preparing the bathtub area, you set the stage for a successful trim installation. Attention to detail during the preparation phase ensures that the subsequent steps, including cutting, installing, and finishing the trim, can be carried out with precision and efficiency. With the groundwork laid out, you are ready to move on to the next steps in the process of trimming around your bathtub.
Cutting the trim
The process of cutting the trim is a critical step in achieving a precise and seamless fit around the bathtub edges. Whether you are working with PVC, wood, or composite trim material, the accuracy of the cuts directly impacts the overall appearance and functionality of the installation. Here's a detailed overview of the steps involved in cutting the trim:
1. Measuring and Marking
Begin by carefully measuring and marking the trim material based on the dimensions obtained during the preparation phase. Use a measuring tape to ensure accurate measurements, taking into account any corners or angles that require mitered or coped cuts. Mark the cutting lines clearly and precisely, ensuring that each piece is tailored to fit the specific edge of the bathtub.
2. Selecting the Cutting Method
The cutting method will depend on the type of trim material being used. For PVC trim, a miter saw or a fine-toothed handsaw can be used to make straight cuts. If coping is required for intricate corners, a coping saw is essential for achieving precise and seamless joints. When working with wood trim, a miter saw or miter box is ideal for creating clean and accurate angled cuts.
Read more: How To Trim Garage Door
3. Executing the Cuts
Carefully align the trim material with the cutting tool, ensuring that it is securely held in place to prevent any movement during the cutting process. Follow the marked cutting lines with precision, maintaining a steady hand and a controlled cutting motion. For mitered cuts, adjust the cutting angle according to the specific corner measurements, ensuring a snug fit when the pieces are joined together.
4. Fine-Tuning and Smoothing
After making the initial cuts, use sandpaper to smooth any rough edges and refine the cut surfaces. This step is crucial for achieving a seamless and professional finish, especially when working with wood trim. Pay close attention to the details, ensuring that the edges are smooth and free from any imperfections that could affect the installation process.
5. Verifying the Fit
Once the trim pieces are cut and smoothed, verify their fit against the bathtub edges. Ensure that each piece aligns accurately and snugly, making any necessary adjustments to achieve a seamless and uniform appearance. This step is essential for identifying any potential issues before proceeding to the installation phase.
By meticulously executing the cutting process, you set the stage for a successful trim installation that enhances the visual appeal and functionality of your bathtub area. Attention to detail during the cutting phase ensures that the subsequent steps, including installing and finishing the trim, can be carried out with precision and efficiency. With the trim pieces expertly tailored to fit, you are ready to move on to the next phase of the trimming process.
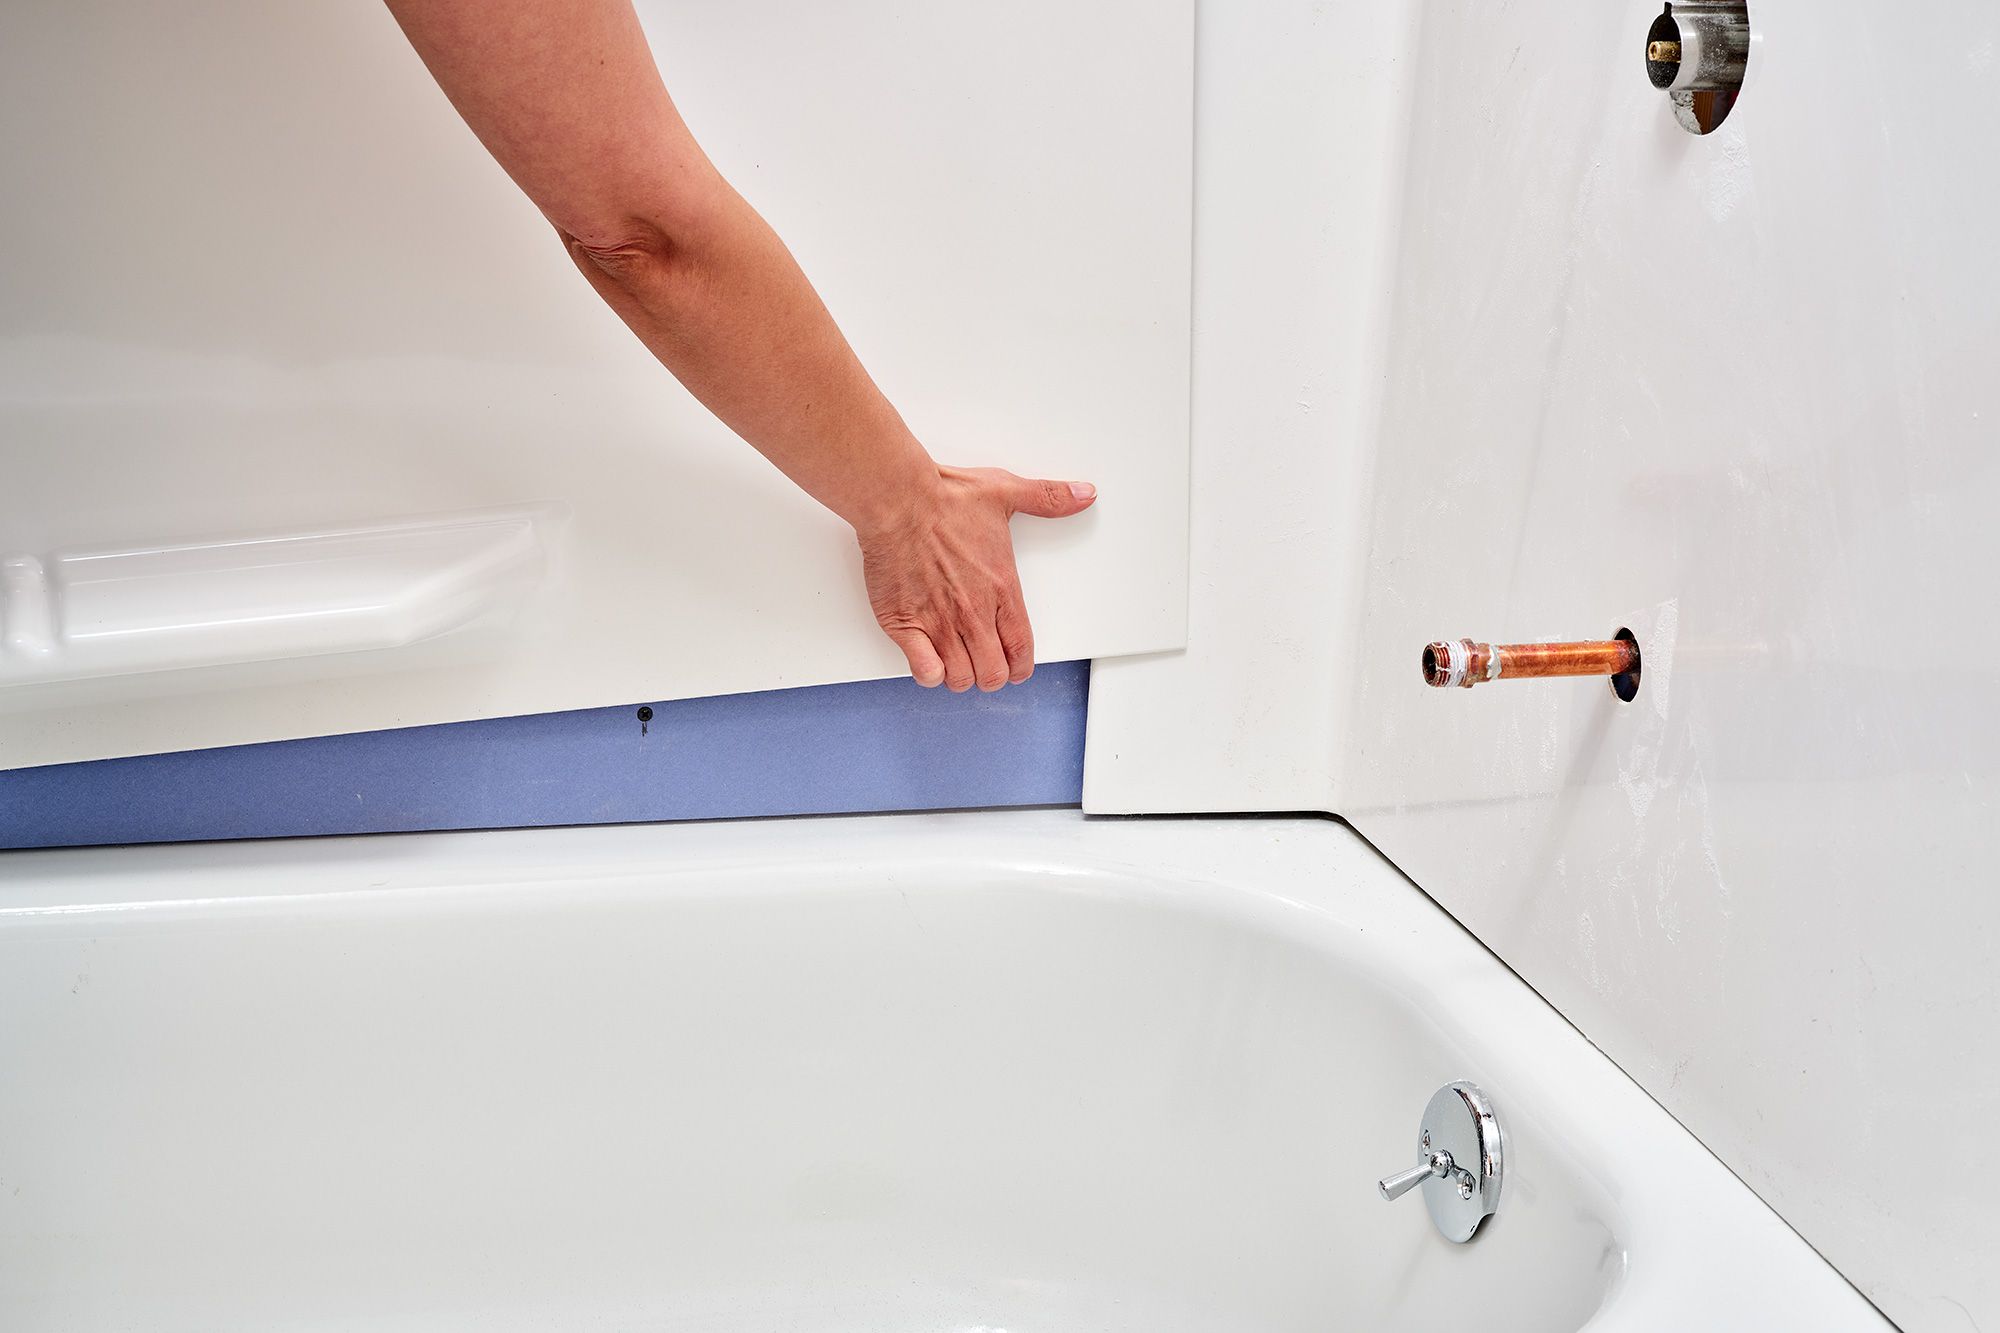
Installing the trim
With the trim pieces expertly cut and prepared, the next phase involves the meticulous installation of the trim around the bathtub edges. This crucial step not only enhances the visual appeal of the bathroom but also serves a functional purpose in preventing water damage and maintaining cleanliness. Here's a detailed overview of the steps involved in installing the trim:
-
Applying Construction Adhesive: Begin by applying a suitable construction adhesive to the back of the first trim piece. Ensure that the adhesive is evenly distributed to create a strong and durable bond with the bathtub edge. Carefully position the trim piece against the edge, pressing it firmly to secure the adhesive bond.
-
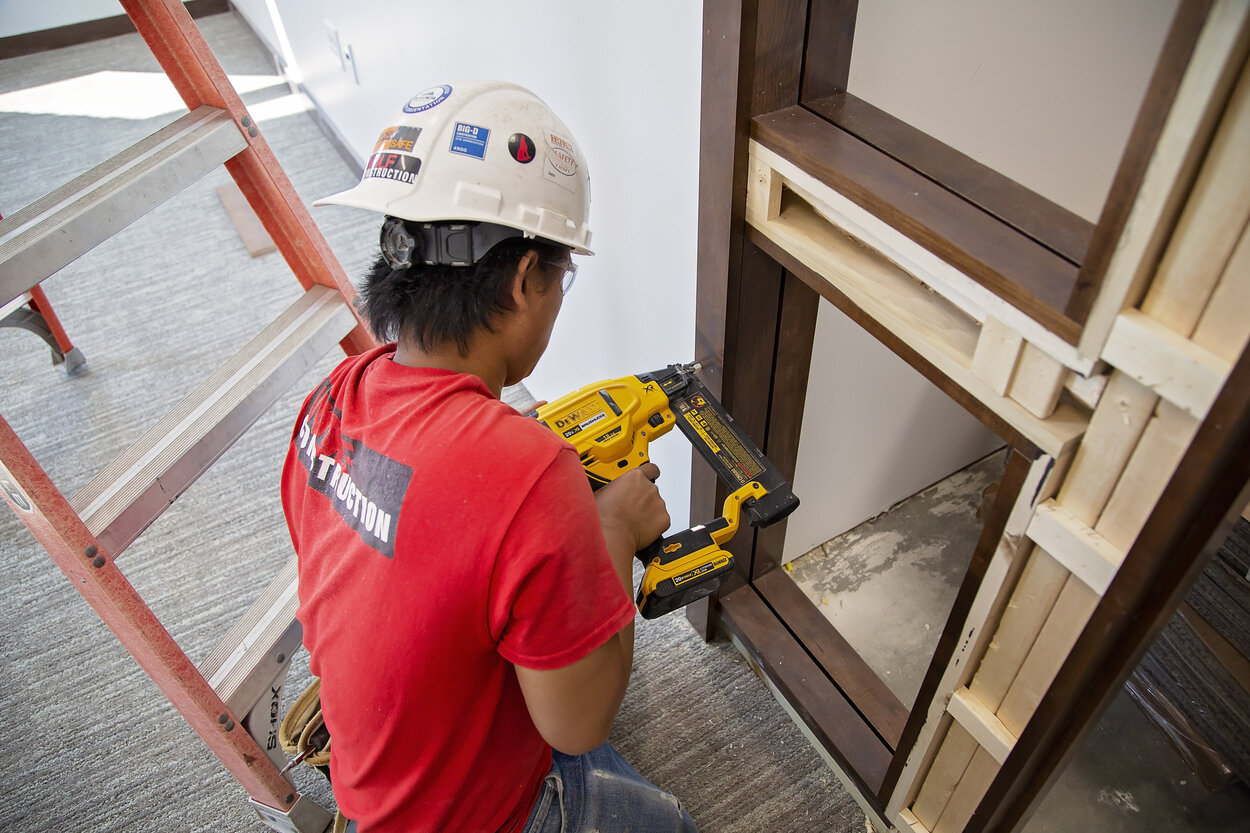
Securing the Trim: Use finishing nails or brad nails to further secure the trim in place. Position the nails strategically along the trim, ensuring that they are driven in at an angle to provide a secure hold without splitting the trim material. For PVC trim, use stainless steel or galvanized nails to prevent rust or corrosion over time.
-
Aligning and Leveling: As you proceed with installing each trim piece, use a level to ensure that the pieces are perfectly aligned and level with the bathtub edges. This step is crucial for achieving a professional and seamless appearance, especially when working with multiple trim pieces and corners.
-
Addressing Corners and Joints: When encountering corners or joints, ensure that the trim pieces are mitered or coped with precision to create tight and seamless connections. Use a coping saw or miter saw to achieve clean and accurate cuts, allowing the trim pieces to fit snugly against each other for a polished finish.
-
Completing the Installation: Continue the installation process, carefully applying adhesive, securing the trim, and verifying the alignment of each piece. Pay close attention to detail, making any necessary adjustments to ensure that the trim is installed uniformly and securely around the entire bathtub perimeter.
-
Allowing for Adhesive Cure Time: Once the trim pieces are installed, allow sufficient time for the construction adhesive to cure and create a strong bond. Follow the manufacturer's recommendations regarding the curing time, ensuring that the trim is not disturbed during this critical phase.
By meticulously following these steps, you can achieve a professional and visually appealing installation of the trim around your bathtub. Attention to detail during the installation phase ensures that the trim is securely and uniformly positioned, enhancing the overall aesthetics and functionality of your bathroom. With the trim expertly installed, you are ready to proceed to the final steps of caulking and adding finishing touches to complete the trim installation.
Read more: What Can I Put On The Wall Around My Bathtub
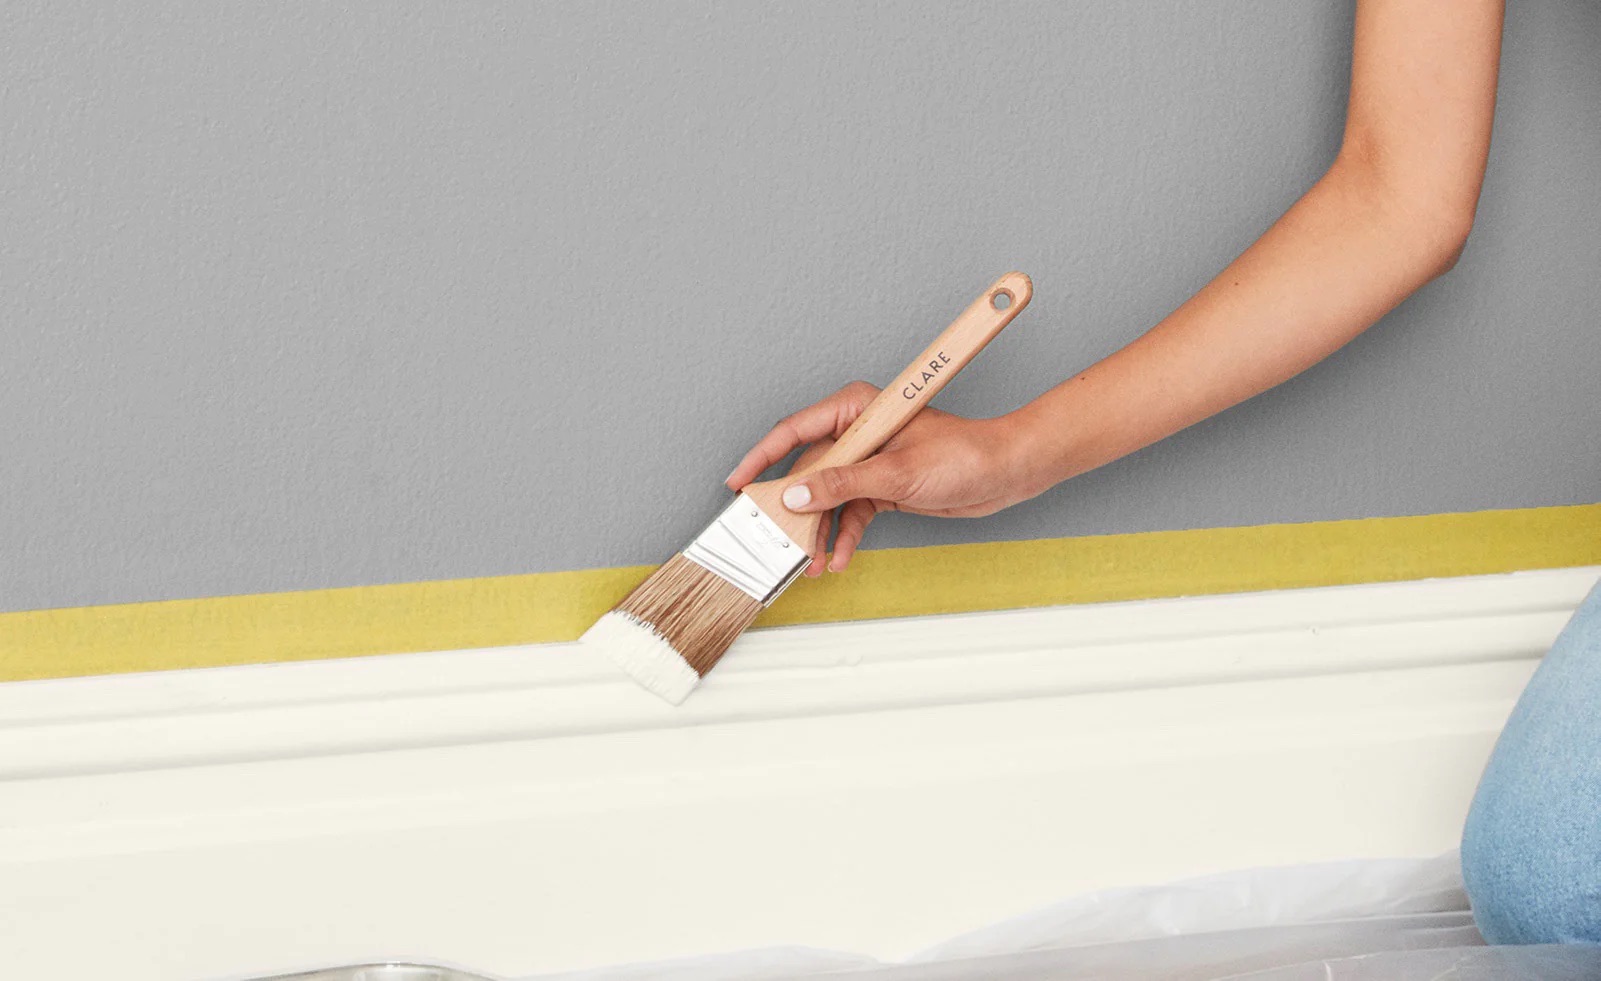
Caulking and finishing touches
After the meticulous installation of the trim around the bathtub, the final phase involves the crucial steps of caulking and adding finishing touches to complete the trim installation. This phase not only enhances the visual appeal of the bathtub area but also plays a functional role in sealing the edges and ensuring long-term durability. Here's a detailed overview of the essential steps involved in caulking and adding finishing touches:
1. Selecting the Caulk
Choose a high-quality, waterproof caulk that is specifically designed for bathroom applications. Silicone-based caulks are popular choices due to their durability and resistance to moisture. Select a caulk color that complements the trim and the overall aesthetic of the bathroom, ensuring a seamless and polished finish.
2. Applying the Caulk
Carefully cut the tip of the caulk tube at a 45-degree angle to create a small opening for precise application. Load the caulk tube into a caulking gun and apply a steady bead of caulk along the edges of the trim where it meets the bathtub and surrounding walls. Ensure a consistent and even application, filling any gaps or voids to create a watertight seal.
3. Smoothing and Shaping
After applying the caulk, use a damp cloth or sponge to smooth and shape the bead of caulk along the edges. This step helps to create a clean and uniform seal while removing any excess caulk. Pay close attention to detail, ensuring that the caulk seamlessly blends with the trim and the surrounding surfaces for a professional finish.
Read more: How To Trim Stairs
4. Adding Finishing Touches
Inspect the entire trim installation for any remaining imperfections or areas that require touch-ups. Use touch-up paint or wood putty (if using wood trim) to address any blemishes or nail holes, ensuring that the trim presents a flawless and polished appearance. This step adds the final touches to the installation, elevating the overall aesthetic of the bathtub area.
5. Allowing for Cure Time
Allow the caulk to cure according to the manufacturer's recommendations before exposing the bathtub area to water or moisture. Follow the specified cure time to ensure that the caulk forms a strong and durable seal, providing long-term protection against water intrusion and maintaining the integrity of the trim installation.
By meticulously following these steps, you can complete the trim installation with precision and attention to detail. The caulking and finishing touches phase adds the final layer of refinement to the bathtub area, ensuring that the trim is not only visually appealing but also effectively sealed and protected. With the trim installation expertly completed, you can admire the transformed appearance of your bathtub area, knowing that it is both aesthetically pleasing and functionally sound.
Conclusion
In conclusion, the process of trimming around a bathtub is a transformative endeavor that combines aesthetic enhancement with functional durability. By meticulously preparing the bathtub area, cutting the trim with precision, and expertly installing and finishing the trim, you can elevate the visual appeal and longevity of your bathroom space. The attention to detail and careful selection of tools and materials ensure a seamless and professional result that enhances the overall ambiance of the bathroom.
The journey of trimming around a bathtub is not merely a home improvement task; it is an opportunity to infuse creativity and craftsmanship into a functional space. From selecting the right trim material to meticulously measuring and cutting each piece, every step contributes to the creation of a visually stunning and well-protected bathtub area. The satisfaction of witnessing the transformation from preparation to the final caulking and finishing touches is a testament to the dedication and skill invested in the process.
As the construction adhesive cures and the caulk forms a watertight seal, the bathtub area undergoes a remarkable metamorphosis. The carefully installed trim not only enhances the aesthetic appeal of the bathroom but also serves as a protective barrier against moisture and potential damage. The seamless integration of the trim with the bathtub edges and surrounding walls creates a cohesive and polished look that reflects attention to detail and a commitment to excellence.
Ultimately, the completion of the trim installation marks the culmination of a journey that blends craftsmanship with practicality. The bathtub area is no longer just a functional space; it is a visual centerpiece that exudes elegance and durability. The meticulous process of trimming around a bathtub embodies the fusion of artistry and functionality, resulting in a space that is both visually captivating and structurally resilient.
In embracing the art of trimming around a bathtub, you have not only enhanced the aesthetics of your bathroom but also honed your skills as a craftsman. The attention to detail, precision in cutting and installation, and the final touches of caulking and refinement have collectively contributed to the creation of a space that embodies your dedication to quality and excellence. As you admire the beautifully trimmed bathtub area, you can take pride in the craftsmanship and artistry that have transformed a functional space into a visually captivating and enduring feature of your home.
Now that you've mastered trimming around your bathtub, why stop there? Enhancing your bathroom's look is just the beginning. If you're contemplating a full makeover, understanding the time commitment involved is crucial. Diving into our detailed guide on bathroom renovations will equip you with all necessary insights to plan effectively. Don't let timing surprises throw off your project!
Frequently Asked Questions about How To Trim Around Bathtub
Was this page helpful?
At Storables.com, we guarantee accurate and reliable information. Our content, validated by Expert Board Contributors, is crafted following stringent Editorial Policies. We're committed to providing you with well-researched, expert-backed insights for all your informational needs.
0 thoughts on “How To Trim Around Bathtub”