Articles
How To Prepare Trim For Painting
Modified: November 1, 2024
Learn how to properly prepare trim for painting with our informative articles. Get expert tips and advice for achieving a flawless finish.
(Many of the links in this article redirect to a specific reviewed product. Your purchase of these products through affiliate links helps to generate commission for Storables.com, at no extra cost. Learn more)
Introduction
When it comes to giving your home a fresh and updated look, painting the trim can make a significant difference. Whether you’re preparing to sell your property, or just looking to revamp the aesthetics, properly preparing the trim is crucial to ensure a professional and long-lasting finish. While it may seem like a daunting task, with the right tools and techniques, anyone can achieve fantastic results.
In this article, we will guide you through the step-by-step process of preparing trim for painting. From cleaning and sanding to repairing and caulking, we will cover all the essential steps to ensure that your trim is ready to be transformed with a fresh coat of paint.
To get started, let’s gather the necessary equipment and materials you’ll need for this project.
Key Takeaways:
- Properly preparing trim for painting involves cleaning, sanding, repairing, priming, caulking, and protecting the surrounding area. Attention to detail and patience are key to achieving a professional and long-lasting finish.
- Choosing high-quality paint, applying thin and even coats, and paying attention to final touches and clean-up are essential for achieving a polished and professional-looking result. With the right tools and techniques, anyone can transform their trim and give their home a fresh and updated look.
Read more: How To Paint Outdoor Trim
Equipment and Materials
Before you begin the process of preparing trim for painting, it’s important to have the right tools and materials on hand. Here’s a list of items you will need:
- Drop cloths or plastic sheeting to protect the surrounding area
- Painter’s tape to mask off areas you don’t want to paint
- A sturdy ladder or step stool, depending on the height of your trim
- A bucket and sponge or soft cloth for cleaning
- Sandpaper or sanding block in various grits (start with medium-grit)
- Wood filler or putty for repairing any dents or holes in the trim
- A putty knife or scraper for applying the filler
- Primer specifically formulated for trim
- A caulk gun and caulk for filling gaps and cracks
- Paint brushes in various sizes for trim work
- A paint roller and tray for larger areas
- High-quality paint in your desired color and finish
- Paint stirring sticks and a paint can opener
- Painter’s rags or paper towels for clean-up
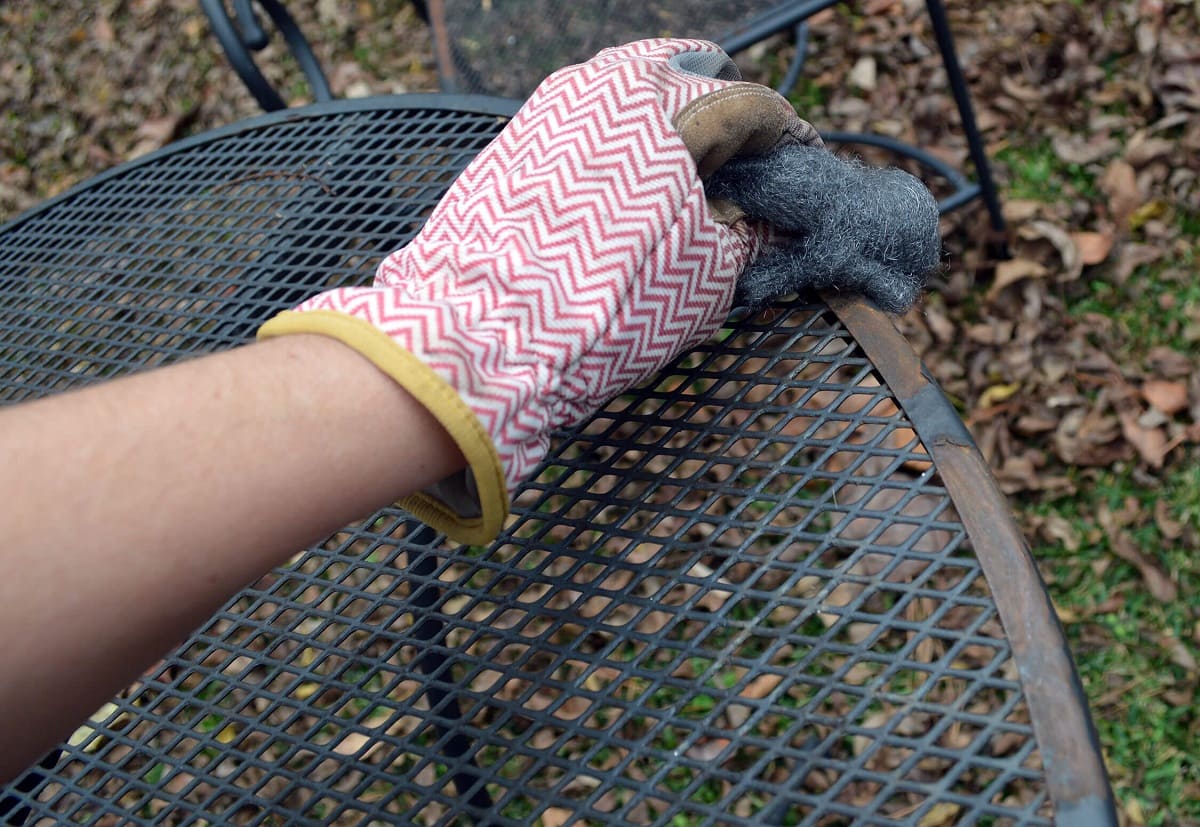
- A paint scraper or wire brush for removing old paint, if necessary
Having all these tools and materials handy will ensure that you can work efficiently and achieve professional-looking results. Now that you’re equipped with everything you need, let’s move on to the first step: cleaning the trim.
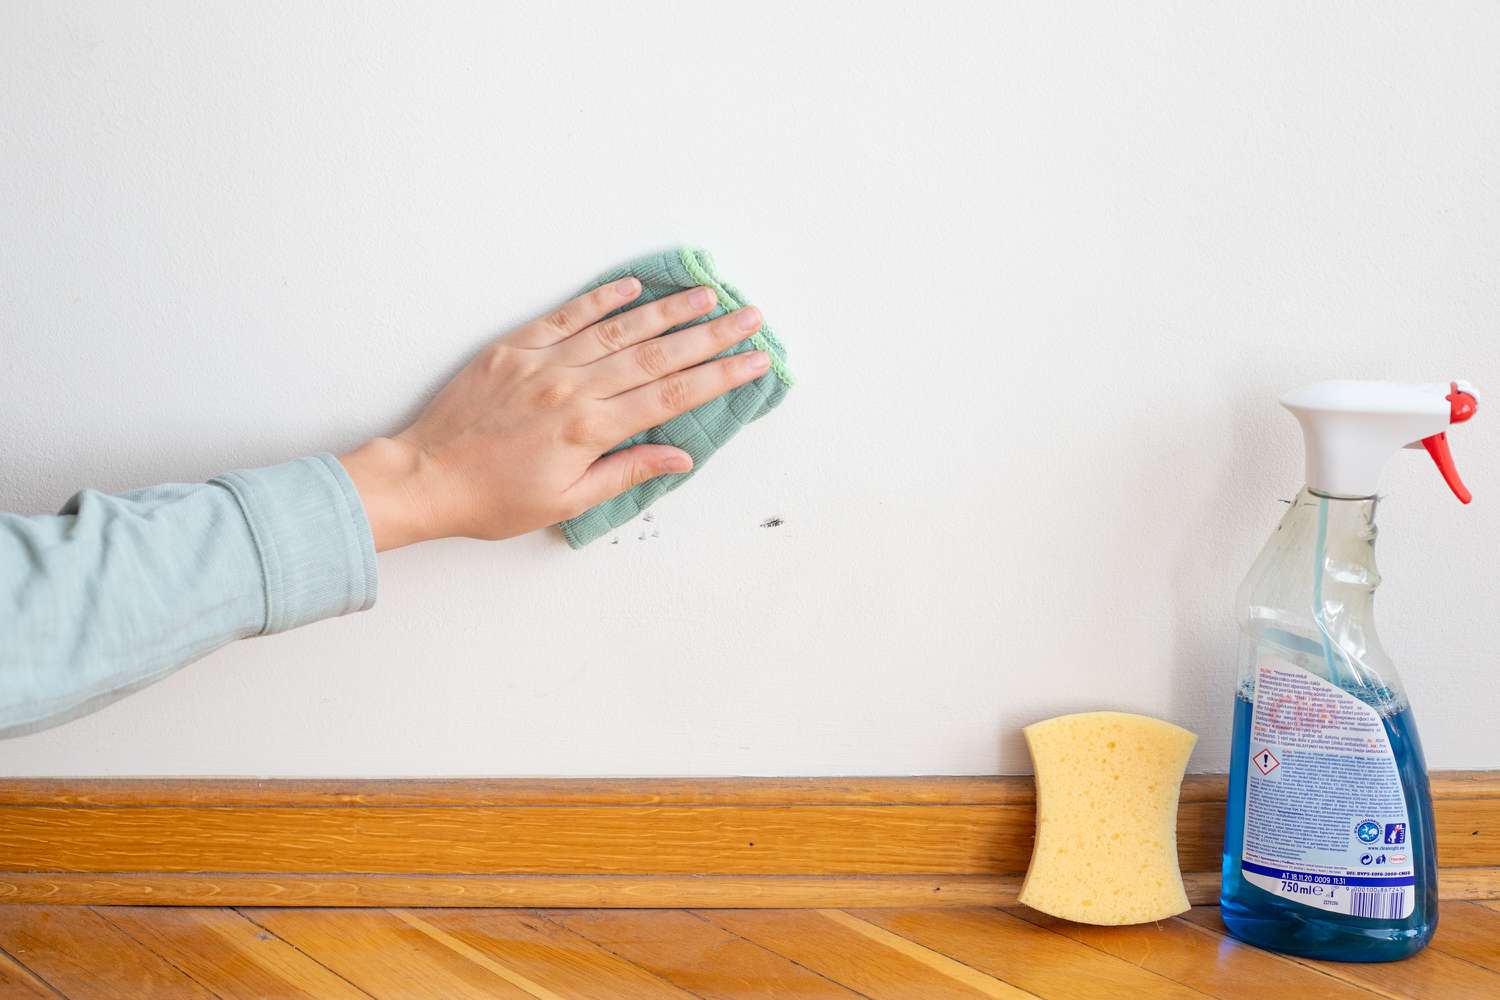
Cleaning the Trim
Before you can start preparing the trim for painting, it’s essential to clean off any dirt, dust, or grime that may have accumulated on the surface. Follow these steps to ensure a clean and smooth surface:
- Start by protecting the surrounding area with drop cloths or plastic sheeting. This will prevent any accidental drips or splatters from damaging the floors or furniture.
- Using a mild detergent mixed with water, or a dedicated household cleaner, prepare a cleaning solution in a bucket.
- Dip a sponge or soft cloth into the cleaning solution and wring out any excess moisture. You want the sponge to be damp, not dripping wet.
- Gently scrub the trim, working in small sections at a time. Pay close attention to areas where dirt and grime are more noticeable, such as near the floor or door handles.
- Rinse the sponge or cloth regularly in clean water to remove any dirt, and continue cleaning until the entire trim surface is thoroughly cleaned.
- Once you have finished cleaning, use a clean damp cloth to wipe down the trim and remove any remaining cleaning residue.
- Allow the trim to dry completely before moving on to the next step.
By starting with a clean surface, you ensure that the paint will adhere properly and result in a professional-looking finish. Now that the trim is clean and dry, the next step is to sand the surface to create a smooth and even texture.
Sanding the TrimAfter cleaning the trim, it’s time to sand the surface to create a smooth and even texture. Sanding helps to remove any imperfections, old paint, or rough spots, allowing the new paint to adhere better. Here’s how to properly sand the trim:
- Start by selecting the appropriate grit of sandpaper or sanding block. For initial sanding, medium-grit sandpaper (around 120 to 150 grit) is usually sufficient.
- Put on a pair of safety goggles and a dust mask to protect yourself from any dust particles.
- Using smooth and even strokes, sand the trim in the direction of the wood grain. Avoid applying excessive pressure to prevent damaging the trim.
- Pay close attention to any rough areas, bumps, or remaining paint. Sand those areas until they are smooth and even with the rest of the trim.
- Periodically check the sandpaper for any clogging. If it becomes clogged with dust, replace it or clean it to maintain its effectiveness.
- Once you have sanded the entire trim, use a clean, dry cloth to wipe away any dust or debris.
Remember to be patient and thorough when sanding the trim. The goal is to create a smooth and even surface for the paint to adhere to. If the trim has multiple layers of old paint or varnish, you may need to use a coarser grit sandpaper initially and gradually work your way up to a finer grit for a smoother finish.
After sanding, take a close look at the trim to ensure that it’s smooth and free of any imperfections. If necessary, repeat the sanding process or move on to the next step – repairing any dents, cracks, or holes in the trim.
Repairing the Trim
As you inspect the trim after sanding, you may notice dents, cracks, or holes that require repair. Fixing these imperfections is crucial to achieve a flawless and professional finish. Here’s how you can repair the trim:
- If there are minor dents or holes in the trim, you can use wood filler or putty to fill them in. Choose a filler that matches the color of the trim for a seamless repair.
- Start by using a putty knife or scraper to apply the filler to the damaged area. Overfill slightly to account for shrinkage during the drying process.
- Smooth out the filler using the putty knife, ensuring that it is level with the surrounding trim surface. Remove any excess filler to avoid creating bumps.
- Allow the filler to dry completely according to the manufacturer’s instructions. This typically takes a few hours, but it’s best to let it dry overnight for optimal results.
- Once the filler is fully dry, use fine-grit sandpaper or a sanding block to gently sand the repaired area. This will ensure that it blends seamlessly with the rest of the trim.
- As you sand, be careful not to sand too aggressively and remove too much of the filler. The goal is to achieve a smooth and level surface.
- Once you’re satisfied with the repairs, use a clean, dry cloth to remove any sanding dust or debris from the trim.
Repairing the trim before painting is essential to create a flawless surface. Taking the time to fill in dents, cracks, or holes will ensure that the paint goes on smoothly and provides a professional-looking finish. With the repairs completed, it’s now time to move on to the next step – applying primer to the trim.
Read more: How To Prepare Exterior Walls For Painting
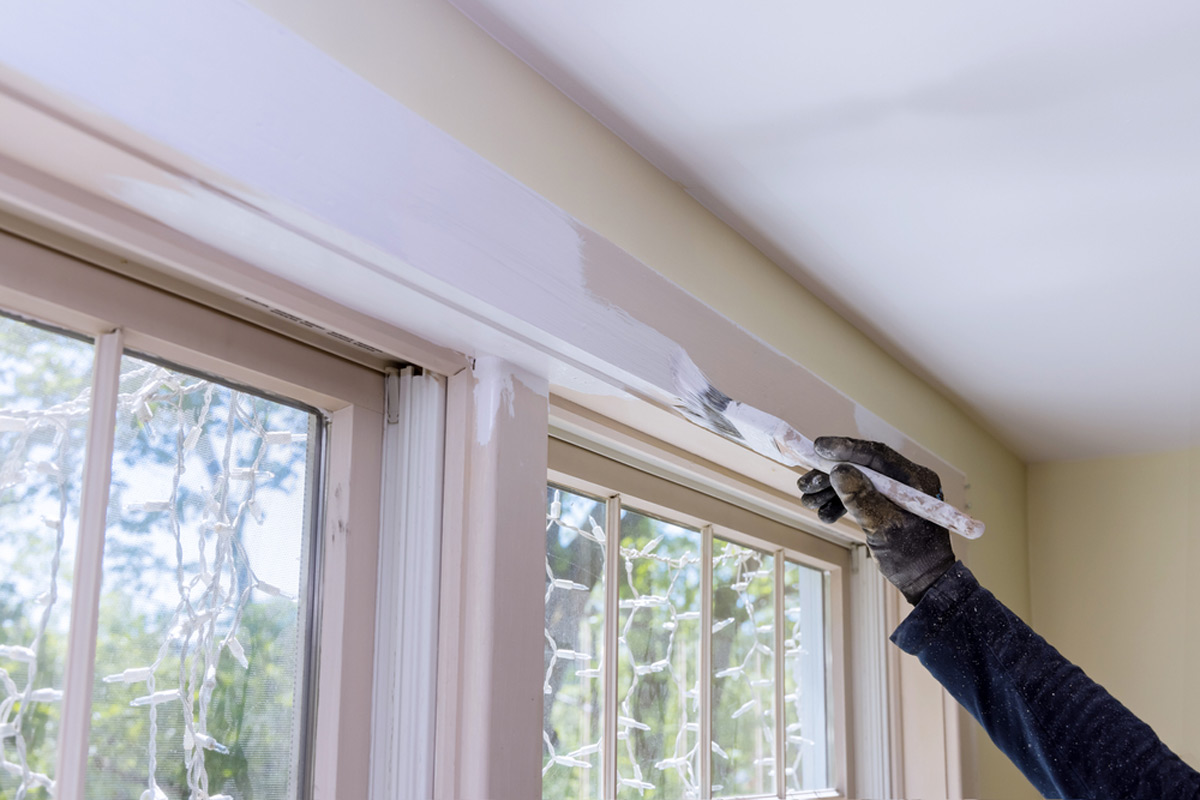
Applying Primer
Before you can paint the trim, it’s crucial to apply a coat of primer. Primer not only helps the paint adhere better to the surface but also provides an extra layer of protection for the trim. Follow these steps to properly apply primer to the trim:
- Start by ensuring that the trim is clean, dry, and free of any dust or debris. Use a clean cloth to wipe away any remaining sanding dust.
- Using painter’s tape, mask off any adjacent surfaces or areas that you don’t want to prime, such as walls or floors.
- Stir the primer thoroughly using a paint stirring stick. This ensures that the pigments are well mixed for consistent coverage.
- Pour the primer into a paint tray or container that is wide enough for your paintbrush.
- Using a high-quality synthetic bristle brush, dip it into the primer, and remove any excess by gently tapping the brush against the side of the container.
- Start applying the primer to the trim, using smooth and even strokes. Follow the direction of the wood grain for a more natural finish.
- Work in small sections, ensuring that the primer is applied evenly and covers the entire surface of the trim.
- Pay close attention to any grooves or ornate details in the trim, making sure to fully coat those areas.
- Allow the primer to dry according to the manufacturer’s instructions. This typically takes a few hours, but it’s best to let it dry overnight for optimal results.
- After the primer is completely dry, inspect the trim to ensure that it’s fully covered and ready for painting.
Applying primer provides a smooth and even base for the paint, allowing for better adhesion and a more durable finish. It also helps to block stains and prevents the paint from being absorbed unevenly into the trim. With the primer applied and dried, you’re now ready to move on to the next step – caulking the trim.
Before painting trim, make sure to clean and sand it to create a smooth surface. Use a tack cloth to remove any dust before applying primer and paint for a professional finish.
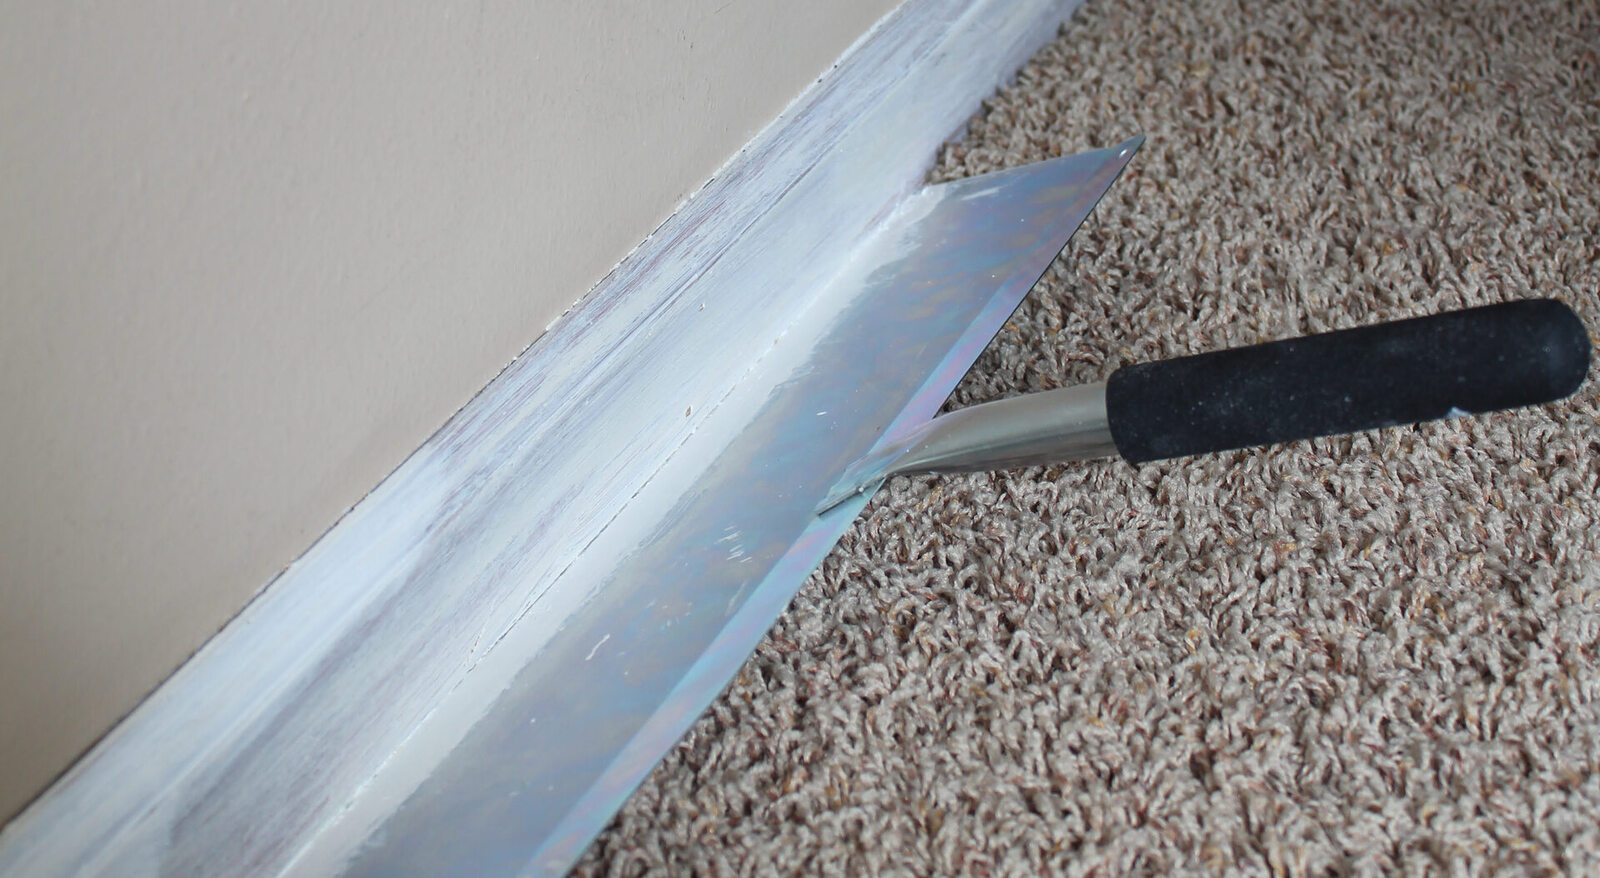
Caulking the Trim
Caulking the trim is an important step in preparing it for painting. Caulk helps to fill in gaps and cracks, creating a seamless and polished look. Here are the steps to properly caulk the trim:
- Inspect the trim for any gaps or cracks between the trim and the adjacent surfaces, such as walls or windows. These gaps may have developed over time due to settlement or shrinkage.
- Start by choosing a high-quality caulk that is paintable and specifically designed for interior trim. Silicone-based or latex-based caulks are commonly used for this purpose.
- Load the caulk cartridge into a caulk gun and cut the tip off at a 45-degree angle. The size of the opening needed will depend on the width of the gaps or cracks you need to fill.
- Hold the caulk gun at a 45-degree angle and apply a steady, even pressure to the trigger as you move along the gaps or cracks in the trim. Keep the tip of the caulk gun close to the surfaces for a neat application.
- Smooth the caulk with a caulk smoothing tool or your finger, ensuring that it fills the gaps completely and creates a uniform bead.
- Wipe away any excess caulk with a damp cloth, being careful not to disturb the caulk in the gaps. This will help achieve a clean and professional finish.
- Allow the caulk to dry and cure completely based on the manufacturer’s instructions. This can take anywhere from a few hours to a day or more, depending on the type of caulk used.
- After the caulk is fully cured, inspect the trim to ensure that the gaps are filled and the surface is smooth.
Caulking the trim not only enhances its appearance but also helps to improve energy efficiency by sealing out drafts. It creates a barrier against moisture, preventing water damage and decay. With the caulking completed, it’s time to move on to the next step – preparing the surrounding area.
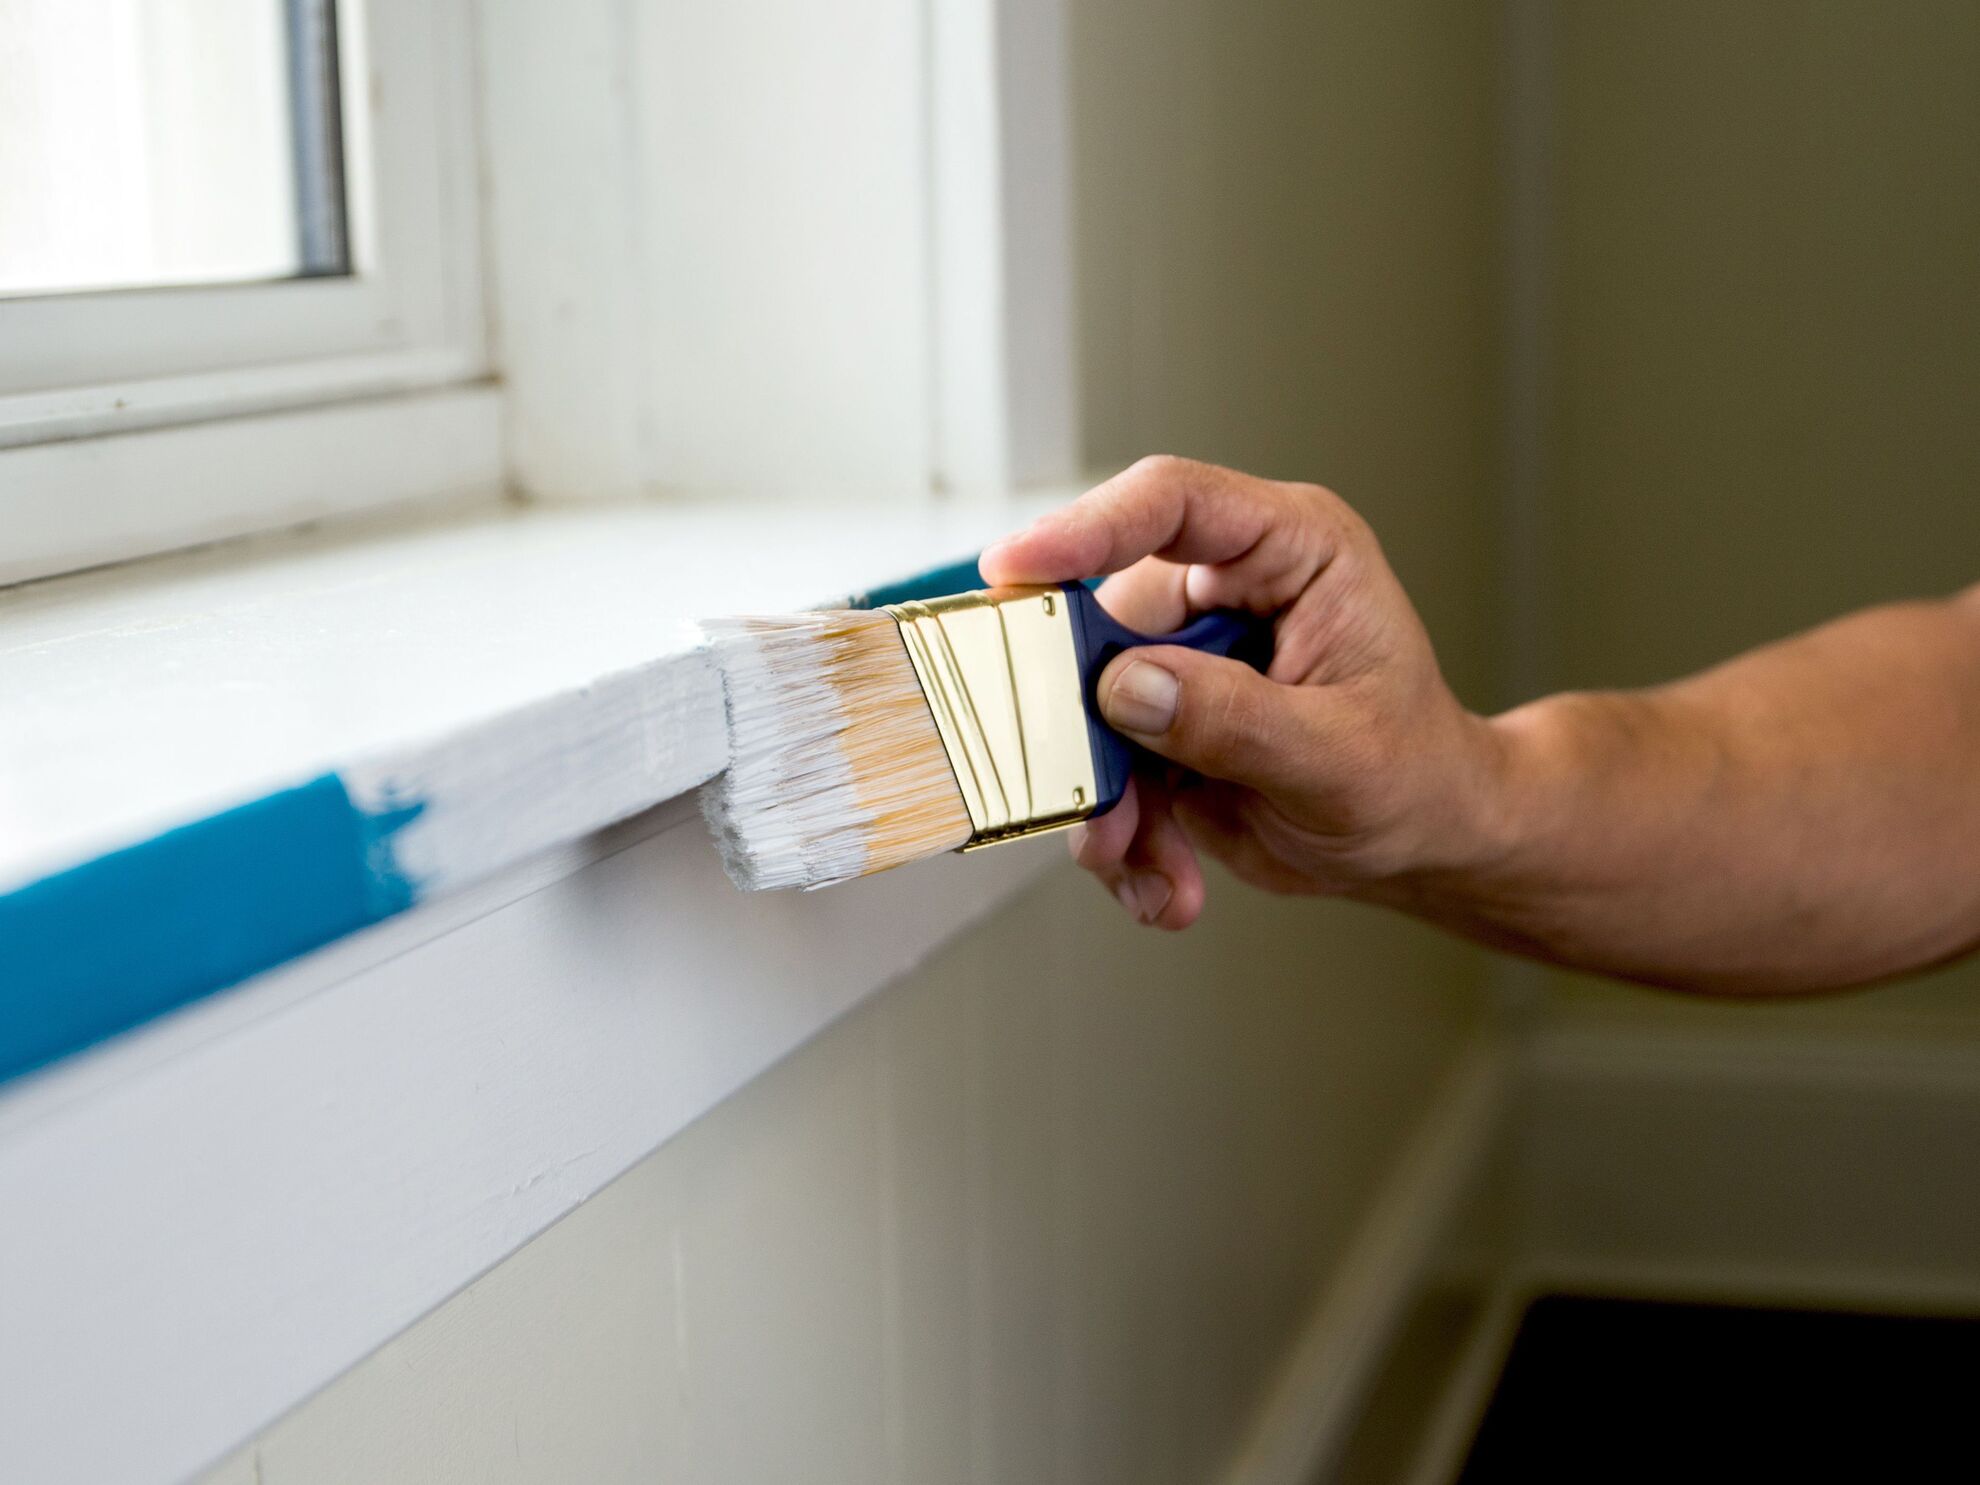
Preparing the Surrounding Area
Before you start painting the trim, it’s important to protect the surrounding area to prevent any accidental paint splatters or drips. Taking the time to prepare the area will save you from having to clean up later. Follow these steps to properly prepare the surrounding area:
- Move or cover any furniture, fixtures, or belongings near the trim that could potentially be damaged by paint. Place drop cloths or plastic sheeting over these items to protect them.
- Use painter’s tape to mask off any areas adjacent to the trim that you want to keep paint-free. This can include walls, floors, windows, or any other surface that should not be painted.
- Ensure that the painter’s tape is securely adhered to the surfaces, pressing it down firmly to create a tight seal and prevent paint from bleeding underneath.
- If necessary, use additional drop cloths or plastic sheeting to cover the floor or other areas that may be exposed to accidental paint splatters or spills.
- Inspect the area to ensure that everything is properly protected and covered. Make any necessary adjustments or additions to ensure thorough protection.
Properly preparing the surrounding area will save you time and effort in the long run. It will provide peace of mind knowing that your furniture and other surfaces are not at risk of being damaged during the painting process. With the surrounding area protected, it’s time to move on to the exciting part – painting the trim.
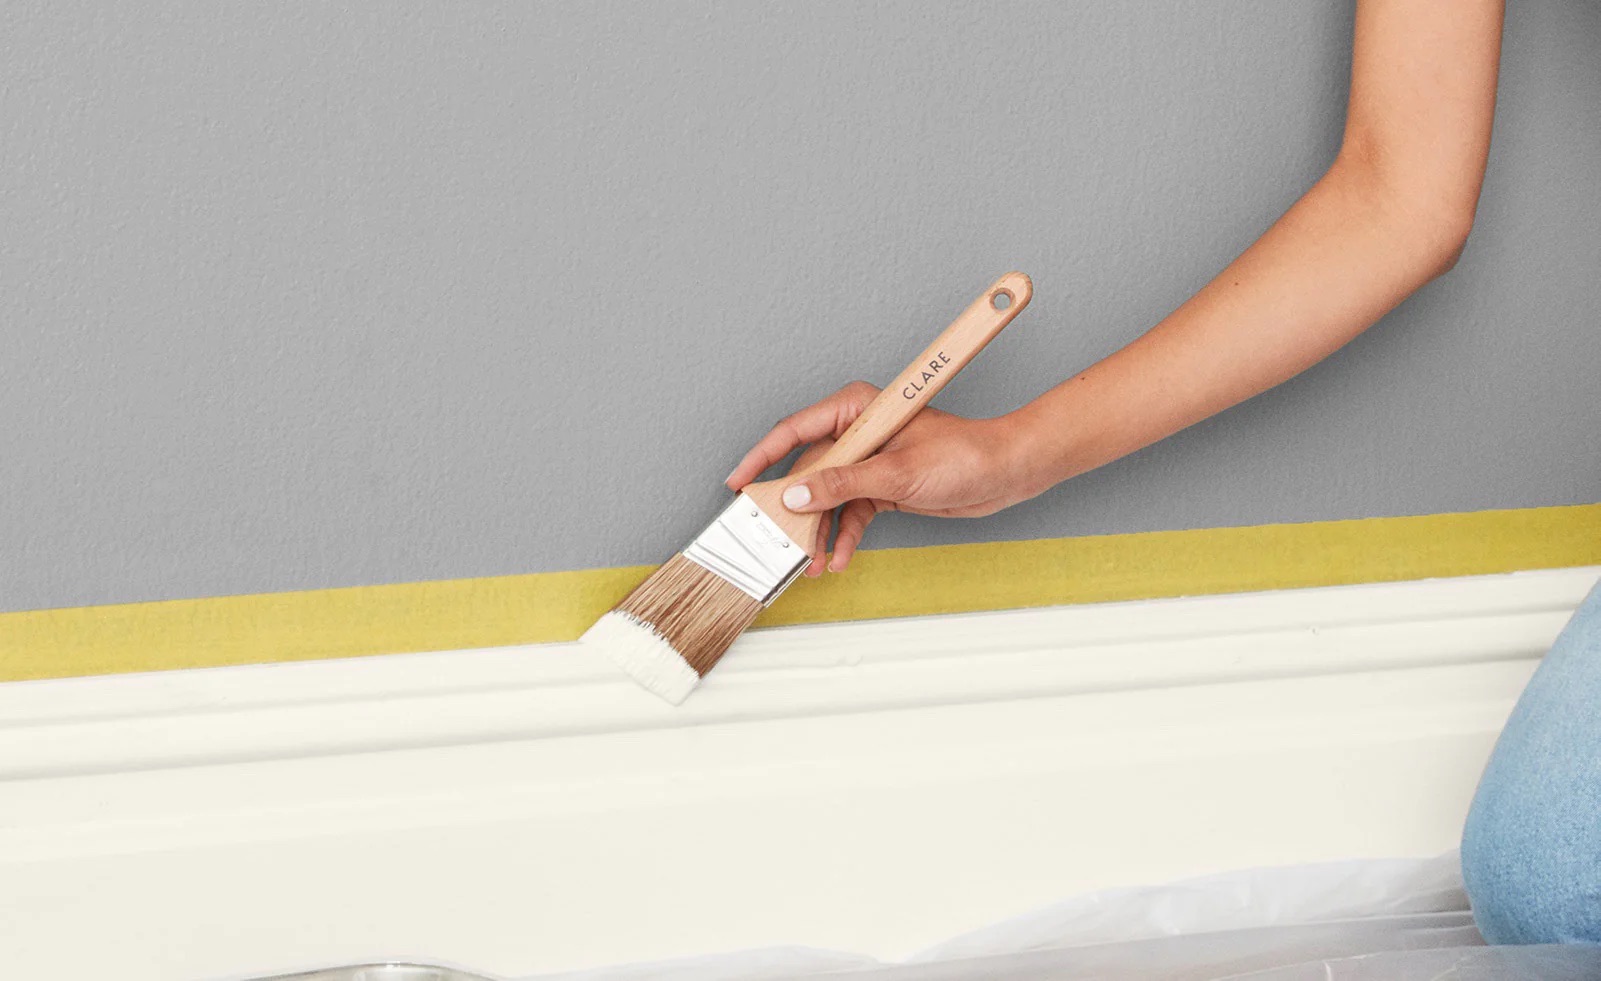
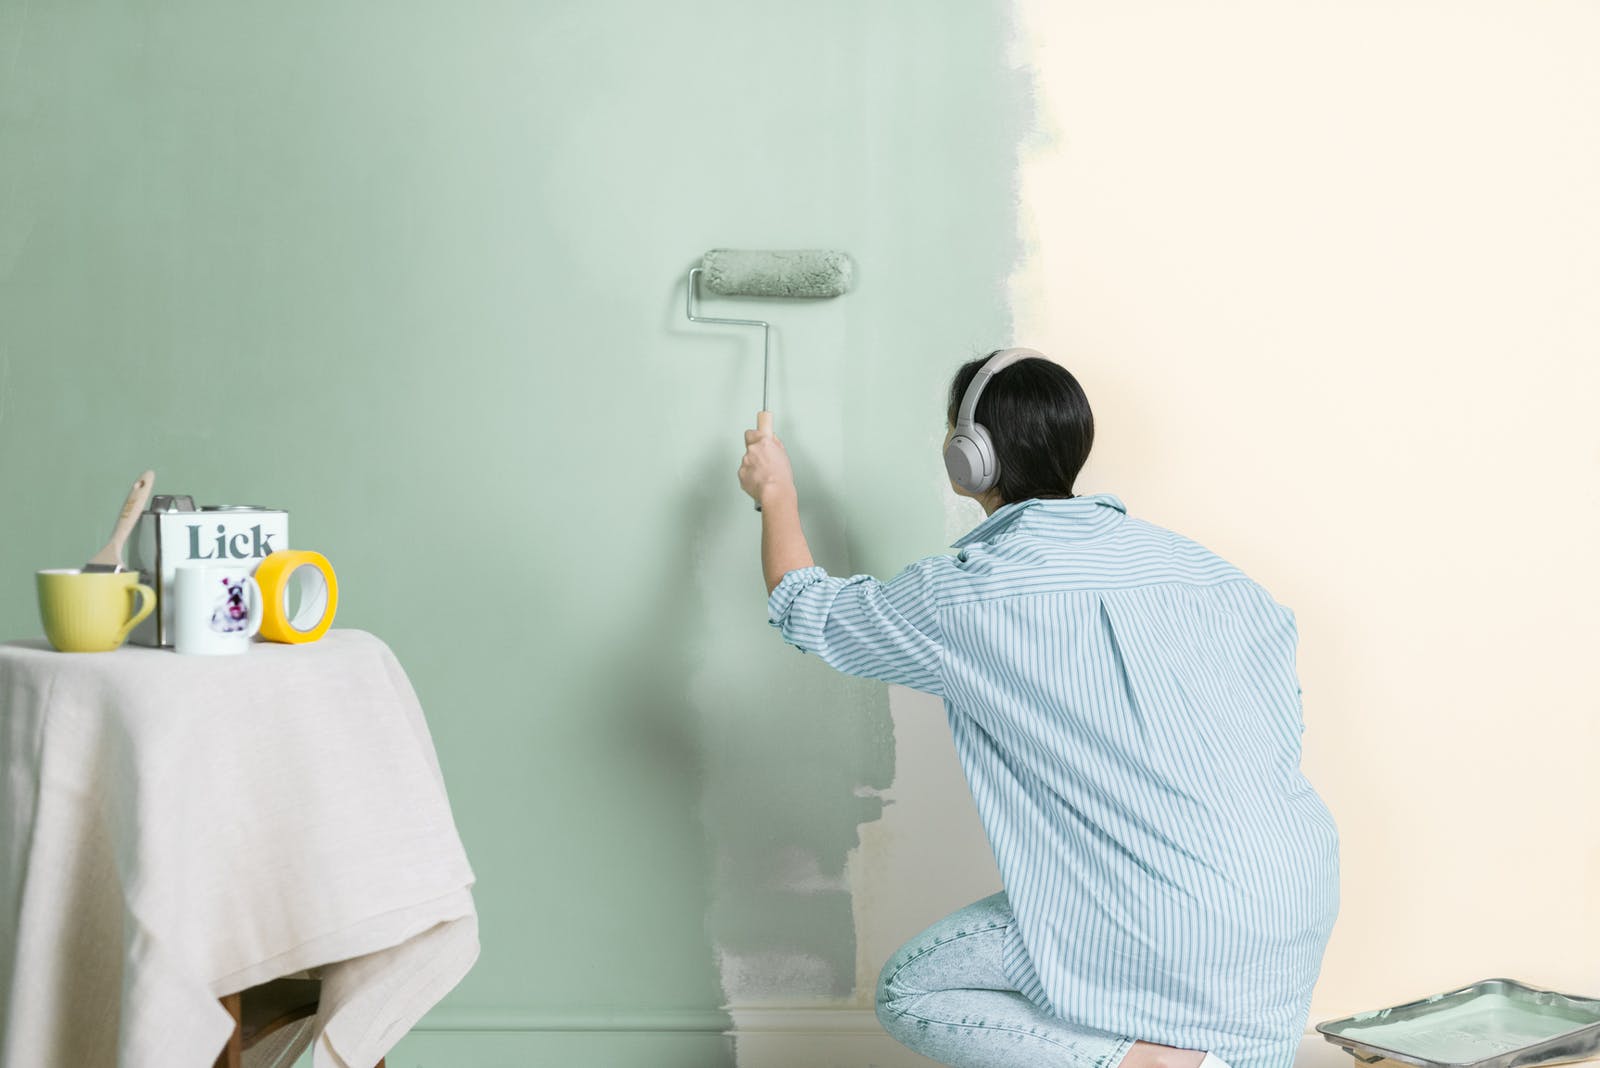
Painting the Trim
Now comes the exciting part – painting the trim. Follow these steps to ensure a smooth and professional-looking finish:
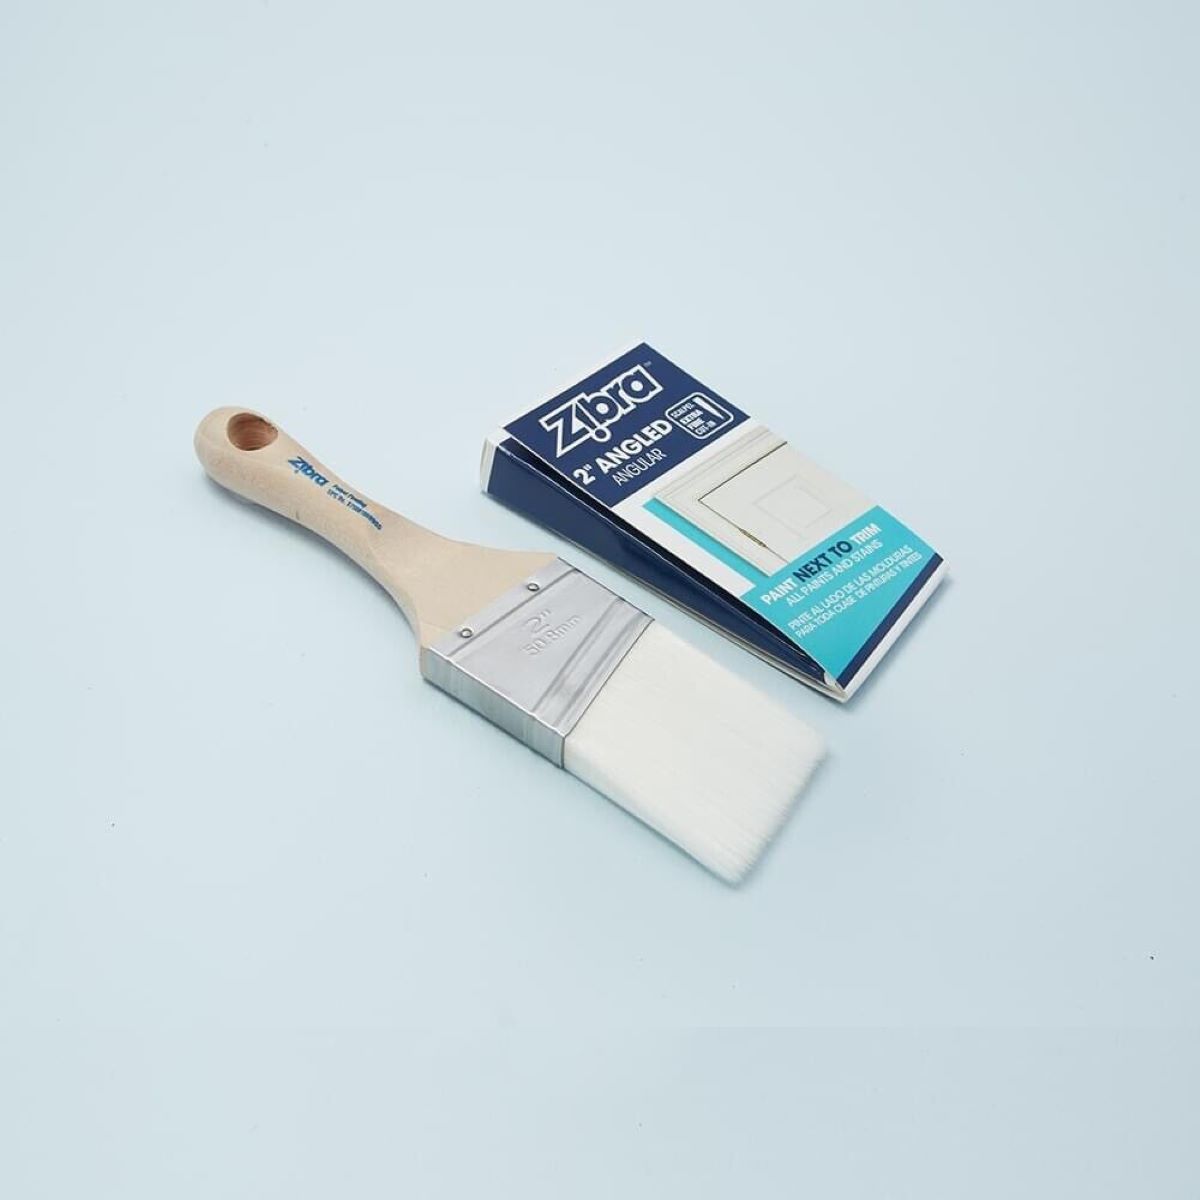
- Start by selecting a high-quality paint in your desired color and finish. Satin or semi-gloss finishes are commonly used for trim, as they provide a durable and easy-to-clean surface.
- Pour the paint into a paint tray or container wide enough to accommodate your paintbrush or roller.
- If using a brush, dip it into the paint, removing any excess by gently tapping it against the side of the container.
- Begin painting the trim, using smooth and even strokes. Follow the direction of the wood grain for a natural-looking finish.
- Work in small sections, ensuring that the paint is evenly applied and covers the entire surface of the trim.
- Pay close attention to any grooves or ornate details in the trim, making sure to fully coat those areas.
- If using a roller, apply the paint in a thin and even layer, working in one direction. Roll vertically for vertical trim and horizontally for horizontal trim.
- After completing a section, use a brush to lightly feather out any brush or roller marks for a seamless finish.
- Allow the first coat of paint to dry completely based on the manufacturer’s instructions. This typically takes a few hours.
- If necessary, apply a second coat of paint following the same process as before. This will ensure full coverage and a more professional finish.
Take your time and be mindful of any drips or uneven areas as you paint. It’s better to apply thin coats and build up the coverage gradually rather than applying too much paint at once. Once you’ve finished painting the trim, allow it to dry completely before moving on to the final touches and clean-up.
Read more: How To Prepare A Concrete Floor For Painting
Final Touches and Clean Up
With the painting process complete, it’s time to add the final touches and clean up the area. Follow these steps to ensure a polished and tidy finish:
- Inspect the painted trim for any areas that may require touch-ups. Use a small brush to carefully touch up any missed spots or uneven areas.
- Remove the painter’s tape by gently pulling it away from the surfaces at a 45-degree angle. This will help prevent the paint from peeling off.
- Check for any paint drips or splatters on adjacent surfaces. Immediately clean them up using a damp cloth or sponge before the paint dries.
- Clean your paint tools, such as brushes and rollers, following the manufacturer’s instructions. Properly cleaning and storing your tools will ensure their longevity and maintain their effectiveness for future projects.
- Dispose of any used paint cans, drop cloths, or other painting-related materials responsibly, following local regulations and guidelines.
- Once the paint has fully dried, carefully return any furniture or belongings to their original place, taking care not to scratch or damage the freshly painted trim.
- Step back and admire your beautifully painted trim! Enjoy the fresh and updated look it brings to your home.
By paying attention to these final touches and properly cleaning up after the painting process, you can achieve a professional and polished appearance. Now, sit back and enjoy the finished results of your hard work!
Conclusion
Preparing trim for painting is a crucial step to ensure a professional and long-lasting finish. With the right tools, techniques, and attention to detail, anyone can achieve fantastic results. By following the step-by-step process outlined in this article, you can transform your trim and give your home a fresh and updated look.
Starting with cleaning and sanding the trim, you create a smooth and even surface for the paint to adhere to. Repairing any dents or holes ensures a flawless finish. Applying primer, caulking the trim, and protecting the surrounding area are essential steps to achieve a polished result.
With the proper preparation complete, the fun part begins – painting the trim. By using high-quality paint, applying thin and even coats, and taking your time, you can achieve a professional-looking finish that will enhance the overall aesthetic of your home.
Don’t forget the final touches and clean-up. Touch up any missed spots, remove painter’s tape carefully, and clean up any drips or splatters promptly. Properly clean and store your paint tools, and dispose of any materials responsibly.
By following these steps and giving attention to detail, you can enjoy beautifully painted trim that adds a touch of elegance and completes the look of any room. So, roll up your sleeves, gather your equipment, and get ready to transform your trim with a fresh coat of paint!
Frequently Asked Questions about How To Prepare Trim For Painting
Was this page helpful?
At Storables.com, we guarantee accurate and reliable information. Our content, validated by Expert Board Contributors, is crafted following stringent Editorial Policies. We're committed to providing you with well-researched, expert-backed insights for all your informational needs.


0 thoughts on “How To Prepare Trim For Painting”