Home>Furniture>Kitchen Furniture>How To Turn Off Buzzer On GE Dryer
Kitchen Furniture
How To Turn Off Buzzer On GE Dryer
Modified: August 31, 2024
Learn how to turn off the buzzer on your GE dryer with our step-by-step guide. Follow these articles to easily silence the annoying alarm and enjoy a quieter laundry experience.
(Many of the links in this article redirect to a specific reviewed product. Your purchase of these products through affiliate links helps to generate commission for Storables.com, at no extra cost. Learn more)
Introduction
Have you ever found the repetitive buzzing sound of your GE dryer to be irritating? Whether you’re looking for a peaceful laundry experience or simply want to silence the noise, turning off the buzzer on your GE dryer can be a simple solution. In this article, we will guide you through the step-by-step process of how to turn off the buzzer on your GE dryer, allowing you to enjoy a more tranquil laundry routine.
Before we dive into the steps, it’s essential to note that the process may vary depending on the model of your GE dryer. We recommend consulting your owner’s manual or contacting GE customer support for specific instructions tailored to your dryer model. That said, the following general steps will give you a good starting point for turning off the buzzer on your GE dryer.
Key Takeaways:
- Say goodbye to the annoying buzzing sound of your GE dryer by following simple steps to locate and disconnect the buzzer, allowing for a more peaceful laundry experience.
- Prioritize safety by unplugging the dryer before starting the process, and enjoy the tranquility of a quieter dryer without the constant buzzing noise.
Step 1: Locate the Buzzer
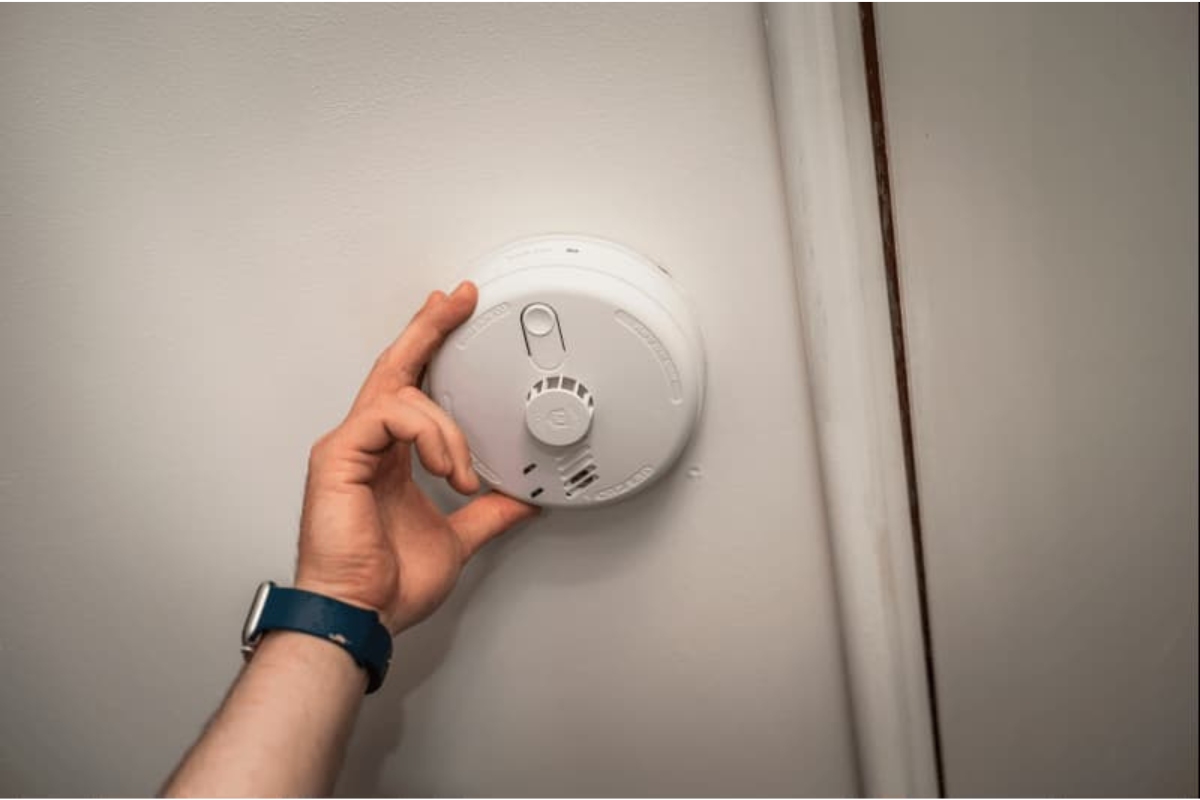
The first step in turning off the buzzer on your GE dryer is to locate the buzzer itself. The buzzer is typically located inside the control console of the dryer. To access this area, you may need to open the top panel of the dryer or remove the front panel, depending on the model of your GE dryer.
Start by unplugging the dryer from the power source for safety. Then, carefully remove any screws or clips securing the top panel or front panel of the dryer. Once the panel is removed, you should have access to the control console. Take a moment to familiarize yourself with the different components inside the console.
Look for the small electronic device that produces the buzzing sound – this is the buzzer. It is usually a small rectangular or cylindrical component with wires connected to it. The location of the buzzer may vary slightly depending on the model of your GE dryer, so refer to your owner’s manual or GE’s customer support for specific guidance if needed.
Once you’ve identified the physical location of the buzzer, you’re ready to move on to the next step of the process: unplugging the dryer.
Step 2: Unplug the Dryer
Before proceeding further, it is crucial to ensure your safety by unplugging the dryer from the power source. Unplugging the dryer will eliminate the risk of electric shock and allow you to work on it without any potential hazards.
Locate the power cord of your GE dryer, typically found at the back of the appliance. Follow the cord until you reach the outlet or the connection point. Carefully grip the plug, not the cord itself, and firmly pull it out from the outlet. Double-check to ensure that the dryer is no longer connected to the power supply.
It is important to give the dryer some time to cool down before proceeding to the next step. This will prevent any accidental burns or injuries while working on the interior components. Allow the dryer to cool for at least 15-20 minutes before moving forward with the process.
Once the dryer is completely unplugged and cooled down, you can now proceed to the next step: removing the control console to access the buzzer.
Step 3: Remove the Control Console
Now that the dryer is unplugged and cooled down, it’s time to remove the control console to gain access to the buzzer.
Start by identifying the screws or fasteners holding the control console in place. These are typically located on the back of the console or inside the door opening. Use a screwdriver or the appropriate tool to remove the screws and set them aside in a safe place.
Once the screws have been removed, gently pull the control console forward. Be mindful of any wires or connectors that may be attached to the console. Avoid pulling forcefully or tugging on the wires, as this could damage the connections.
If there are wires attached to the control console, carefully disconnect them by gently pulling the connectors apart. Take note of the location and orientation of each connector to facilitate reassembly later.
With the control console removed, you now have a clear view of the interior components, including the buzzer. Check for any other components or panels obstructing access to the buzzer. If necessary, remove them by following the same procedure as for the control console.
Now that you’ve successfully removed the control console, it’s time to move on to the next step: disconnecting the buzzer.
To turn off the buzzer on a GE dryer, press and hold the “End of Cycle Signal” button for 3 seconds. This will disable the buzzer for the next cycle.
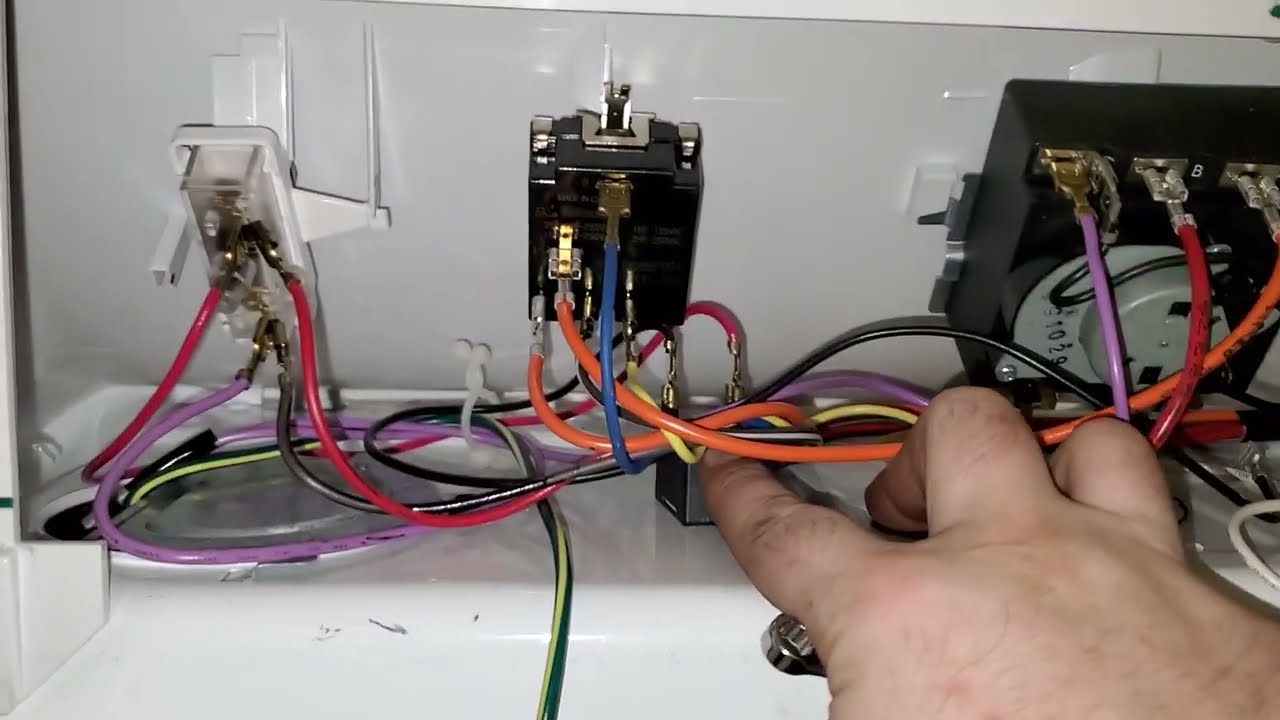
Step 4: Disconnect the Buzzer
With the control console removed, you can now proceed to disconnect the buzzer from the GE dryer. Disconnecting the buzzer will effectively turn it off and stop the annoying buzzing sound.
Locate the buzzer, which should be visible now that the control console has been removed. Look for the wires connected to the buzzer. These wires are usually color-coded and may be bundled together with other wires.
Take note of the specific wire connections and their corresponding colors. This will be helpful when reconnecting the buzzer, if you decide to turn it on in the future.
Once you have identified the wires, use a pair of pliers to carefully disconnect the wires from the buzzer. Grip the wire connectors firmly and gently pull them apart. Avoid pulling on the wires themselves to prevent any damage.
After disconnecting the wires, set the buzzer aside in a safe place. You may choose to keep it for future use or dispose of it, depending on your preference.
Now that the buzzer is disconnected, you’re ready to move on to the final step: reassembling the dryer.
Read more: How To Turn Off Cool Setting On LG Dryer
Step 5: Reassemble the Dryer
After disconnecting the buzzer, it’s time to reassemble the GE dryer. This step involves putting back the components that were removed earlier, including the control console.
Start by checking the interior of the dryer for any loose wires or components. Make sure everything is in its proper place and secure. This will help ensure that the dryer functions correctly once it’s reassembled.
If you removed any other panels or components during the process, make sure to reinstall them according to their original positions. Use the screws or fasteners that were set aside to secure them firmly in place. Ensure that all connections are secure and that no wires are pinched or tangled.
Next, reconnect any wires that were disconnected from the control console. Refer to your notes or the color-coding to ensure the correct connections. Gently push the connectors together until they are snug and secure, avoiding excessive force.
Once all the components have been reinstalled and all the connections have been made, it’s time to carefully slide the control console back into position. Align it with the openings or mounting points and gently push it in until it clicks or securely fits back into place.
Finally, check the exterior of the dryer to ensure that all panels are properly aligned and secured in place. Use the screws or fasteners to tighten any loose parts if necessary.
With the dryer fully reassembled, you can now plug it back into the power source and test to see if the buzzer has been successfully turned off. Run a test cycle to confirm that the dryer functions correctly without the buzzing sound.
Congratulations! You have successfully turned off the buzzer on your GE dryer. Enjoy a quieter laundry experience moving forward.
Conclusion
Turning off the buzzer on your GE dryer can be a simple process that brings peace and tranquility to your laundry routine. By following the steps outlined in this article, you can easily locate the buzzer, disconnect it, and enjoy a quieter dryer experience.
Remember to prioritize safety throughout the process. Always unplug the dryer from the power source before starting any work and allow it to cool down to avoid any potential injuries.
While the specific steps may vary depending on your GE dryer model, the general process of turning off the buzzer remains the same. To ensure optimal results, consult your owner’s manual or contact GE customer support for specific instructions tailored to your dryer model.
If you ever decide to revert back to the original buzzer settings, simply retrace the steps outlined in this article in reverse order. Reconnect the buzzer, reassemble the dryer, and enjoy the convenience of having the buzzer functionality restored.
We hope this guide has been helpful in assisting you in turning off the buzzer on your GE dryer. Now you can enjoy a peaceful and serene laundry experience without the constant buzzing noise.
Remember, regular maintenance and care for your GE dryer are essential to ensure its longevity and optimal performance. If you encounter any issues or require further assistance with your dryer, don’t hesitate to reach out to GE customer support for expert guidance.
Thank you for reading and happy drying!
Now that you've learned how to silence that pesky buzzer on your GE dryer, why not consider upgrading your appliance altogether? With innovative features and enhanced efficiency, modern GE dryers offer more than just quiet operation. Check out our roundup of exceptional models set to release in 2024. Whether you're looking for energy savings, faster drying times, or just wanting to keep up with the latest technology, you'll find valuable insights in our detailed review.
Frequently Asked Questions about How To Turn Off Buzzer On GE Dryer
Was this page helpful?
At Storables.com, we guarantee accurate and reliable information. Our content, validated by Expert Board Contributors, is crafted following stringent Editorial Policies. We're committed to providing you with well-researched, expert-backed insights for all your informational needs.


0 thoughts on “How To Turn Off Buzzer On GE Dryer”