Home>Furniture>Bedroom Furniture>How To Build A Simple Bed Frame
Bedroom Furniture
How To Build A Simple Bed Frame
Modified: August 22, 2024
Discover the easiest way to build your own simple bed frame for your bedroom. Get step-by-step instructions and essential tips for creating beautiful bedroom furniture with our comprehensive guide.
(Many of the links in this article redirect to a specific reviewed product. Your purchase of these products through affiliate links helps to generate commission for Storables.com, at no extra cost. Learn more)
Introduction
Welcome to the world of bedroom furniture! The bedroom is often considered the sanctuary of the home, and one of the key pieces of furniture that sets the tone and style of the space is the bed frame. Whether you’re looking to update your bedroom decor or you’re starting from scratch, building a simple bed frame can be a rewarding project that allows you to customize your sleeping space to your unique taste and preferences.
Building your own bed frame not only gives you the freedom to design a piece that perfectly fits your room, but it also allows you to save money compared to purchasing a pre-made bed frame. Additionally, it can be a fun and fulfilling DIY project that lets you showcase your creativity and craftsmanship.
In this article, we will guide you through the step-by-step process of building a simple bed frame. We will provide detailed instructions and tips to help you along the way. So, put on your work clothes, grab your tools, and let’s get started!
Key Takeaways:
- Building your own bed frame allows for customization, cost savings, and a fulfilling DIY project that showcases creativity and craftsmanship.
- Attention to detail, stability testing, and proper slat installation are crucial for creating a sturdy and comfortable custom bed frame.
Read more: How To Build A Bed Frame
Step 1: Gather the Materials
Before you begin building your simple bed frame, it’s important to gather all the necessary materials and tools. Here’s a list of what you’ll need:
- Wood: Choose a type of wood that suits your style and budget. Popular options include pine, oak, and plywood. Make sure to measure the dimensions of your mattress to determine the required length and width of the wood.
- Screws or nails: You’ll need these to join the wooden pieces together. Opt for screws if you want a more sturdy and durable frame.
- Measuring tape: Essential for accurate measurements.
- Saw: Use a saw suitable for cutting wood to the desired dimensions.
- Sandpaper: Necessary for smoothing the edges and surfaces of the wood.
- Drill: If you opt for screws, a drill will make the process faster and easier.
- Screwdriver or hammer: Depending on whether you’re using screws or nails.
- Finishing materials: If desired, you may need stain, varnish, or paint to add a finishing touch to your bed frame.
Once you have gathered all the materials, it’s time to move on to the next step: measuring and cutting the wood.
Step 2: Measure and Cut the Wood
With the materials in hand, it’s time to measure and cut the wood for your bed frame. Follow these steps to ensure accuracy:
- Measure the length and width of your mattress. Add a few inches to each measurement to allow for some overhang and clearance.
- Using a measuring tape, mark the dimensions on the wood you have chosen for the frame. Make sure to measure and mark all the necessary pieces, including the headboard, footboard, side rails, and support beams.
- Once the measurements are marked, use a saw to cut the wood according to the marked lines. Take your time and make precise cuts for a professional-looking result.
- After cutting all the pieces, use sandpaper to smooth out any rough edges or surfaces. Sanding not only improves the appearance of the frame but also prevents splinters and ensures a comfortable sleeping experience.
Remember to double-check your measurements before making any cuts to avoid any unnecessary mistakes. It’s always better to measure twice and cut once!
Now that you have all the pieces cut and sanded, it’s time to move on to the next step: assembling the bed frame.
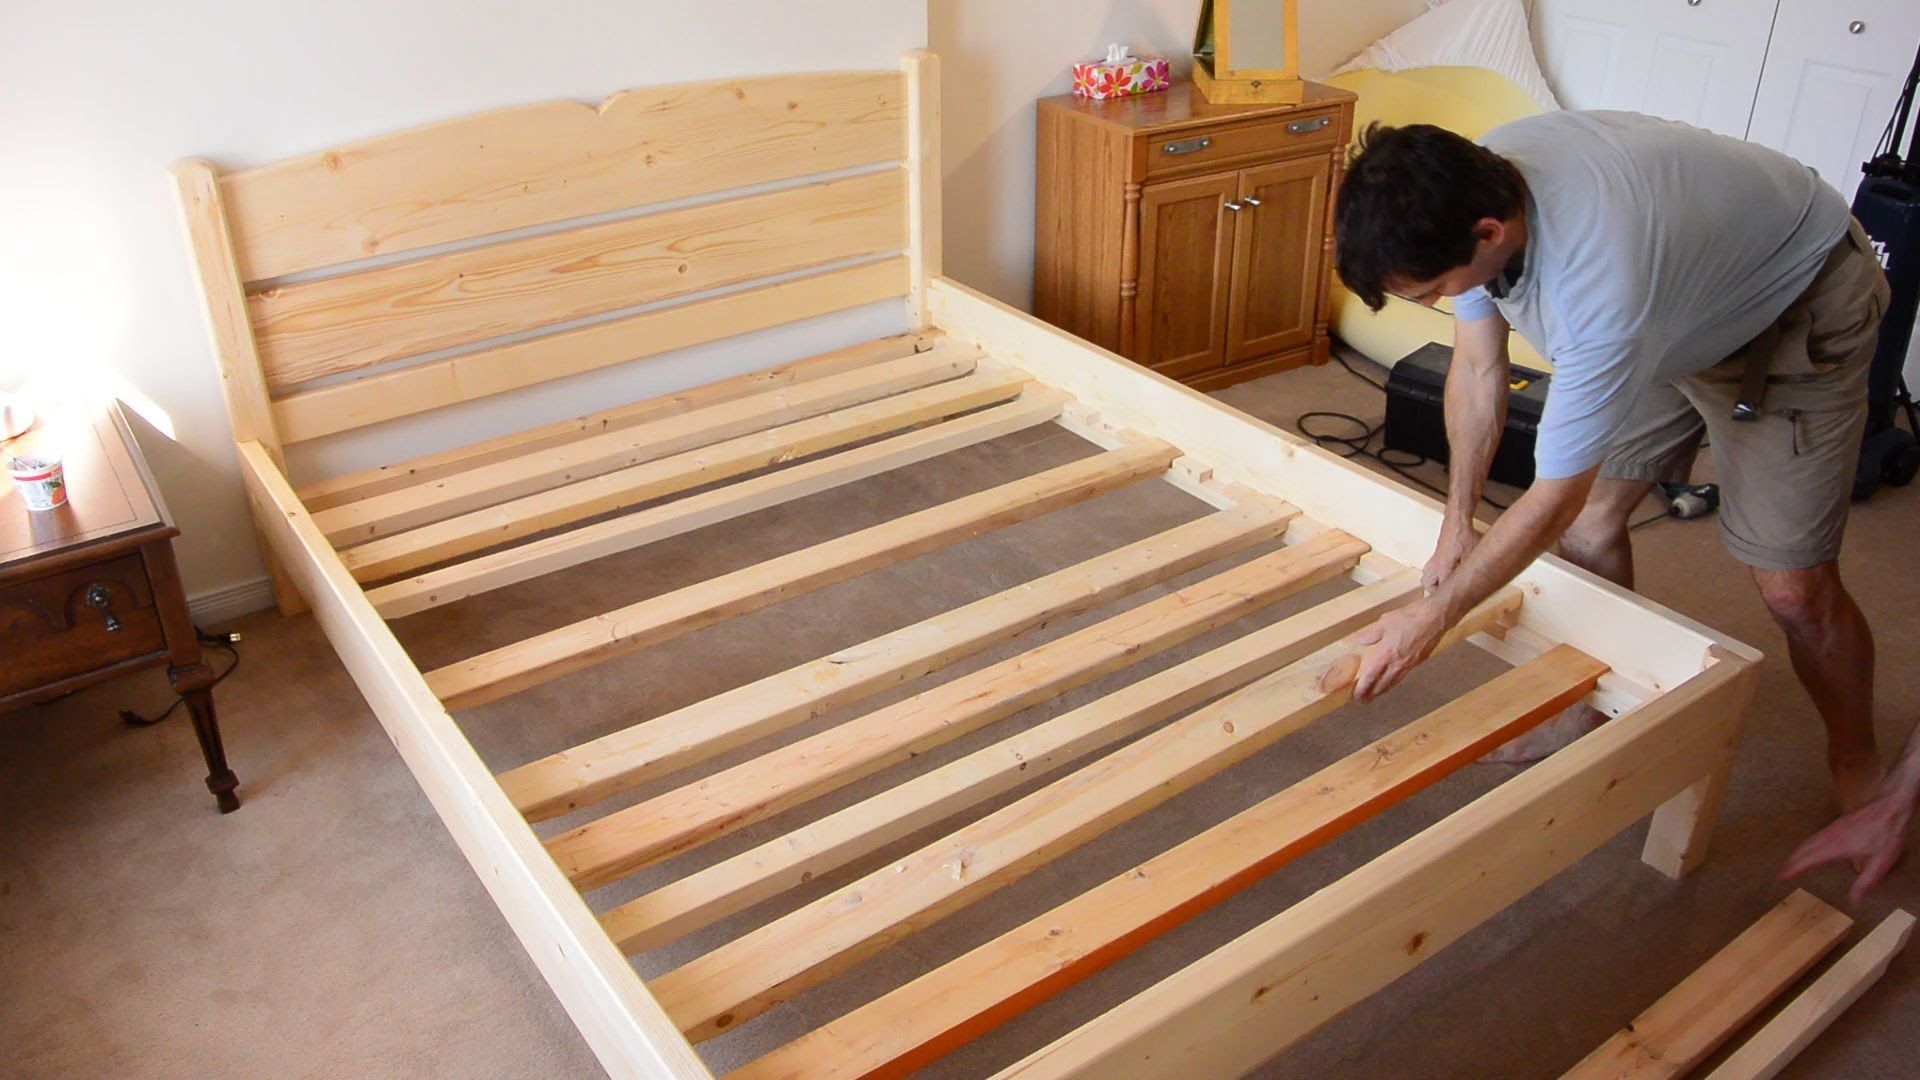
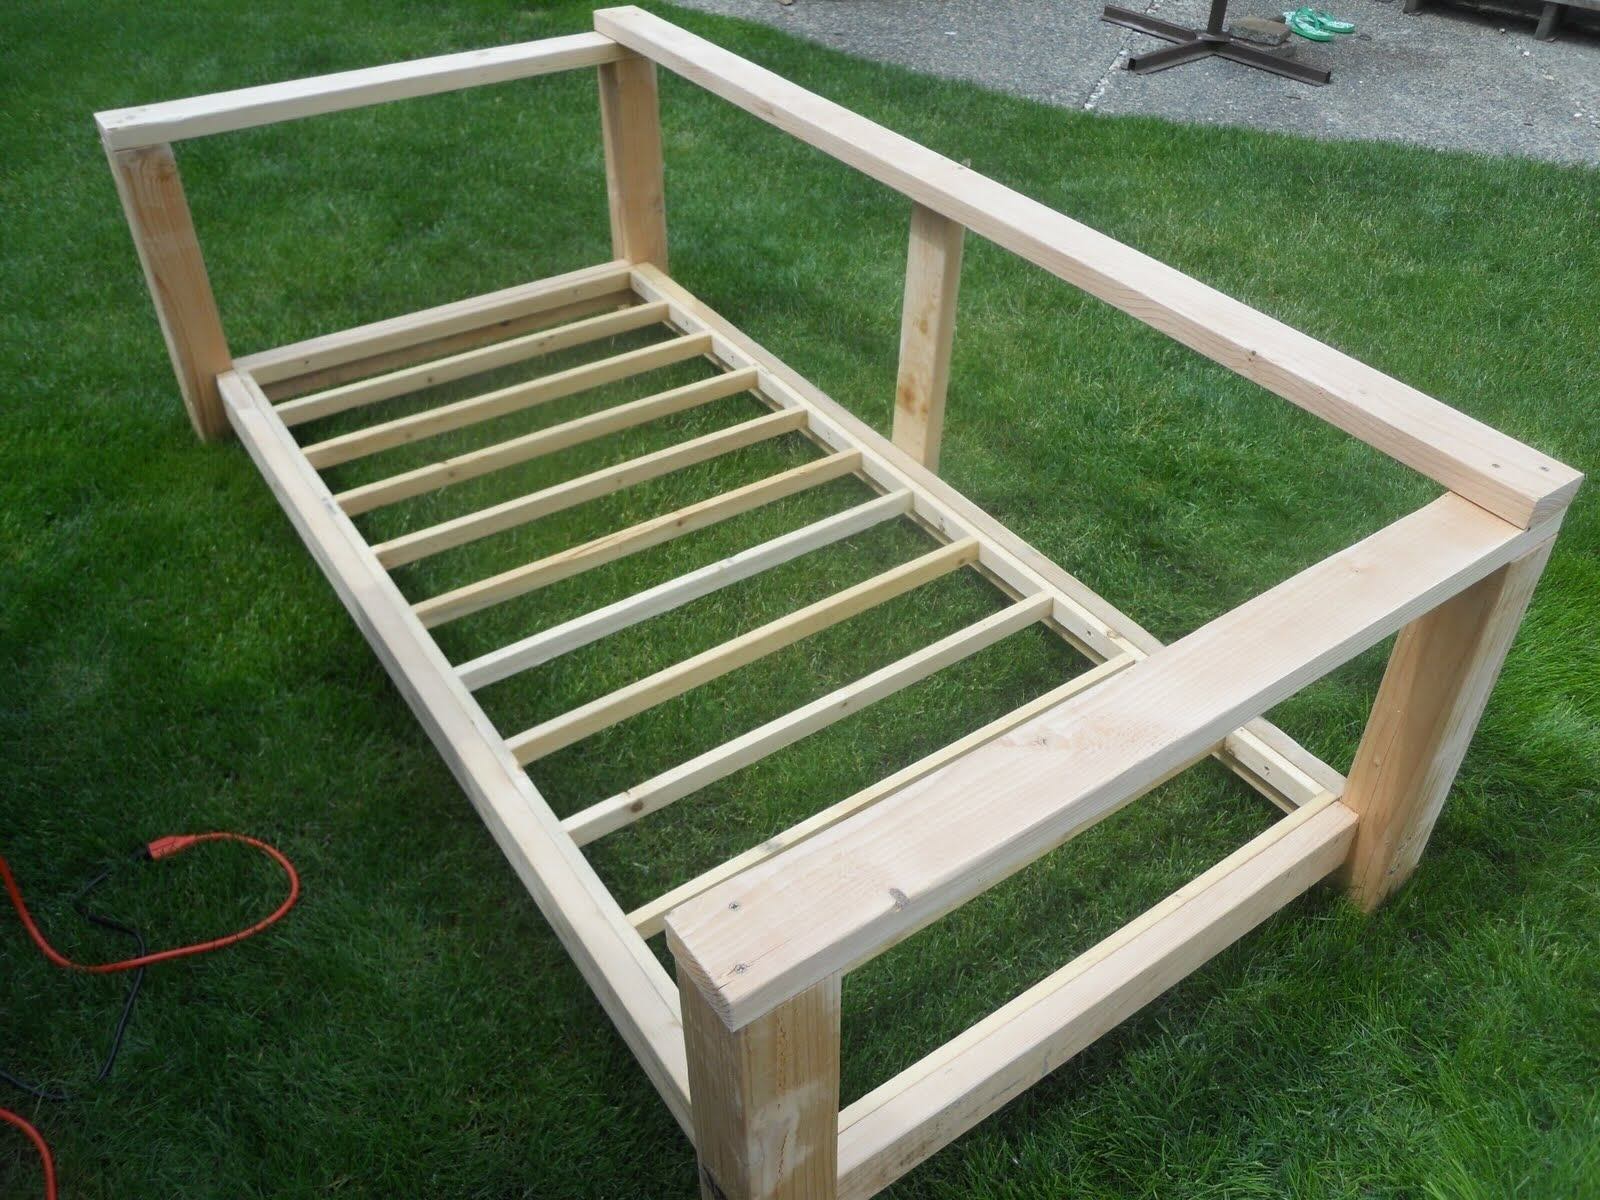
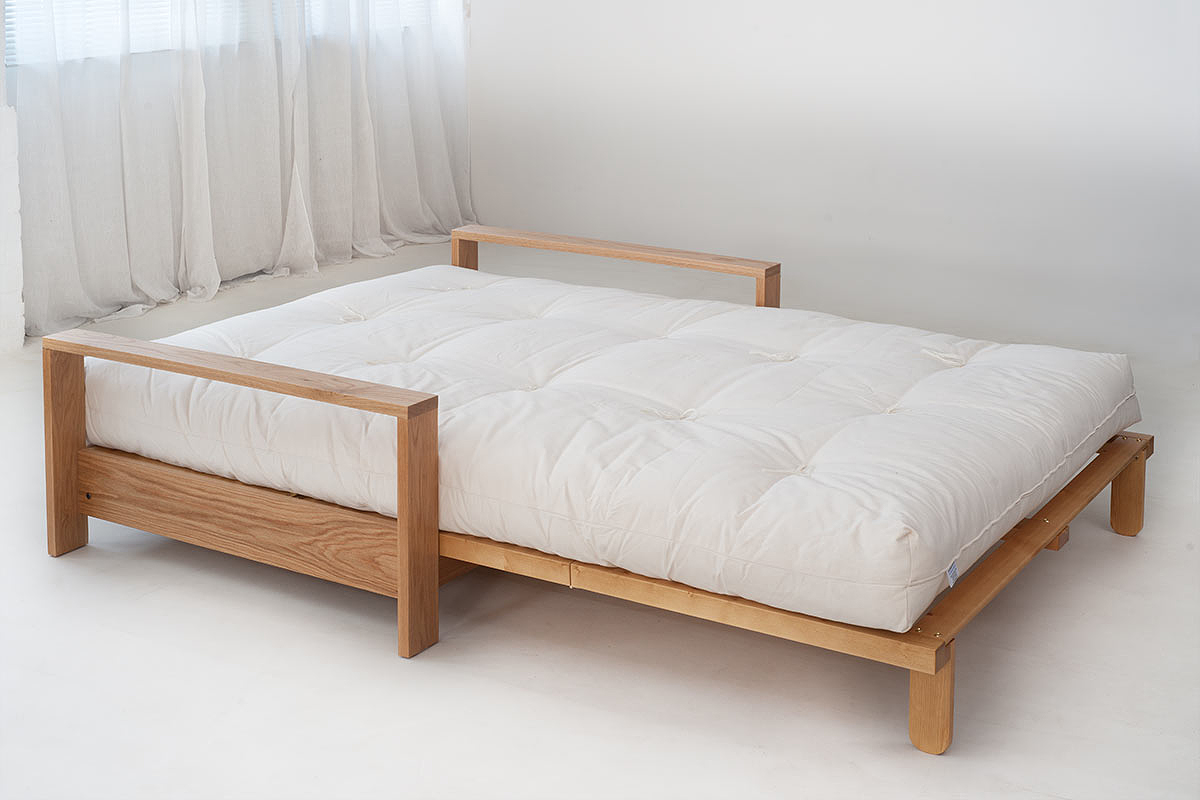
Step 3: Assemble the Bed Frame
With the wood pieces cut and sanded, it’s time to put them together and assemble your bed frame. Follow these steps to ensure a sturdy and well-built frame:
- Start by laying out the side rails and positioning the headboard and footboard pieces at each end.
- Using screws or nails, attach the headboard and footboard to the side rails. Make sure to align the pieces properly and secure them tightly for stability.
- Next, attach the support beams across the width of the bed frame. These beams will provide additional support and prevent the mattress from sagging.
- Secure the support beams to the side rails using screws or nails. Space them evenly for optimal support.
- Double-check all the connections to ensure everything is tightly secured and properly aligned. If necessary, tighten screws or nails for added stability.
During the assembly process, it may be helpful to have an extra pair of hands to assist in holding and aligning the pieces. It’s important to take your time and ensure that each connection is secure before moving on to the next step.
Once the bed frame is fully assembled, it’s time to move on to the next step: sanding and finishing.
Step 4: Sand and Finish
After assembling the bed frame, it’s important to sand and finish it for a polished and smooth final result. Follow these steps to achieve a beautiful finish:
- Start by using sandpaper to sand down any rough surfaces or edges. Sand in the direction of the wood grain for the best results.
- Continue sanding until the entire bed frame feels smooth to the touch. This will ensure a comfortable and safe sleeping experience.
- Once the sanding is complete, wipe down the bed frame with a damp cloth to remove any dust or debris.
- If desired, apply a finishing material such as stain, varnish, or paint. This will not only enhance the appearance of the bed frame but also protect the wood from scratches and moisture.
- Follow the instructions on the finishing product for the best application method. Use a brush or a cloth to evenly apply the finish, and allow it to dry completely.
- Inspect the bed frame for any missed spots or unevenness in the finish. Touch up as needed to achieve a consistent and professional look.
Remember to work in a well-ventilated area when applying finishing products and allow ample drying time according to the manufacturer’s instructions.
With the bed frame sanded and finished, it’s time to move on to the next step: attaching the legs.
When building a simple bed frame, make sure to measure and cut your lumber accurately to ensure a sturdy and level frame. Use wood glue and screws for extra stability.
Read more: How To Build A Tall Bed Frame
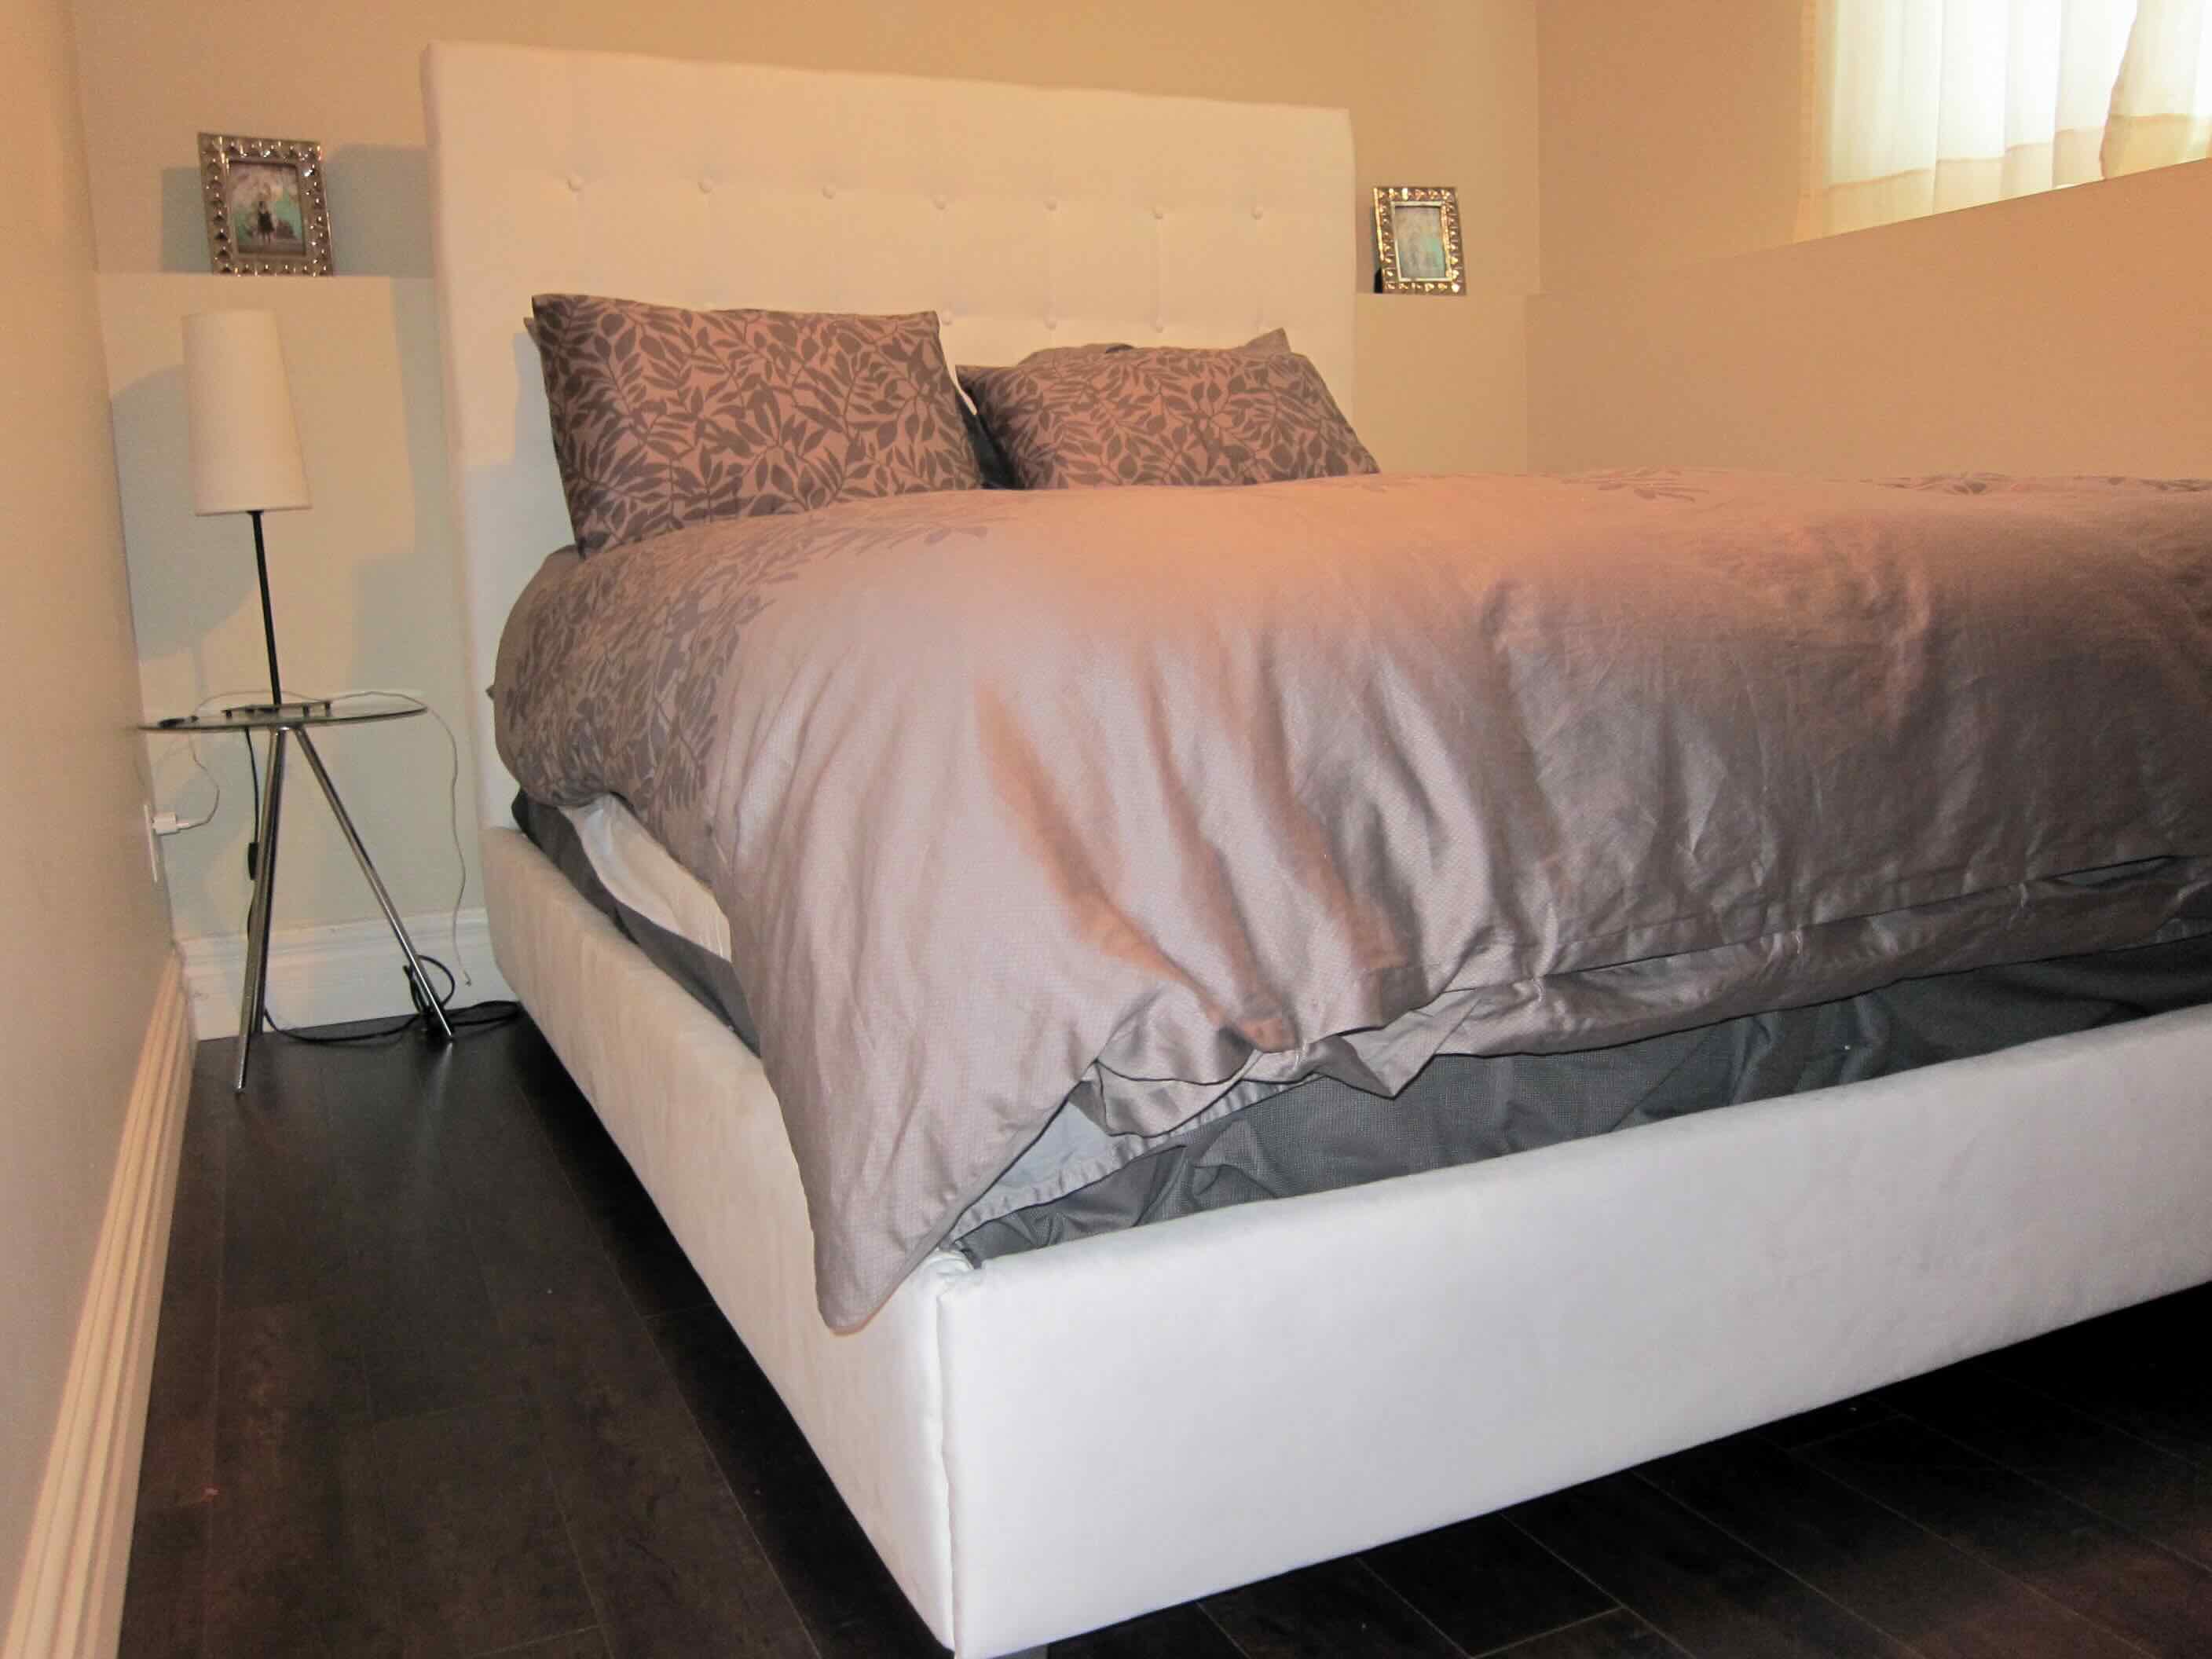
Step 5: Attach the Legs
Attaching the legs to your bed frame adds stability and elevates the overall design. Follow these steps to securely attach the legs:
- Determine the desired height of your bed frame and mark the leg positions on the bottom corners of the side rails.
- Using a drill or screwdriver, attach the legs to the marked positions on the side rails. Make sure to use screws or bolts that are appropriate for the size and weight of the bed frame.
- Check the stability of the bed frame by gently pushing on each corner. If any wobbling or movement is noticeable, tighten the leg attachments to ensure a secure fit.
- Repeat the process for all four corners of the bed frame, checking for stability as you go.
Attaching the legs not only adds support but also gives your bed frame a finished look. Choose legs that complement the style and aesthetic of your bedroom for a cohesive design.
Once the legs are securely attached, it’s time to move on to the final step: installing the slats.
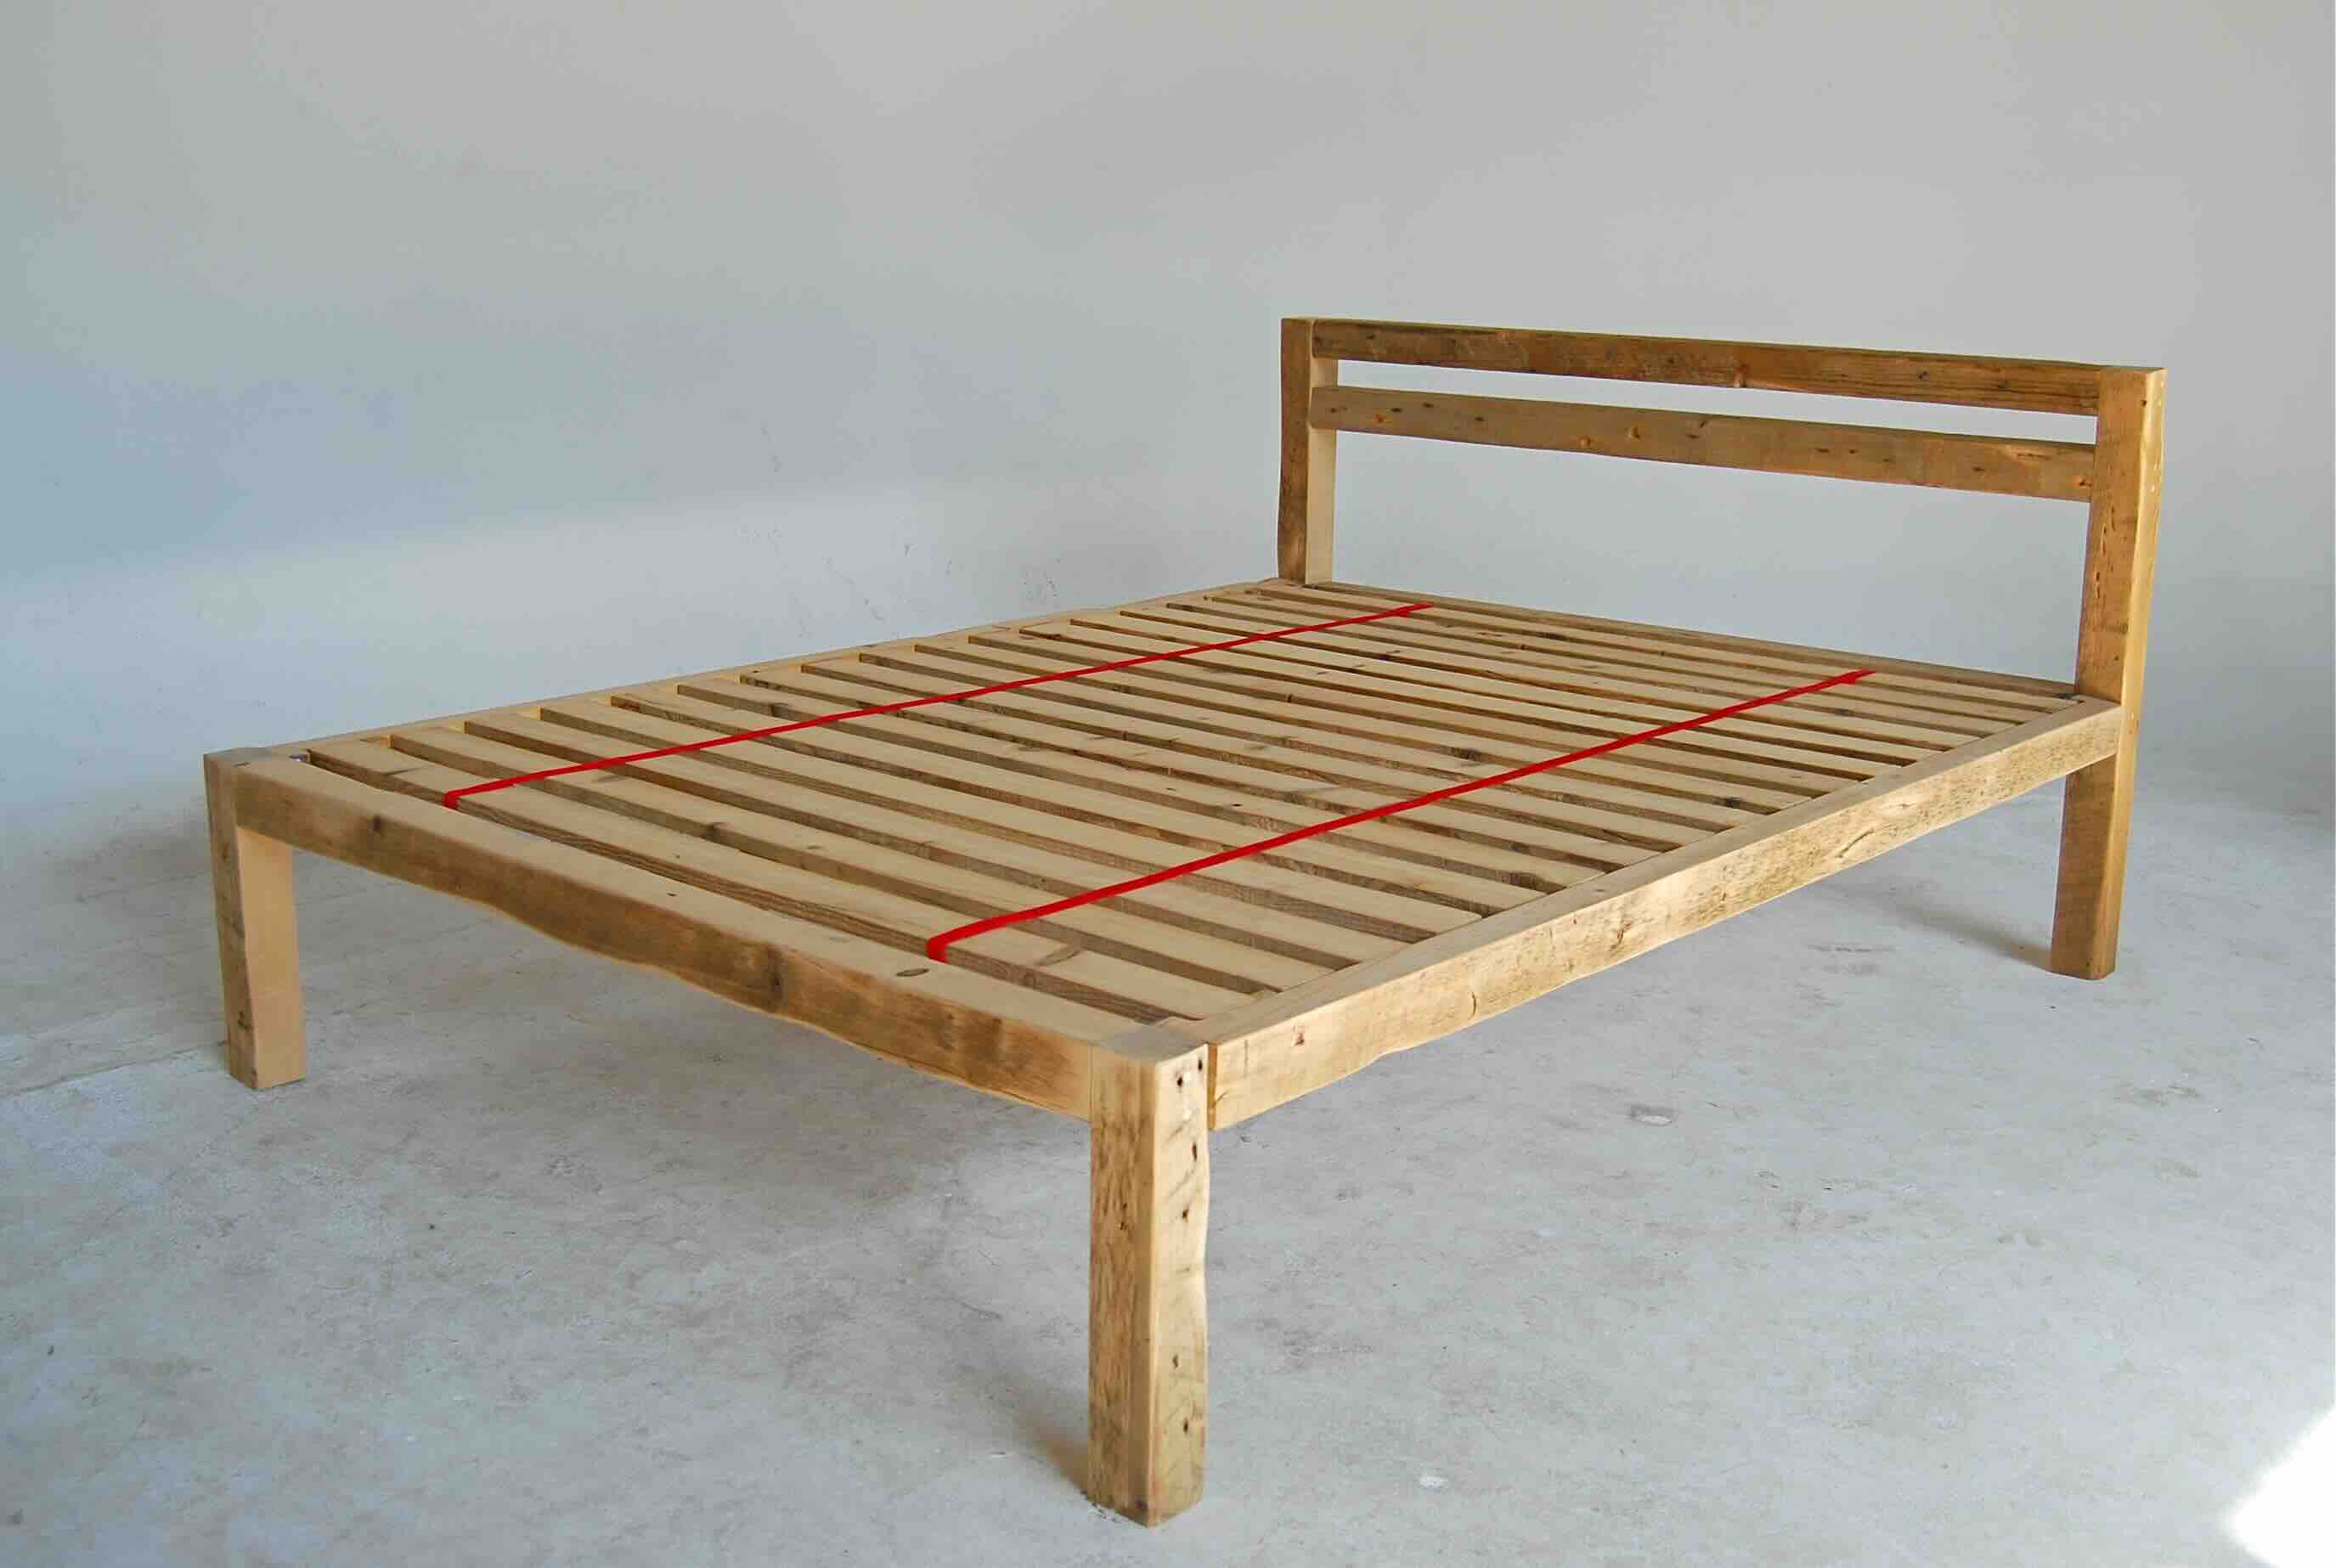
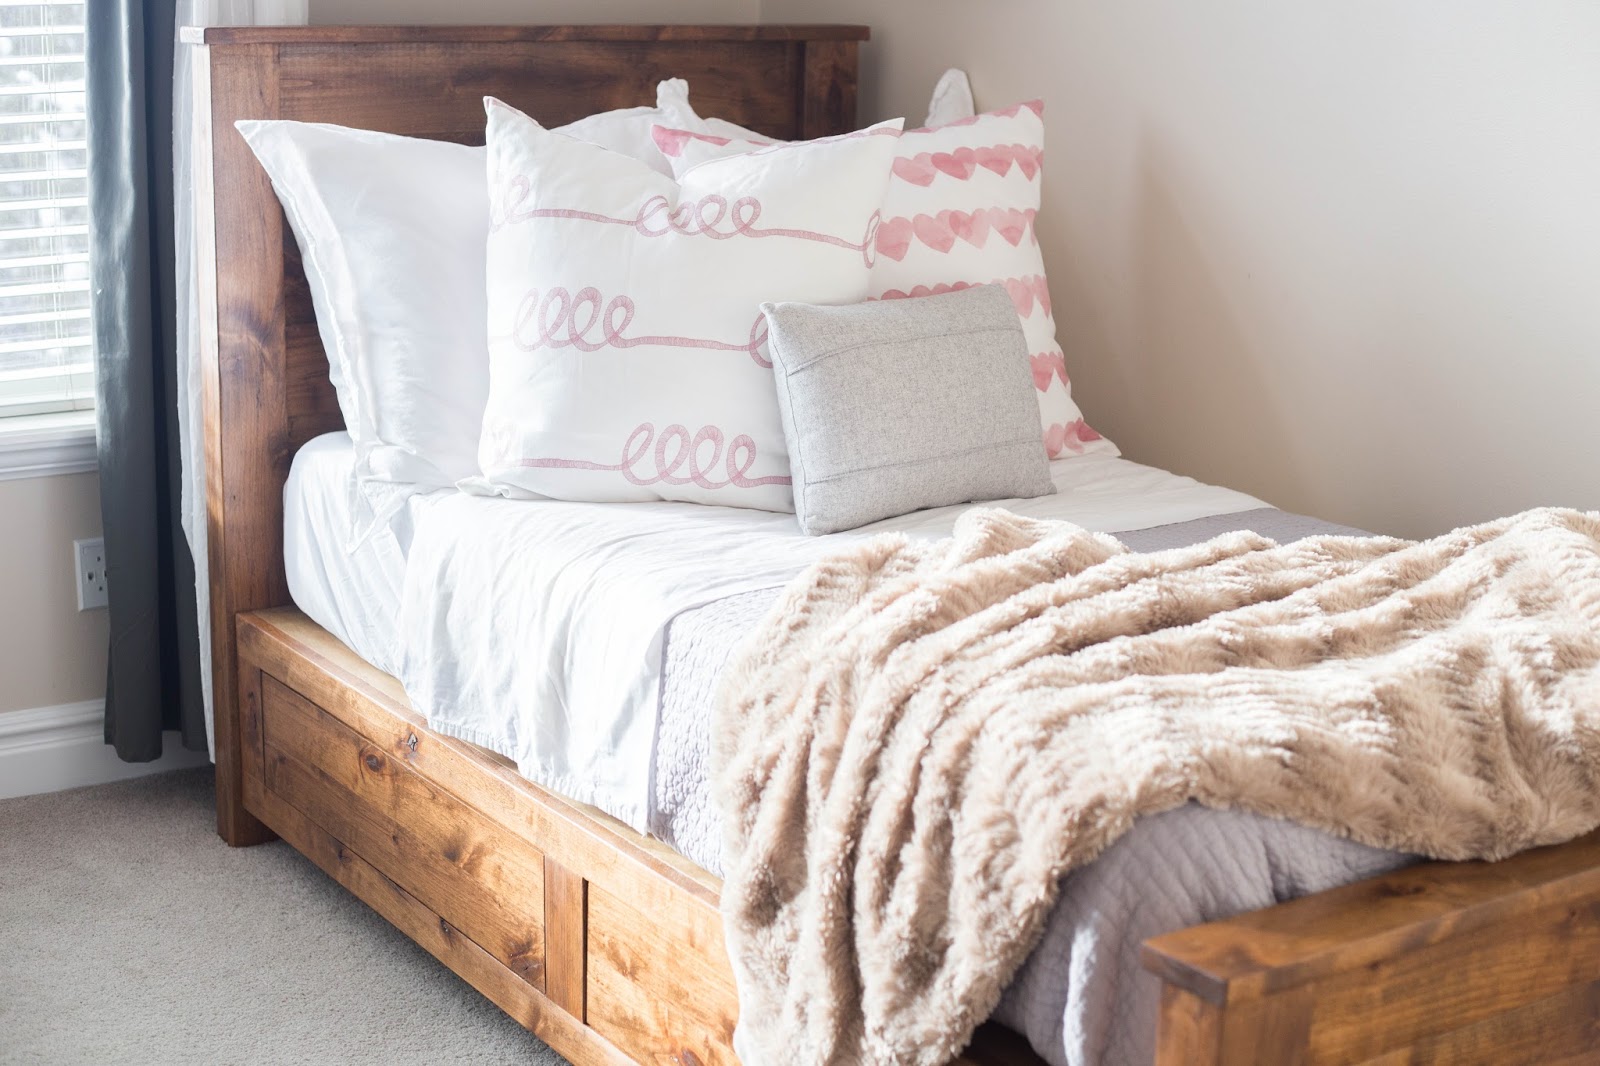
Step 6: Install the Slats
The slats play a crucial role in providing support for your mattress. Follow these steps to properly install the slats:
- Measure the width of the bed frame and determine the spacing you want between the slats. The general recommendation is to have around 2-3 inches between each slat.
- Cut the slats according to the measurements you’ve determined. It’s best to use sturdy and durable wood for the slats to ensure proper support.
- Place the slats evenly across the width of the bed frame, starting from one side and working your way to the other.
- Attach each slat to the side rails using screws or nails. Make sure the slats are securely attached and will not shift or move when weight is applied.
- Once all the slats are attached, give the mattress a test by gently pressing down on various areas to ensure even support.
Installing the slats properly will enhance the overall comfort of your bed and prevent any sagging or unevenness in the mattress. It’s important to take your time during this step to ensure a sturdy and reliable foundation.
With the slats securely installed, it’s time to move on to the final step: testing the stability of the bed frame.
Step 7: Test the Stability
Before you can fully enjoy your newly built bed frame, it’s crucial to test its stability and ensure it can support your weight and movement. Follow these steps to make sure your bed frame is stable:
- Lie down on the bed and shift your weight from side to side. Pay attention to any wobbling or movement of the bed frame.
- Try sitting on different areas of the bed frame, such as the corners and the center, to see if it remains stable and doesn’t sag or give way.
- If you feel any instability or movement, check the connections and tighten any loose screws or bolts. Ensure that all the components of the bed frame are securely fastened.
- Once you’re satisfied with the stability, test the bed frame’s ability to support your weight by sitting and lying on it. Evaluate the comfort and support it provides.
Testing the stability of your bed frame is essential for a safe and comfortable sleeping experience. It allows you to make any necessary adjustments or reinforce weak areas before using the bed regularly.
Congratulations! You have successfully built a simple bed frame from scratch. Your custom-made creation is ready to be enjoyed in your bedroom.
Remember, building your own bed frame gives you the freedom to customize your sleeping space to reflect your style and preferences. It’s a rewarding DIY project that not only saves money but also allows you to showcase your creativity and craftsmanship.
We hope this step-by-step guide has been helpful in guiding you through the process of building a bed frame. Now, it’s time to get a good night’s sleep on your handmade creation!
Conclusion
Building a simple bed frame from scratch can be a fulfilling and rewarding experience. Not only does it allow you to customize your sleeping space to fit your unique style, but it also saves you money compared to purchasing a pre-made bed frame. With the right materials, tools, and a little bit of patience, you can create a sturdy and beautiful bed frame that will provide comfort and support for years to come.
Throughout this guide, we have covered the step-by-step process of building a bed frame. From gathering the materials and measuring the wood to assembling the frame and adding the finishing touches, each step is essential for creating a well-built and aesthetically pleasing piece of furniture.
Remember to take your time during the construction process. Double-check your measurements and ensure that each connection is secure. Pay attention to the stability of the bed frame and make any necessary adjustments before regular use.
Building your own bed frame not only gives you a sense of accomplishment but also allows you to create a personalized space that reflects your taste and lifestyle. Whether you prefer a minimalist design or a rustic look, you have the freedom to choose the type of wood, finish, and style that best suits you.
We hope that this guide has inspired you to embark on your DIY bed frame project. By following the steps outlined in this article, you will be able to create a sturdy and stylish piece of furniture that will be the centerpiece of your bedroom. So, grab your tools, unleash your creativity, and enjoy the process of building your own bed frame!
Frequently Asked Questions about How To Build A Simple Bed Frame
Was this page helpful?
At Storables.com, we guarantee accurate and reliable information. Our content, validated by Expert Board Contributors, is crafted following stringent Editorial Policies. We're committed to providing you with well-researched, expert-backed insights for all your informational needs.


0 thoughts on “How To Build A Simple Bed Frame”