Home>Furniture>Bedroom Furniture>How To Disassemble A Metal Bed Frame


Bedroom Furniture
How To Disassemble A Metal Bed Frame
Modified: May 6, 2024
Learn how to disassemble a metal bed frame for easy moving or storage. Follow our step-by-step guide to dismantle your bedroom furniture effortlessly.
(Many of the links in this article redirect to a specific reviewed product. Your purchase of these products through affiliate links helps to generate commission for Storables.com, at no extra cost. Learn more)
Introduction
Disassembling a metal bed frame can be a daunting task, especially if you’ve never done it before. Whether you’re moving to a new home, rearranging your bedroom, or simply looking to clean or upgrade your bed frame, knowing how to take it apart properly is essential. By following a few simple steps and using the right tools, you can easily disassemble your metal bed frame without any hassle.
Before we dive into the process, it’s important to note that the exact method of disassembly may vary slightly depending on the specific design and construction of your bed frame. However, the general principles remain the same. In this article, we will guide you through the step-by-step process of disassembling a typical metal bed frame.
So, let’s gather our tools and materials, and get ready to dismantle your metal bed frame!
Key Takeaways:
- Master the art of disassembling a metal bed frame with ease using the right tools and step-by-step guidance. Prioritize safety, proper organization, and optional reassembly for a smooth process.
- Ensure a hassle-free disassembly of your metal bed frame by following safety precautions, cleaning and organizing components, and potentially reassembling with careful attention to detail.
Read more: How To Disassemble A Bed Frame
Tools and Materials Needed
Before you start disassembling your metal bed frame, it’s important to gather the necessary tools and materials. Having these items on hand will make the process much smoother and more efficient. Here are the tools and materials you’ll need:
- Phillips head screwdriver or Allen wrench (depending on the type of screws or bolts used)
- Adjustable wrench or socket wrench
- Needle-nose pliers (optional, for removing stubborn screws)
- Rubber mallet or hammer (with a piece of cloth to protect the surface)
- Protective gloves (to protect your hands from any sharp edges)
- Drop cloth or tarp (to protect your flooring or carpet)
It’s important to choose the right tools for the job to ensure a safe and efficient disassembly process. Make sure your tools are in good condition and suitable for the task at hand. Now that you’ve gathered your tools and materials, it’s time to move on to the step-by-step process of disassembling your metal bed frame.
Step 1: Remove the Mattress and Bedding
Before you can begin disassembling your metal bed frame, you’ll need to remove the mattress and any bedding that may be on top of it. Start by stripping the bed of all pillows, sheets, blankets, and comforters. Remove the mattress from the bed frame and place it in a safe and clean location.
If your mattress is too heavy to handle on your own, consider asking for assistance from a friend or family member. Remember to lift with your legs and use proper lifting techniques to avoid strain or injury.
If you have a box spring, you can either leave it on the bed frame during the disassembly process or remove it if it makes the process easier for you. Keep in mind that removing the box spring may provide better access to certain parts of the bed frame during disassembly.
Once the mattress and bedding are removed, set them aside in a safe place where they won’t get damaged or dirty. By clearing the bed frame of any obstacles, you’ll have a clear workspace to disassemble the frame.
With your mattress and bedding out of the way, you’re now ready to move on to the next step: taking out the bed slats.
Step 2: Take Out the Bed Slats
After removing the mattress and bedding, the next step is to take out the bed slats. Bed slats are the horizontal boards or metal bars that provide support to the mattress. They are typically held in place by brackets or screws.
Begin by locating the brackets or screws that secure the bed slats to the frame. Depending on the design of your bed frame, there may be multiple brackets along the side rails or screws attaching the slats directly to the frame.
Using a Phillips head screwdriver or Allen wrench, loosen and remove the screws or unfasten the brackets on each side of the bed frame. If the bed slats are attached with screws, be sure to save them in a safe place for reassembly later. If the bed slats are held in place by brackets, keep the brackets together as well.
Once all the screws or brackets are removed, carefully lift and remove the bed slats from the frame. If needed, enlist the help of another person to make this task easier, especially if the slats are large or heavy.
Place the bed slats aside or lean them against a wall in a safe location where they won’t get damaged. This will ensure that they’re readily available when it’s time to reassemble the bed frame.
With the bed slats removed, you’re now ready to move on to the next step: locating and removing the bolts or screws.
Step 3: Locate and Remove the Bolts or Screws
Once the bed slats have been removed, it’s time to locate and remove the bolts or screws that hold the bed frame together. These fasteners are typically found at the corners of the frame, securing the headboard, footboard, and side rails together.
Start by examining the joints where the headboard and footboard connect to the side rails. Look for any visible screws or bolts that may be holding these components together.
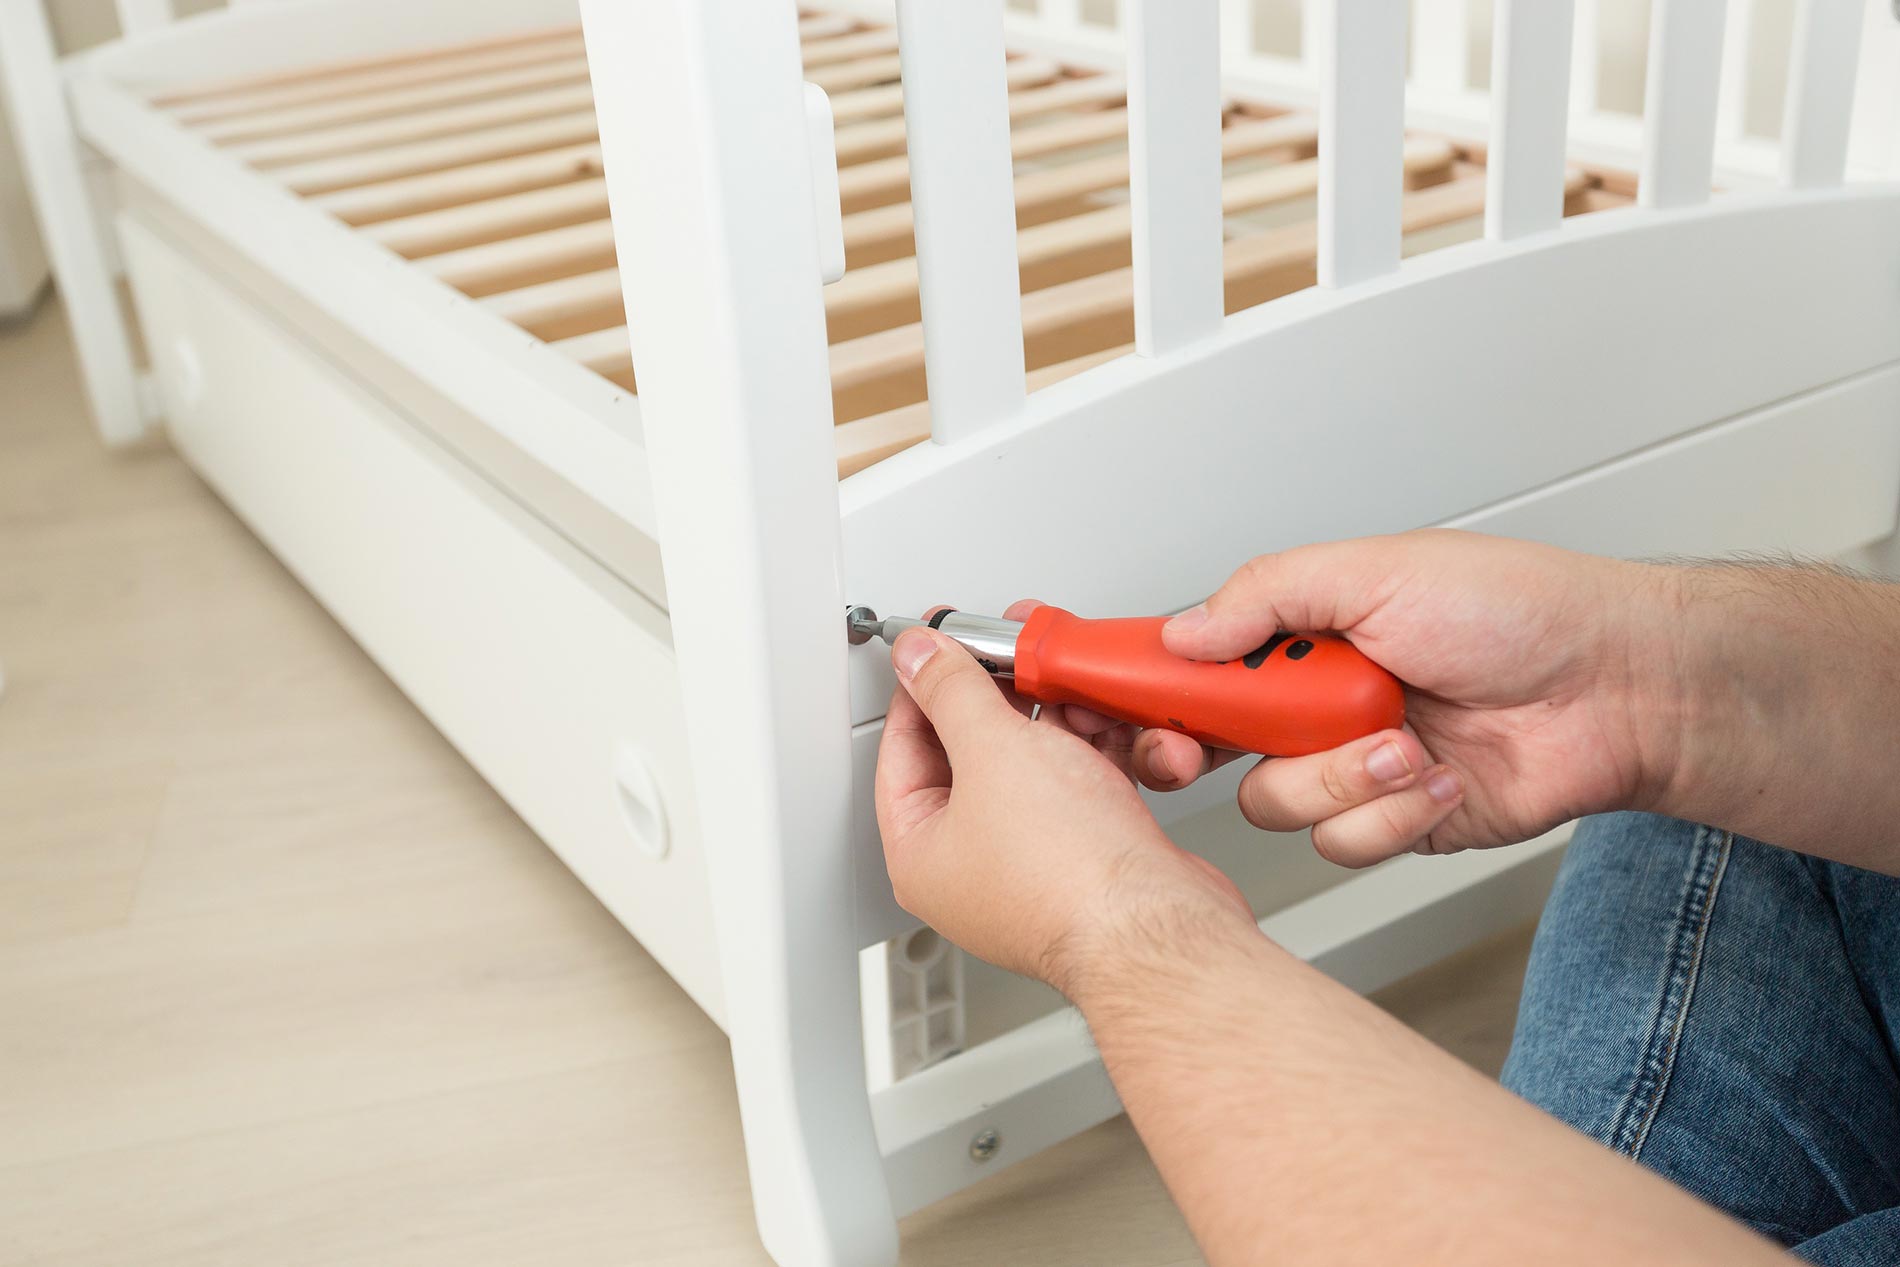
Using a Phillips head screwdriver or Allen wrench, carefully unscrew and remove the bolts or screws from each corner of the bed frame. Be sure to keep track of the hardware as you remove it, as you’ll need it for reassembly later.
If the hardware is stubborn or difficult to remove, you can try using a pair of needle-nose pliers to provide additional grip and leverage. In some cases, you may need to apply gentle pressure or tap the end of the screwdriver or wrench with a rubber mallet to loosen the screws or bolts.
As you remove the fasteners, take note of any washers or other components that may be present. Keep these parts together with the corresponding screws or bolts to ensure they don’t get misplaced.
Once all the bolts or screws have been removed, gently separate the headboard and footboard from the side rails. Set them aside in a safe place where they won’t get damaged or scratched.
With the bolts or screws removed and the headboard and footboard separated, you’re ready to proceed to the next step: detaching the side rails from the headboard and footboard.
Read more: How To Disassemble An Adjustable Bed Frame
Step 4: Disassemble the Headboard and Footboard
With the bolts or screws removed in the previous step, the next step is to disassemble the headboard and footboard from the side rails. This will allow for easier handling and storage during the disassembly process.
Start by examining the connection points between the headboard and side rails, as well as the footboard and side rails. Look for any additional screws, bolts, or brackets that may be securing these components together.
Using your Phillips head screwdriver or Allen wrench, carefully remove any screws or bolts that are holding the headboard and footboard in place. Take note of the specific hardware used for each connection point as it may differ from the bolts or screws in the previous step.
Once the screws or bolts are removed, gently separate the headboard and footboard from the side rails. Be cautious when handling these components as they can be heavy and unwieldy. Enlist the help of another person if needed to ensure safe and secure handling.
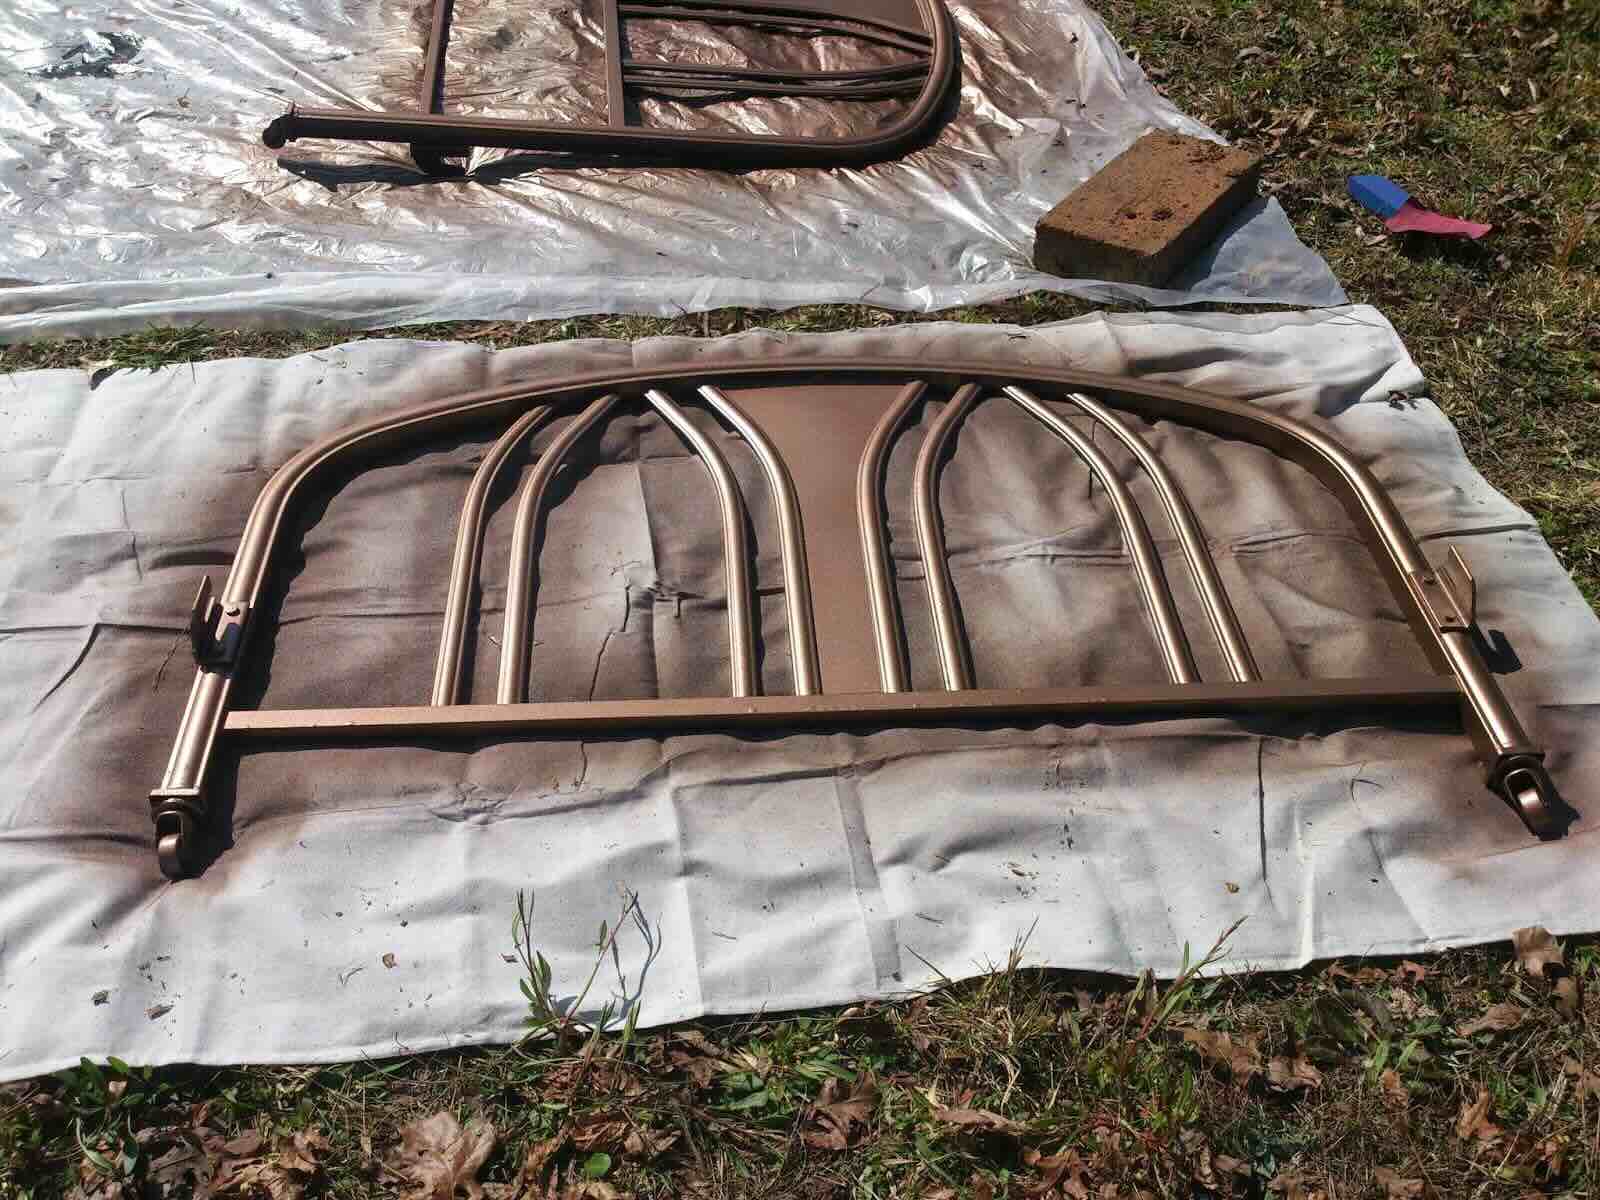
Set the headboard and footboard aside in a safe location where they won’t get damaged or scratched. If desired, you can wrap them in a protective covering such as a blanket or drop cloth to provide an extra layer of protection.
By disassembling the headboard and footboard from the side rails, you’re making it easier to handle and store these components during the remainder of the disassembly process. Now, let’s move on to the next step: detaching the side rails from the headboard and footboard.
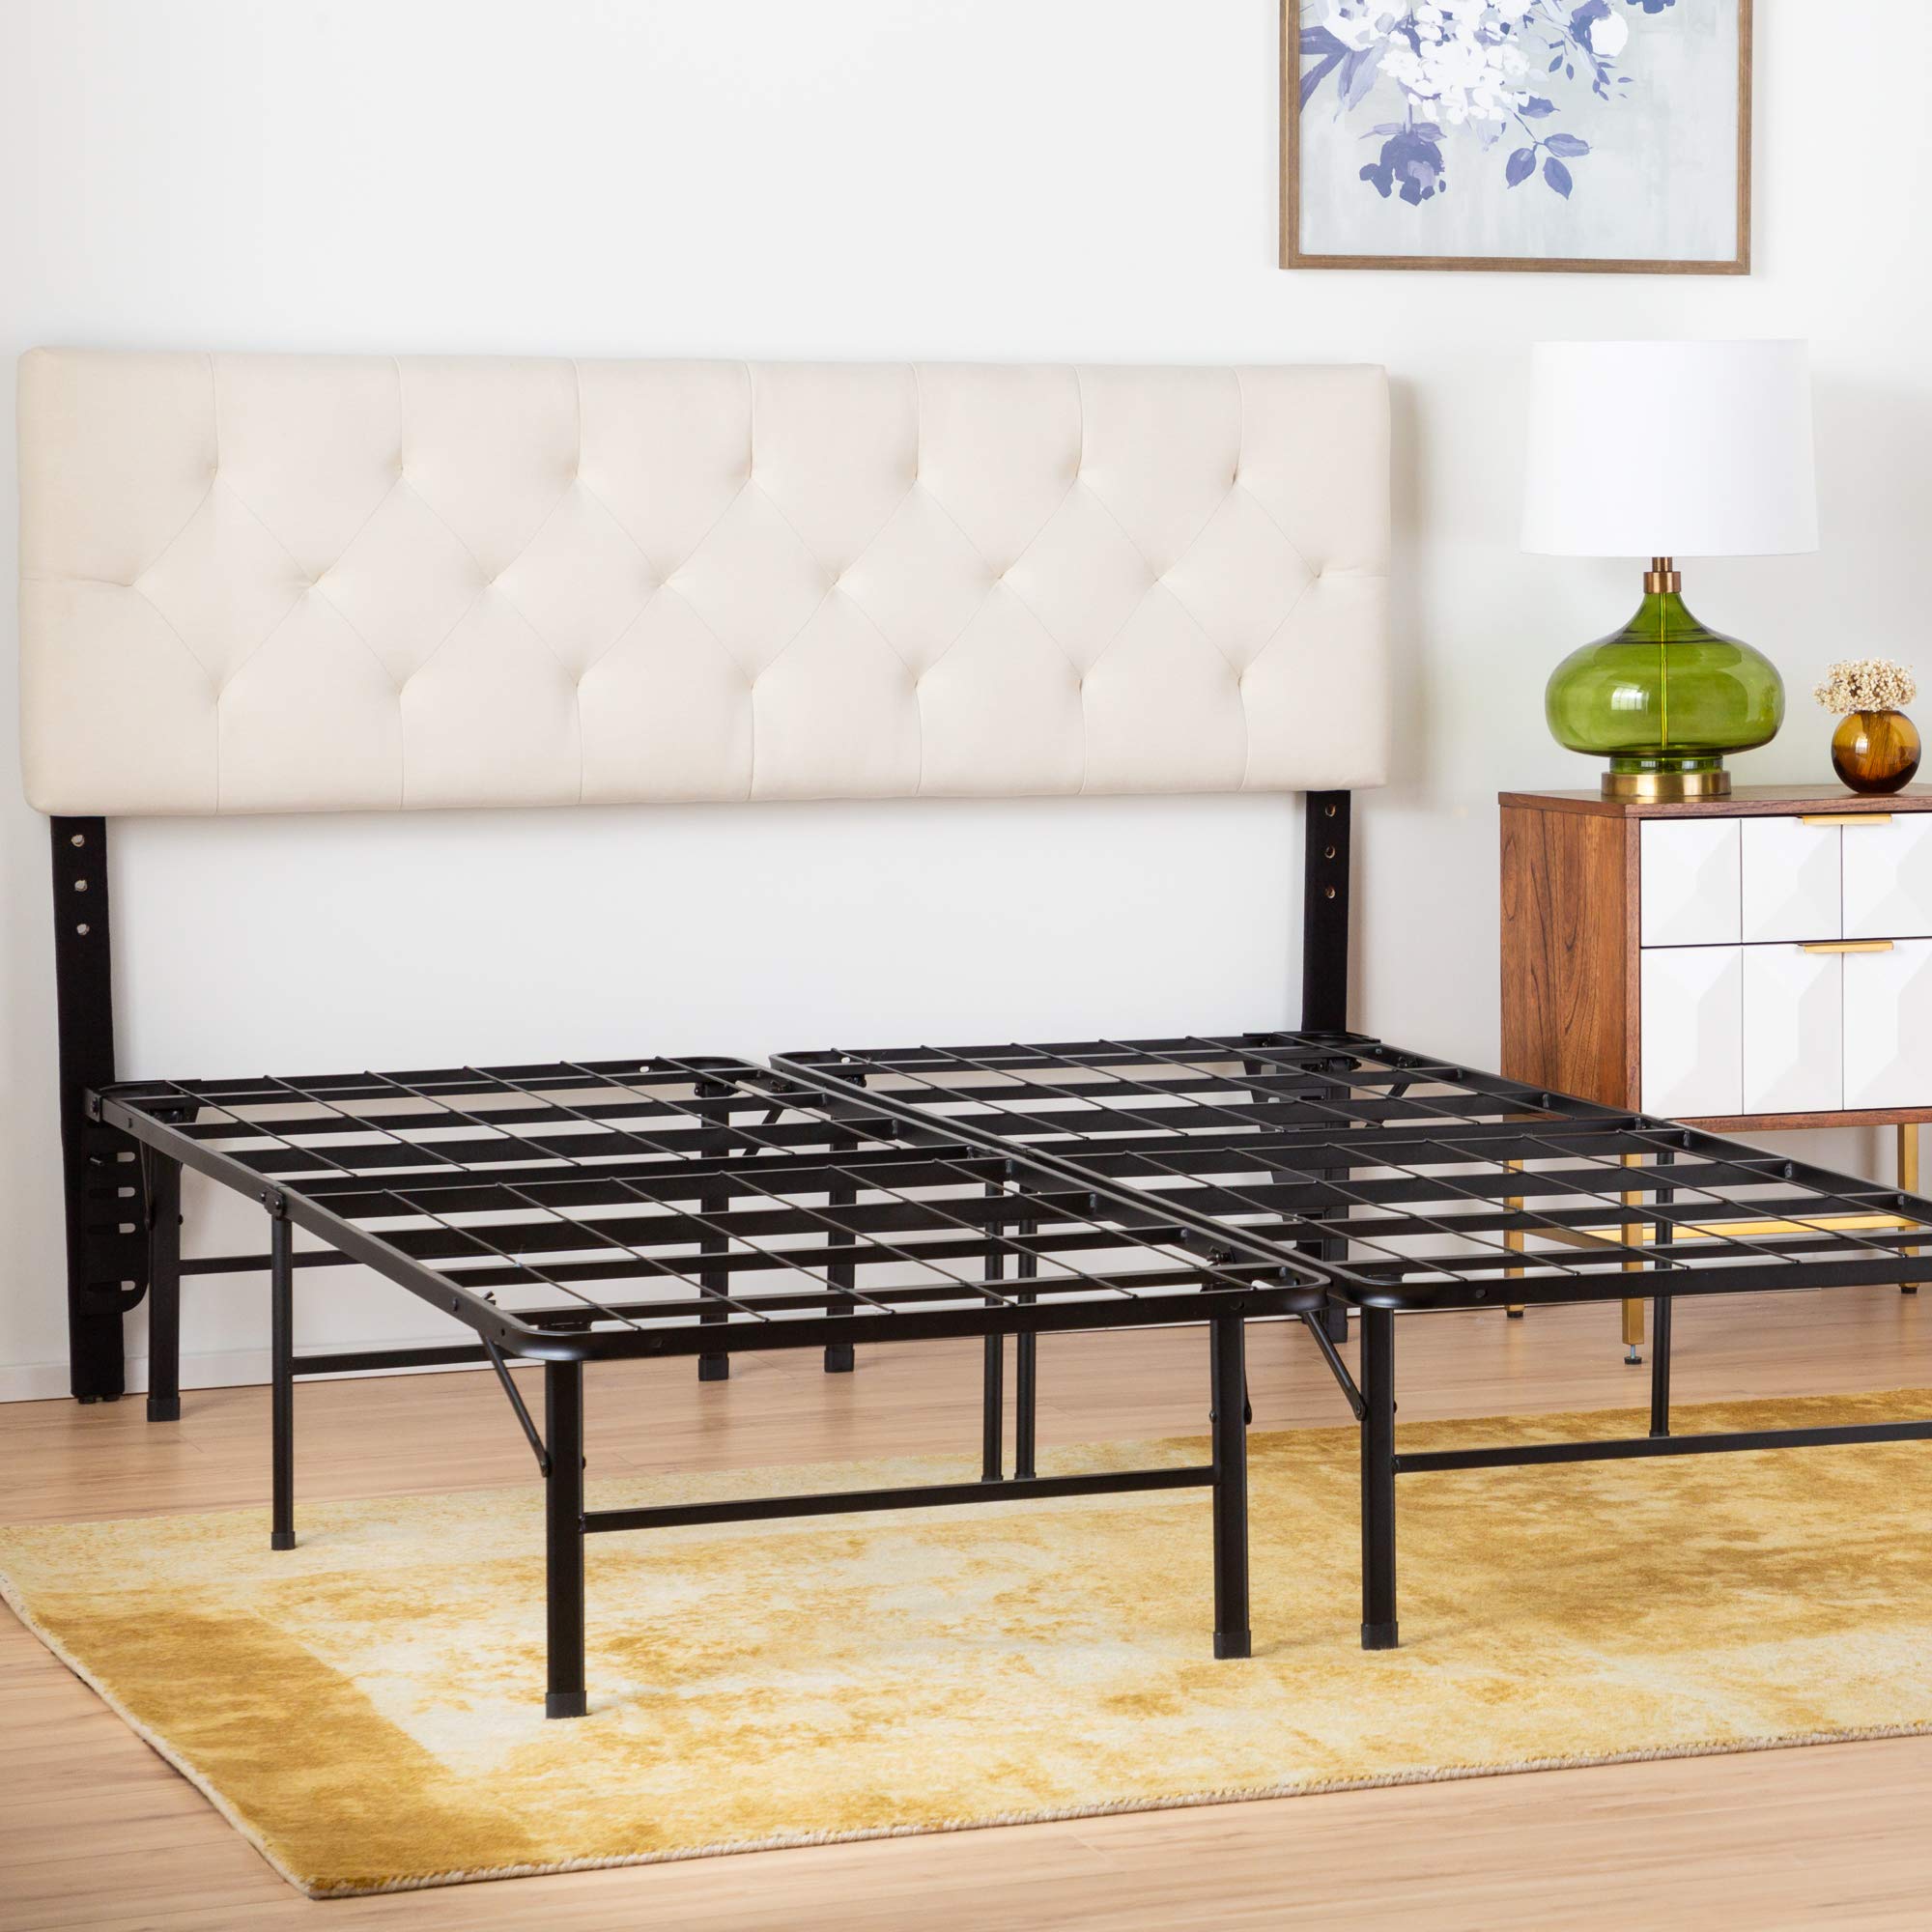
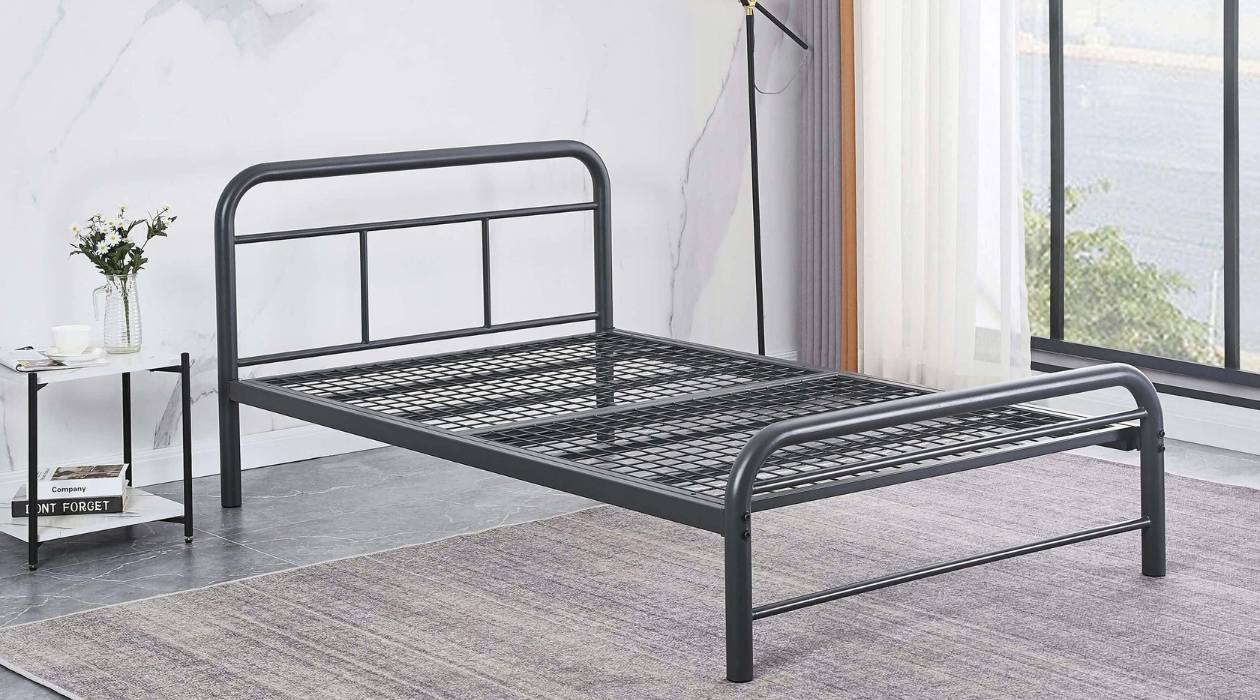
When disassembling a metal bed frame, start by removing the mattress and bedding. Then, use a wrench or screwdriver to loosen and remove the bolts and screws holding the frame together. Keep track of the hardware to make reassembly easier.
Step 5: Detach the Side Rails from the Headboard and Footboard
After disassembling the headboard and footboard from the side rails, the next step is to detach the side rails from these components. This will allow for a more manageable disassembly process and easier transportation or storage of the bed frame.
Start by locating the connection points between the side rails and the headboard and footboard. Depending on the design of your bed frame, there may be brackets, screws, or other fasteners holding them together.
Using your Phillips head screwdriver or Allen wrench, carefully remove any screws or bolts at the connection points between the side rails and the headboard and footboard. Pay attention to the specific hardware used here, as it may be different from the fasteners used in previous steps.
Once the screws or bolts are removed, gently separate the side rails from the headboard and footboard. Be cautious when handling these components, as they can be long and heavy. If needed, enlist the help of another person to ensure safe and secure handling.
With the side rails detached from the headboard and footboard, set them aside in a safe location where they won’t get damaged or scratched. Consider wrapping them in a protective covering to provide an extra layer of cushioning.
By detaching the side rails from the headboard and footboard, you’re further breaking down the bed frame into smaller components, making it easier to transport or store. Now, let’s move on to the next step: disassembling the center support (if applicable).
Step 6: Disassemble the Center Support (if applicable)
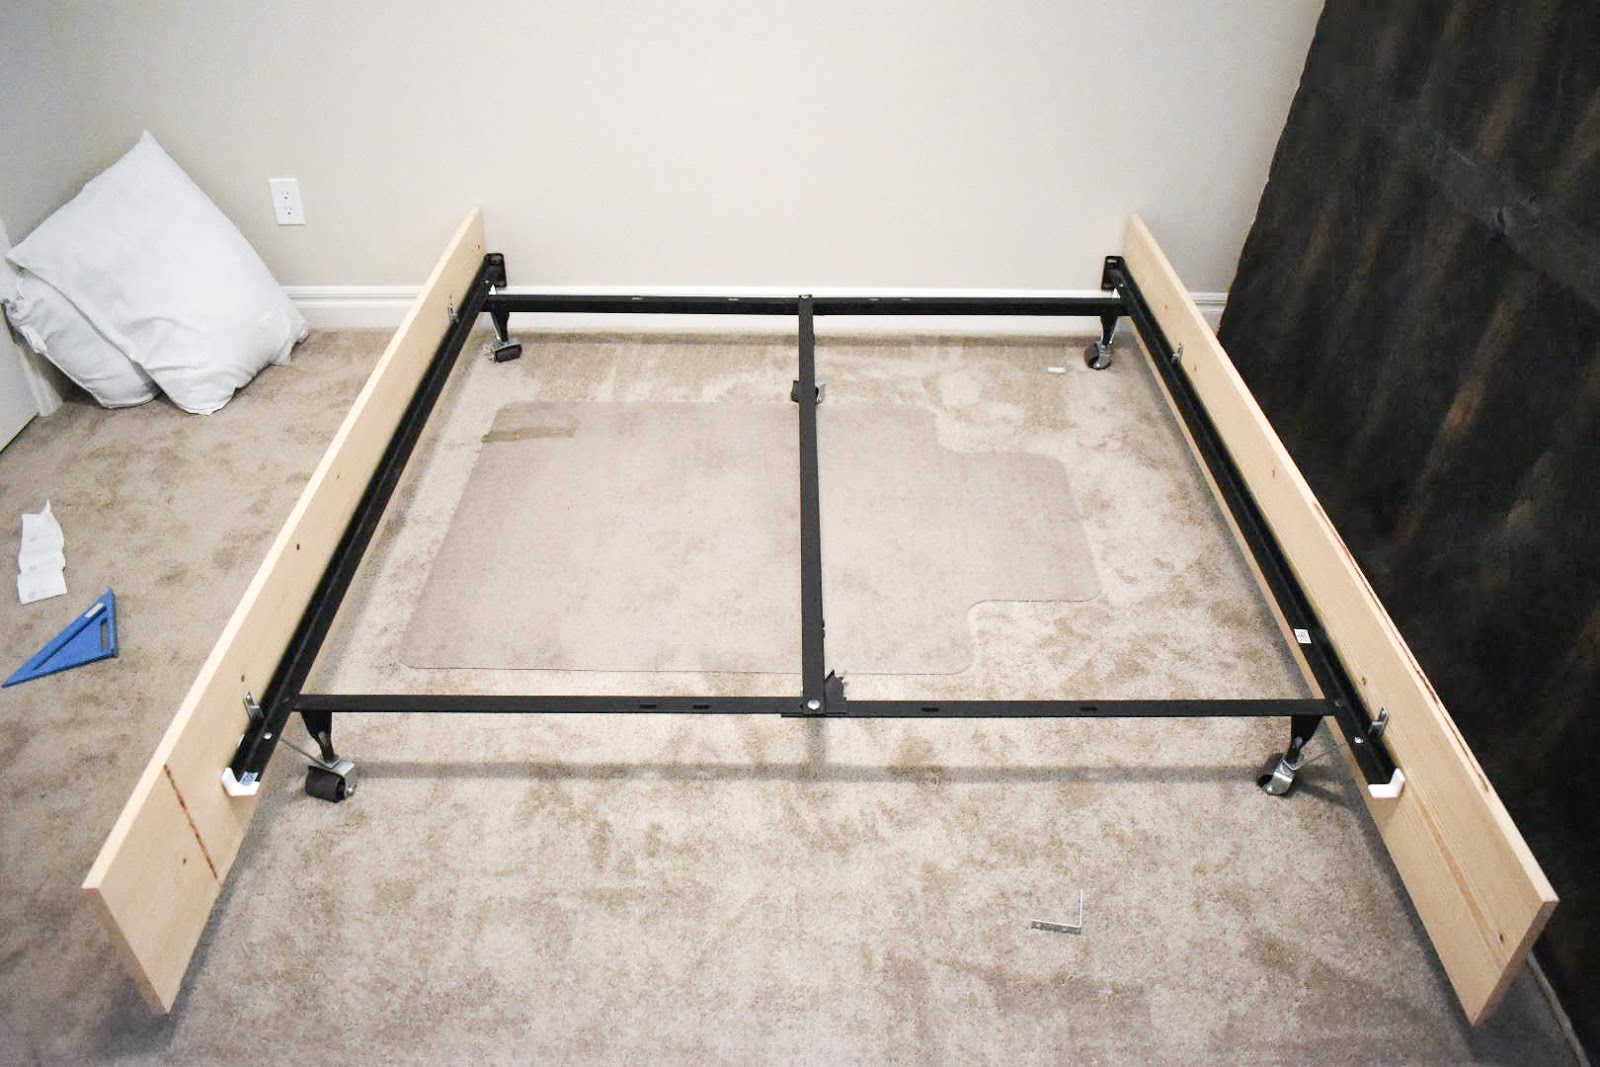
Not all metal bed frames come with a center support, but if yours does, it’s important to disassemble it properly for complete dismantling. The center support is typically a metal beam or bar that runs horizontally across the bed frame, providing additional stability and support.
Start by locating the center support beam or bar. It is usually positioned in the middle of the bed frame, parallel to the side rails.
Using your Phillips head screwdriver or Allen wrench, examine the connection points of the center support. Look for screws, bolts, or brackets that are holding it in place.
Carefully remove any screws, bolts, or brackets that are securing the center support to the bed frame. Keep track of the hardware as you remove it, so it can be easily located for reassembly if desired.
Once the fasteners are removed, gently lift and remove the center support from the bed frame. Be cautious, as it may be heavy or unwieldy. If needed, seek assistance from another person to ensure safe handling.
Set the center support aside in a safe location, away from potential damage or scratching. Consider wrapping it in a protective covering to prevent any dents or accidents during transportation or storage.
If your bed frame doesn’t have a center support or if you’ve successfully disassembled it, you can proceed to the next step: removing the legs or casters.
Step 7: Remove the Legs or Casters
As we near the completion of the disassembly process, it’s time to remove the legs or casters from your metal bed frame. These are the components that provide support and allow for easy movement of the bed frame.
Begin by examining the bottom corners of the bed frame where the legs or casters are attached. Look for any screws, bolts, or brackets that hold them in place.
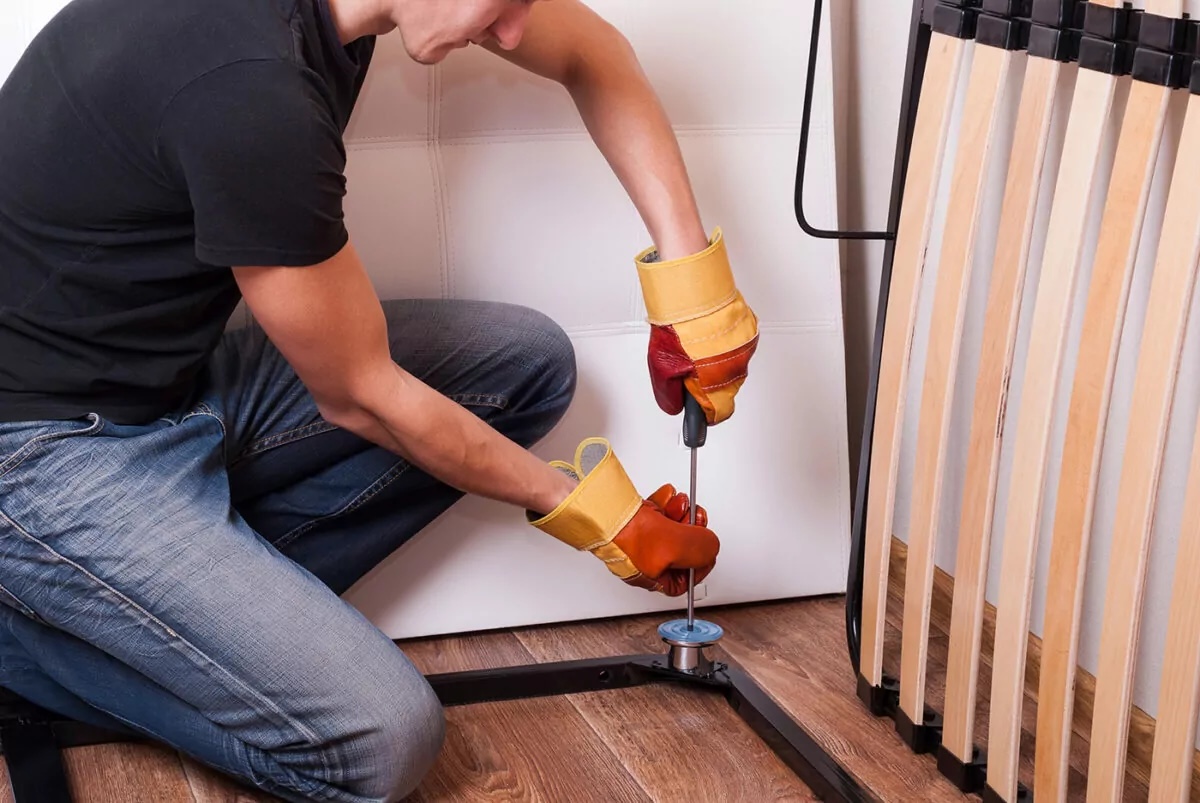
Using your Phillips head screwdriver or Allen wrench, carefully remove any screws or bolts that are securing the legs or casters to the bed frame. Take note of the specific hardware used, as it may differ from the screws or bolts in previous steps.
Once the fasteners are removed, gently detach the legs or casters from the bed frame. Depending on the design, they may simply slide off or require a slight twist or pull to release.
Set the legs or casters aside in a safe location, ensuring they won’t get lost or damaged. You can wrap them in a protective covering to prevent scratching or any potential accidents during storage or transportation.
If your bed frame doesn’t have removable legs or casters, you can skip this step and move on to the next step: cleaning and organizing the disassembled parts.
With the legs or casters removed, your metal bed frame is now fully disassembled and ready for cleaning, organizing, and potentially reassembling if needed. Let’s move on to the next step to take care of these final steps.
Read more: How To Disassemble A Zinus Bed Frame
Step 8: Clean and Organize the Disassembled Parts
Now that you’ve successfully disassembled your metal bed frame, it’s time to clean and organize the various components. This step will ensure that the parts are in good condition and ready for storage or potential reassembly in the future.
Start by cleaning each component of the bed frame. Use a mild detergent, warm water, and a soft cloth or sponge to remove any dirt, dust, or stains. Pay special attention to any intricate details or hard-to-reach areas.
Once cleaned, allow the components to dry thoroughly. You can speed up the drying process by using a clean towel or air drying them in a well-ventilated area.
As you clean each part, take the opportunity to inspect for any signs of damage or wear. Look for cracks, bends, or loose connections. If you notice any issues, consider repairing or replacing the damaged components before reassembling the bed frame.
Next, organize the disassembled parts for storage. Keep similar components together, such as placing the screws, bolts, and brackets in a labeled bag or container. This will make it easier to locate them when you need to reassemble the bed frame in the future.
If you have the original packaging or instructions for the bed frame, it’s a good idea to keep them with the disassembled parts for reference. This will provide guidance if you decide to reassemble the bed frame or if you need to transport it.
Store the disassembled bed frame components in a clean, dry, and secure location. Consider using plastic bins, large bags, or a designated area in your storage facility to ensure the parts remain protected and organized.
By cleaning and organizing the disassembled parts, you’re setting yourself up for success when it comes to storing or potentially reassembling the bed frame in the future. Now, let’s move on to the final step: reassembling the bed frame (optional).
Step 9: Reassemble the Bed Frame (Optional)
If you’re planning to use your metal bed frame again, or if you’re moving to a new location and need to reassemble it, you can follow these steps to put the bed frame back together:
- Start by locating all the disassembled components, including the headboard, footboard, side rails, bed slats, center support (if applicable), and legs or casters.
- Refer to the original packaging or instruction manual, if available, to ensure you understand the proper assembly method. If there are no instructions, follow these general steps:
- Attach the side rails to the headboard and footboard, aligning the holes or brackets.
- Secure the side rails to the headboard and footboard using the appropriate screws or bolts.
- If your bed frame has a center support, position it in the designated area on the side rails, aligning the holes or brackets.
- Secure the center support to the side rails using the appropriate hardware.
- Place the bed slats evenly across the side rails, ensuring they are properly supported and aligned.
- If applicable, reattach the legs or casters to the designated locations on the bed frame.
- Tighten all screws, bolts, or brackets to ensure a secure and sturdy assembly.
Take your time during the reassembly process and double-check that all components are properly aligned and fastened. If you encounter any difficulties or have questions, consult the manufacturer’s instructions or seek assistance from a professional.
Once the bed frame is reassembled, place the mattress back on top and attach any additional bedding, such as bed sheets and blankets. Make sure everything is properly arranged and secure before use.
Remember, reassembling the bed frame is optional, and you may choose to keep the components disassembled for storage or other purposes. If you decide to reassemble the bed frame in the future, simply follow these steps in reverse order.
With the bed frame reassembled (or kept disassembled for storage), you’ve successfully completed the process of disassembling and potentially reassembling your metal bed frame. Congratulate yourself on a job well done!
Conclusion
Disassembling a metal bed frame doesn’t have to be a daunting task. By following the step-by-step process outlined in this guide and having the right tools and materials on hand, you can easily dismantle your bed frame for various reasons such as moving, cleaning, or upgrading.
Throughout the disassembly process, it’s important to prioritize safety and take proper precautions. Use protective gloves to avoid injuries and lift heavy components with care. If needed, seek assistance from a friend or family member to make the process easier and safer.
Remember to keep track of all the screws, bolts, brackets, and other hardware you remove during disassembly. Organize them in a secure place or label them for quick and easy retrieval when it’s time to reassemble the bed frame or if you need to make any repairs.
Cleaning and inspecting the disassembled parts after disassembly is key to maintaining the longevity and functionality of your bed frame. Cleaning removes dirt and grime, while inspecting allows you to identify and address any potential issues before reassembly or storage.
Reassembling the bed frame is optional, but if you choose to do so, refer to the original packaging or instructions for proper guidance. Take your time and ensure all components are securely fastened to guarantee a stable and comfortable bed once again.
Whether you’re disassembling and storing your bed frame or preparing for its reassembly in a new location, proper organization and careful handling will ensure a smooth process from start to finish.
By following the steps outlined in this guide and incorporating your own creativity and touch, you’ll be able to disassemble and potentially reassemble your metal bed frame with ease. Enjoy the convenience and flexibility that comes with mastering this skill!
Now that you've mastered disassembling your metal bed frame, why stop there? Our next features will keep your bedroom makeover moving smoothly. Discover chic and sturdy options in our roundup of top metal bed frames, perfect for revitalizing your sleeping space. Or, if you're feeling more hands-on, check out unique and straightforward DIY bed frame designs that'll add a personal touch to your room without breaking a sweat. Both guides offer practical tips and creative ideas to ensure your bedroom is as stylish as it is comfortable.
Frequently Asked Questions about How To Disassemble A Metal Bed Frame
Was this page helpful?
At Storables.com, we guarantee accurate and reliable information. Our content, validated by Expert Board Contributors, is crafted following stringent Editorial Policies. We're committed to providing you with well-researched, expert-backed insights for all your informational needs.






0 thoughts on “How To Disassemble A Metal Bed Frame”