Home>Furniture>Bedroom Furniture>How To Disassemble A Wooden Bed Frame
Bedroom Furniture
How To Disassemble A Wooden Bed Frame
Modified: February 24, 2024
Learn how to easily disassemble a wooden bed frame with our step-by-step guide. Perfect for anyone looking to rearrange or transport their bedroom furniture.
(Many of the links in this article redirect to a specific reviewed product. Your purchase of these products through affiliate links helps to generate commission for Storables.com, at no extra cost. Learn more)
Introduction
When it comes to bedroom furniture, a wooden bed frame is a classic and timeless choice. However, there may be instances when you need to disassemble your bed frame. Whether you’re moving to a new home, rearranging furniture, or simply need to store your bed frame temporarily, knowing how to disassemble it properly is essential to ensure its longevity and ease of reassembly.
Disassembling a wooden bed frame may seem like a daunting task, but with the right tools and a step-by-step approach, it can be a straightforward process. In this article, we will guide you through the necessary steps to disassemble a wooden bed frame, providing you with the knowledge and confidence to tackle this task efficiently.
Before we jump into the disassembly process, let’s make sure you have the necessary tools and materials on hand:
Key Takeaways:
- Proper disassembly and storage of a wooden bed frame is essential for its longevity and ease of reassembly. With the right tools and careful handling, you can maintain and care for your bed frame, preserving its beauty for years to come.
- Before disassembling a wooden bed frame, gather the necessary tools and materials, remove the mattress and bedding, and take apart the headboard, footboard, side rails, and support slats. Clean and protect the components before storing them in a suitable location for seamless reassembly.
Read more: How To Disassemble A Bed Frame
Tools and Materials Needed
- Phillips head screwdriver
- Flathead screwdriver
- Allen wrench
- Hammer
- Ziplock bags or small containers for storing hardware
- Masking tape or colored labels (optional)
Now that you’re equipped with the right tools, let’s dive into the disassembly process.
Key Takeaways:
- Proper disassembly and storage of a wooden bed frame is essential for its longevity and ease of reassembly. With the right tools and careful handling, you can maintain and care for your bed frame, preserving its beauty for years to come.
- Before disassembling a wooden bed frame, gather the necessary tools and materials, remove the mattress and bedding, and take apart the headboard, footboard, side rails, and support slats. Clean and protect the components before storing them in a suitable location for seamless reassembly.
Read more: How To Disassemble A Bed Frame
Tools and Materials Needed
Before you start disassembling your wooden bed frame, it’s important to gather the necessary tools and materials. Having these items on hand will make the process smoother and more efficient. Here’s a list of what you’ll need:
- Phillips head screwdriver: This screwdriver will come in handy for removing screws, particularly if your bed frame has metal brackets or screws.
- Flathead screwdriver: Similar to the Phillips head screwdriver, a flathead screwdriver is useful for removing screws or prying apart pieces of the bed frame.
- Allen wrench: Some bed frames, especially platform beds, may require an Allen wrench for specific connections. Make sure you have the correct sized Allen wrench for your bed frame.
- Hammer: A hammer can be useful for gently tapping or dislodging stubborn pieces of the bed frame.
- Ziplock bags or small containers: Use these to store all the screws, bolts, and other hardware you remove during the disassembly process. Label each bag or container accordingly to make reassembly easier.
- Masking tape or colored labels (optional): If you want to be extra organized, you can use masking tape or colored labels to mark each piece of the bed frame as you disassemble it. This will help you identify which parts go where during reassembly.
Gathering these tools and materials before you start disassembling your bed frame will save you time and prevent frustration. Having everything within reach will make the process more efficient and ensure that you can safely take apart your wooden bed frame.
Step 1: Remove the mattress and bedding
Before you can begin the disassembly process, it’s essential to remove the mattress and bedding from your wooden bed frame. This step will make it easier to access and disassemble the various components of the bed frame.
Follow these steps to remove the mattress and bedding:
- Start by removing all pillows, sheets, blankets, and any other bedding on top of the mattress.
- Carefully lift and remove the mattress from the bed frame. Enlist the help of another person if the mattress is heavy or bulky.
- Once the mattress is removed, inspect the bed frame to ensure there are no loose items or obstructions. Clear away any debris or objects that could interfere with the disassembly process.
By removing the mattress and bedding, you’ll have a clear workspace to disassemble the bed frame without any obstacles. Store the mattress and bedding in a safe and clean location until you’re ready to reassemble your bed frame.
Keep the hardware and tools you gathered within reach, as you’ll need them in the following steps. With a clear workspace and the necessary equipment at hand, you’re now ready to proceed to the next step of disassembling your wooden bed frame.
Step 2: Unscrew and Detach the Headboard
Now that you have successfully removed the mattress and bedding, it’s time to focus on disassembling the headboard of your wooden bed frame. The headboard is typically attached to the side and/or footboards through screws or bolts. Follow these steps to unscrew and detach the headboard:
- Locate the screws or bolts that secure the headboard to the side and/or footboards.
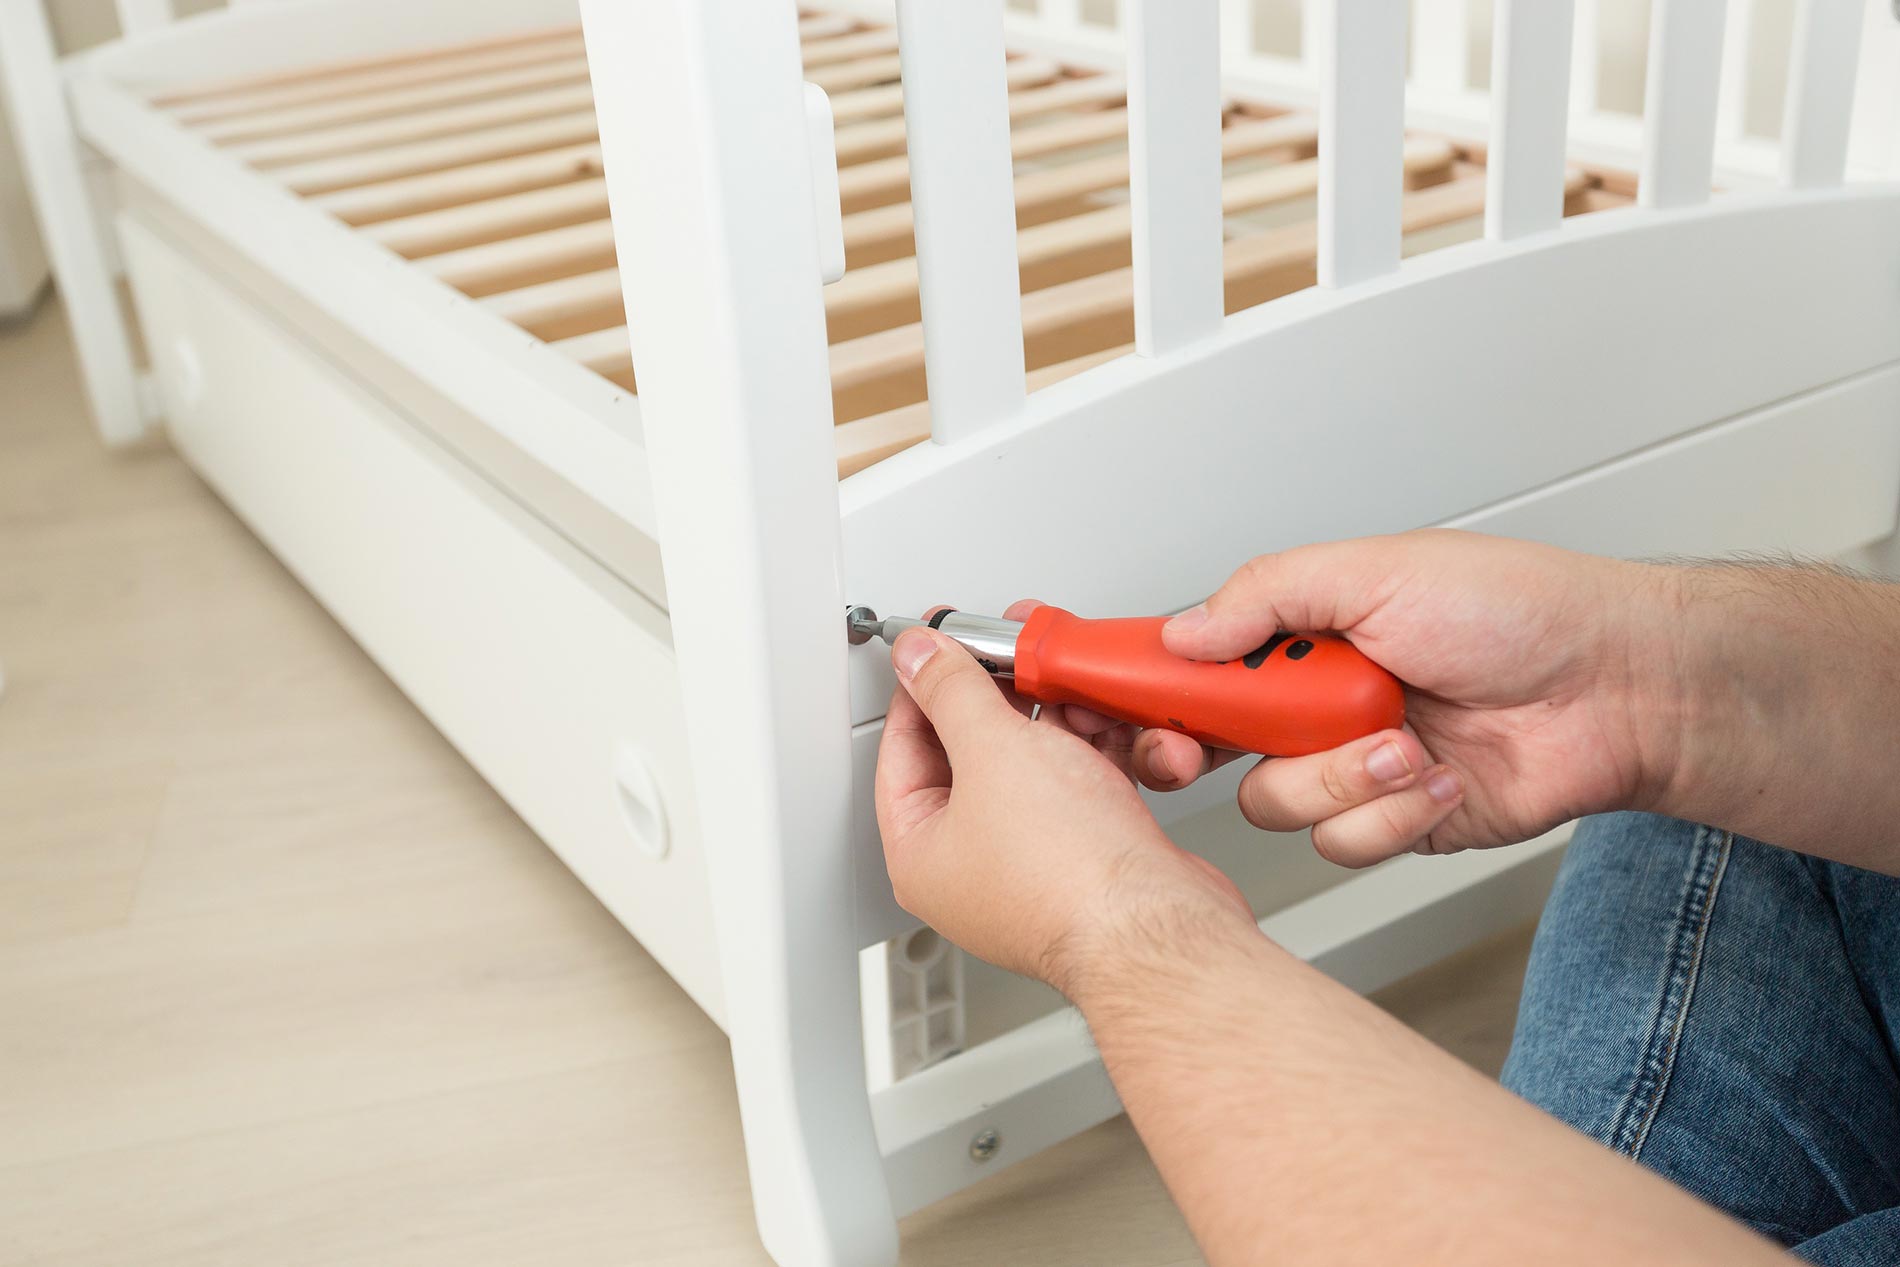
- Using the appropriate screwdriver or wrench, carefully unscrew or loosen the screws or bolts. Pay close attention to how the headboard is connected to ensure a smooth reassembly process later.
- As you remove the screws or bolts, enlist the help of another person to hold the headboard steady and prevent it from falling or getting damaged.
- Once all the screws or bolts are removed, gently lift the headboard away from the rest of the bed frame.
- Set the headboard aside in a safe location, making sure to protect it from any potential scratches or damage.
It’s crucial to handle the headboard with care during the disassembly process to avoid any accidental damage. Taking your time and enlisting the help of another person will ensure a smooth and successful removal of the headboard.
Remember to keep the screws, bolts, and other hardware in a labeled bag or container to prevent them from getting lost. Properly storing the hardware will make the reassembly process much easier.
With the headboard detached, you’re ready to move on to the next step of disassembling your wooden bed frame.
When disassembling a wooden bed frame, start by removing the mattress and bedding. Then, use a screwdriver or Allen wrench to loosen and remove the bolts or screws holding the frame together. Keep track of the hardware to make reassembly easier.
Read more: How To Disassemble An Adjustable Bed Frame
Step 3: Remove the Footboard
After successfully detaching the headboard, it’s time to focus on removing the footboard of your wooden bed frame. The footboard is typically connected to the side rails through screws or bolts, similar to the headboard. Follow these steps to remove the footboard:
- Locate the screws or bolts that secure the footboard to the side rails.
- Using the appropriate screwdriver or wrench, carefully unscrew or loosen the screws or bolts. Take note of the specific connections and hardware used to ensure a smooth reassembly process later.
- Enlist the help of another person to hold the footboard steady as you remove the screws or bolts to prevent any unexpected movement or damage.
- Once all the screws or bolts are removed, gently lift the footboard away from the side rails.
- Set the footboard aside in a safe location, ensuring it is protected from any potential scratches or damage.
Handle the footboard with care to avoid any accidental damage during the removal process. It’s important to take your time and enlist the help of another person if needed to ensure a smooth and successful removal of the footboard.
As you did with the headboard, store the screws, bolts, and other hardware in a labeled bag or container to keep them organized and prevent loss. Keeping track of the hardware will make the reassembly process much easier later on.
With the footboard removed, you’re now ready to proceed to the next step of disassembling your wooden bed frame.
Step 4: Take Apart the Side Rails
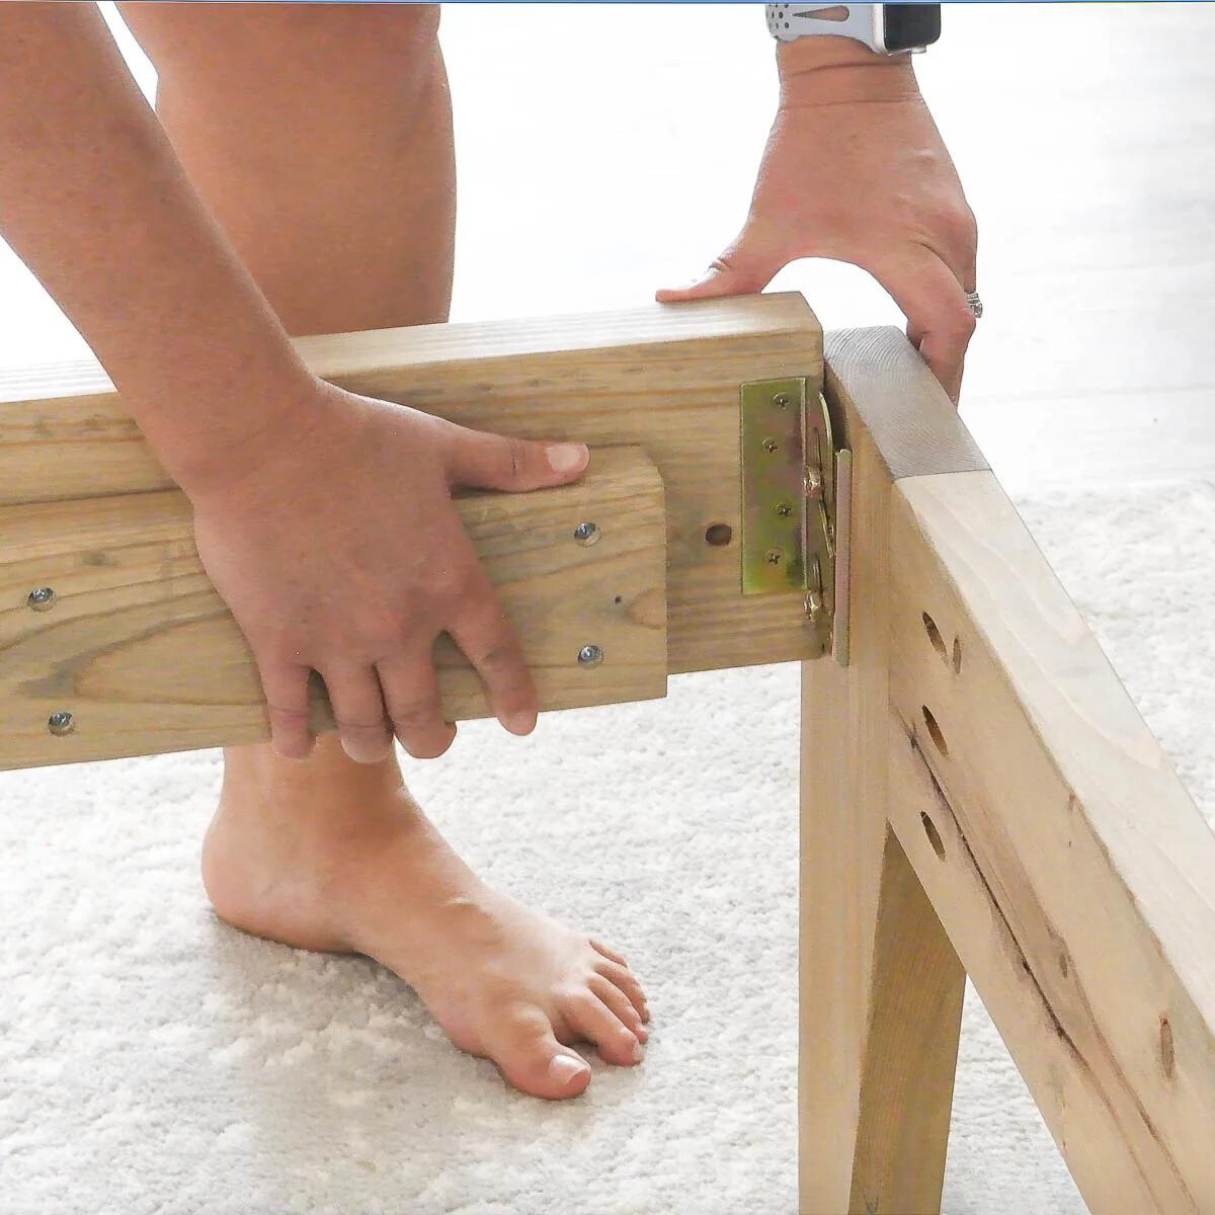
With the headboard and footboard successfully removed, the next step in disassembling your wooden bed frame is to take apart the side rails. The side rails are usually connected to the headboard and footboard with screws or brackets. Follow these steps to dismantle the side rails:
- Inspect the side rails to locate the screws or brackets that secure them to the headboard and footboard.
- Using the appropriate screwdriver or wrench, carefully unscrew or loosen the screws or remove the brackets holding the side rails in place.
- As you detach the side rails from the headboard and footboard, it’s helpful to have another person provide support to prevent any accidental damage and ensure a smooth disassembly process.
- Once all the screws or brackets are removed, gently slide the side rails away from the headboard and footboard.
- Set the side rails aside in a safe location, taking care to protect them from any potential scratches or damage.
As you disassemble the side rails, be cautious not to force or apply excessive pressure that could cause damage. Take your time and make sure all the screws or brackets are completely removed before attempting to move the side rails.
Just like with the headboard and footboard, store the screws, brackets, and other hardware in a labeled bag or container. Keeping them organized will simplify the reassembly process once you’re ready to put your bed frame back together.
With the side rails removed, you’re now ready to proceed to the next step of disassembling your wooden bed frame.
Step 5: Disassemble the Support Slats or Platform
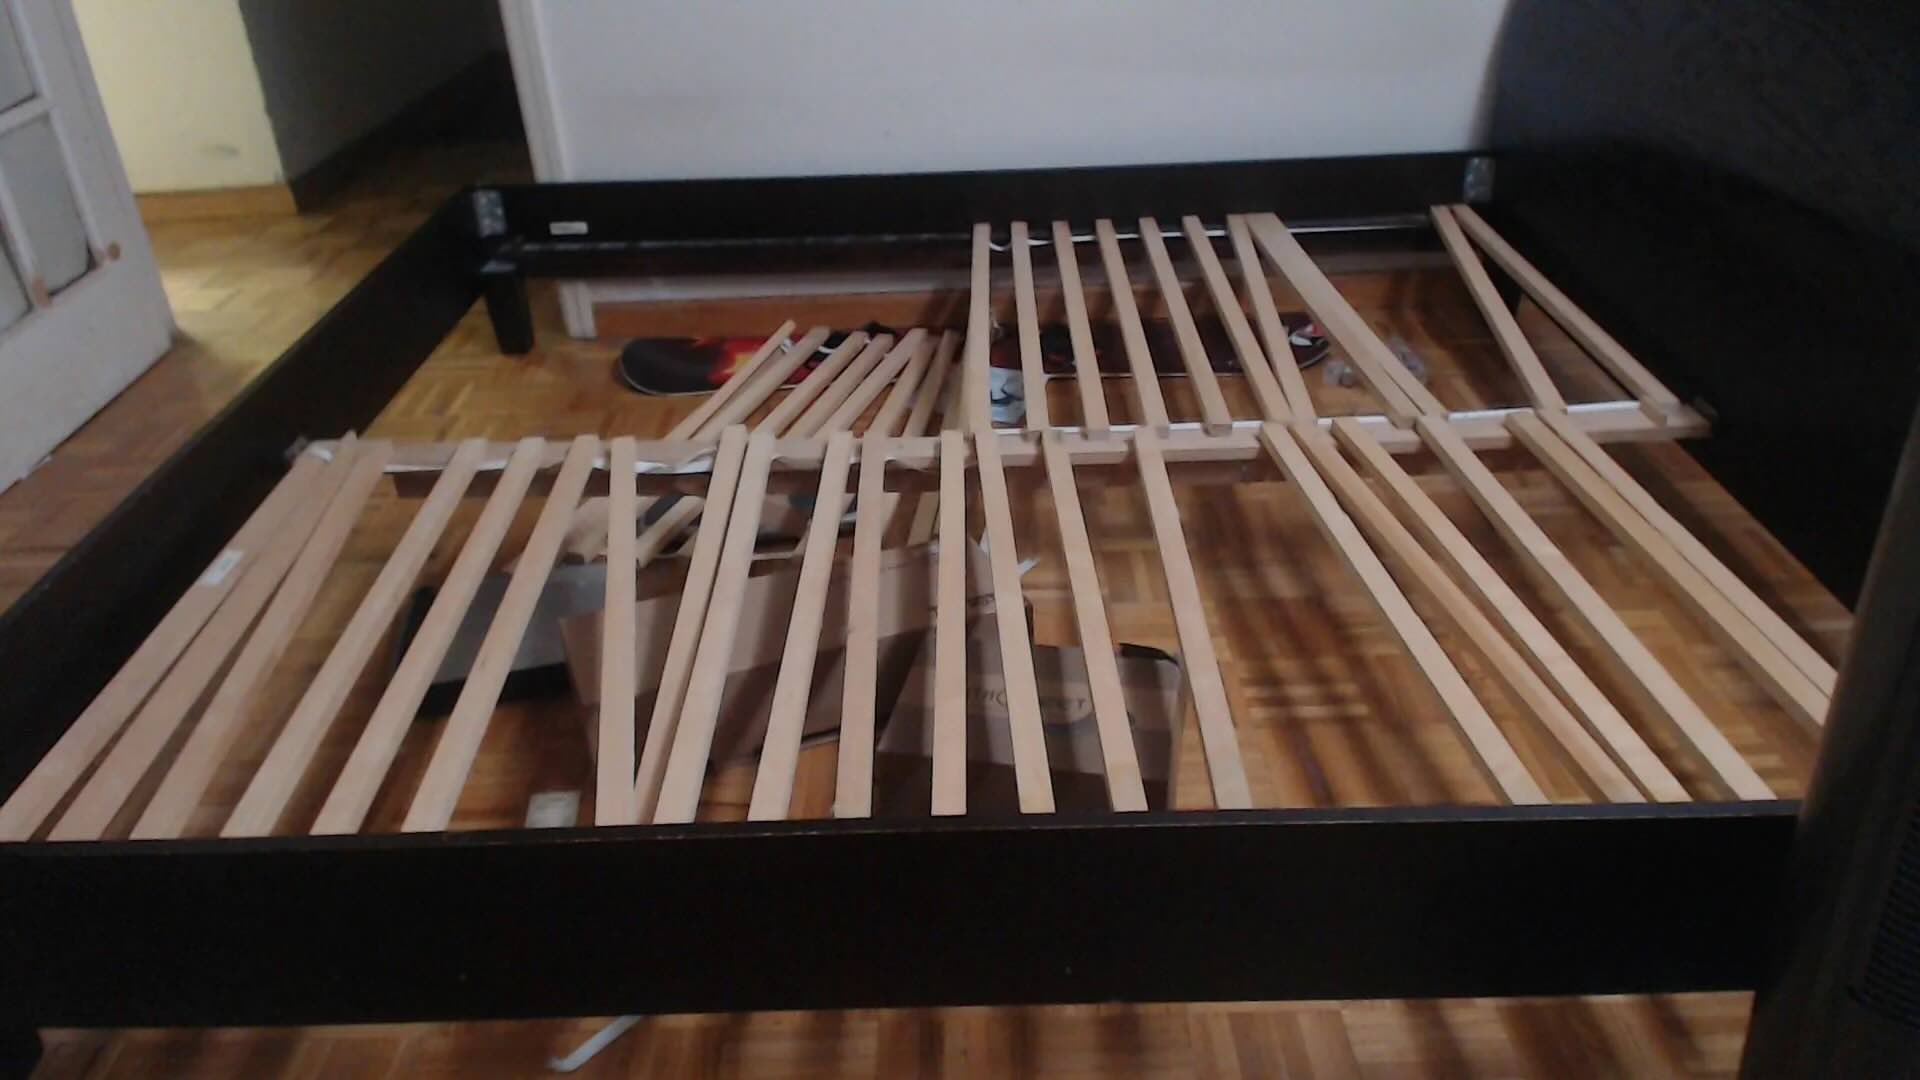
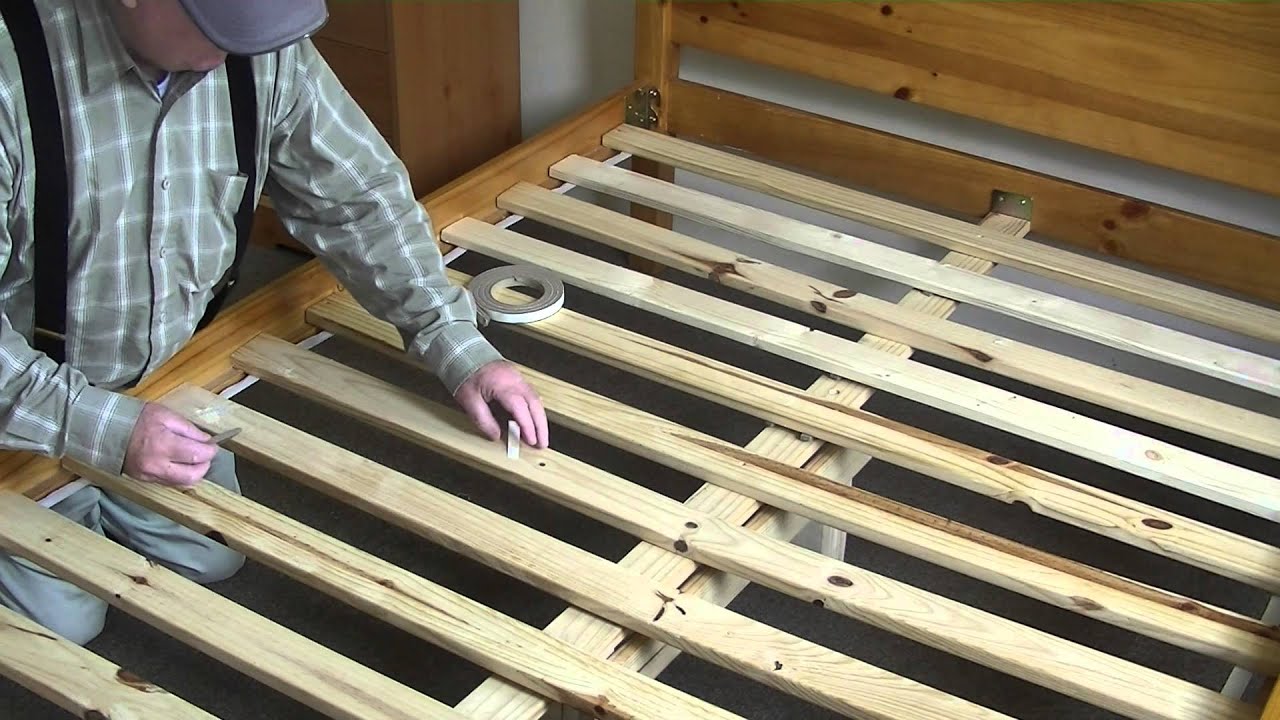
As you near the final stages of disassembling your wooden bed frame, it’s time to focus on the support slats or platform. These components provide stability and support for your mattress. The method of disassembly will depend on the specific design of your bed frame. Follow these steps to disassemble the support slats or platform:
- If your bed frame has support slats, start by locating the screws or brackets that secure them to the side rails.
- Using the appropriate screwdriver or wrench, carefully unscrew or remove any brackets holding the support slats in place.
- Gently lift the support slats out of the bed frame and set them aside.
- If your bed frame has a platform, check for any screws, brackets, or other fasteners that hold it in place.
- Using the appropriate tools, carefully remove these fasteners to disassemble the platform.
- If necessary, enlist the help of another person to safely lift and remove the platform from the bed frame.
As you disassemble the support slats or platform, it’s important to handle them with care to avoid any damage. If you come across any screws or brackets that are particularly tight or stubborn, you can use a gentle tapping motion with a hammer to help loosen them.
Once you have removed the support slats or platform, store them in a safe location until you’re ready to reassemble your bed frame.
With the support slats or platform disassembled, you’re now ready to move on to the final steps of cleaning and storing your wooden bed frame.
Step 6: Cleaning and Storage Tips
Now that you have successfully disassembled your wooden bed frame, it’s important to take proper care of the components before storing them. Follow these cleaning and storage tips to ensure the longevity of your bed frame:
- Clean the components: Before storing, wipe down all the components of the bed frame to remove any dust or debris. Use a mild cleaner or a mixture of water and gentle soap to clean any stubborn stains or dirt. Allow the components to dry completely before proceeding to the next step.
- Protect the components: To prevent any scratches or damage during storage, consider wrapping each component individually in a soft cloth or blanket. Alternatively, you can use foam padding or bubble wrap to provide extra protection.
- Organize and label: Keep all the screws, bolts, and other hardware in a labeled bag or container. This will ensure that you can easily find the necessary pieces when it’s time to reassemble the bed frame. If you disassembled different parts of the bed frame separately, consider labeling them to make reassembly even easier.
- Choose a suitable storage location: Find a clean, dry, and temperature-controlled area for storing your disassembled bed frame. Avoid areas that are prone to moisture or extreme temperatures, as this can cause damage to the wood. Ideally, store the components in an upright position to save space.
- Keep the hardware with the components: It’s important to store the bag or container of hardware with the other bed frame components. This way, everything you need for reassembly will be in one place.
- Take note of the assembly process: Before you start packing away your bed frame, take photos or make notes of the assembly process. This will be helpful when it’s time to put your bed frame back together.
By following these cleaning and storage tips, you can ensure that your wooden bed frame remains in good condition during storage and is ready to be reassembled whenever needed.
With these steps completed, you have successfully disassembled and prepared your wooden bed frame for storage or transportation. When the time comes to reassemble your bed frame, refer back to your notes or photos to simplify the process. Take your time and approach the reassembly with the same care and attention to detail as the disassembly.
Remember, proper disassembly and storage will extend the lifespan and preserve the beauty of your wooden bed frame for years to come.
Read more: How To Disassemble A Zinus Bed Frame
Conclusion
Disassembling a wooden bed frame may seem like a daunting task, but with the right tools, careful planning, and attention to detail, it can be a straightforward and manageable process. By following the step-by-step guide provided in this article, you have gained the knowledge and confidence to disassemble your bed frame properly.
Remember to start by removing the mattress and bedding, followed by the headboard, footboard, side rails, and support slats or platform. Take your time and be careful when handling the components to avoid any accidental damage. Store all the screws, bolts, and other hardware in a labeled bag or container to keep them organized for seamless reassembly.
Additionally, cleaning and protecting the components before storage is crucial for maintaining the longevity and appearance of your wooden bed frame. Find a suitable storage location that is clean, dry, and temperature-controlled to ensure the components are well-preserved.
When the time comes to reassemble your bed frame, consult any notes or photos you took during the disassembly process to make the reassembly smoother and easier. Take your time and follow the reverse steps to ensure all the components fit together correctly.
By disassembling your wooden bed frame properly and taking the necessary precautions for storage, you can not only ensure its longevity but also make moving or rearranging furniture a breeze. With your newfound knowledge, you have the power to maintain and care for your wooden bed frame, enhancing its lifespan and preserving its beauty for years to come.
Frequently Asked Questions about How To Disassemble A Wooden Bed Frame
Was this page helpful?
At Storables.com, we guarantee accurate and reliable information. Our content, validated by Expert Board Contributors, is crafted following stringent Editorial Policies. We're committed to providing you with well-researched, expert-backed insights for all your informational needs.


0 thoughts on “How To Disassemble A Wooden Bed Frame”