Home>Furniture>Bedroom Furniture>How To Dry Out A Mattress
Bedroom Furniture
How To Dry Out A Mattress
Modified: October 21, 2024
Learn how to effectively dry out a mattress in your bedroom with our easy-to-follow tips and tricks. Preserve the quality of your bedroom furniture with our expert advice.
(Many of the links in this article redirect to a specific reviewed product. Your purchase of these products through affiliate links helps to generate commission for Storables.com, at no extra cost. Learn more)
Introduction
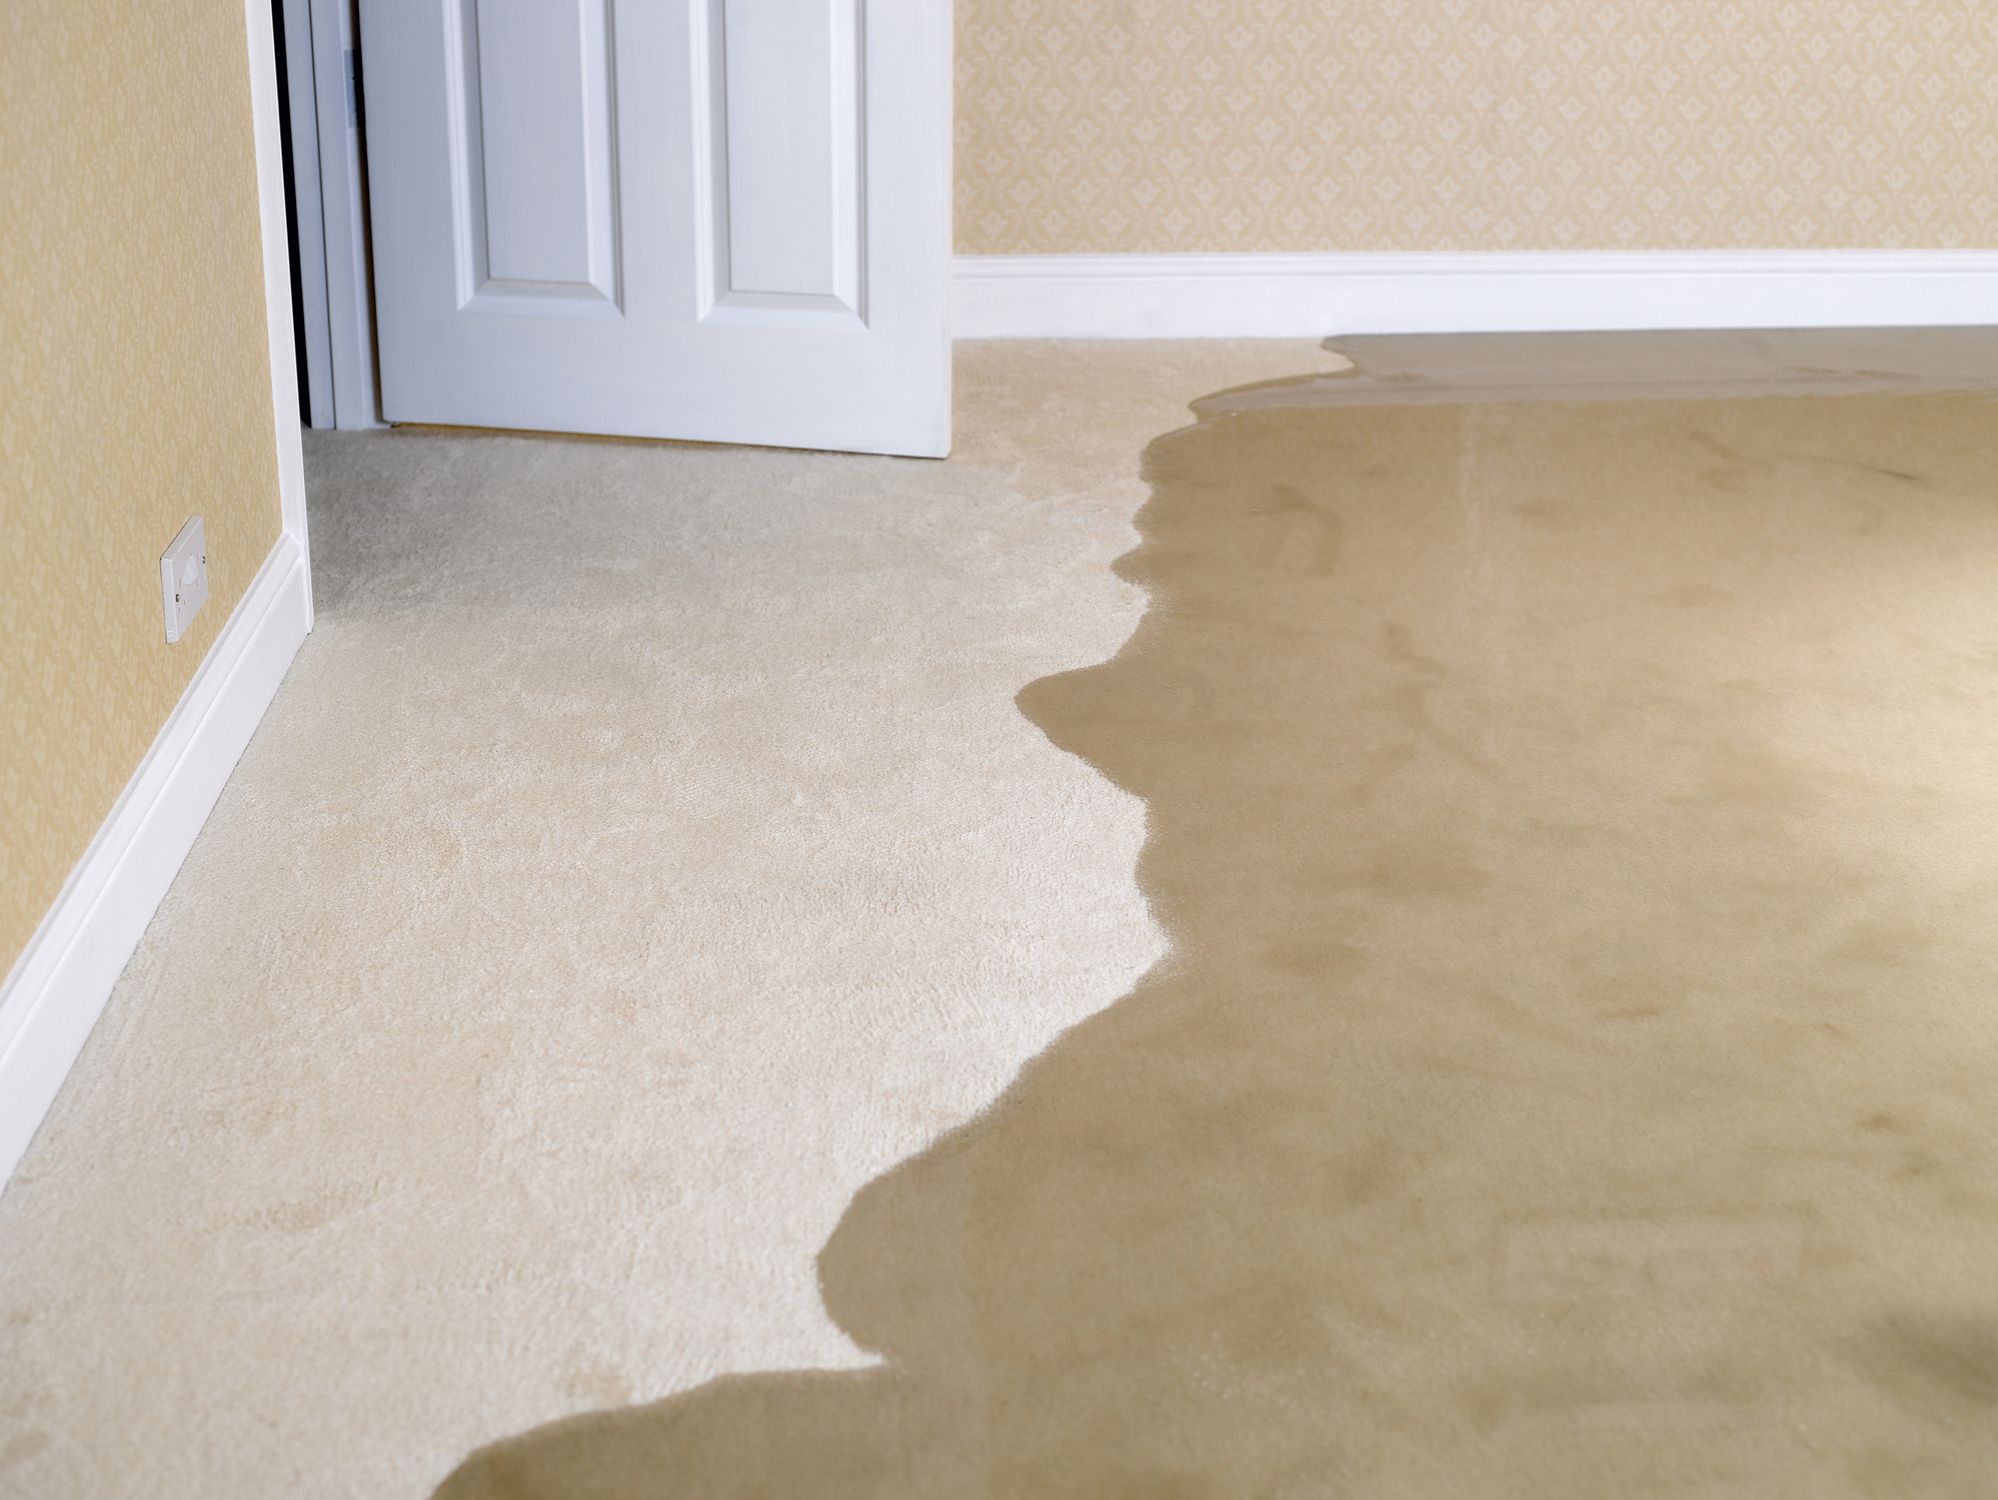
When it comes to our bedrooms, the centerpiece and most essential item is undoubtedly the mattress. It provides us with a comfortable and supportive place to rest and rejuvenate each night. However, accidents can happen, and sometimes our beloved mattresses may become damp or wet. Whether it’s due to a spilled drink, a leaky pipe, or even sweat, dealing with a wet mattress can be a stressful situation.
Thankfully, there are steps you can take to effectively dry out a mattress and restore it to its normal state. In this article, we will guide you through a comprehensive process to remove moisture and odors from your mattress, ensuring that it remains clean, dry, and fresh for years to come.
Please note that the techniques and methods suggested here are applicable for mattresses made of various materials such as memory foam, latex, or traditional spring mattresses. However, it’s always a good idea to check the manufacturer’s instructions or consult a professional if you have any concerns about specific materials or warranties.
Key Takeaways:
- Keep your mattress dry and fresh by promptly removing excess moisture, absorbing remaining moisture, increasing airflow, and using baking soda to eliminate odors. Consider a mattress protector for future protection against spills and accidents.
- Act quickly to dry out a wet mattress to prevent mold, odors, and damage. Utilize fans, a hairdryer, and a dehumidifier for efficient drying. Invest in a mattress protector for long-term protection against moisture and spills.
Read more: How To Get Dried Milk Out Of A Mattress
Step 1: Remove any excess moisture
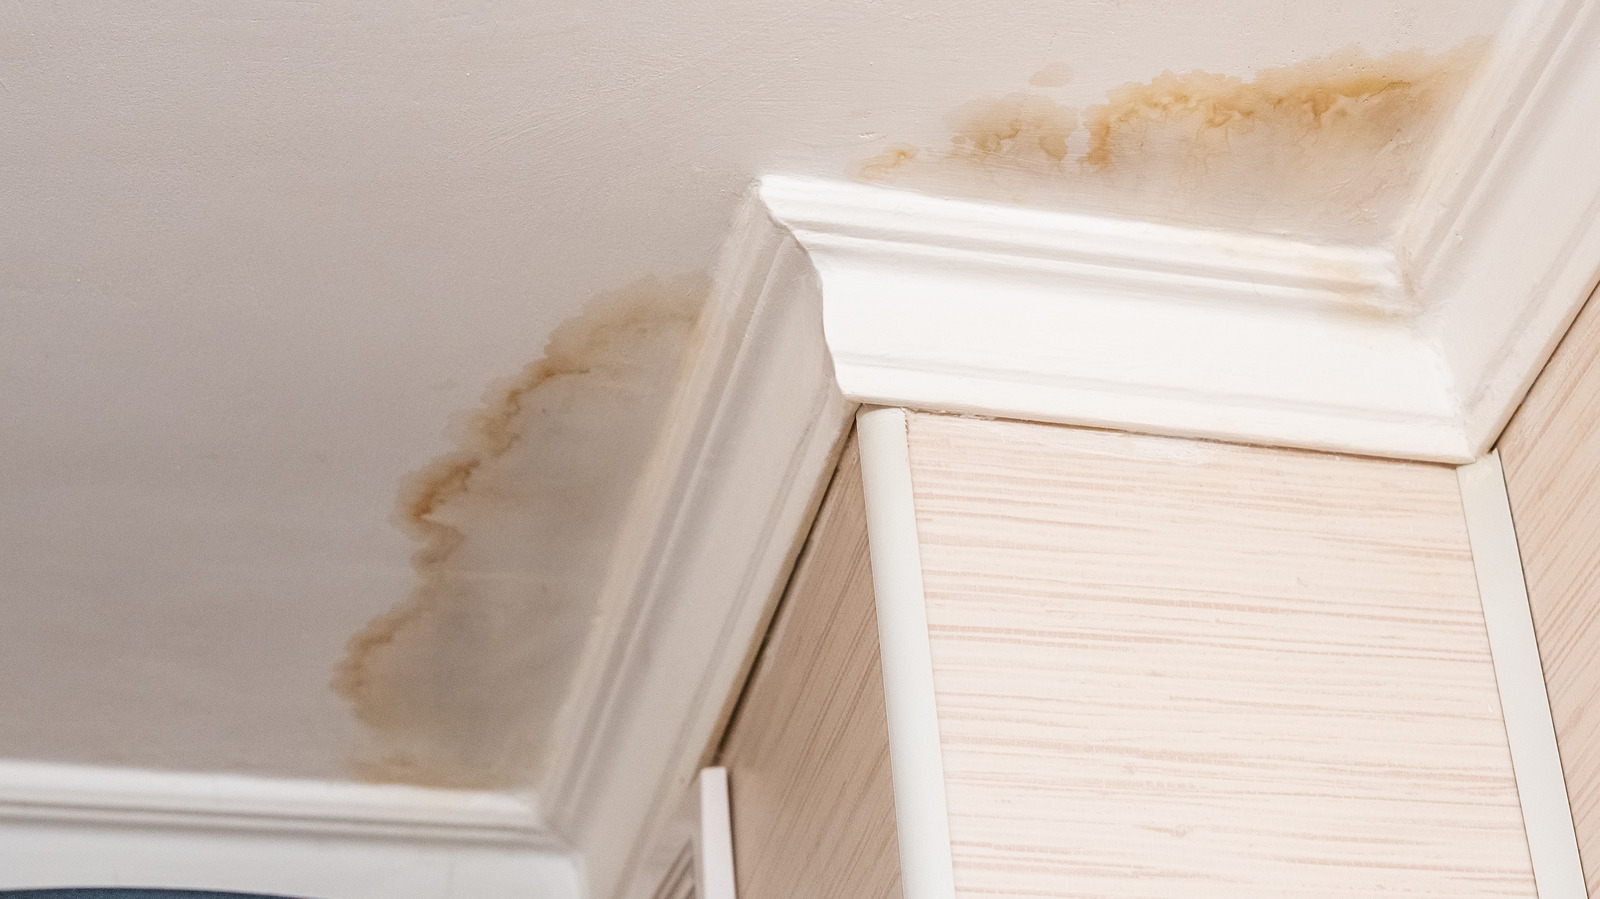
The first step in drying out a wet mattress is to remove any excess moisture as quickly as possible. The longer the moisture sits, the greater the risk of mold or mildew growth, which can lead to unpleasant odors and potential health hazards.
Start by removing any bedding or covers from the mattress. Place them in a separate location to be cleaned or dried separately. Next, use towels or paper towels to gently blot the wet areas of the mattress. Press down firmly to absorb as much moisture as possible. Avoid rubbing the area, as this can spread the moisture and potentially damage the mattress fibers.
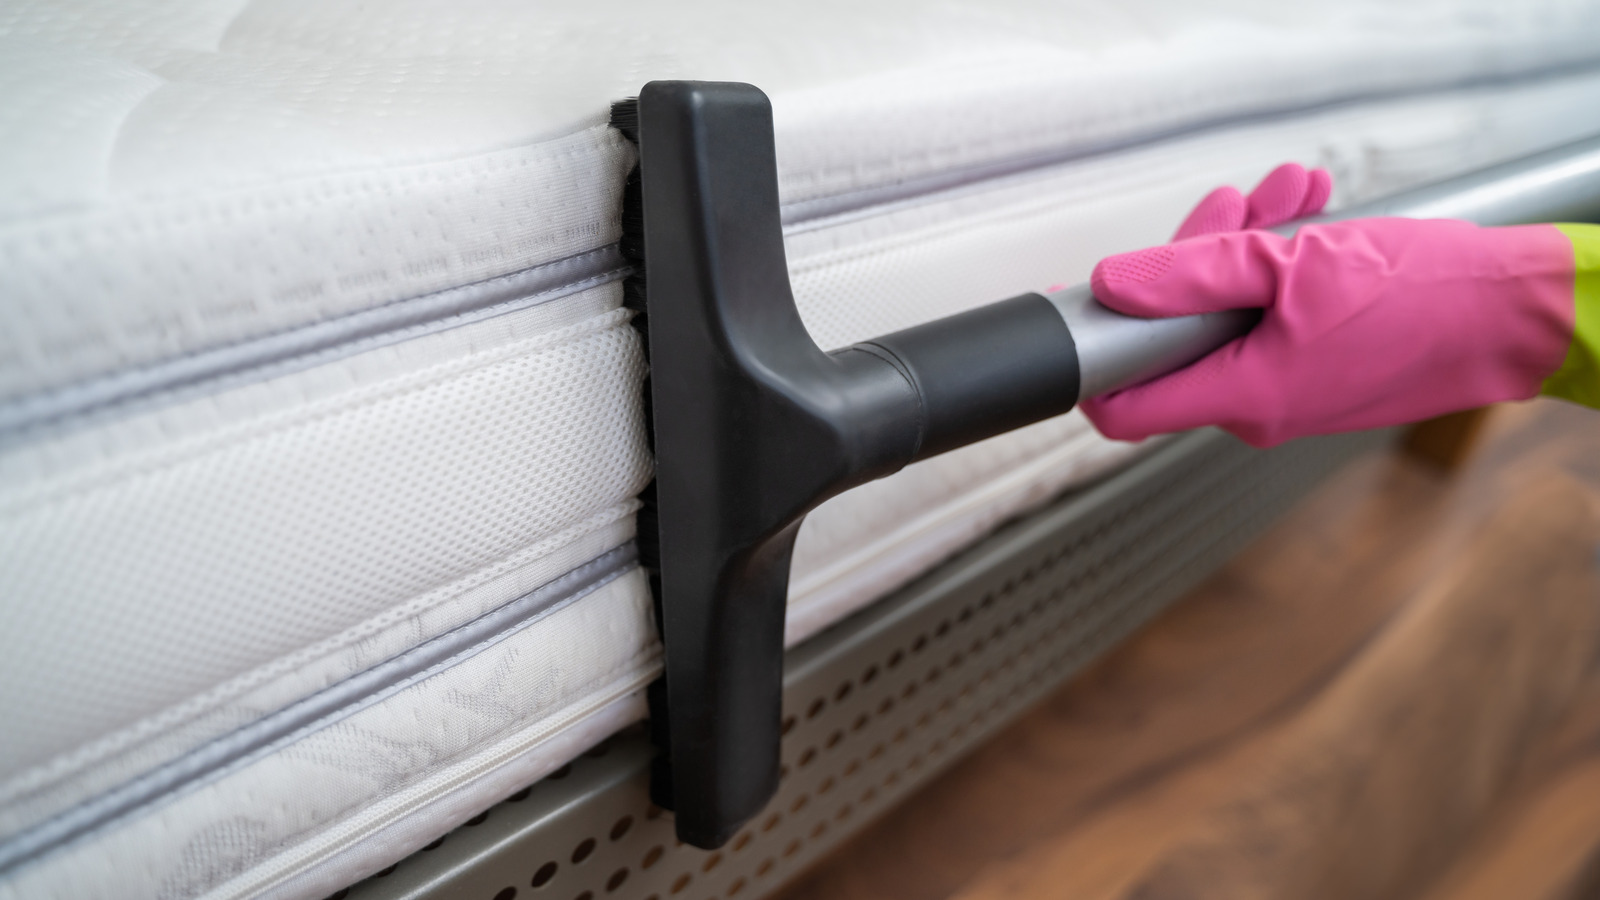
If there is a particularly large amount of moisture, you may need to consider using a wet/dry vacuum cleaner to extract the excess water. Be sure to follow the manufacturer’s instructions for proper usage and safety precautions. Use the attachment specifically designed for cleaning upholstery or mattresses.
In cases where the mattress is extremely wet, it may be necessary to elevate the mattress and prop it against a wall or other vertical surface to allow gravity to aid in the drainage. This will help prevent any pooling of water and facilitate faster drying.
Once you have removed as much excess moisture as possible, move on to the next step to continue the drying process.
Step 2: Absorb remaining moisture with towels or paper towels
After removing the excess moisture from the mattress in step 1, it’s important to continue absorbing any remaining moisture to prevent further damage and aid in the drying process.
Take clean, dry towels or multiple layers of absorbent paper towels and gently press them onto the damp areas of the mattress. Apply gentle pressure to help the towels or paper towels soak up the moisture. If the towels or paper towels become saturated, replace them with dry ones to continue absorbing the remaining moisture.
For larger areas of moisture, consider using a clean, dry mop or sponge to help absorb the water. Work in small sections, gently pressing the mop or sponge onto the mattress and then wring it out into a bucket or sink. Continue this process until you have covered the entire wet area.
Remember to be gentle when pressing or blotting the mattress to avoid pushing the moisture deeper into the mattress layers. Also, avoid using colored or printed towels as the dyes may transfer onto the mattress fabric.
If the moisture has seeped through to the other side of the mattress, be sure to repeat this process on both sides to effectively remove all the dampness.
Once you have thoroughly absorbed as much moisture as possible using towels or paper towels, move on to the next step to enhance the airflow and speed up the drying process.
Step 3: Use a fan or open windows to increase airflow
Increasing airflow around the wet mattress is crucial to facilitate evaporation and speed up the drying process. By doing so, you create a drier environment that discourages mold and mildew growth.
If the weather permits, open windows in the room to allow fresh air to circulate. This not only helps in drying the mattress but also helps in eliminating any lingering odors.
In addition to natural ventilation, use a fan or fans strategically positioned to blow air directly onto the mattress. This helps to remove moisture and promote evaporation. Place the fans at different angles to ensure that air flows from different directions, covering the entire mattress surface.
If you don’t have a fan available, you can also try using a hairdryer set to the lowest heat setting. Hold the hairdryer several inches away from the mattress and move it around in a circular motion to evenly distribute the air. Be patient and avoid overheating the mattress, as excessive heat can damage the materials.
Remember to periodically check the mattress for signs of drying. If the dampness persists or the mattress feels cool to the touch, continue the drying process until it is completely dry.
Keep in mind that the drying time will vary depending on the extent of moisture and the materials used in your mattress. It’s important to be patient and allow ample time for the drying process to complete.
Next, we’ll explore another step to further eliminate any lingering odors that may have developed due to the moisture.
Step 4: Apply baking soda to eliminate odors
Even after removing the moisture and drying out the mattress, there may still be lingering odors. These odors can result from the dampness or from any substances that were spilled on the mattress. To effectively eliminate these odors, we can turn to a simple household ingredient: baking soda.
Baking soda, also known as sodium bicarbonate, is a natural odor absorber. It can help neutralize unpleasant smells and leave your mattress smelling fresh. Follow these steps to apply baking soda to your mattress:
- Ensure that the mattress is completely dry before moving on to this step.
- Sprinkle a generous amount of baking soda over the entire surface of the mattress. Use enough to cover the damp areas as well as any areas that may have absorbed odors.
- Gently rub the baking soda into the fabric of the mattress using a clean, dry cloth or the back of a spoon. This will help the baking soda penetrate the mattress and maximize its odor-absorbing properties.
- Leave the baking soda on the mattress for at least a few hours, or ideally overnight. This allows the baking soda ample time to absorb the odors.
- Once the desired time has passed, use a vacuum cleaner with a brush attachment to thoroughly vacuum the baking soda from the mattress. Be sure to remove all traces of the baking soda.
After vacuuming, take a moment to sniff the mattress and assess whether the odors have been effectively eliminated. If necessary, you can repeat the process one more time to achieve the desired results.
Baking soda is not only effective at removing odors, but it is also safe to use on various mattress materials. It can be particularly beneficial for removing musty or stale odors that may have developed due to moisture.
Now that the mattress is clean and odor-free, let’s move on to the next step to expedite the drying process.
To dry out a mattress, start by removing all bedding and allowing the mattress to air out in a well-ventilated room. Use a fan or dehumidifier to speed up the drying process, and consider using a waterproof mattress cover to prevent future moisture buildup.
Read more: How To Dry Out A Memory Foam Mattress
Step 5: Utilize a hairdryer on low heat
If you want to further accelerate the drying process of your mattress, using a hairdryer can be an effective tool. However, it is important to use the hairdryer on a low heat setting to avoid damaging the mattress materials.
Before you begin, ensure that the mattress is completely dry on the surface. This step comes after removing excess moisture, absorbing remaining moisture, and increasing airflow. Here’s how to utilize a hairdryer on low heat:
- Set your hairdryer to the lowest heat setting. It’s crucial to avoid using high heat, as it can potentially cause damage to the mattress fibers, especially if your mattress contains foam or synthetic materials.
- Hold the hairdryer several inches away from the damp areas on the mattress.
- Move the hairdryer around in a circular motion, covering the entire surface of the damp area. This helps distribute the warm air evenly, promoting evaporation.
- Be patient and give each area sufficient time to dry out. Do not rush the process by increasing the heat or holding the hairdryer too close to the mattress.
- Continue this process until all damp areas are completely dry to the touch.
It’s important to note that using a hairdryer can be time-consuming, especially for larger areas or deeper moisture. If your mattress is heavily soaked, it may be more efficient to combine the hairdryer technique with other methods mentioned previously, such as using fans or a dehumidifier.
Remember to periodically check the mattress as you dry it to make sure the heat is not causing any damage or discoloration. If you notice any issues, immediately adjust the heat setting or distance between the hairdryer and the mattress.
Now that you’ve utilized a hairdryer to dry out the mattress, let’s explore the benefits of using a dehumidifier in the next step.
Step 6: Use a dehumidifier to speed up the drying process
If you’re dealing with a significantly damp mattress or if the drying process seems to be taking longer than expected, utilizing a dehumidifier can be a valuable tool to expedite the drying process.
A dehumidifier works by reducing the moisture content in the air, thus creating a drier environment. This can help accelerate the evaporation of moisture from the mattress and prevent the growth of mold and mildew.
Follow these steps to effectively use a dehumidifier to dry out your mattress:
- Ensure that the dehumidifier is clean and in good working condition.
- Place the dehumidifier in the same room as the wet mattress, near the mattress if possible.
- Set the dehumidifier to the optimal humidity level recommended by the manufacturer. This is typically between 30-50% humidity.
- Allow the dehumidifier to run continuously until the mattress is completely dry. It may take several hours or even days depending on the extent of moisture and the size of the room.
- Regularly check the dehumidifier’s water reservoir and empty it as needed to ensure continuous operation.
Using a dehumidifier along with other drying methods like fans or open windows can significantly enhance the drying process. The combined efforts create an environment that expedites moisture removal from the mattress.
Keep in mind that using a dehumidifier might generate some noise and increase the electricity consumption. Be sure to place it in a location where the noise won’t disturb you, and consider the energy usage if running it for an extended period.
Once the mattress is thoroughly dry, it’s essential to consider preventive measures for the future, which we will explore in the next step.
Step 7: Consider using a mattress protector or waterproof cover in the future
To prevent future incidents of a wet mattress and the hassle of drying it out, it’s wise to consider using a mattress protector or waterproof cover. These protective layers create a barrier between your mattress and any potential spills, accidents, or moisture, keeping your mattress clean and dry.
Here are a few reasons why using a mattress protector or waterproof cover is beneficial:
- Protects against spills and accidents: A mattress protector or waterproof cover acts as a shield, preventing any liquid from seeping into the mattress. Whether it’s a drink spill, pet accident, or bedwetting incident, the protector serves as a protective barrier.
- Guards against dust mites and allergens: Some mattress protectors are designed with hypoallergenic materials that help keep dust mites, dirt, and other allergens away. This can be especially beneficial for individuals with allergies or asthma.
- Prolongs the lifespan of your mattress: By protecting your mattress from moisture and other potential damage, a mattress protector or waterproof cover can help extend its lifespan. This can save you money in the long run by reducing the need for premature replacements.
- Eases maintenance and cleaning: Mattress protectors are typically removable and machine washable, which makes them easy to clean. In the event of any spills or accidents, you can simply remove the protector and clean it, instead of having to deal with a wet mattress.
When selecting a mattress protector or waterproof cover, consider the following factors:
- Material: Look for materials that are waterproof, breathable, and comfortable, such as vinyl, polyurethane, or polyester blends.
- Fit: Ensure that the protector or cover fits your mattress size properly and securely, without shifting or bunching up.
- Ease of maintenance: Check if the protector is machine washable and dryer safe for convenient cleaning.
Investing in a high-quality mattress protector or waterproof cover can offer peace of mind, knowing that your mattress is protected against potential accidents or spills that may occur in the future.
Finally, with these seven steps, you can effectively dry out a wet mattress and protect it for years to come. Remember to act promptly when dealing with a wet mattress to prevent mold, mildew, and unpleasant odors.
Conclusion
Dealing with a wet mattress can be a stressful and inconvenient situation, but with the right steps and techniques, you can effectively dry it out and restore its condition. By following the seven steps outlined in this guide, you can remove excess moisture, absorb remaining moisture, increase airflow, eliminate odors, and expedite the drying process.
Remember to act quickly when you discover a wet mattress to prevent mold growth, unpleasant odors, and potential damage. Promptly remove any excess moisture, absorb remaining moisture with towels or paper towels, and increase airflow using fans or open windows. To eliminate odors, use baking soda as a natural odor absorber. Utilize a hairdryer on low heat to further expedite drying, and consider using a dehumidifier to create a drier environment.
For future prevention, it’s highly recommended to use a mattress protector or waterproof cover. These protective layers serve as a barrier against spills, accidents, and moisture, keeping your mattress clean and dry. They also help guard against dust mites, allergens, and prolong the lifespan of your mattress.
Remember to always refer to the manufacturer’s instructions or consult a professional if you have any concerns about specific materials or warranties.
With proper care and maintenance, your mattress will continue to provide you with a comfortable and restful sleep environment for years to come.
Frequently Asked Questions about How To Dry Out A Mattress
Was this page helpful?
At Storables.com, we guarantee accurate and reliable information. Our content, validated by Expert Board Contributors, is crafted following stringent Editorial Policies. We're committed to providing you with well-researched, expert-backed insights for all your informational needs.