Home>Furniture>Bedroom Furniture>How To Make A Fort On Your Bed
Bedroom Furniture
How To Make A Fort On Your Bed
Modified: October 28, 2024
Learn how to transform your bedroom using creative DIY techniques! Discover how to make a fort on your bed with easy-to-find materials and create a cozy and fun space for relaxation and play.
(Many of the links in this article redirect to a specific reviewed product. Your purchase of these products through affiliate links helps to generate commission for Storables.com, at no extra cost. Learn more)
Introduction
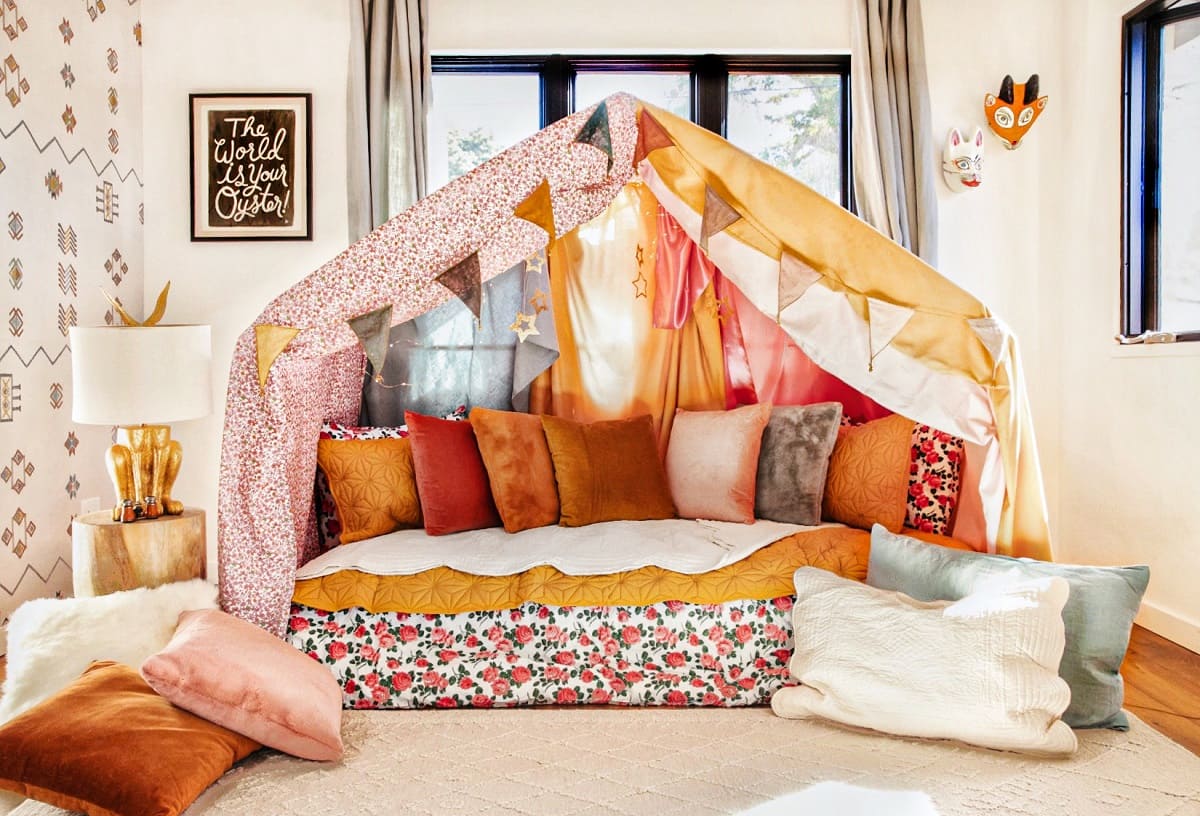
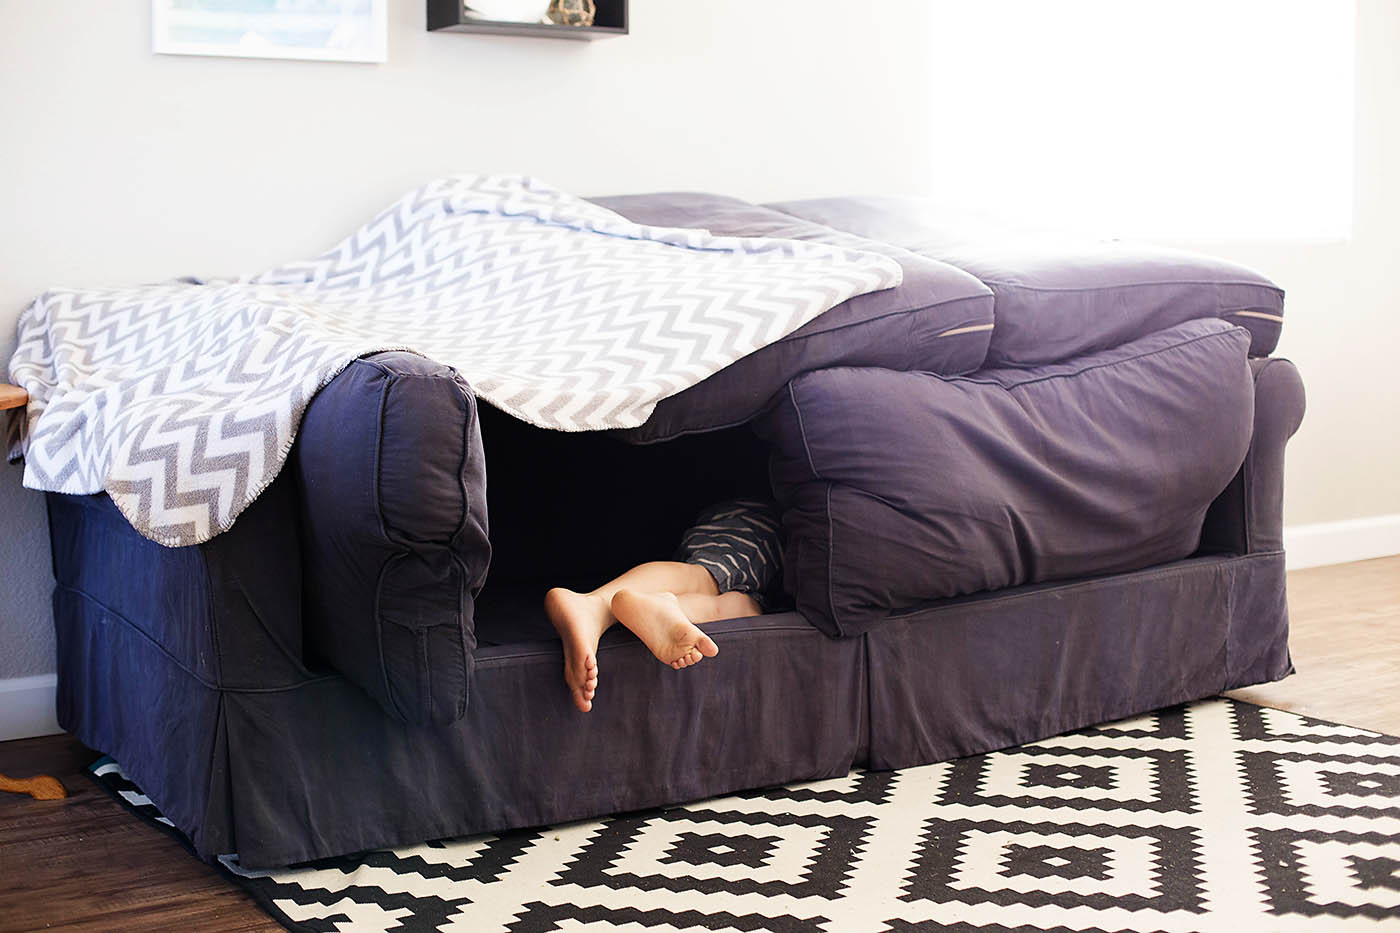
Have you ever wished that you could escape the stresses of everyday life and retreat to a cozy fort of your own? Well, guess what? You can! With a little creativity and some basic supplies, you can transform your bed into a whimsical and enchanting fort that will transport you to a world of imagination and relaxation.
Building a fort on your bed is not only a fun activity that can be enjoyed by people of all ages, but it also provides a cozy and private space where you can retreat and unwind. Whether you want to curl up with a good book, watch a movie, or simply escape from the outside world, a bed fort is the perfect solution.
In this article, we will guide you through the step-by-step process of creating your very own bed fort. From gathering the necessary supplies to adding personal touches, we will cover all the bases to ensure that your fort is both comfortable and visually appealing.
So, grab your blankets, pillows, and a healthy dose of imagination, and let’s embark on this fort-building adventure together!
Key Takeaways:
- Create your own whimsical bed fort by gathering supplies like blankets, pillows, and fairy lights. Clear the space, build the base, and add personal touches to make it a cozy retreat for relaxation and imaginative adventures.
- Transform your bed into a cozy sanctuary with a personalized fort. Add pillows, hang blankets, and create entrances and windows for a magical escape from everyday life. Enjoy the comfort, relaxation, and joy of your whimsical sanctuary.
Read more: How To Make A Fort In The Living Room
Step 1: Gathering Supplies
Before you start building your bed fort, it’s important to gather all the necessary supplies. Here’s a list of items you’ll need:
- Blankets and sheets: Choose a variety of blankets and sheets in different textures and colors to create a visually interesting fort.
- Pillows and cushions: Gather a stack of pillows and cushions to make your fort comfortable and cozy.
- Clothespins or binder clips: These will come in handy for securing blankets and sheets in place.
- Fairy lights: Add a touch of magic to your fort by incorporating fairy lights. Choose battery-operated lights for safety.
- Furniture blankets or beach towels: These will act as padding if you plan to build your fort on top of furniture.
- Optional: Decorative items such as stuffed animals, string lights, posters, or artwork to personalize your fort.
Once you have gathered all the necessary supplies, you’ll be well-prepared to start building your bed fort. Make sure to choose materials that are lightweight, washable, and easy to handle.
Now that you have everything you need, let’s move on to the next step: clearing the space.
Step 2: Clearing the Space
Creating a bed fort requires a clear and open space around your bed. Before you begin building, take the time to clear any clutter or obstacles that may hinder the construction of your fort.
Start by removing any items from your bed that you won’t be using in the fort. This includes extra pillows, blankets, or decorative pieces that might get in the way. Clear the surrounding area as well, moving any furniture or objects that could obstruct the fort-building process.
If you plan to build your fort on top of furniture, such as a bed frame or a table, make sure to protect the surface by placing furniture blankets or beach towels underneath. This will prevent any scratches or damage to the furniture.
By clearing the space, you create a clean canvas for building your fort, ensuring that it is structurally sound and visually appealing.
With the space cleared, it’s time to move on to the next step: building the base of your fort.
Step 3: Building the Base
Now that you have a cleared space, it’s time to start building the base of your bed fort. The base will provide the foundation for the rest of the fort and ensure stability and comfort.
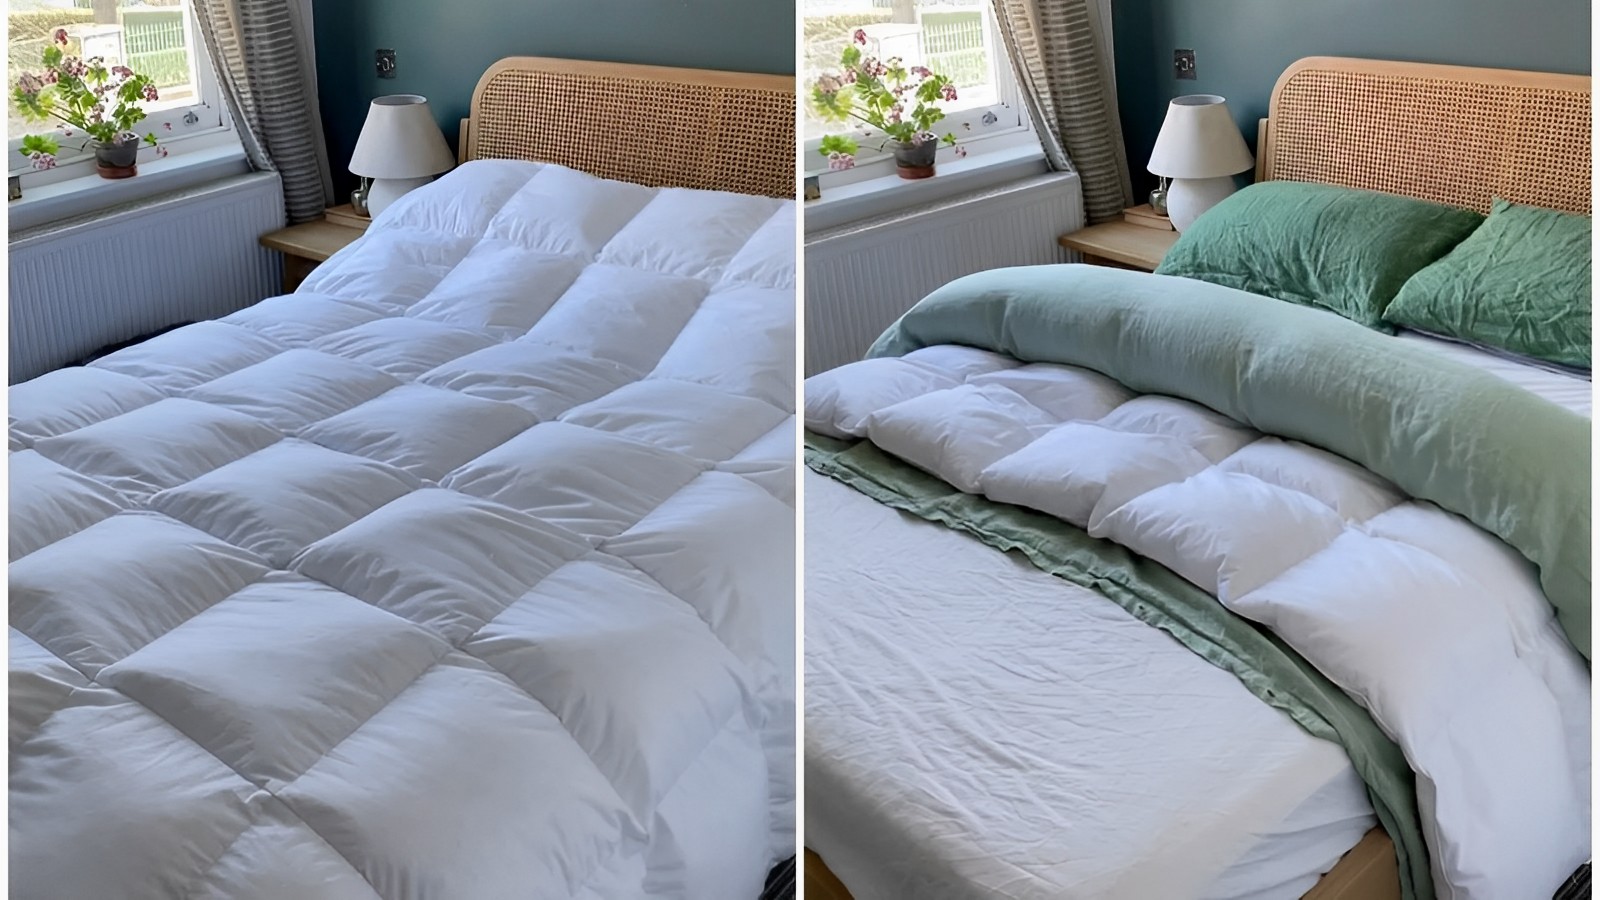
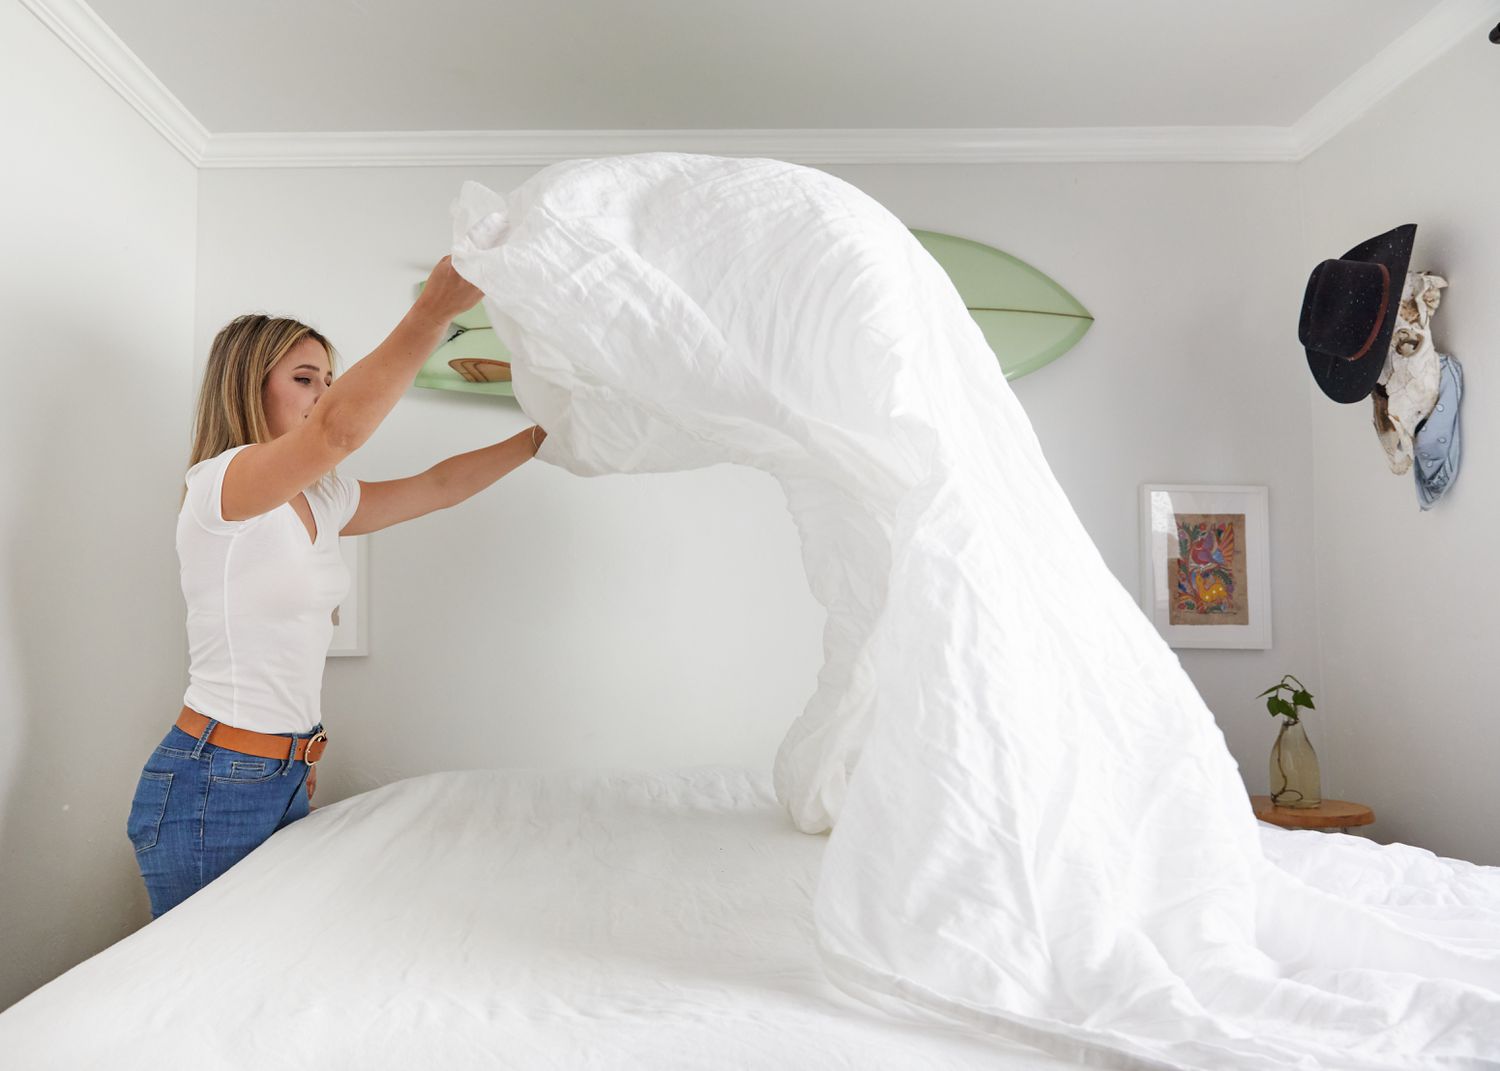
Begin by draping a fitted sheet or a large blanket over your mattress to create a soft and smooth surface. This will serve as the floor of your fort. Make sure the sheet or blanket is securely tucked under the mattress to prevent it from sliding or shifting.
Next, take additional blankets or sheets and drape them over the sides of the bed, extending them towards the floor. Secure the edges of the blankets or sheets to the sides of the mattress using clothespins or binder clips. This will create the walls of your fort.
For added stability, consider using furniture like chairs or a small table to support the sides of the fort. Place them strategically at the corners or along the sides to keep the blankets or sheets in place.
As you build the base of your fort, make sure to leave openings for entrances and windows. These spaces will allow you to enter and exit the fort easily and provide natural light and ventilation. You can use additional blankets or sheets to create curtains or coverings that can be easily pulled aside or tied back.
Remember, the foundation of your fort should be sturdy yet flexible to accommodate your movements. Take the time to adjust and arrange the blankets and sheets until you are satisfied with the overall shape and structure of your fort.
With the base complete, it’s time to move on to the next step: adding pillows and cushions for comfort.
Step 4: Adding Pillows and Cushions
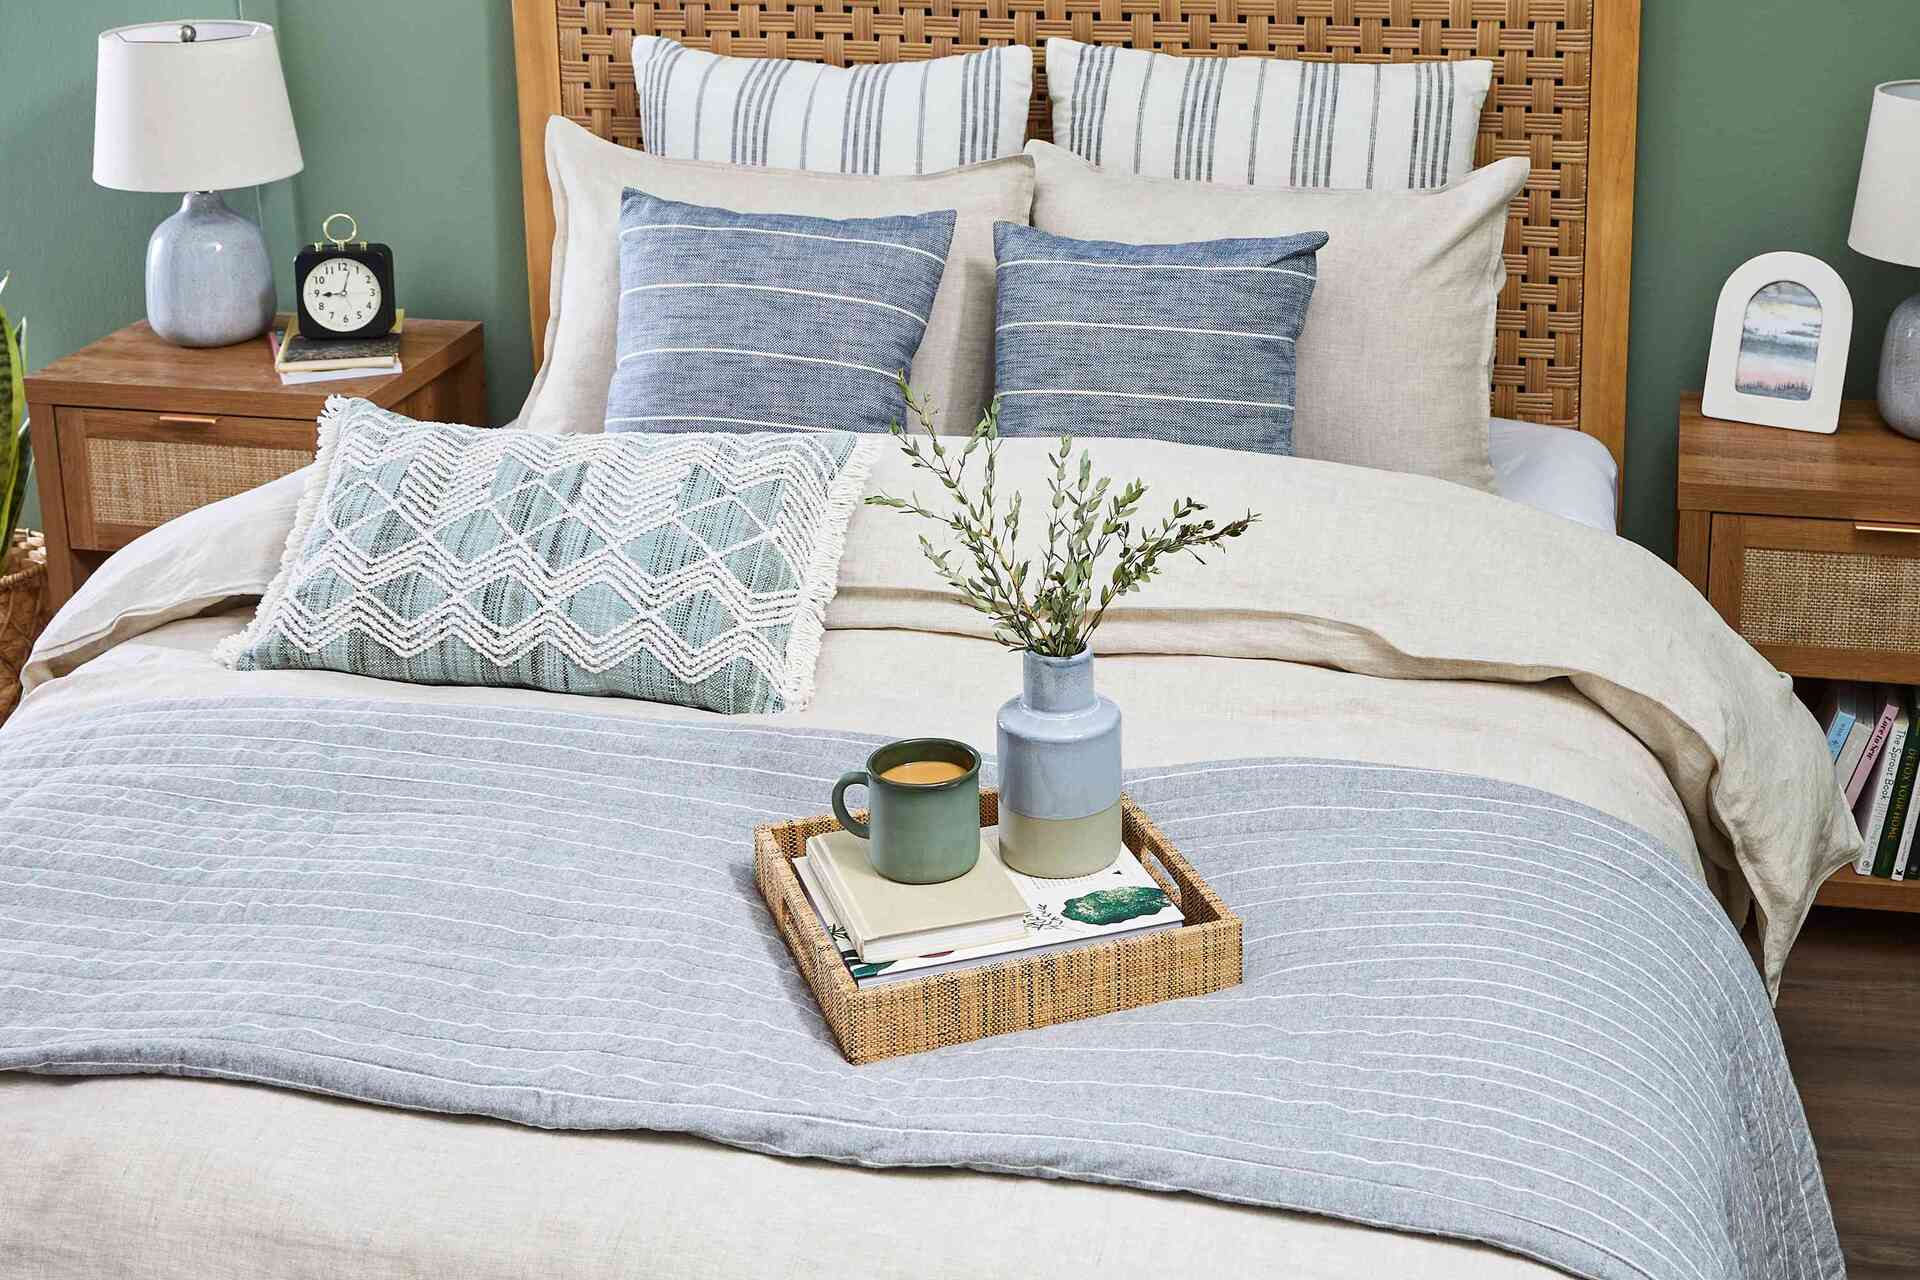
Now that you have built the base of your bed fort, it’s time to make it cozy and comfortable by adding pillows and cushions. These soft additions will provide a plush seating or lounging area inside your fort.
Start by arranging a variety of pillows and cushions inside the fort. You can place them along the walls to create a seating area or stack them up to make a comfortable backrest. Don’t be afraid to mix and match different sizes, shapes, and textures to add visual interest to your fort.
If you have large floor pillows or bean bag chairs, these can also be great additions to your fort. They provide extra seating options and can be positioned in corners or against the walls for added support.
Once you have placed the pillows and cushions, take a moment to test them out and make any adjustments in their positioning to maximize comfort. You want your fort to be a cozy retreat where you can relax or engage in activities such as reading, gaming, or watching movies.
Remember, the goal is to create a comfortable and inviting space, so feel free to add more pillows or cushions as needed. The more pillows and cushions you have, the softer and more inviting your fort will be.
With the pillows and cushions in place, it’s time to move on to the next step: hanging blankets and sheets to complete the fort’s structure.
Use sturdy materials like sheets, blankets, and pillows to build the fort. Make sure to secure the corners and create a cozy interior with cushions and blankets.
Read more: How To Make A Fort With Pillows And Blankets
Step 5: Hanging Blankets and Sheets
Now that you have built the base and added pillows and cushions to your bed fort, it’s time to add the finishing touches by hanging blankets and sheets. These layers will not only provide privacy but also enhance the overall aesthetics of your fort.
Start by selecting blankets and sheets of different colors and textures. This will add depth and visual interest to your fort. Begin hanging them from the walls or sides of the fort, allowing them to drape down and create a cozy enclosure.
Use clothespins or binder clips to attach the blankets and sheets securely to the walls or sides of the fort. You can create a uniform look by covering all sides or leave some parts open as windows or entrances for easy access.
If you have fairy lights, this is the perfect time to weave them through the layers of blankets and sheets. The soft glow of the lights will add a magical ambiance to your fort. Be sure to use battery-operated fairy lights for safety.
As you hang the blankets and sheets, take a step back and evaluate the overall look. Adjust and arrange them until you are satisfied with the shape and appearance of your fort. Add additional layers or rearrange the existing ones as needed.
The hanging blankets and sheets not only create a sense of enclosure but also enhance the cozy and intimate atmosphere of your fort. It’s a space where you can escape the outside world and let your imagination run wild.
With the blankets and sheets in place, it’s time to move on to the next step: creating entrances and windows.
Step 6: Creating Entrances and Windows
Now that you’ve built the structure of your bed fort and adorned it with cozy blankets and sheets, it’s time to create entrances and windows. These openings will not only provide easy access to your fort but also allow for light and airflow.
Start by identifying the desired locations for entrances and windows. You can choose to have one main entrance or multiple entrances for added convenience. Consider the layout of your fort and how you plan to use it.
To create entrances, simply fold back a section of the blankets or sheets at a designated area. This will create a welcoming opening for you to enter and exit the fort. Use clothespins or binder clips to secure the folded-back sections in place.
For windows, you can create small openings by partially folding or rolling up sections of the blankets or sheets. This will allow natural light to filter into your fort and give you a glimpse of the outside world while still maintaining a sense of privacy.
You can get creative with the design of your entrances and windows. Consider using decorative ribbons, string lights, or even tying back the blankets with fun accessories like toy animals or colorful clips.
Remember, the entrances and windows should be easily accessible and functional. Ensure that they are of a size that allows you to crawl or walk through comfortably. The windows can be adjusted to allow for different amounts of light and airflow, depending on your preferences.
With the entrances and windows created, your fort will feel more inviting and versatile. It’s time to move on to the next step: adding personal touches to make your fort uniquely yours.
Step 7: Adding Personal Touches
To truly make your bed fort feel like your own special space, it’s time to add personal touches and customize it according to your preferences. This step allows you to infuse your unique personality and style into the fort, making it a reflection of who you are.
Start by considering the theme or mood you want to create within your fort. Do you want it to feel like a fairy-tale castle, a spaceship, or a peaceful hideaway in nature? Choose decorations and accessories that align with your desired theme.
Consider adding decorative items such as stuffed animals, string lights, posters, or artwork that resonate with you. These pieces will not only enhance the visual appeal of your fort but also create a cozy and inviting atmosphere.
You can also bring in items that cater to your interests and hobbies. If you love reading, add a small bookshelf or stack some of your favorite books within reach. If you enjoy art, bring in a sketchbook and some colored pencils. Let your fort become a space where you can indulge in your passions.
Don’t be afraid to get creative with the decorations. You can hang paper decorations from the ceiling, create a makeshift mini-gallery with drawings and photographs, or even incorporate elements from nature, like flowers or leaves.
Remember to keep your personal touches in harmony with the overall structure and style of your fort. Consider the colors, textures, and placement of the items to ensure a cohesive and visually pleasing look.
With the personal touches added, your fort will become a unique and invigorating space that represents your individuality and offers a retreat from the outside world.
Now, let’s move on to the final step: testing and enjoying the fort you’ve created.
Step 8: Testing and Enjoying the Fort
Congratulations! You’ve completed the construction of your bed fort and added your personal touches. Now it’s time to put it to the test and immerse yourself in the cozy sanctuary you’ve created.
Start by taking a moment to admire your fort from different angles. Step back and appreciate the ambiance, the colors, and the overall coziness that it exudes. Make any final adjustments or additions to perfect the space.
Once you’re satisfied with the fort’s setup, it’s time to test it out. Climb into your fort, settle into the cushions and pillows, and allow yourself to relax and unwind. Whether you want to read a book, watch a movie, or simply daydream, your fort offers a peaceful haven to do so.
Explore the different nooks and crannies of your fort. Choose a spot that feels the coziest and allows you to fully immerse yourself in your chosen activity. Experiment with different positions and arrangements of pillows to find the most comfortable setup.
Enjoy the privacy and seclusion your fort provides. It’s a space where you can let your imagination run wild, free from outside distractions and responsibilities. Take this opportunity to disconnect from the outside world and focus on the present moment.
Invite friends or family members to join you in your fort adventure. Share the joy and relaxation with loved ones as you create lasting memories together. Hosting a cozy fort party or movie night can be a fun and unique experience.
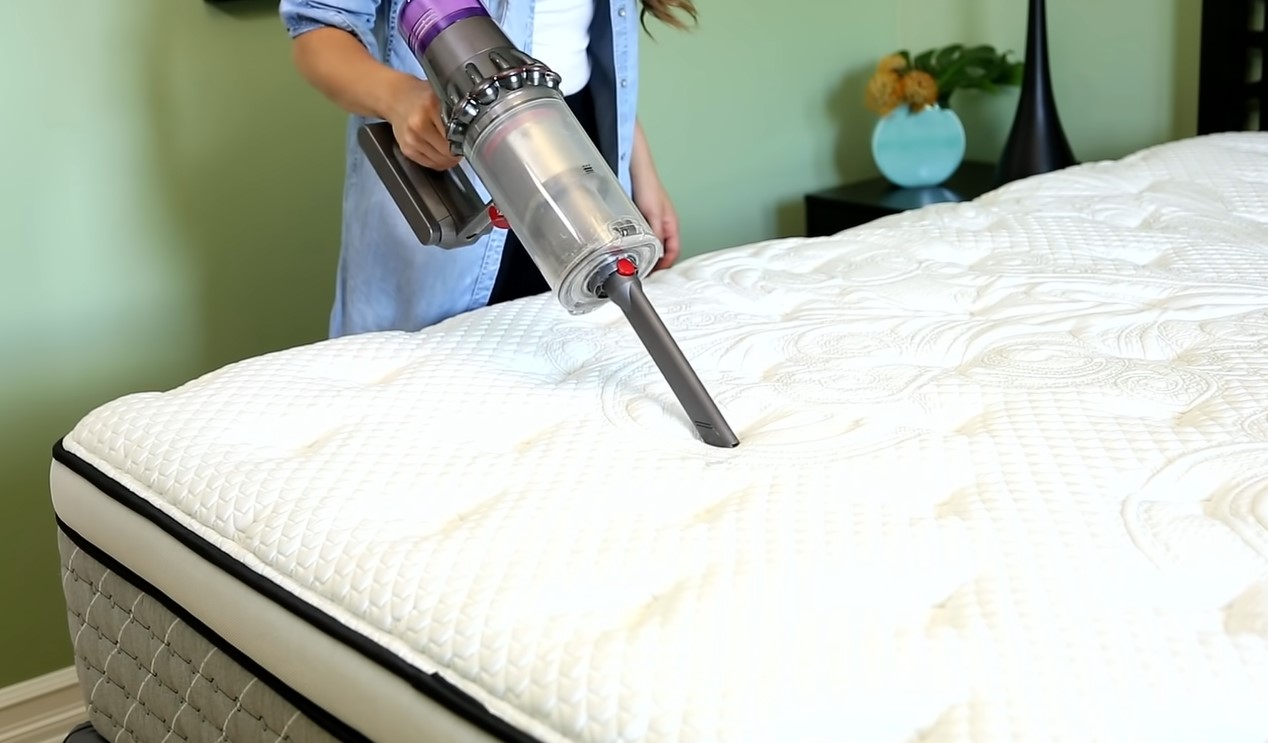
Remember to maintain and care for your fort. Keep it clean and fresh by periodically washing the blankets and sheets. Refresh the pillows and cushions, and periodically rearrange the decorations to keep your fort feeling new and exciting.
Lastly, don’t be afraid to redesign and modify your fort whenever inspiration strikes. Let your imagination soar and adapt your fort to match your changing preferences and needs. The possibilities are endless!
Now, kick back, relax, and fully indulge in the magical and comforting space you’ve created with your bed fort.
Enjoy your fort-building journey, and may it bring you many moments of joy, relaxation, and imaginative adventures.
Happy fort-ing!
Read more: How To Make Your Bed More Comfortable
Conclusion
Building a fort on your bed is a delightful and creative activity that can transport you to a world of imagination, relaxation, and comfort. With a few simple steps and some basic supplies, you can transform your bed into a cozy sanctuary that is uniquely yours.
Throughout this article, we have guided you through the process of building a bed fort, from gathering supplies to adding personal touches. Each step has allowed you to infuse your own style and personality into the fort, creating a space that reflects your individuality.
By following these steps, you have learned how to create a sturdy base, arrange pillows and cushions for ultimate comfort, hang blankets and sheets to provide privacy and visual appeal, and add your personal touches to make the fort uniquely yours.
Your bed fort is not only a physical structure but a mental and emotional escape. It offers a retreat from the outside world, giving you the opportunity to relax, unwind, and explore your imagination. Whether you choose to curl up with a book, watch a movie, or simply enjoy some quiet time, your fort provides the perfect setting.
Remember, the joy of your bed fort doesn’t end with its creation. Revisit it often, make modifications, and continue to find new ways to enjoy this special space. Share the experience with loved ones and create lasting memories together.
Building a bed fort is not just an activity for children; it’s a delightful pastime for individuals of all ages. So, embrace your inner child, let your imagination run wild, and escape to the cozy sanctuary of your bed fort whenever you need a break from the outside world.
Now, gather your supplies, clear some space, and embark on this enchanting journey of building your very own bed fort. Get ready to indulge in the comfort, relaxation, and joy that awaits you inside your whimsical sanctuary.
Happy fort-building!
Now that you've crafted a fantastic fort, why stop there? Extend the adventure into other areas of your home with inspiring ideas for transforming rooms into vibrant hubs for imagination and fun. For those looking to infuse more playful spirit into your home, check out our article on setting up dynamic and inspiring play areas. It's packed with creative play concepts that are sure to spark joy and creativity in any child's life.
Frequently Asked Questions about How To Make A Fort On Your Bed
Was this page helpful?
At Storables.com, we guarantee accurate and reliable information. Our content, validated by Expert Board Contributors, is crafted following stringent Editorial Policies. We're committed to providing you with well-researched, expert-backed insights for all your informational needs.


0 thoughts on “How To Make A Fort On Your Bed”