Furniture
How To Build A Built-In Dresser
Modified: August 28, 2024
Discover the step-by-step guide on how to build a stylish and functional built-in dresser for your home. Create custom furniture that fits your space perfectly with this easy-to-follow tutorial.
(Many of the links in this article redirect to a specific reviewed product. Your purchase of these products through affiliate links helps to generate commission for Storables.com, at no extra cost. Learn more)
Introduction
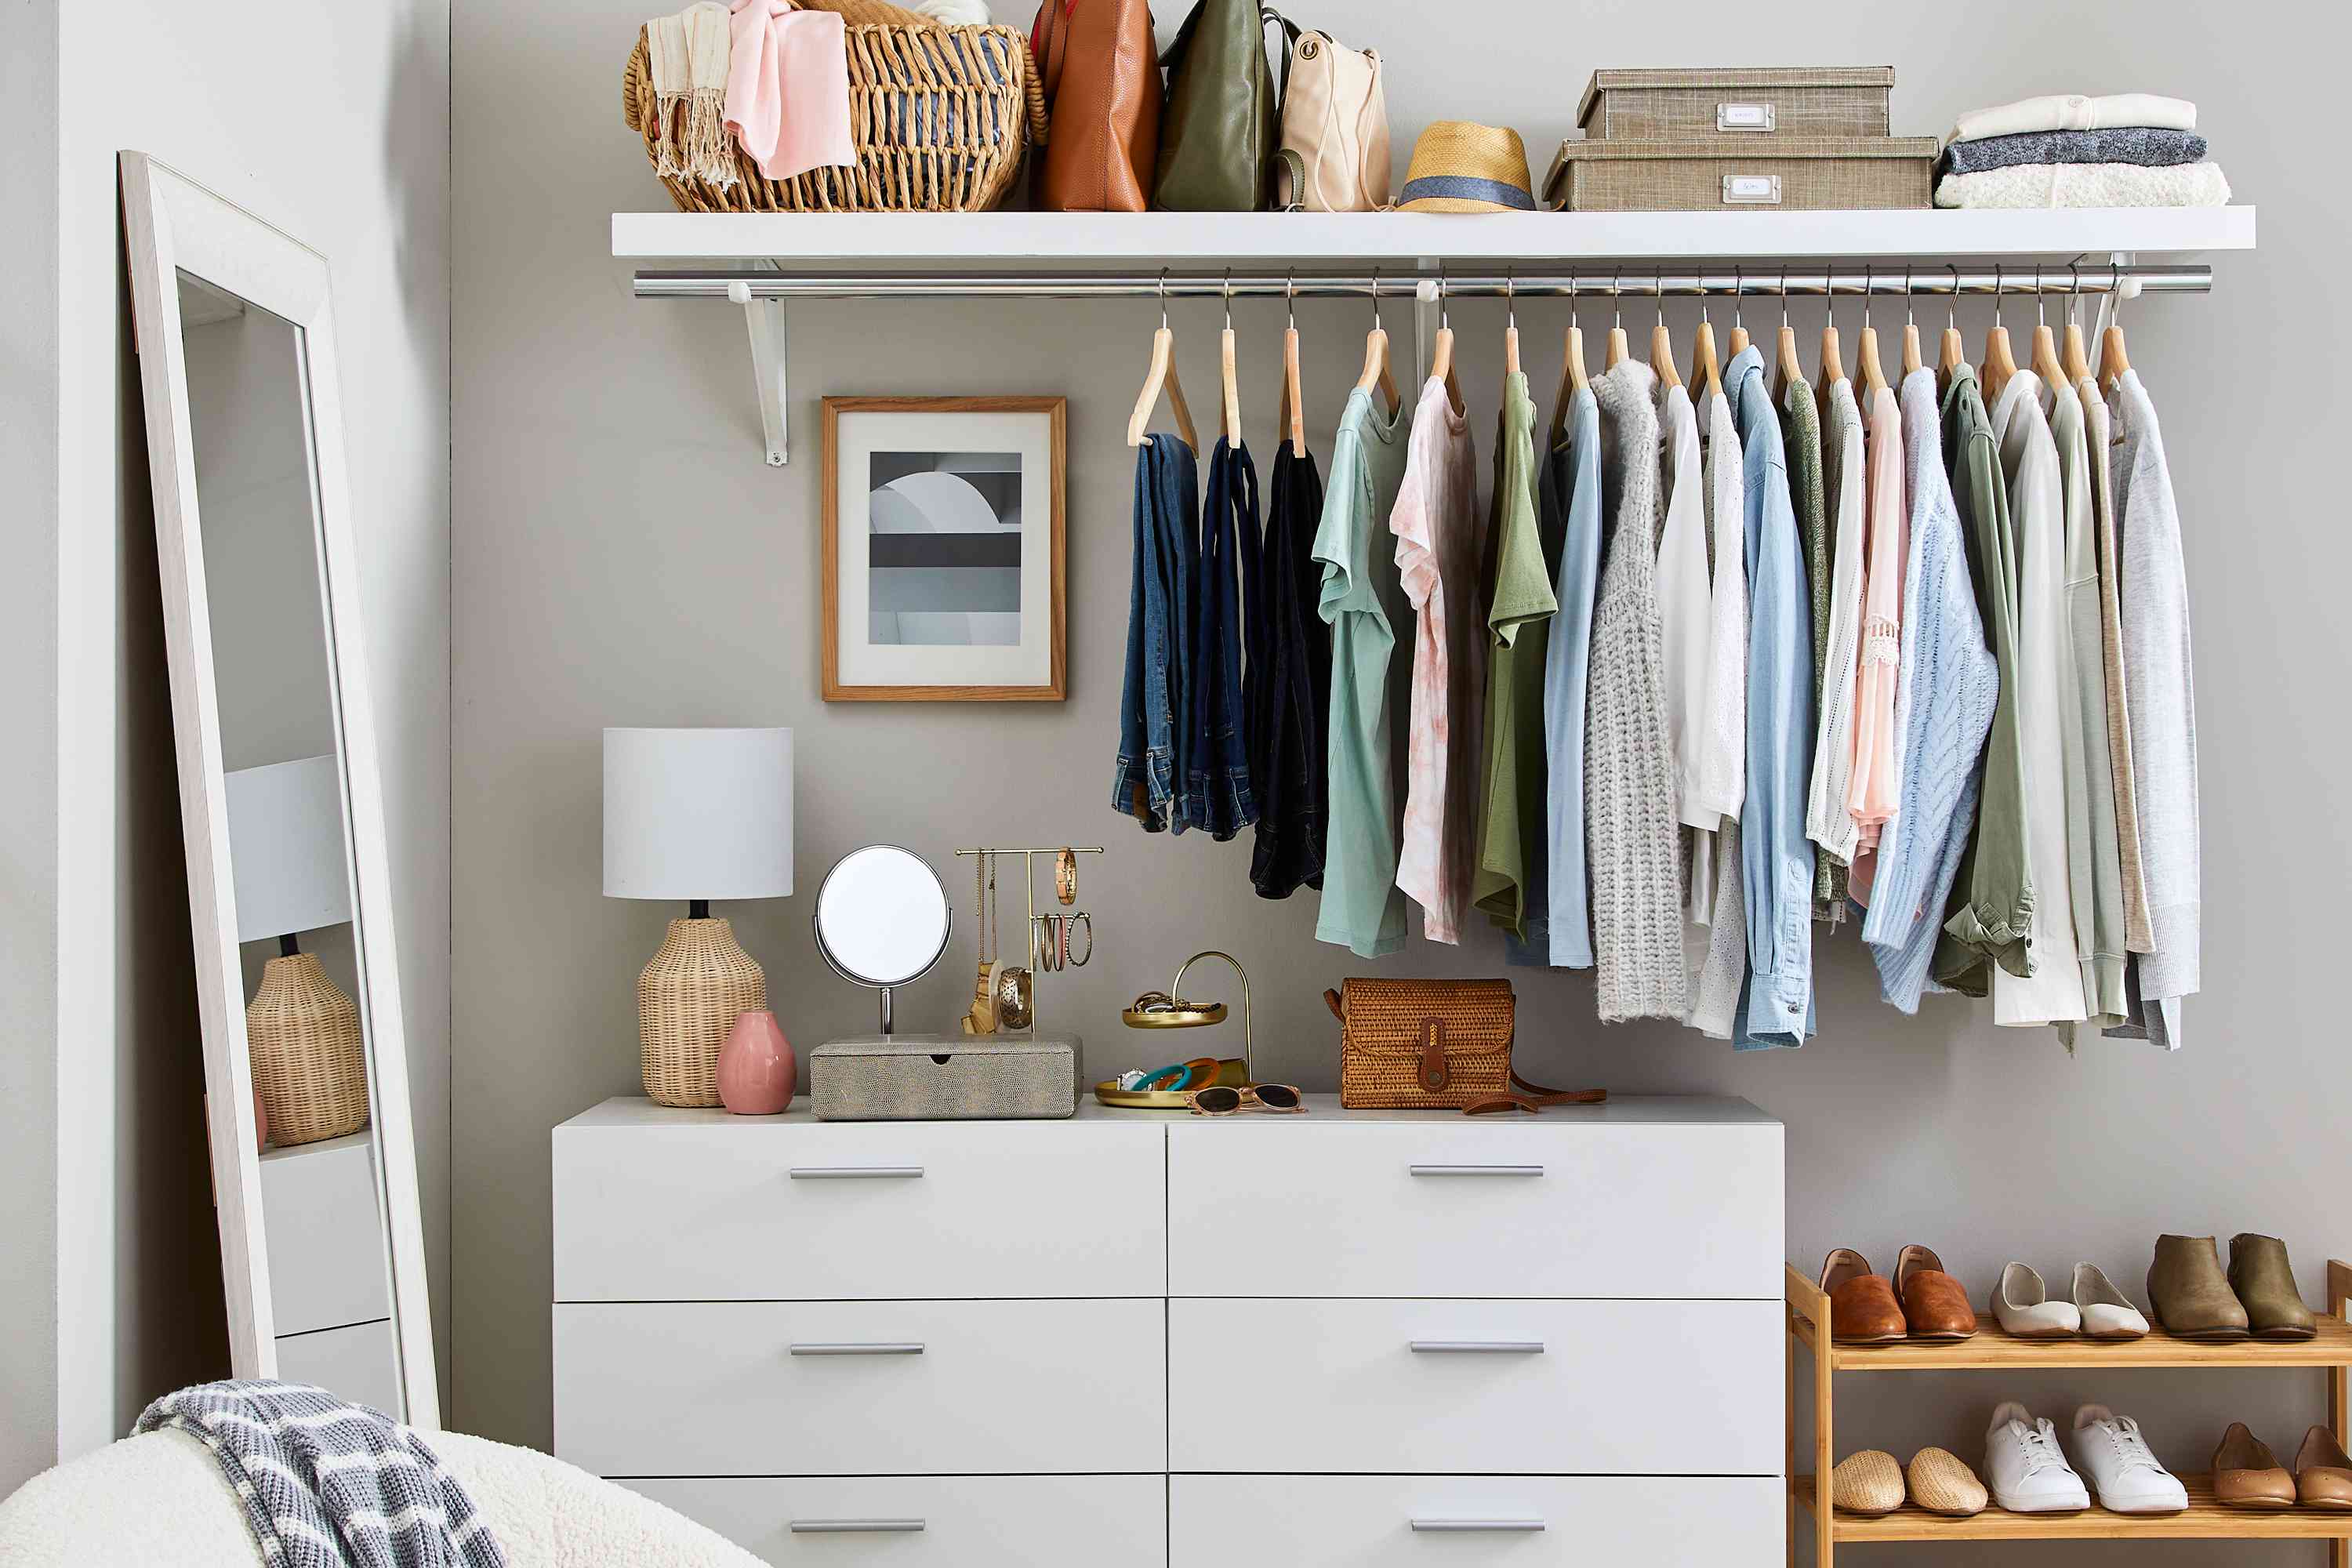
When it comes to furniture, there’s something special about pieces that are built-in. They seamlessly blend into the space, creating a cohesive and customized look that can’t be replicated with standalone furniture. One such example is a built-in dresser, a versatile and functional addition to any room.
If you’re looking to maximize storage and add a touch of elegance to your space, building a built-in dresser is a great option. While it may seem like a challenging project, with the right planning, materials, and tools, you can create a beautiful and practical built-in dresser that perfectly suits your needs and aesthetic.
In this article, we’ll guide you through the step-by-step process of building a built-in dresser. From initial planning and design to final touches and decoration, we’ll provide you with all the information you need to bring your vision to life.
Whether you’re a seasoned DIY enthusiast or just starting out with woodworking projects, this guide is for you. So gather your tools, roll up your sleeves, and let’s get started on creating a stunning built-in dresser that will elevate your space.
Key Takeaways:
- Building a built-in dresser requires meticulous planning, precise measurements, and skilled craftsmanship. From designing the frame to adding finishing touches, each step contributes to creating a functional and beautiful piece of furniture.
- The process of building a built-in dresser is a labor of love, demanding patience, attention to detail, and a passion for woodworking. The result is a custom piece of furniture that seamlessly integrates into your space, bringing both functionality and beauty.
Read more: How To Build A Dresser
Step 1: Planning and Designing
The first step in building a built-in dresser is careful planning and designing. This is where you’ll define the size, style, and functionality of your dresser, ensuring it matches your specific needs and complements the overall design of the room.
Start by assessing the available space where you intend to install the dresser. Take accurate measurements and consider any existing elements, such as windows, doors, or outlets, that may affect the design and placement of your dresser.
Next, determine the size and dimensions of your dresser. Consider factors such as the amount of storage you need, the height and width of the dresser, and any other specific requirements you have. Sketch out a rough blueprint or use design software to visually represent your ideas.
When it comes to the style of your built-in dresser, consider the existing decor and aesthetic of the room. You want the dresser to seamlessly integrate with the surroundings. Choose a style that matches the overall theme, whether it’s modern, rustic, or traditional.
Think about the functionality of your dresser as well. Do you want more drawers or open shelves? Would you like a built-in mirror or a countertop? Consider how you will use the dresser and what features will best serve your needs.
Once you have a clear vision of the size, style, and functionality, it’s a good idea to consult with a professional or experienced carpenter. They can provide valuable insights and advice on the feasibility of your design, materials to use, and potential challenges to anticipate.
Additionally, think about the materials you want to use for your built-in dresser. Consider the durability, aesthetic appeal, and cost of the materials. Common options include solid wood, plywood, or medium-density fiberboard (MDF). Research suppliers and gather quotes to get an idea of the material costs.
By taking the time to carefully plan and design your built-in dresser, you’ll ensure that it’s a perfect fit for your space and that the construction process goes smoothly. With a well-thought-out plan in place, you can proceed to the next step of gathering materials and tools.
Step 2: Gathering Materials and Tools
Once you have finalized the design and dimensions of your built-in dresser, it’s time to gather the necessary materials and tools to bring your vision to life. Having all the materials and tools ready before you start the construction process will help you work efficiently and minimize delays.
Here’s a list of materials you’ll typically need for building a built-in dresser:
- Wood: Choose the appropriate type of wood based on your design, budget, and preferences. You’ll need different sizes and thicknesses of wood for various components, such as the frame, drawers, and shelves.
- Hardware: This includes items like drawer slides, hinges, knobs, and handles. Consider the style and functionality when selecting the hardware.
- Fasteners: Stock up on screws, nails, and other fasteners needed for assembly.
- Finishing Materials: Depending on your preference, you may need paints, stains, varnishes, or other finishes to achieve the desired look for your built-in dresser.
- Tools: Ensure you have a comprehensive set of tools such as a table saw, circular saw, jigsaw, drill, screwdriver, sander, and clamps. These will be essential for cutting, shaping, joining, and finishing the wood.
Remember to consult your design plan and take accurate measurements to determine the quantity of each material you’ll require. It’s always a good idea to purchase a little extra to account for any mistakes or unforeseen circumstances.
With your list of materials ready, it’s time to shop around. Visit local hardware stores, lumberyards, and online retailers to compare prices and options. Consider the quality of the materials and their suitability for your specific project.
While purchasing, keep in mind any additional items you might need, such as safety goggles, gloves, and measuring tools. Safety should always be a priority, so make sure you have the appropriate protective gear for each stage of the construction process.
Once you have all the necessary materials and tools, you’re ready to move on to the next step: preparing the space and taking accurate measurements.
Step 3: Preparing the Space and Measurements
Before you start building your built-in dresser, it’s important to properly prepare the space where it will be installed. This ensures a smooth construction process and helps you achieve accurate measurements for a perfect fit.
First, clear the area where the dresser will be located. Remove any furniture, decorations, or wall hangings that might obstruct your work. This will give you a clear and unobstructed space to work in.
Next, carefully inspect the walls and floors. Check for any unevenness, cracks, or structural issues that may need to be addressed before installation. It’s crucial to have a firm and level surface to ensure the stability and longevity of your built-in dresser.
Once the space is cleared and structurally sound, you can start taking accurate measurements. Begin by measuring the height, width, and depth of the area where the dresser will fit. Be precise and ensure your measurements account for any moldings or trim that may affect the installation.
Use a tape measure, level, and square to ensure your measurements are accurate and square. Take multiple measurements from different points to confirm consistency. Even the slightest discrepancy can affect the fit and functionality of your built-in dresser.
Transfer the measurements to your design plan, indicating the exact dimensions of each component. This will serve as your guide during the construction process, ensuring you cut and assemble the materials correctly.
In addition to the overall dimensions, also consider the placement of any additional features you might have planned, such as shelves, drawers, or countertops. Mark their locations on your plan and take relevant measurements to guide you during construction.
During this stage, it’s also a good idea to consider any electrical or plumbing considerations. For example, if you plan to install built-in lighting or a sink, you may need to coordinate with the respective professionals to ensure the necessary connections are in place.
By properly preparing the space and taking accurate measurements, you’ll set yourself up for success when it comes to the actual construction of your built-in dresser. With the measurements in hand, you can move on to the exciting step of building the frame.
When building a built-in dresser, make sure to measure the space accurately and consider the depth of the dresser to ensure it fits seamlessly into the wall.
Step 4: Building the Frame
Now that you have prepared the space and taken accurate measurements, it’s time to move on to constructing the frame of your built-in dresser. The frame serves as the skeleton of the dresser, providing structure and support for the various components.
Start by cutting the pieces of wood for the frame according to your measurements and design plan. Use a table saw or circular saw to make precise cuts, ensuring all the pieces fit together seamlessly.
Begin by assembling the vertical supports, also known as the stiles, that will form the outer edges of the dresser. Secure them to the wall studs using screws or other appropriate fasteners. Make sure they are level and plumb using a level and square.
Next, attach the horizontal pieces, called the rails, to connect the stiles and create the frame of the dresser. Use wood glue and screws to join the pieces securely. Again, check for levelness and squareness as you go along.
Depending on your design, you may need to add additional support or crosspieces to strengthen the frame and provide stability. These can be placed behind drawers or between shelves for added support.
Pay attention to the alignment and symmetry of the frame as you build. Double-check your measurements and use clamps or braces to hold the pieces in place until the glue dries or the screws are securely fastened.
Once the frame is complete, take a moment to assess its overall stability and ensure it is securely attached to the walls. Make any necessary adjustments as needed.
With the frame in place, you can proceed to the next step of adding shelves and drawers to your built-in dresser, maximizing its functionality and storage space.
Remember to be patient and pay attention to detail as you build the frame. Taking the time to construct a sturdy and well-aligned frame will set the foundation for a high-quality built-in dresser that will stand the test of time.
Read more: How To Build A Dresser Out Of Pallets
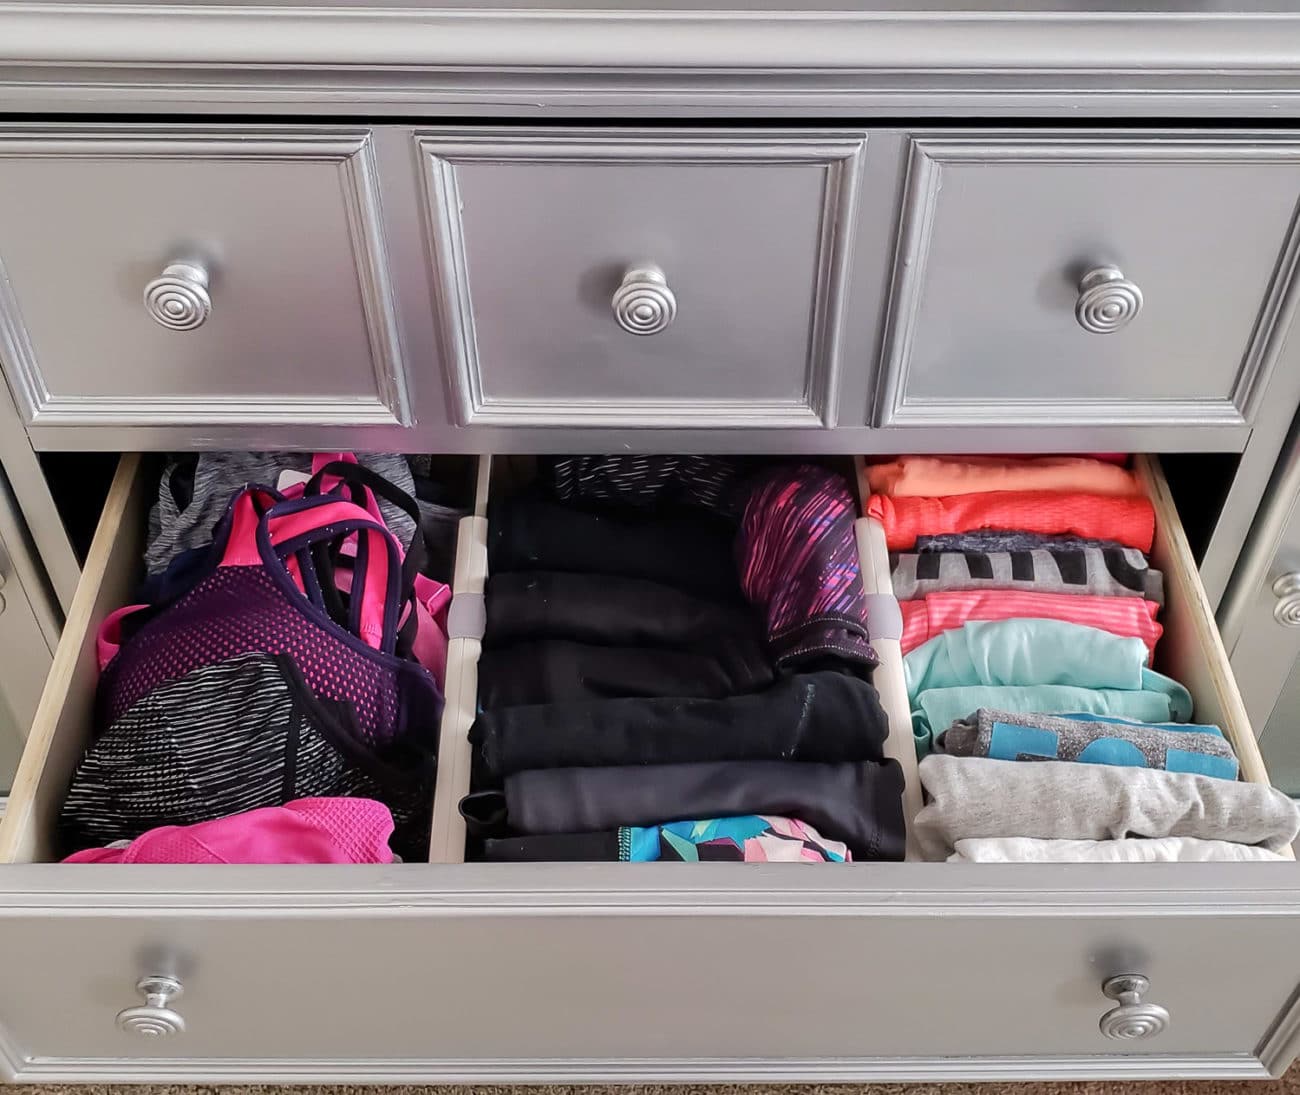
Step 5: Adding Shelves and Drawers
With the frame of your built-in dresser complete, it’s time to move on to the exciting step of adding shelves and drawers. These components will provide the much-needed storage space and organization for your dresser.
Start by measuring and cutting the pieces of wood for the shelves and drawer fronts according to your design plan. Use a table saw or circular saw to ensure clean and precise cuts.
Begin by installing the shelves. Determine the desired spacing between each shelf and mark the locations on the inside of the frame. Attach support brackets or cleats to the side walls of the frame, ensuring they are level and properly aligned.
Place the shelves on top of the support brackets and secure them with screws or appropriate fasteners. Double-check that they are level and adjust as necessary.
Once the shelves are in place, you can move on to installing the drawer slides. Measure and mark the locations for the slides on the inside of the frame and the drawer boxes. Install the slides according to the manufacturer’s instructions, ensuring they are aligned and level.
Next, assemble the drawer boxes using the cut pieces of wood and wood glue. Ensure that the joints are tight and secure for a sturdy construction. Once the glue dries, attach the drawer slides to the boxes and slide them into place on the dresser frame.
Test the drawers to ensure they slide smoothly and are properly aligned. Make any necessary adjustments or fine-tune the slides for optimal functionality.
If desired, you can add drawer fronts to enhance the aesthetic appeal of your built-in dresser. Cut the fronts to the desired size and attach them to the drawer boxes using screws or appropriate fasteners.
Take the time to sand the surfaces of the shelves and drawers to ensure a smooth finish. You can also apply paint, stain, or varnish to match the desired look of your dresser. Follow the manufacturer’s instructions for the chosen finish to achieve the best results.
With shelves and drawers in place, your built-in dresser is ready for the final step: the finishing touches and decoration.
Remember to take care when handling the shelves and drawers, ensuring they are securely attached and aligned for a functional and beautiful built-in dresser.
Step 6: Finishing Touches and Decoration
Congratulations on nearing the completion of your built-in dresser! The final step involves adding the finishing touches and decorations to enhance the overall look and feel of your masterpiece.
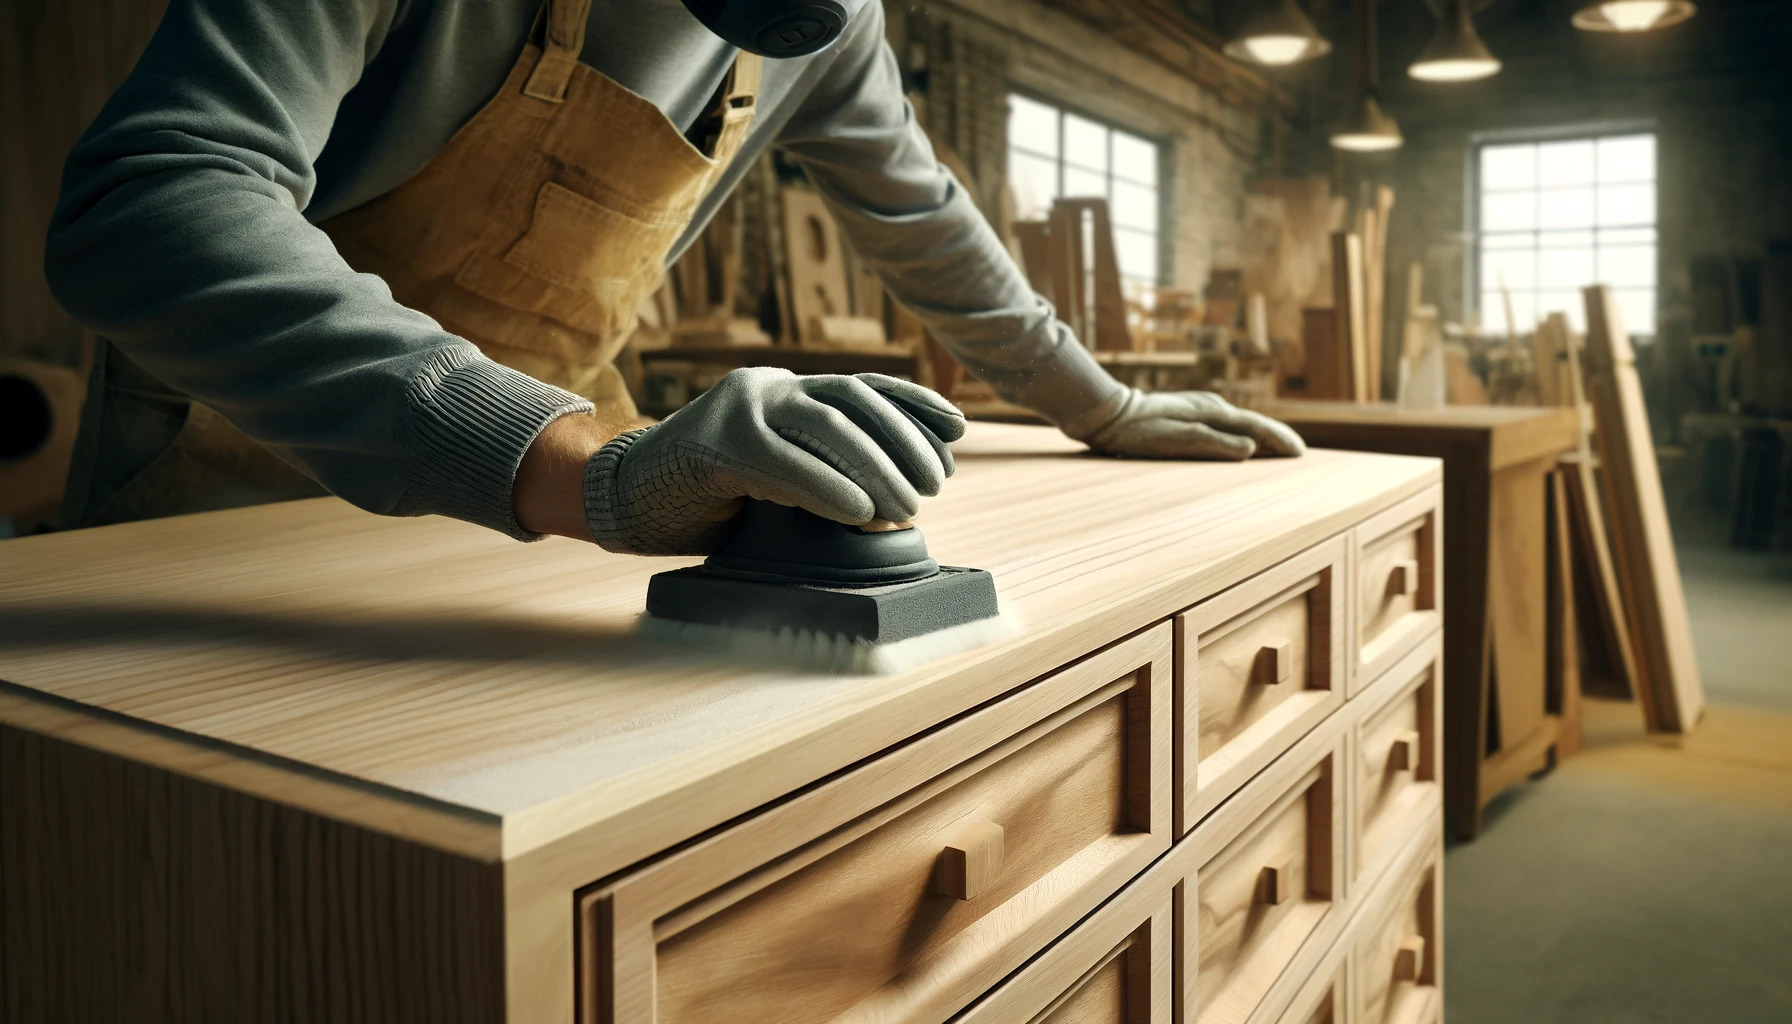
Begin by sanding down any rough edges or surfaces to create a smooth and polished finish. Use sandpaper with a medium grit to gently remove any imperfections. Follow up with a finer grit sandpaper for a silky-smooth touch.
After sanding, wipe down the dresser to remove any dust or debris. This will ensure a clean surface for your chosen finish.
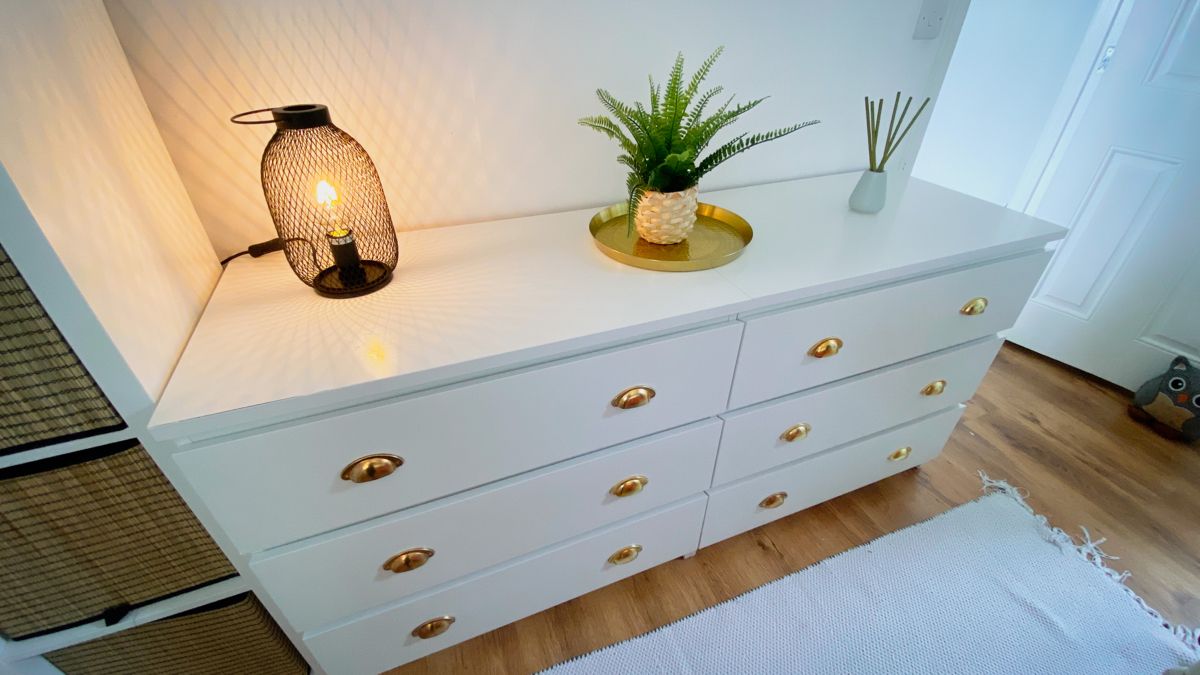
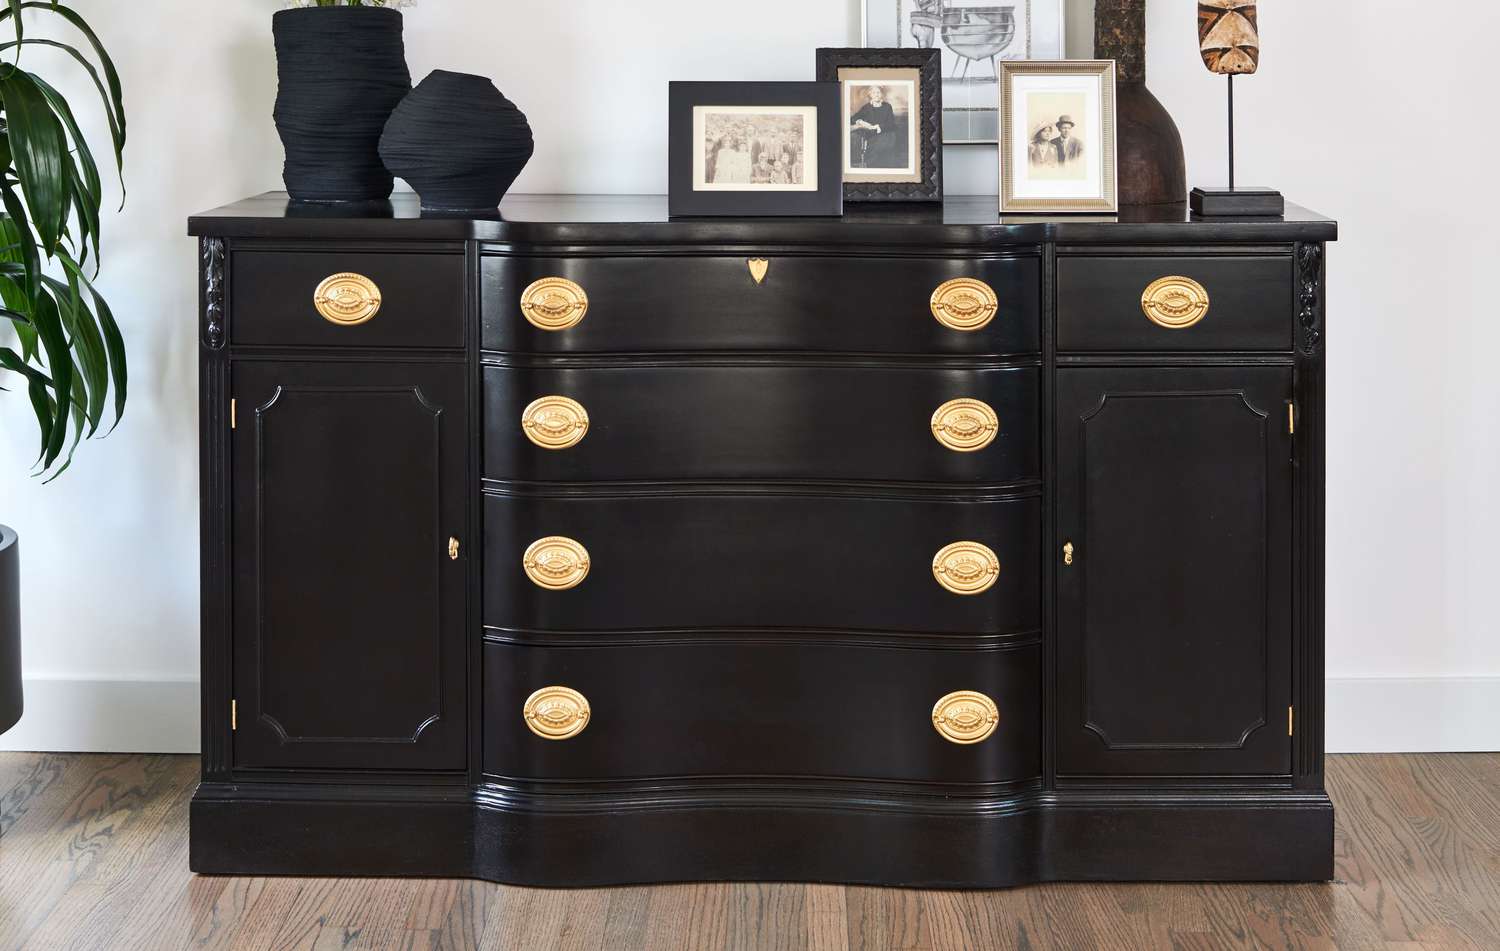
If you prefer a natural wood look, you can apply a clear varnish or wood stain to protect the wood and enhance its natural beauty. Alternatively, you can choose to paint the dresser in a color that matches your room’s decor or creates a statement piece.
Once the finish is dry, it’s time to add the hardware. Install the knobs, handles, or pulls on the drawers and door fronts. Consider styles that complement your design and personal taste. This hardware not only adds functionality but also adds a decorative element to your dresser.
To add a personal touch, you can also consider decorative accents such as trim or molding. These details can elevate the visual appeal of your built-in dresser and tie it into the surrounding decor.
Now it’s time to step back and admire your hard work! Take a moment to ensure that everything looks aligned, balanced, and cohesive. Make any final adjustments or touch-ups as needed.
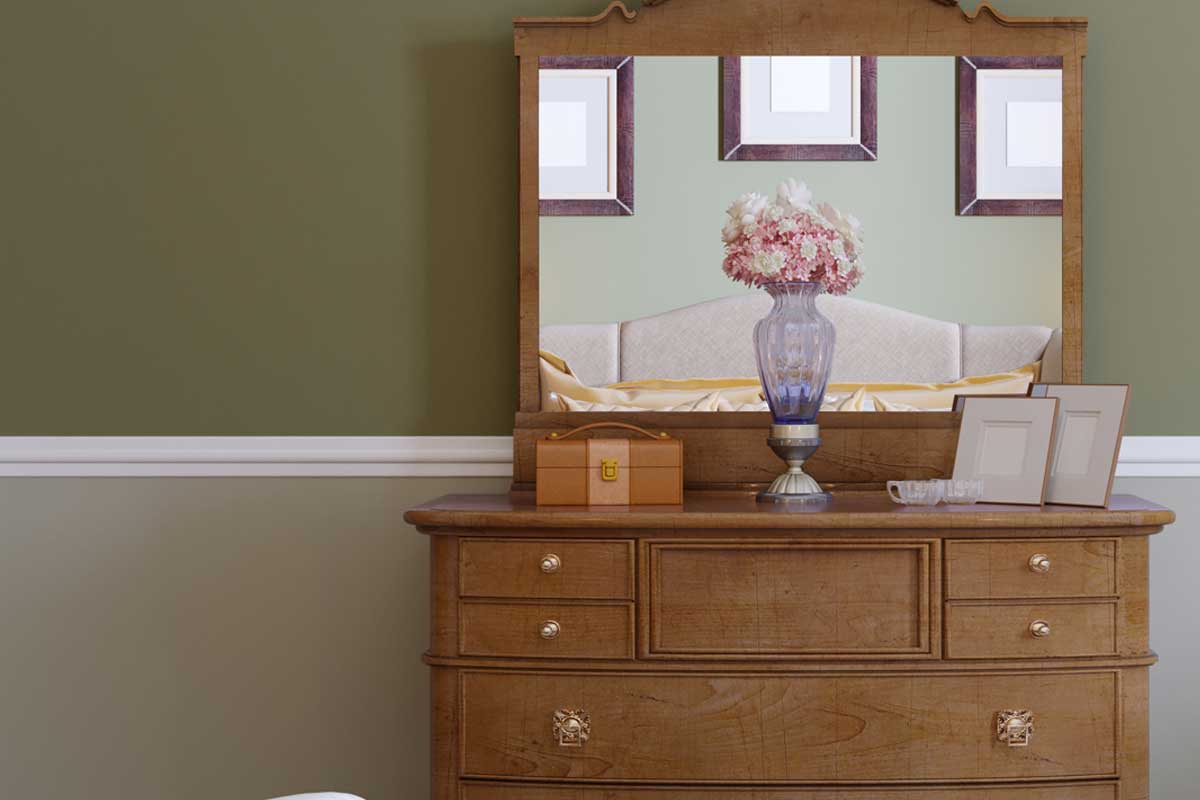
Finally, organize and decorate the shelves and drawers of your built-in dresser. Display your favorite items, arrange clothing and accessories, and add decorative elements such as plants, framed photos, or stylish storage boxes. These finishing touches will make your built-in dresser not only functional but also a beautiful focal point in the room.
With the finishing touches complete, stand back and appreciate the transformation you’ve made with your built-in dresser. It’s now ready to store your belongings, enhance your space, and bring joy to your everyday life.
Remember, building a built-in dresser requires patience, attention to detail, and a passion for woodworking. Take pride in your accomplishment and enjoy the benefits of a custom piece of furniture that perfectly fits your needs, style, and space.
Conclusion
Building a built-in dresser is a fulfilling and rewarding project that can elevate the functionality and aesthetic appeal of any room. With careful planning, precise measurements, and skilled craftsmanship, you can create a stunning piece of furniture that seamlessly integrates into your space.
Throughout this guide, we’ve walked you through the step-by-step process of building a built-in dresser. From the initial planning and design stage to adding the finishing touches, each step contributes to the creation of a functional and beautiful piece of furniture.
Remember to take the time to plan and design the dresser according to your specific needs and the style of your room. Consider the materials and tools you’ll need, taking into account durability, cost, and overall aesthetic. Gather all the necessary materials and ensure the space is properly prepared before beginning construction.
As you build the frame, pay attention to detail, ensuring it is sturdy, level, and secure. Add shelves and drawers to maximize storage and organization. Take the time to sand and finish the surfaces, and consider adding decorative elements to personalize your dresser.
Finally, add the finishing touches and decorations that make your built-in dresser truly your own. Arrange items on the shelves, add hardware, and incorporate decorative accents to tie the dresser into the overall design of the room.
Building a built-in dresser is a labor of love, requiring patience, skill, and attention to detail. But the result is a custom piece of furniture that brings both functionality and beauty to your space. Enjoy the satisfaction of your accomplishment and savor the joy of using a dresser that is uniquely tailored to your needs.
So, gather your materials, sharpen your tools, and embark on the journey of building your own built-in dresser. Take your time, embrace the process, and revel in the satisfaction of creating a functional and stylish addition to your home.
Disclaimer: Always ensure proper safety precautions are taken when working with tools and materials. If you are unsure about any aspect of the construction process, consult a professional to ensure a safe and successful build.
Frequently Asked Questions about How To Build A Built-In Dresser
Was this page helpful?
At Storables.com, we guarantee accurate and reliable information. Our content, validated by Expert Board Contributors, is crafted following stringent Editorial Policies. We're committed to providing you with well-researched, expert-backed insights for all your informational needs.


0 thoughts on “How To Build A Built-In Dresser”