Articles
How To Pack Wall Art For Moving
Modified: January 18, 2024
Learn how to pack your wall art for a move with these helpful articles. Explore expert tips and techniques to ensure your artwork stays protected and arrives safely at your new destination.
(Many of the links in this article redirect to a specific reviewed product. Your purchase of these products through affiliate links helps to generate commission for Storables.com, at no extra cost. Learn more)
Introduction
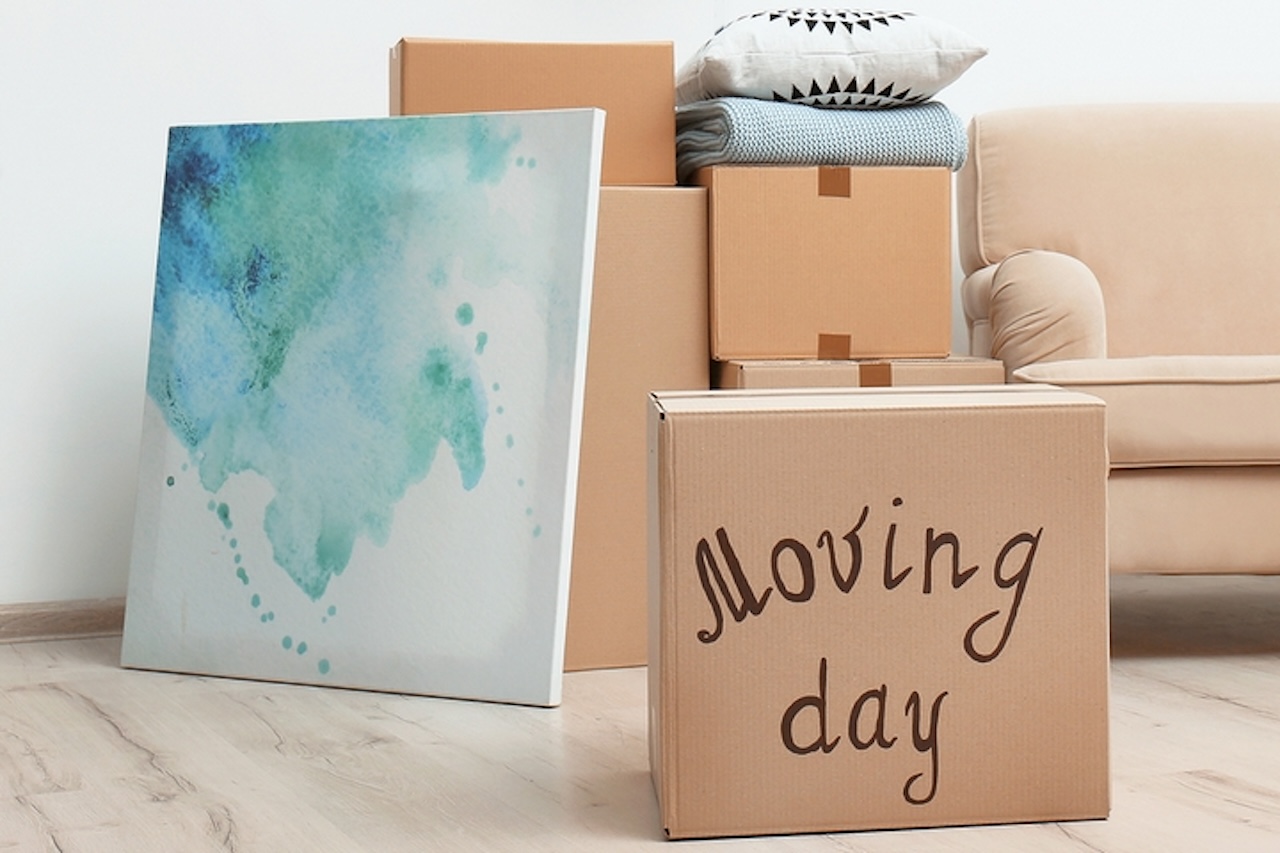
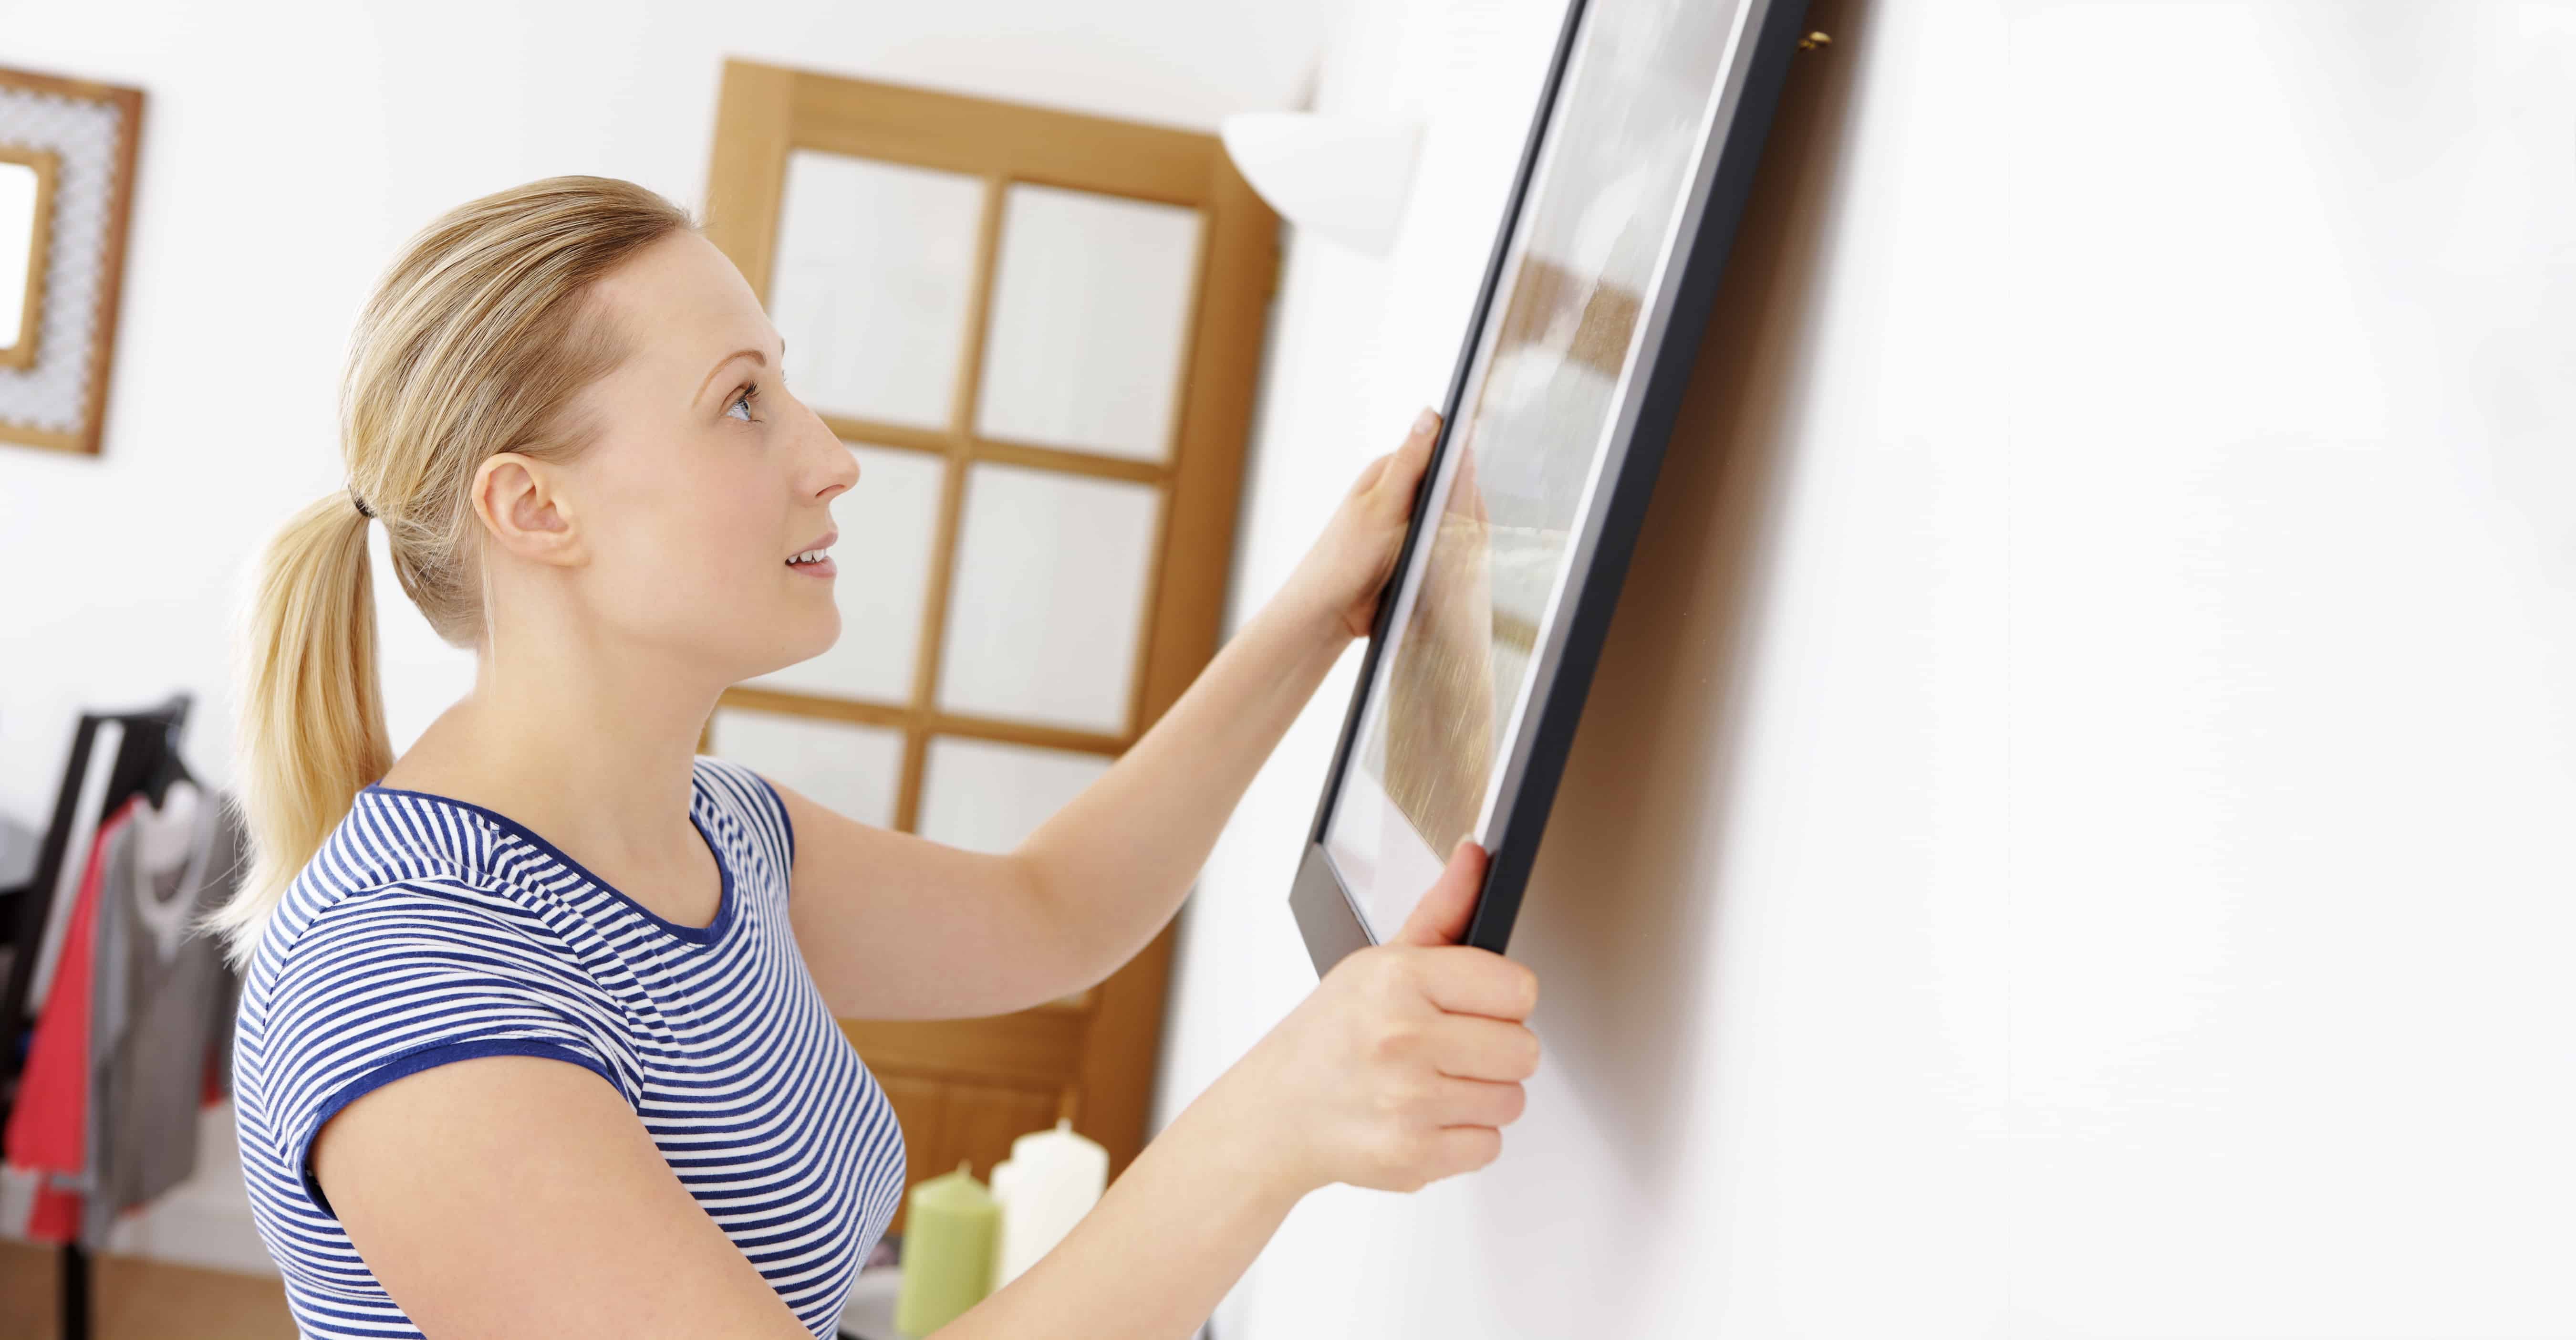
Moving can be a stressful and overwhelming process, especially when it comes to packing delicate and valuable items such as wall art. Whether you have an extensive art collection or a few cherished pieces, it is essential to handle them with care to ensure they arrive at your new home in pristine condition.
Properly packing wall art requires attention to detail and the right materials. This article will guide you through the process of packing your wall art during a move, ensuring that your cherished pieces survive the journey unscathed. We will cover everything from assessing your artwork and gathering the necessary supplies to wrapping techniques and secure transportation.
By following these guidelines, you can have peace of mind knowing that your treasured wall art is protected and ready for the move.
So let’s dive into the steps involved in packing wall art effectively and safely.
Key Takeaways:
- Properly assess your wall art’s size, fragility, and value to determine the right packing materials and techniques, ensuring its safe transport during a move.
- Safeguard your wall art by using high-quality packing supplies, wrapping techniques, and strategic protection during transit, ensuring its preservation and safe arrival at your new home.
Read more: How To Pack A Wall Clock For Moving
Assessing Your Wall Art
Before you begin packing your wall art, it is crucial to assess the various aspects of each piece. By doing so, you can determine the appropriate packing materials and techniques needed to protect them during the move.
Start by examining the size and weight of your art. Larger and heavier pieces may require extra reinforcement and specialized packaging to prevent damage. Measure the dimensions of each piece and take note of any protruding elements, such as frames or sculptures.
Next, consider the fragility of your artwork. Determine if you have any delicate items, such as glass or ceramic pieces, that require additional care during packing. Take note of any loose or fragile elements within the artwork that need to be secured properly.
Additionally, assess the value of your wall art. If you have valuable or sentimental pieces, you may want to consider purchasing additional insurance for them during the move.
Lastly, think about the type of wall art you have. Do you have paintings, prints, posters, or photographs? Each type may require slightly different packing techniques and materials.
By carefully assessing your wall art in terms of size, weight, fragility, value, and type, you can proceed with confidence in choosing the right packing materials and techniques for each piece. This initial assessment will help ensure that your wall art remains safe and undamaged during transport.
Gather Packing Supplies
Once you have assessed your wall art, it’s time to gather the necessary packing supplies. Having the right materials on hand will ensure that you can pack your artwork securely and protect it during the moving process.
Here’s a list of essential packing supplies you’ll need:
- Artwork boxes: These are specially designed boxes with adjustable sizes to accommodate different art dimensions. They provide extra protection and secure the artwork in place during transit.
- Cardboard corners: These are triangular or L-shaped cardboard pieces that are used to protect the corners of your framed artwork or canvases from getting damaged.
- Bubble wrap: Bubble wrap acts as a cushioning material, providing protection against bumps and shocks. Wrap your artwork in multiple layers of bubble wrap, ensuring every part is adequately covered.
- Packing paper: Use packing paper to wrap the artwork before applying bubble wrap. It helps protect the surface of the artwork and prevents scratches or smudges.
- Tape: High-quality packing tape is necessary to secure the wrapping and seal the boxes. Use wide, strong tape for added reinforcement.
- Markers: Markers are essential for labeling the boxes with the contents and destination room. Use waterproof markers to ensure the labels stay legible throughout the move.
- Corner protectors: These are foam or plastic protectors that fit onto the corners of frames or other fragile elements to prevent any damage or shifting during transit.
- Moving blankets: Moving blankets provide an extra layer of protection for larger wall art pieces. Wrap the artwork in a moving blanket before placing it in a box.
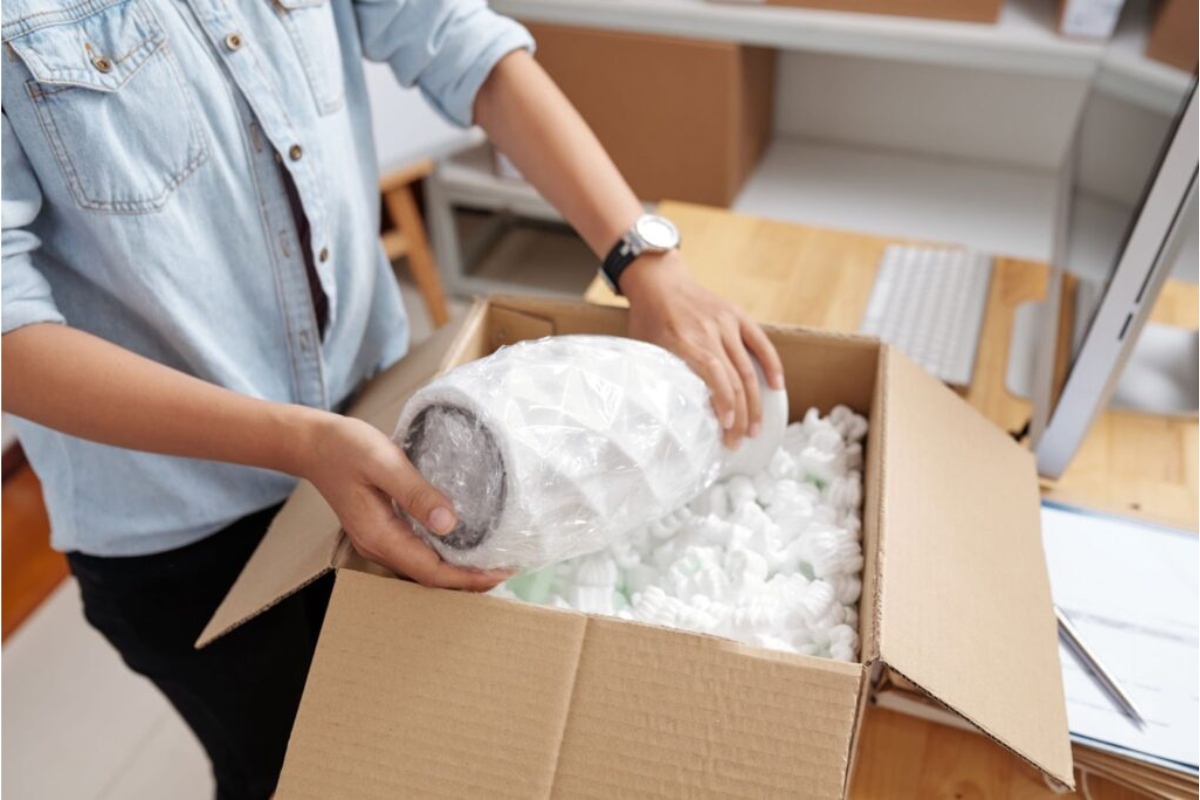
- Styrofoam sheets or peanuts: These can be used to fill any empty spaces within the boxes and provide additional cushioning.
- Scissors and box cutters: These tools will come in handy for cutting bubble wrap, tape, or any other materials during the packing process.
Make sure you have enough of each supply based on the number and size of your wall art pieces. It’s better to have extra supplies on hand than to run out in the middle of packing.
Gathering these packing supplies in advance will save you time and ensure that you have everything you need to properly protect your wall art during the move.
Preparing the Artwork
Before you begin packing your wall art, it’s important to prepare the artwork itself to ensure it is in the best condition for the move. This involves proper cleaning and taking necessary precautions to protect the delicate surfaces.
Here are some steps to follow when preparing your artwork:
- Clean the artwork: Use a soft, lint-free cloth or a clean brush to gently remove any dust or dirt from the surface of the artwork. Avoid using any harsh chemicals or cleaning solutions, as they may damage the artwork.
- Remove hanging hardware: Take off any hanging hardware, such as nails or hooks, from the back of the artwork. This will help prevent any damage or shifting during the packing process.
- Secure loose elements: If your artwork has any loose elements, such as protruding pieces or fragile attachments, make sure to secure them properly before packing. Use a gentle adhesive or tape to hold them in place.
- Protect delicate surfaces: For artwork with delicate surfaces, like oil paintings or pastel drawings, consider using a layer of glassine paper or acid-free tissue paper to protect the surface from sticking to the wrapping materials.
- Take photographs: It’s a good idea to take photographs of your wall art before packing. These photos can serve as references for insurance purposes or as a visual record in case of any damage during the move.
By thoroughly preparing your artwork, you can reduce the risk of damage and ensure that it remains in optimal condition during the moving process. Taking these steps will help safeguard your valuable wall art and provide peace of mind as you transition to your new home.
Choosing the Right Packaging
Choosing the right packaging materials is essential for keeping your wall art safe during the moving process. The packaging should provide adequate protection against impacts, vibrations, and any potential moisture or environmental damage.
Here are some factors to consider when selecting the appropriate packaging for your wall art:
- Artwork boxes: Opt for sturdy, corrugated cardboard boxes specifically designed for artwork. These boxes come in various sizes and are adjustable to accommodate different dimensions of wall art. Ensure that the boxes are in good condition, without any tears or damages.
- Foam or bubble wrap: Use foam sheets or bubble wrap to provide cushioning around the artwork. Wrap the artwork in multiple layers to protect it from any jostling or impact during transit.
- Cardboard corners: For framed artwork, use cardboard corners to protect the delicate corners from getting damaged during the move.
- Packing peanuts or styrofoam: Fill any empty spaces in the boxes with packing peanuts or styrofoam to prevent shifting and provide additional cushioning.
- Moving blankets: For large or oversized wall art pieces, wrap them in moving blankets before placing them in the boxes. The blankets will provide an extra layer of protection against scratches and bumps.
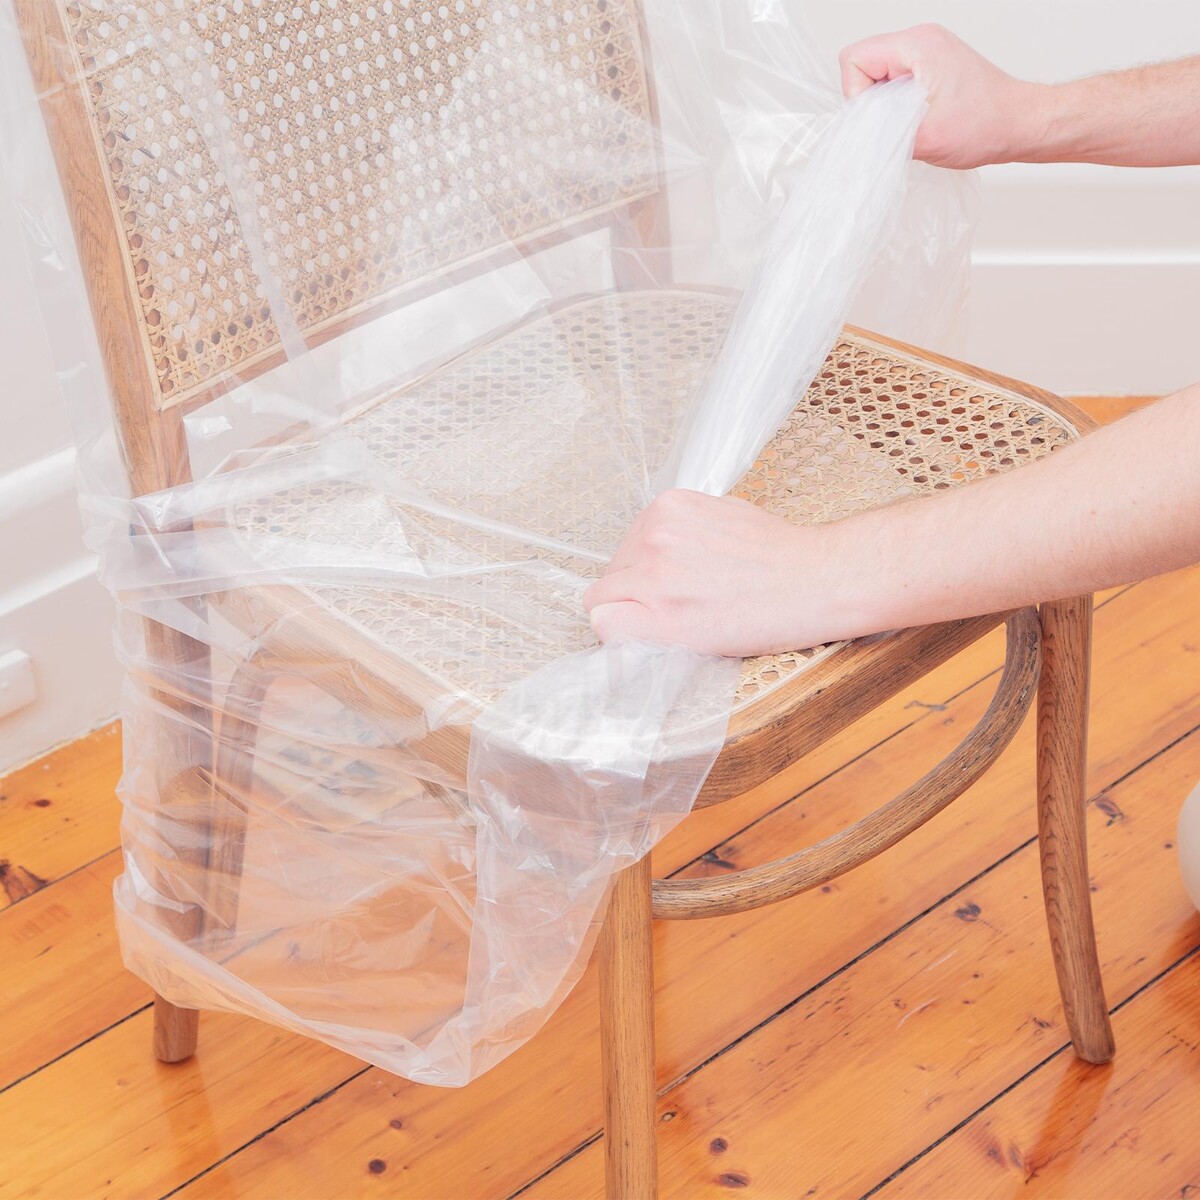
- Plastic wrap: If you have multiple pieces stacked together, use plastic wrap to secure them. This will prevent them from rubbing against each other and causing any scratches or damage.
When packing multiple pieces together, be sure to place a layer of protective material, such as foam or cardboard, between each piece to prevent them from scratching or damaging each other.
Remember, different types of wall art may require specific packaging considerations. For example, delicate glass or framed artworks might require additional layers of protection, while unframed canvases might need a different type of packaging to prevent any stretching or damage to the edges.
By carefully choosing the right packaging materials and techniques, you can ensure that your wall art is well-protected and ready for transportation to your new home.
Read more: How To Pack Glassware For Moving
Wrapping Techniques
Properly wrapping your wall art is crucial to protect it from potential damage during the moving process. The wrapping materials should provide cushioning, prevent scratches, and keep the artwork secure within its packaging.
Here are some wrapping techniques to follow:
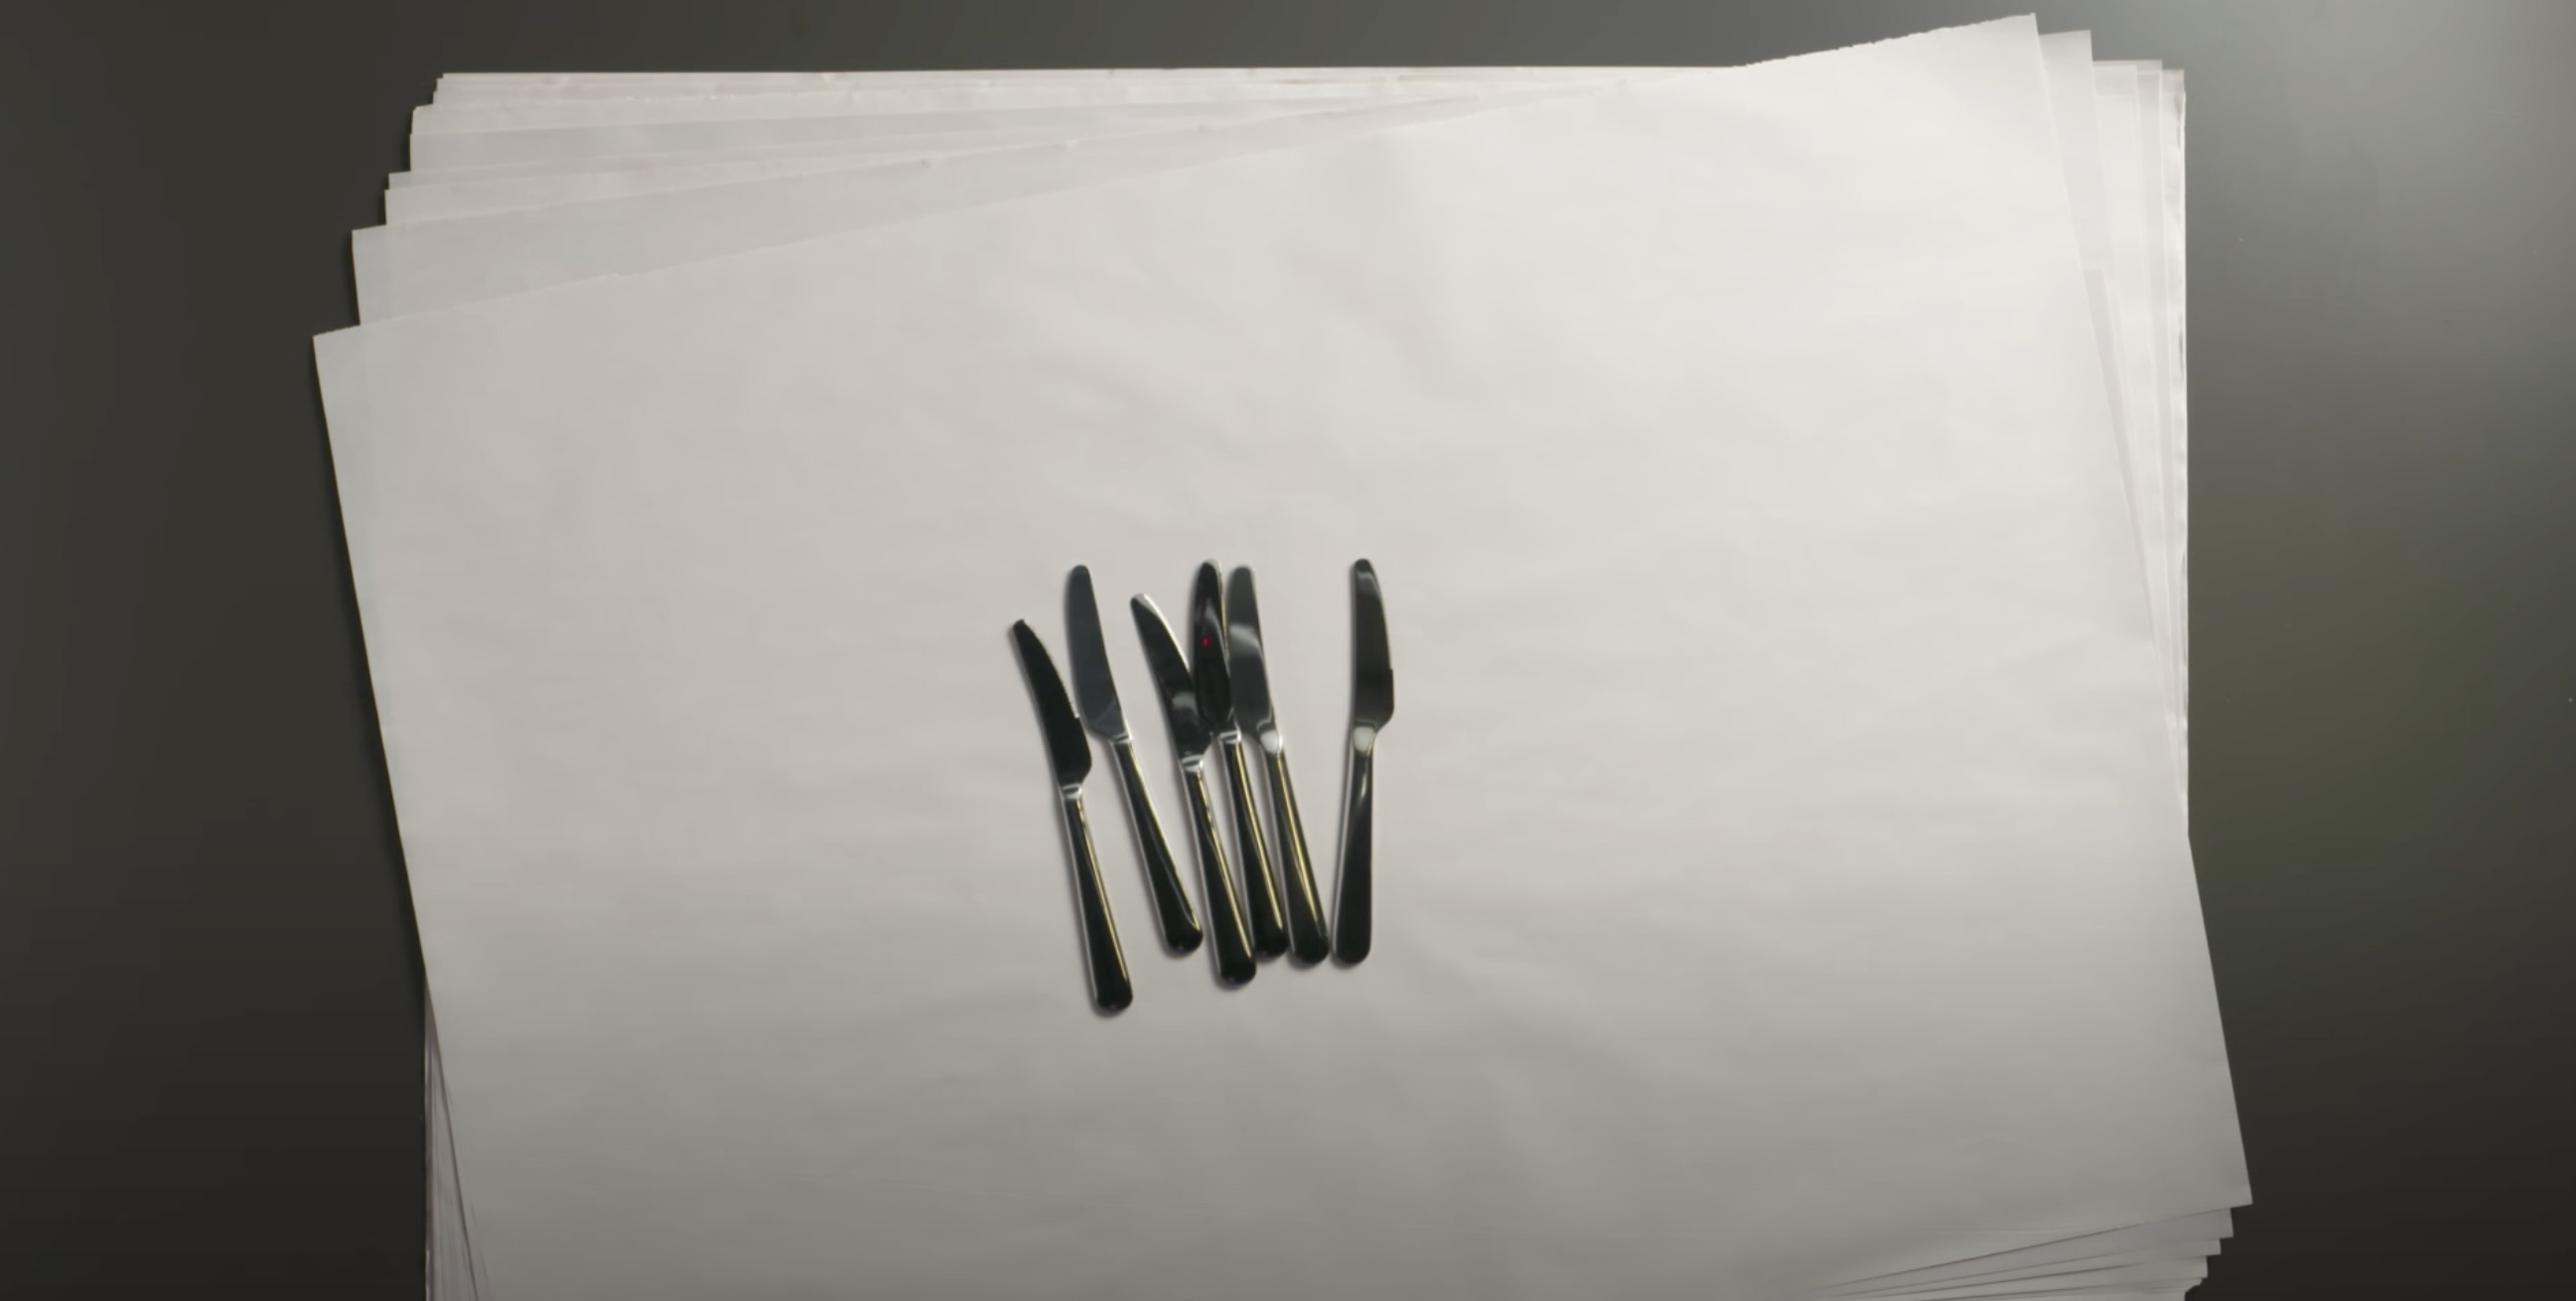
- Start with a layer of packing paper: Lay a sheet of packing paper on a clean surface and place your wall art on top of it.
- Perimeter wrap: Wrap the artwork with multiple layers of packing paper, starting from one side and working your way around. Ensure that all edges and corners are covered properly.
- Protective layer of bubble wrap: Once the artwork is wrapped in packing paper, cover it with a layer of bubble wrap. Use wide bubble wrap for larger pieces or delicate artwork that requires extra protection.
- Tape the bubble wrap: Secure the bubble wrap in place using packing tape. Make sure to tape all edges and corners to prevent it from unraveling during transit.
- Secure with cardboard corners: If your artwork is framed, place cardboard corners on each corner to provide additional protection.
- Plastic wrap: For multi-piece wall art or stacked artwork, use plastic wrap to hold them together. This will prevent them from shifting or rubbing against each other.
When wrapping delicate or high-value artwork, consider using acid-free tissue paper or glassine paper between the artwork and the bubble wrap. These materials will provide an added layer of protection for sensitive surfaces.
Remember to wrap each piece individually, even if you are packing multiple artworks together, to avoid any potential damage. Grouping similar-sized pieces together can help optimize space and minimize movement within the packaging.
By following these wrapping techniques, you can ensure that your wall art is well-protected, minimizing the risk of scratches, bumps, or other damage during the moving process.
Securing the Art in Boxes
Once your wall art is properly wrapped, it’s time to secure it in the appropriate boxes for safe transportation. The goal is to prevent any shifting, minimize the risk of damage, and ensure that the artwork stays in place during the move.
Follow these step-by-step instructions for securing your wrapped artwork in boxes:
- Choose the right-sized box: Select an artwork box that accommodates the size and dimensions of your wall art. Make sure there is enough room for padding and additional protective materials.
- Add padding: Place a layer of packing peanuts or crumpled packing paper at the bottom of the box to provide cushioning.
- Position the artwork: Carefully place your wrapped artwork inside the box, ensuring that the bottom edges of the artwork are resting on the cushioning material.
- Add more padding: Fill any empty spaces around the artwork with additional packing peanuts, crumpled packing paper, or foam sheets. Ensure that the artwork is snugly fit in the box and cannot move around.
- Layering: For multiple pieces or stacked artwork, place a layer of protective material, such as foam sheets or cardboard, between each piece to prevent them from rubbing against each other.
- Seal the box: Once the artwork is securely positioned and surrounded by padding, close the box and seal it with high-quality packing tape. Reinforce all seams and edges to ensure the box remains intact.
- Label the box: Clearly label the box with “Fragile” and “Handle with Care” to inform movers of its delicate contents. You can also include a description of the artwork inside for organizational purposes.
Remember to label each box with the room where the artwork belongs in your new home. This will make unpacking and organizing much easier when you reach your destination.
Properly securing your wrapped artwork in boxes will provide an additional layer of protection and ensure that it arrives at its destination in the same condition as when it was packed.
Labeling the Boxes
Labeling the boxes containing your packed wall art is crucial for a smooth and organized move. Properly labeling the boxes will make it easier for the movers to handle them with care and ensure that each box is placed in the correct room upon arrival at your new home.
Here are some guidelines for labeling your wall art boxes:
- Mark as “Fragile”: Clearly mark each box containing wall art as “Fragile” to alert the movers and anyone handling the boxes that they require special care during transportation. This will help prevent rough handling or accidental damage.
- Indicate contents: Provide a brief description of the contents on the outside of each box. For example, you can write “Wall Art – Living Room” or “Framed Paintings – Bedroom” to easily identify the contents of each box.
- Use waterproof markers: Ensure that the markers you use for labeling are waterproof. This will prevent the labels from smudging or becoming illegible in case of exposure to moisture during the move.
- Label all sides: When labeling the boxes, make sure to mark all sides. This will allow the labels to be visible no matter how the boxes are stacked or placed during transportation.
- Color code: If you have multiple types of wall art or artwork going to different rooms, consider using a color coding system. Assign a specific color to each room and mark the boxes accordingly. This will make it easier for movers to identify where each box belongs.
- Keep an inventory: Maintain an inventory list of all your packed wall art, including a brief description and box number for each piece. This will help you track and account for all your artwork during the move.
By labeling your wall art boxes clearly and efficiently, you can ensure that the movers handle them with care and that they are easily identified and placed in the appropriate rooms in your new home. This will make the unpacking process smoother and more organized.
When packing wall art for moving, use bubble wrap or cardboard to protect the surface, and secure it with packing tape. Place it in a sturdy box and label it as fragile.
Handling Special Types of Wall Art
When it comes to handling special types of wall art, such as canvases, framed prints, mirrors, or other delicate pieces, it’s important to take extra precautions during the packing process. These unique items require specific considerations to ensure their safe transportation and protection.
Here are some tips for handling special types of wall art:
- Canvases: For unframed canvases, cover the front with acid-free tissue paper or glassine paper before wrapping in bubble wrap. This will protect the surface from sticking to the wrapping materials. Avoid placing heavy items on top of the canvas to prevent any damage.
- Framed prints and photographs: Use cardboard corners to protect the delicate frames when wrapping them. If the glass in the frame is breakable, consider using masking tape to create a diagonal “X” across the glass surface. This will help prevent shattering in case of any impact.
- Mirrors: Place masking tape or painter’s tape in a crisscross pattern across the glass surface of the mirror. This will help secure the glass in case of any breakage. Wrap the mirror in bubble wrap, ensuring the corners and edges are well-padded.
- 3D or delicate sculptures: Wrap delicate sculptures individually in bubble wrap, making sure to cover any fragile or protruding parts. Use a generous amount of packing peanuts or crumpled packing paper to fill any empty spaces for added protection.
- High-value or antique artwork: If you have valuable or antique artwork, consider consulting with a professional art handler or mover for specialized packing and handling. They can provide expert advice on custom crates, climate-controlled transportation, and additional insurance.
Remember to label the boxes containing special types of wall art with extra care and caution. Clearly mark them as fragile and provide a detailed description of the contents to ensure proper handling and unpacking.
By following these guidelines for handling special types of wall art, you can help protect these delicate pieces and ensure that they arrive safely at your new home.
Read more: How To Pack A Mattress For Moving
Protecting Wall Art during Transit
Protecting your wall art during transit is crucial to ensure its safety and prevent damage. While proper packing and labeling help safeguard your artwork, there are additional tips you can follow to provide extra protection during the journey.
Here are some tips for protecting your wall art during transit:
- Stack boxes properly: When loading the moving truck, place your packed wall art boxes upright and avoid stacking heavy items on top of them. This will prevent any pressure or crushing that can damage the artwork.
- Secure boxes in the truck: Use straps or ropes to secure the boxes in place within the moving truck. This will prevent them from sliding or shifting during transport.
- Avoid extreme temperatures: If possible, try to avoid exposing your wall art to extreme temperatures during the move. Extreme heat or cold can damage certain types of artwork, especially those made with fragile materials.
- Be cautious while unloading: When unloading the boxes, handle them with care and avoid dropping or tossing them. Treat each box as fragile, regardless of its content.
- Unpack the wall art first: When you arrive at your new home, prioritize unpacking and setting up your wall art. This will minimize the amount of time it spends in boxes and reduce the risk of damage.
- Hang artwork properly: When hanging your wall art in your new home, ensure that you use appropriate hanging hardware and follow the manufacturer’s instructions. This will prevent any accidents or damage caused by unstable or improper hanging.
- Inspect for damage: After unpacking, carefully inspect each piece of wall art for any signs of damage. If you notice any, document it with photographs and contact your moving company or insurance provider to initiate a claim if necessary.
- Consider professional movers: If you have valuable or delicate artwork that requires extra care, it may be worth considering hiring professional movers with experience in handling and transporting artwork. They will have the expertise and specialized equipment to ensure maximum protection.
By implementing these tips, you can give your wall art an added layer of protection during transit and ensure that it arrives at your new home in the best possible condition.
Loading and Unloading
Loading and unloading your packed wall art with proper care and technique is essential to prevent any damage during the moving process. By following specific strategies and guidelines, you can ensure that your artwork remains protected and intact.
Here are some strategies for preventing damage to your artwork during the loading and unloading process:
- Clear pathways: Before loading or unloading, ensure that the pathways are clear of obstacles and debris to prevent tripping hazards and accidents.
- Communicate with the moving team: Clearly communicate with the movers about the fragility of your wall art and provide any specific instructions or handling requirements.
- Use proper lifting techniques: If you are helping with the loading and unloading process, use proper lifting techniques to avoid strain and ensure the safe handling of the artwork. Bend your knees, use your leg muscles, and lift with your core to minimize the risk of dropping or damaging the boxes.
- Team lifting: For larger or heavier wall art, enlist the help of additional people to distribute the weight evenly and prevent any strain or accidents.
- Secure in the moving vehicle: When loading the moving truck, place the boxes containing wall art in an upright position, securing them with straps, ropes, or other secure restraints to prevent any movement or shifting during transit.
- Unload with care: When unloading the boxes from the moving truck, handle them gently and avoid dropping or tossing them. Take them to a designated area away from foot traffic to prevent any accidental bumps or collisions.
- Set aside a safe area for unpacking: Designate a specific area in your new home where the wall art can be unpacked safely and without any obstruction. This will minimize the risk of damage during the unpacking process.
- Inspect for any damage: Once the wall art is unloaded and unpacked, carefully inspect each piece for any signs of damage. Take photographs as evidence if necessary, and contact your moving company or insurance provider to report any issues.
By following these strategies for loading and unloading, you can ensure that your wall art is handled with care and remains protected throughout the moving process. Remember, it’s always better to err on the side of caution and prioritize the safety of your precious artwork.
Storing Wall Art
If you need to store your wall art for any period of time during or after your move, it’s essential to follow proper guidelines to ensure its preservation and protection. Whether you’re storing your artwork in a self-storage unit or in your own home, these guidelines will help maintain its condition.
Here are some guidelines for storing wall art:
- Choose a suitable storage location: Select a storage area that is clean, dry, and climate-controlled. Avoid areas that may be subject to extreme temperatures, humidity, or direct sunlight.
- Wrap artwork in protective materials: Before placing your wall art in storage, wrap it in acid-free tissue paper or glassine paper. This will help protect the surface and prevent any sticking or scratching during storage.
- Use appropriate storage containers: If possible, store your wall art in acid-free boxes or archival-quality storage containers. These containers are designed to prevent damage from moisture, light, and insects.
- Avoid stacking: If you need to stack your artwork, place a layer of foam or cardboard between each piece to prevent any friction or damage.
- Provide adequate padding: Fill any empty spaces in the storage containers with packing peanuts or crumpled packing paper to provide cushioning and prevent artwork from shifting.
- Store upright or flat: Depending on the medium and type of artwork, it may be appropriate to store it either upright or flat. Canvases and framed artwork can be stored upright, while delicate sculptures or glass pieces may need to be stored flat.
- Label the containers: Clearly label each storage container with the contents and include any special handling instructions. This will make it easier for you to locate specific artwork when you need it.
- Monitor the storage area: Regularly inspect the storage area for any signs of moisture, pests, or damage. Address any issues promptly to prevent potential harm to your wall art.
- Consider professional storage: If you have valuable or highly delicate artwork, it may be worth considering professional art storage facilities that offer specialized climate control and security measures.
By following these guidelines, you can ensure that your wall art remains in good condition while in storage, preserving its beauty and value for years to come.
Recommendations for Long-Term Storage of Wall Art, If Required
If you anticipate the need for long-term storage of your wall art, it’s essential to take additional precautions to preserve its quality and protect it from potential damage or deterioration. Whether you’re storing your artwork in a dedicated art storage facility or at home, these recommendations will help ensure its longevity.
Here are some recommendations for long-term storage of wall art:
- Consider professional art storage: If you have valuable or highly delicate artwork, consider utilizing the services of a professional art storage facility. These facilities have controlled environments, specialized equipment, and security measures designed specifically for the long-term preservation of artwork.
- Control the climate: If you’re storing the artwork at home, ensure that the storage area maintains a consistent temperature and humidity level. Extremes in temperature or humidity can cause damage to the artwork over time. Use dehumidifiers or humidifiers as necessary to maintain the optimal conditions.
- Protect from sunlight: Avoid exposing your art to direct sunlight, as it can cause fading and discoloration. If possible, store the artwork in a location away from windows or cover the windows with UV-filtering film or curtains.
- Regularly inspect and clean: Schedule regular inspections of your stored artwork to check for any signs of damage or deterioration. Use a soft, dry cloth or brush to gently remove any dust or debris that may accumulate on the surface of the artwork.
- Document and insure: Take detailed photographs or create an inventory of your stored artwork, including descriptions, dimensions, and any relevant details. Ensure that your artwork is properly insured against theft, fire, or other potential risks.
- Handle with care: When retrieving or repositioning your stored artwork, handle it with clean hands and use proper lifting and carrying techniques. Avoid putting excessive pressure or strain on delicate areas.
- Monitor pest control: Implement appropriate pest control measures in the storage area to prevent infestation. Consider using non-toxic methods such as traps or repellents that will not harm the artwork.
- Reassess periodically: Periodically reassess the need for storing your wall art and its condition. If necessary, make adjustments to the storage environment, reposition the artwork, or consider professional conservation services to ensure its continued preservation.
By following these recommendations, you can maintain the integrity of your wall art during long-term storage and enjoy its beauty for many years to come.
Read more: How To Pack A Dresser For Moving
Conclusion
Packing and moving wall art requires careful planning, attention to detail, and the use of appropriate materials and techniques. By assessing your artwork, gathering the necessary supplies, properly wrapping and securing the art, and handling it with care during loading and unloading, you can ensure its safety throughout the move. Additionally, consider the specific needs of unique or delicate pieces like canvases, framed prints, and mirrors, and take extra precautions to protect them during transit.
If long-term storage is required, follow the recommendations for maintaining a controlled climate, protecting from sunlight, and periodically inspecting and cleaning the artwork. Consider professional storage options for valuable or delicate pieces to ensure their optimal preservation.
By following these guidelines, your wall art will remain in excellent condition throughout the moving and storage process, allowing you to enjoy its beauty and significance in your new home or whenever you choose to display it again.
Recap of Key Points and Final Tips for Packing Wall Art During a Move
Packing wall art requires careful planning, attention to detail, and the use of appropriate materials and techniques to ensure its protection during a move. Here’s a recap of the key points and final tips to keep in mind:
- Assess your wall art by considering its size, weight, fragility, value, and type. This will help you determine the appropriate packing materials and techniques.
- Gather the necessary packing supplies, including artwork boxes, cardboard corners, bubble wrap, packing paper, tape, markers, and corner protectors.
- Properly prepare your artwork by cleaning it, removing hanging hardware, securing loose elements, and protecting delicate surfaces.
- Select suitable packaging materials based on the type of wall art you have, and wrap each piece using the appropriate techniques.
- Secure the wrapped artwork in sturdy boxes, using padding materials to prevent shifting and provide additional protection.
- Label each box with “Fragile” and provide a description of its contents and destination room to ensure organized unpacking.
- Take extra precautions for packing special types of wall art like canvases, framed prints, mirrors, and delicate sculptures.
- Strategically protect your artwork during transit by loading boxes properly, securing them in the moving vehicle, and handling with care during unloading.
- If required, store your wall art in a clean, climate-controlled, and secure location, following appropriate guidelines such as wrapping in protective materials and regularly inspecting its condition.
- Consider professional art storage for valuable or highly delicate artwork.
When it comes to packing wall art, always remember to prioritize the safety and protection of your cherished pieces. Take your time, use quality packing materials, and handle the artwork with care. If in doubt, consult professionals for advice or assistance.
By following these key points and final tips, you can ensure that your wall art arrives at its destination unharmed, ready to be displayed and enjoyed in your new home.
Frequently Asked Questions about How To Pack Wall Art For Moving
Was this page helpful?
At Storables.com, we guarantee accurate and reliable information. Our content, validated by Expert Board Contributors, is crafted following stringent Editorial Policies. We're committed to providing you with well-researched, expert-backed insights for all your informational needs.


0 thoughts on “How To Pack Wall Art For Moving”