Furniture
How To Rewire A Lamp
Modified: October 20, 2024
Learn how to rewire a lamp and breathe new life into your furniture. Our step-by-step guide will help you tackle this DIY project with ease.
(Many of the links in this article redirect to a specific reviewed product. Your purchase of these products through affiliate links helps to generate commission for Storables.com, at no extra cost. Learn more)
Introduction
When it comes to home decor, lighting plays a crucial role in creating the right atmosphere and ambiance. Lamps, in particular, are not only functional but also add a touch of personality and style to any space. However, over time, the wiring of a lamp can become frayed or outdated, compromising both its functionality and safety. If you find yourself with a lamp that needs a wiring upgrade, fear not! With the right tools and a little know-how, you can easily rewire a lamp and bring it back to life.
In this article, we will guide you through the process of rewiring a lamp step by step. From gathering the necessary tools and materials to reconnecting the lamp and testing its functionality, we will cover it all. So, whether you have a vintage find that needs a new lease on life or want to customize a lamp to suit your style, let’s dive into the world of lamp rewiring!
Note: Before starting any electrical project, it’s important to prioritize safety. Make sure to unplug the lamp from the power source and handle all components with caution. If you are unsure or uncomfortable working with electrical wiring, it’s best to consult a professional.
Key Takeaways:
- Revive and personalize your lamps by following a step-by-step guide to safely rewire them. Save money, contribute to sustainability, and create a unique lighting fixture that suits your style and preferences.
- Prioritize safety, gather the right tools, and confidently rewire your lamp to extend its lifespan and bring a warm, inviting glow to your home. If in doubt, seek professional assistance for a worry-free experience.
Read more: How To Rewire A Floor Lamp
Tools and Materials Needed
Before you begin rewiring a lamp, it’s essential to gather all the necessary tools and materials. Here’s a list of what you’ll need:
- Wire cutters
- Wire strippers
- Needle-nose pliers
- Screwdriver (flathead and Phillips)
- Lamp rewiring kit or lamp cord
- Replacement lamp socket (if needed)
- New lamp plug
- Electrical tape
- Heat shrink tubing (optional)
Wire cutters and strippers are essential for cutting and removing the old wiring, while needle-nose pliers come in handy for gripping and manipulating small components. You’ll also need a screwdriver to remove any screws holding the lamp together and to securely attach the new wiring and socket.
A lamp rewiring kit or a lamp cord is crucial for providing the new wiring to replace the old one. These kits typically include a length of wire, a socket, and essential hardware for connecting the lamp. If the existing socket is damaged or outdated, you may also need a replacement lamp socket.
Additionally, a new lamp plug is necessary to connect the lamp to a power source. It’s crucial to choose a plug that is compatible with your electrical outlet and meets safety standards.
Electrical tape is used to secure and insulate wire connections, providing an extra layer of protection. Heat shrink tubing, although optional, can be used for a more professional and secure finish.
Once you have gathered all the tools and materials, you’re ready to start rewiring your lamp. Remember to work in a well-lit area and allow yourself enough space to handle the components comfortably.
Step 1: Gathering Supplies
Before you begin the process of rewiring a lamp, it’s important to gather all the necessary supplies. Having everything within reach will ensure a smooth and uninterrupted process. Here’s what you’ll need for this project:
- Wire cutters
- Wire strippers
- Needle-nose pliers
- Screwdriver (flathead and Phillips)
- Lamp rewiring kit or lamp cord
- Replacement lamp socket (if needed)
- New lamp plug
- Electrical tape
- Heat shrink tubing (optional)
Wire cutters are essential for cutting and removing the old wiring. Look for wire cutters with sharp blades that can easily cut through the wire without damaging it. Wire strippers are used to remove the insulation from the wire, exposing the metal core.
Needle-nose pliers come in handy for gripping and manipulating small components, such as wire connectors and screws. Look for pliers with a narrow, pointed nose to ensure precision and control.
A screwdriver, both flathead and Phillips, will be needed to remove any screws holding the lamp together. Depending on the lamp’s construction, you may come across different types of screws, so it’s good to have both options available.
A lamp rewiring kit or lamp cord is crucial for providing the new wiring to replace the old one. These kits typically include a length of wire, a socket, and essential hardware for connecting the lamp. Ensure that the kit or cord you choose is suitable for your lamp’s specific requirements.
If the existing lamp socket is damaged or outdated, you may need to purchase a replacement lamp socket. Look for sockets that are compatible with your lamp’s size and wattage requirements. Pay attention to the socket’s quality and durability to ensure a long-lasting solution.
A new lamp plug is necessary to connect the lamp to a power source. Choose a plug that is compatible with your electrical outlet and adheres to safety standards. Consider factors such as plug style, grounding options, and ease of installation.
Electrical tape is used for securing and insulating wire connections. It provides an extra layer of protection and helps prevent accidental contact with exposed wires. Look for electrical tape that is specifically designed for this purpose.
Heat shrink tubing is an optional but recommended material for a more professional and secure finish. It is typically placed over wire connectors and shrinks when heated, creating a tight seal. This helps protect the connections from moisture and physical damage.
Once you have gathered all the necessary supplies, you’re ready to move on to the next step: disconnecting the lamp. Prepare your workspace and ensure that you have ample lighting to work safely and efficiently.
Step 2: Disconnecting the Lamp
Before diving into rewiring a lamp, it’s essential to disconnect it from the power source to ensure your safety. Follow these steps to properly disconnect the lamp:
- Turn off the lamp: If the lamp is currently on, make sure to turn it off before proceeding. This is a crucial step to avoid any electrical shocks or accidents.
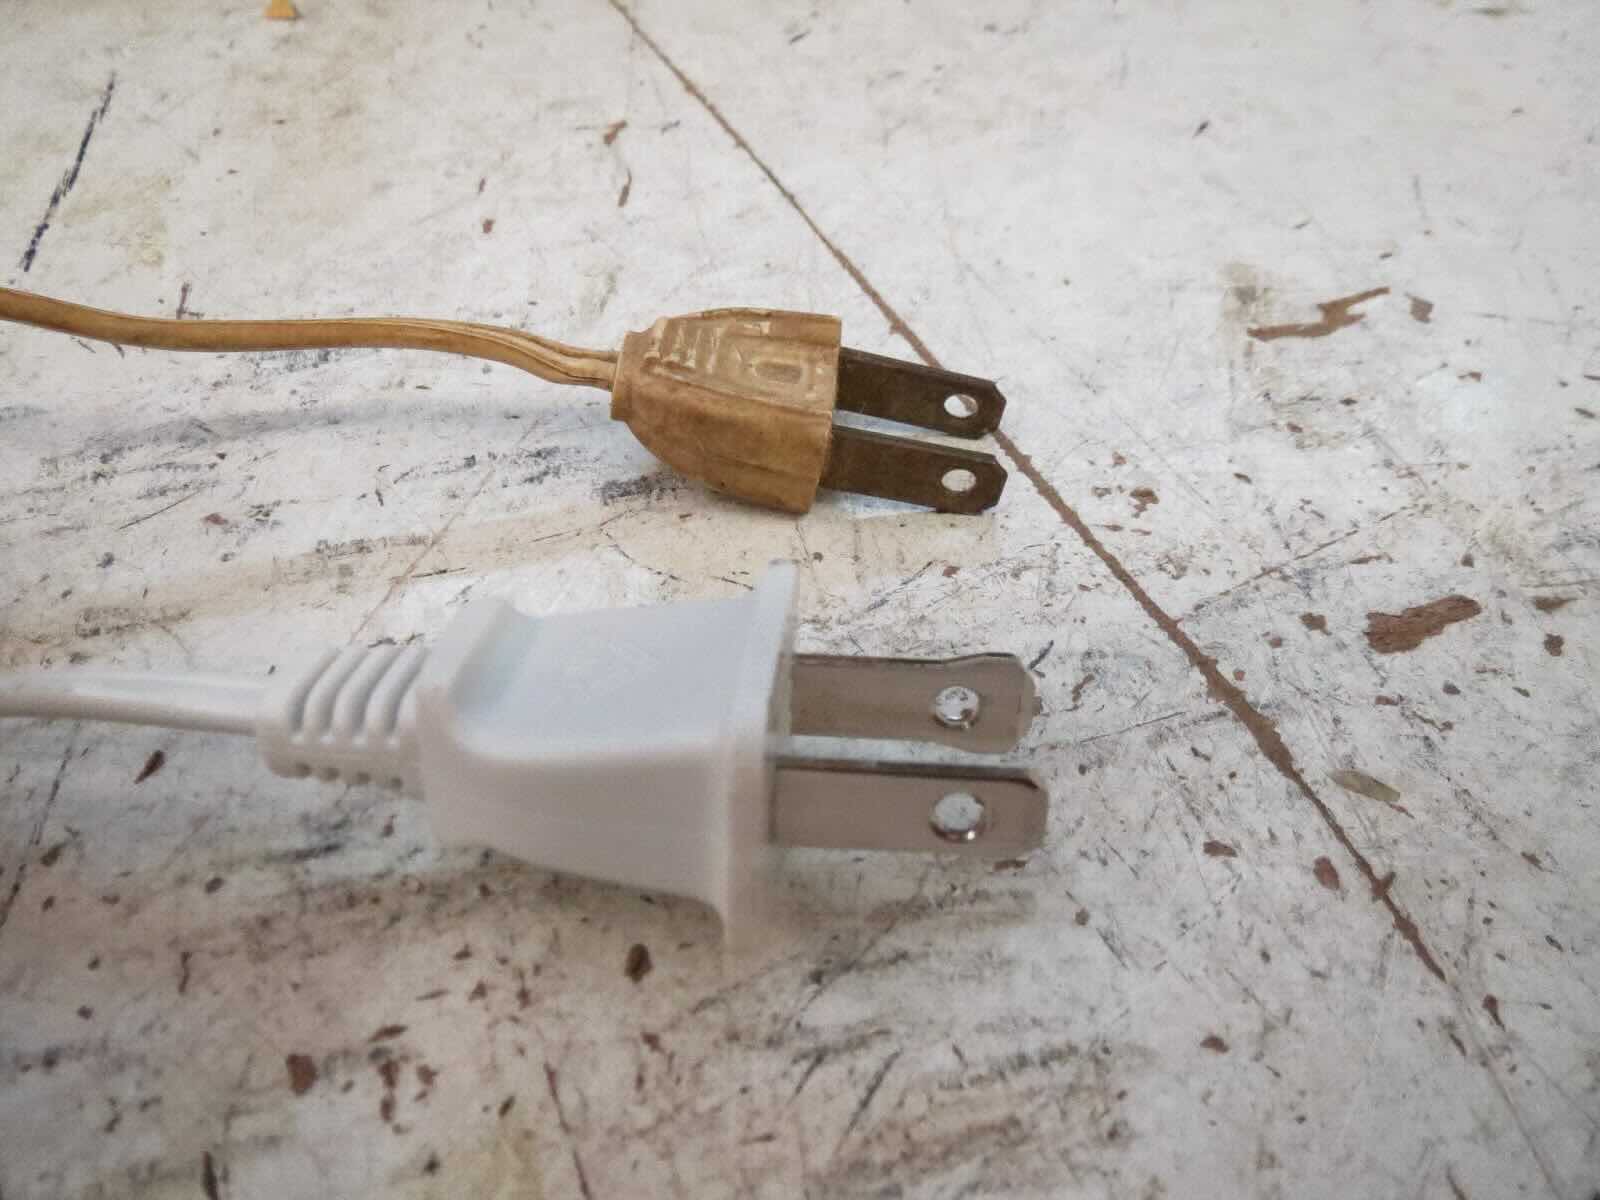
- Unplug the lamp: Locate the plug that is connected to the power source. Gently and firmly grasp the plug, not the cord, and unplug it from the outlet.
- Inspect the cord: Examine the entire length of the cord for any visible wear, fraying, or damage. If you notice any issues, it’s recommended to replace the entire cord instead of attempting to repair it.
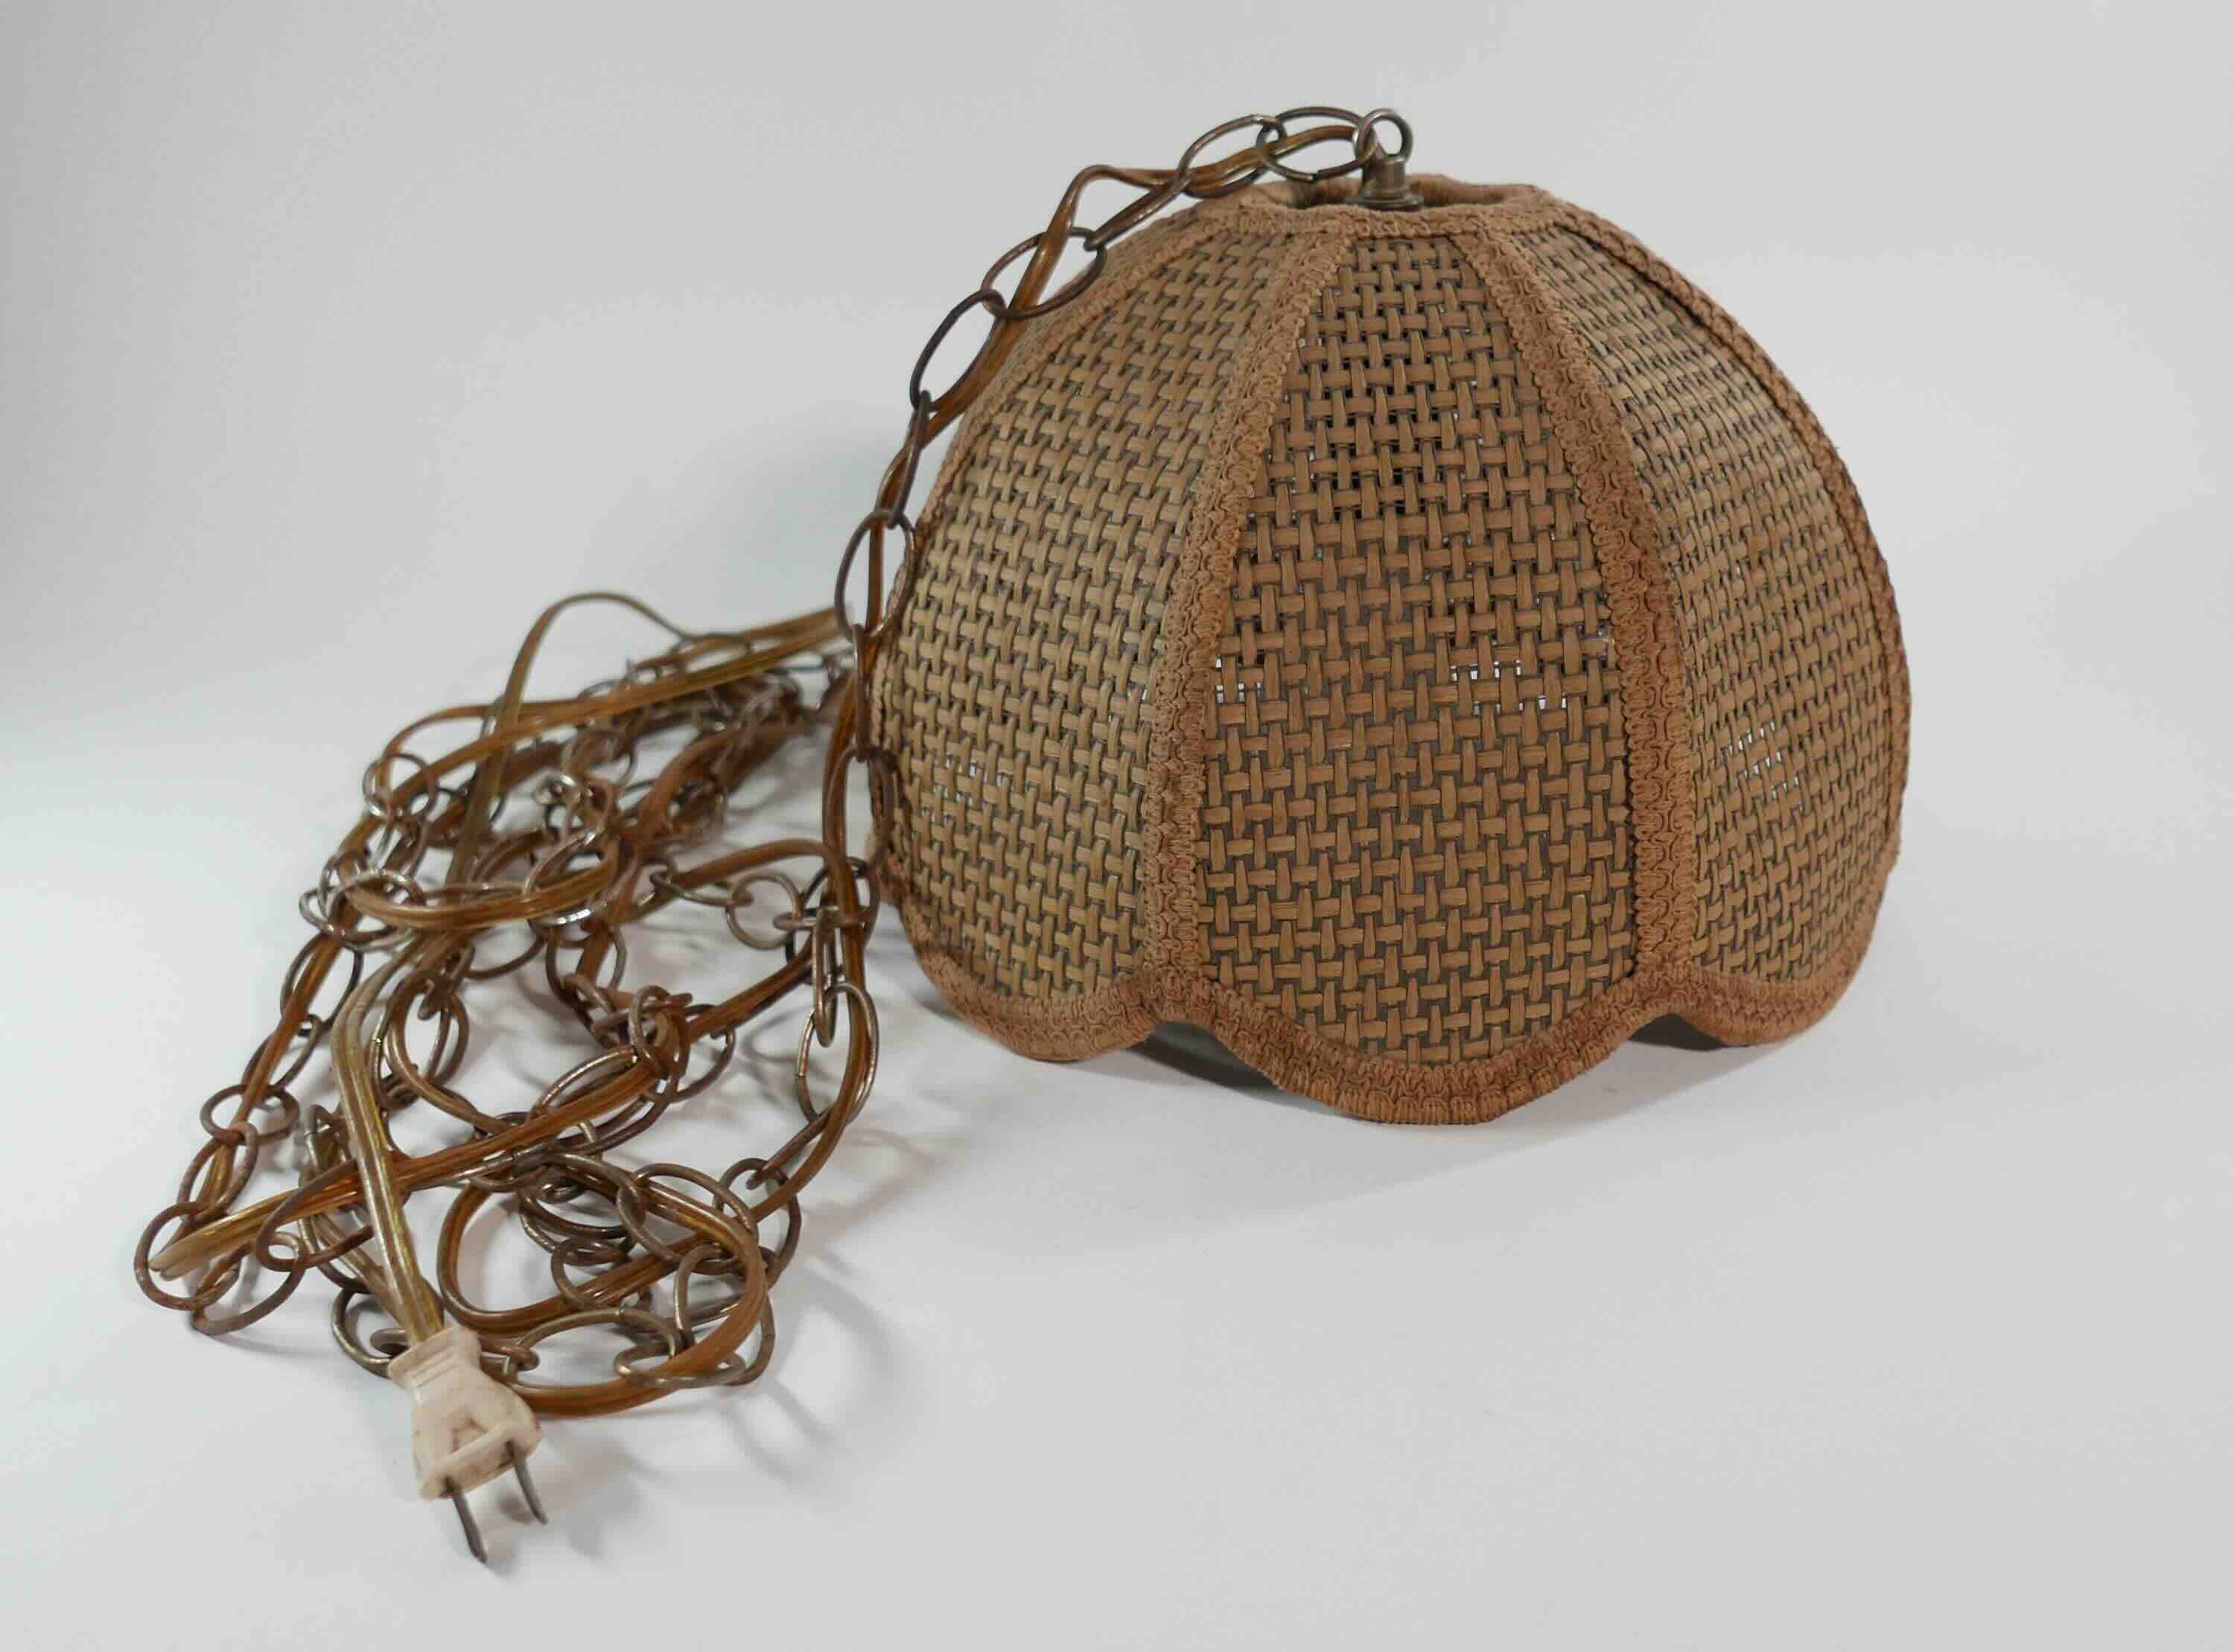
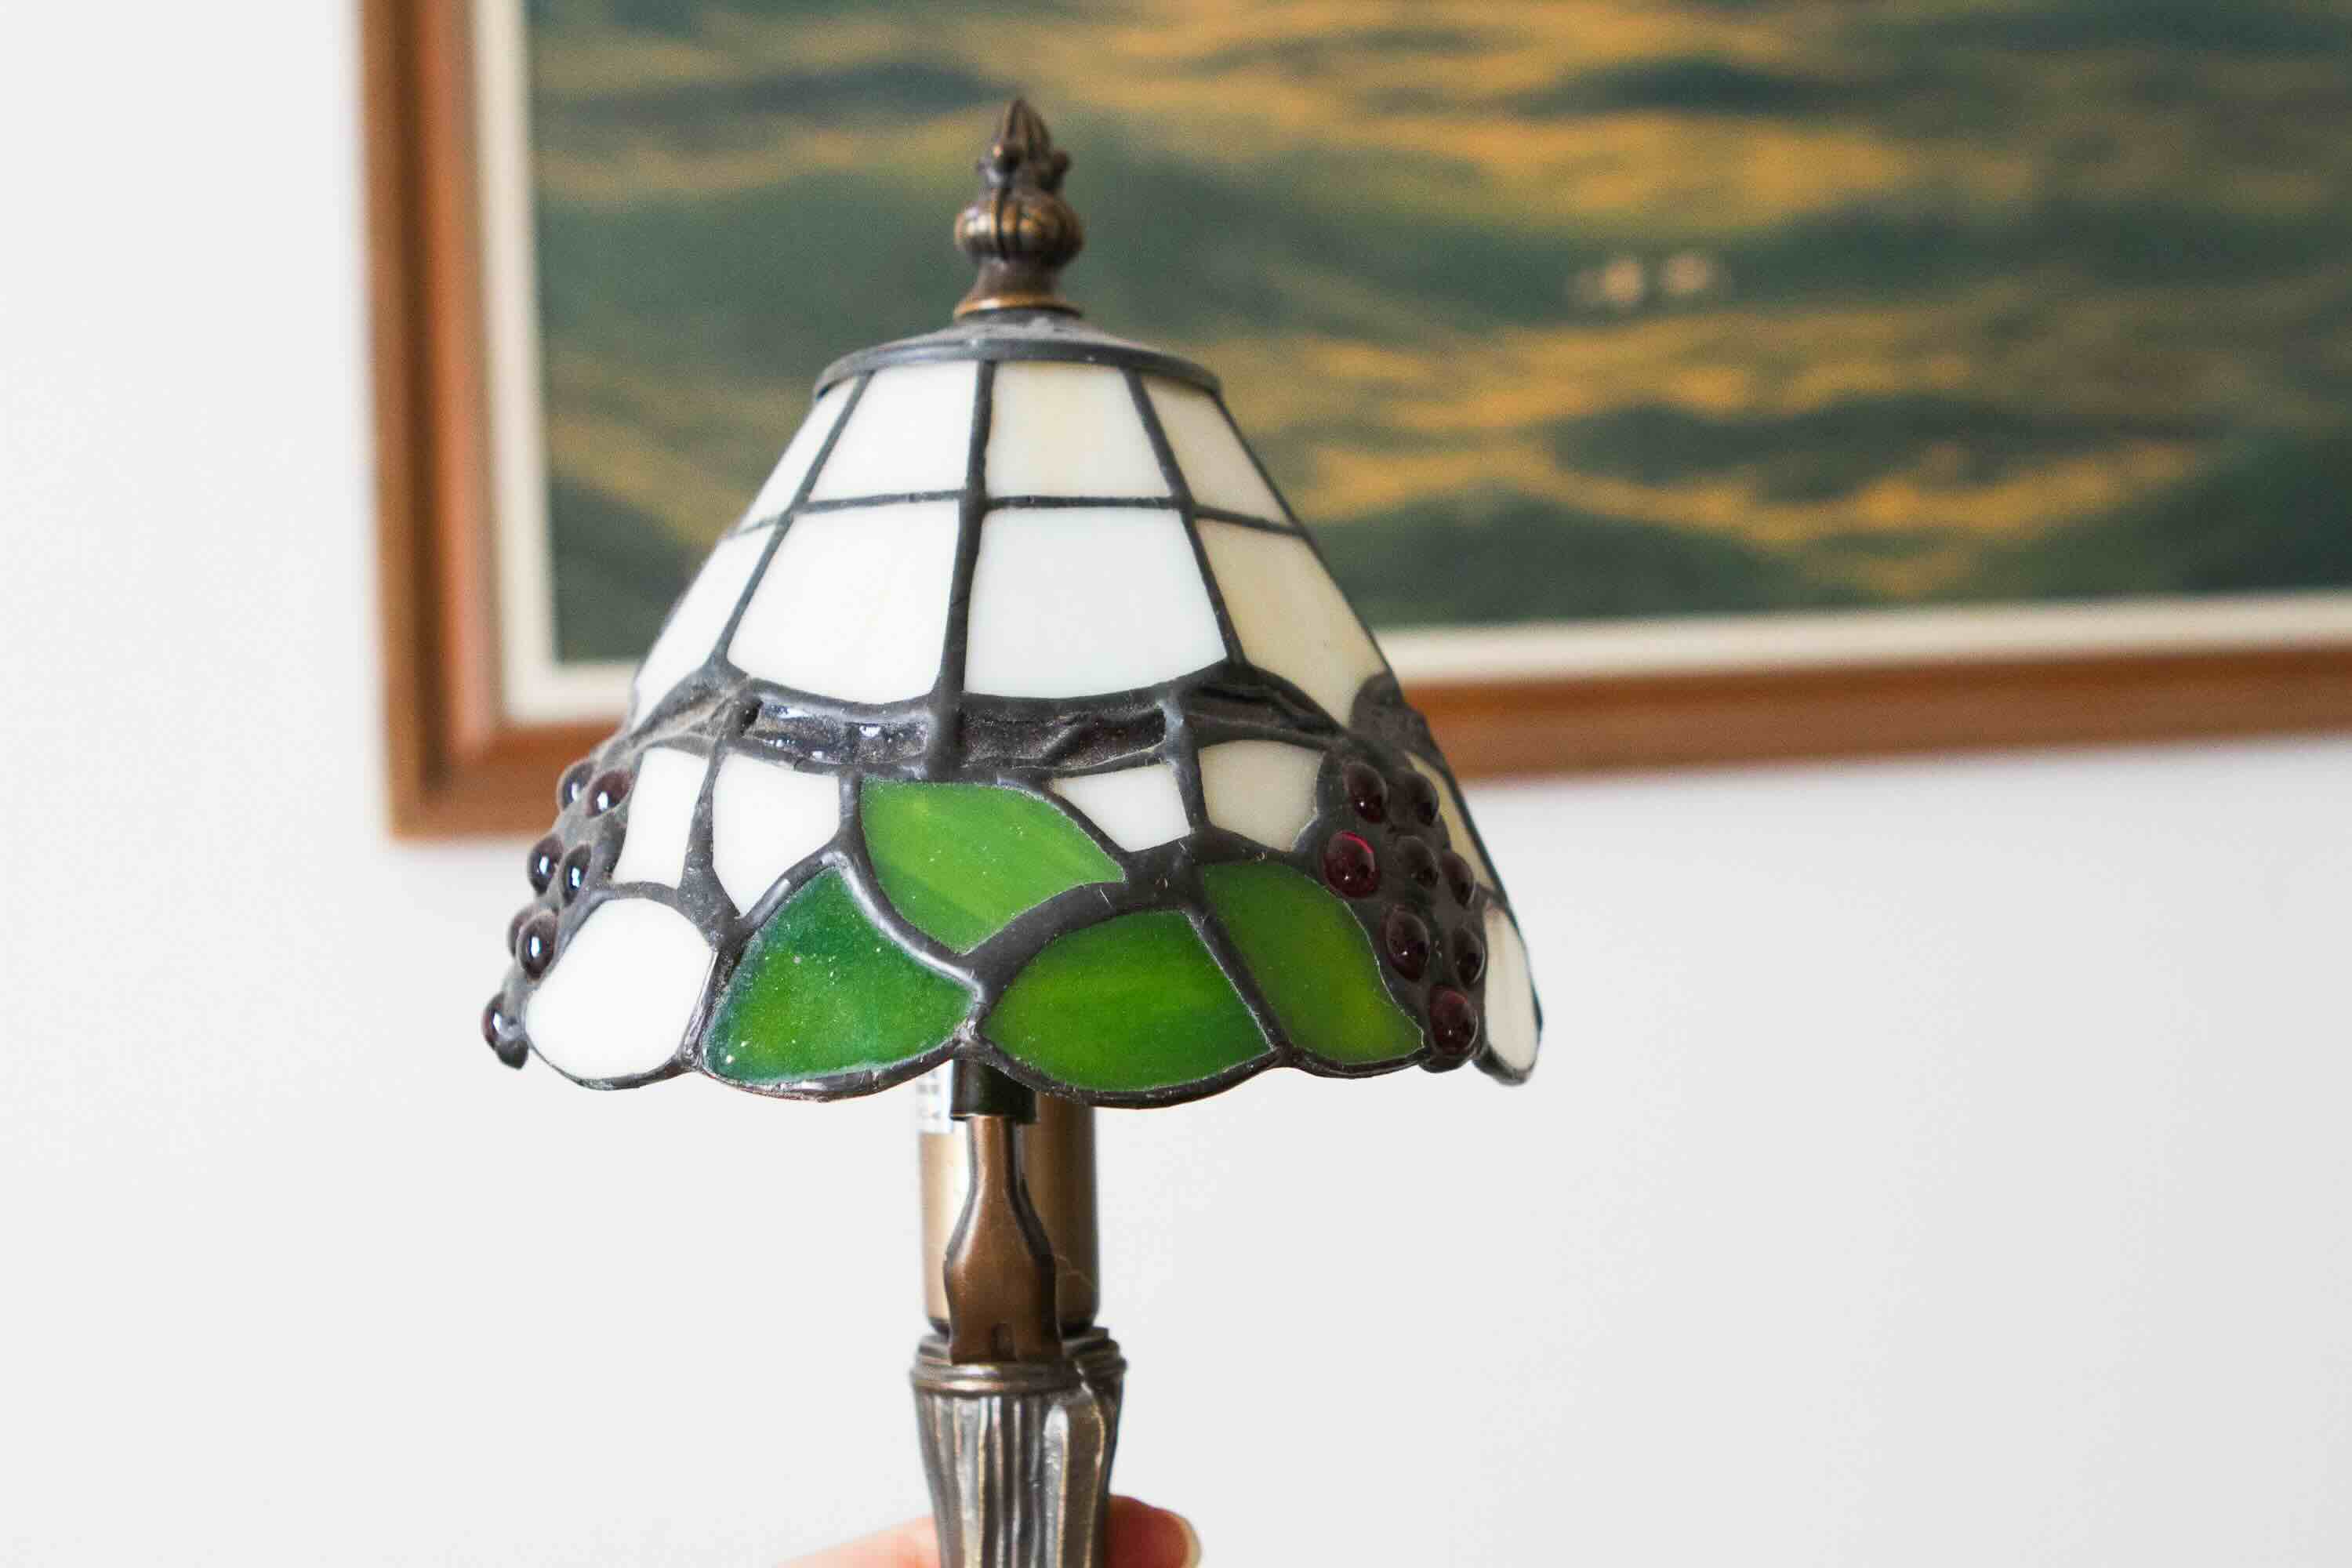
- Remove the lampshade: Carefully remove the lampshade from the lamp. Some lampshades may have a simple clip or screw mechanism, while others may require more intricate steps. Refer to the manufacturer’s instructions for guidance.
- Take apart the lamp: Depending on the type of lamp, you may need to disassemble it to access the wiring and socket. Look for screws, clips, or other fasteners that hold the lamp together. Use the appropriate screwdriver to remove them and carefully separate the lamp’s components.
- Inspect the socket and wiring: Once you have access to the socket and wiring, visually examine them for any signs of damage, such as melted insulation or loose connections. Make a note of any issues you discover, as they may need to be addressed during the rewiring process.
By following these steps, you will disconnect the lamp from the power source and assess the condition of the cord, socket, and wiring. Taking the time to inspect these components will give you a better understanding of what needs to be replaced or repaired during the rewiring process.
Once you have completed this step, you’re ready to move on to the next phase of the rewiring process: removing the old wiring.
Step 3: Removing the Old Wiring
With the lamp safely disconnected and the components accessible, it’s time to remove the old wiring. Follow these steps to carefully remove the existing wiring:
- Identify the wiring connections: Take note of the current wiring connections. There should be two wires running through the lamp: one connected to the socket and the other to the plug. Typically, the wire connected to the socket is the neutral wire (often identified by a white or light-colored insulation), while the wire connected to the plug is the hot wire (often identified by a black or dark-colored insulation).
- Disconnect the wires from the socket: Using wire cutters, carefully cut the wire connections at the socket. Remove any electrical tape or wire connectors that may be securing the wires together. Be cautious not to cut too close to the socket to avoid damaging it.
- Detach the wires from the plug: Similar to the socket, use wire cutters to cut the wire connections at the plug. Again, remove any electrical tape or wire connectors present. Take note of any grounding wire, usually green or bare copper, which may be connected to the plug. This wire is essential for safety and may need to be reconnected later.
- Remove the old wiring: With all the wire connections disconnected, pull the old wiring out of the lamp body. Be gentle to avoid damaging any other components. Discard the old wiring responsibly, recycling it if possible.
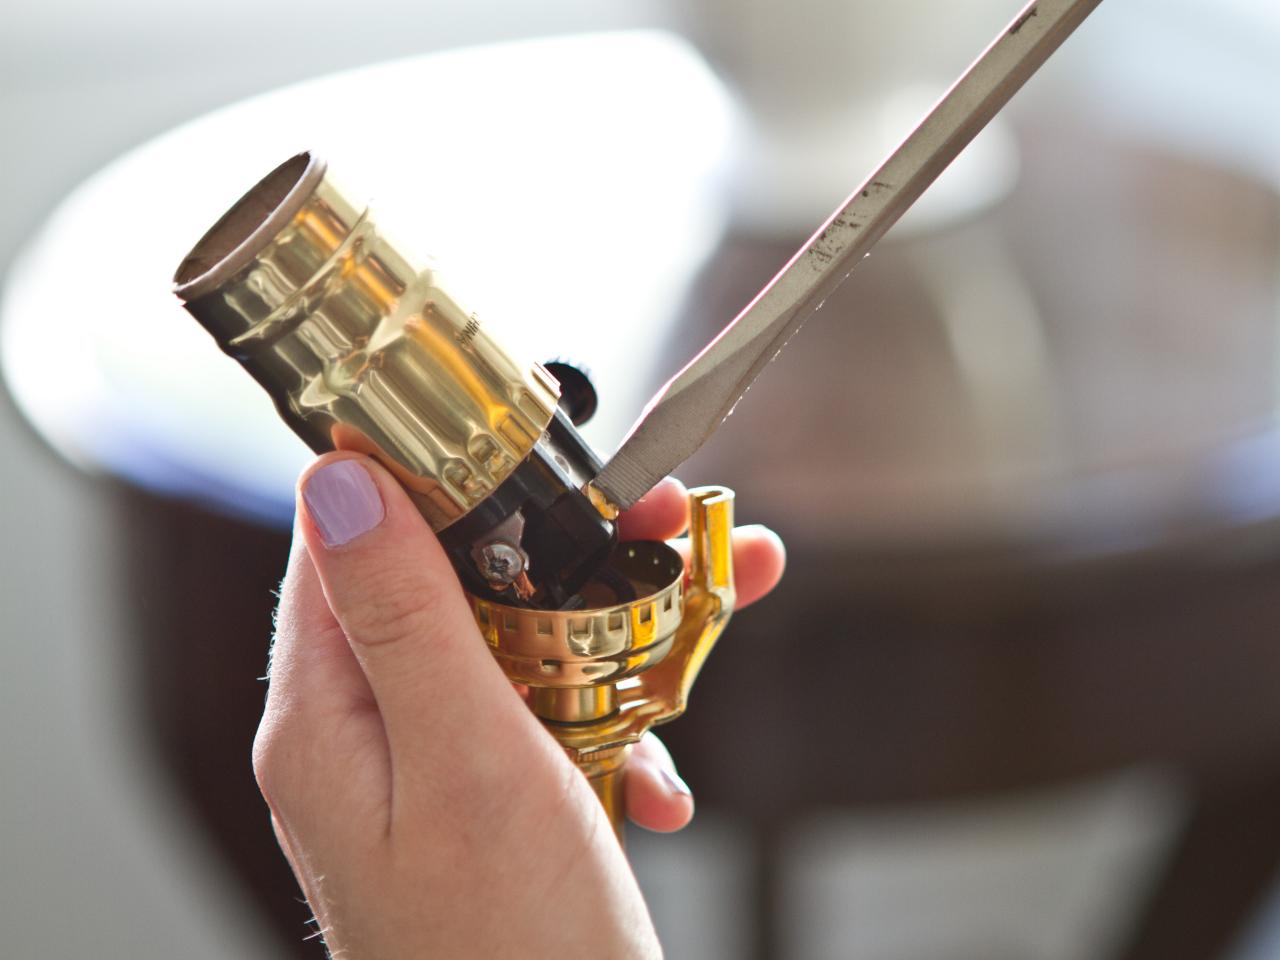
- Inspect the socket and plug: After removing the old wiring, take a moment to inspect the socket and plug. Look for any signs of damage or corrosion. If they appear worn or in poor condition, it’s advisable to replace them with new ones.
By following these steps, you will successfully remove the old wiring from the lamp. Take your time and be careful not to damage any other lamp components during this process. Once you have completed this step, you’re ready to move on to preparing the new wire for installation in the next step.
Read more: How To Rewire A Thermostat
Step 4: Preparing the New Wire
With the old wiring removed, it’s time to prepare the new wire for installation. Follow these steps to properly prepare the new wire:
- Measure and cut the new wire: Determine the length of wire needed for your lamp. Measure from the lamp socket to the plug, adding a few extra inches for flexibility. Use wire cutters to cut the new wire to the appropriate length. Ensure a clean, straight cut for easy installation.
- Strip the wire ends: Using wire strippers, carefully strip the insulation from the ends of the new wire. Follow the stripping gauge on your wire strippers to remove the appropriate amount of insulation, typically around 1/2 inch. Be cautious not to nick or damage the metal core of the wire.
- Inspect the stripped ends: After stripping the wire ends, visually inspect them for any strands of insulation that may still be present. If necessary, carefully use wire cutters or your fingers to remove any remaining insulation. The stripped ends should be clean and free from any obstacles that may interfere with a secure connection.
- Optional: Use heat shrink tubing: To ensure a secure and professional finish, you can use heat shrink tubing. Slide a properly sized heat shrink tube onto each stripped wire end before making the connections. Once the wire connections are made, use a heat gun or a lighter to heat and shrink the tubing, creating a tight seal.
- Prepare the grounding wire: If your lamp has a grounding wire, typically green or bare copper, ensure it is long enough to reach the plug. Strip the end of the grounding wire and, if using heat shrink tubing, slide it onto the stripped end.
By following these steps, you will properly prepare the new wire for installation. Take care to measure and cut the wire accurately and to strip the ends cleanly to ensure a secure connection. Using heat shrink tubing adds an extra layer of protection and a polished look to the wiring. With the new wire prepared, you’re ready to move on to the next step: wiring the lamp socket.
When rewiring a lamp, always make sure to disconnect the power source before starting any work. This will ensure your safety while working on the electrical components.
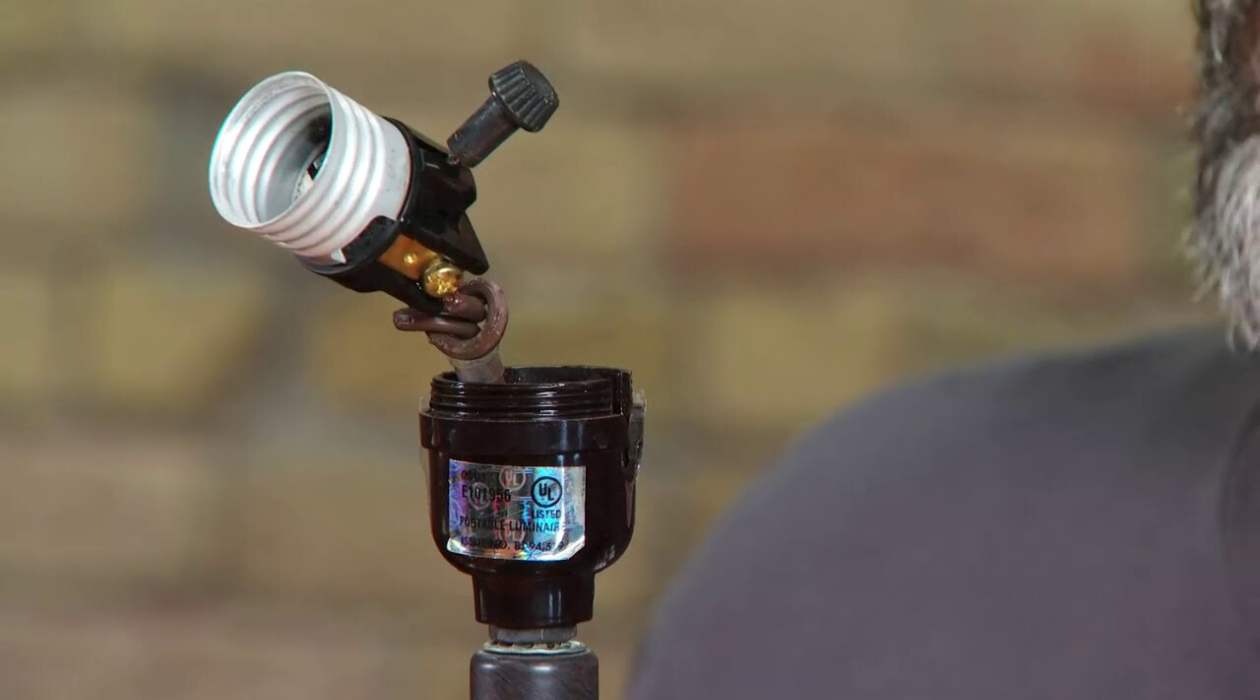
Step 5: Wiring the Lamp Socket
Now that the new wire is prepared, it’s time to wire the lamp socket. The socket is responsible for holding the light bulb and connecting it to the electrical supply. Follow these steps to correctly wire the lamp socket:
- Identify the socket terminals: Most lamp sockets have two terminals—one for the hot wire (usually brass-colored) and one for the neutral wire (usually silver-colored). Identify these terminals on your lamp socket.
- Attach the hot wire: Take the end of the hot wire (typically black or dark-colored) and, if using heat shrink tubing, slide the tubing over the stripped end. Insert the stripped end of the hot wire into the socket’s brass-colored terminal and secure it. This is usually done by wrapping the wire around a screw terminal or inserting it into a wire connector and tightening the screws.
- Attach the neutral wire: Similarly, take the end of the neutral wire (typically white or light-colored) and, if applicable, slide the heat shrink tubing onto the stripped end. Insert the stripped end of the neutral wire into the socket’s silver-colored terminal and secure it in the same manner as the hot wire.
- Connect the grounding wire (if applicable): If your lamp has a grounding wire, usually green or bare copper, attach it to the designated grounding terminal on the socket. This is typically a green screw or a wire connector labeled with a grounding symbol. Ensure a secure connection.
- Secure the wiring: Once all the wire connections are made, double-check that they are secure. Give each wire a gentle tug to ensure they are tightly connected to the socket terminals. If using heat shrink tubing, use a heat gun or a lighter to heat and shrink the tubing, creating a tight seal around the wire connections.
By following these steps, you will successfully wire the lamp socket. Take your time and ensure that each wire is securely connected to the appropriate terminal. Once you have completed this step, you’re ready to move on to the next phase of the rewiring process: wiring the lamp plug.
Step 6: Wiring the Lamp Plug
With the lamp socket wired, the next step in the rewiring process is to wire the lamp plug. The plug is responsible for connecting the lamp to the power source. Follow these steps to properly wire the lamp plug:
- Identify the plug terminals: Most lamp plugs have two terminals—one for the hot wire (usually brass-colored) and one for the neutral wire (usually silver-colored). Identify these terminals on your lamp plug.
- Attach the hot wire: Take the end of the hot wire (typically black or dark-colored) and, if using heat shrink tubing, slide the tubing over the stripped end. Depending on the plug style, there may be screws or prongs to connect the hot wire. Follow the specific instructions for your plug to securely attach the hot wire to the appropriate terminal.
- Attach the neutral wire: Similarly, take the end of the neutral wire (typically white or light-colored) and, if applicable, slide the heat shrink tubing onto the stripped end. Connect the neutral wire to the plug’s silver-colored terminal using the same method as the hot wire.
- Connect the grounding wire (if applicable): If your lamp has a grounding wire, usually green or bare copper, attach it to the grounding terminal on the plug. This is typically a green screw or a wire connector labeled with a grounding symbol. Ensure a secure connection.
- Secure the wiring: Once all the wire connections are made, double-check that they are secure. Give each wire a gentle tug to ensure they are tightly connected to the plug terminals. If using heat shrink tubing, use a heat gun or a lighter to heat and shrink the tubing, creating a tight seal around the wire connections.
By following these steps, you will successfully wire the lamp plug. Take your time and ensure that each wire is securely connected to the appropriate terminal. Double-check all connections to ensure they are tight and properly insulated. Once you have completed this step, you’re ready to move on to the next phase of the rewiring process: reassembling the lamp.
Step 7: Reassembling the Lamp
After successfully wiring the lamp socket and plug, it’s time to reassemble the lamp. Follow these steps to properly put the lamp back together:
- Check the lamp body: Before reassembling, inspect the lamp body for any loose or damaged parts. Tighten any screws or fasteners and ensure that all components fit together properly.
- Reattach the lamp socket: Position the lamp socket back into the lamp body, aligning it with the designated socket holder or bracket. Gently push it in until it is secure and properly seated.
- Secure the lamp socket: Depending on the lamp design, there may be screws or clips to hold the socket in place. Use a screwdriver or your fingers to tighten any screws or snap the clips closed, ensuring that the socket is firmly attached.
- Route the wire: Carefully guide the new wire through the lamp body, following the original wire’s path. Avoid any sharp edges or areas that could potentially damage the wire. Take care not to pinch or kink the wire during this process.
- Reattach the lamp base: If the lamp has a separate base, align it with the lamp body and securely attach it using screws or other fastening mechanisms. Ensure that the base is stable and doesn’t wobble when the lamp is in an upright position.
- Attach the lampshade: If you removed the lampshade earlier, it’s time to reattach it. Follow the manufacturer’s instructions for your specific lampshade type, whether it involves clips, screws, or other attachment methods. Make sure the lampshade is centered and securely attached.
By following these steps, you will be able to reassemble the lamp and ensure that all components are properly aligned and secured. Take your time during this process to avoid any damage or misalignment. Once you have completed this step, you’re ready for the final phase of the rewiring process: testing the rewired lamp.
Read more: How To Rewire A Chandelier
Step 8: Testing the Rewired Lamp
After reassembling the lamp, it’s important to test the rewired electrical connections to ensure everything is functioning correctly. Follow these steps to test your newly rewired lamp:
- Plug in the lamp: Carefully plug the lamp into a functioning electrical outlet. Ensure that the plug is fully inserted and secure in the outlet.
- Switch on the lamp: Turn on the lamp using the switch or knob located on the socket or base. If your lamp has multiple brightness settings, test all the available options to ensure they work properly.
- Check the light bulb: Examine the light bulb to ensure that it illuminates as expected. If the light bulb does not turn on, double-check the connections at the socket and plug to ensure they are secured and wired correctly.
- Verify stability: While the lamp is turned on, gently touch and adjust the lamp to ensure that it remains stable and doesn’t flicker or lose power. This step is crucial to ensure that all wiring connections are secure and that there are no loose or faulty connections.
- Inspect for any issues: During the testing phase, be on the lookout for any signs of overheating, unusual electrical smells, or sparking. If you notice any of these, immediately switch off and unplug the lamp. Recheck the wiring connections and make any necessary corrections or consult a professional electrician.
By following these steps, you will be able to test the rewired lamp and ensure that it is functioning properly and safely. It’s important to be vigilant during the testing phase to catch any potential issues and prevent accidents or further damage.
Once you have completed this step and are satisfied with the functionality and safety of the rewired lamp, you can now enjoy your beautifully restored and functional lighting fixture!
Note: If at any point during the rewiring process you encounter difficulties or do not feel confident in your abilities, it is highly recommended to seek the assistance of a professional electrician for assistance.
Conclusion
Rewiring a lamp may seem like a daunting task, but with the right tools, materials, and a bit of guidance, it can be a rewarding DIY project. By following the step-by-step process outlined in this article, you can confidently rewire a lamp and bring it back to life.
Throughout the rewiring process, it’s crucial to prioritize safety. Always disconnect the lamp from the power source before starting any work and handle all electrical components with caution. If you are unsure or uncomfortable working with electrical wiring, it’s best to seek the assistance of a professional electrician.
Gathering the necessary tools and materials, disconnecting the lamp, removing the old wiring, preparing the new wire, wiring the lamp socket and plug, reassembling the lamp, and testing the rewired lamp are all important steps to ensure a successful rewiring project. Each step requires attention to detail and a focus on securing the connections to guarantee functionality and safety.
By reusing and revitalizing an existing lamp, you not only save money but also contribute to sustainable practices by extending the lifespan of a functional item. Additionally, rewiring a lamp provides an opportunity for customization, allowing you to create a unique piece that suits your style and aesthetic preferences.
Remember, if at any point you feel unsure or encounter difficulties during the rewiring process, it’s always wise to consult a professional electrician. Your safety is paramount, and seeking expert advice can help ensure a successful and worry-free rewiring experience.
So why put off that old lamp any longer? Take the plunge, gather your tools, and embark on the journey of rewiring. With a little effort and know-how, you can revive your lamp and bask in the warm, inviting glow it brings to your home.
Frequently Asked Questions about How To Rewire A Lamp
Was this page helpful?
At Storables.com, we guarantee accurate and reliable information. Our content, validated by Expert Board Contributors, is crafted following stringent Editorial Policies. We're committed to providing you with well-researched, expert-backed insights for all your informational needs.