Furniture
How To Replace A Lamp Cord
Modified: August 27, 2024
Learn how to replace a lamp cord in your furniture, with step-by-step instructions and tips. Bring new life to your favorite pieces with this easy DIY guide!
(Many of the links in this article redirect to a specific reviewed product. Your purchase of these products through affiliate links helps to generate commission for Storables.com, at no extra cost. Learn more)
Introduction
Replacing a lamp cord is a common task that many homeowners may encounter. Over time, the cord of a lamp can become damaged or worn out, leading to safety hazards or functional issues. Fortunately, replacing a lamp cord is a relatively straightforward process that can be done with a few basic tools and materials.
In this guide, we will walk you through the step-by-step process of replacing a lamp cord. Whether you have a favorite table lamp that needs a new cord or you want to update the cord on a vintage find, this article will provide you with the necessary information to tackle the task confidently.
Before we dive into the process, let’s go over the tools and materials you will need:
Key Takeaways:
- Easily replace a lamp cord with basic tools and materials, ensuring safety and functionality. Proper preparation, disconnection of old cord, and secure connection of new cord are key steps. Testing the connection and securing the new cord are crucial for a successful replacement.
- Replacing a lamp cord is a practical skill for homeowners, but consulting a professional electrician is recommended if unsure. Follow the step-by-step guide for a safe and effective replacement, bringing new life to your favorite lamp.
Read more: How To Replace An Electrical Cord On A Lamp
Tools and Materials Needed
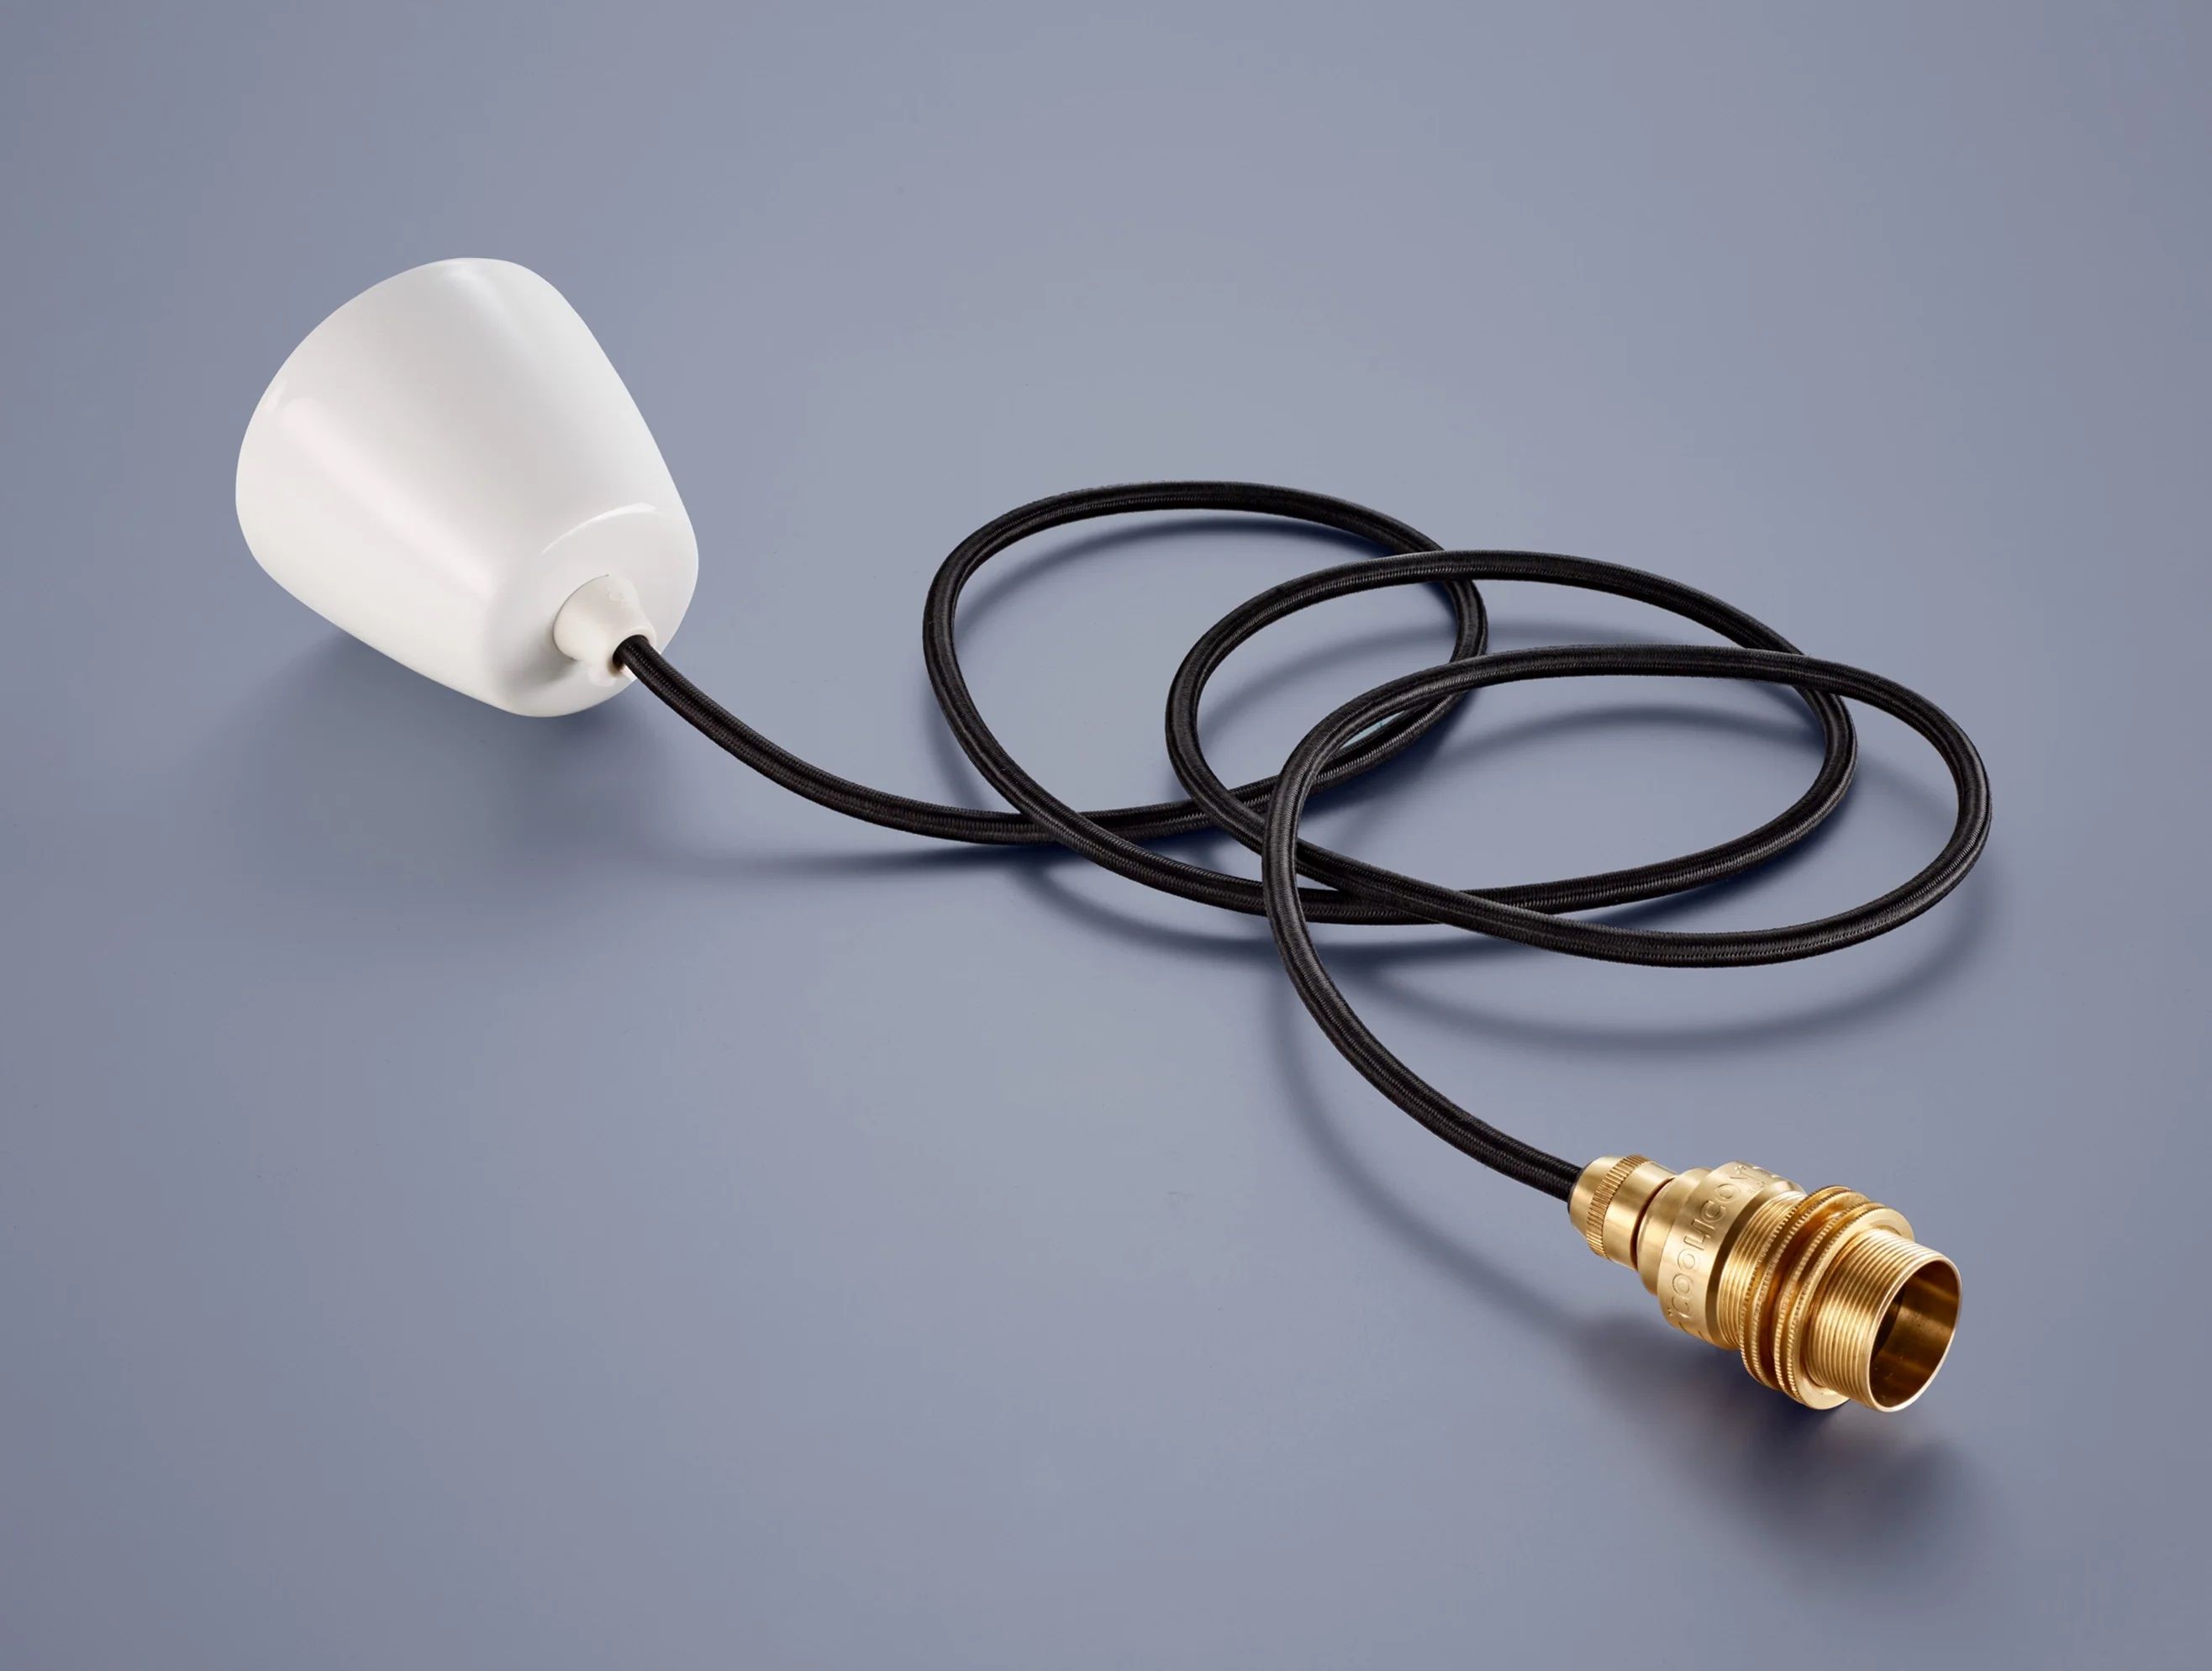
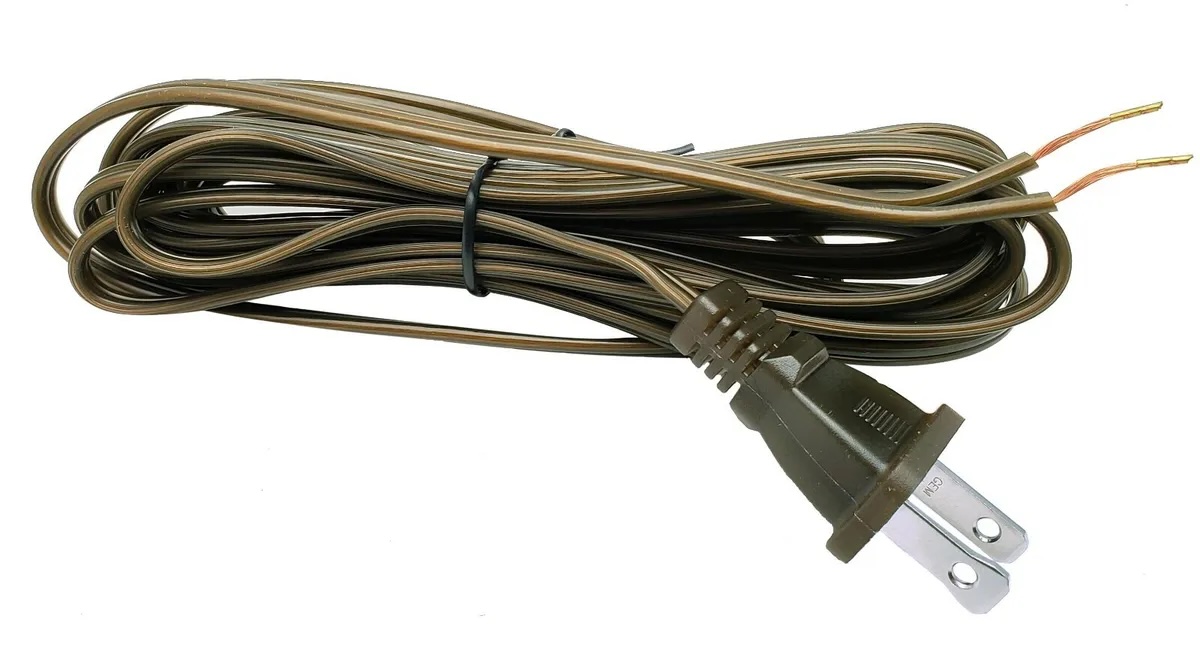
- Replacement lamp cord
- Wire cutters
- Wire strippers
- Electrical tape
- Scissors
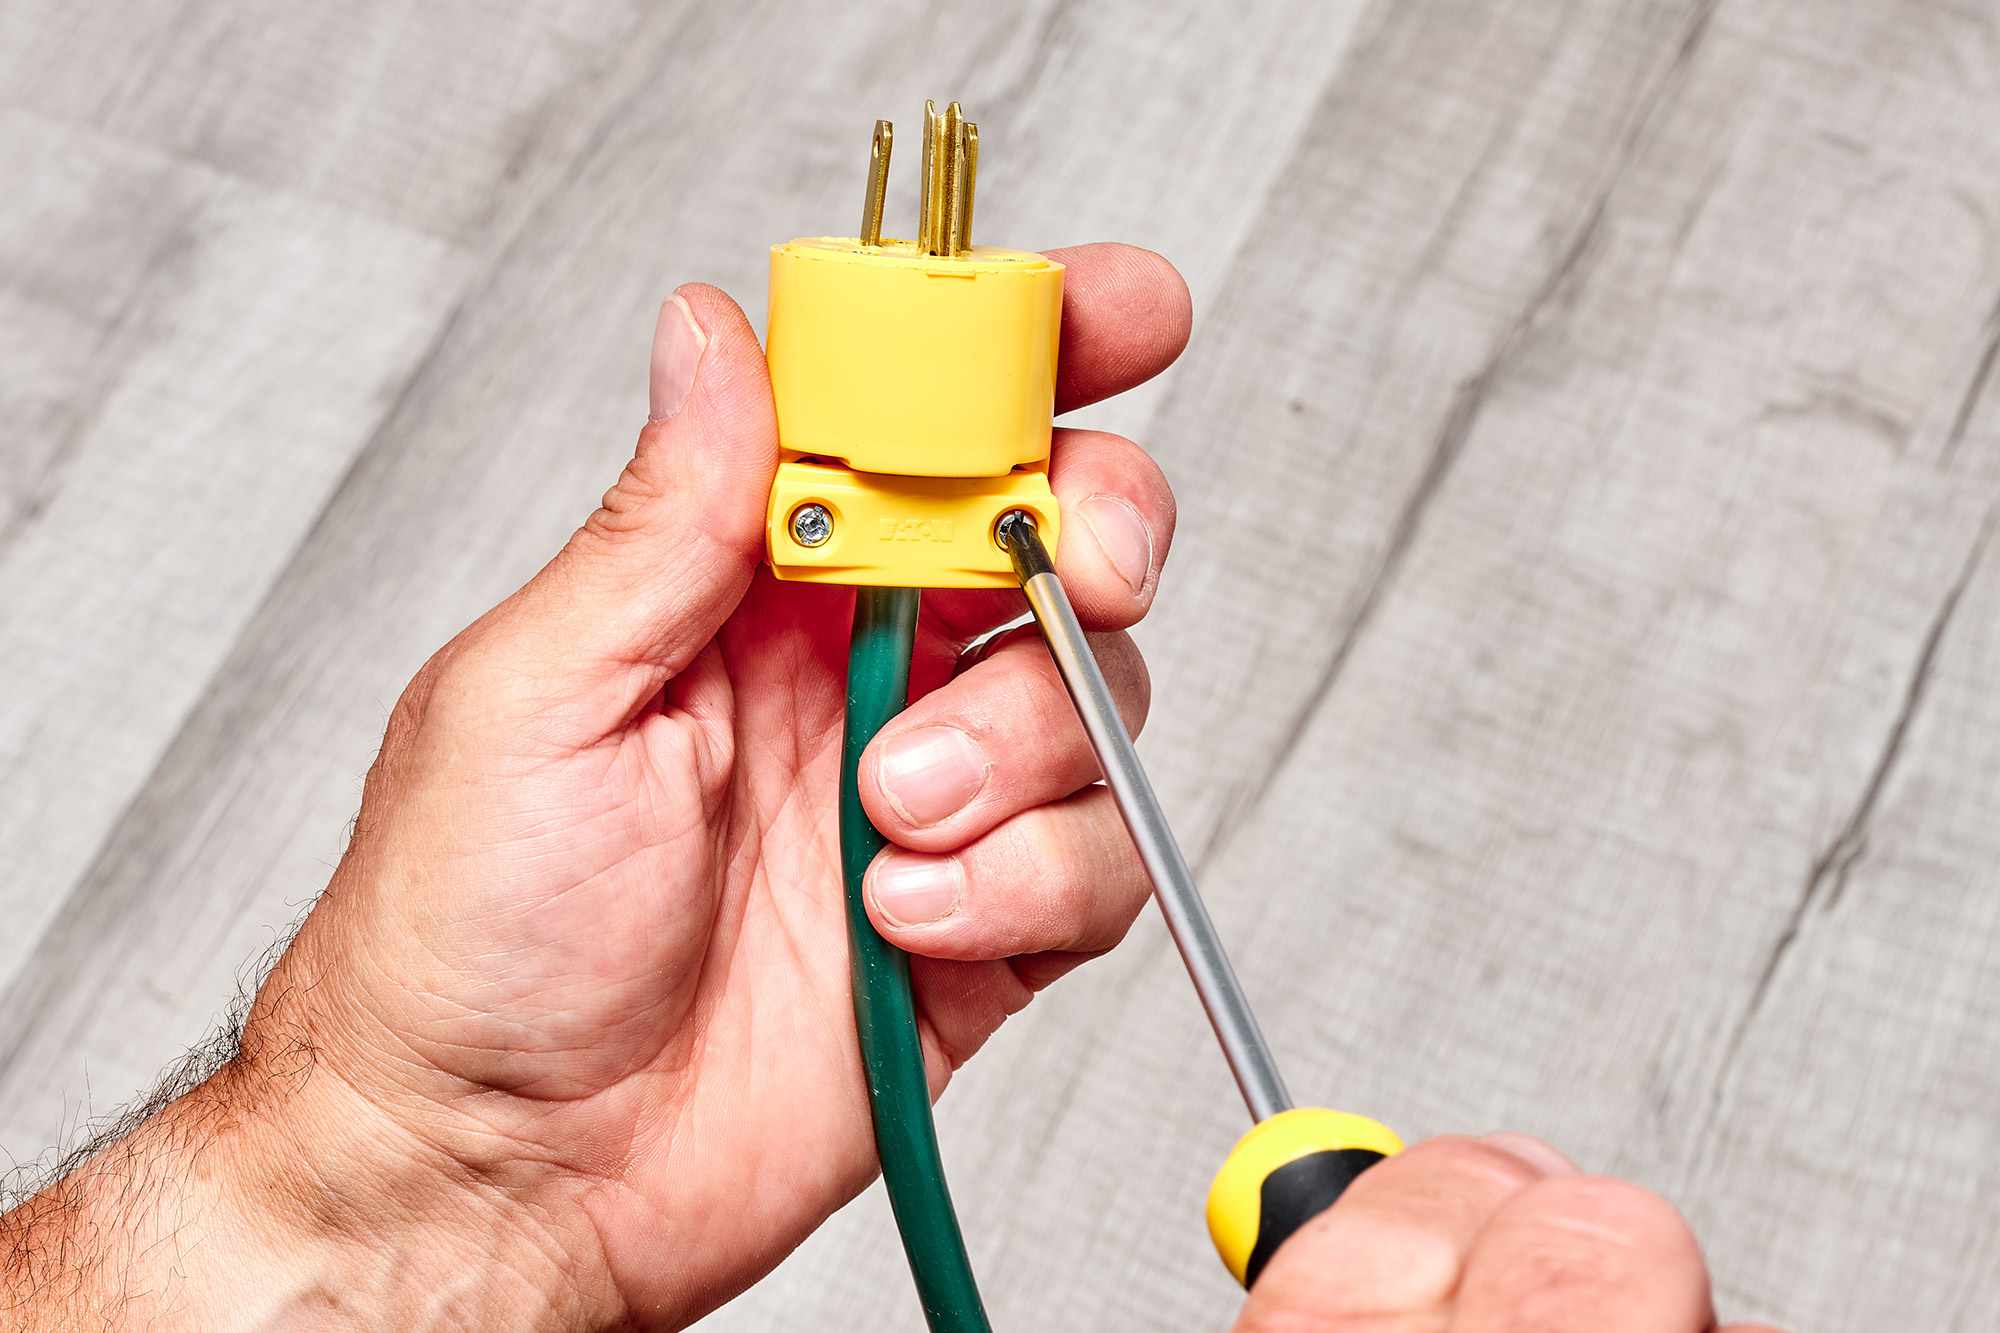
- Screwdriver
- Marker or pen
- Masking tape
- Socket wrench (if needed)
Before you begin replacing the lamp cord, make sure you have gathered all the necessary tools and materials. The replacement lamp cord can be found at most hardware stores or online. It is important to choose a cord that matches the specifications of the old cord in terms of gauge and length.
The wire cutters and wire strippers are essential for cutting and stripping the wires. These tools allow you to remove the damaged cord and prepare the new cord for installation. Electrical tape is used for securing the connections and insulating the wires.
Scissors will be needed for cutting the electrical tape and any other materials as required. A screwdriver may be necessary for opening the lamp socket or other parts of the lamp that need to be accessed. A marker or pen will come in handy for marking the wires for identification. Masking tape can be used to label the wires if needed.
If the lamp is attached to a base or a stand that requires a socket wrench for disassembly, make sure to have a socket wrench of the appropriate size on hand.
With these tools and materials ready, you can proceed to the next steps to replace the lamp cord.
Step 1: Preparation
Before you can begin replacing the lamp cord, it is important to prepare the workspace and ensure your safety. Follow these steps:
- Turn off the lamp: First, make sure the lamp is turned off and unplugged from the electrical outlet. This will prevent any accidental electric shocks or short circuits during the process.
- Prepare a clean workspace: Find a flat and clean surface to work on, such as a table or a workbench. Clear the area of any clutter or objects that may hinder your work.
- Protect the lampshade: If you have a delicate or valuable lampshade, consider covering it with a soft cloth or towel to protect it from possible damage during the cord replacement process.
- Gather the necessary tools and materials: Double-check that you have all the tools and materials mentioned in the previous section, “Tools and Materials Needed.”
By taking these preparatory steps, you will create a safe and organized environment for replacing the lamp cord. It is always better to be well-prepared before starting any electrical work.
Step 2: Disconnecting the Old Cord
Once you have prepared the workspace, you can proceed with disconnecting the old lamp cord. Follow these steps:
- Remove the lampshade: Carefully remove the lampshade from the lamp to access the socket and cord assembly.
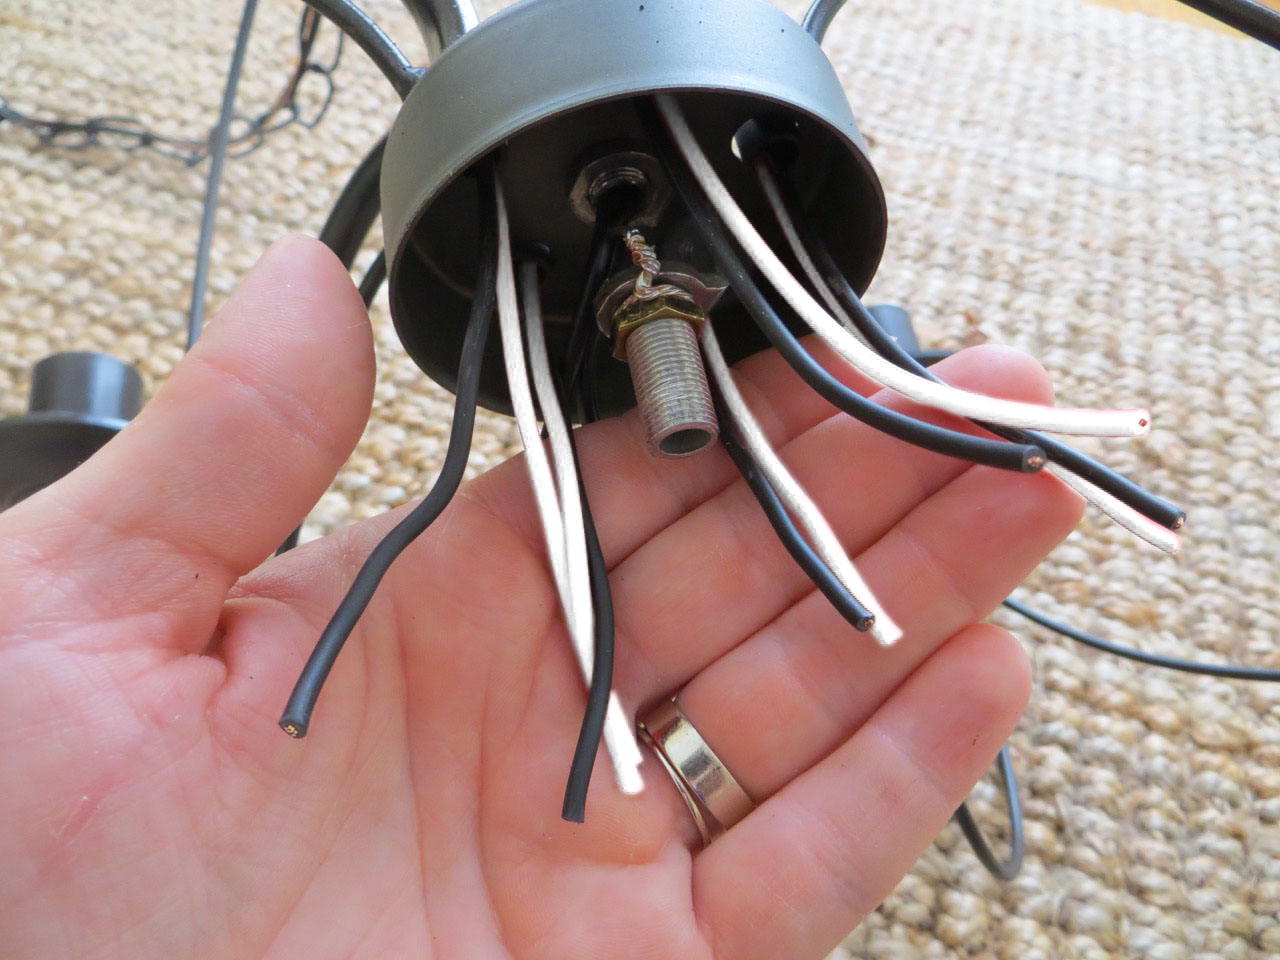
- Expose the cord: Inspect the lamp base and locate where the cord enters. You may need to remove the base or any coverings to expose the cord and socket assembly.
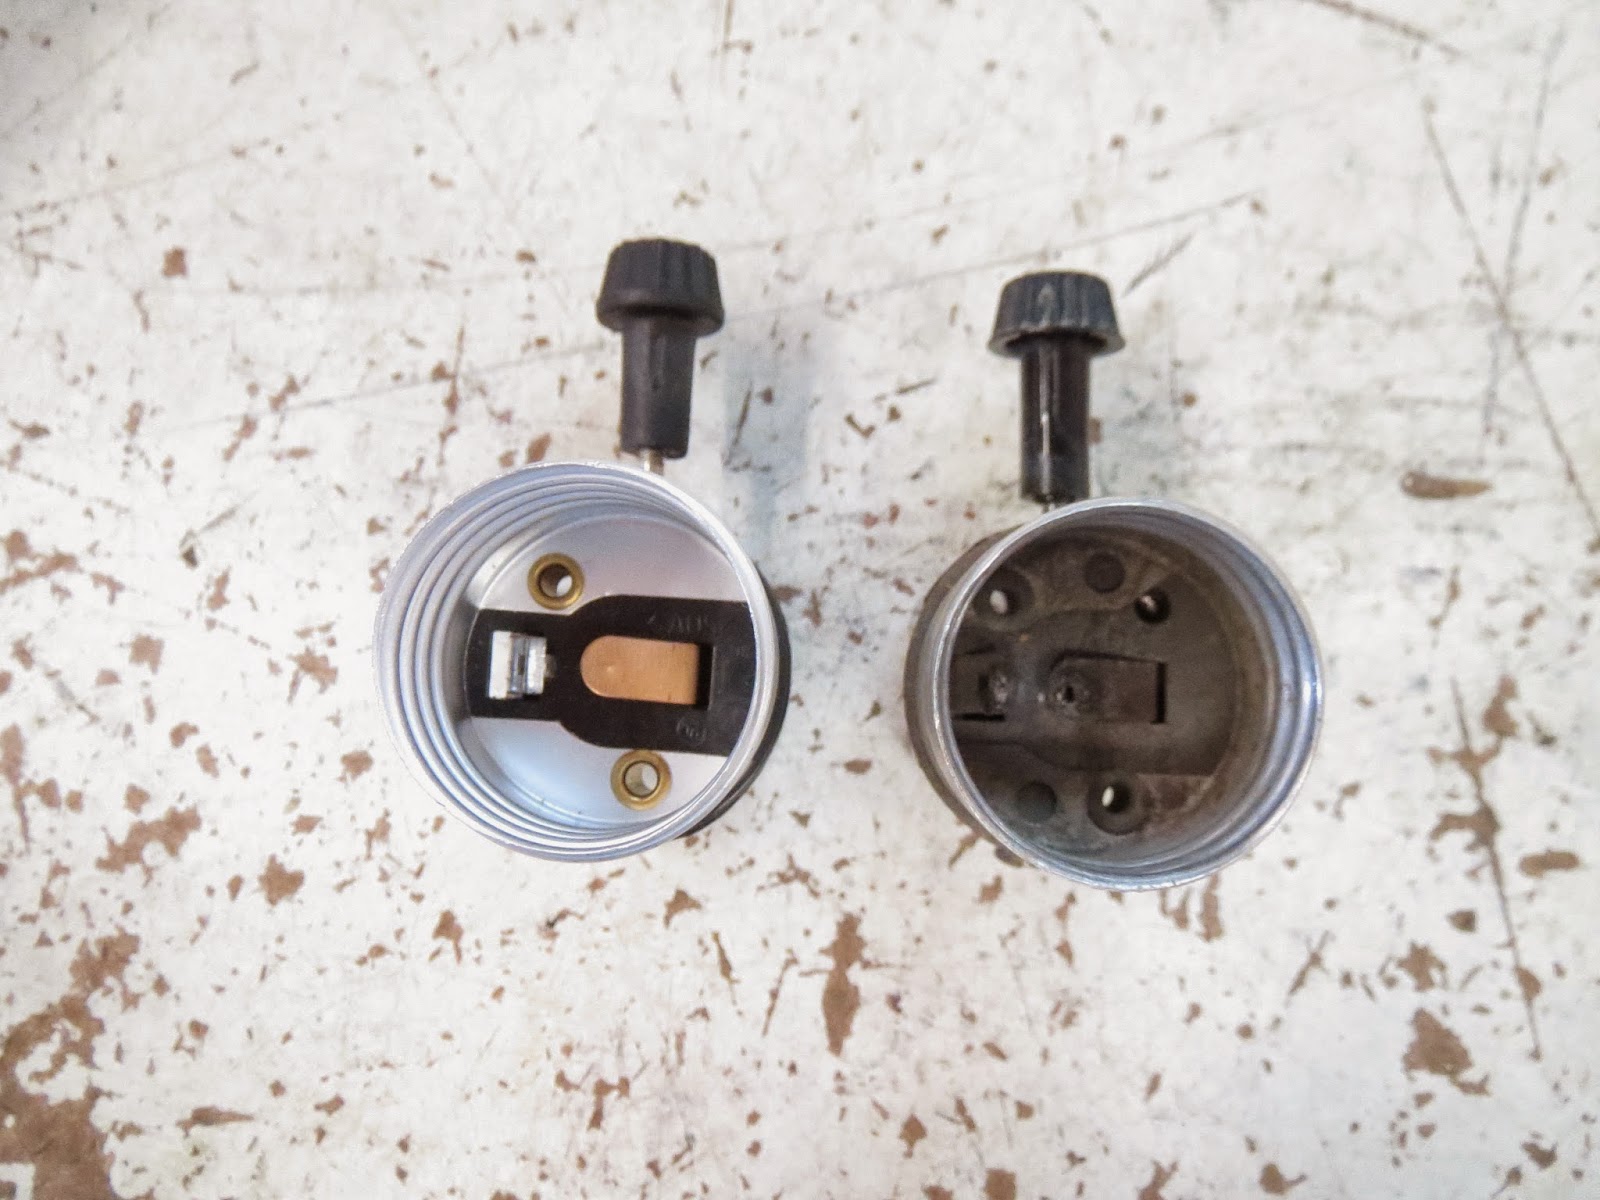
- Identify the old cord: Take a moment to identify the different wires in the lamp. The cord typically has two wires: a smooth wire and a ribbed wire. Use a marker or pen and label each wire for easier identification later.
- Disconnect the wires: Using wire cutters, carefully cut the connections where the old cord is attached to the lamp socket. Be cautious not to cut any other wires or damage the socket.
- Separate the old cord: Once the wires are disconnected, untangle the old cord from any other components or attachments on the lamp. You may need to gently pull the cord out of the base.
By following these steps, you will successfully disconnect the old lamp cord from the socket and prepare for the installation of the new cord in the next steps. Take your time to ensure that the wires are properly identified and the old cord is safely removed.
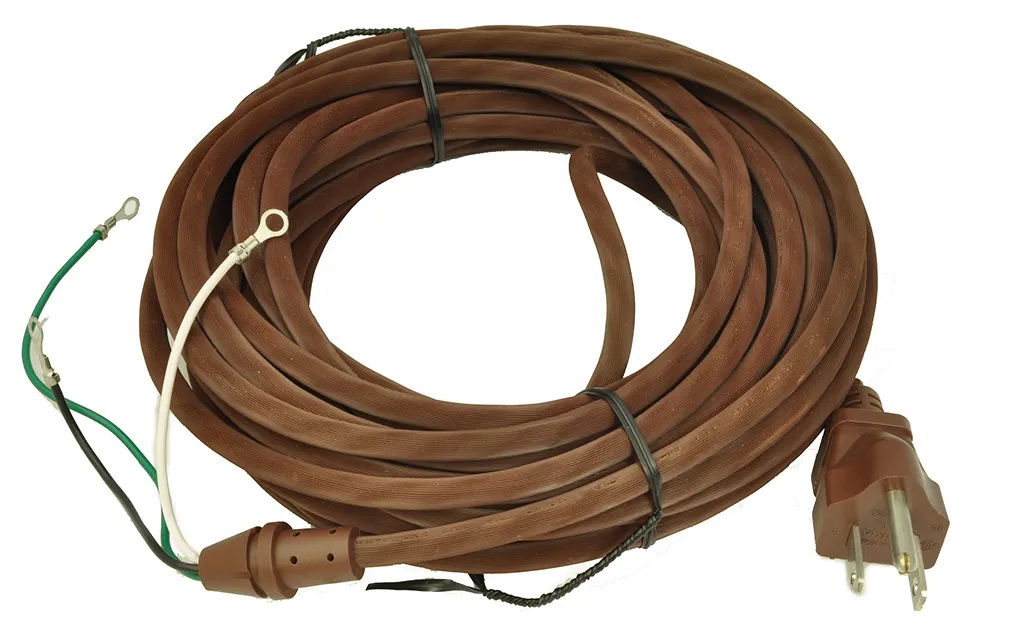
Step 3: Prepare the New Cord
With the old lamp cord disconnected, it’s time to prepare the new cord for installation. Follow these steps:
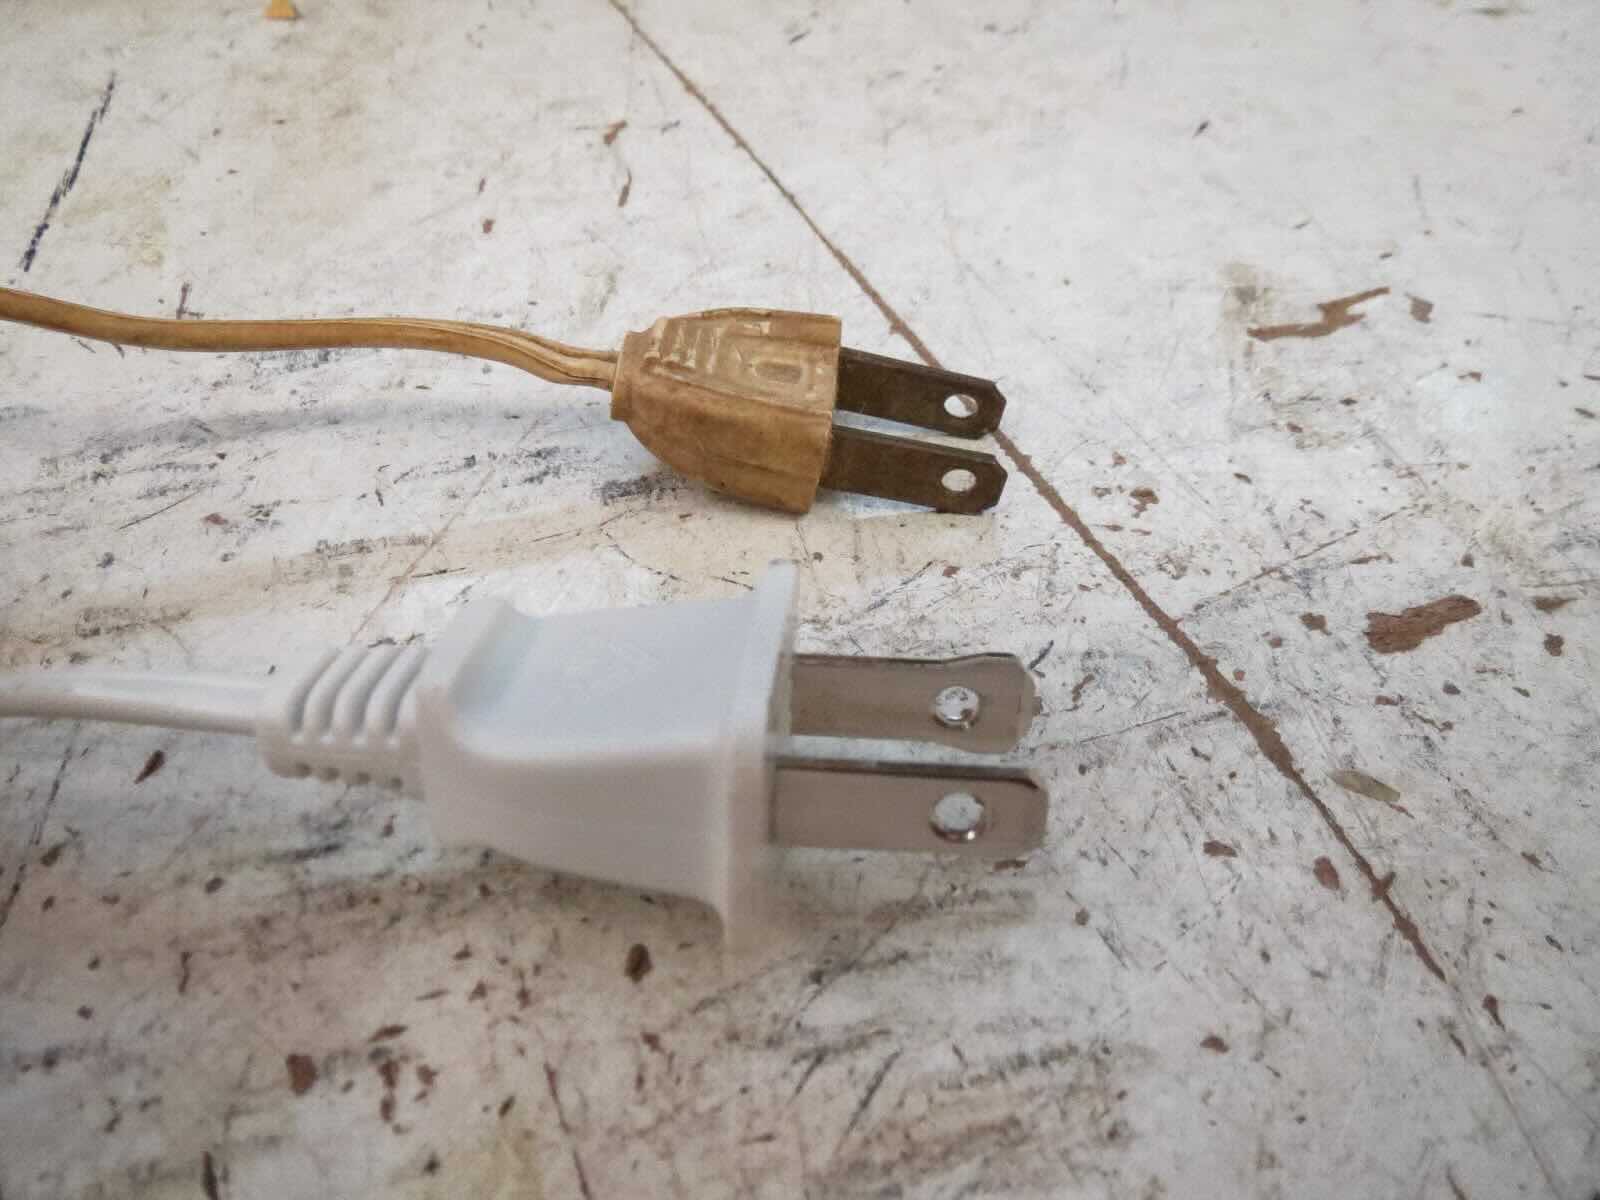
- Measure and cut the new cord: Measure the length needed for the new cord by following the path of the old cord. Add an extra few inches to ensure you have enough length. Use wire cutters to cut the new cord to the appropriate length.
- Strip the wire ends: Using wire strippers, remove about 1 inch of insulation from the ends of the new cord. Be careful not to cut into the wire strands beneath the insulation. This will expose the bare wire for proper connection.
- Inspect the wire strands: Once the wire ends are stripped, inspect the wire strands to ensure they are in good condition and not frayed or damaged. If you notice any issues, it is best to replace the entire cord for safety reasons.
- Prepare for connection: Twist the strands of each wire end together to form a tight bundle. This will make it easier to connect the new cord to the lamp socket.
Preparing the new cord is crucial to ensure a secure and reliable connection. Take your time to measure, cut, and strip the new cord properly. Inspecting the wire strands is essential for safety reasons, as any damage or fraying can be a potential hazard.
When replacing a lamp cord, always make sure to disconnect the lamp from the power source before starting. Use a continuity tester to check for any breaks in the new cord before installation.
Read more: How To Splice A Lamp Cord
Step 4: Connecting the New Cord
Now that you have prepared the new cord, it’s time to connect it to the lamp socket. Follow these steps:
- Identify the new cord wires: Refer to the labels you made during the disconnection of the old cord. Identify which wire corresponds to the smooth and ribbed wires.
- Connect the smooth wire: Take the smooth wire from the new cord and carefully connect it to the brass screw terminal on the lamp socket. Loosen the screw on the terminal, insert the wire under it, and tighten the screw to secure the connection. Ensure the wire is held securely and there are no loose strands.
- Connect the ribbed wire: Take the ribbed wire from the new cord and connect it to the silver screw terminal on the lamp socket using the same procedure. Again, ensure the connection is tight and secure.
- Double-check the connections: Once both wires are connected, give them a gentle tug to ensure they are firmly attached. Ensure that there is no exposed wire touching any other metal parts of the lamp.
During this step, paying attention to the proper connection of the new cord is crucial. Ensure that the smooth wire is connected to the brass screw terminal and the ribbed wire is connected to the silver screw terminal. Double-checking the connections will help prevent any issues with the functionality of the lamp or potential safety hazards.
Step 5: Testing the Connection
After connecting the new cord, it is important to test the connection to ensure everything is functioning properly. Follow these steps:
- Plug in the lamp: Plug the lamp into a functioning electrical outlet.
- Turn on the lamp: Switch on the lamp to test if it lights up. If the lamp does not turn on, double-check the connections and make sure the bulb is functioning properly.
- Check the switch: Test the lamp switch by turning it on and off. The lamp should respond accordingly, indicating that the new cord connection is successful.
- Inspect for any issues: While testing the connection, be on the lookout for any signs of overheating, sparking, or unusual behavior. If you notice any issues, immediately unplug the lamp and double-check the connections.
Testing the connection is an important step to ensure the safety and functionality of the lamp. By checking that the lamp lights up and the switch functions properly, you can be confident that the new cord is correctly installed.
Step 6: Securing the Cord
Once you have tested the connection and confirmed that everything is in working order, the final step is to secure the new cord in place. Follow these steps:
- Organize the cord: Make sure the new cord is neatly arranged and free from any tangles or twists.
- Use electrical tape: Starting from the point where the cord enters the lamp base, use electrical tape to secure the cord along its path. Wrap the tape tightly around the cord, overlapping slightly with each turn. Continue wrapping until you reach the end of the cord.
- Secure any loose ends: If there are any excess or loose parts of the cord, use electrical tape to secure them to the lamp base or any available clips or hooks. This will prevent the cord from dangling or becoming entangled.
By securing the new cord in place, you ensure that it remains stable and avoids any accidental damage or disconnections. The use of electrical tape provides added protection and helps to keep the cord neatly organized.
Conclusion
Replacing a lamp cord is a task that can be easily done with the right tools and a little bit of know-how. By following the step-by-step guide outlined in this article, you can safely and effectively replace the cord of your lamp.
Remember, proper preparation is key. Take the time to gather all the necessary tools and materials before starting the process. Ensure that the lamp is turned off and unplugged, and create a clean and organized workspace.
Disconnecting the old cord, preparing the new cord, and connecting it to the lamp socket are important steps in the process. Take care to identify and label the wires, securely attach them to the appropriate screw terminals, and double-check the connections to avoid any issues.
Testing the connection is crucial to ensure the functionality of the lamp. By plugging it in, turning it on, and checking the switch, you can verify that the new cord is working properly. Lastly, secure the new cord using electrical tape to keep it in place and prevent any damage or disconnections.
Replacing a lamp cord can breathe new life into your favorite lamp or bring an old treasure back to use. It is a practical skill that any homeowner can master with a little practice. However, if you are unsure or uncomfortable working with electricity, it is always best to consult a professional electrician.
With the comprehensive knowledge and step-by-step instructions provided in this article, you can confidently tackle the task of replacing a lamp cord and enjoy the safety and beauty of a well-functioning lamp in your home.
Frequently Asked Questions about How To Replace A Lamp Cord
Was this page helpful?
At Storables.com, we guarantee accurate and reliable information. Our content, validated by Expert Board Contributors, is crafted following stringent Editorial Policies. We're committed to providing you with well-researched, expert-backed insights for all your informational needs.