Home>Home Appliances>Home Automation Appliances>How To Rewire A Thermostat
Home Automation Appliances
How To Rewire A Thermostat
Modified: August 27, 2024
Learn how to rewire a thermostat for your home automation appliances with our step-by-step guide. Ensure your comfort and energy efficiency with our expert tips.
(Many of the links in this article redirect to a specific reviewed product. Your purchase of these products through affiliate links helps to generate commission for Storables.com, at no extra cost. Learn more)
Introduction
Welcome to the world of home automation! Your thermostat is a crucial component of your home’s heating and cooling system, and rewiring it can significantly enhance its functionality. Whether you’re upgrading to a smart thermostat or simply replacing an old one, knowing how to rewire a thermostat is a valuable skill for any homeowner.
Before embarking on this project, it’s essential to gather the necessary tools and materials. Additionally, familiarizing yourself with the steps involved in rewiring a thermostat will ensure a smooth and successful installation process.
This comprehensive guide will walk you through each step, providing valuable insights and tips to help you rewire your thermostat with confidence. By the end of this journey, you’ll have a deeper understanding of your home’s heating and cooling system and the satisfaction of having completed a practical and rewarding DIY project.
Key Takeaways:
- Rewiring a thermostat involves turning off the power, removing the old thermostat, installing the new one, and testing its functionality. Safety, precision, and thorough testing are essential for a successful installation.
- Gathering the right tools and materials, following step-by-step instructions, and prioritizing safety are crucial for rewiring a thermostat. By embracing this DIY project, you can enhance your home’s comfort and energy efficiency.
Read more: How To Rewire A Floor Lamp
Tools and Materials Needed
Before diving into the rewiring process, it’s essential to gather the necessary tools and materials to ensure a seamless installation. Here’s a comprehensive list of what you’ll need:
Tools:
- Screwdriver set (flathead and Phillips head)
- Wire cutter/stripper
- Drill and drill bits (if required for mounting the new thermostat)
- Level (for ensuring the thermostat is mounted straight)
- Electrical tape
- Marker or pen (for labeling wires)
- Smartphone or tablet (for setting up a smart thermostat, if applicable)
Materials:
- New thermostat (ensure compatibility with your heating and cooling system)
- Mounting screws and anchors (if required)
- Wire labels or masking tape (for labeling wires)
- Replacement wiring (if the existing wiring is damaged or inadequate)
- Batteries (if the new thermostat requires them)
By having these tools and materials on hand, you’ll be well-prepared to tackle the rewiring process with confidence. Additionally, it’s crucial to prioritize safety throughout the installation, so be sure to have a voltage tester on standby to verify that the power is off before beginning the rewiring process.
Turn off the Power
Prior to rewiring your thermostat, it’s imperative to ensure the safety of both yourself and the electrical components by turning off the power supply. Follow these steps to safely disconnect the power:
- Locate the Circuit Breaker: Identify the circuit breaker that controls the power supply to your heating and cooling system. This is typically labeled in the electrical panel.
- Switch Off the Power: Once you’ve located the appropriate circuit breaker, switch it to the “off” position to cut off the power supply to the thermostat. You can double-check that the power is off by attempting to turn on the heating or cooling system from the thermostat.
- Verify the Power is Off: It’s crucial to use a voltage tester to confirm that the power is indeed off before proceeding with the rewiring process. This step is essential for your safety and to prevent any potential damage to the heating and cooling system.
By taking the time to turn off the power and verify that it’s safely disconnected, you’ll mitigate the risk of electrical hazards and ensure a secure environment for rewiring the thermostat. Always exercise caution when working with electrical systems and components, and if you’re unsure about any aspect of the power disconnection process, consider consulting a qualified electrician.
Read more: How To Rewire A Chandelier
Remove the Old Thermostat
Now that the power is safely turned off, it’s time to remove the old thermostat. Follow these steps to ensure a smooth and careful removal process:
- Remove the Faceplate: Depending on the type of thermostat you have, gently pry off or unscrew the faceplate to reveal the wiring and mounting base. Take note of the wires and their corresponding terminals.
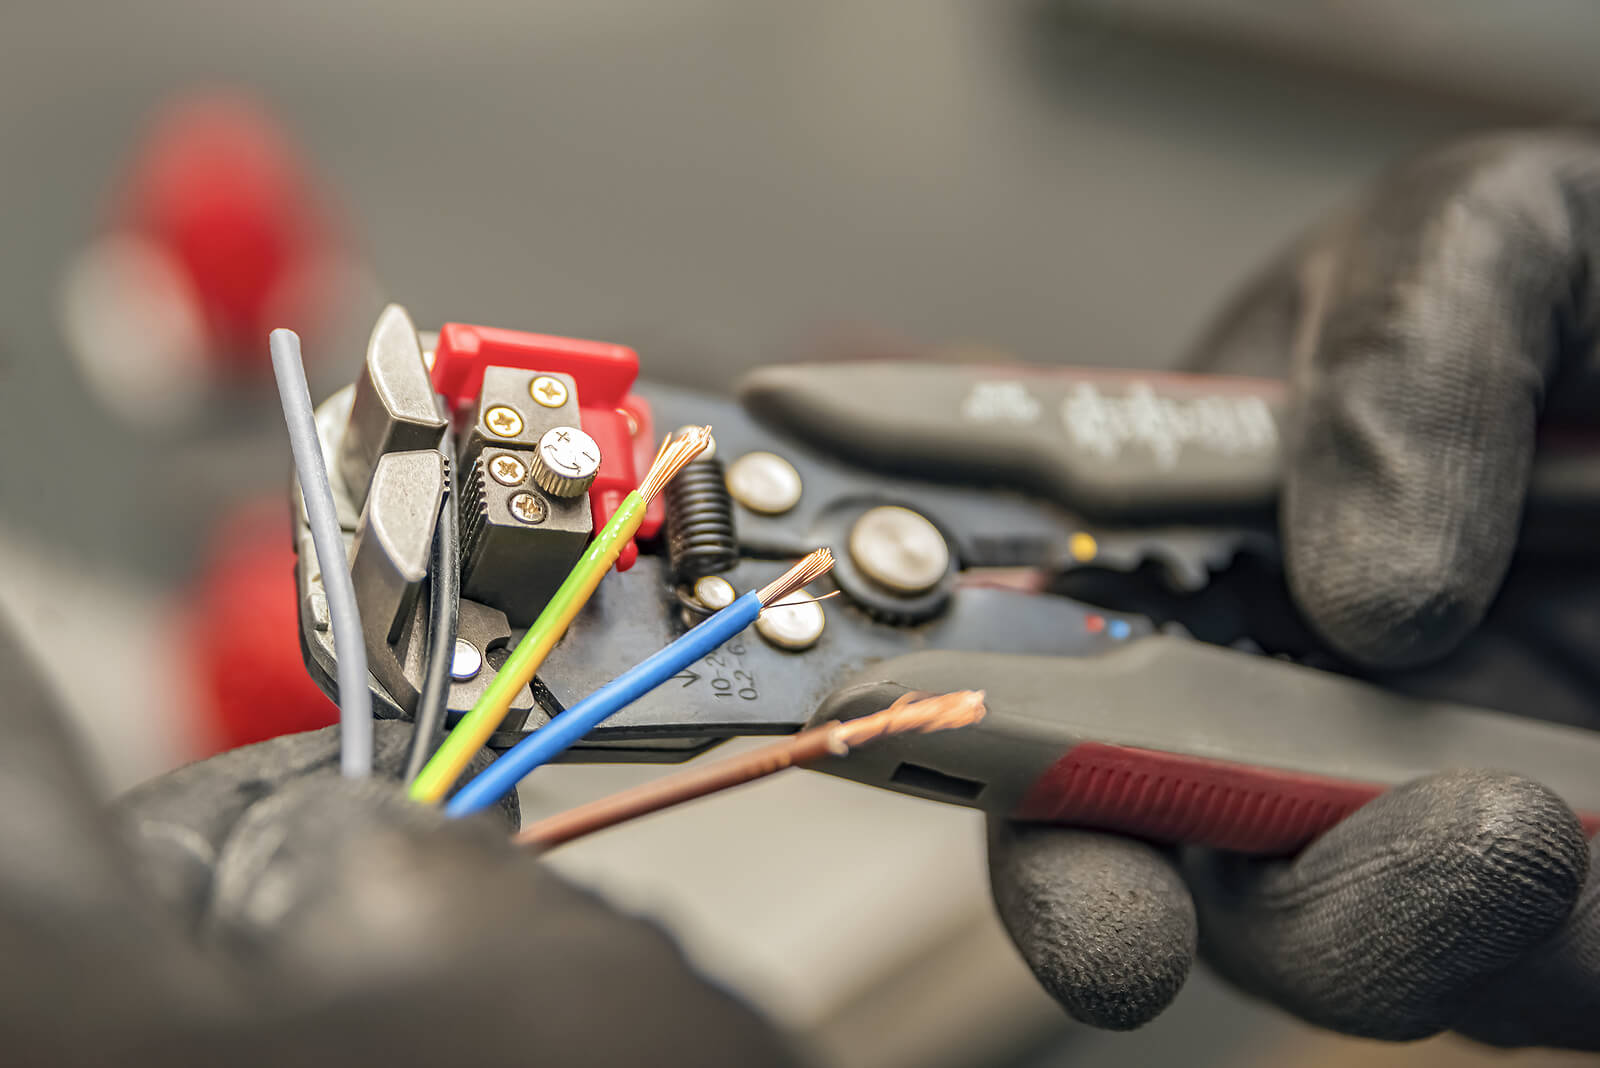
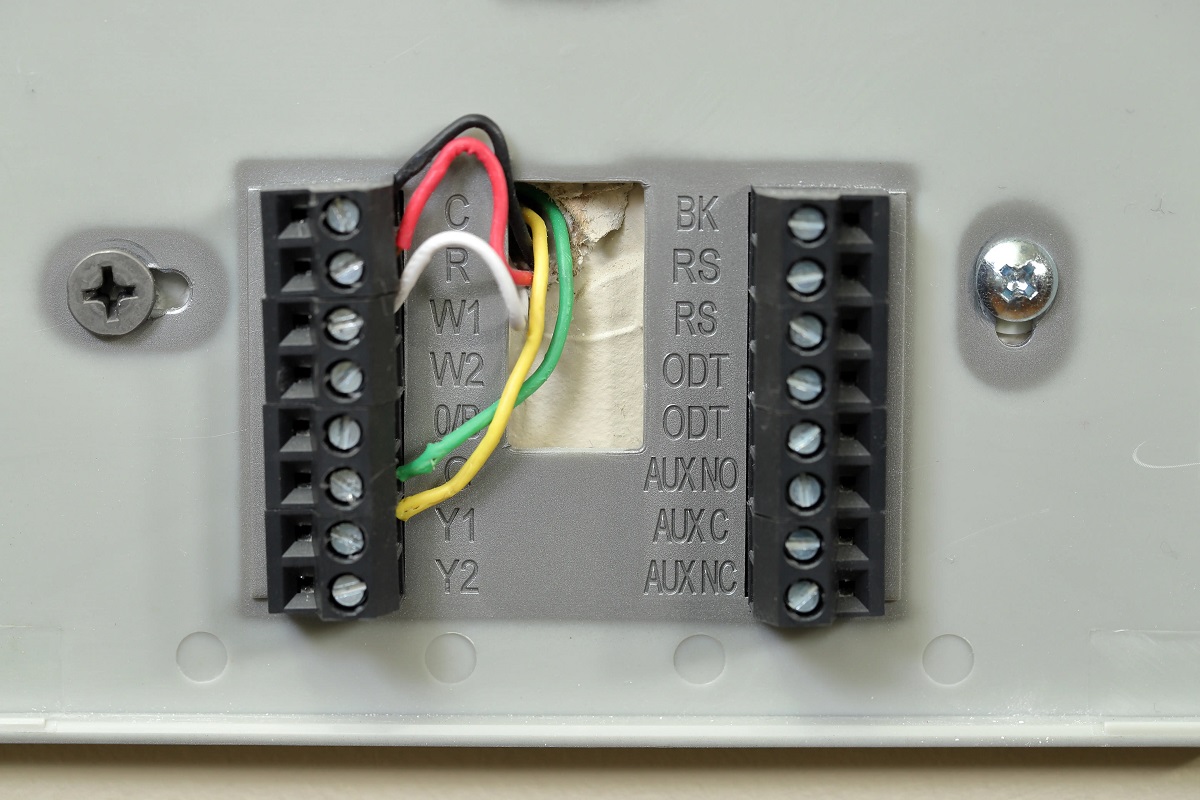
- Label the Wires: Before disconnecting any wires, use wire labels or masking tape to mark each wire with the letter corresponding to the terminal it’s connected to. This step is crucial for accurately connecting the wires to the new thermostat.
- Disconnect the Wires: Carefully loosen the screws or terminals securing the wires to the thermostat and remove the wires one by one. Take care to prevent the wires from falling back into the wall opening.
- Remove the Mounting Base: Unscrew the mounting base of the old thermostat from the wall. Depending on the type of thermostat, there may be wall anchors that need to be removed as well.
- Inspect the Wiring: Once the old thermostat and its mounting base are removed, inspect the wiring for any signs of damage or wear. If the wiring appears frayed or damaged, it’s advisable to replace it with new wiring to ensure a reliable connection for the new thermostat.
By methodically removing the old thermostat and taking note of the wiring configuration, you’ll set the stage for a successful installation of the new thermostat. Remember to handle the old thermostat and wiring with care, and if you encounter any challenges during the removal process, don’t hesitate to seek assistance from a professional.
Install the New Thermostat
With the old thermostat removed and the wiring exposed, it’s time to install the new thermostat. Follow these steps to ensure a secure and precise installation:
- Mounting the New Base: If the new thermostat requires a mounting base, align it with the existing holes in the wall and secure it in place using the provided screws. Use a level to ensure the base is mounted straight.
- Prepare the Wires: If the wires are not already stripped and prepared for connection, use a wire cutter/stripper to carefully strip off a small portion of insulation from the ends of the wires to expose the conductors.
- Connect the Wires: Refer to the labels you placed on the wires during the removal process and connect each wire to its corresponding terminal on the new thermostat. Ensure the connections are secure and snug, as loose connections can lead to erratic thermostat behavior.
- Attach the Faceplate: Once the wiring is connected, attach the faceplate of the new thermostat to the mounting base, ensuring a proper fit and alignment.
- Insert Batteries (if applicable): If the new thermostat is battery-powered, insert the required batteries according to the manufacturer’s instructions.
As you install the new thermostat, pay close attention to the wiring and ensure that each connection is accurate and secure. If you encounter any uncertainties during the installation process, refer to the manufacturer’s instructions or seek guidance from a professional to ensure a successful installation.
Connect the Wiring
Once the new thermostat is securely installed, the next crucial step is to connect the wiring. Properly connecting the wiring is essential for the thermostat to effectively control your heating and cooling system. Follow these steps to ensure a seamless wiring connection:
- Refer to the Wiring Labels: Use the labels you placed on the wires during the removal process to guide you in connecting each wire to the corresponding terminal on the new thermostat. Ensure that the wiring matches the configuration of your specific heating and cooling system.
- Secure the Connections: Carefully tighten the screws or terminals to secure the wires in place. It’s important to ensure that each connection is snug and free of any stray wire strands, which could cause electrical issues or malfunctions.
- Double-Check the Wiring: After connecting the wiring, double-check each connection to verify that the wires are correctly seated and secured. Any loose connections should be addressed immediately to prevent potential issues with the thermostat’s functionality.
By meticulously connecting the wiring according to the labeled configuration, you’ll establish a reliable and accurate connection between the thermostat and your heating and cooling system. Taking the time to ensure precise wiring connections will contribute to the overall performance and efficiency of the new thermostat.
When rewiring a thermostat, always turn off the power to the heating or cooling system before starting. This will prevent any accidents or damage to the system.
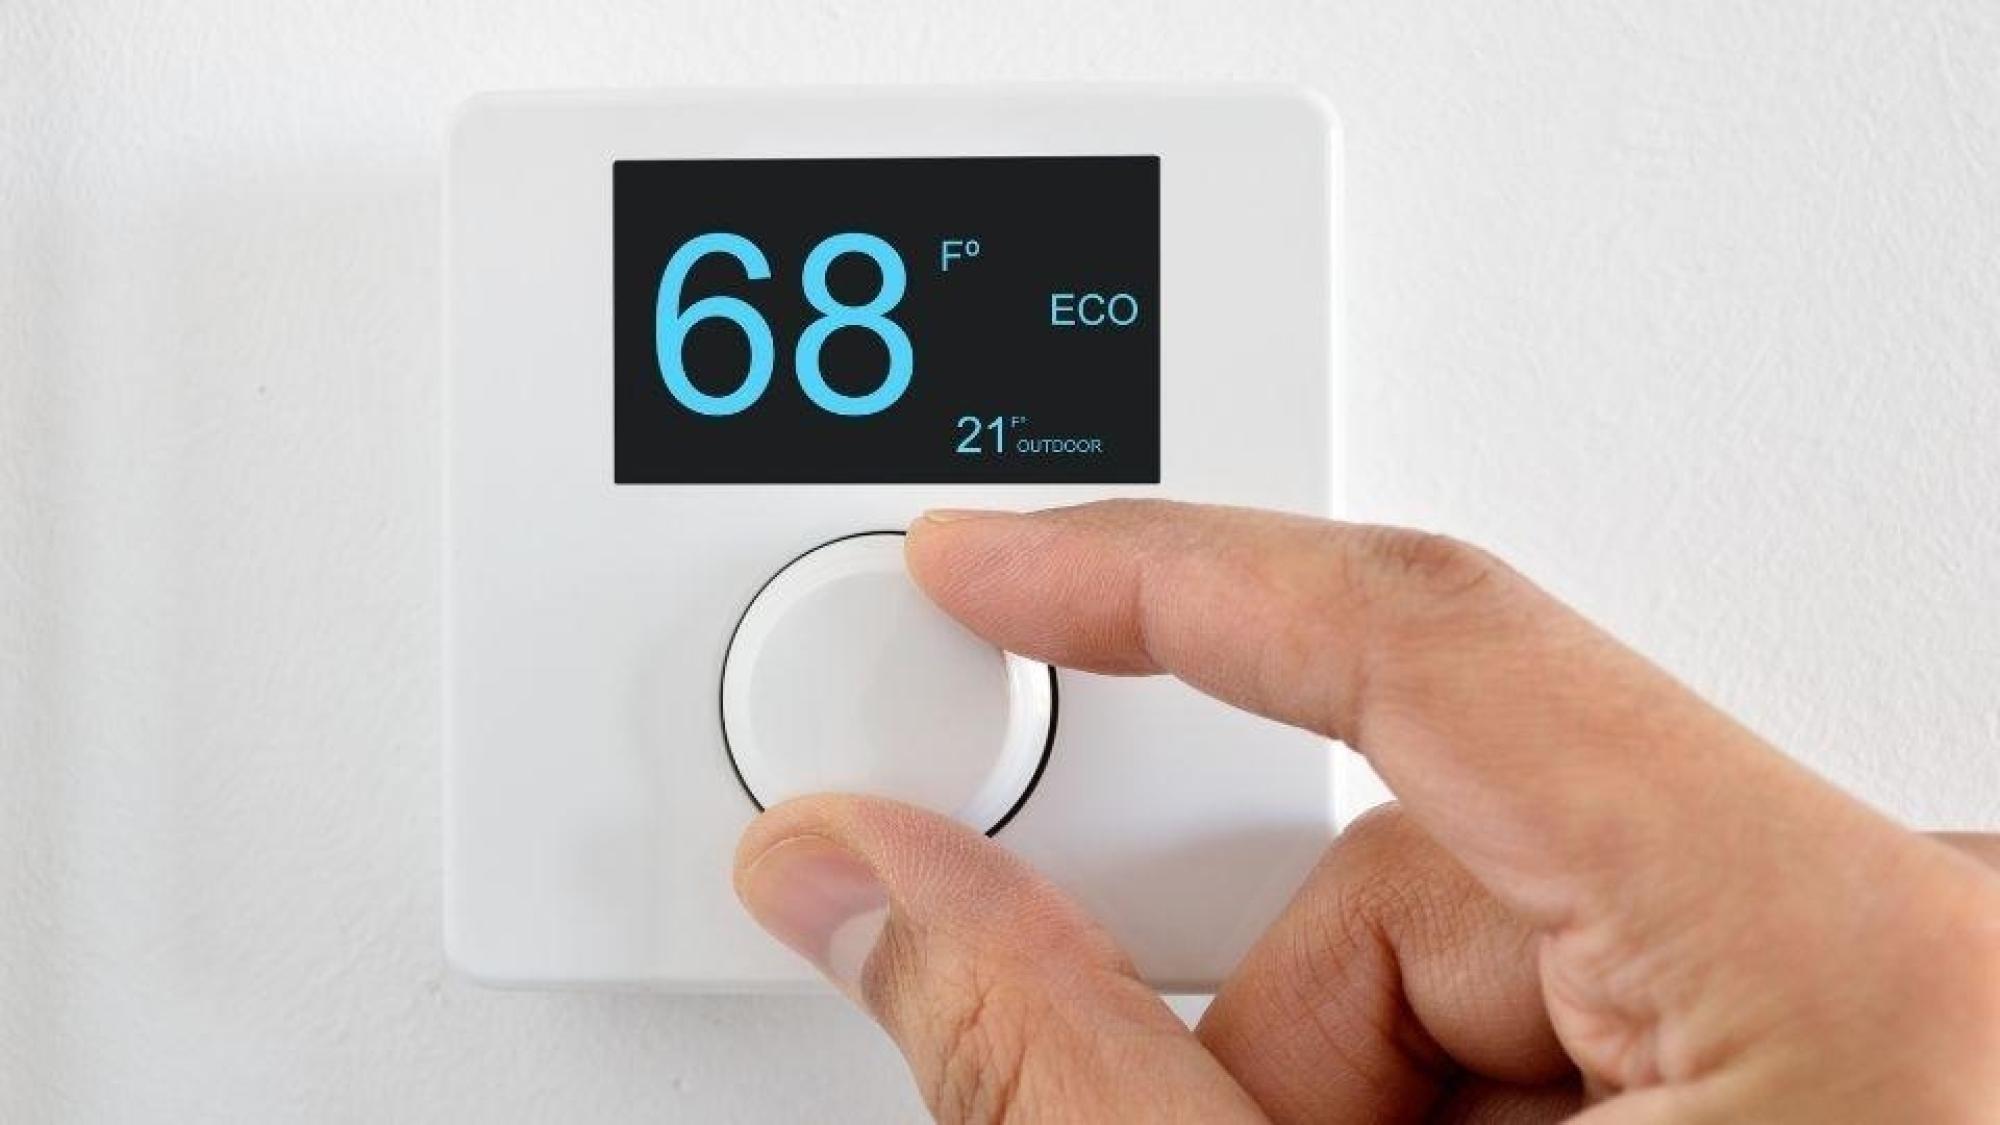
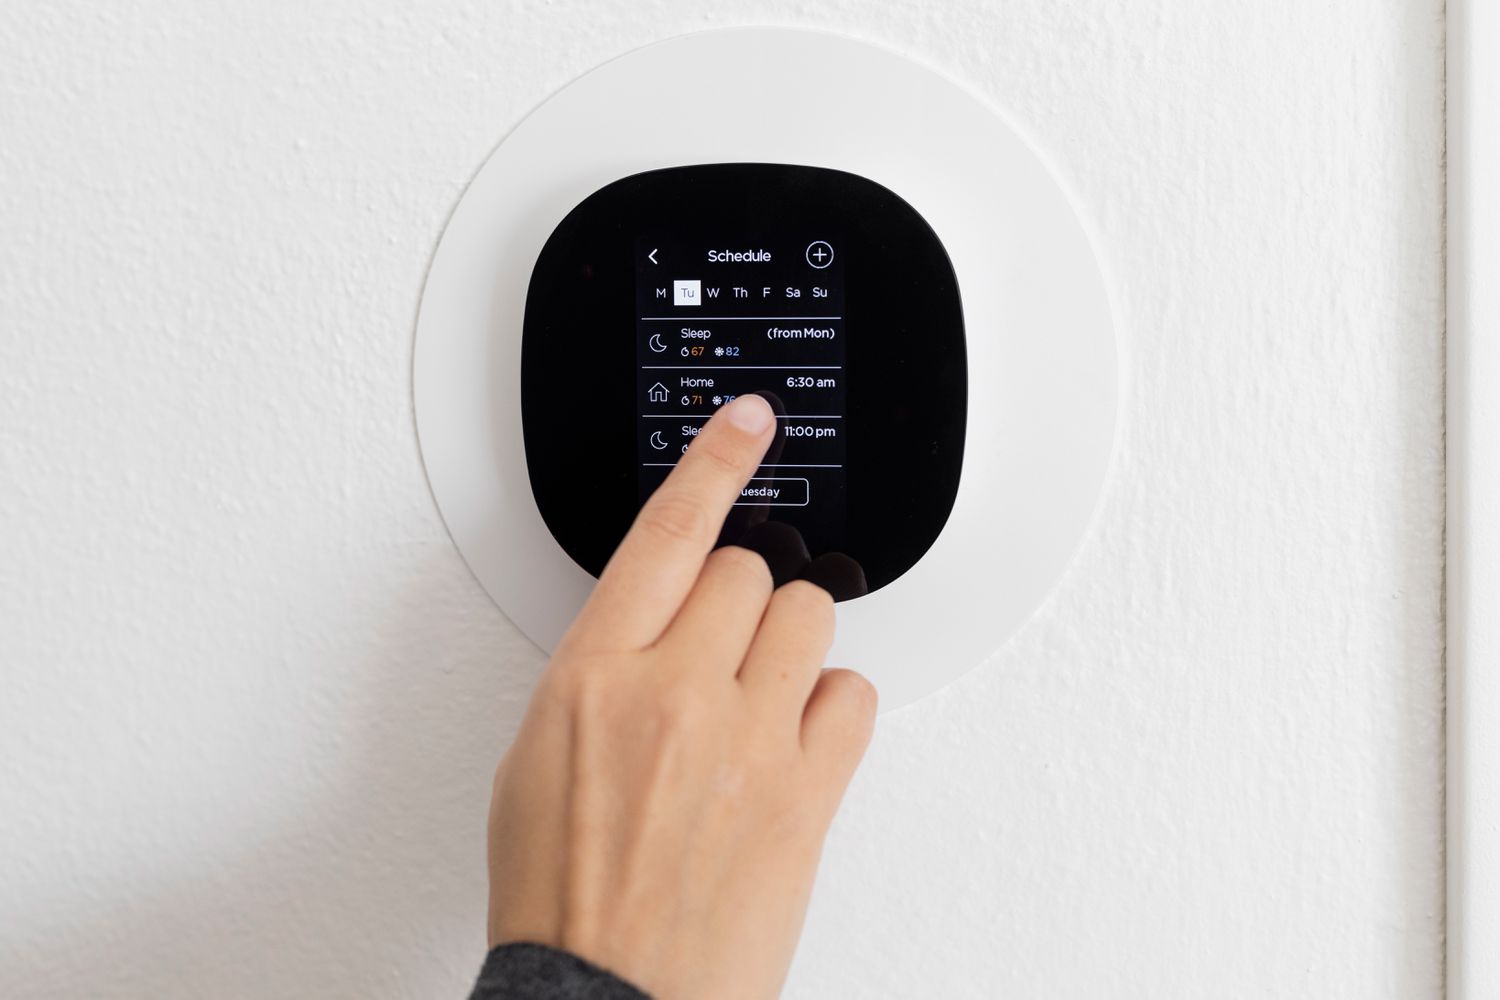
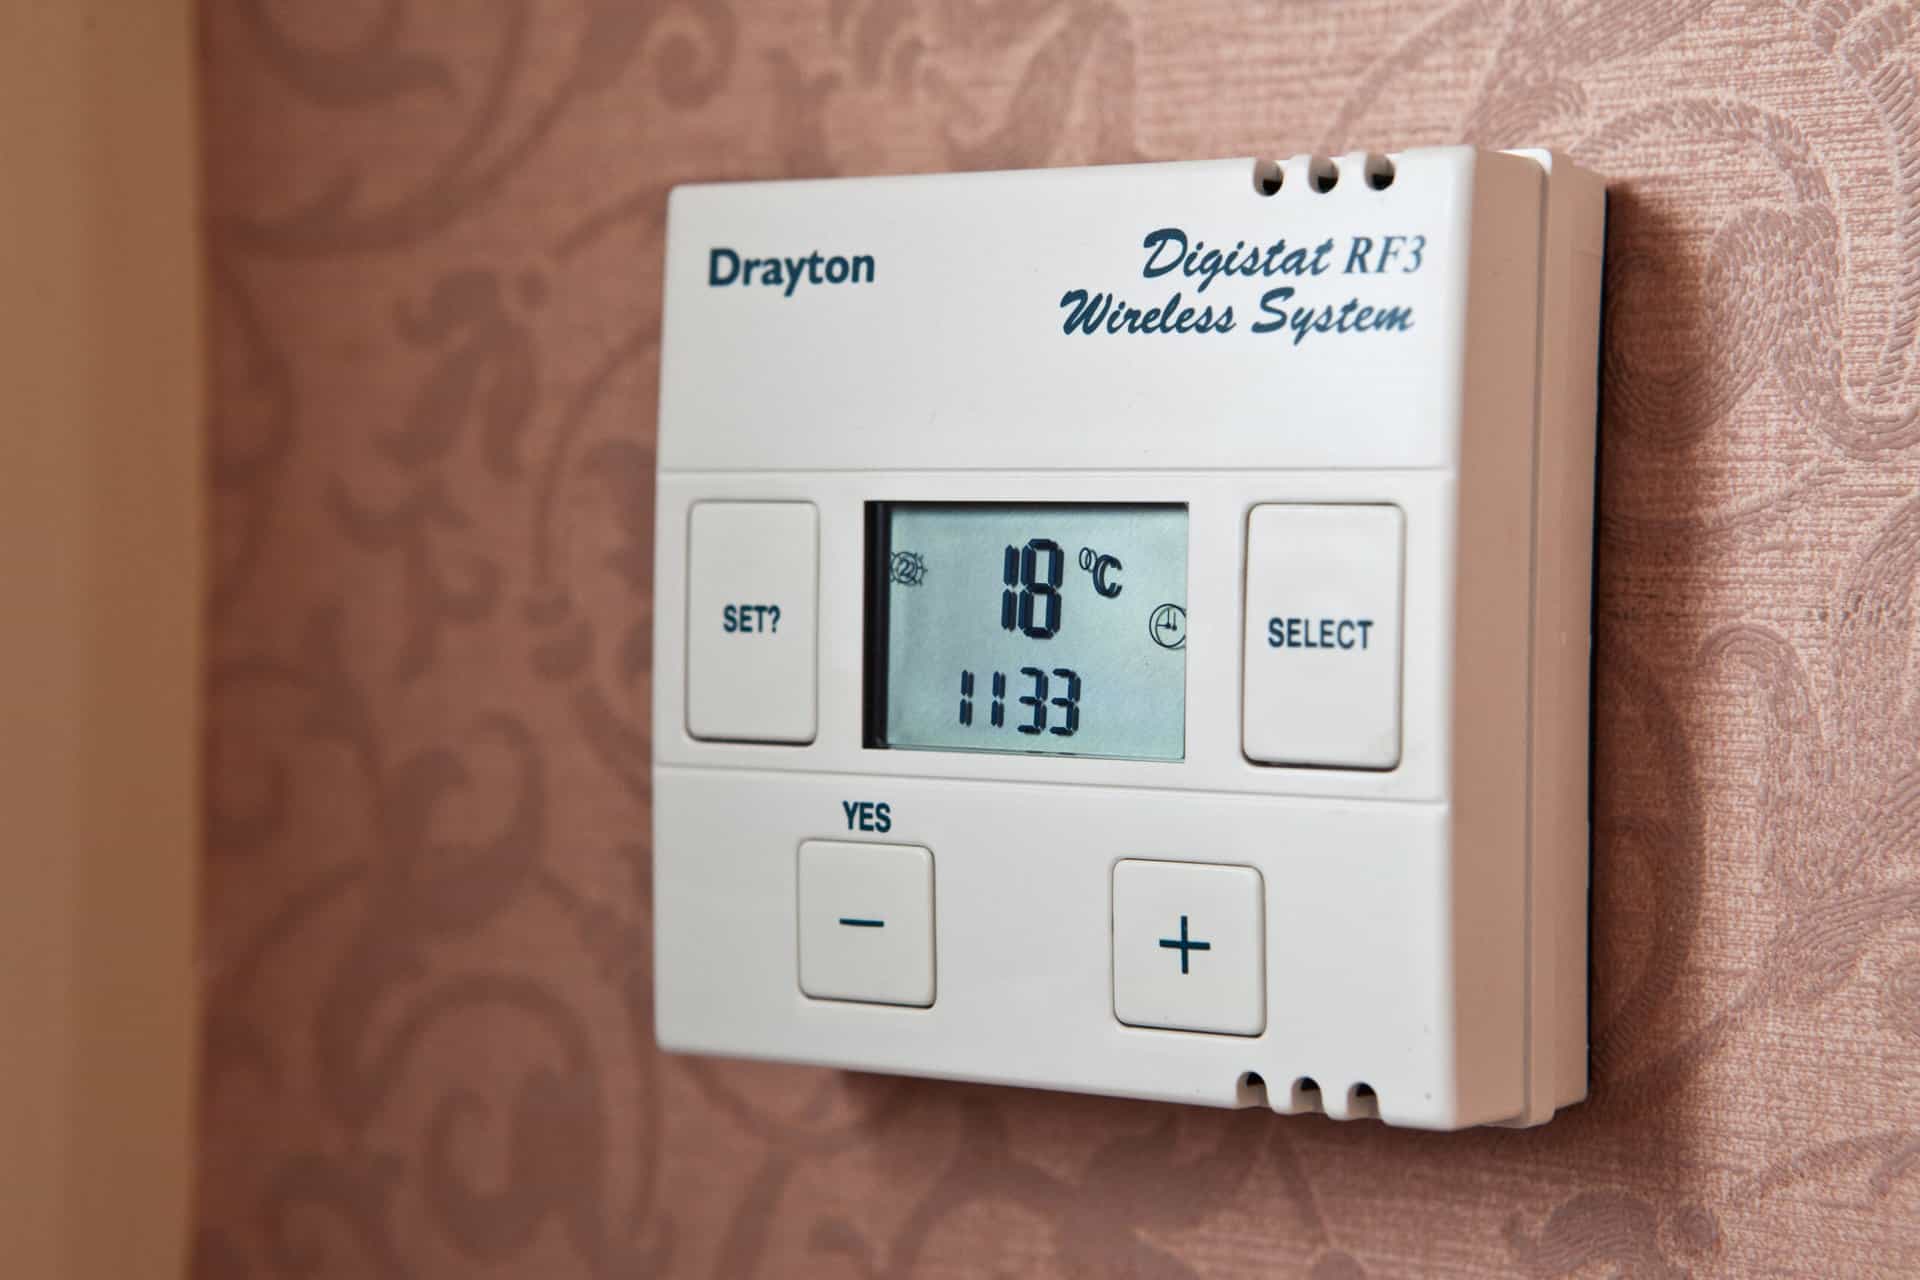
Set up the New Thermostat
After the wiring is securely connected, it’s time to set up the new thermostat to effectively control your heating and cooling system. Whether you’re installing a traditional or smart thermostat, the setup process is crucial for optimizing its performance. Follow these steps to ensure a successful setup:
- Follow Manufacturer’s Instructions: Refer to the manufacturer’s instructions or user manual for guidance on setting up your specific thermostat model. This may include programming the thermostat for your desired temperature settings and scheduling.
- Configure Smart Thermostat Features (if applicable): If you’re installing a smart thermostat, use a smartphone or tablet to download the manufacturer’s app and follow the instructions to connect the thermostat to your home’s Wi-Fi network. This will enable remote control and access to advanced features.
- Program Temperature Settings: Set the desired temperature settings for different times of the day, taking advantage of any energy-saving features offered by the thermostat. This step will help optimize comfort and energy efficiency in your home.
- Verify System Compatibility: If you’ve installed a smart thermostat, verify that it’s compatible with your heating and cooling system. Some smart thermostats may require additional accessories for compatibility with certain HVAC systems.
By carefully following the setup instructions provided by the manufacturer, you’ll ensure that your new thermostat is configured to meet your specific comfort and energy-saving preferences. Whether you’re embracing the convenience of a smart thermostat or enjoying the enhanced functionality of a traditional model, a well-executed setup is essential for maximizing the benefits of your new thermostat.
Read more: How To Rewire A Lamp
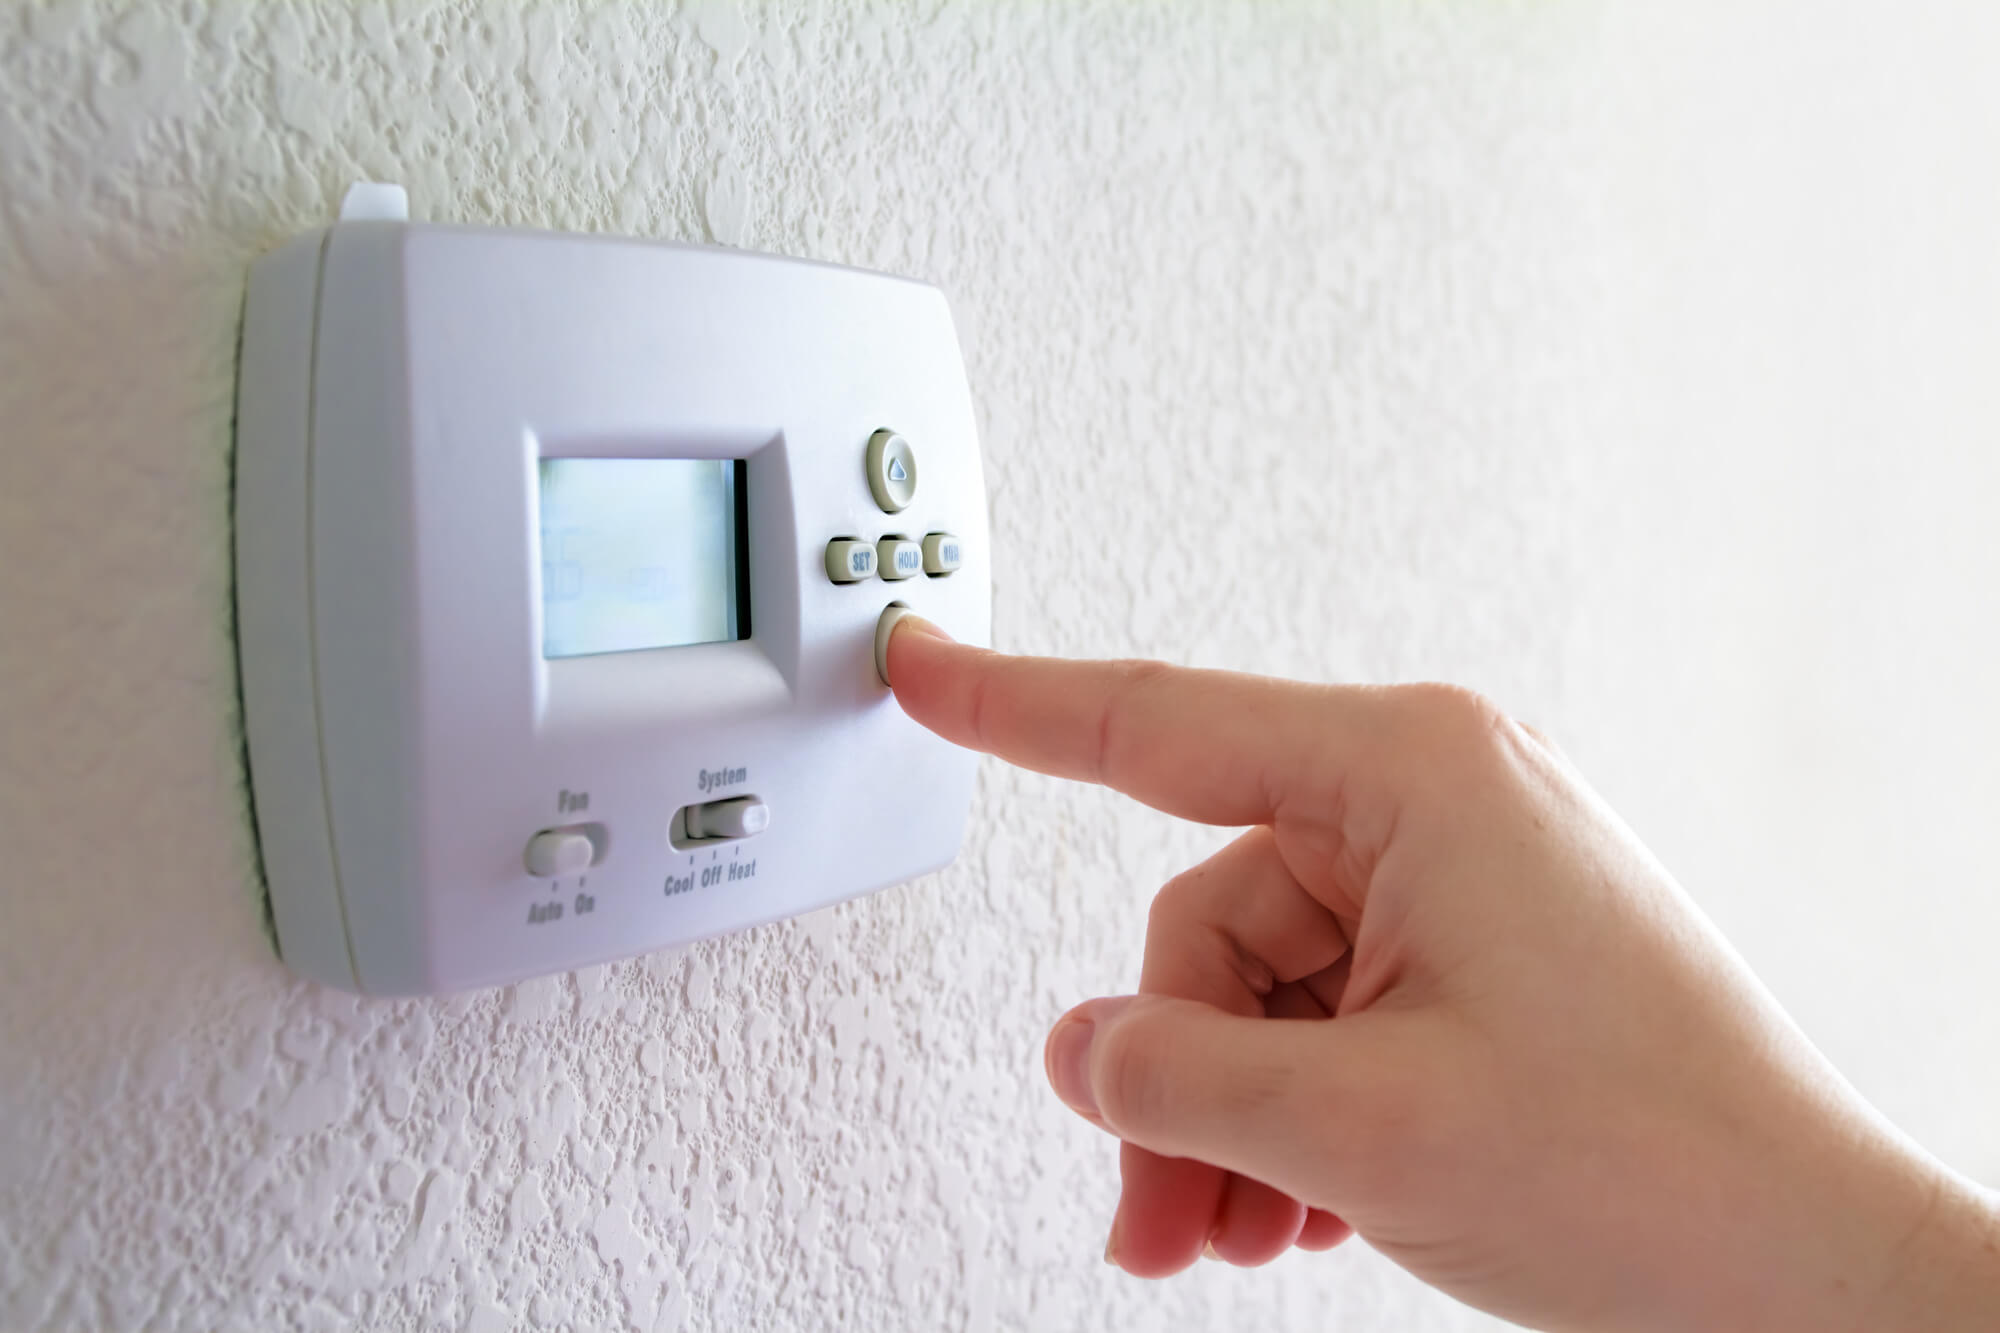
Turn on the Power
With the new thermostat installed and set up, it’s time to restore power to your heating and cooling system. Follow these steps to safely turn on the power and activate the new thermostat:
- Locate the Circuit Breaker: Identify the circuit breaker that controls the power supply to your heating and cooling system in the electrical panel.
- Switch On the Power: Once located, switch the circuit breaker to the “on” position to restore the power supply to the thermostat and the HVAC system.
- Verify the Thermostat Display: Check the display on the new thermostat to ensure that it’s powered on and functioning. If the display is active, it indicates that the thermostat has successfully received power.
- Test the Heating and Cooling Systems: Activate the heating and cooling systems from the thermostat to verify that they respond as expected. This test will confirm that the thermostat is effectively controlling the HVAC system.
By methodically restoring power and testing the functionality of the new thermostat, you’ll complete the installation process and ensure that your heating and cooling system is back in operation. If you encounter any issues during this process, double-check the wiring and setup of the thermostat, and consider consulting the manufacturer’s instructions or seeking professional assistance to address any concerns.
Testing the New Thermostat
After restoring power to the heating and cooling system, it’s essential to conduct thorough testing to ensure that the new thermostat is functioning optimally. Follow these steps to test the thermostat and verify its performance:
- Temperature Accuracy: Set the thermostat to a specific temperature and verify that the heating or cooling system activates accordingly. Use a separate thermometer to confirm that the temperature displayed on the thermostat aligns with the actual room temperature.
- Mode Switching: Test the thermostat’s ability to switch between heating and cooling modes as needed. Ensure that the system responds promptly to changes in temperature settings and mode selections.
- Schedule Verification: If you’ve programmed a schedule for temperature settings, monitor the thermostat to confirm that it follows the programmed schedule accurately. This step is crucial for ensuring that the thermostat operates according to your desired comfort and energy-saving settings.
- Remote Control (for smart thermostats): If you’ve installed a smart thermostat, use the manufacturer’s app to remotely control the thermostat and verify that it responds to commands and updates settings as intended.
Thoroughly testing the new thermostat will provide valuable insights into its performance and functionality. By verifying its temperature accuracy, mode switching, schedule adherence, and remote control capabilities, you’ll gain confidence in the reliability and effectiveness of the new thermostat in managing your home’s comfort and energy efficiency.
Conclusion
Congratulations on successfully rewiring and installing your new thermostat! By following the comprehensive steps outlined in this guide, you’ve gained valuable insights into the process of upgrading and optimizing your home’s heating and cooling system. Whether you’ve replaced an outdated thermostat with a modern model or embraced the advanced features of a smart thermostat, your efforts have contributed to enhancing the comfort and energy efficiency of your home.
Throughout this journey, you’ve not only mastered the technical aspects of rewiring a thermostat but also gained a deeper understanding of how this essential component regulates your indoor environment. By prioritizing safety, meticulous wiring connections, and thorough testing, you’ve demonstrated a commitment to ensuring the reliable and effective operation of your new thermostat.
As you enjoy the benefits of your newly installed thermostat, remember to periodically check and maintain its functionality to ensure consistent performance. Additionally, familiarize yourself with the thermostat’s features and settings to maximize its potential in optimizing comfort and energy usage in your home.
Should you encounter any challenges or uncertainties in the process, don’t hesitate to seek assistance from qualified professionals or refer to the manufacturer’s resources for guidance. Your dedication to maintaining a comfortable and efficient home environment through the installation of a new thermostat reflects your commitment to embracing the advancements in home automation and energy management.
Thank you for joining us on this rewarding journey of rewiring and installing a new thermostat. We hope this guide has empowered you with the knowledge and confidence to tackle future home improvement projects with enthusiasm and success!
Frequently Asked Questions about How To Rewire A Thermostat
Was this page helpful?
At Storables.com, we guarantee accurate and reliable information. Our content, validated by Expert Board Contributors, is crafted following stringent Editorial Policies. We're committed to providing you with well-researched, expert-backed insights for all your informational needs.

0 thoughts on “How To Rewire A Thermostat”