Furniture
How To Replace A Panasonic Lamp
Modified: February 26, 2024
Learn how to easily replace a Panasonic lamp in your furniture with our step-by-step guide. Ensure your furniture stays well-lit and functional for years to come.
(Many of the links in this article redirect to a specific reviewed product. Your purchase of these products through affiliate links helps to generate commission for Storables.com, at no extra cost. Learn more)
Introduction
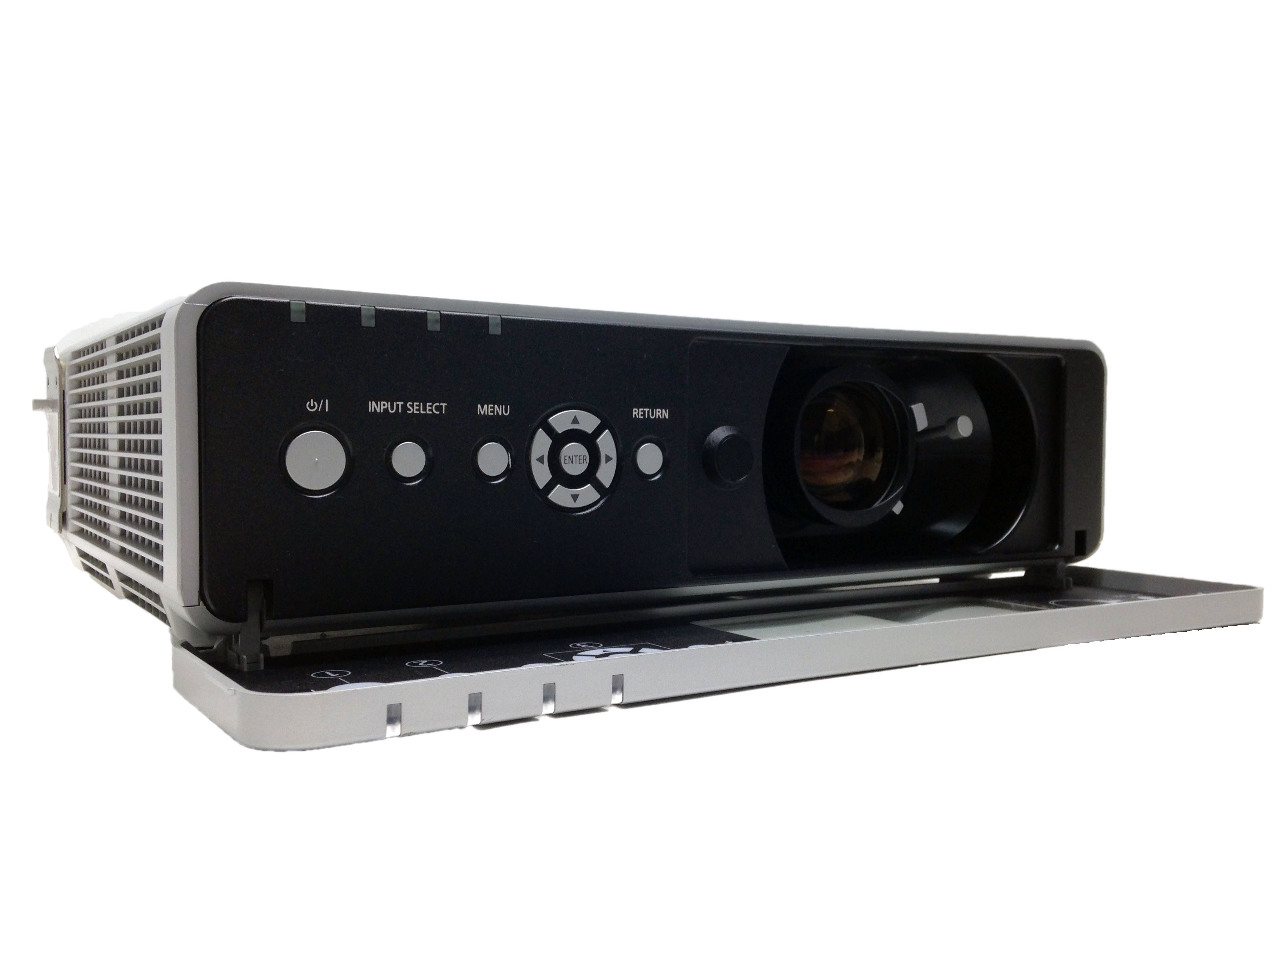
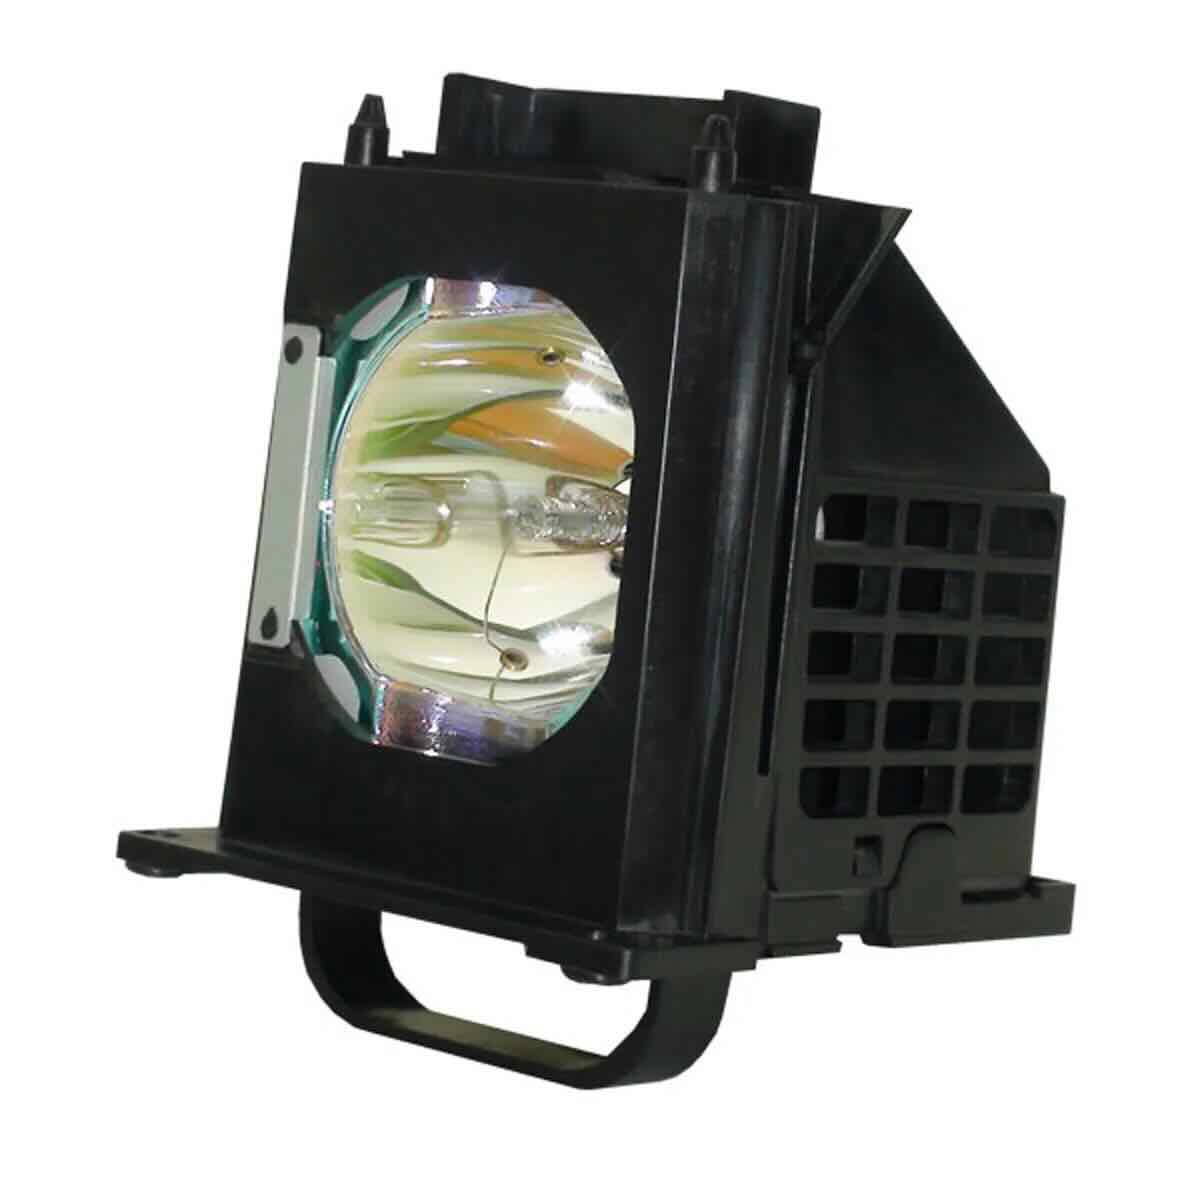
Welcome to our comprehensive guide on how to replace a Panasonic lamp. If your projector lamp is showing signs of dimness or has completely stopped working, it may be time to replace it. While the thought of replacing a lamp may seem daunting, fear not! With a little guidance and the right tools, you’ll have your projector up and running in no time.
Before we dive into the step-by-step process, let’s briefly discuss why it’s essential to replace a faulty lamp. Projector lamps, like any other light source, have a limited lifespan. Over time, the brightness of the lamp diminishes, affecting the overall image quality and clarity. Moreover, a failing lamp can generate excessive heat, which can potentially damage other components of your projector.
Replacing a Panasonic lamp is a relatively straightforward task that can be completed by anyone with basic technical skills. In this guide, we will walk you through each step of the process, ensuring a smooth and successful lamp replacement.
But first, let’s gather the necessary materials and tools to ensure a seamless replacement process.
Key Takeaways:
- Safely and easily replace your Panasonic projector lamp by following our step-by-step guide. Ensure optimal image quality and extend your projector’s lifespan with the right tools and precautions.
- Enjoy a seamless cinematic experience by replacing your Panasonic lamp. With basic technical skills and our comprehensive instructions, you can keep your projector running at its best.
Read more: How To Reset A Panasonic Projector Lamp
Materials Needed
Before you begin the process of replacing a Panasonic lamp, it’s important to gather the following materials and tools:
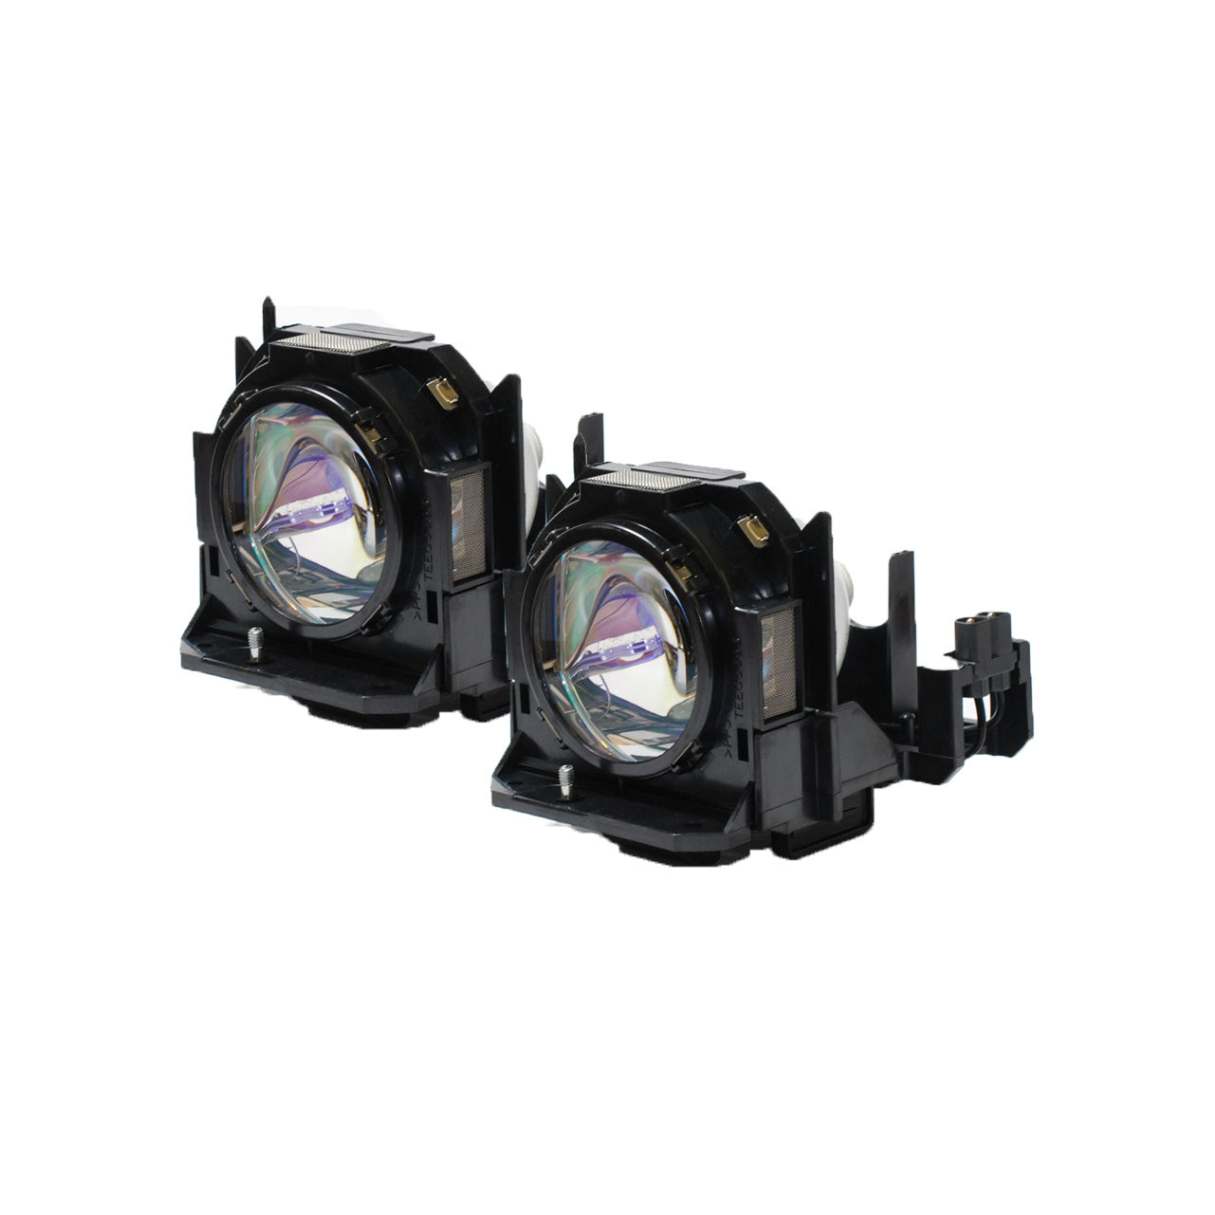
- A replacement Panasonic lamp: Ensure that you have the correct lamp compatible with your specific projector model. Refer to the projector’s user manual or the manufacturer’s website for the appropriate lamp part number.
- Protective gloves: It’s crucial to wear gloves to avoid getting any oils from your fingers on the lamp. Oils can damage the lamp and reduce its lifespan.
- A screwdriver: You may need a screwdriver to remove the lamp cover or secure the lamp in place. Check your projector’s user manual to determine the type of screwdriver required.
- A soft cloth or microfiber cloth: Use a cloth to handle the lamp and clean any dust or debris that may have accumulated on the lamp or inside the projector.
It’s worth noting that while not required, having a can of compressed air can be useful for cleaning out any dust or particles from the projector’s internal components before installing the new lamp.
Now that you have all the necessary materials and tools, let’s dive into the step-by-step process of replacing a Panasonic lamp.
Step 1: Turn off and unplug the projector
The first step in replacing a Panasonic lamp is to ensure that the projector is completely powered off and unplugged. This step is crucial to avoid any potential electric shocks or damage to the projector or lamp.
To begin, locate the power button on the projector or the remote control and press it to power off the device. Wait for the projector to completely shut down and ensure that the cooling fans have stopped running.
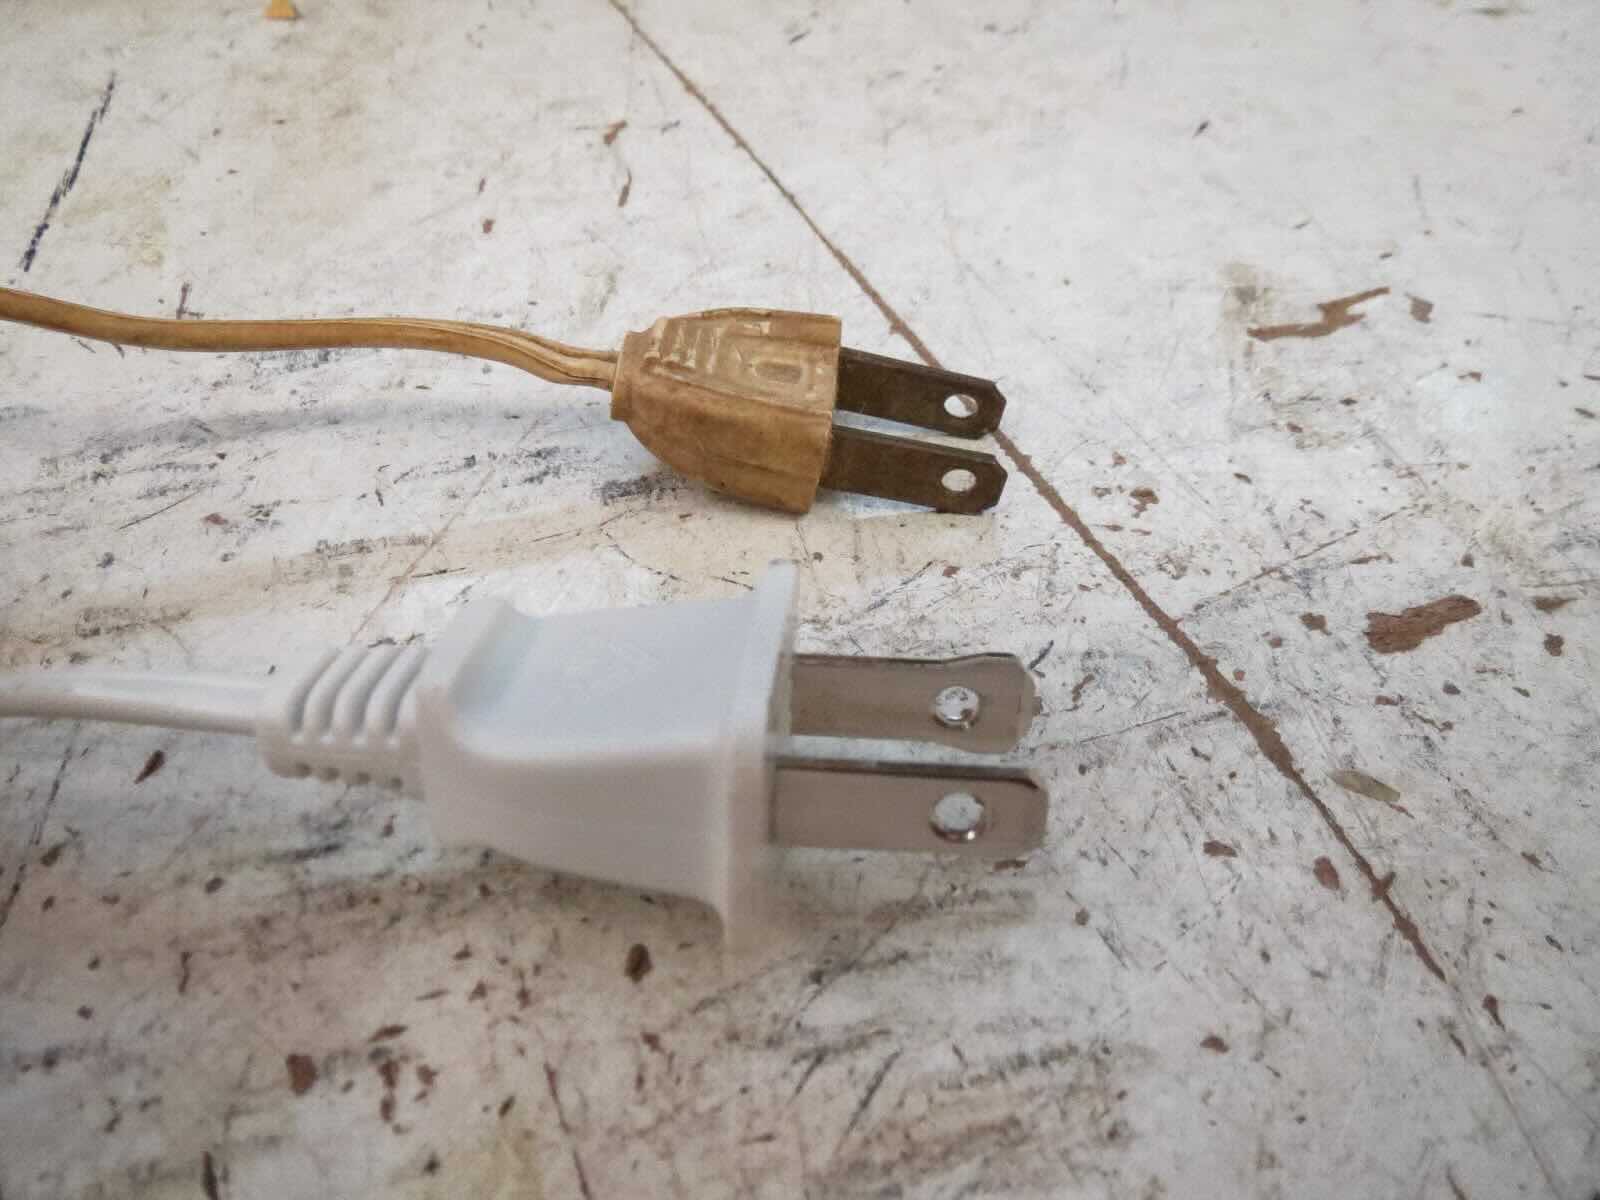
Next, locate the power cord at the back of the projector and unplug it from the electrical outlet. It’s also a good idea to remove any other cables or connectors that may be connected to the projector.
Allow the projector to cool down for a few minutes before proceeding to the next step. This will prevent any potential burns and ensure the lamp is safe to handle.
By turning off and unplugging the projector, you create a safe environment to work on the lamp replacement. Always prioritize safety and take the necessary precautions before moving on to the next step.
Now that the projector is turned off and unplugged, we can move on to Step 2: Removing the lamp cover.
Step 2: Remove the lamp cover
With the projector turned off and unplugged, it’s time to remove the lamp cover. The lamp cover is typically located on the bottom or side of the projector and is designed to protect the lamp and other internal components.
Start by carefully examining the projector to locate the lamp cover. Refer to your projector’s user manual or the manufacturer’s website if you’re having trouble finding it.
Once you’ve located the lamp cover, use a screwdriver (if necessary) to gently loosen and remove any screws holding the cover in place. Set the screws aside in a safe place to avoid losing them.
With the screws removed, you can now lift off the lamp cover. It may require a bit of force, so be firm yet cautious while removing it.
With the lamp cover removed, you now have clear access to the lamp itself. Take a moment to inspect the lamp and its surroundings for any dust or debris that may have accumulated. If you notice any, use a soft cloth or microfiber cloth to gently clean the area.
It’s important to handle the lamp with care and avoid touching the glass surface with your bare hands. The oils from your skin can damage the lamp, so it’s best to wear protective gloves or use a cloth when handling the lamp.
Now that the lamp cover is removed and the lamp is ready to be replaced, let’s move on to Step 3: Removing the old lamp.
Step 3: Remove the old lamp
Now that the lamp cover is removed and you have clear access to the lamp, it’s time to remove the old lamp from your Panasonic projector. Follow these steps:
- Identify the lamp connector: The lamp will have a connector attached to it, which is usually located near the base of the lamp. Carefully disconnect the lamp connector by gently pulling it away from the lamp.
- Loosen the lamp screws: Most projectors have screws that secure the lamp in place. Locate these screws and use a screwdriver to loosen them, usually in a counterclockwise direction. Be careful not to fully remove the screws just yet.
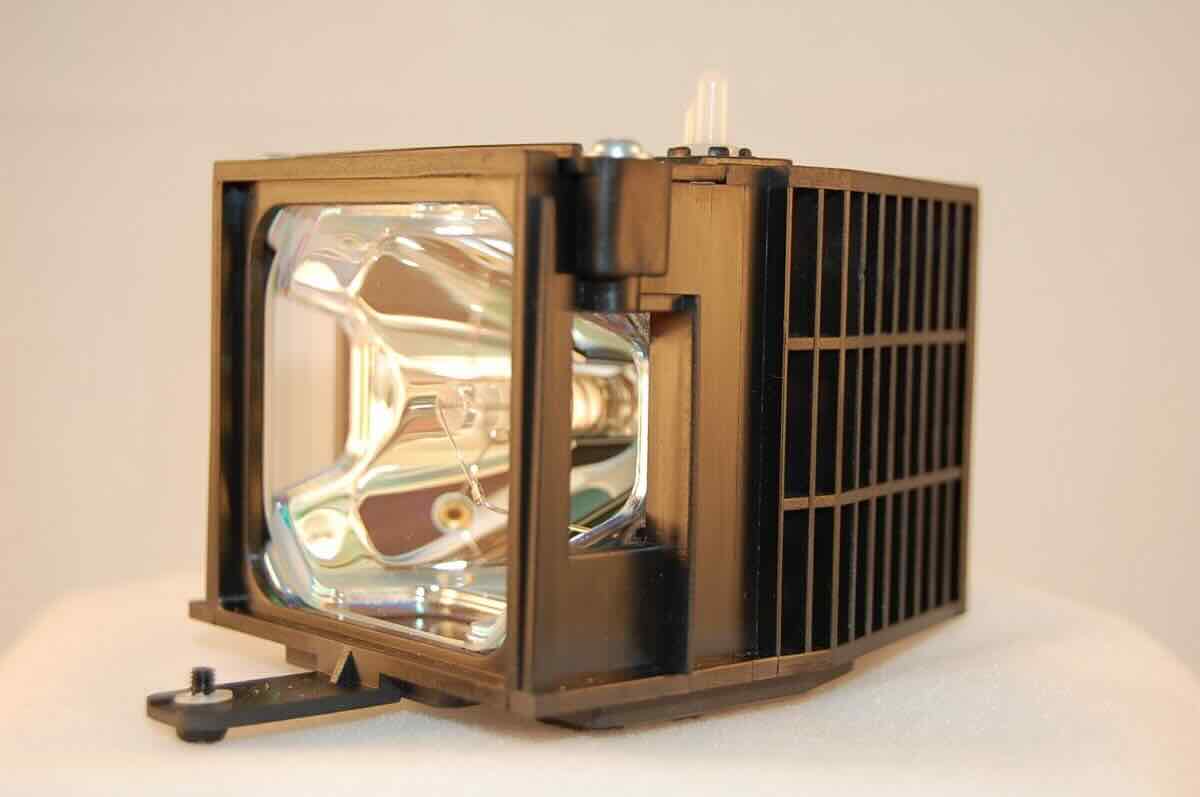
- Remove the lamp: With the screws loosened, carefully slide the lamp out from its housing. Be cautious not to put too much pressure on the lamp or damage any other internal components of the projector.
Once the old lamp is successfully removed, set it aside in a safe place. It’s a good practice to properly dispose of old lamps following manufacturer guidelines or local regulations.
Take a moment to inspect the area where the old lamp was located. Clear away any dust or debris using a soft cloth or compressed air, ensuring a clean and proper fit for the new lamp.
Now that the old lamp is removed, it’s time to move on to Step 4: Inserting the new lamp.
When replacing a Panasonic lamp, be sure to turn off the power and let the lamp cool down before handling it. Follow the manufacturer’s instructions for safe removal and installation.
Read more: How To Reset A Panasonic TV Lamp
Step 4: Insert the new lamp
With the old lamp removed and the area cleaned, it’s time to insert the new lamp into your Panasonic projector. Follow these steps:
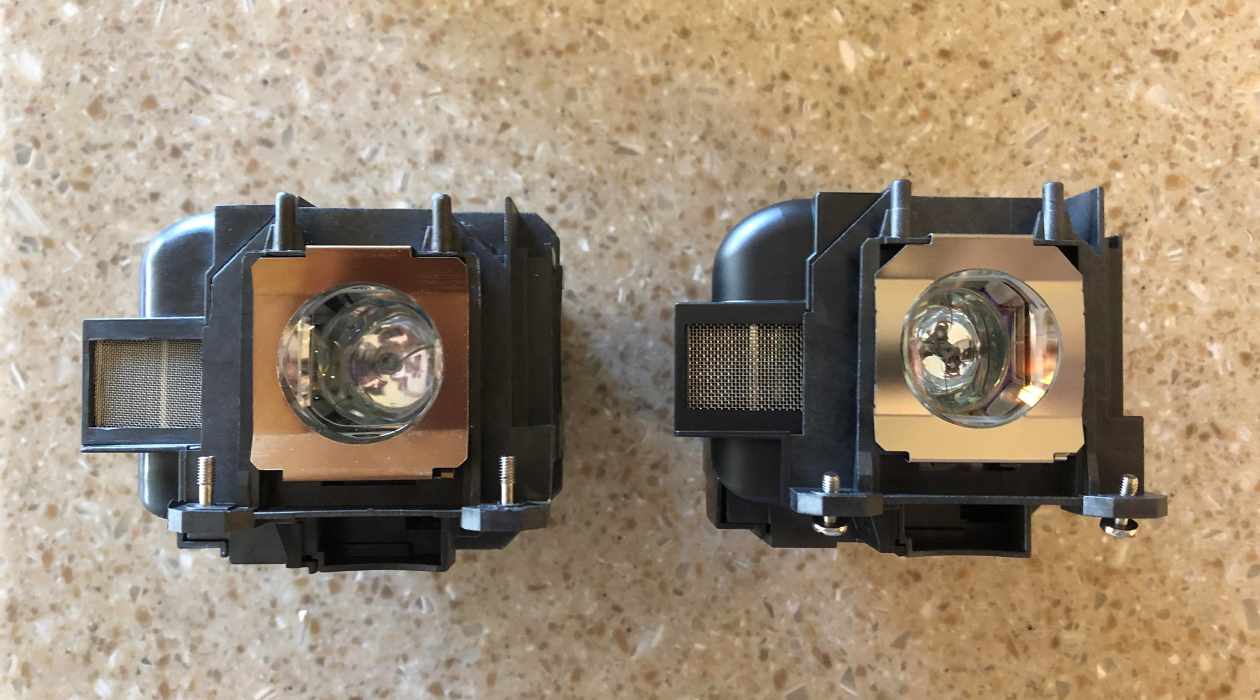
- Prepare the new lamp: Before inserting the new lamp, make sure to remove any packaging or protective coverings. Take a moment to inspect the lamp to ensure there are no visible damages.
- Align the new lamp: Hold the new lamp carefully and align it correctly with the lamp housing in the projector. Ensure that the connectors on the lamp align with the corresponding connectors in the projector.
- Slide the new lamp in: Gently slide the new lamp into the lamp housing, applying even pressure on both sides. Be cautious not to touch the lamp’s glass surface or force it into place. The lamp should slide in smoothly.
- Tighten the lamp screws: Once the new lamp is inserted, use a screwdriver to securely tighten the lamp screws. Tighten them in a clockwise direction until they are snug. Be careful not to overtighten the screws as it may damage the lamp or its housing.
- Connect the lamp connector: Reconnect the lamp connector to the appropriate port, ensuring a secure and proper connection. The connector should fit snugly without any force. Double-check to make sure it’s properly seated.
With the new lamp securely in place and the connector connected, you have successfully inserted the new lamp into your Panasonic projector. Ensure that everything is properly aligned and securely fastened before moving on to the next step.
Now that the new lamp is inserted, let’s move on to Step 5: Replacing the lamp cover.
Step 5: Replace the lamp cover
Now that the new lamp is securely inserted into your Panasonic projector, it’s time to replace the lamp cover. Follow these steps:
- Position the lamp cover: Take the lamp cover you removed earlier and position it back over the lamp housing. Ensure that it aligns properly with the projector’s body and the screw holes line up.
- Secure the lamp cover screws: With the lamp cover in place, use a screwdriver to fasten the screws back into their respective holes. Tighten them in a clockwise direction until they are firmly secured. Take care not to overtighten to avoid causing damage to the cover or projector.
- Double-check the fit: After securing the screws, give the lamp cover a gentle push to ensure it is properly seated and secure. It should fit snugly without any loose parts or gaps.
By replacing the lamp cover, you provide an extra layer of protection and ensure that the lamp is secure and properly positioned within the projector. It also helps prevent any dust or debris from entering the lamp housing.
Now that the lamp cover is back in place, let’s move on to the final steps: plugging in and turning on the projector.
Step 6: Plug in and turn on the projector
With the lamp cover securely in place, it’s time to plug in and turn on your Panasonic projector. Follow these final steps to complete the lamp replacement process:
- Reconnect the power cord: Take the power cord that you unplugged earlier and insert it back into the electrical outlet. Ensure that it is snugly connected and has a stable power supply.
- Connect other cables: If you disconnected any cables or connectors during the process, now is the time to reconnect them. This includes video cables, audio cables, HDMI cables, or any other cables necessary for your specific setup.
- Power on the projector: Locate the power button on the projector or the remote control and press it to power on the device. Allow the projector a few moments to start up and initialize.
- Check for proper operation: Once the projector has powered on, observe the lamp to ensure that it is functioning correctly. Check for any error messages or abnormal behavior. If everything looks good, proceed to the next step.
- Test the image quality: Display an image or video on the projector screen to check the image quality. Ensure that the brightness, color accuracy, and overall clarity are satisfactory. Adjust any settings as necessary to optimize the image.
- Monitor lamp performance: In the initial hours of usage, keep an eye on the lamp’s performance, especially for any unusual heating, flickering, or dimness. If you notice any issues, consult the projector’s user manual or contact the manufacturer for further troubleshooting.
By plugging in and turning on the projector, you complete the lamp replacement process and bring your Panasonic projector back to full functionality. Take a moment to appreciate the improved image quality and enjoy your renewed cinematic experience.
Congratulations! You have successfully replaced the lamp on your Panasonic projector. Regularly check and monitor the lamp’s lifespan to ensure optimum performance and replace it when needed.
With these step-by-step instructions and the right tools, replacing a Panasonic lamp can be a straightforward process. By following these guidelines, you can extend the life of your projector and continue to enjoy high-quality visuals for years to come.
Now, sit back, relax, and enjoy your favorite movies, presentations, or gaming sessions with a bright and vibrant display from your newly replaced Panasonic lamp.
If you have any further questions or need additional assistance, refer to your projector’s user manual or reach out to the manufacturer’s customer support for guidance.
Conclusion
Replacing a Panasonic lamp in your projector doesn’t have to be a daunting task. With the right materials, tools, and guidance, you can successfully replace the lamp and restore the optimal performance of your projector.
In this comprehensive guide, we have walked you through the step-by-step process of replacing a Panasonic lamp. From turning off and unplugging the projector to inserting the new lamp and securing the lamp cover, each step has been detailed to ensure a successful replacement.
Remember, safety is paramount throughout the process. Always turn off and unplug the projector before working on the lamp. Use protective gloves, handle the lamp with care, and follow the manufacturer’s guidelines for proper lamp disposal.
By replacing the lamp, you not only improve the image quality and clarity of your projector, but you also extend the lifespan of the device. Monitoring the lamp’s performance and replacing it when necessary will ensure that you continue to enjoy high-quality visuals for years to come.
If you ever encounter any difficulties or have questions during the lamp replacement process, consult your projector’s user manual or contact the manufacturer’s customer support for assistance. They will be able to provide further guidance and address any concerns you may have.
So, grab your protective gloves, gather the necessary materials, and follow the step-by-step instructions outlined in this guide. Before you know it, your Panasonic projector will be back in action, providing you with immersive visuals and a truly captivating viewing experience.
Thank you for choosing our guide and happy projecting!
Frequently Asked Questions about How To Replace A Panasonic Lamp
Was this page helpful?
At Storables.com, we guarantee accurate and reliable information. Our content, validated by Expert Board Contributors, is crafted following stringent Editorial Policies. We're committed to providing you with well-researched, expert-backed insights for all your informational needs.