Furniture
How To Silver A Chandelier
Modified: January 9, 2024
Learn how to beautifully silver your chandelier and transform your furniture with our step-by-step guide. Create a stunning centerpiece for your space.
(Many of the links in this article redirect to a specific reviewed product. Your purchase of these products through affiliate links helps to generate commission for Storables.com, at no extra cost. Learn more)
Introduction
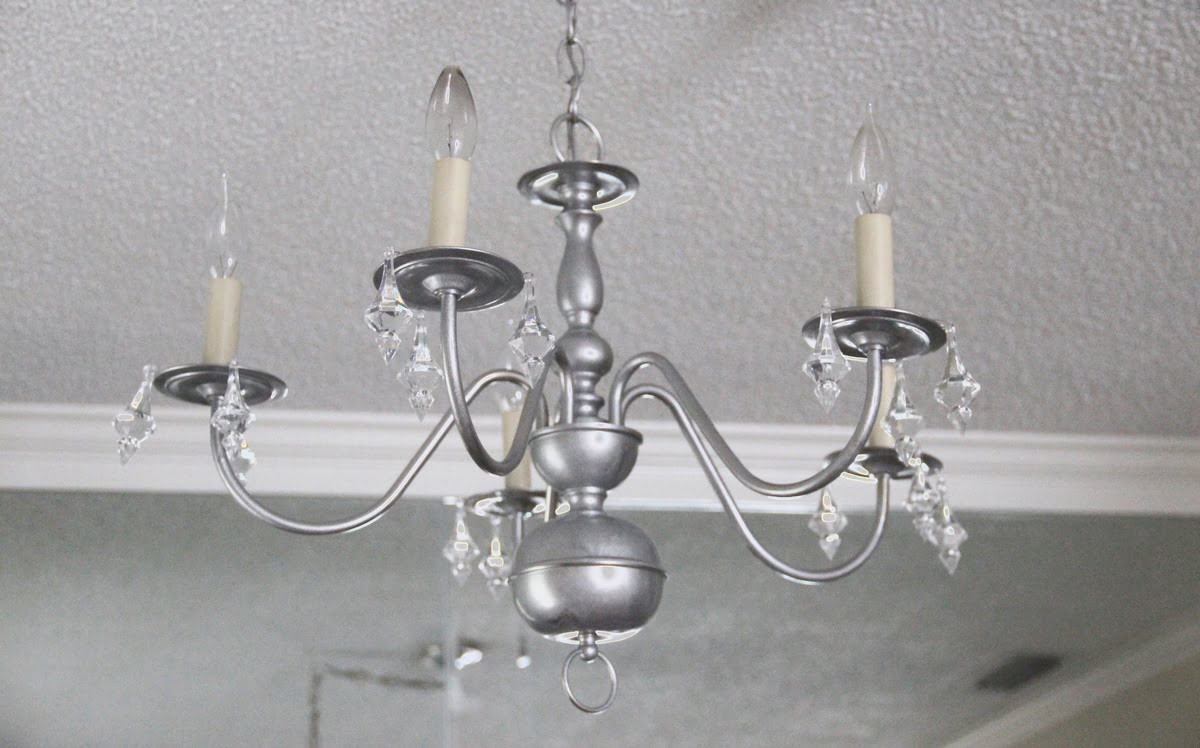
Chandeliers are not just functional lighting fixtures; they are also elegant statement pieces that can enhance the overall aesthetic of a room. While chandeliers come in various designs and finishes, silver chandeliers exude a timeless and luxurious appeal. If you have a chandelier that needs a refresh or want to give a newly purchased chandelier a silver finish, you can do it yourself with some simple steps and materials.
In this article, we will guide you through the process of silvering a chandelier, from gathering the necessary supplies to applying the silver coating and adding the finishing touches. So, channel your inner DIY enthusiast and let’s get started on transforming your chandelier into a stunning silver centerpiece.
Key Takeaways:
- Transform your chandelier into a timeless centerpiece by silvering it with simple DIY steps. Gather materials, prepare the surface, apply the silver coating, and add a protective clear coat for a stunning finish.
- Elevate your space with a touch of luxury and elegance by silvering your chandelier. Whether using spray paint or leafing solution, follow the step-by-step process for a flawless and impressive result.
Materials Needed
Before we dive into the process of silvering a chandelier, it’s important to gather all the necessary materials. Here’s a list of what you’ll need:
- Chandelier
- Drop cloth or plastic sheets
- Cleaning supplies (such as mild soap, water, and a soft cloth)
- Sandpaper (fine grit)
- Silver spray paint or silver leafing solution
- Paintbrush (if using silver leafing solution)
- Protective gloves and mask
- Old newspaper or cardboard
- Clear coat spray paint
Make sure to gather all the materials beforehand to ensure a smooth and efficient silvering process.
Step 1: Gathering Supplies
Before starting the silvering process, it’s essential to gather all the necessary supplies. Ensure that you have the chandelier you want to silver, drop cloth or plastic sheets to protect your work area, cleaning supplies to prep the chandelier, sandpaper to create a smooth surface, silver spray paint or silver leafing solution for the silver coating, a paintbrush (if using silver leafing solution), protective gloves and mask for safety, and old newspaper or cardboard to prevent overspray.
Having all the supplies ready will make the silvering process more efficient and enjoyable. Double-check your inventory to ensure you have everything you need, and make any necessary purchases or preparations before proceeding to the next step.
Step 2: Preparing the Chandelier
Before applying the silver coating, it’s crucial to properly prepare the chandelier. Follow these steps:
- Place the chandelier on a sturdy surface, covered with a drop cloth or plastic sheets, to protect your work area from any potential damage.
- Using mild soap and water, gently clean the chandelier to remove any dust, dirt, or grease that may hinder the adhesion of the silver coating. Be sure to dry the chandelier completely before proceeding.
- If the chandelier has any existing finishes, you may need to remove them to create a smooth surface for the silver coating. This can be done by lightly sanding the chandelier with fine grit sandpaper. Take care not to scratch or damage the chandelier in the process.
- Once you’ve sanded the chandelier, wipe away any residual dust with a soft cloth or brush.
Properly preparing the chandelier ensures that the silver coating will adhere smoothly and result in a flawless finish. Take your time with this step to achieve the best results.
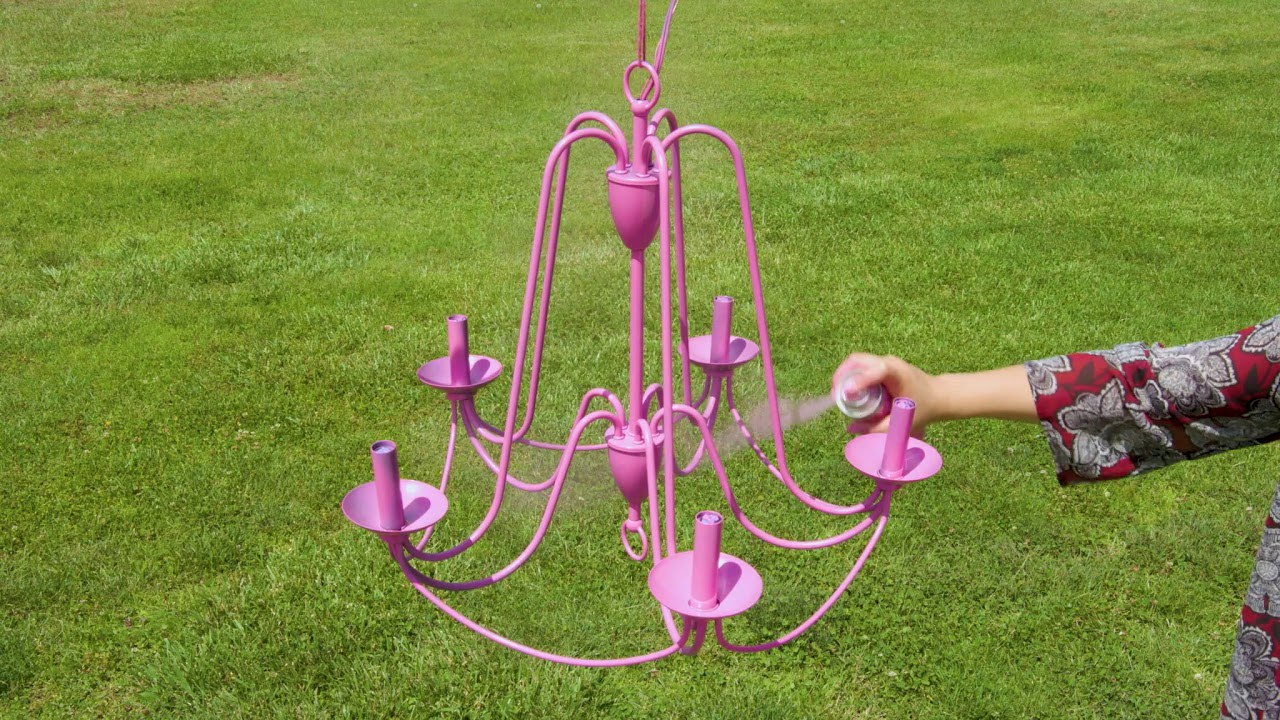
Use a silver plating solution to coat the chandelier with a layer of silver. Clean the chandelier thoroughly before applying the solution to ensure a smooth and even finish.
Step 3: Applying the Silver Coating
Now that you’ve prepared the chandelier, it’s time to apply the silver coating. Depending on your preference and the desired finish, you can choose either silver spray paint or silver leafing solution. Follow these steps:
- If using silver spray paint, shake the can well to ensure proper mixing of the paint.
- Hold the spray paint can approximately 8-12 inches away from the chandelier and apply a thin, even coat of paint. Be sure to move the can in a sweeping motion to achieve consistent coverage.
- Allow the first coat of paint to dry completely before applying additional coats. Depending on the desired opacity, you may need to apply multiple coats, making sure to follow the manufacturer’s instructions on drying times between coats.
- If using silver leafing solution, apply a thin layer of the solution using a paintbrush. Make sure to work in small sections to prevent the solution from drying out too quickly.
- Gently press the silver leaf sheets onto the wet solution, ensuring complete coverage. Use a soft brush or cotton swab to smooth out any wrinkles or bubbles.
- Repeat the process, working in small sections, until the entire chandelier is covered with the silver leafing.
Whether you choose spray paint or silver leafing solution, ensure that each layer is dry and even before moving on to the next coat. Patience and attention to detail are key to achieving a beautiful and professional-looking silver coating.
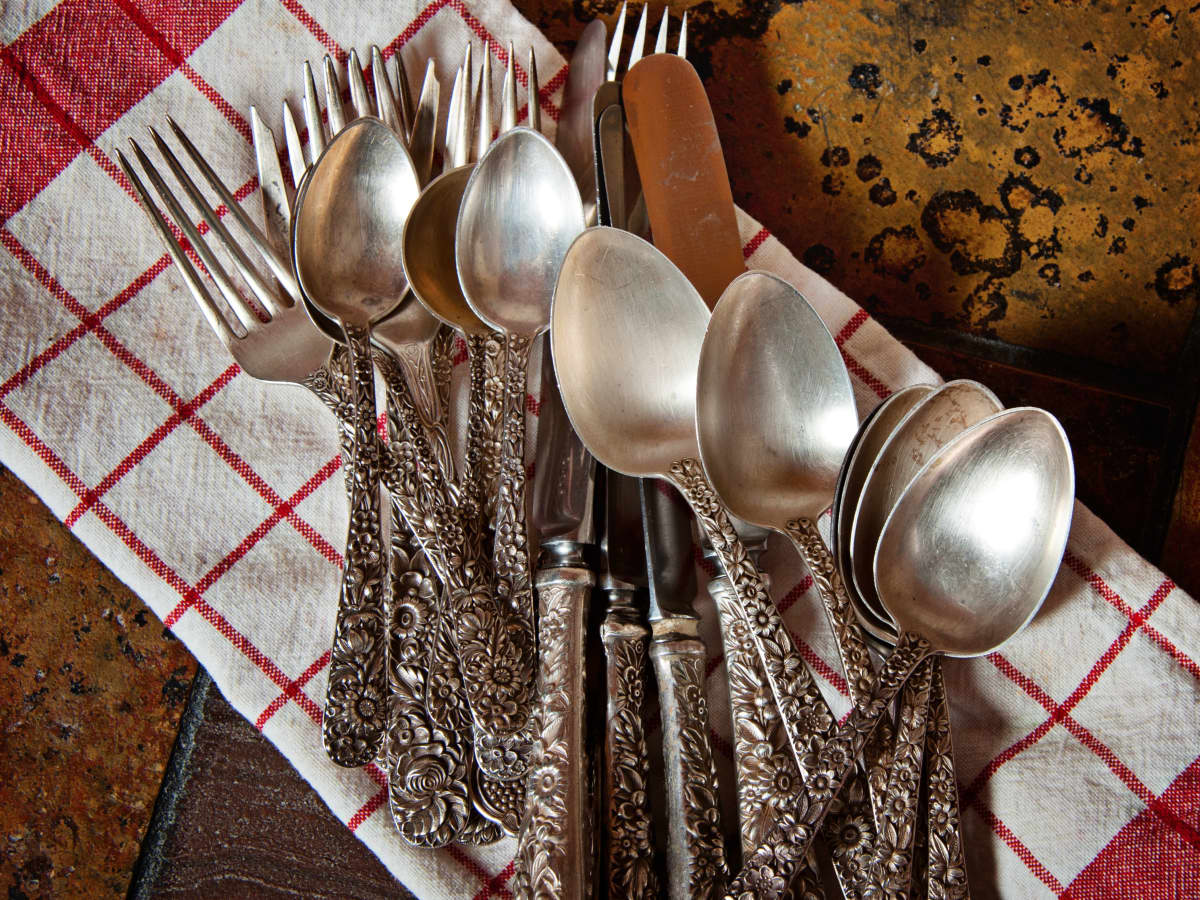
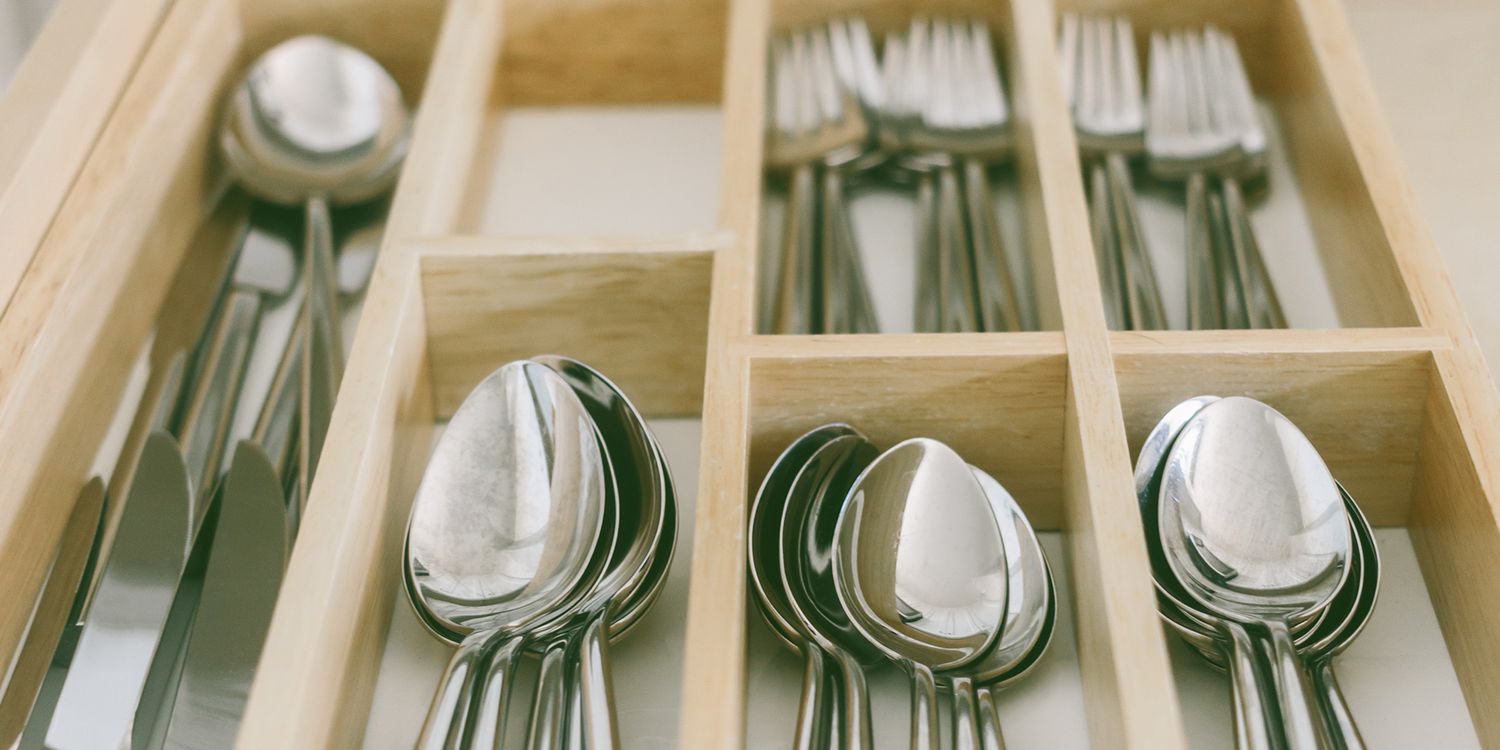
Read more: How To Store Silver
Step 4: Drying and Final Touches
After applying the silver coating to the chandelier, it’s important to allow proper drying time and add some final touches to enhance the overall appearance. Follow these steps:
- Once you’ve finished applying the silver coating, allow the chandelier to dry completely according to the manufacturer’s instructions. This will ensure that the silver coating sets properly and achieves its full potential.
- Inspect the chandelier for any areas that may need touch-ups or additional coats of silver paint or leafing solution. Take the time to carefully address these areas to ensure a uniform and flawless finish.
- Once the chandelier is dry and you are satisfied with the silver coating, consider adding a clear coat spray paint for added protection. This will help seal the silver coating and provide durability.
- Place the chandelier in its designated location and ensure it is properly secured.
- Finally, step back and admire your newly silvered chandelier. It is now ready to add a touch of glamour and elegance to your space!
Remember, take your time with each step and pay attention to detail to achieve the best results. A properly dried and finished chandelier will have a stunning silver finish that is sure to impress.
Conclusion
Silvering a chandelier can be a rewarding and cost-effective way to transform a regular lighting fixture into a stunning centerpiece. With the right materials and careful execution, you can achieve a beautiful silver coating that adds a touch of luxury and elegance to any room.
Throughout this article, we’ve covered the step-by-step process of silvering a chandelier, from gathering the necessary supplies to preparing the chandelier, applying the silver coating, and adding the final touches. By following these steps and taking your time, you can create a flawless silver finish that will impress your guests and elevate the style of your space.
Whether you choose to use silver spray paint or silver leafing solution, remember to properly prepare the chandelier by cleaning it and, if necessary, removing any existing finishes. Apply the silver coating in thin, even coats, allowing each layer to dry before adding more. Consider adding a clear coat spray paint for added protection and durability.
With a newly silvered chandelier, you can enjoy the timeless and luxurious beauty it brings to your home. So, roll up your sleeves, gather your materials, and get ready to embark on a DIY project that will leave you with a stunning, silver masterpiece.
Frequently Asked Questions about How To Silver A Chandelier
Was this page helpful?
At Storables.com, we guarantee accurate and reliable information. Our content, validated by Expert Board Contributors, is crafted following stringent Editorial Policies. We're committed to providing you with well-researched, expert-backed insights for all your informational needs.


0 thoughts on “How To Silver A Chandelier”