Home>Furniture>Living Room Furniture>How To Clean Chair Cushions
Living Room Furniture
How To Clean Chair Cushions
Modified: March 16, 2024
Learn the best techniques for cleaning chair cushions and keeping your living room furniture looking fresh and inviting.
(Many of the links in this article redirect to a specific reviewed product. Your purchase of these products through affiliate links helps to generate commission for Storables.com, at no extra cost. Learn more)
Introduction
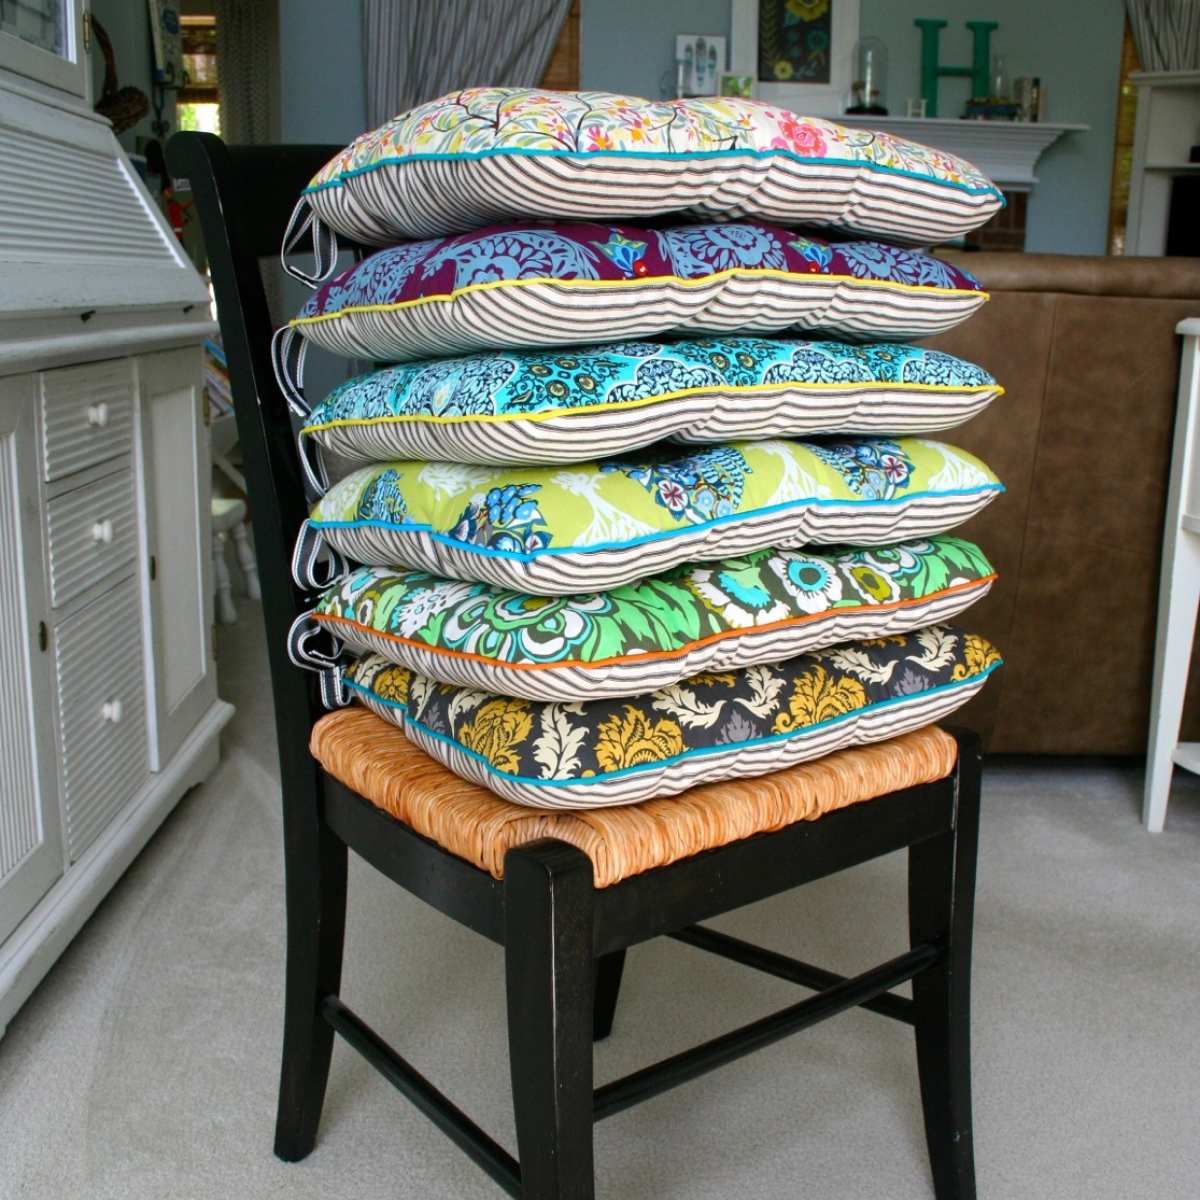
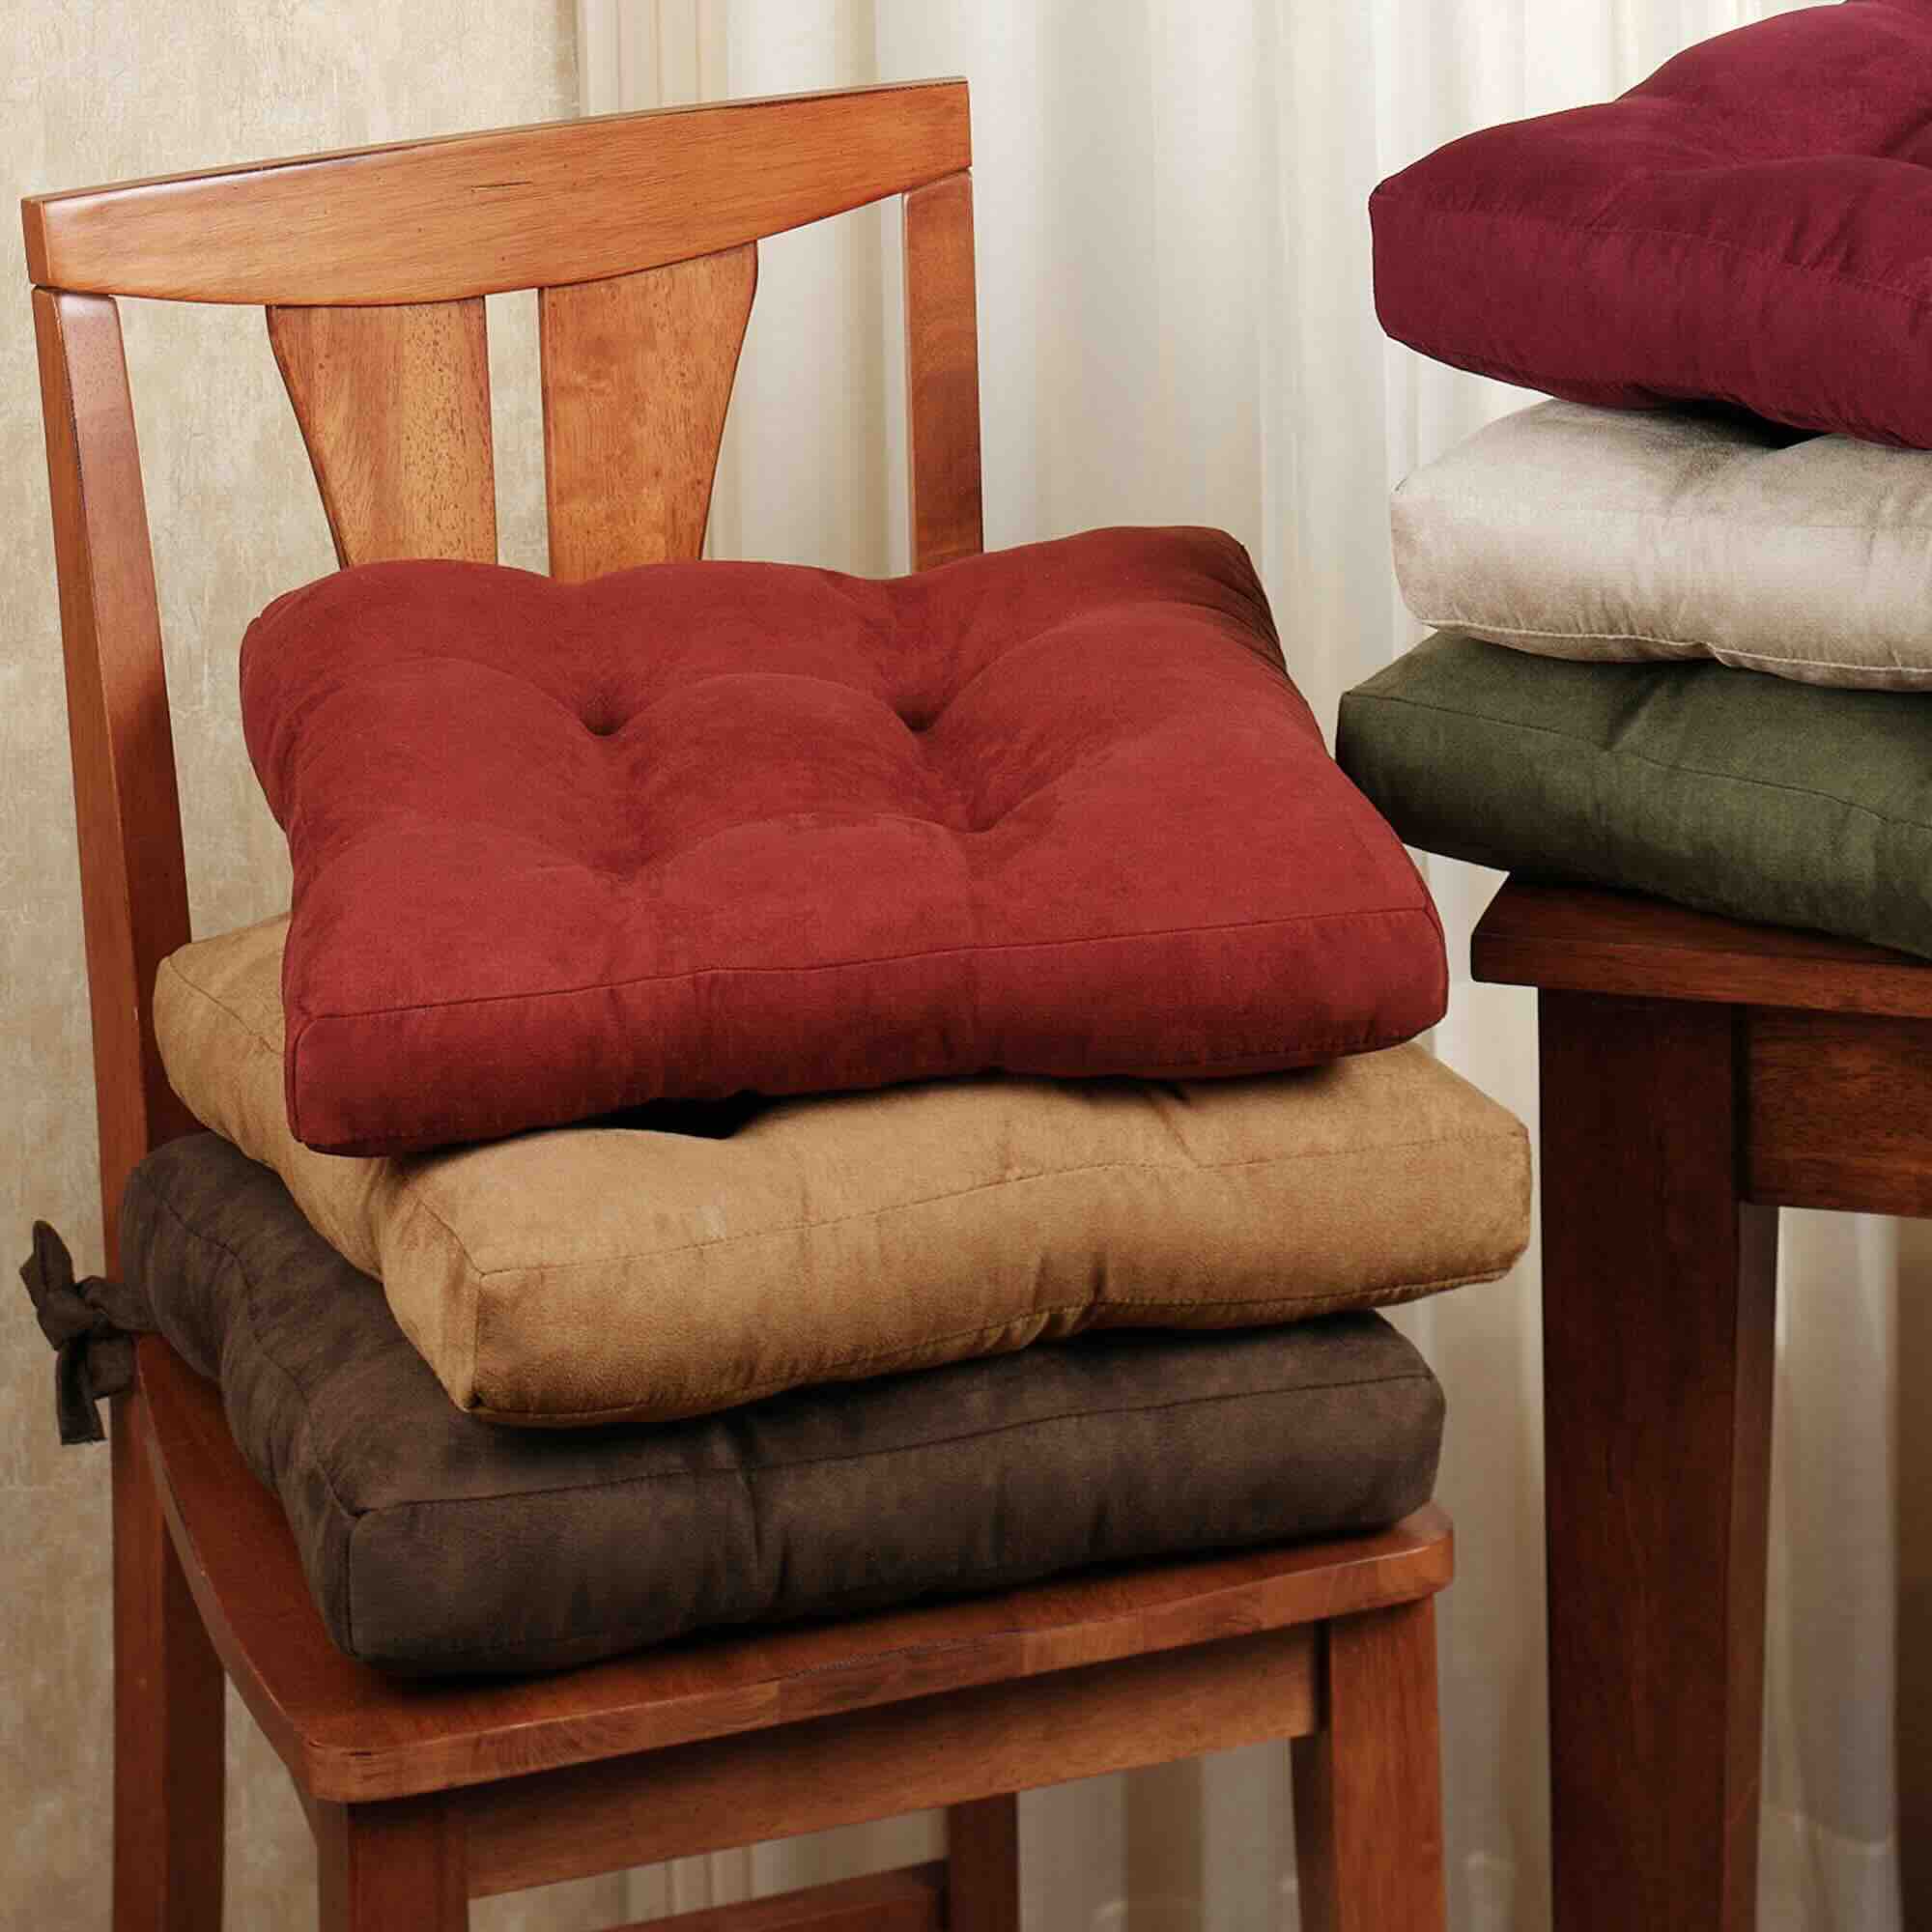
When it comes to our living room furniture, one of the most used and often neglected pieces is the chair cushions. Over time, these cushions become a magnet for dirt, spills, and stains, making them appear dull and unattractive. However, with a little bit of effort and the right cleaning techniques, you can restore your chair cushions to their former glory.
In this article, we will guide you through the step-by-step process of cleaning chair cushions effectively. By following these simple instructions and using the appropriate materials, you can easily remove stains, eliminate odors, and refresh your cushions, leaving them looking and feeling like new.
Before we get started, it’s important to note that the cleaning method may vary based on the type of cushion fabric. Always check the manufacturer’s instructions or any specific recommendations for cleaning your particular chair cushions. With that said, let’s dive into the cleaning process!
Key Takeaways:
- Keep your chair cushions clean and fresh by following a simple step-by-step cleaning process. Regular maintenance can extend their lifespan and enhance the comfort of your living room furniture.
- Gather the necessary materials and take the time to give your chair cushions the care and attention they deserve. With the right approach, you can transform dull and stained cushions into fresh focal points of your living room.
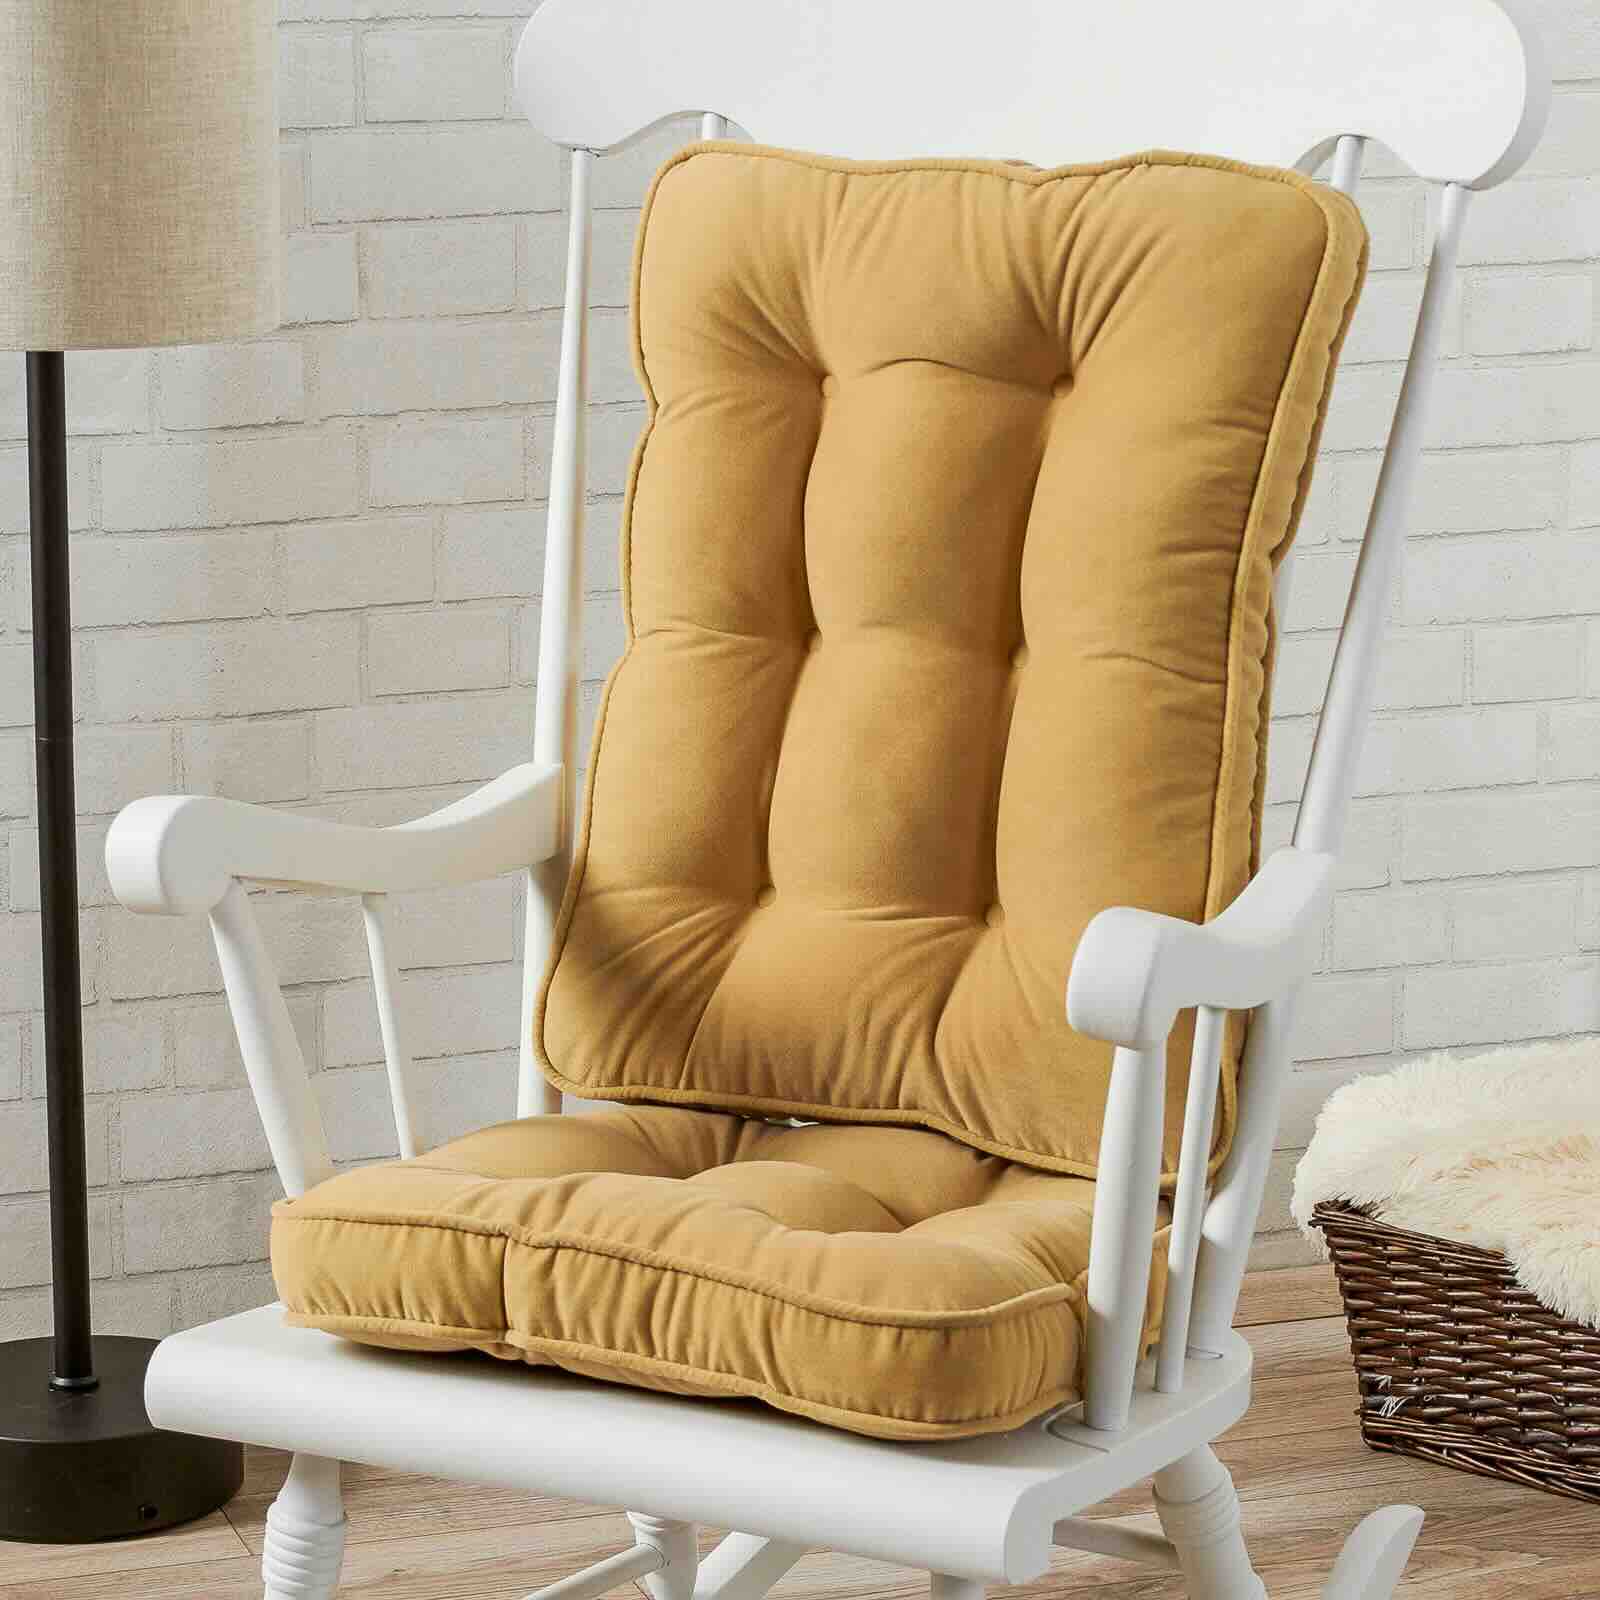
Read more: How To Clean Glider Chair Cushions
Materials Needed
Before you begin cleaning your chair cushions, gather the following materials:
- Mild detergent or fabric cleaner
- Warm water
- Bucket or basin
- Soft scrub brush or sponge
- White vinegar
- Baking soda
- Lint roller or vacuum cleaner with upholstery attachment
- Lint-free cloth or towel
- Optional: Stain remover or upholstery cleaner (check manufacturer’s instructions)
Having these materials on hand will make the cleaning process easier and more efficient. Now that you’re prepared, let’s move on to the step-by-step instructions for cleaning your chair cushions.
Step 1: Remove Cushion Covers
The first step in cleaning chair cushions is to remove the cushion covers. Most chair cushions have removable covers that can be taken off for cleaning. Check for zippers or buttons that allow you to easily remove the covers from the cushions.
Start by gently pulling off the cushion cover, being careful not to damage the fabric or seams. If there are any stubborn stains or spills on the surface of the cover, use a lint roller or vacuum cleaner with an upholstery attachment to remove any loose debris before proceeding.
Once the cushion cover is removed, inspect it for any specific care instructions or labels. Some covers may be machine washable, while others may need to be hand washed or dry cleaned. Make note of any special instructions before moving on to the next step.
If the cover can be washed, it’s a good idea to pre-treat any visible stains before washing. Gently blot the stain with a damp cloth or sponge using water and a mild detergent or stain remover. Avoid rubbing the stain, as this may cause it to spread or set deeper into the fabric.
After treating the stains, shake off any loose dirt or debris from the cushion cover. This will help ensure that the washing process is more effective. Now that you’ve removed the cushion covers and pre-treated any stains, you’re ready to move on to the next step: spot cleaning the stains.
Step 2: Spot Clean the Stains
Once you have removed the cushion covers, it’s time to tackle any stubborn stains that may be present. Spot cleaning is an effective method to address isolated stains without having to clean the entire cushion.
To start, identify the type of stain you are dealing with. Common stains on chair cushions include food and drink spills, ink marks, and pet stains. Different stains may require different spot cleaning methods, so it’s important to approach them accordingly.
If the stain is fresh and still wet, blot it immediately with a clean cloth or paper towel to absorb as much liquid as possible. Be gentle while blotting to avoid spreading the stain further.
If the stain has already dried, you can mix a small amount of mild detergent or fabric cleaner with warm water in a bucket or basin. Dip a soft scrub brush or sponge into the mixture and gently scrub the stained area in a circular motion. Avoid using excessive force or scrubbing too aggressively, as this may damage the fabric.
For tougher stains like ink or grease, you can try using a small amount of rubbing alcohol or white vinegar on a clean cloth. Dab the stained area with the cloth, being careful not to saturate the fabric. Test these cleaning agents on a small, inconspicuous area of the cushion first to ensure they do not cause any discoloration or damage.
Continue to blot, dab, or gently scrub the stain until it starts to lift. Repeat the process as necessary until the stain is fully removed or significantly diminished.
Once the spot cleaning is complete, allow the cushion to air dry completely before moving on to the next step. This ensures that the cleaning solution and moisture have evaporated, preventing any potential damage or mold growth.
Now that you’ve successfully spot cleaned the stains, it’s time to move on to preparing the cleaning solution for the rest of the cushion.
Step 3: Prepare Cleaning Solution
After spot cleaning the stains on your chair cushions, it’s important to prepare a cleaning solution to tackle the overall cleaning of the cushions’ surfaces. This solution will help remove dirt, grime, and any remaining stains.
To prepare the cleaning solution, start by filling a bucket or basin with warm water. The water should be comfortably warm to the touch, but not hot. Hot water may cause the fabric to shrink or lose color.
Add a small amount of mild detergent or fabric cleaner to the warm water. Be mindful not to use too much detergent, as excess detergent can leave behind residue and make rinsing more difficult.
If you prefer a more natural cleaning approach, you can substitute the detergent with a mixture of equal parts white vinegar and water. White vinegar is a gentle and effective natural cleaner that helps remove odors and stains without damaging the fabric.
Give the water and detergent (or vinegar) solution a gentle swirl with your hand or a spoon to ensure it is well mixed.
It’s important to note that different cushion materials may require different cleaning solutions. Always check the manufacturer’s instructions or any specific recommendations for cleaning your particular chair cushions.
Once the cleaning solution is prepared, you’re ready to move on to the next step: hand washing or machine washing the cushion covers.
Read more: How To Properly Clean Dining Chair Cushions
Step 4: Hand Wash or Machine Wash the Covers
Now that you have prepared the cleaning solution, it’s time to determine the best method for washing your chair cushion covers. Depending on the fabric and care instructions, you can choose to either hand wash or machine wash them.
Hand washing:
- Fill a clean basin or sink with the prepared cleaning solution.
- Submerge the cushion covers in the water, gently agitating them to ensure they are fully soaked.
- Allow the covers to soak for around 15 to 30 minutes to loosen any dirt or stains.
- Gently scrub the covers with a soft sponge or scrub brush, focusing on any particularly dirty or stained areas.
- Rinse the covers thoroughly with clean water to remove any soap residue.
- Squeeze out excess water from the covers, being careful not to wring or twist them too vigorously.
Machine washing:
- Check the care instructions and make sure the cushion covers are machine washable.
- Place the covers in the washing machine, ensuring that they are not overcrowded.
- Add a small amount of mild detergent to the machine, following the manufacturer’s recommended dosage.
- Select a gentle or delicate cycle with cold or lukewarm water to protect the fabric.
- Start the machine and allow the wash cycle to complete.
- Once the cycle is finished, remove the cushion covers from the machine.
Regardless of the washing method you choose, avoid using bleach or harsh chemicals unless specified in the care instructions. These can damage the fabric and cause discoloration.
After washing, it’s important to air dry the cushion covers to prevent shrinking or damage from heat. Lay them flat on a clean surface or hang them using clothespins or hangers. Avoid direct sunlight, as it can fade the fabric.
With the cushion covers washed and drying, it’s time to move on to cleaning the surface of the cushions themselves.
Step 5: Dry the Cushion Covers
After hand washing or machine washing the cushion covers, it’s important to properly dry them before reassembling them onto the cushions. Improper drying can lead to mildew or mold growth, which can damage the fabric and cause unpleasant odors.
Before drying, gently squeeze out any excess water from the covers. Avoid wringing or twisting them too vigorously, as this can distort the shape of the covers.
If you have chosen to hand wash the covers:
- Lay a clean towel on a flat surface and gently place the damp cushion covers on top.
- Roll up the towel with the covers inside, applying gentle pressure to absorb the moisture.
- Unroll the towel and repeat the process with a dry towel if necessary.
- Once most of the moisture has been absorbed, lay the covers flat on a dry surface or hang them up to air dry completely.
If you have machine washed the covers:
- Remove the covers from the washing machine.
- Shake them gently to remove any excess water and smooth out any wrinkles.
- Place the covers on a clean, dry towel or hang them up to air dry.
- Avoid using a dryer, as high heat can shrink or damage the fabric.
Make sure the cushion covers are completely dry before proceeding to the next step. This may take a few hours or overnight, depending on the fabric and drying conditions.
Once the cushion covers are dry, you’re ready to move on to cleaning the surface of the cushions in the next step.
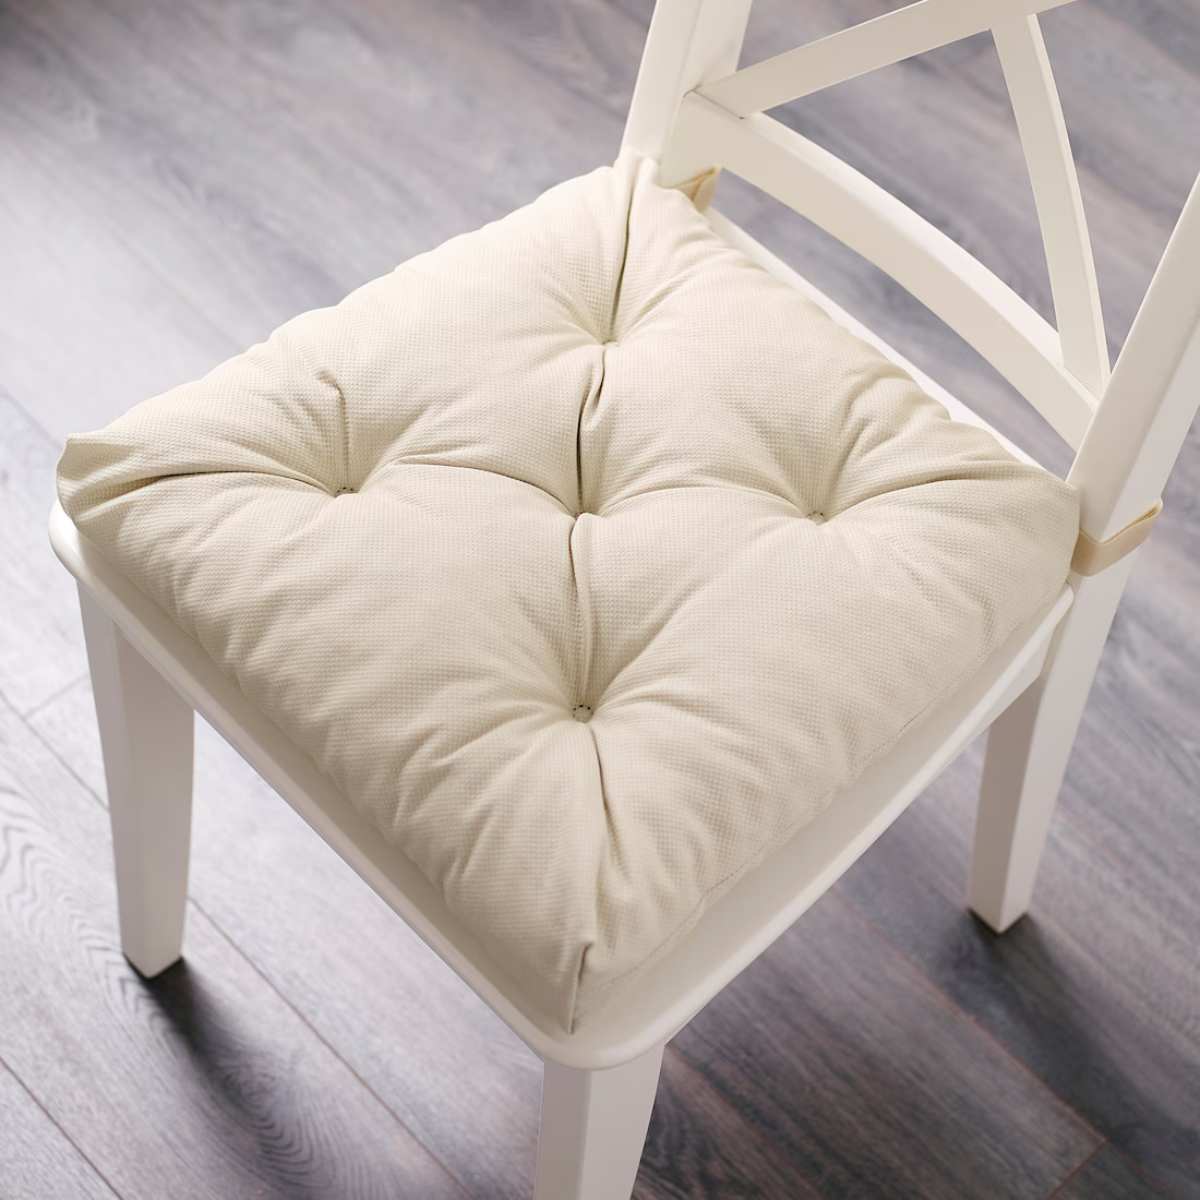
To clean chair cushions, start by removing the covers and washing them according to the care instructions. For the cushion itself, spot clean any stains with a mild detergent and water, then let it air dry completely before putting the covers back on.
Step 6: Clean the Cushions’ Surface
Now that the cushion covers are washed and drying, it’s time to focus on cleaning the surface of the cushions themselves. This step will help remove any dirt, dust, or stains that may have accumulated on the cushions.
Start by positioning the cushions on a clean, flat surface. If the cushions have removable covers, make sure they are removed before proceeding.
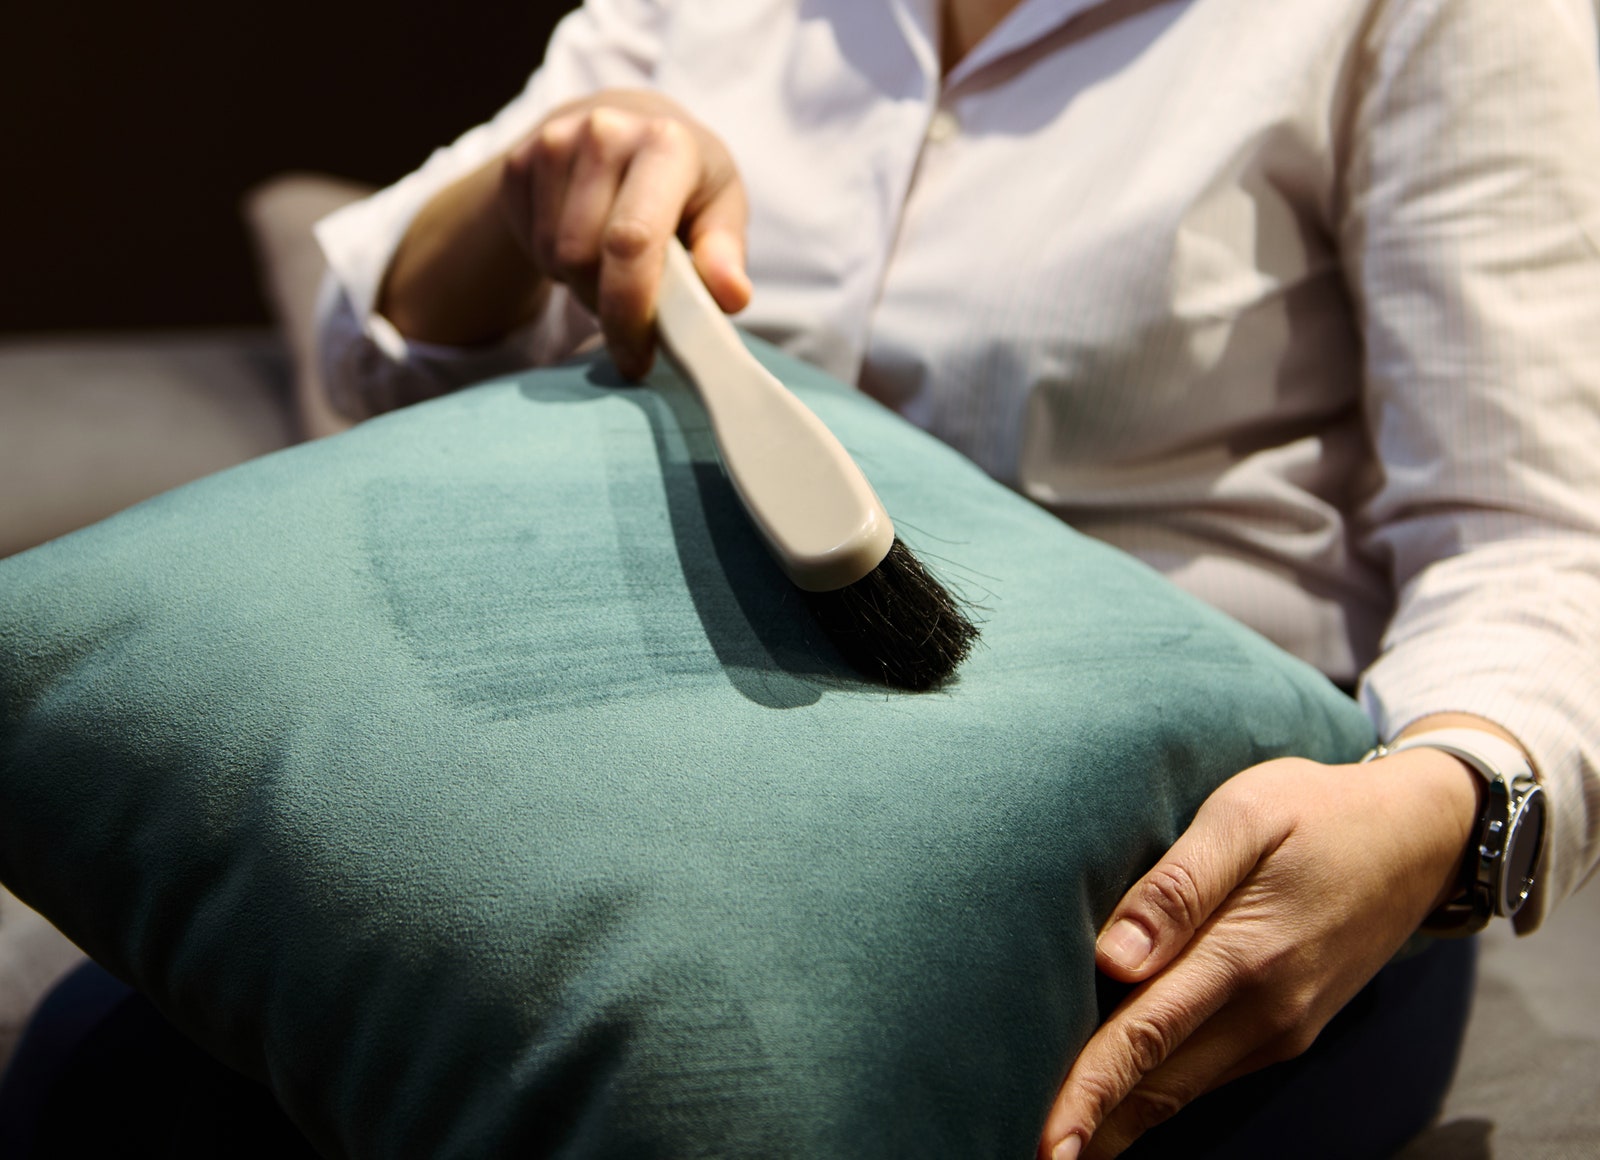
Using a vacuum cleaner with an upholstery attachment or a lint roller, carefully remove any loose dirt, dust, or debris from the surface of the cushions. Pay special attention to the creases, corners, and seams, where dirt tends to accumulate.
If there are any visible stains or spots, you can spot clean them using a mild detergent or fabric cleaner mixed with warm water. Use a soft cloth or sponge to gently dab the cleaning solution onto the stained area, avoiding excessive scrubbing to prevent damaging the cushion material.
For more stubborn stains or if the cushions are made of a washable fabric, you may choose to hand wash or machine wash the cushions, following similar instructions as washing the cushion covers. Be sure to check the manufacturer’s instructions or any specific recommendations for cleaning the cushions before proceeding.
Once the cushions have been cleaned and stains have been treated, rinse them thoroughly with clean water to remove any soap residue.
After rinsing, gently squeeze out any excess water from the cushions. Avoid wringing or twisting them too harshly, as it can damage the cushion material or affect their shape.
Place the cushions in a well-ventilated area to air dry completely. It is important to ensure that both the top and bottom of the cushions are adequately dried to prevent mildew or mold growth.
Allow sufficient drying time, which can vary depending on the cushion material and the air circulation in the room. If needed, you can use a fan or open windows to expedite the drying process, but avoid direct heat sources as it may cause damage.
Once the cushions are completely dry, you’re ready to tackle any remaining stubborn stains in the next step of the cleaning process.
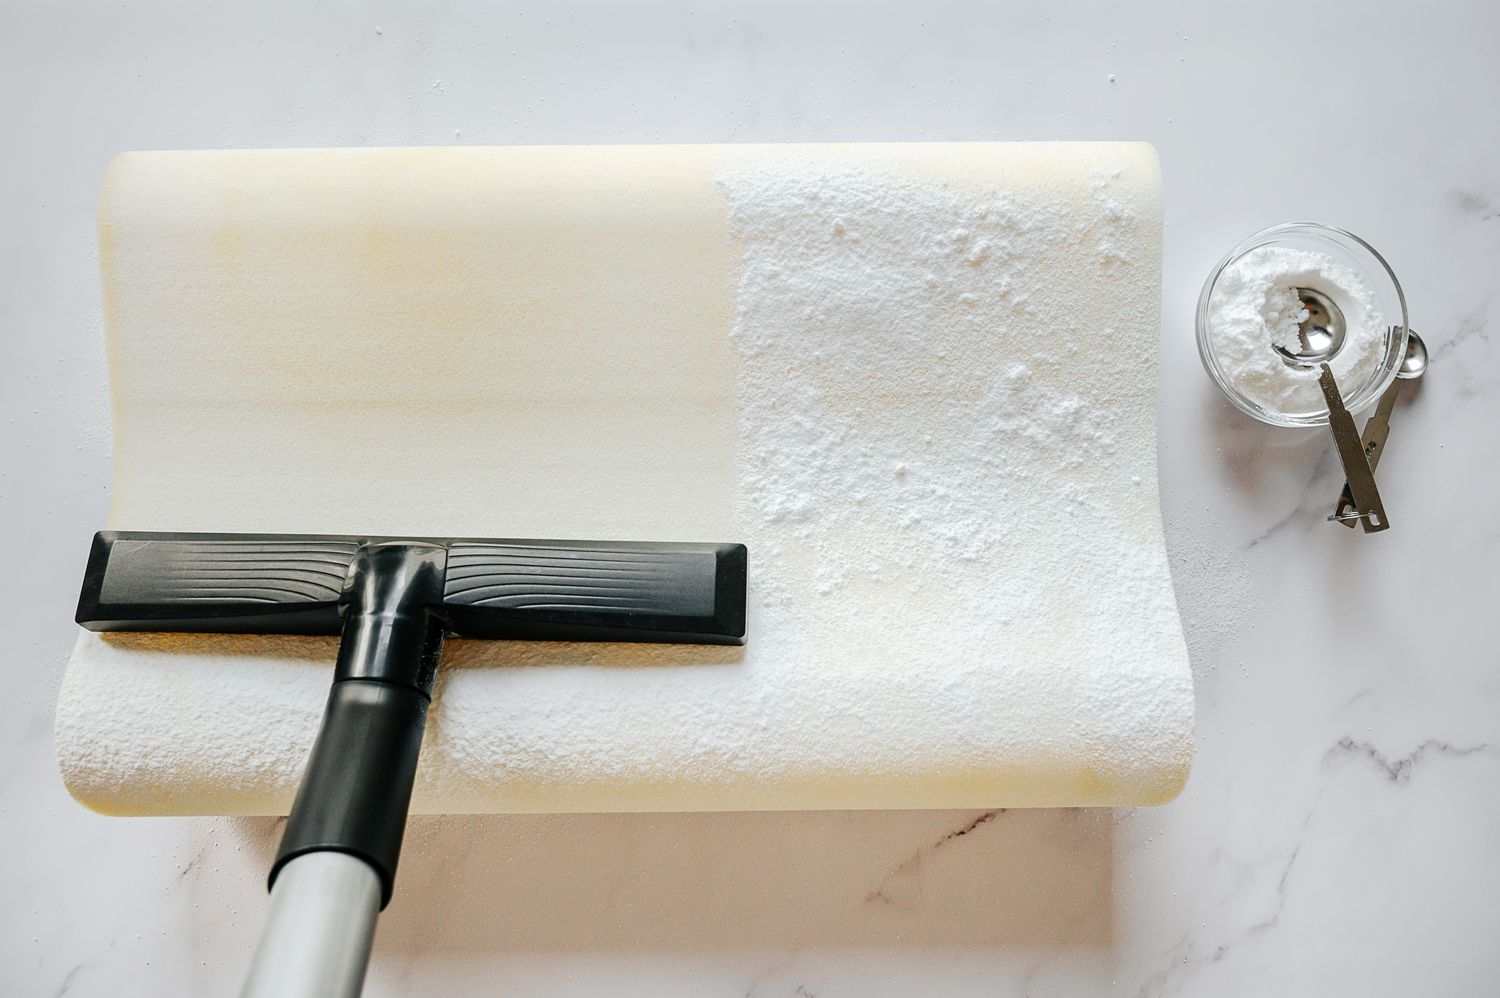
Step 7: Vacuum the Cushions
Now that the cushions are dry and refreshed, it’s time to give them a thorough vacuuming. Vacuuming helps remove any residual dust, dirt, and debris that may have accumulated during the cleaning process.
Start by attaching the upholstery attachment to your vacuum cleaner. This attachment is specifically designed for cleaning furniture and will help prevent damage to the cushions’ surface.
Before you begin vacuuming, inspect the cushions for any loose threads or seams that may need repair. Address any minor repairs before proceeding to ensure the cushions are in good condition.
Place the cushions on a clean, flat surface or keep them in their designated position on the furniture. If the cushions have removable covers, make sure they are properly reassembled on the cushions before vacuuming.
Using the gentle suction of the vacuum cleaner, start vacuuming the surface of the cushions. Move the attachment in slow, overlapping strokes to ensure thorough coverage.
Pay close attention to the creases, corners, and seams of the cushions, as these areas tend to collect more dirt and dust. Use the crevice tool attachment or small brush attachment if necessary to reach into these tighter spaces.
For cushions with textured surfaces or intricate designs, you may need to use a soft brush attachment to gently agitate the surface and remove any embedded debris.
While vacuuming, take breaks to check the vacuum cleaner’s dust bag or canister. Empty or replace it if it becomes full to maintain optimal suction power and prevent any dirt from being released back onto the cushions.
Once you have thoroughly vacuumed both sides of the cushions, take a moment to inspect them for any remaining particles or visible stains. If necessary, you can spot clean these areas using a mild detergent or fabric cleaner and a clean, damp cloth. Blot the stain gently and avoid excessive rubbing.
After vacuuming and spot cleaning, allow the cushions to breathe and air out for a short period of time. This will help remove any lingering odors and freshen them up.
With the cushions now vacuumed and fresh, you’re ready to address any stubborn stains that may still be lingering in the next step.
Read more: How To Measure Chair Cushions
Step 8: Spot Clean Stubborn Stains
Even after thorough cleaning and vacuuming, some stubborn stains may still persist on your cushions. In this step, we’ll focus on spot cleaning these stubborn stains to ensure your cushions look their best.
Start by identifying the remaining stains on your cushions. Common stubborn stains may include ink marks, grease, or food and beverage spills.
For fresh stains, quickly blot the area with a clean cloth or paper towel to absorb as much of the liquid as possible. It’s important to act fast, as the longer a stain sits, the more difficult it may be to remove.
If the stain is still visible after blotting, mix a small amount of mild detergent or fabric cleaner with warm water. Apply the solution to the stained area using a clean cloth or sponge.
Gently blot the stain with the cloth or sponge, working from the outside towards the center. Avoid rubbing the stain vigorously, as this can cause it to spread or penetrate deeper into the fabric.
For tougher stains like ink or grease, you can try using a small amount of rubbing alcohol or white vinegar on a clean cloth. Dab the stain with the cloth, being careful not to saturate the fabric. Test these cleaning agents on a small, inconspicuous area first to ensure they do not cause any discoloration.
Continue to blot and dab at the stain until it starts to lift. You may need to repeat this process multiple times for particularly stubborn stains. Be patient and persistent, as some stains may require several attempts to fully remove.
Once the stain has been successfully treated, rinse the area with clean water to remove any cleaning solution residue. Blot with a clean cloth to absorb excess moisture.
Allow the spot-cleaned area to air dry completely before moving on to the next step. This will help prevent any mold or mildew growth.
If the stubborn stain persists despite your efforts, you may need to consider professional upholstery cleaning or consult with a furniture specialist for further advice.
With the stubborn stains spot-cleaned, it’s time to move on to rinsing and drying the entire cushions in the next step.
Step 9: Rinse and Dry the Cushions
After spot cleaning the stubborn stains on your cushions, it’s important to rinse them thoroughly to remove any residue from the cleaning solutions and ensure a fresh, clean finish.
To start, fill a bucket or basin with clean water. The water should be at a comfortable temperature, preferably lukewarm or cool.
Place the cushions in the water, one at a time, and gently swish them around to allow the water to penetrate the fabric. This will help rinse out any remaining cleaning solution.
Alternatively, you can use a clean, damp cloth or sponge to blot the cushions with clean water, focusing on the previously spot-cleaned areas.
Continue rinsing until the water runs clear and there are no signs of cleaning solution or soap residue.
After rinsing, gently squeeze out any excess water from the cushions. Avoid wringing or twisting them too forcefully, as this can damage the fabric or affect their shape.
Next, place the cushions in a well-ventilated area to air dry completely. It’s important to ensure that both sides of the cushions are adequately dried to prevent any mold or mildew growth.
You can lay the cushions flat on a clean towel or on a drying rack to allow for airflow. Alternatively, you can prop them up against a wall or hang them using clothespins or hangers, making sure there is enough space between them for proper drying.
Avoid direct sunlight, as prolonged exposure can fade the fabric. Also, avoid using heat sources such as radiators or hair dryers, as they can cause shrinkage or damage.
Wait until the cushions are thoroughly dry before reassembling the cushion covers or placing them back on the furniture. The drying process may take several hours or even overnight, depending on the cushion material and drying conditions.
Once the cushions are completely dry, you’re ready to move on to the final step: reassembling the cushion covers and putting everything back together.
Step 10: Reassemble the Cushion Covers
Now that your cushions are clean, fresh, and fully dry, it’s time to reassemble the cushion covers and put everything back together to complete the cleaning process.
Start by carefully aligning and fitting the cushion covers back onto the cushions. If the covers have zippers or buttons, make sure they are securely fastened.
Gently smooth out any wrinkles or folds in the fabric to ensure a neat and tidy appearance. Take your time and make adjustments as needed to achieve a proper fit.
While reassembling the cushion covers, take the opportunity to inspect them for any damage or wear. If needed, make any necessary repairs, such as sewing loose seams or replacing damaged buttons.
Once the cushion covers are back in place, flip the cushions over and gently fluff them to regain their shape and plumpness.
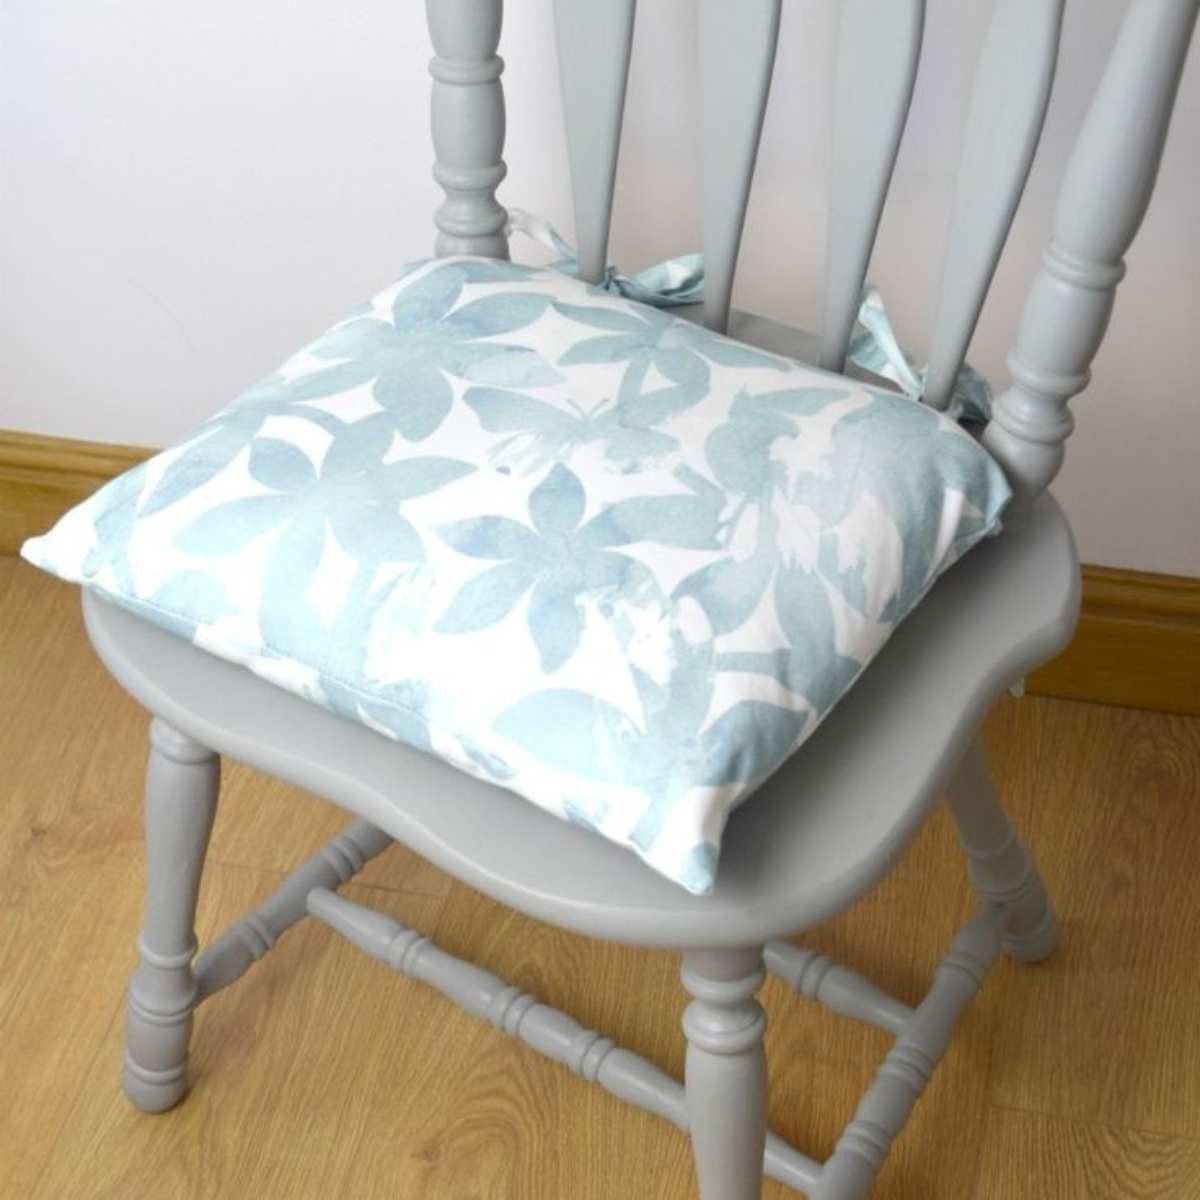
Take a moment to admire your freshly cleaned chair cushions. Not only do they look and smell great, but they also provide a more inviting and comfortable seating experience.
To maintain the cleanliness of your chair cushions, it’s a good idea to establish a regular cleaning routine. Regularly vacuuming and spot cleaning any spills or stains can help prolong the life of your cushions and keep them looking their best.
Remember to always refer to the manufacturer’s instructions or any specific care recommendations for your chair cushions. Different cushion materials may require different cleaning methods, so it’s important to follow the appropriate guidelines.
Congratulations! You have successfully completed the process of cleaning and reassembling your chair cushions. Enjoy the refreshed and inviting look of your living room furniture!
By following these steps and taking proper care of your chair cushions, you can keep them clean, comfortable, and visually appealing for years to come.
Conclusion
Cleaning and maintaining your chair cushions is an essential part of keeping your living room furniture in top condition. With the step-by-step guide provided in this article, you now have the knowledge and tools to effectively clean and refresh your chair cushions.
From removing the cushion covers to spot cleaning stubborn stains, and from preparing the cleaning solution to rinsing and drying the cushions, each step plays a crucial role in achieving a clean and inviting look.
Remember to always refer to the manufacturer’s instructions or any specific care recommendations for your particular chair cushions. Different cushion materials may require different cleaning methods, and it’s important to follow the appropriate guidelines to prevent any potential damage.
By regularly cleaning your chair cushions, you can remove dirt, stains, and odors, maintaining their appearance and extending their lifespan. Not only will clean cushions enhance the visual aesthetics of your living room, but they will also create a more comfortable and inviting seating experience for you and your guests.
So, don’t neglect your chair cushions any longer. Follow these steps, gather the necessary materials, and take the time to give your cushions the care and attention they deserve. With a little effort and the right approach, you can turn dull and stained cushions into fresh and rejuvenated focal points of your living room.
Now it’s time to put your newfound knowledge into action. Roll up your sleeves, gather your materials, and start the process of cleaning your chair cushions. Enjoy the satisfaction of seeing your cushions transform before your eyes, and take pride in maintaining the beauty and comfort of your living room furniture.
Here’s to clean and inviting chair cushions that elevate the overall ambiance of your living space!
Frequently Asked Questions about How To Clean Chair Cushions
Was this page helpful?
At Storables.com, we guarantee accurate and reliable information. Our content, validated by Expert Board Contributors, is crafted following stringent Editorial Policies. We're committed to providing you with well-researched, expert-backed insights for all your informational needs.

0 thoughts on “How To Clean Chair Cushions”