Home>Furniture>Living Room Furniture>How To Make Ties For Chair Cushions
Living Room Furniture
How To Make Ties For Chair Cushions
Modified: March 16, 2024
Learn how to make ties for chair cushions with our easy step-by-step guide. Upgrade your living room furniture and add a stylish touch to your seating area.
(Many of the links in this article redirect to a specific reviewed product. Your purchase of these products through affiliate links helps to generate commission for Storables.com, at no extra cost. Learn more)
Introduction
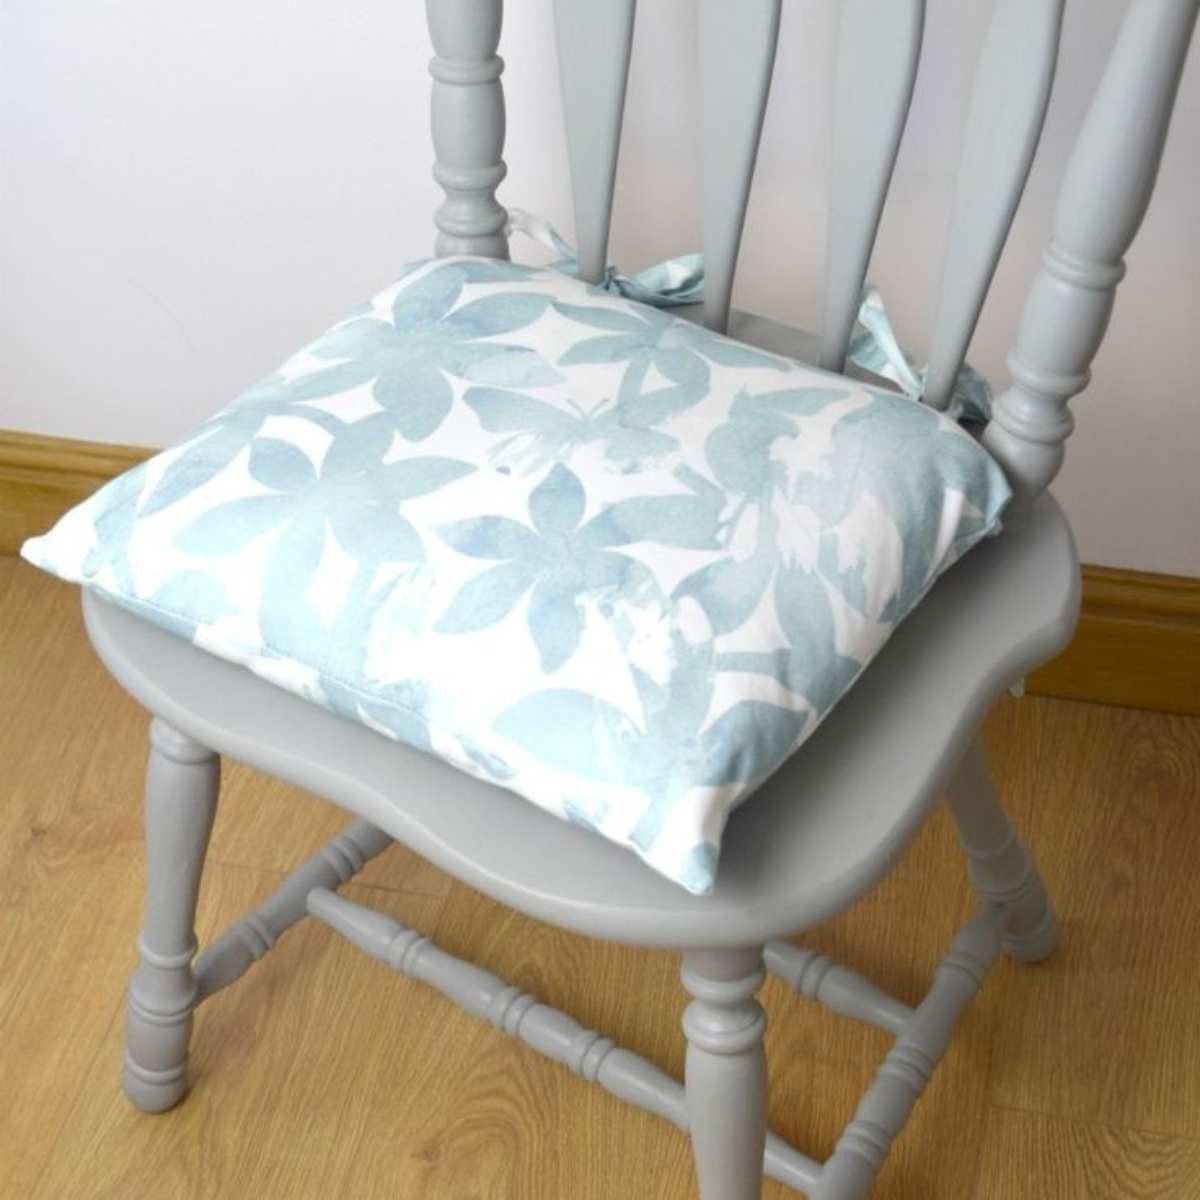
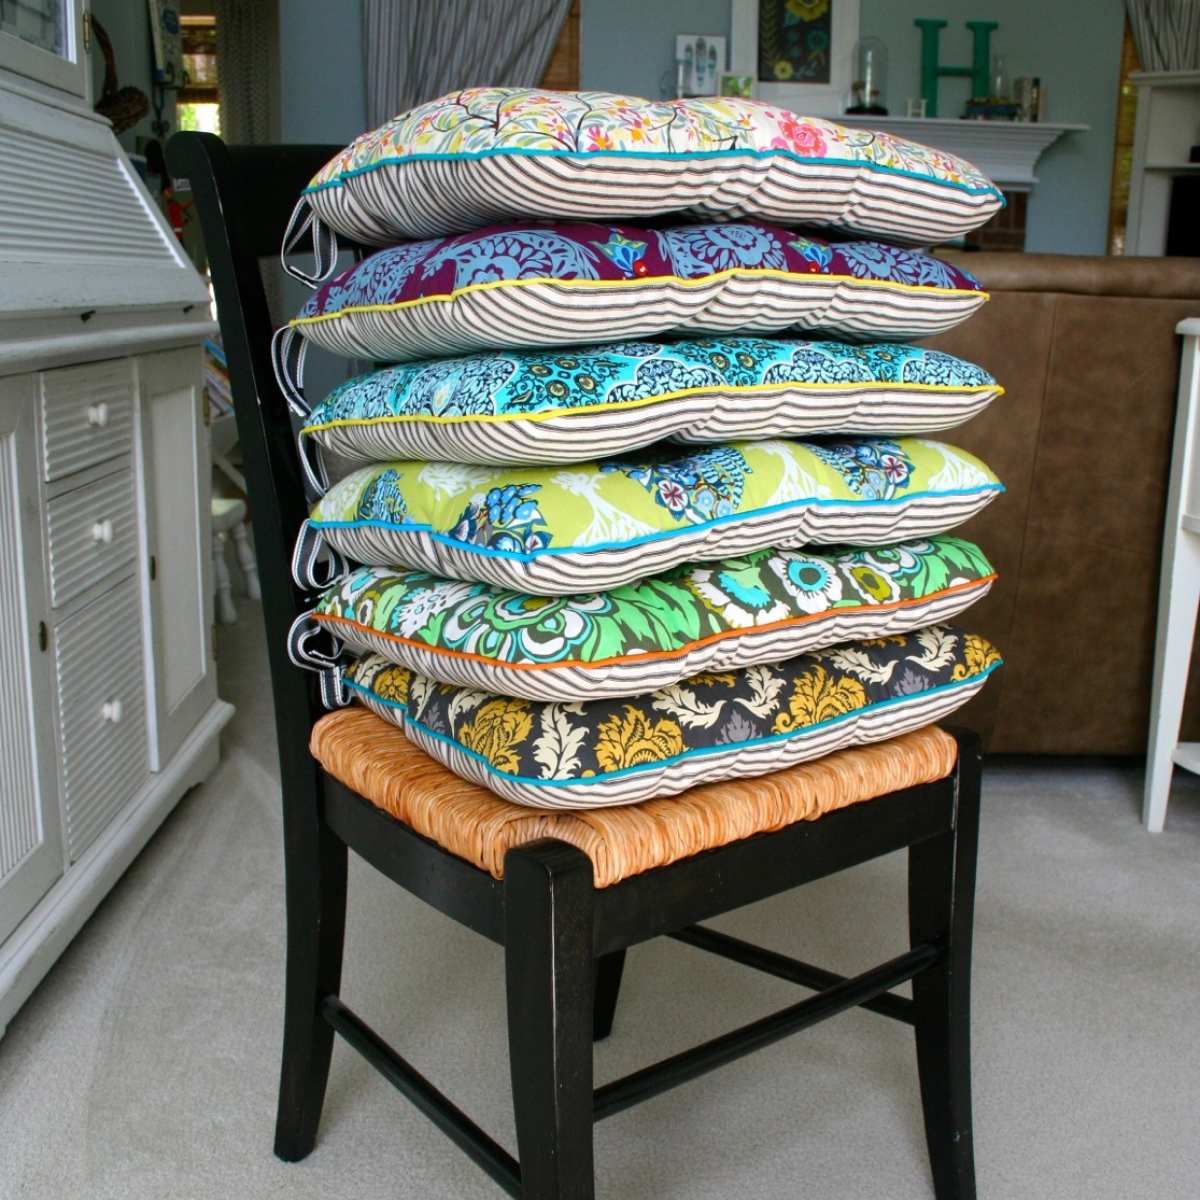
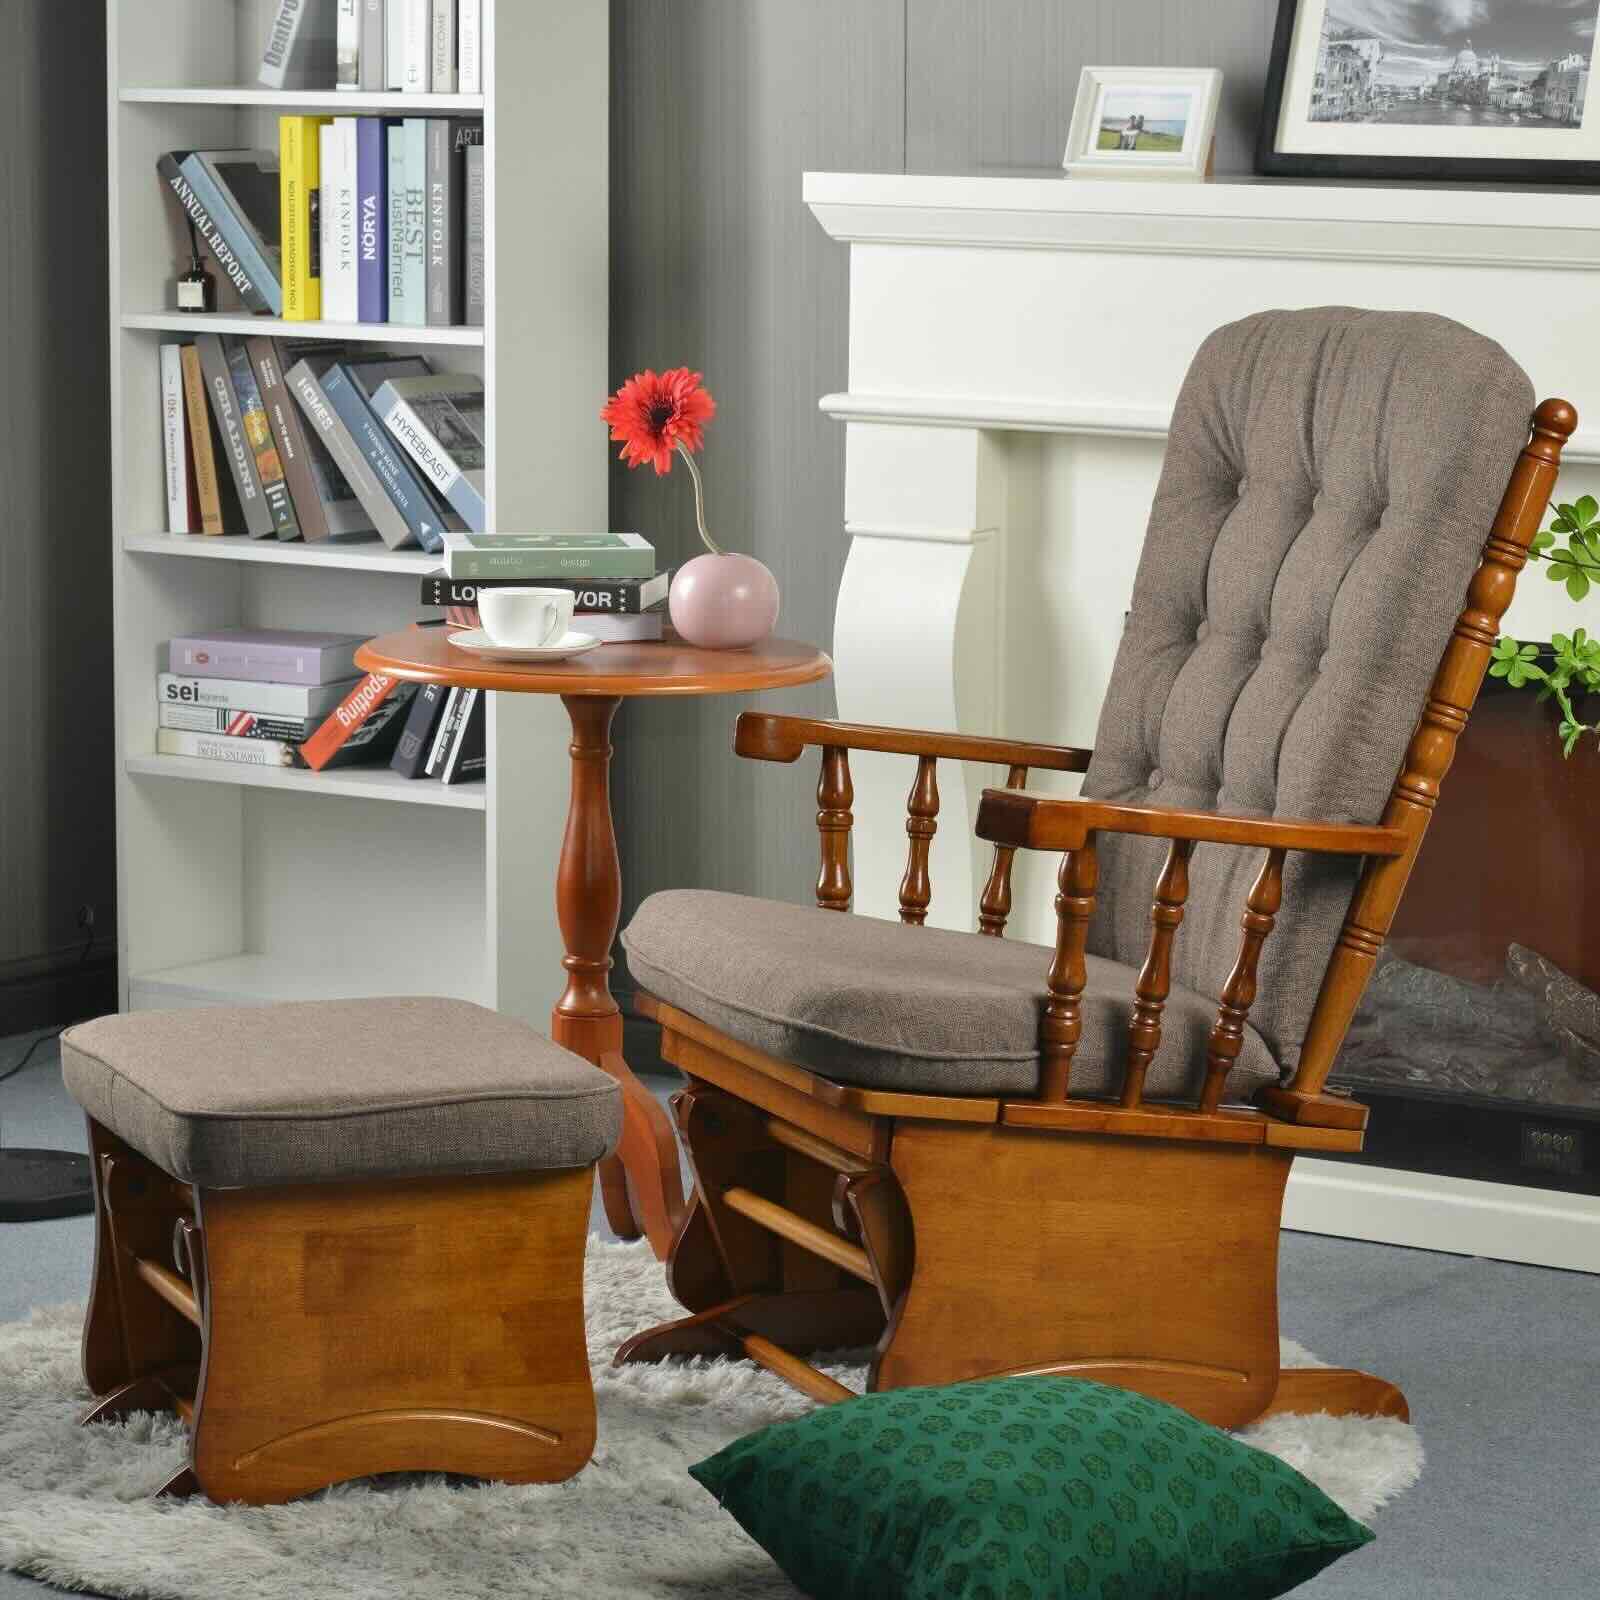
Welcome to our guide on how to make ties for chair cushions! Adding ties to your chair cushions not only provides a decorative touch but also helps keep them in place, preventing them from slipping or sliding around. Whether you’re looking to update your dining room chairs or give your patio furniture a fresh new look, making your own ties is a cost-efficient and customizable option.
In this article, we will walk you through the step-by-step process of measuring, cutting, sewing, and attaching ties to your chair cushions. You don’t need to be an expert seamstress to accomplish this DIY project; with a few basic materials and some patience, you’ll have beautiful chair cushions with custom-made ties in no time.
Are you ready to unleash your creativity and enhance the comfort and style of your chairs? Let’s get started!
Key Takeaways:
- Adding ties to chair cushions is a fun and practical DIY project that can prevent slipping and sliding. With some fabric, scissors, and sewing, you can create custom ties to match your style and keep your cushions in place.
- By measuring, cutting, sewing, and attaching fabric ties, you can transform plain chair cushions into stylish and secure seating accessories. Get creative with different fabrics and embellishments to make your cushions uniquely yours!
Read also: 8 Amazing Chair Cushions With Ties For 2024
Materials Needed
Before we begin, let’s gather all the materials you’ll need to make ties for your chair cushions:
- Fabric of your choice: Select a fabric that complements your chair cushions and the overall decor of your space. Make sure to choose a fabric that is durable and easy to work with.
- Measuring tape: This will help you accurately measure the length and width of your chair cushions.
- Ruler or straight edge: A ruler will ensure that you cut straight lines when cutting your fabric.
- Fabric scissors: Invest in a pair of sharp fabric scissors to easily cut through the fabric without fraying the edges.
- Pins: Use pins to hold the fabric in place while sewing and to secure the ties to the cushions.
- Sewing machine or needle and thread: You can use a sewing machine for faster and more precise stitching, or sew by hand if you prefer.
- Iron: An iron will help you press the fabric and create crisp edges.
- Optional: Fusible interfacing or fabric stabilizer can be used to add extra durability to the ties.
Once you have gathered all these materials, you’re ready to move on to the next step!
Step 1: Measuring and Cutting Fabric
The first step in making ties for chair cushions is to measure the fabric and cut it into strips. Here’s how:
- Measure the length and width of your chair cushion: Use a measuring tape to determine the dimensions of your chair cushion. Measure the length and width, taking into consideration any extra length needed for tying the fabric.
- Add extra length for tying: Depending on the style of ties you want, add an additional 12-18 inches to the measured length. This will give you enough fabric to create a bow or knot when attaching the ties.
- Calculate the number of fabric strips needed: Divide the width of the chair cushion by the desired width of the fabric strips. This will give you the number of strips required to cover the entire width of the cushion.
- Cut the fabric into strips: Using the ruler or straight edge, mark the width of the fabric strips on the fabric using a fabric pen or chalk. Carefully cut along the marked lines using fabric scissors. Repeat this step for each strip needed.
It’s important to cut the fabric strips as accurately as possible to ensure even and symmetrical ties. Take your time and double-check your measurements before cutting. Once you have cut all the fabric strips, you’re ready to move on to the next step.
Step 2: Sewing the Tie Strips
Now that you have cut the fabric into strips, it’s time to sew them together to create the ties. Follow these steps:
- Prepare the sewing machine: If you’re using a sewing machine, thread it with a thread that matches the color of your fabric. Set the machine to a straight stitch with a medium stitch length.
- Fold the fabric strips in half lengthwise: Take each fabric strip and fold it in half lengthwise with the right sides together, ensuring that the long edges align. Use pins to secure the edges if needed.
- Sew along the long edge: Starting from one end, sew along the long edge of the fabric strip, leaving a ¼ inch seam allowance. Continue sewing until you reach the other end, making sure to backstitch at the beginning and end to secure the stitches.
- Trim the excess fabric: Use fabric scissors to trim any excess fabric, leaving a small seam allowance.
- Turn the fabric strip right side out: Carefully turn the fabric strip right side out by gently pulling the folded edge through the opening. Use a pencil or chopstick to push out the corners and create clean, crisp edges.
- Press the fabric strip: Iron the fabric strip to remove any wrinkles and create smooth edges.
- Repeat for the remaining fabric strips: Repeat the above steps for each fabric strip until all the ties are sewn and prepared.
Remember to take your time and sew with precision to ensure neat and sturdy ties. Once you have sewn all the fabric strips, you can move on to the next step.
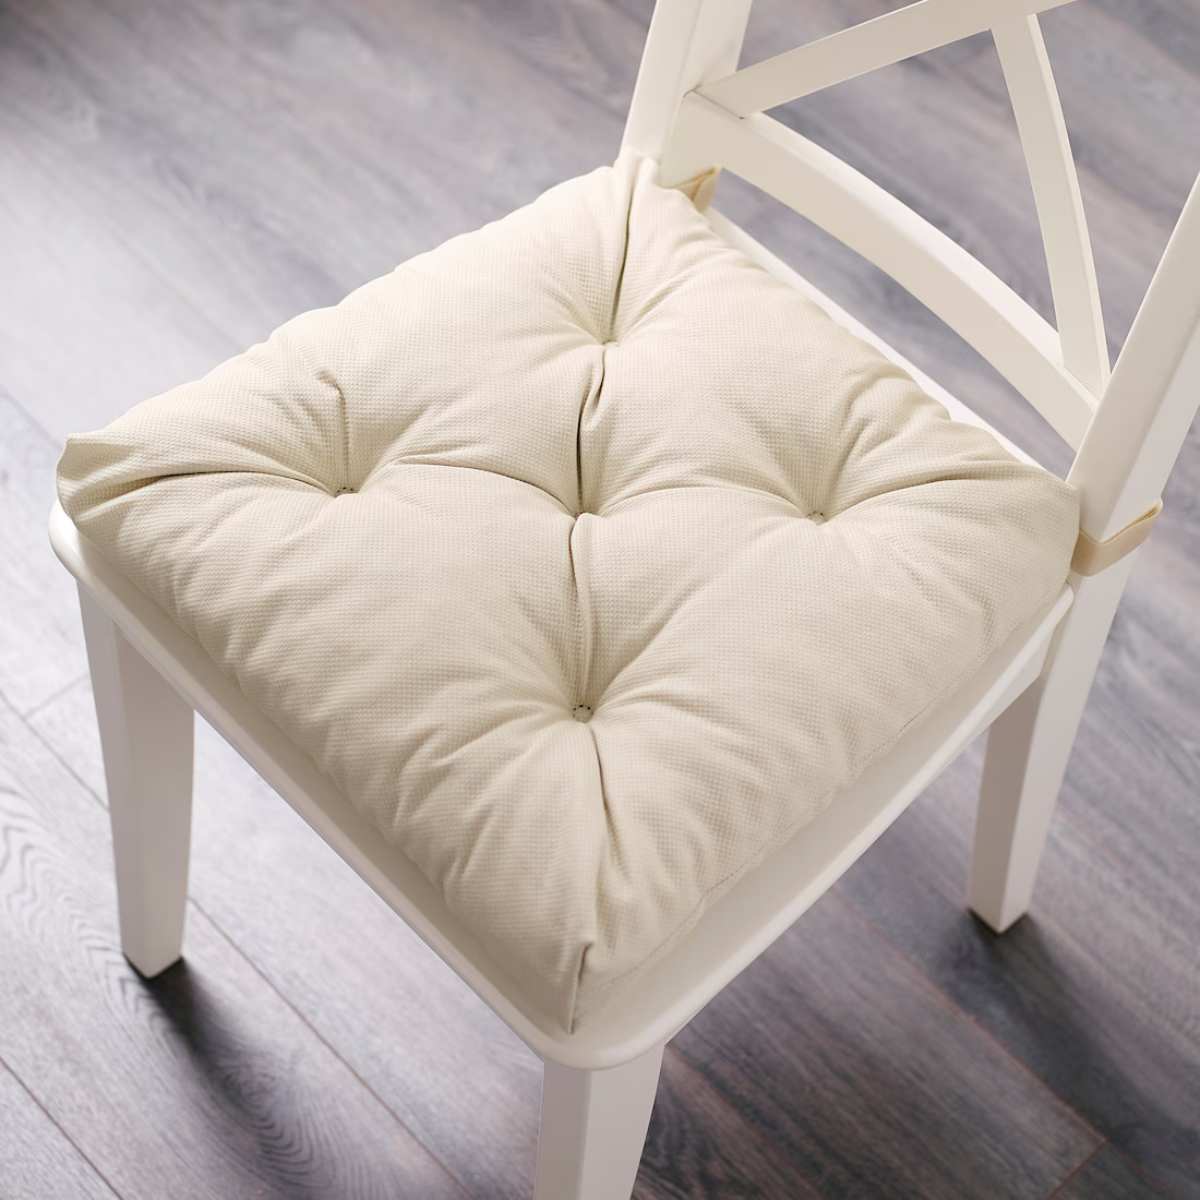
When making ties for chair cushions, use durable fabric and sew them securely to the corners of the cushion. This will ensure that the ties can withstand regular use and keep the cushion in place.
Step 3: Attaching the Ties to the Chair Cushion
Now that you have your fabric ties ready, it’s time to attach them to the chair cushion. Follow these steps:
- Position the chair cushion: Place the chair cushion on a flat surface, with the side you want to attach the ties facing up.
- Identify the placement of the ties: Decide where you want to position the ties on the chair cushion. Common placements include the corners and the center of each side.
- Pin the ties in place: Take one fabric tie and fold it in half, creating a loop. Align the raw edges of the tie with the desired placement on the cushion. Use pins to secure the tie in place. Repeat this step for the remaining ties.
- Sew the ties to the cushion: Starting at one end of a tie, sew along the pinned edge, securing the tie to the cushion. Make sure to backstitch at the beginning and end to reinforce the stitches. Repeat this step for each tie, removing the pins as you go.
Take your time to ensure that the ties are securely attached to the cushion. Double-check the positioning and alignment before sewing. Once you have sewn all the ties, you’re ready to move on to the next step.
Step 4: Adjusting and Securing the Ties
After attaching the ties to the chair cushion, it’s important to adjust and secure them properly for a snug fit. Follow these steps:
- Arrange the ties evenly: Take a moment to arrange the fabric ties evenly and ensure they are positioned symmetrically on the cushion.
- Adjust the length of the ties: If the ties are too long, you can trim them to your desired length using fabric scissors. Leave enough length to tie a bow or knot comfortably.
- Tie the fabric ties: Tie the fabric ties into a bow or knot, securing the cushion to the chair. Adjust the tightness of the ties as needed to ensure a secure fit.
- Test the stability: Sit on the chair and test the stability of the cushion. If needed, adjust the ties to ensure the cushion stays in place without slipping or sliding.
- Trim any excess fabric: If there are any excess fabric ends sticking out from the bows or knots, trim them neatly using fabric scissors.
By adjusting and securing the ties properly, you’ll ensure that your chair cushion stays in place even with regular use. Take the time to make any necessary adjustments before moving on to the final step.
Step 5: Finishing Touches
Now that you have successfully attached and secured the ties to your chair cushion, it’s time to add some finishing touches to complete the project. Follow these final steps:
- Inspect the stitching: Take a close look at the stitches used to attach the ties. Make sure they are secure and evenly spaced. If there are any loose threads, carefully trim them to create a clean finish.
- Press the ties: Use an iron to press the fabric ties, removing any wrinkles and creating a polished look.
- Optional: Embellish the ties (optional): If you want to add extra flair to your chair cushions, consider adding decorative elements such as buttons, bows, or fabric flowers to the ties. Sew them onto the ties securely, ensuring they won’t come loose with regular use.
- Step back and admire your work: Once you have completed all the steps, step back and take a moment to appreciate your handiwork. Admire the custom-made ties that have transformed your chair cushions into stylish and functional pieces of furniture.
Now that you’ve added the finishing touches, it’s time to place the chair cushions back on the chairs and enjoy their enhanced comfort and aesthetics. Whether you’re hosting a gathering or simply enjoying a meal at home, your newly tied chair cushions will surely make a statement.
Remember, you can always experiment with different fabrics, colors, and tie styles to match your personal taste and decor. Don’t be afraid to get creative and make your chair cushions truly unique.
Congratulations on completing your DIY project! We hope this guide has been helpful in teaching you how to make ties for chair cushions. Enjoy the added charm and practicality it brings to your living space!
Conclusion
Congratulations! You have reached the end of our guide on how to make ties for chair cushions. By following these step-by-step instructions, you have learned how to measure, cut, sew, and attach fabric ties to your chair cushions, enhancing their style and functionality.
Adding ties to chair cushions not only prevents them from slipping and sliding but also adds a decorative touch to your chairs. With just a few basic materials and some patience, you can create custom-made ties that perfectly complement your chair cushions and the overall decor of your space.
Remember to take your time, measure accurately, and sew with precision to achieve the best results. Feel free to get creative by choosing different fabrics, experimenting with tie styles, or adding decorative embellishments to make your chair cushions uniquely yours.
Now that you have finished this DIY project, it’s time to sit back, relax, and enjoy your newly tied chair cushions. Whether it’s for your dining room, patio, or any other seating area, your cushions will not only look stylish but also provide a secure and comfortable seating experience.
We hope this guide has been helpful and has inspired you to explore your creativity in enhancing your living space. Thank you for joining us on this crafting journey, and we wish you all the best in your future DIY endeavors!
Frequently Asked Questions about How To Make Ties For Chair Cushions
Was this page helpful?
At Storables.com, we guarantee accurate and reliable information. Our content, validated by Expert Board Contributors, is crafted following stringent Editorial Policies. We're committed to providing you with well-researched, expert-backed insights for all your informational needs.
0 thoughts on “How To Make Ties For Chair Cushions”