Home>Furniture>Living Room Furniture>How To Clean Glider Chair Cushions
Living Room Furniture
How To Clean Glider Chair Cushions
Modified: March 16, 2024
Learn how to clean glider chair cushions for your living room furniture! Keep your cushions fresh and stain-free with our step-by-step guide.
(Many of the links in this article redirect to a specific reviewed product. Your purchase of these products through affiliate links helps to generate commission for Storables.com, at no extra cost. Learn more)
Introduction
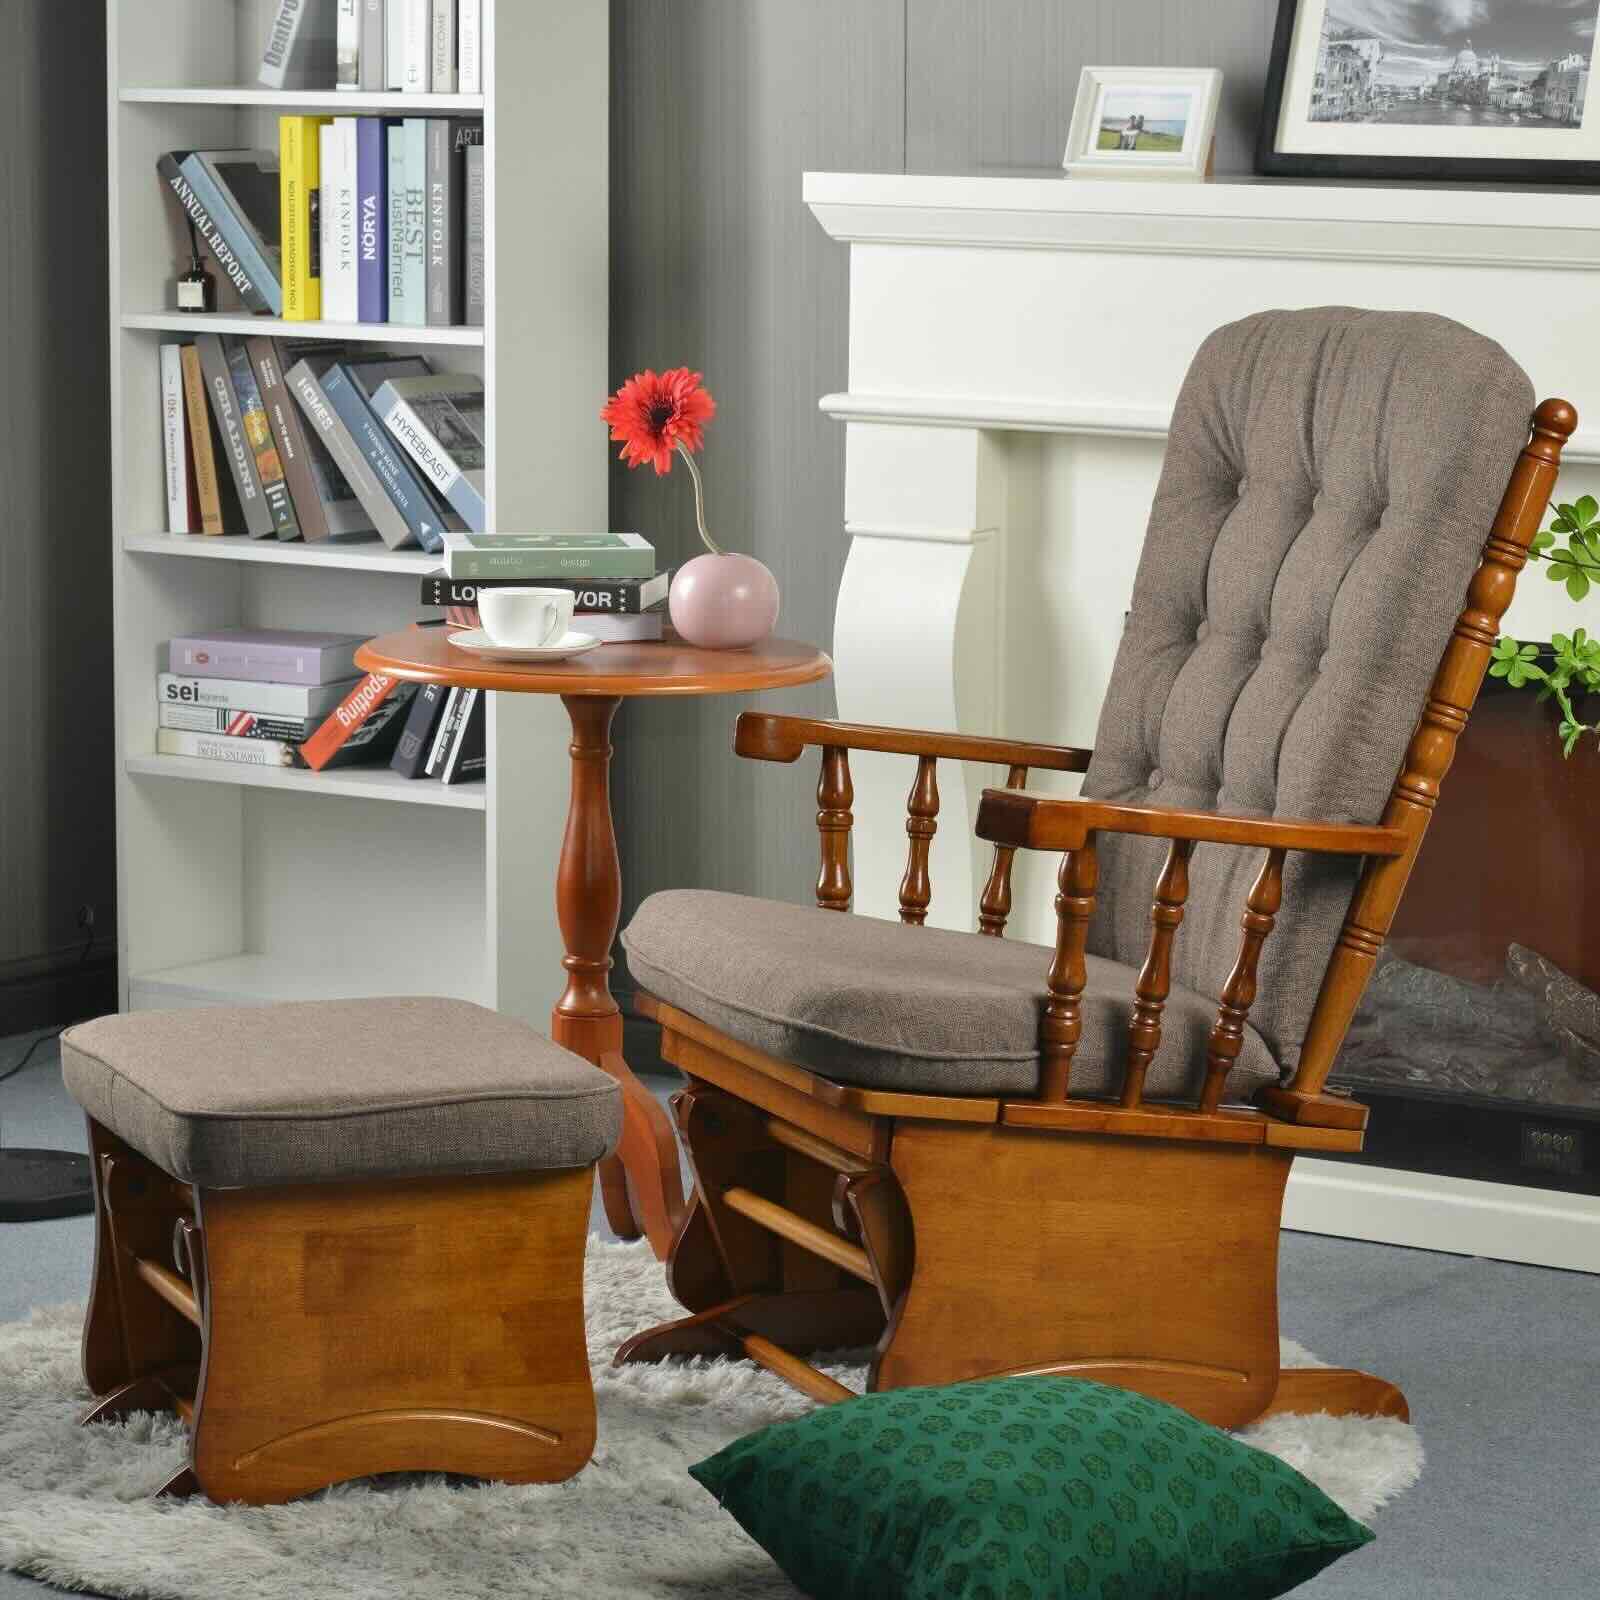
Welcome to our comprehensive guide on how to clean glider chair cushions. Glider chairs are not only a comfortable addition to your living room, but they also provide a soothing rocking motion that can help you relax after a long day. However, over time, the cushions on your glider chair can accumulate dust, dirt, and stains, making them appear worn and dirty. Cleaning your glider chair cushions regularly will not only help maintain their appearance but also contribute to a healthier and more hygienic living space.
In this guide, we will walk you through the step-by-step process of cleaning your glider chair cushions, from gathering the necessary materials to regular maintenance tips. Whether you have an upholstered or removable cushion, we have you covered. So, let’s dive right in!
Key Takeaways:
- Regularly cleaning and maintaining your glider chair cushions not only keeps them looking fresh and inviting but also contributes to a healthier and more hygienic living space.
- Gather the necessary materials, remove the cushion, spot clean, machine wash if suitable, dry thoroughly, and follow regular maintenance tips to ensure your glider chair cushions stay clean and comfortable for years to come.
Read more: How To Childproof Glider Chairs
Step 1: Gathering Materials
Before you begin cleaning your glider chair cushions, it’s important to gather all the necessary materials. Having everything at hand will help streamline the cleaning process and ensure that you have everything you need. Here are the materials you will need:
- Mild detergent or upholstery cleaner: Choose a detergent that is gentle on fabrics and specifically designed for upholstery. Avoid using harsh chemicals that may damage the cushion material.
- Bucket or basin: You will need a container to mix the cleaning solution.
- Soft-bristle brush or sponge: A soft-bristle brush or sponge will help you gently scrub away dirt and stains without causing damage to the cushion fabric.
- White vinegar: White vinegar is a natural ingredient that can help remove odors and sanitize the cushions.
- Spray bottle: Fill a spray bottle with a mixture of equal parts water and white vinegar for spot cleaning.
- Lint roller or vacuum cleaner: To remove loose dirt and debris from the cushions, you will need a lint roller or a vacuum cleaner with a brush attachment.
- Clean, lint-free cloths: Keep a few clean, lint-free cloths or microfiber towels handy for blotting and drying.
- Optional: Fabric protector spray: If you want to add an extra layer of protection to your freshly cleaned cushions, consider using a fabric protector spray. This will help repel stains and spills in the future.
Once you have gathered all the materials, you are ready to move on to the next step: removing the cushion from the glider chair.
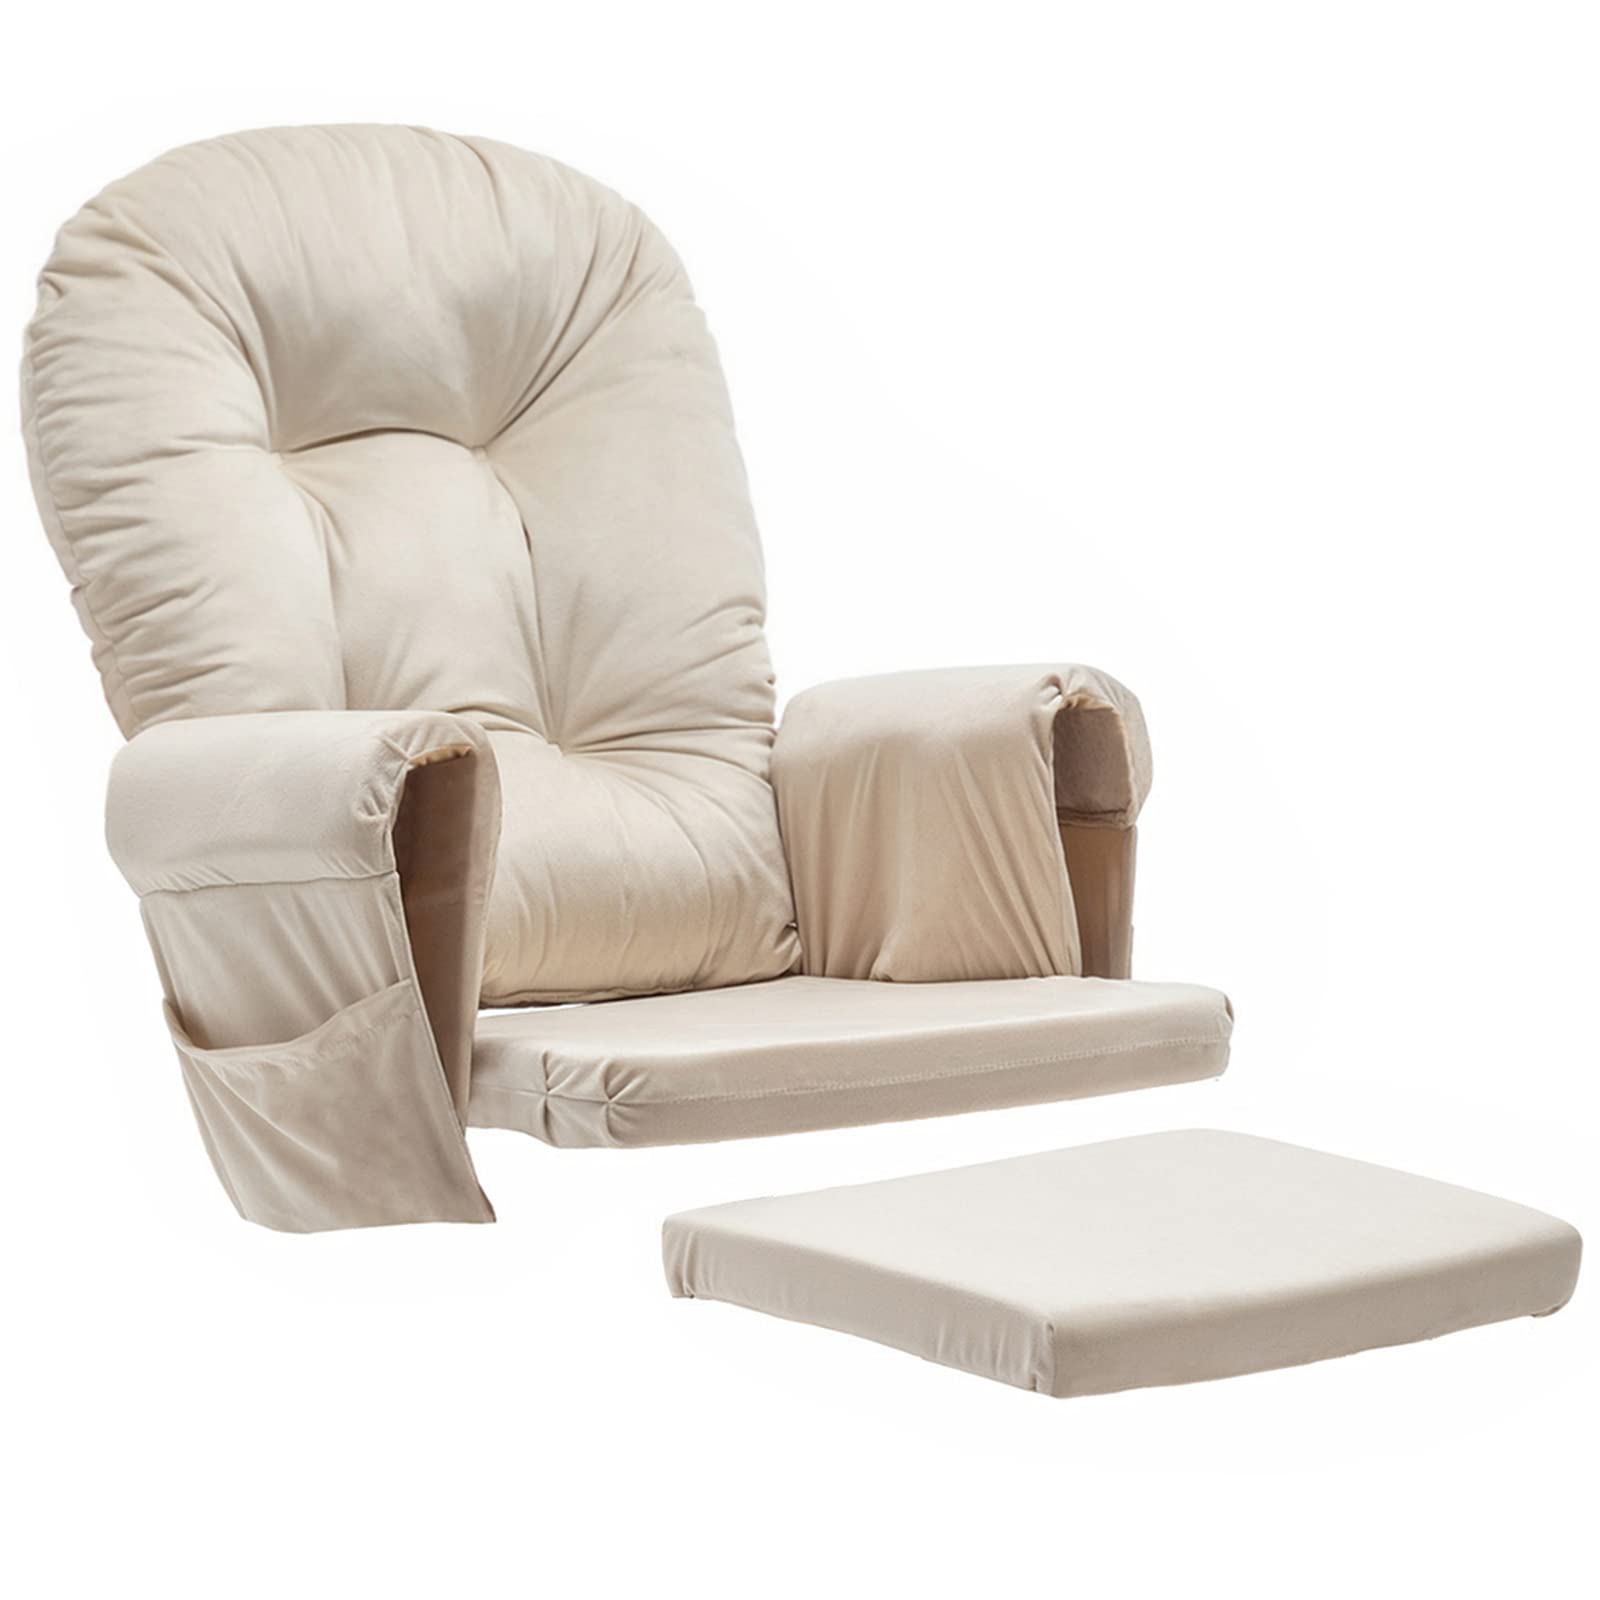
Step 2: Removing the Cushion
Now that you have all the necessary materials ready, it’s time to remove the cushion from the glider chair. This step is crucial as it allows you to clean the cushion more effectively and reach all areas without any obstructions. Here’s how you can remove the cushion:
- Check for any zippers or fastenings: Some glider chair cushions come with zippers or fastenings that allow for easy removal. Locate these zippers or fastenings and open them to release the cushion from the chair frame.
- If there are no zippers or fastenings: In case your cushion doesn’t have any zippers or fastenings, you will need to carefully lift the cushion off the glider chair. Enlist the help of a friend or family member to ensure that the cushion doesn’t slip or fall during the process.
- Place the cushion on a clean surface: Once you have successfully removed the cushion, place it on a clean and flat surface. This could be a large table, a clean floor, or even outside on a clean sheet or tarp.
Now that the cushion is removed and ready for cleaning, you can move on to the next step: spot cleaning.
Step 3: Spot Cleaning
Spot cleaning is an important step in the cleaning process, especially for tackling specific stains or heavily soiled areas on your glider chair cushions. Here’s how you can effectively spot clean your cushions:
- Identify the stains: Take a close look at the cushion and identify any visible stains or spots that need attention. Common stains include food and beverage spills, dirt marks, or pet stains.
- Prepare a spot cleaning solution: Fill a spray bottle with a mixture of equal parts water and white vinegar. White vinegar is a natural cleaning agent that can help remove stains and odors.
- Spray the solution: Lightly spray the stained area with the cleaning solution. Avoid saturating the cushion as excessive moisture can damage the fabric or stuffing.
- Gently scrub the stain: Take a soft-bristle brush or sponge and gently scrub the stained area in a circular motion. Be careful not to scrub too hard as it may damage the fabric surface.
- Blot the stain: After scrubbing, use a clean cloth or paper towel to blot the stain, absorbing any moisture and lifting away the stain. Continue blotting until the stain is no longer visible.
- Repeat if necessary: For stubborn stains, you may need to repeat the spot cleaning process multiple times until the stain is completely removed.
- Allow the cushion to air dry: Once the spot cleaning is complete, leave the cushion to air dry in a well-ventilated area. Avoid exposing it to direct sunlight or heat sources as this can cause shrinkage or fading.
Spot cleaning is a great way to target specific stains on your glider chair cushions. However, for a more thorough and overall cleaning, you’ll want to proceed to the next step: machine washing.
To clean glider chair cushions, start by removing the cushion covers and vacuuming any loose dirt and debris. Then, spot clean any stains with a mixture of mild soap and water, and let the cushions air dry completely before putting the covers back on.
Step 4: Machine Washing
Machine washing your glider chair cushions can help remove dirt, dust, and overall grime that may have accumulated over time. Before proceeding with machine washing, it’s important to check the care instructions provided by the manufacturer to ensure that it is safe to machine wash your cushions. Here’s how you can machine wash your glider chair cushions:
- Check for removable cushion covers: Some glider chair cushions come with removable covers that can be easily taken off for washing. If your cushions have removable covers, follow the care instructions on the label and remove the covers before proceeding.
- Pre-treat any remaining stains: Before placing the cushions in the washing machine, inspect them for any residual stains. Pre-treat these stains by spot cleaning them using the methods mentioned in Step 3.
- Load the cushions in the washing machine: If your cushions are machine washable, load them into the washing machine. It’s recommended to wash them separately or with similar colors to prevent color bleeding.
- Use a gentle cycle and mild detergent: Set the washing machine to a gentle cycle with cold water and add a mild detergent specifically designed for upholstery or delicate fabrics. Avoid using bleach or harsh chemicals as they may damage the cushion material.
- Start the washing machine: Begin the washing cycle and let the machine do its work. Allow the cushions to go through the entire cycle for a thorough cleaning.
- Remove the cushions from the machine: Once the washing cycle is complete, remove the cushions from the machine. Be careful not to twist or wring them, as this can cause damage to the cushion’s shape and fabric.
- Allow the cushions to air dry: Instead of using a dryer, it’s recommended to air dry the cushions to prevent shrinking or damage. Lay them flat on a clean surface or hang them using a clothesline or drying rack. Ensure that the cushions are fully dry before reassembling them.
Machine washing can effectively clean your glider chair cushions, leaving them fresh and rejuvenated. However, it’s important to note that not all cushions are suitable for machine washing. If your cushions are not machine washable or have intricate details or delicate fabrics, it’s best to skip this step and proceed with alternative cleaning methods.
Now that your cushions are clean and dry, it’s time to move on to the next step: drying and replacing the cushions.
Read more: How To Clean Chair Cushions
Step 5: Drying and Replacing the Cushion
After cleaning your glider chair cushions, it’s important to properly dry them before reassembling and putting them back on the chair. Here’s how you can ensure that your cushions are thoroughly dried and ready for use:
- Check the care instructions: Before proceeding with drying, refer to the care instructions provided by the manufacturer. Some cushions may have specific drying recommendations that you need to follow.
- Allow for air drying: The best way to dry your cushions is by allowing them to air dry naturally. This ensures that they dry evenly and prevents any potential damage caused by heat or excessive moisture. Place the cushions in a well-ventilated area away from direct sunlight or heat sources.
- Flip and rotate the cushions: To speed up the drying process and ensure that all sides of the cushion are evenly dried, flip and rotate them periodically. This helps prevent any moisture buildup or potential mold growth.
- Use a fan or dehumidifier: If you’re dealing with high humidity or need to speed up the drying process, you can use a fan or dehumidifier to circulate air and remove excess moisture from the cushions.
- Ensure the cushions are completely dry: It’s important to ensure that the cushions are completely dry before reassembling them. Check for any damp spots or lingering moisture and allow them to dry further if needed.
- Replace the cushions on the glider chair: Once the cushions are fully dry, carefully place them back on the glider chair. Make sure they are properly aligned and secure.
- Add optional fabric protector spray: If you wish to provide additional protection to your clean and dry cushions, you can consider applying a fabric protector spray. This will help repel future stains and spills.
By following these steps, you can ensure that your glider chair cushions are thoroughly dried and ready for use. Regular maintenance and cleaning will help extend the lifespan of your cushions and keep them looking fresh and inviting.
Now that your cushions are clean, dry, and back in place, let’s move on to the final step: regular maintenance tips.
Step 6: Regular Maintenance Tips
To keep your glider chair cushions in pristine condition for the long term, it’s important to incorporate regular maintenance practices. Here are some helpful tips to maintain the cleanliness and freshness of your cushions:
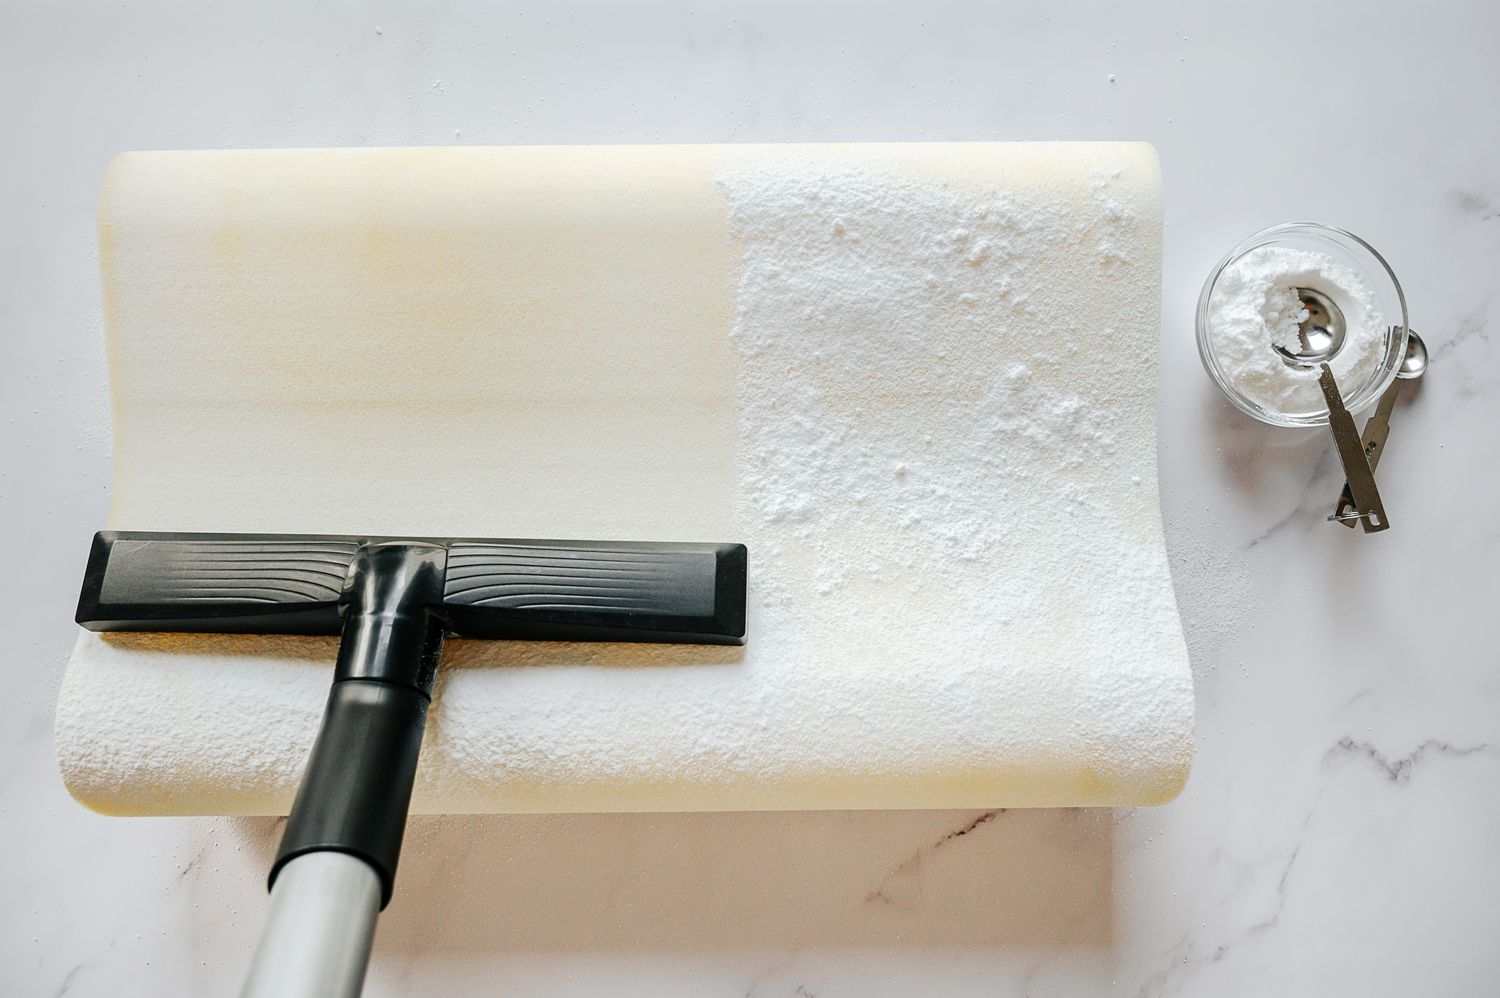
- Vacuum regularly: Use a lint roller or a vacuum cleaner with a brush attachment to remove loose dirt, dust, and debris from the surface of the cushions. Regular vacuuming prevents particles from settling deep into the fabric.
- Flip and rotate the cushions: To ensure even wear and maintain their shape, flip and rotate the cushions periodically. This helps distribute pressure evenly and prevents certain areas from becoming more worn than others.
- Spot clean spills immediately: Accidental spills happen, so it’s important to act quickly. Blot the spill gently with a clean cloth or paper towel to absorb as much liquid as possible. Follow the spot cleaning process mentioned earlier in Step 3 to tackle any remaining stains.
- Avoid eating on the cushions: To prevent food and beverage stains, it’s best to avoid eating or drinking on the glider chair cushions. If you must snack while using the chair, use a tray or placemat to protect the cushions.
- Keep pets away: Pets can leave behind fur, dander, and occasionally unwanted surprises on the cushions. Minimize pet contact with the cushions to prevent damage and maintain cleanliness.
- Regularly dust and clean the chair frame: Don’t forget to clean the glider chair frame as well. Dust the frame regularly and wipe it down with a damp cloth or mild cleaning solution to keep it looking its best.
- Consider using cushion covers: If your glider chair cushions didn’t come with removable covers, you may want to consider purchasing cushion covers. These covers provide an extra layer of protection and can be easily removed and washed when needed.
- Follow manufacturer’s instructions: Always refer to the care instructions provided by the manufacturer for specific cleaning recommendations and guidelines. Different materials may require different cleaning methods, so it’s important to follow these instructions to avoid damaging the cushions.
By incorporating these regular maintenance tips, you can maintain the cleanliness, appearance, and durability of your glider chair cushions for years to come.
Now that you are equipped with the knowledge and steps on how to clean and maintain your glider chair cushions, you can enjoy a fresh and inviting seating experience in your living room. Happy cleaning!
(This article is provided for informational purposes only. Always refer to the specific care instructions and recommendations provided by the manufacturer for your glider chair cushions.)
Conclusion
Cleaning glider chair cushions doesn’t have to be a daunting task. By following the step-by-step guide provided in this article, you can easily maintain the cleanliness and freshness of your cushions. Regular cleaning not only enhances the appearance of your glider chair but also contributes to a healthier and more hygienic living space.
Remember to gather all the necessary materials before starting the cleaning process. Take the time to remove the cushion from the glider chair, allowing for more effective cleaning. Spot clean any stains using a gentle cleaning solution, and for a more thorough cleaning, consider machine washing if the cushions are suitable for it.
Once the cushions are clean, ensure they are properly dried before placing them back on the chair. Incorporate regular maintenance practices such as vacuuming, flipping and rotating the cushions, and addressing spills promptly to prolong the life of your cushions.
Always refer to the manufacturer’s care instructions and guidelines for specific cleaning recommendations. Different cushion materials may require different cleaning methods, so it’s essential to follow these instructions to avoid damaging the cushions.
By taking care of your glider chair cushions, you can continue to enjoy the comfort and relaxation they provide for years to come. So, don’t wait any longer—start cleaning and maintaining your glider chair cushions today, and enjoy a fresh, clean, and inviting seating experience in your living room!
(Please note that this article is for informational purposes only. Always refer to the specific care instructions and recommendations provided by the manufacturer for your glider chair cushions.)
Frequently Asked Questions about How To Clean Glider Chair Cushions
Was this page helpful?
At Storables.com, we guarantee accurate and reliable information. Our content, validated by Expert Board Contributors, is crafted following stringent Editorial Policies. We're committed to providing you with well-researched, expert-backed insights for all your informational needs.
0 thoughts on “How To Clean Glider Chair Cushions”