Home>Furniture>Living Room Furniture>How To Paint Vinyl Chair Cushions
Living Room Furniture
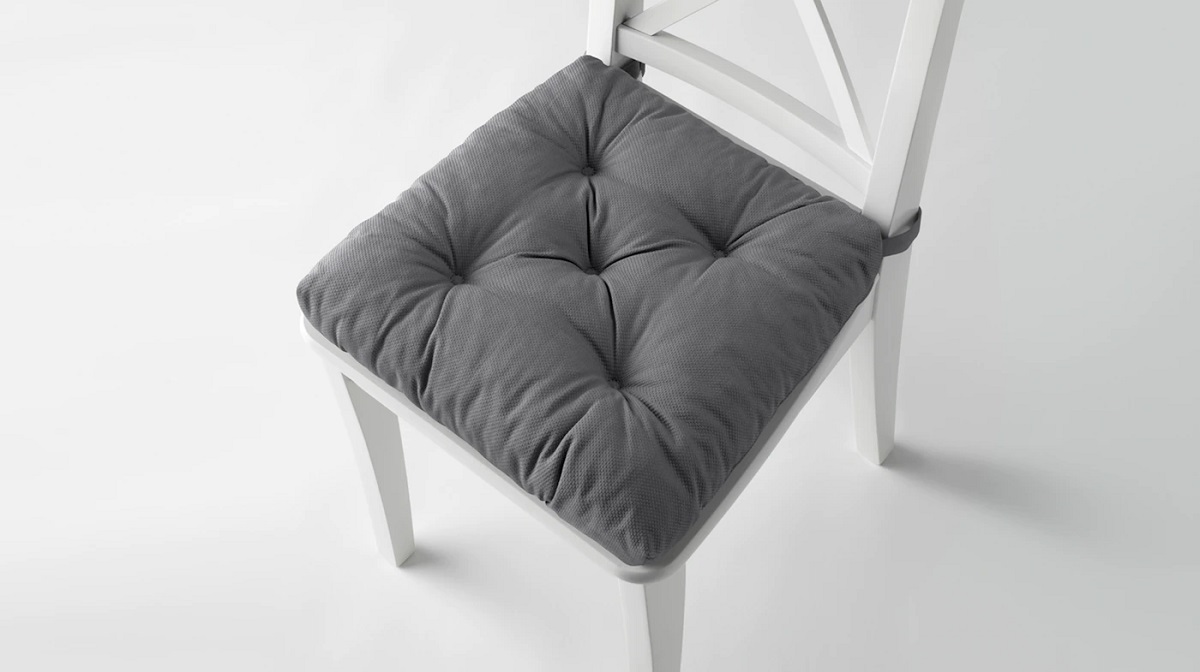
How To Paint Vinyl Chair Cushions
Modified: August 28, 2024
Learn how to transform your living room furniture with a fresh coat of paint. Step-by-step guide to painting vinyl chair cushions for a stylish and budget-friendly update.
(Many of the links in this article redirect to a specific reviewed product. Your purchase of these products through affiliate links helps to generate commission for Storables.com, at no extra cost. Learn more)
Introduction
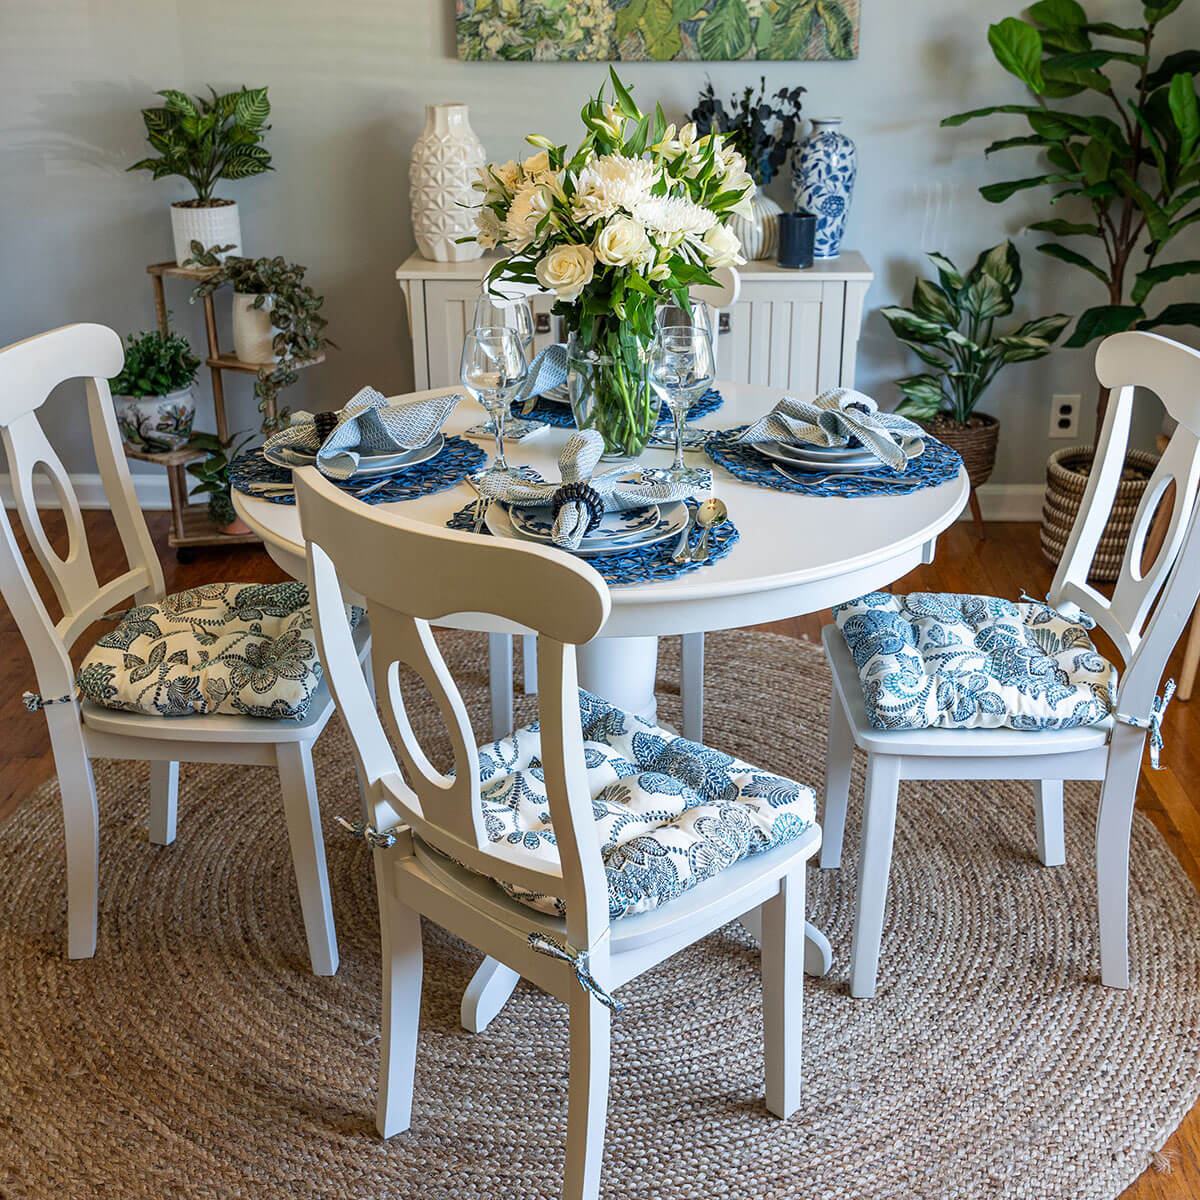
When it comes to updating the look of your living room furniture, one simple and cost-effective option is to paint your vinyl chair cushions. Whether you want to revive an old chair or customize it to match your existing decor, painting the vinyl cushions can give them a fresh and vibrant new look.
Painting vinyl chair cushions might seem like a daunting task, especially if you haven’t done it before. However, with the right materials and a step-by-step approach, you can achieve professional-looking results. Plus, the process is relatively simple and can be completed in just a few hours.
In this article, we will guide you through the process of painting vinyl chair cushions, providing you with valuable tips and tricks along the way. So, let’s gather our materials and get started on this exciting DIY project!
Key Takeaways:
- Revive old vinyl chair cushions by painting them with the right materials and technique. Enjoy a cost-effective DIY project to customize your living room furniture and showcase your creativity!
- Maintain the vibrancy of your painted vinyl chair cushions by cleaning them regularly, protecting from sunlight, and using caution with heavy objects. Keep your DIY project looking fresh and vibrant for years to come!
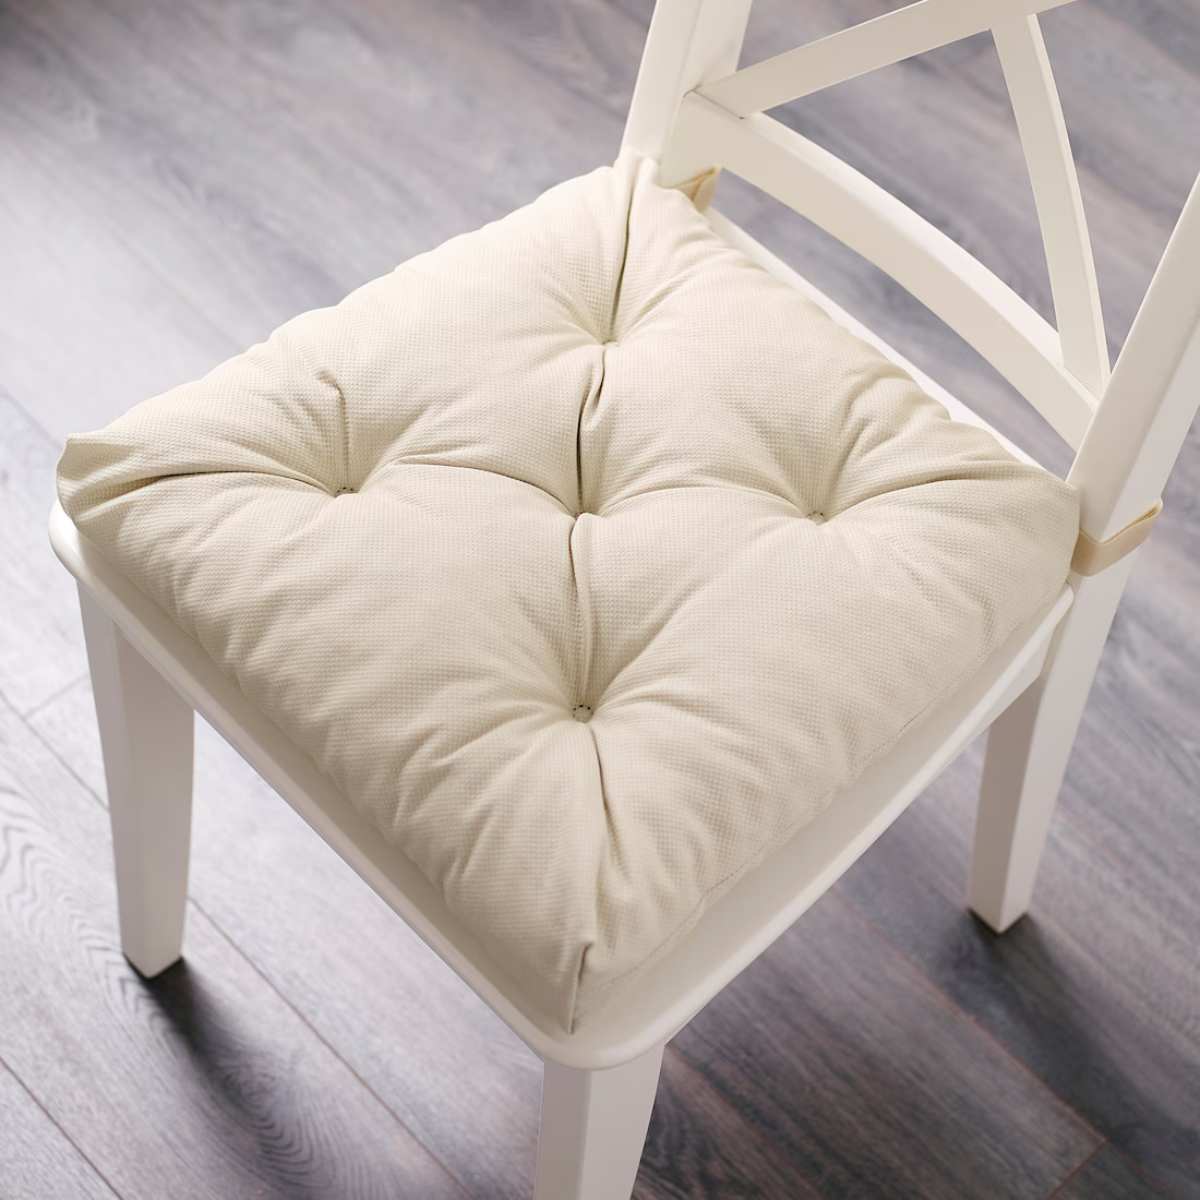
Read more: How To Clean Vinyl Cushions
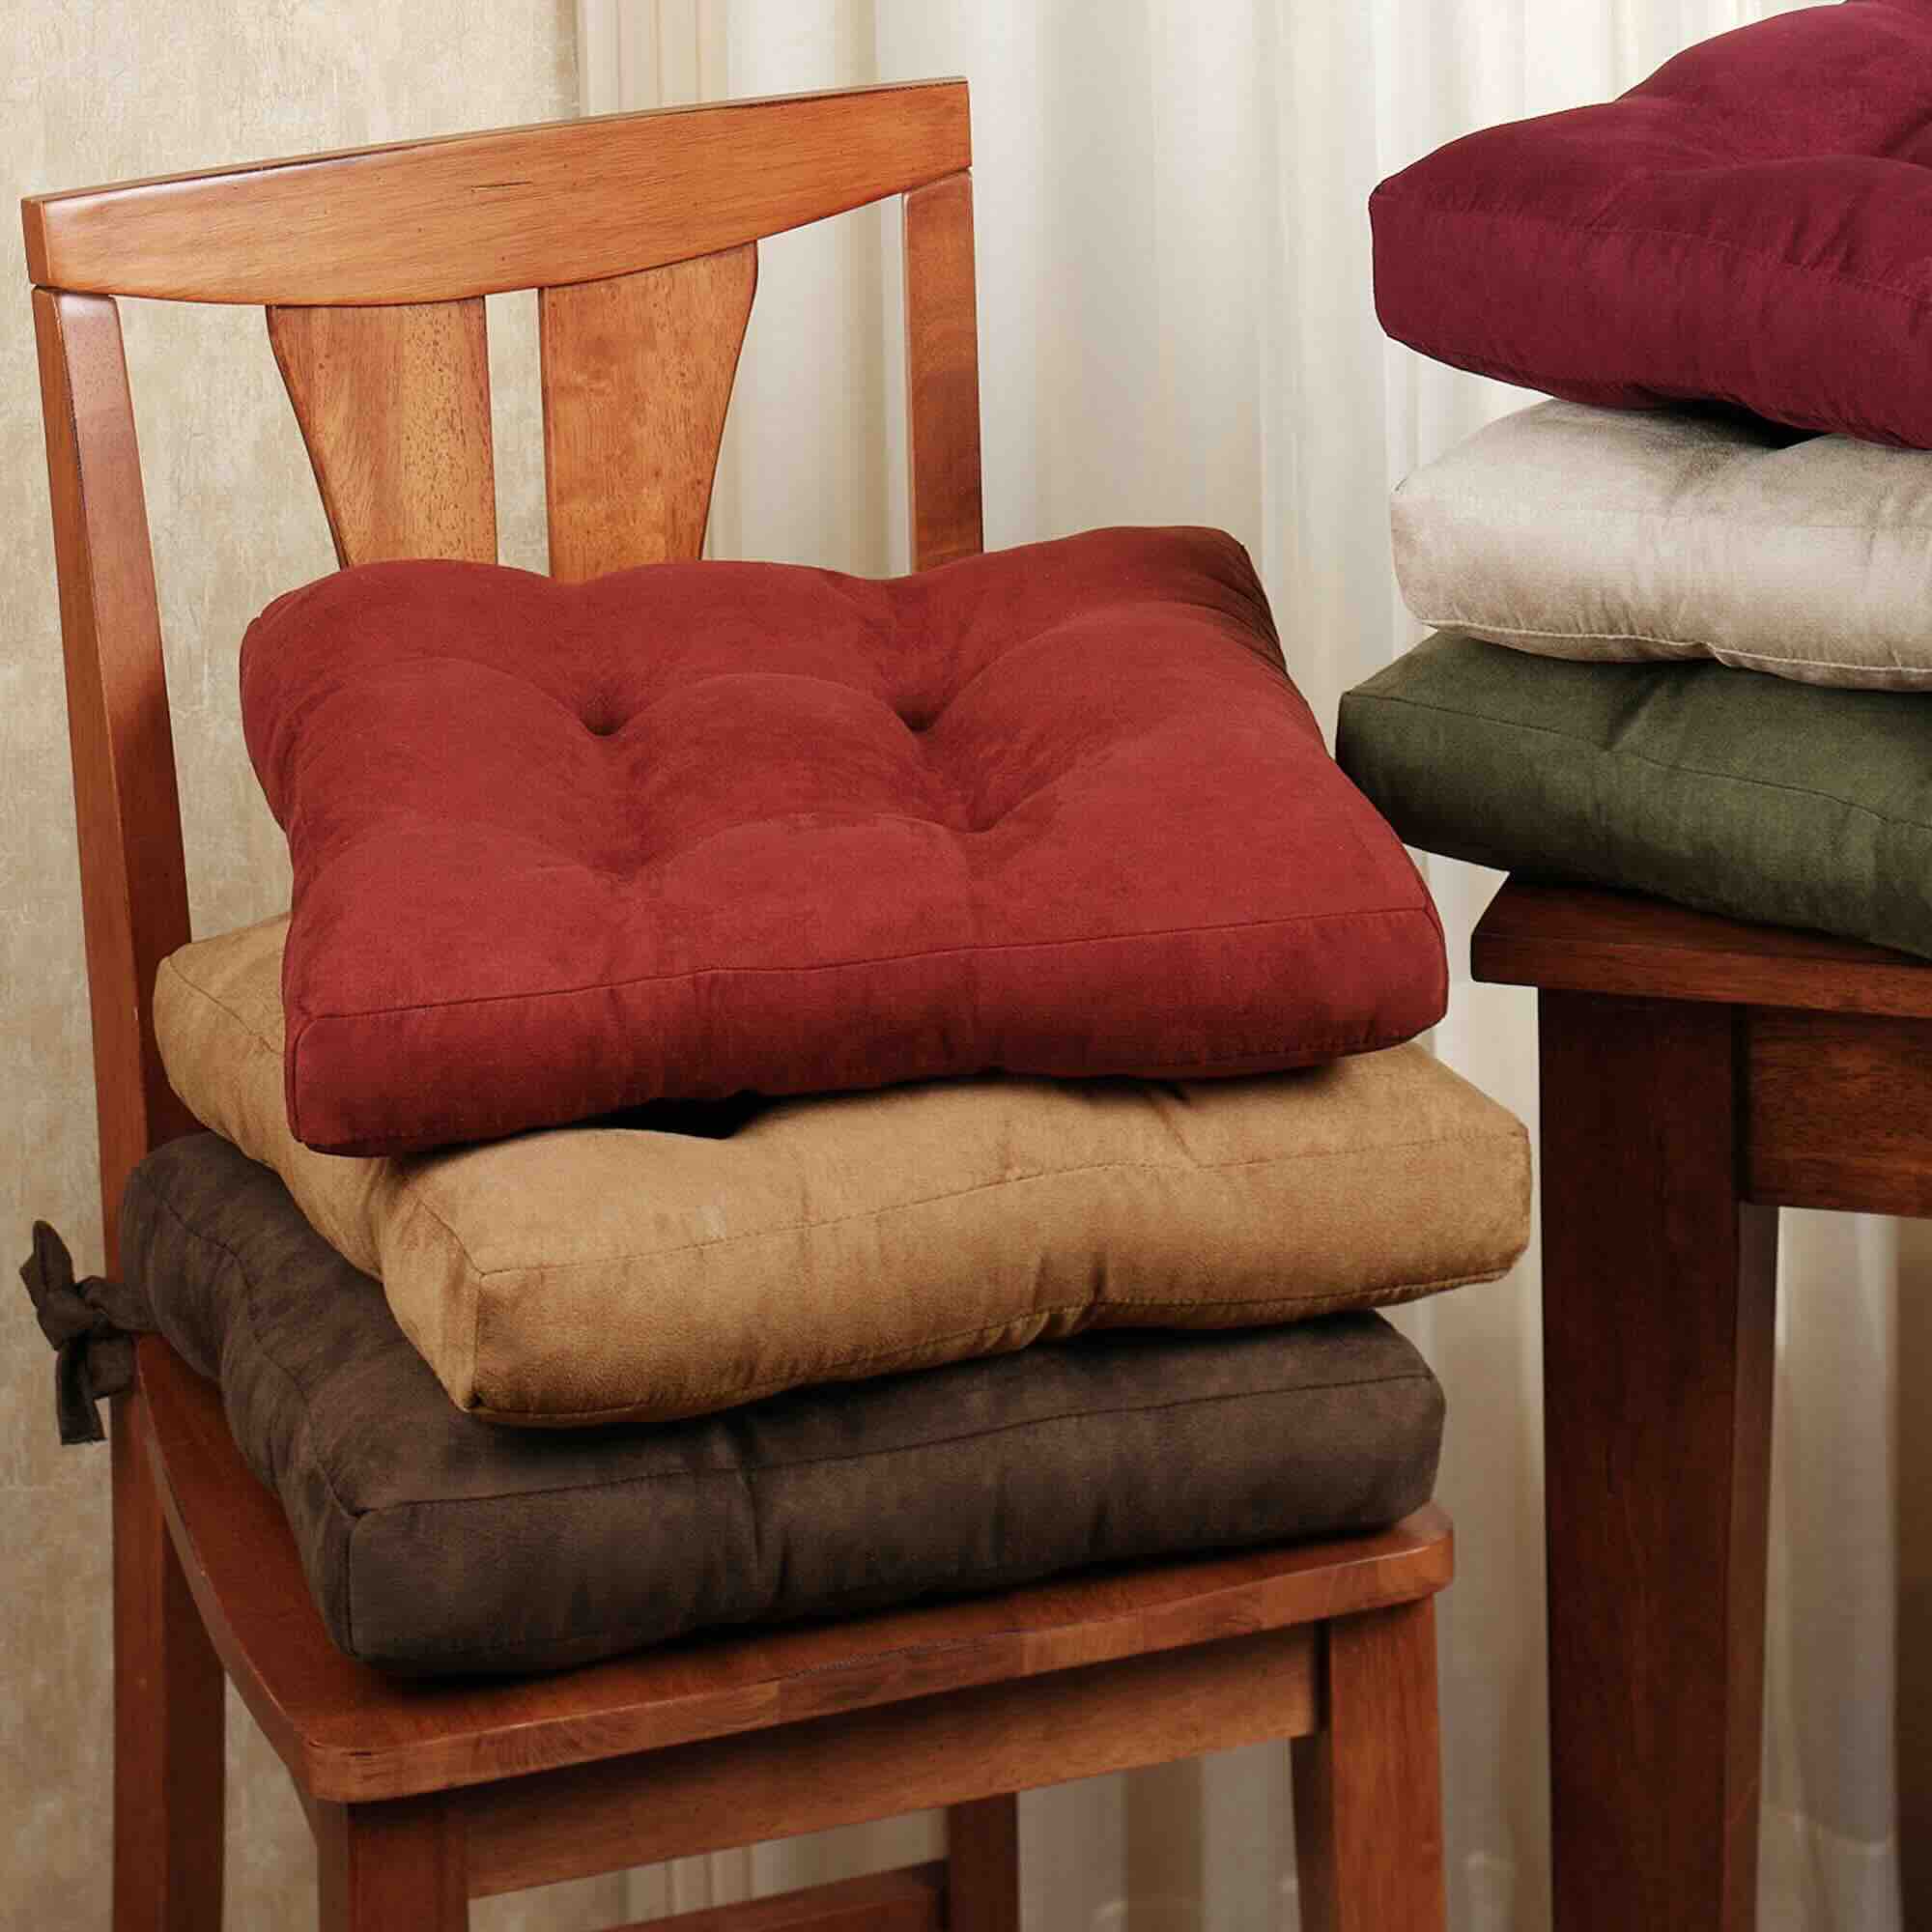
Materials Needed
Before you begin painting your vinyl chair cushions, it’s essential to gather all the necessary materials. Having everything ready will make the process smoother and more efficient. Here’s a list of what you’ll need:
- Paint primer specifically formulated for vinyl surfaces
- Vinyl-safe paint in your desired color(s)
- Clean, lint-free cloths
- Fine-grit sandpaper or sanding block
- Painter’s tape
- Drop cloth or plastic sheeting to protect the surrounding area
- Paintbrushes (foam brushes work well for smooth application)
- Optional: Clear protective coat for added durability
- Optional: Screwdriver (if you need to remove the cushions for easier painting)
Make sure to choose paint and primer that are specifically designed for vinyl surfaces. This will ensure better adhesion and long-lasting results. Additionally, it’s important to have clean cloths on hand to wipe away any dust or debris during the preparation process.
Remember to select a suitable paintbrush size that matches the size of your cushions. The foam brushes are ideal for smooth surfaces like vinyl since they provide even coverage without leaving brush marks.
Lastly, while not mandatory, a clear protective coat can help extend the life of your newly painted cushions, especially if they will be exposed to frequent use or outdoor conditions.
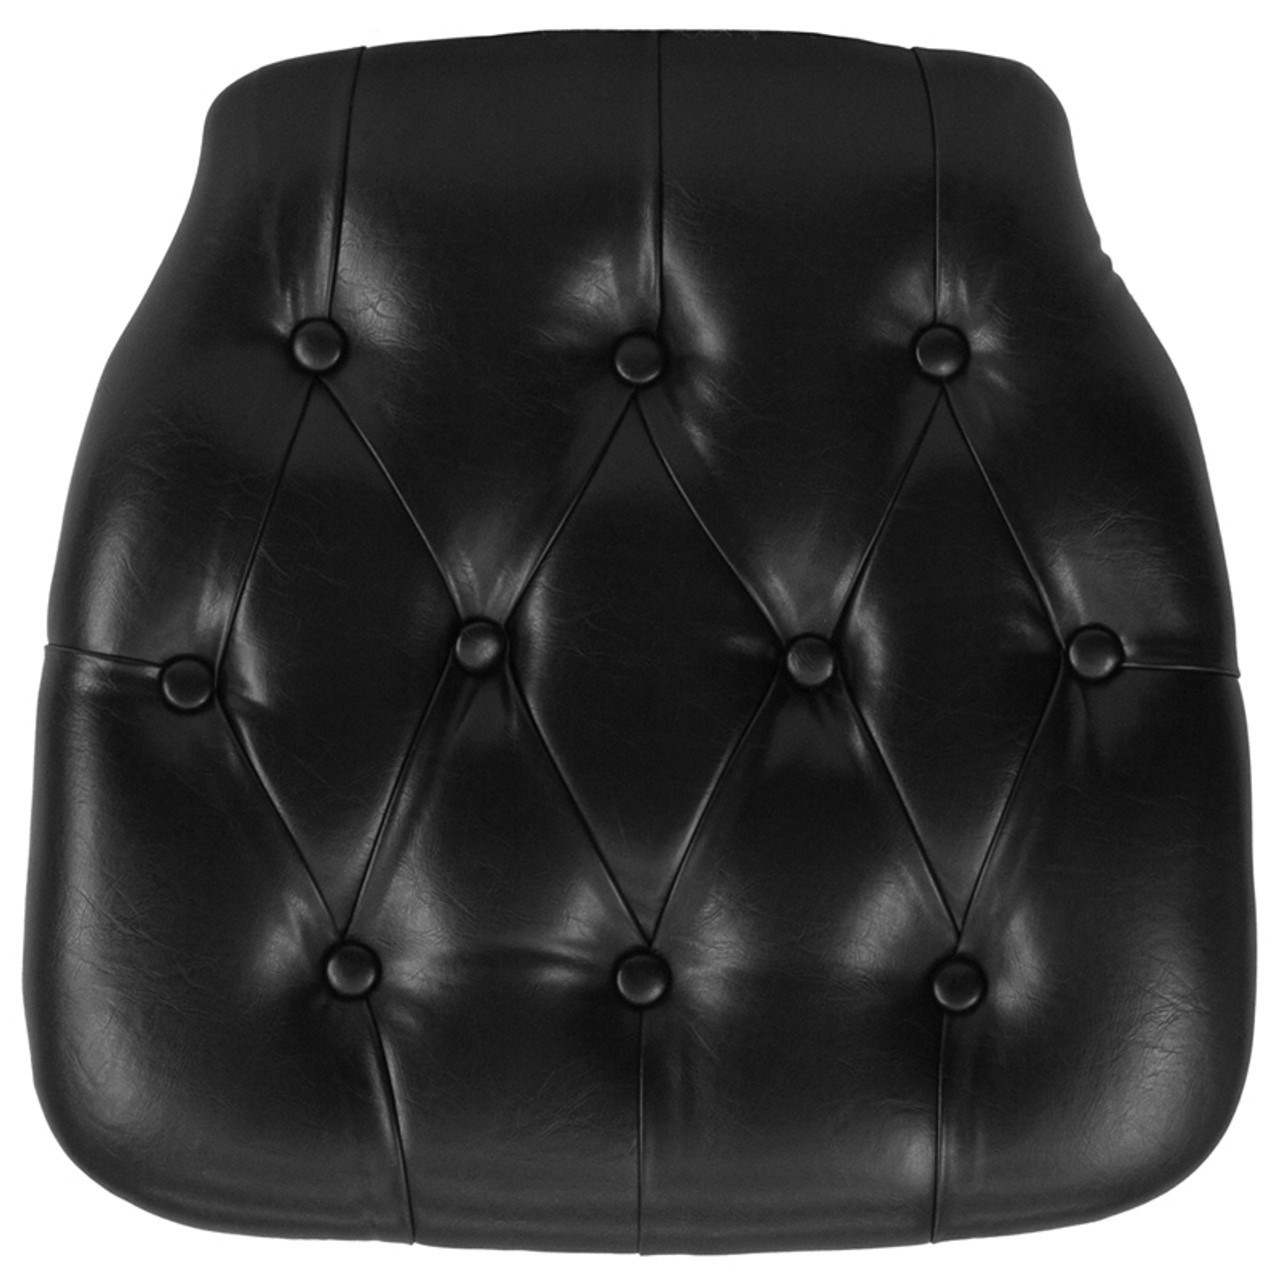
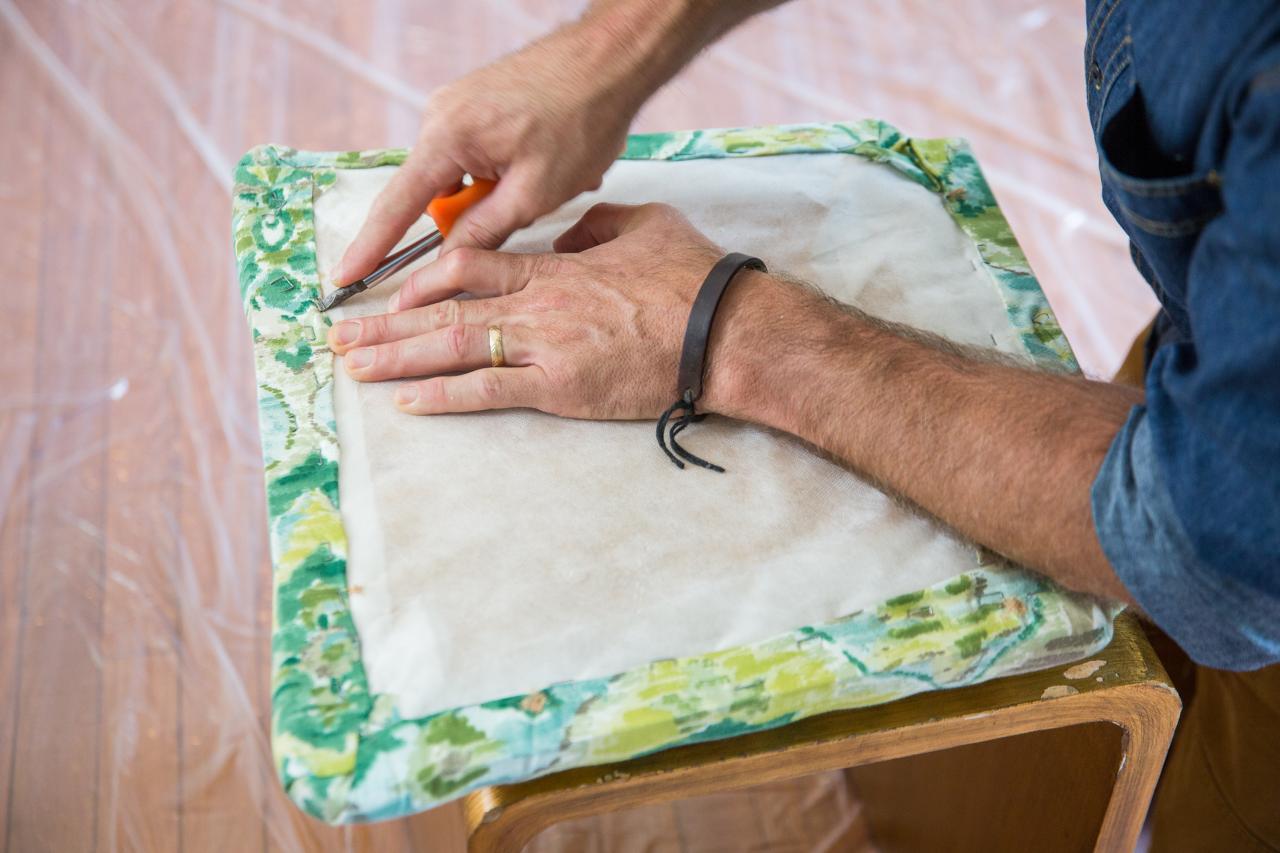
Preparing the Chair Cushions
Before you begin painting your vinyl chair cushions, it’s crucial to properly prepare them. This step will ensure that the paint adheres well and creates a smooth, long-lasting finish. Here’s what you need to do:
- Start by removing the cushions from the chair, if possible. This will make the painting process easier and give you better access to all sides of the cushions.
- If the cushions cannot be removed, use painter’s tape to protect any areas of the chair that you don’t want to paint.
- Place a drop cloth or plastic sheeting on the floor or work area to protect it from any accidental spills or drips.
- Ensure the vinyl is clean and free of any dirt or debris. Use a mild soap solution and a clean cloth to wipe down the surface of the cushions. Allow them to dry completely before proceeding.
- If your cushions have any cracks, scratches, or imperfections, you can use a vinyl repair kit to fix them. Follow the instructions provided with the kit to achieve the best results.
Preparing the cushions before painting ensures that the surface is clean and smooth, allowing the paint to adhere properly. By removing the cushions or protecting the surrounding areas, you can avoid accidentally painting any unintended areas.
Remember to wait for the cushions to dry completely before moving on to the next step. This will prevent any moisture from affecting the paint application and final result.
If you notice any cracks or imperfections on the vinyl surface, it’s a good idea to repair them before painting. Vinyl repair kits are readily available at most home improvement stores. Be sure to follow the instructions provided with the kits for the best outcome.
Sanding the Vinyl
Once you have prepared the chair cushions, the next step in painting vinyl chair cushions is to sand the vinyl surface. Sanding helps to create a textured surface that allows the primer and paint to adhere better. Follow these steps:
- Begin by lightly sanding the entire surface of the vinyl cushions using fine-grit sandpaper or a sanding block. This will help roughen up the surface and remove any glossy finish, allowing for better paint adhesion. Make sure to sand in a circular motion, applying gentle pressure.
- After sanding, use a clean, dry cloth or a vacuum cleaner with a brush attachment to remove any dust or debris from the cushions. It’s crucial to have a clean surface before applying the primer.
When sanding the vinyl, it’s important to be gentle and avoid excessive pressure that could damage or tear the surface. The goal is to create a slightly roughened texture that allows the primer and paint to bond effectively.
Remember to remove any sanding residue or dust from the cushions before moving on to the next step. This ensures a clean surface for the primer to adhere properly and promotes a smooth paint finish.
After completing the sanding process, you’re now ready to move on to priming the vinyl cushions.
Priming the Vinyl
Priming is a crucial step in painting vinyl chair cushions. The primer helps to create a smooth and even surface for the paint to adhere to, ensuring long-lasting results. Follow these steps to prime your vinyl cushions:
- Shake the can of vinyl-specific primer well to ensure proper mixing of the product.
- Start by applying a thin and even coat of primer to the vinyl cushions using a paintbrush or foam brush. Make sure to work in small sections for better control and coverage.
- Allow the primer to dry according to the manufacturer’s instructions. This usually takes around 1-2 hours, but it’s always best to consult the product label for specific drying times.
- Once the first coat is dry, inspect the cushions for any missed or thin areas. If necessary, apply a second coat of primer to ensure full coverage and better adhesion.
- Allow the cushions to dry completely before applying the paint. This may take several hours or overnight, depending on the primer and environmental conditions.
When priming the vinyl cushions, make sure to work in a well-ventilated area to avoid inhaling any fumes. Follow the manufacturer’s instructions on the primer can for specific safety precautions.
Applying a thin and even coat of primer is essential to achieve a smooth finish. Be cautious not to apply too much primer, as it can cause drips or uneven texture. If you notice any drips or excess primer, gently smooth them out using the paintbrush.
Allowing the primer to dry fully before applying the paint is crucial for optimal adhesion and longevity of the painted surface. Rushing this step may result in the paint not adhering properly or cracking over time.
Once the primer has dried, you’re now ready to move on to the exciting part – painting the vinyl chair cushions!
Before painting vinyl chair cushions, make sure to clean them thoroughly with soap and water to remove any dirt or residue. This will help the paint adhere better and last longer.
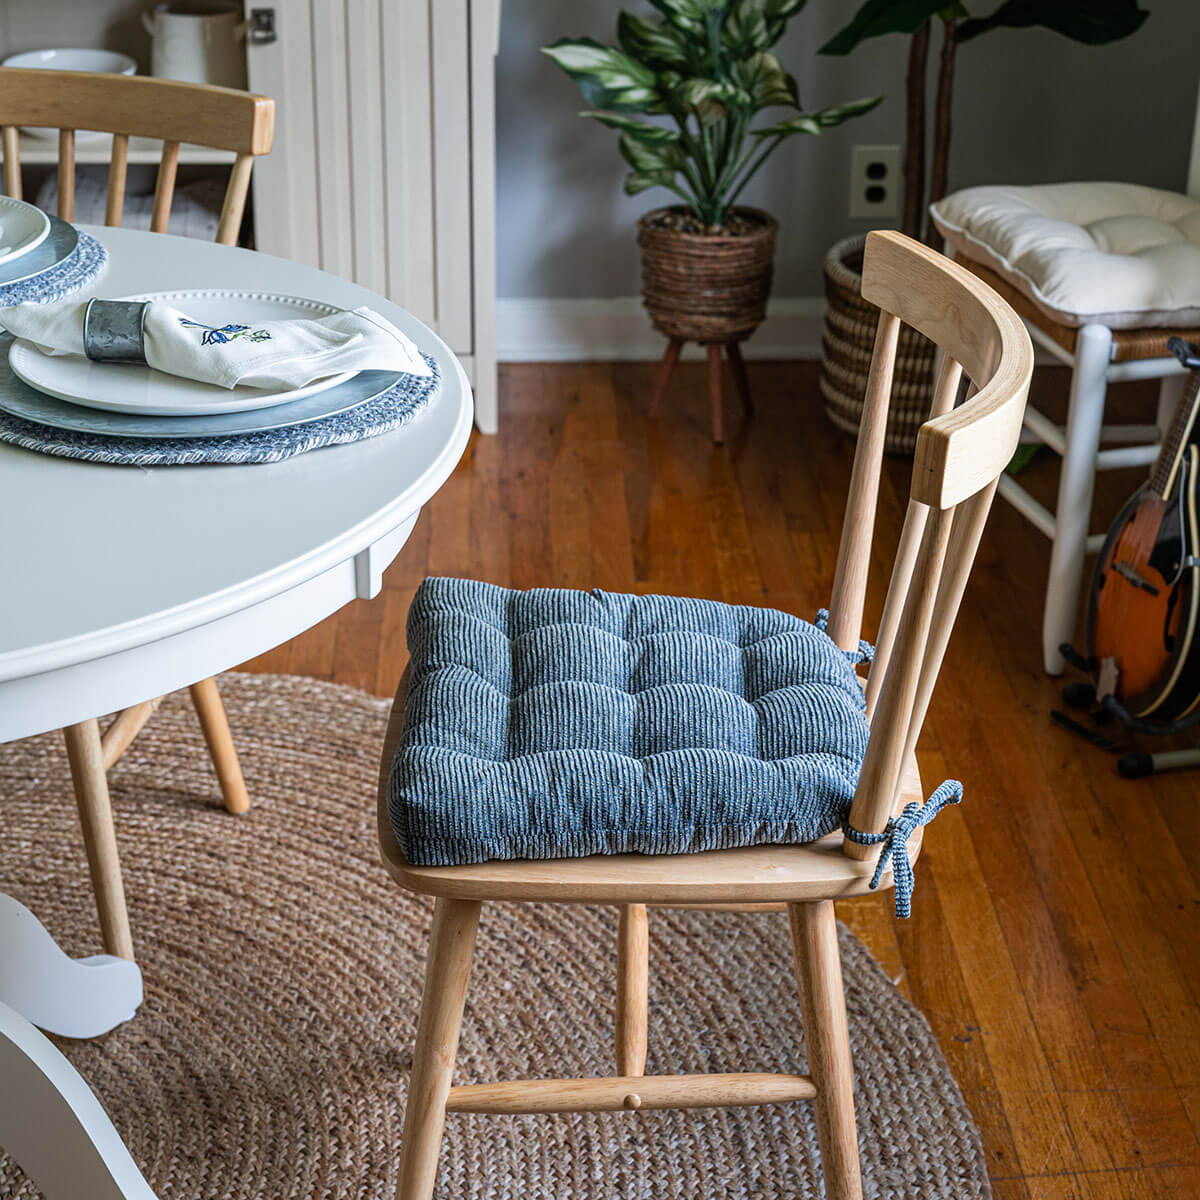
Read more: How To Build Chair Cushions
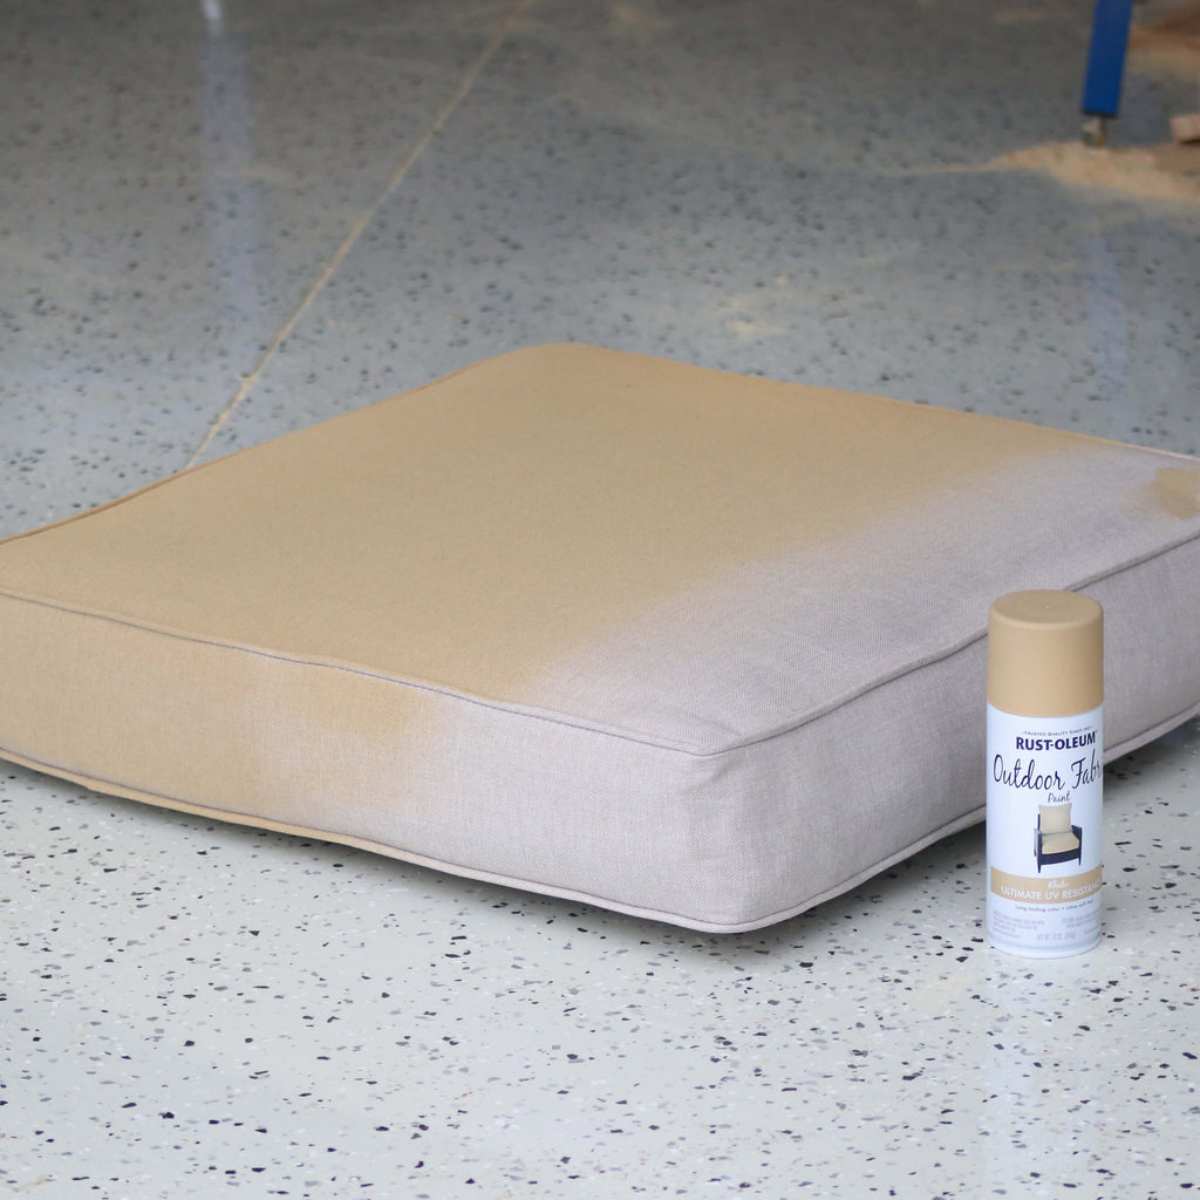
Painting the Vinyl
Now comes the fun part – painting the vinyl chair cushions! With the right technique and attention to detail, you can achieve a beautiful and professional-looking finish. Follow these steps to paint your vinyl cushions:
- Start by shaking the can of vinyl-safe paint well to ensure proper mixing.
- Using a clean paintbrush or foam brush, apply a thin and even coat of paint to the vinyl cushions. Work in small sections, overlapping each stroke slightly for consistent coverage.
- Allow the first coat to dry completely according to the paint manufacturer’s instructions. This typically takes a few hours.
- Inspect the cushions for any thin or missed areas. If necessary, apply a second coat of paint to achieve full coverage and a more vibrant color.
- Once the second coat is dry, assess the overall look and coverage. If desired, you can apply a third coat for an even more opaque and solid color. However, be mindful of not applying too many thick coats, as it may affect the texture and durability of the painted surface.
- Allow the cushions to dry thoroughly before moving on to the next step. This typically takes at least 24 hours, but it’s best to check the paint manufacturer’s instructions for specific drying times.
When painting the vinyl cushions, it’s important to apply thin coats to prevent the paint from becoming too thick, which can affect the flexibility and durability of the cushions. Multiple thin coats will provide a more even and long-lasting finish.
Ensure that each coat of paint is completely dry before applying the next one. Rushing this step may lead to the paint not adhering properly, resulting in an uneven or easily chipped surface. Be patient and allow ample drying time.
After the final coat has dried, you’re now ready to apply a protective coat for added durability if desired.
Applying a Protective Coat
Applying a protective coat is an optional but highly recommended step when painting vinyl chair cushions. The protective coat adds an extra layer of durability, helping to resist wear and tear, as well as providing protection against spills and stains. Follow these steps to apply a protective coat:
- Choose a clear, water-based polyurethane or a sealant specifically designed for vinyl surfaces. Ensure that the product is compatible with the paint you used for your cushions.
- Using a clean paintbrush or foam brush, apply a thin and even layer of the protective coat over the painted vinyl surfaces. Work in small sections to ensure complete coverage.
- Allow the protective coat to dry according to the manufacturer’s instructions. This usually takes a few hours, but it’s best to consult the product label for specific drying times.
- After the first coat is dry, assess the finish and determine if an additional coat is necessary. If desired, apply a second thin layer of the protective coat for added strength and longevity.
- Allow the cushions to dry completely before using them. This may take several hours or overnight, depending on the product and environmental conditions.
Applying a protective coat not only enhances the durability of the painted vinyl surfaces but also helps to seal the color and prevent it from fading over time. It creates a barrier that makes the cushions easier to clean, ensuring they maintain their appearance for a longer period.
When applying the protective coat, be careful not to apply it too thickly, as it can lead to uneven texture or a tacky finish. Thin coats are ideal for achieving a smooth and reliable protective layer.
Once the protective coat has dried, you can reassemble the chair and enjoy your newly painted vinyl chair cushions. However, it’s essential to take some precautions to maintain their appearance and extend their lifespan.
Reassembling the Chair
Now that you’ve successfully painted and protected your vinyl chair cushions, it’s time to reassemble the chair. Reassembling the chair properly will ensure that the cushions are securely in place and ready for use. Follow these steps to reassemble the chair:
- If you removed the cushions for painting, align them with their respective positions on the chair frame.
- Check for any screws or attachment points on the chair frame that secure the cushions in place.
- Using a screwdriver, tighten any screws or fasteners to securely hold the cushions in place.
- Ensure that the cushions are properly aligned and sit flush with the chair frame. Make any necessary adjustments to achieve a comfortable and seamless fit.
- Test the stability of the chair by gently sitting on it and adjusting the cushions if needed. Ensure that the cushions are securely attached and do not shift or wobble during use.
Properly reassembling the chair is crucial for both the aesthetics and functionality of the painted vinyl cushions. Ensuring that the cushions are securely attached will prevent any accidents or discomfort while using the chair.
If you encounter any difficulties or notice any issues during the reassembly process, consult the chair’s instruction manual or seek assistance from a professional if needed.
With the chair fully reassembled, you can now enjoy your refreshed and customized vinyl chair cushions. To ensure their long-lasting beauty, it’s important to follow some maintenance tips.
Tips for Maintaining Painted Vinyl Chair Cushions
After putting in the effort to paint your vinyl chair cushions, you’ll want to ensure that they stay looking fresh and vibrant for as long as possible. Here are some valuable tips for maintaining your painted vinyl chair cushions:
- Regularly clean the cushions with a soft cloth or sponge and a mild soap solution. Avoid using harsh cleaning agents, as they can potentially damage the painted surface.
- Immediately wipe up any spills or stains to prevent them from setting into the painted surface. Use a clean cloth or paper towel and gently blot the area.
- Avoid exposing the cushions to direct sunlight for extended periods, as it may cause the paint to fade over time. If possible, position the chair away from direct sunlight or use window treatments to protect the cushions.
- Be cautious when moving or placing heavy objects on the chair cushions, as excessive weight or pressure could potentially chip or scratch the paint.
- Consider using chair pads or cushions to provide an extra layer of protection for the painted surface when the chair is in use.
- When cleaning the cushions, always test any cleaning products or solutions on a small, inconspicuous area first to ensure they do not cause any discoloration or damage to the paint.
- Regularly inspect the cushions for any signs of damage, such as peeling or chipping paint. If necessary, touch up any areas with matching paint to maintain a seamless and consistent appearance.
- If you plan to regularly use the chair outdoors, consider applying an additional layer of UV-resistant clear coat to provide extra protection against the elements.
- Lastly, avoid dragging or scraping the chair cushions against rough or abrasive surfaces, as it can damage the paint. Lift the chair instead of dragging it when repositioning it.
By following these maintenance tips, you can prolong the lifespan of your painted vinyl chair cushions and keep them looking vibrant and beautiful for years to come.
With these tips in mind, you can confidently showcase your creativity and elevate the style of your living room with your newly painted vinyl chair cushions. Enjoy the transformed look of your furniture and the satisfaction of a DIY project well done!
Read more: How To Measure Chair Cushions
Conclusion
Painting vinyl chair cushions is a fantastic way to breathe new life into your living room furniture and add a personalized touch to your space. With the right materials, preparation, and technique, you can achieve professional-looking results that will impress both yourself and your guests.
Throughout this article, we’ve covered the step-by-step process of painting vinyl chair cushions, from gathering the necessary materials to reassembling the chair. By following these guidelines, you can transform your worn-out cushions into vibrant and customized pieces that perfectly complement your decor.
Remember to prepare the cushions thoroughly by cleaning and sanding the surface before applying the primer. Take your time to achieve smooth and even coats of paint, allowing each layer to dry completely before applying the next. Applying a protective coat will further enhance the durability and longevity of your newly painted cushions.
To maintain the beauty of your painted vinyl chair cushions, regularly clean them with mild soap and water, wipe up spills promptly, and protect them from prolonged exposure to direct sunlight. Taking these simple steps will help preserve the vibrant color and extend the life of your painted cushions.
So, why wait? Grab your painting supplies and give your vinyl chair cushions a fresh makeover. Let your creativity shine as you transform your living room furniture and create a space that truly reflects your personal style!
Frequently Asked Questions about How To Paint Vinyl Chair Cushions
Was this page helpful?
At Storables.com, we guarantee accurate and reliable information. Our content, validated by Expert Board Contributors, is crafted following stringent Editorial Policies. We're committed to providing you with well-researched, expert-backed insights for all your informational needs.
0 thoughts on “How To Paint Vinyl Chair Cushions”