Home>Furniture>Living Room Furniture>How To Build Cushions For Rocking Chairs
Living Room Furniture
How To Build Cushions For Rocking Chairs
Modified: March 16, 2024
Find out how to build cushions for rocking chairs and enhance your living room furniture. Create a comfortable and stylish seating experience with our step-by-step guide.
(Many of the links in this article redirect to a specific reviewed product. Your purchase of these products through affiliate links helps to generate commission for Storables.com, at no extra cost. Learn more)
Introduction
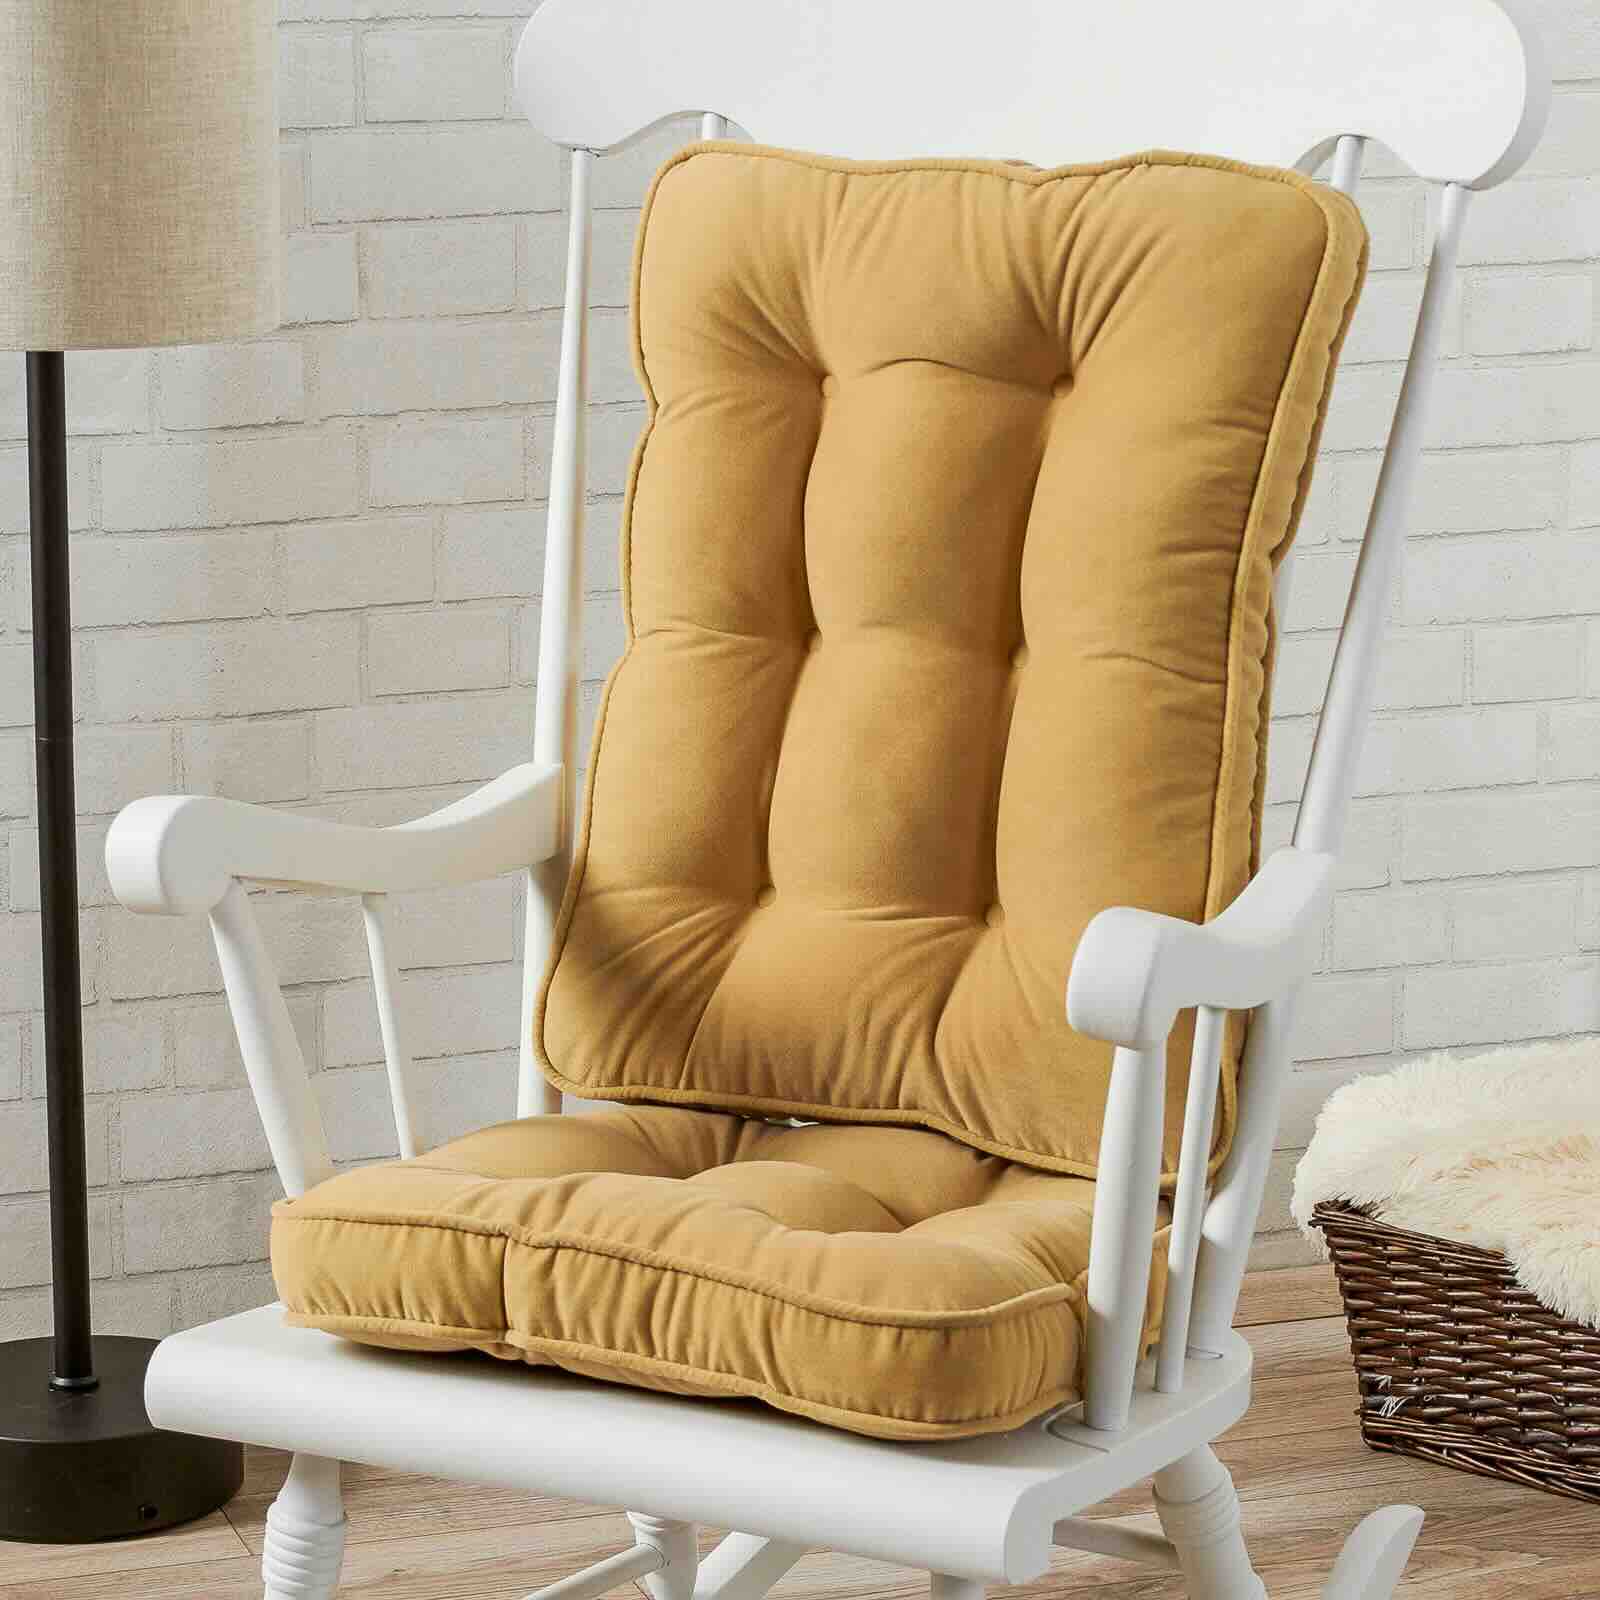
Welcome to our comprehensive guide on how to build cushions for rocking chairs. Adding cushions to your rocking chair can not only enhance its comfort but also give it a fresh and stylish look. Whether you want to replace old cushions or create custom ones for a newly purchased rocking chair, this step-by-step tutorial will help you achieve the perfect fit and design.
Building cushions for rocking chairs requires some basic sewing skills and the right materials. In this article, we’ll walk you through the process, from measuring the chair to attaching the cushions securely. So, gather your materials and let’s get started!
Key Takeaways:
- Building cushions for rocking chairs is a fun DIY project that requires measuring, sewing, and adding ties or Velcro. It’s a great way to personalize your rocking chair for a more comfortable and stylish experience.
- Choosing the right fabric and cutting the foam are crucial steps in creating comfortable and durable cushions for your rocking chair. With the right materials and tools, you can enjoy a cozy and personalized seating solution.
Read more: How To Build Chair Cushions
Materials and Tools Needed
Before you begin the cushion building process, it’s important to gather all the necessary materials and tools. Here’s a list of what you’ll need:
- Fabric: Choose a durable and comfortable fabric that matches your personal style and complements the rocking chair. Consider the size of the chair and the thickness of the cushion when determining the amount of fabric needed.
- Foam: Select high-quality foam that is appropriate for seat cushions. Measure the dimensions of your chair to determine the required foam thickness and size.
- Thread: Opt for a strong thread in a color that complements or matches the fabric you’ve chosen.
- Scissors: Sharp fabric scissors are essential for cutting the fabric and foam smoothly.
- Pins: Use sewing pins to hold the fabric in place while sewing.
- Measuring Tape: Accurate measurements are crucial for a perfectly fitting cushion, so a measuring tape is a must-have tool.
- Sewing Machine: While it is possible to sew the cushion covers by hand, a sewing machine will make the process faster and easier.
- Iron and Ironing Board: To ensure neat and crisp seams, an iron and ironing board are essential for pressing the fabric.
- Velcro or Ties: Depending on your preference, you can choose to use velcro or fabric ties for attaching the cushion to the rocking chair.
Gather these materials and tools before you begin, and make sure to have a clean and well-lit workspace to work comfortably. Now that you’re prepared, let’s move on to the first step: measuring the rocking chair!
Step 1: Measuring the Rocking Chair
Before you start building the cushions, it’s crucial to accurately measure your rocking chair. Proper measurements will ensure that the cushions fit perfectly and provide optimal comfort. Here’s how you can measure your rocking chair:
- Seat Dimensions: Measure the length and width of the seat. Use the measuring tape to take precise measurements from the inner edges of the seat. Take note of these measurements as you’ll need them when cutting the foam and fabric.
- Backrest Height: Measure the height of the backrest from the seat to the top. This will help you determine the height and size of the backrest cushion.
- Armrest Length: If your rocking chair has armrests, measure the length of each armrest from the seat to the end. This will help you decide if you want separate armrest cushions.
- Curves and Contours: As rocking chairs often have curved or contoured surfaces, it’s essential to measure and note any curves or contours that you want to consider when cutting the fabric. Use a flexible measuring tape or string to trace the curves and record these measurements.
Take your time during this step to ensure accuracy. Double-check your measurements to avoid any mistakes that could lead to ill-fitting cushions. Once you have all the necessary measurements, you’re ready to move on to the next step: choosing the fabric!
Step 2: Choosing the Fabric
When it comes to selecting the fabric for your rocking chair cushions, there are a few factors to consider. You want to choose a fabric that is both durable and comfortable, as it will need to withstand regular use while providing a pleasant seating experience. Here are some tips for choosing the right fabric:
- Durability: Opt for a fabric that can withstand wear and tear. Look for materials that are specifically designed for upholstery and have a high rub count. Fabrics with a higher rub count are more durable and will last longer.
- Comfort: Consider the comfort level of the fabric. You want a material that feels soft and cozy against the skin. Fabrics like cotton, linen, or microfiber are excellent choices for comfortable seating.
- Style and Design: Choose a fabric that complements the overall aesthetic of your rocking chair and the room it’s in. Consider the color, pattern, and texture of the fabric to ensure it blends well with the existing decor.
- Ease of Maintenance: Look for fabrics that are easy to clean and maintain. Opt for materials that are stain-resistant or can be spot-cleaned easily. This will make it convenient to keep your cushions looking fresh and clean.
Once you have determined the type of fabric you prefer, you can visit a local fabric store or browse online to find the perfect option. Remember to measure the required yardage based on the dimensions of your rocking chair and the number of cushions you plan to make.
With the fabric chosen, you’re ready to move on to the next step: cutting the foam.
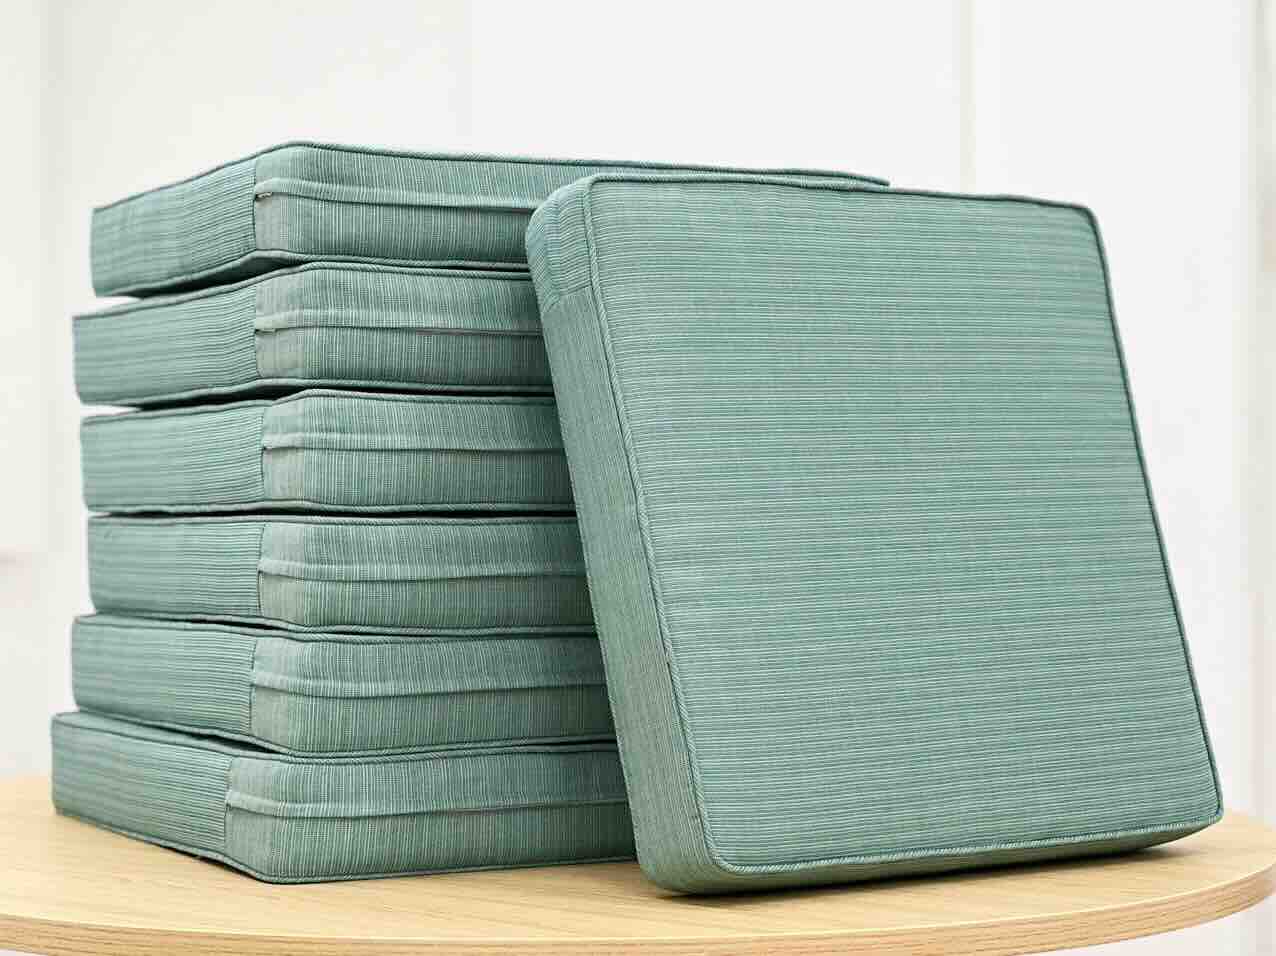
Step 3: Cutting the Foam
Now that you have your measurements and fabric ready, it’s time to cut the foam for your rocking chair cushions. The foam will provide the necessary support and comfort for a pleasant seating experience. Follow these steps to cut the foam:
- Place the foam on a clean and flat surface. Use a measuring tape to mark the dimensions of the seat, backrest, and armrests (if applicable) on the foam.
- Using a straightedge or a long ruler, connect the marked points to create straight lines on the foam.
- Carefully cut along the marked lines using a sharp utility knife or an electric foam cutter. Take your time and use smooth, even cuts to ensure clean edges.
- If your rocking chair has curved or contoured surfaces, use a pencil or marker to trace the curves onto the foam. Then, carefully cut along the traced lines, ensuring that the foam fits snugly against the chair’s curves.
When cutting the foam, be mindful of safety precautions and use proper tools. It’s also a good idea to cut the foam slightly larger than your measurements. This will allow for a snug fit and prevent the cushion from feeling too tight once it’s covered with fabric.
With the foam cut to the correct dimensions, you’re now ready for the next step: sewing the cushion cover.
When building cushions for rocking chairs, make sure to use durable and weather-resistant fabric to withstand outdoor elements. Additionally, consider adding ties or Velcro to secure the cushions to the chair for stability and safety.
Read also: 12 Best Rocking Chair Cushions For 2024
Step 4: Sewing the Cushion Cover
Now that you have your fabric and foam ready, it’s time to sew the cushion cover for your rocking chair. A well-made cover will not only provide a polished look but also ensure the longevity of your cushions. Follow these steps to sew the cushion cover:
- Measure and cut the fabric according to the dimensions of your foam, adding an extra 1 inch on each side for seam allowances.
- Place the fabric pieces with their right sides facing each other and pin them together along the edges. This will prevent the fabric from shifting during the sewing process.
- Using a sewing machine or hand sewing needle, sew the pinned edges together, leaving one side open for inserting the foam. Be sure to sew with a straight stitch and reinforce the corners for added durability.
- Once the edges are sewn, remove the pins and turn the cover right side out. Gently push out the corners to ensure a crisp appearance.
- Slide the foam into the cover through the open side. Adjust the foam as needed to ensure a snug fit inside the cover.
- Hand stitch the open side of the cushion cover using a ladder stitch or any other invisible stitching method. This will securely close the cover and give it a professional finish.
Take your time during the sewing process to ensure neat and precise stitches. If you’re unfamiliar with sewing, consider seeking guidance from tutorials or enlisting the help of an experienced seamstress.
With the cushion cover sewn, you’re now ready for the next step: adding ties or Velcro for secure attachment.
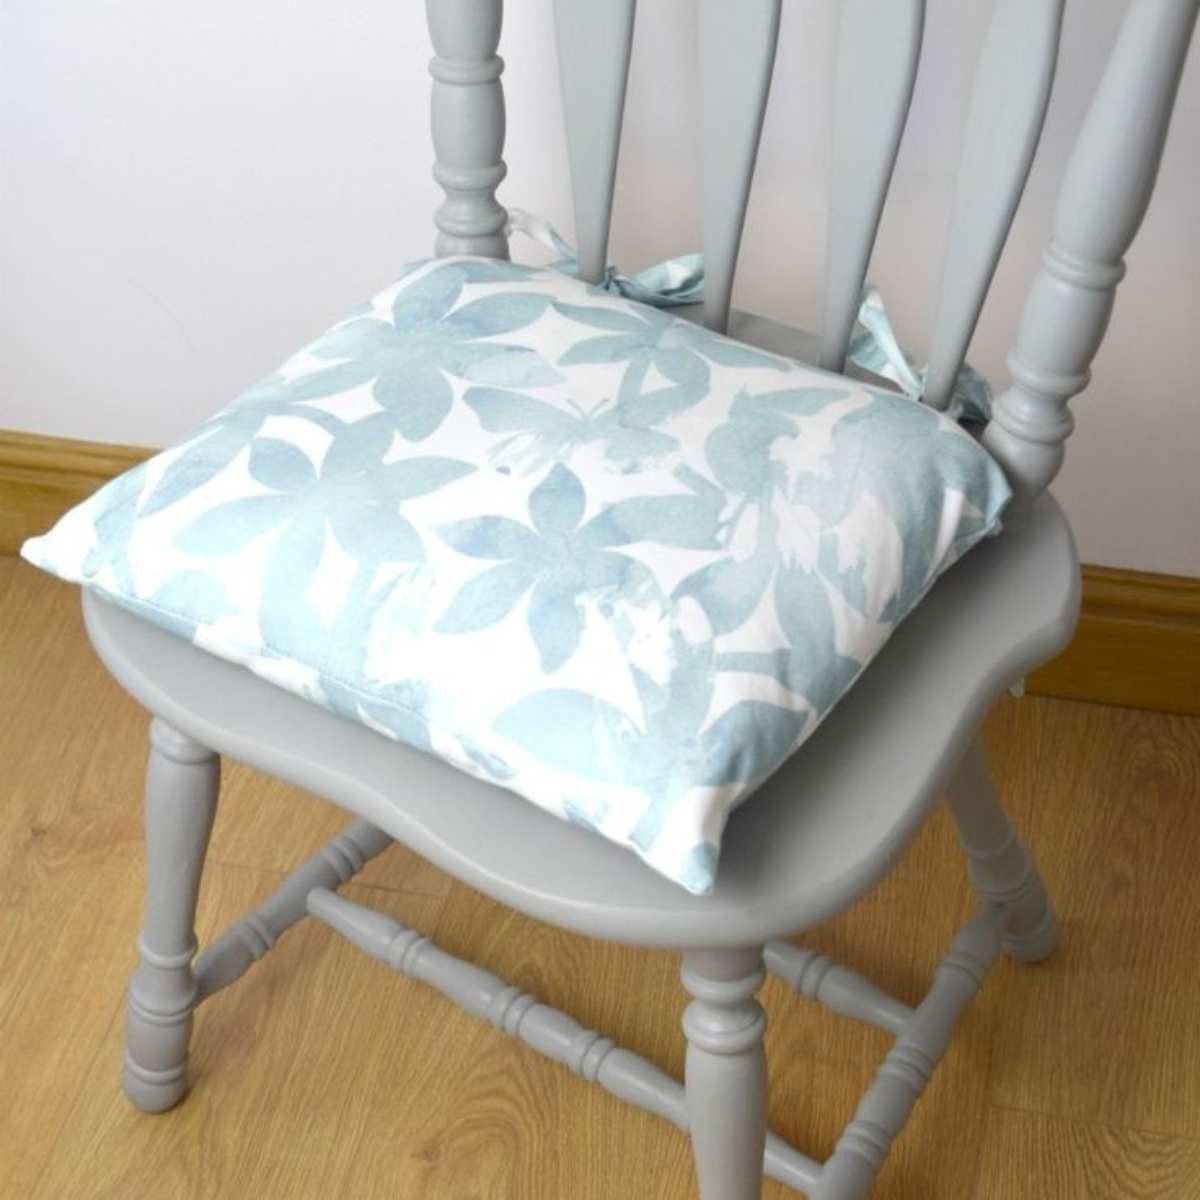
Step 5: Adding Ties or Velcro
Adding ties or Velcro to your rocking chair cushions is essential for keeping them securely in place while you enjoy a relaxing rocking experience. This step will ensure that the cushions stay in position and prevent them from slipping or sliding off the chair. Follow these steps to add ties or Velcro:
- If you choose to use ties, cut several fabric strips that are about 8 to 10 inches long and 1 inch wide. You’ll need enough strips to attach one on each corner of the cushion.
- If you prefer Velcro, cut two strips of Velcro that are approximately 2 to 3 inches long. One strip will be attached to the cushion, and the other strip will be attached to the rocking chair.
- For ties: Fold each fabric strip in half lengthwise, with the right sides facing out. Sew along the long edge of each strip, leaving both ends open. Then, turn the strips right side out using a pencil or turning tool.
- For Velcro: Sew one side of the Velcro strip onto the corner of the cushion cover where the ties would be attached. Sew the other side of the Velcro strip onto the corresponding spot on the rocking chair where the cushion will be placed.
- If using ties, hand stitch or machine stitch one end of each tie to the corners of the cushion cover. Ensure that the ties are securely attached and evenly spaced.
- If using Velcro, ensure that the Velcro strips align properly and securely attach the cushion to the rocking chair. This will allow for easy removal and adjustment of the cushions.
Whether you choose ties or Velcro, make sure the attachments are strong and durable for long-lasting use. Consider the aesthetic appeal of the ties or Velcro as well, ensuring they complement the overall look of your rocking chair.
With the ties or Velcro added, you’re now ready for the final step: attaching the cushion to the rocking chair.
Step 6: Attaching the Cushion to the Rocking Chair
Now that your cushion is complete, it’s time to attach it securely to your rocking chair. This step ensures that the cushion stays in place while you rock comfortably. Follow these steps to attach the cushion to the rocking chair:
- Place the cushion on the seat of the rocking chair and adjust it to achieve the desired position.
- If you have ties, tie each one securely to the corresponding part of the rocking chair. Make sure the ties are tightly knotted and placed in a way that stabilizes the cushion.
- If you have Velcro attachments, press the cushion firmly onto the rocking chair, aligning the Velcro strips for a secure grip. The Velcro should hold the cushion in place, preventing any sliding or movement.
- Test the cushion by sitting on the rocking chair and rocking gently. Ensure that the cushion remains in place and provides the desired comfort and support.
- If necessary, make slight adjustments or tighten the attachments to ensure a snug fit. It’s important to have a secure attachment to prevent any accidents or discomfort while using the rocking chair.
After attaching the cushion, take a moment to admire your handiwork. Your rocking chair now has a comfortable and stylish cushion that adds both beauty and functionality. Now you can sit back, relax, and enjoy the cozy rocking experience with your new cushioned seat!
Congratulations on successfully building and attaching your rocking chair cushion. By following these steps, you’ve created a comfortable and personalized seating solution that will enhance your rocking chair for years to come.
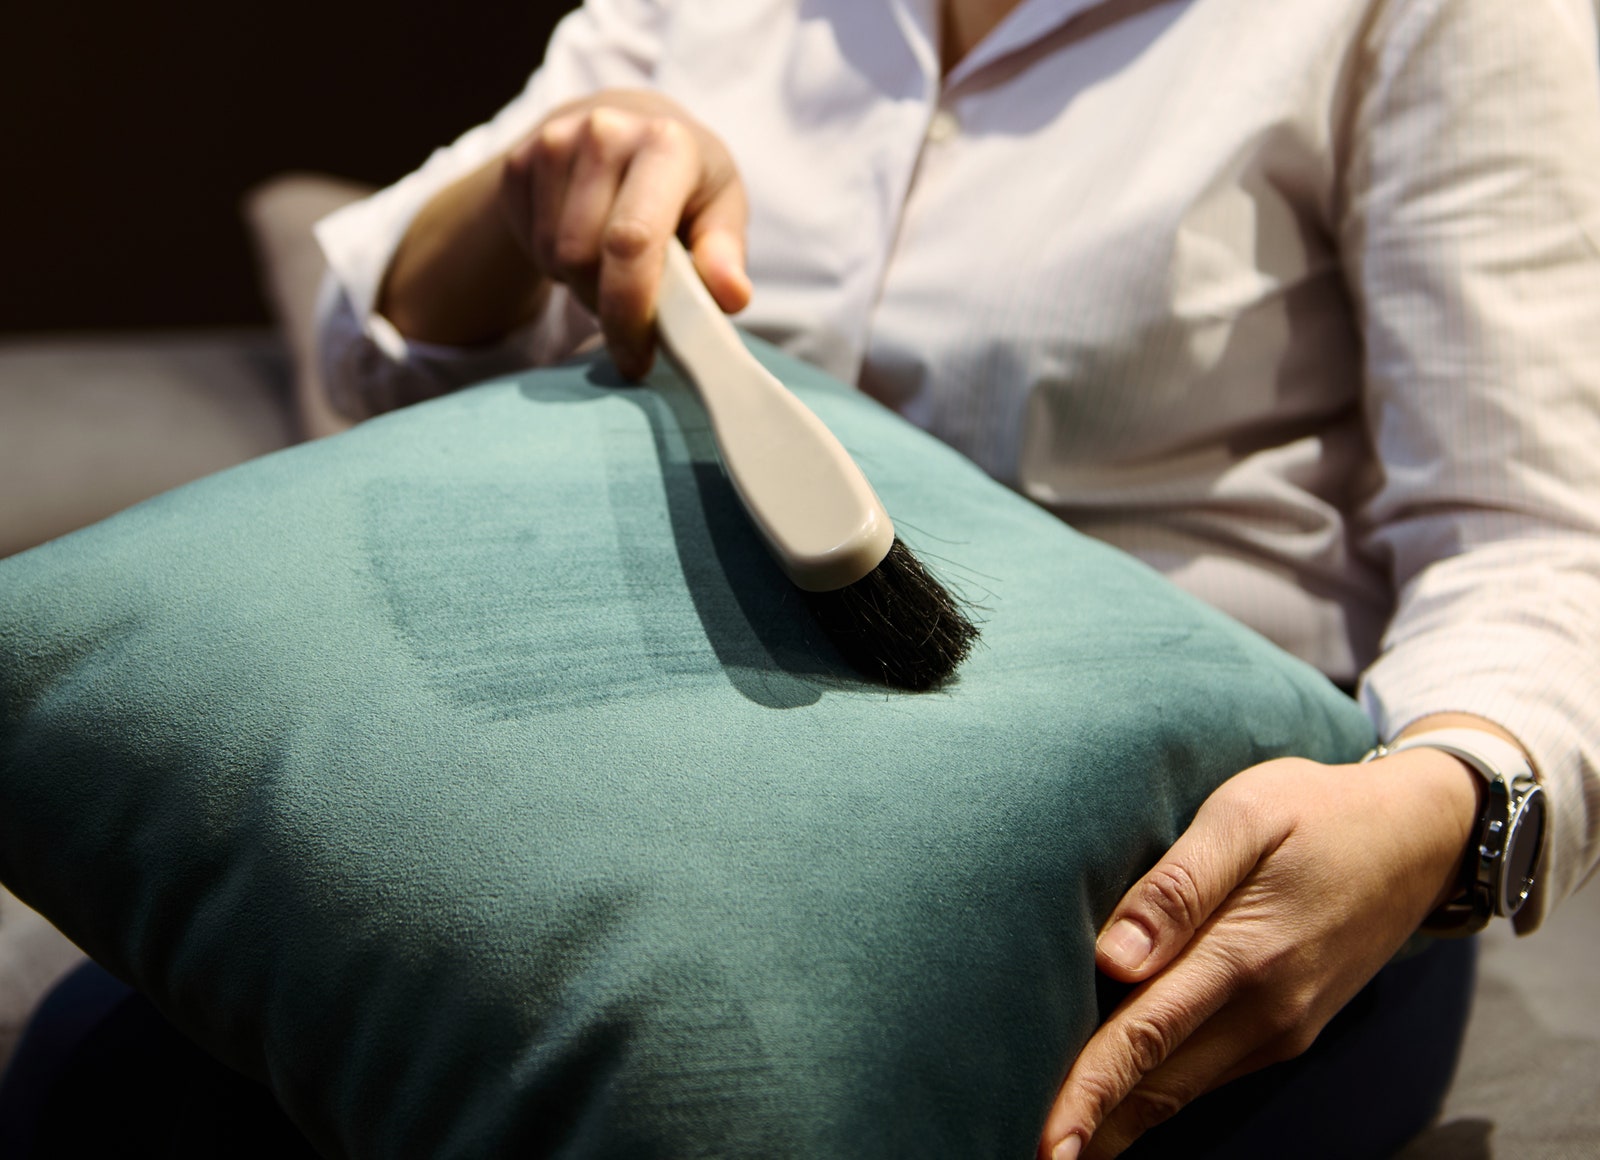
Remember, it’s important to regularly clean and maintain your cushions to preserve their beauty and functionality. Follow the care instructions specific to the fabric you’ve used to ensure longevity.
Thank you for joining us in this step-by-step journey of building cushions for rocking chairs. We hope you’ve found this guide helpful and that your rocking chair now provides the perfect blend of comfort and style!
Conclusion
Building your own cushions for rocking chairs is a fulfilling and rewarding project that allows you to customize your seating experience. By following the steps outlined in this guide, you’ve learned how to measure your rocking chair, choose the right fabric, cut the foam, sew the cushion cover, add ties or Velcro, and attach the cushions securely. With your new cushions in place, you can enjoy a more comfortable and stylish rocking chair experience.
Remember to take your time during each step of the process to ensure accuracy and a professional finish. Pay attention to details such as fabric selection, stitching quality, and secure attachments. This will ensure that your cushions are not only comfortable but also durable and long-lasting.
Additionally, consider maintaining and cleaning your cushions regularly to preserve their appearance and functionality. Consult the care instructions specific to the fabric you’ve chosen, and follow the recommended cleaning guidelines to keep your cushions looking fresh and inviting.
Now that you have the knowledge and skills to build your own cushions for rocking chairs, you can create custom cushions to match your personal style and preferences. Whether you’re replacing old cushions or adding cushions to a new rocking chair, this project allows you to infuse your own creativity and enhance the comfort of your favorite spot for relaxation and contemplation.
We hope you’ve enjoyed this comprehensive guide on how to build cushions for rocking chairs. Now, go ahead and embark on this DIY project, and make your rocking chair even more cozy and inviting!
Frequently Asked Questions about How To Build Cushions For Rocking Chairs
Was this page helpful?
At Storables.com, we guarantee accurate and reliable information. Our content, validated by Expert Board Contributors, is crafted following stringent Editorial Policies. We're committed to providing you with well-researched, expert-backed insights for all your informational needs.


0 thoughts on “How To Build Cushions For Rocking Chairs”