Home>Furniture>Outdoor Furniture>How To Crochet A Stuffed Animal Hammock

Outdoor Furniture
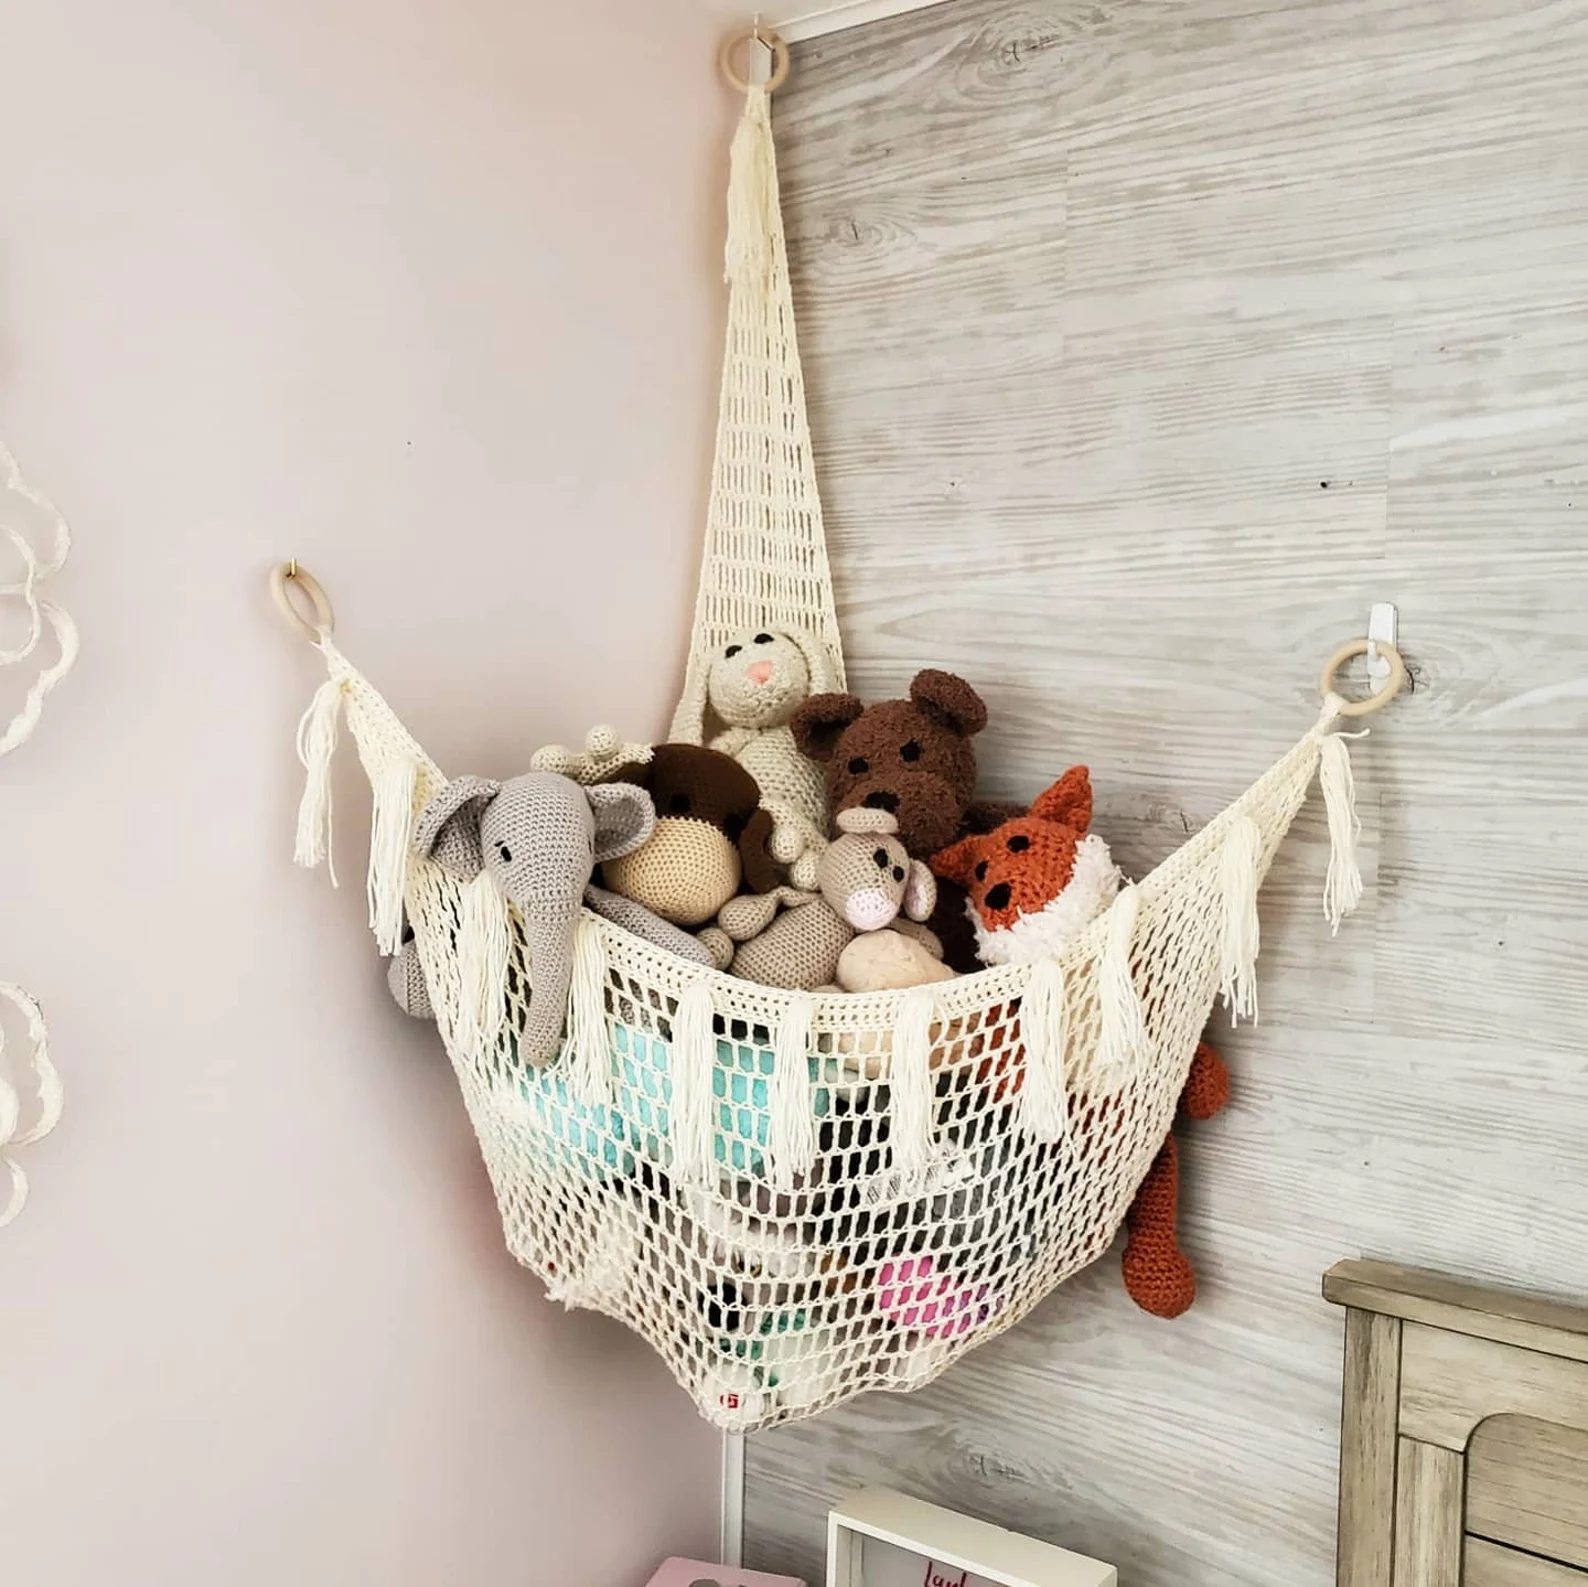
How To Crochet A Stuffed Animal Hammock
Modified: March 16, 2024
Learn how to crochet your own stuffed animal hammock with this easy-to-follow tutorial. Perfect for organizing outdoor furniture and keeping toys off the ground.
(Many of the links in this article redirect to a specific reviewed product. Your purchase of these products through affiliate links helps to generate commission for Storables.com, at no extra cost. Learn more)
Introduction
Welcome to the world of crochet, where you can create beautiful and functional items with just a hook and some yarn. In this tutorial, I will guide you through the process of crocheting a stuffed animal hammock. Whether you want to keep your child’s favorite plush toys organized or add a playful touch to your home decor, a stuffed animal hammock is a fantastic project to try.
Crocheting a stuffed animal hammock is not only a practical solution for controlling toy clutter but also a fun and engaging project for crochet enthusiasts of all skill levels. With just a few basic crochet stitches and some creativity, you can create a unique and eye-catching hammock to display your little one’s beloved soft toys.
Throughout this tutorial, I will share detailed instructions and tips to help you successfully complete your stuffed animal hammock. We will cover everything from selecting the right yarn and crochet hook to creating the foundation chain and finishing the edges. By following these steps, you will have a beautiful and functional hammock ready to display your stuffed animal collection.
So gather your materials and prepare to embark on a crochet adventure. Get ready to dive into the world of stitches and loops as we embark on the journey of creating a stuffed animal hammock. Let’s discover the joy of crocheting and bring organization and charm to your space with this delightful project.
Key Takeaways:
- Crocheting a stuffed animal hammock is a fun and practical project that helps keep toys organized while adding charm to your living space or child’s room. It’s a great way to showcase your creativity and crochet skills.
- Choosing the right yarn and crochet hook, creating a neat foundation chain, working consistent rows, and adding finishing touches are essential steps in creating a sturdy and stylish stuffed animal hammock. Testing the hammock ensures it can securely hold your collection of soft toys.
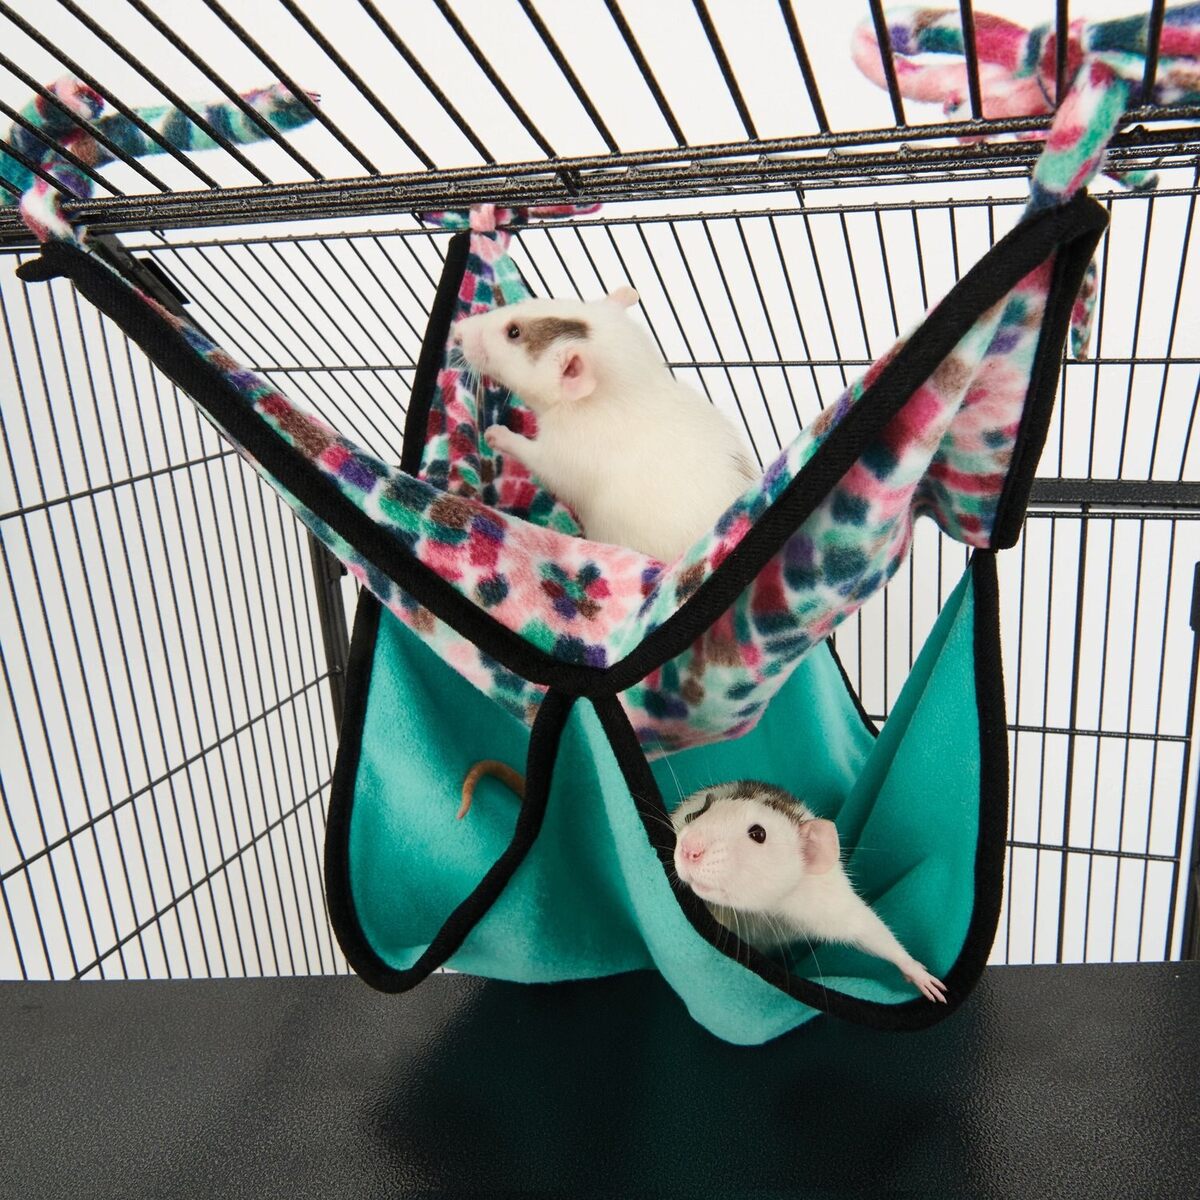
Read more: How To Hang A Stuffed Animal Hammock
Materials Needed
Before we begin crocheting our stuffed animal hammock, let’s gather all the necessary materials. Here’s what you’ll need:
- Yarn: Choose a soft and durable yarn that can withstand the weight of the stuffed animals. Acrylic or cotton yarn works well for this project. Select a color that complements your home decor or matches the theme of your child’s room.
- Crochet Hook: The size of the crochet hook will depend on the thickness of the yarn you’ve chosen. Check the yarn label for the recommended hook size. Generally, a hook size between 4.00mm to 5.50mm (US G/6 to I/9) will work well.
- Scissors: A sharp pair of scissors is essential for cutting the yarn and weaving in the loose ends.
- Tapestry Needle: This needle will be used for weaving in the loose ends of the yarn to give the finished hammock a polished look.
- Measuring Tape or Ruler: You’ll need a measuring tool to ensure the correct size and spacing of the stitches.
- Stitch Markers (optional): Stitch markers can be helpful for keeping track of the beginning and end of each row.
Once you have gathered all the materials, find a comfortable and well-lit workspace where you can focus on your crochet project. Make sure you have enough yarn to complete the desired size of your stuffed animal hammock, as well as extra yarn for any customization you may wish to add.
Now that we have all the necessary materials, let’s dive into the step-by-step process of crocheting a stuffed animal hammock.
Step 1: Choosing the Right Yarn
Choosing the right yarn for your stuffed animal hammock is crucial to ensure the durability and functionality of the finished project. Here are some factors to consider when selecting the yarn:
- Weight and Thickness: The weight and thickness of the yarn will determine the size and strength of your hammock. A heavier weight yarn, such as worsted or bulky, will provide more stability and support for the stuffed animals. However, if you prefer a lighter and more delicate look, a finer weight yarn like sport or DK can be used. Just keep in mind that the thinner the yarn, the more stitches you will need to make to achieve the desired size.
- Fiber Content: Consider the fiber content of the yarn. Acrylic yarn is a popular choice for its softness, durability, and affordability. It is also easy to care for, making it a practical option for a stuffed animal hammock. Alternatively, you can choose cotton yarn for a natural and breathable option.
- Color and Aesthetic: Select a yarn color that complements your home decor or matches the theme of your child’s room. Whether you prefer bright and vibrant tones or soft and muted shades, choose a color that brings joy and adds visual appeal to your space.
- Yardage: Estimate the amount of yarn you need for your desired hammock size. This will depend on the number of stuffed animals you plan to store in the hammock and the distance between the hanging points.
Visit your local yarn store or explore online yarn retailers to find a wide range of options. Read yarn labels to determine the weight, fiber content, yardage, and recommended hook size. Consider purchasing a little extra yarn to account for any customization or adjustments you may want to make later on.
Once you have chosen the perfect yarn for your stuffed animal hammock, you’re ready to move on to the next step: selecting the appropriate crochet hook.
Step 2: Selecting the Appropriate Crochet Hook
Now that you have chosen the perfect yarn for your stuffed animal hammock, it’s time to select the appropriate crochet hook. The size of the crochet hook you use will depend on the thickness of the yarn you’ve chosen. Here are some tips to help you make the right selection:
- Check the Yarn Label: Look at the label of your chosen yarn to find the recommended crochet hook size. It’s essential to use the recommended hook size to achieve the desired gauge and ensure that your stitches are not too loose or too tight.
- Experiment with Hook Sizes: If you don’t have access to the recommended hook size or want to achieve a different tension, you can experiment with different hook sizes. Try using a larger hook size if your stitches are too tight, or a smaller hook size if your stitches are too loose.
- Consider Your Crochet Style: Your crochet style can also influence your choice of hook size. Some crocheters naturally have a looser or tighter tension, so your individual crocheting technique may require you to use a slightly different hook size.
- Comfort and Ease of Use: Choose a crochet hook that feels comfortable in your hand and allows for smooth and effortless stitching. A hook with a comfortable grip can reduce hand fatigue and make the crocheting process more enjoyable.
It’s important to note that the hook size you choose will impact the size and drape of your stuffed animal hammock. A larger hook will create larger stitches and a more open fabric, while a smaller hook will result in smaller stitches and a denser fabric. Adjust the hook size based on the look and functionality you want to achieve for your hammock.
Once you’ve selected the appropriate crochet hook, you’re ready to move on to the next step: creating the foundation chain.
Step 3: Creating the Foundation Chain
Now that you have your yarn and crochet hook ready, it’s time to create the foundation chain for your stuffed animal hammock. The foundation chain serves as the base for your crochet stitches and determines the width of your hammock.
- Make a Slipknot: Start by making a slipknot at the end of your yarn. Simply create a loop with the yarn, insert the hook through the loop, and pull the working end of the yarn to tighten the knot around the hook. This slipknot will act as the first stitch of your foundation chain.
- Create the First Chain Stitch: Holding the slipknot with your non-dominant hand, wrap the yarn over the hook from back to front. Yarn over and pull the loop through the slipknot, creating your first chain stitch. Continue making chain stitches by repeating this process until you reach your desired width for the hammock. Use a measuring tape or ruler to ensure consistent chain stitch sizes.
- Count Your Chains: Once you have completed the foundation chain, count the number of chains you have made. This count will determine the number of stitches you will work in subsequent rows.
Remember to keep the foundation chain loose enough to allow for easy insertion of the hook in the following rows. If your chain is too tight, it may be difficult to work stitches into it.
Creating the foundation chain is an important step in establishing the size and structure of your stuffed animal hammock. Take your time and ensure that your chain is neat, even, and straight.
Now that you have created the foundation chain, you’re ready to move on to the next step: working the first row of stitches.
Read also: 14 Amazing Stuffed Animal Hammock For 2024
Step 4: Working the First Row
With the foundation chain complete, it’s time to start working the first row of stitches in your stuffed animal hammock. This row will set the foundation for the body of the hammock and establish the pattern for the subsequent rows.
- Insert the Hook: Starting from the second chain from the hook (not counting the loop on the hook), insert your crochet hook under the top loop of the chain.
- Yarn Over and Pull Through: Yarn over by wrapping the yarn from back to front over the hook. Then, pull the wrapped yarn through the chain stitch, creating a loop on the hook.
- Repeat the Process: Continue inserting the hook into the next chain stitch, yarn over, and pull through to create a loop on the hook. Repeat this process for each chain stitch across the row until you reach the end.
- Number of Stitches: At the end of the first row, count the number of stitches you have made. This count will determine the number of stitches you will work in each subsequent row.
Ensure that each stitch is worked into a single chain stitch, creating a neat and uniform row. Take your time and keep the tension consistent throughout the first row. If your stitches are too tight, the fabric may become stiff and inflexible. If they are too loose, the fabric may become too loose and flimsy.
By the end of the first row, you will start to see the body of your stuffed animal hammock take shape. The number of stitches worked in this row will determine the width of your hammock.
Now that you have successfully completed the first row, it’s time to move on to the next step: building the body of the hammock.
When crocheting a stuffed animal hammock, use a smaller hook size to create a tighter fabric that will securely hold the toys. This will prevent the toys from falling through the holes in the hammock.
Step 5: Building the Body of the Hammock
Now that you have completed the first row of stitches, it’s time to build the body of your stuffed animal hammock. This step involves repeating a specific pattern of stitches to create the height and structure of the hammock.
- Chain Stitch (Optional): Before starting the next row, you can begin with a chain stitch to act as the first stitch of the row. This chain stitch will count as the first stitch of the row.
- Stitch Pattern: Determine the stitch pattern you want to use for the body of your hammock. Some popular stitch patterns for hammocks include single crochet, half double crochet, or double crochet. Choose a stitch that provides enough stability and support for holding the stuffed animals while also allowing for drape and flexibility.
- Work the Stitches: Begin working the stitches according to the chosen stitch pattern. Insert the hook into the designated stitch of the previous row, yarn over, and pull through to create a loop on the hook. Continue working the stitches across the row, following the pattern and maintaining consistency in your tension.
- Repeat the Rows: Continue to repeat the stitch pattern for subsequent rows until your hammock reaches the desired length. Keep track of the number of rows you have worked to maintain uniformity and consistency in the size and shape of your hammock.
As you build the body of the hammock, take care to ensure that your stitches are even and consistent. This consistency will contribute to the stability and aesthetic appeal of the finished hammock. As you work each row, you will begin to see the fabric of your hammock grow and take shape.
Remember to periodically measure the length of your hammock to ensure that it is reaching the desired size. If needed, you can adjust the number of rows you work to customize the length to your preference.
Now that you’ve learned how to build the body of your stuffed animal hammock, it’s time to move on to the next step: finishing the edges.
Step 6: Finishing the Edges
As you near the completion of your stuffed animal hammock, it’s important to give the edges a polished and finished look. This step involves adding a border or edging to the top and bottom edges of the hammock to prevent fraying and provide a decorative touch.
- Select the Edging Technique: There are several edging techniques you can choose from, such as single crochet, slip stitch, or picot stitch. Select a technique that complements the stitch pattern used in the body of the hammock and enhances its overall appearance.
- Starting at one end of the hammock, insert your hook into the first stitch or chain space along the edge.
- Work the Edging Stitch: Follow the chosen edging technique to work the stitches along the edge. This may involve working the stitches directly into the fabric or into the chain spaces. Continue working the edging stitches evenly along the entire perimeter of the hammock.
- Finalize the Edging: When you reach the end of the edge, fasten off the yarn by cutting it, leaving a tail of a few inches. Use a tapestry needle to weave in the loose ends into the stitches to secure them and prevent unraveling.
- Repeat for Other Edges: Repeat the same process for the opposite edge of the hammock, ensuring consistency in the chosen edging technique.
The choice of edging technique and the yarn color used for the edging can add a beautiful finishing touch to your stuffed animal hammock. Consider using a contrasting color or a complementary shade to highlight the edges and make them stand out.
Finishing the edges not only enhances the appearance of the hammock but also strengthens the overall structure, ensuring that it can securely hold the weight of the stuffed animals without fraying or unraveling.
Now that you have finished the edges of your stuffed animal hammock, it’s time to move on to the next step: adding hanging loops.
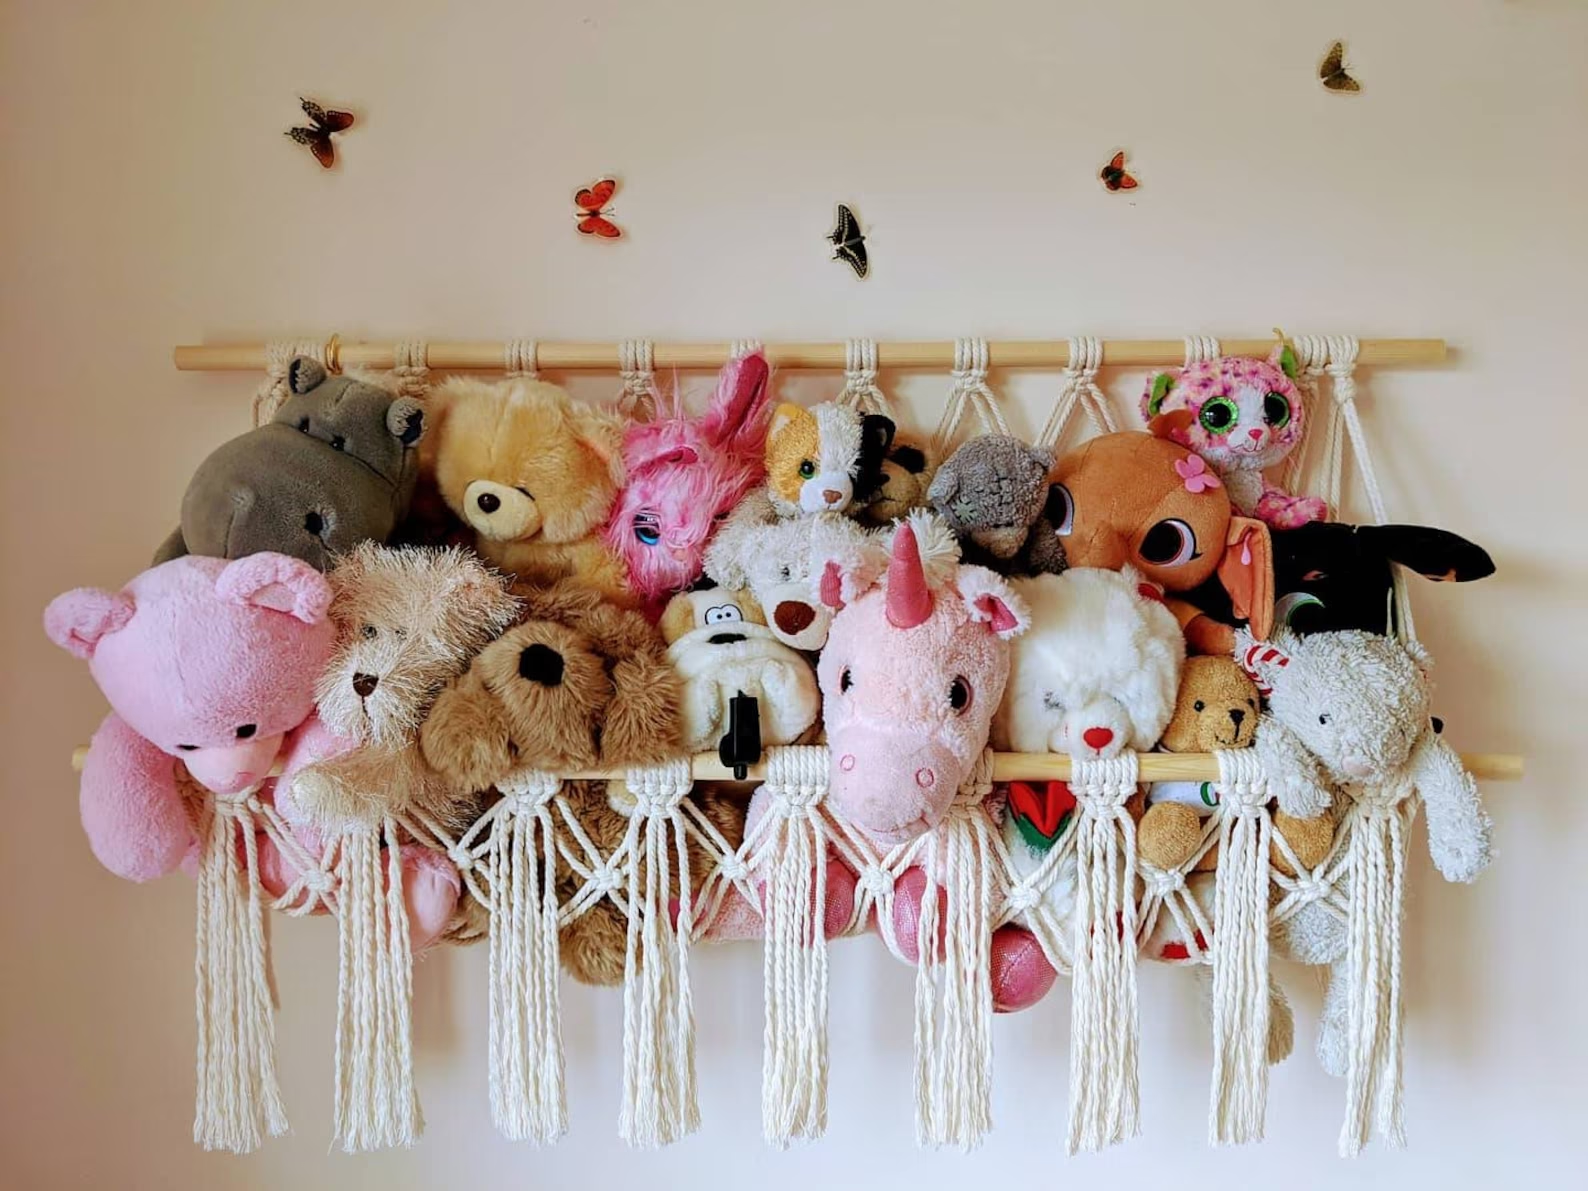
Step 7: Adding Hanging Loops
Adding hanging loops to your stuffed animal hammock is an important step to ensure that it can be securely attached to a wall or ceiling. These loops will provide the support needed to hold the weight of the stuffed animals and keep the hammock in place. Here’s how you can add hanging loops to your hammock:
- Decide on the Number of Loops: Determine how many hanging loops you want to add to your hammock. This will depend on the desired level of support and the size of your hammock.
- Choose the Placement: Decide where you want to position the hanging loops along the top edge of the hammock. Spacing them evenly will help distribute the weight of the stuffed animals and maintain balance.
- Measure and Mark: Use a measuring tape or ruler to measure and mark the positions for the hanging loops. Make sure the marks align with the desired placement on both sides of the hammock.
- Create the Hanging Loops: To create each hanging loop, cut a length of yarn or ribbon, approximately 8 to 12 inches long, depending on the desired length of the loop. Fold the length in half to form a loop, and insert both ends through the marked stitch or space.
- Secure the Loops: Take the loose ends of the loop and pass them through the loop itself, creating a knot or loop that is secure but allows for adjustment if needed. Repeat this process for each marked position on the top edge of the hammock.
Ensure that the hanging loops are securely attached to the hammock, as they will bear the weight of the stuffed animals. Give each loop a gentle tug to check its strength and stability before hanging the hammock.
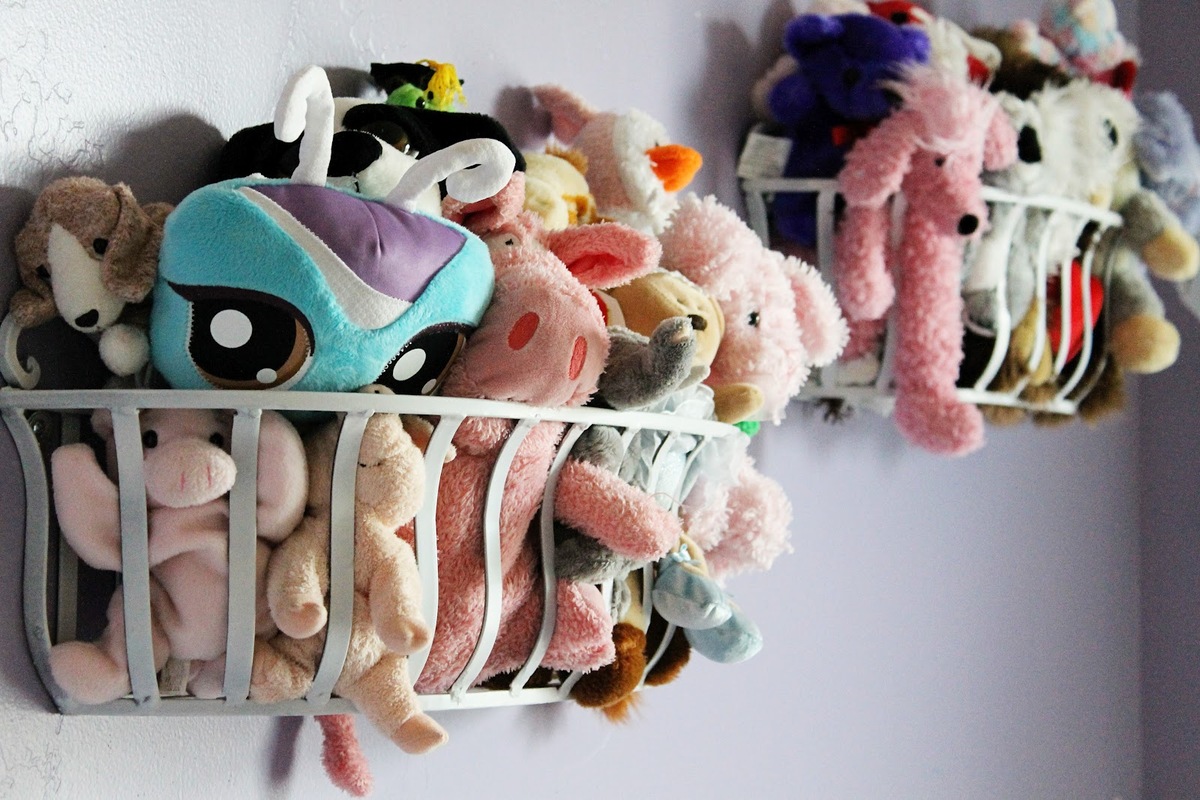
By adding hanging loops to your stuffed animal hammock, you will have a convenient and reliable method to display and store your collection of toys. The loops will enable you to easily hang the hammock in a suitable location.
Now that you’ve added the hanging loops to your stuffed animal hammock, let’s move on to the final step: testing the hammock.
Read more: How To Store Stuffed Animals
Step 8: Testing the Hammock
After completing all the previous steps, it’s time to test your stuffed animal hammock to ensure it is sturdy and functional. This final step will give you peace of mind knowing that your hammock is ready to securely hold your collection of soft toys. Here’s what you need to do:
- Gather Stuffed Animals: Collect a selection of stuffed animals that you plan to store in the hammock.
- Hang the Hammock: Find a suitable location to hang the hammock, such as a wall, ceiling, or sturdy hooks. Use the hanging loops to attach the hammock securely at your desired height.
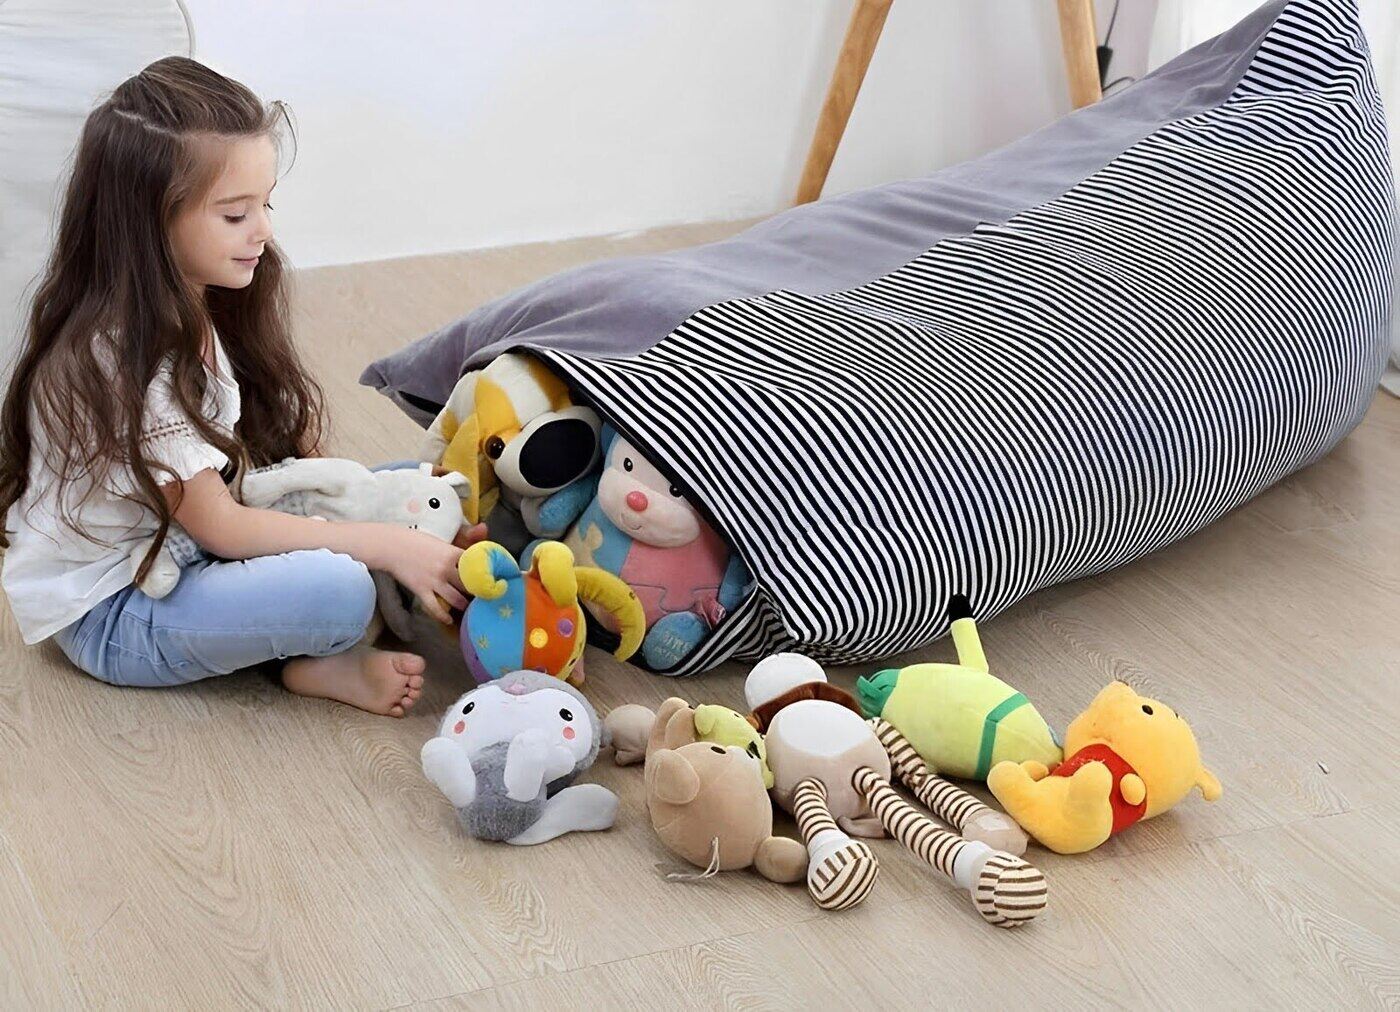
- Add Stuffed Animals: Carefully place the stuffed animals one by one into the hammock, distributing their weight evenly. Make sure not to overload the hammock beyond its recommended capacity.
- Observe and Adjust: Step back and observe the hammock for any signs of sagging or strain. If needed, make adjustments to the hanging height or redistribute the stuffed animals to improve the balance and appearance of the hammock.
Testing the hammock will allow you to assess its strength and capacity. It’s essential to ensure that the hammock is securely attached and properly supports the weight of the stuffed animals.
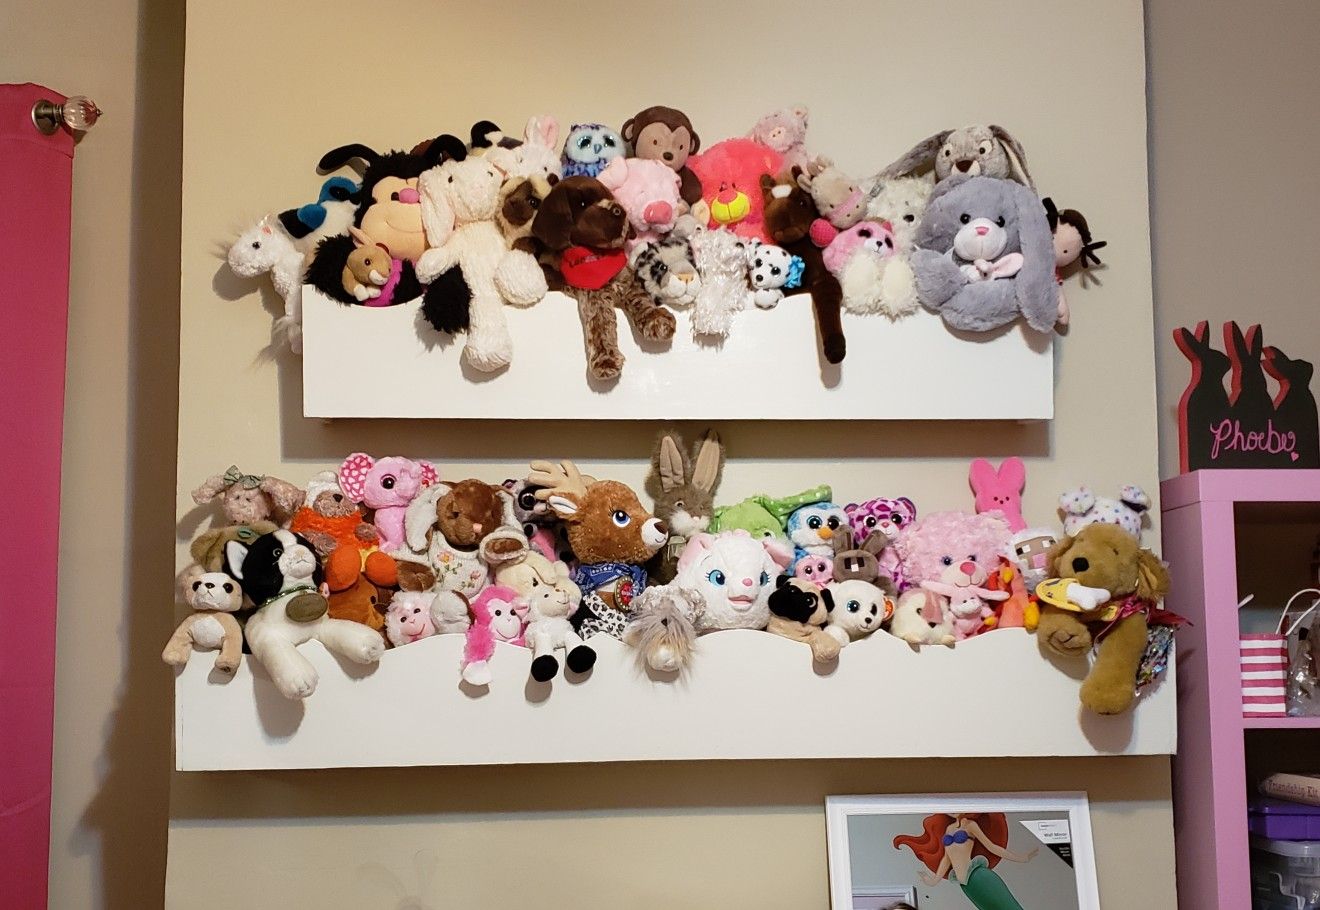
By following this final step, you can confidently display your stuffed animals in the hammock, creating an organized and visually appealing storage solution. Your little ones will love seeing their beloved toys suspended in the hammock and easily accessible whenever they want to play.
Congratulations on successfully completing all the steps and creating your very own stuffed animal hammock! You have demonstrated your crochet skills and creativity in turning a simple yarn and hook into a functional and attractive storage solution.
With the hammock now hanging in its designated spot and filled with your stuffed animals, step back and admire your handiwork. Enjoy the organized and delightful addition to your living space or your child’s room.
Now that you have completed testing the hammock, it’s time to wrap up this project. Remember, crocheting is a versatile and rewarding craft that offers endless possibilities for creating beautiful and functional items.
Happy crocheting and enjoy the satisfaction of your finished stuffed animal hammock!
Conclusion
Congratulations! You have successfully learned how to crochet a stuffed animal hammock from start to finish. This fun and practical project have transformed a simple ball of yarn into a functional and stylish storage solution for your stuffed animal collection. Through each step, you have honed your crochet skills and created a beautiful piece that adds charm to your living space or your child’s room.
By choosing the right yarn and crochet hook, creating a foundation chain, working the rows, adding finishing touches, and testing the hammock, you have gone through a comprehensive process that ensures the durability and functionality of your creation. The careful selection of materials, attention to stitching details, and the addition of hanging loops all contribute to the overall success of your stuffed animal hammock.
Not only does your stuffed animal hammock provide a clever storage solution that keeps toys organized, but it also adds a delightful touch to any space. The artistry and craftsmanship showcased in your crochet work make the hammock a unique and personalized creation that reflects your creativity.
Remember that crocheting offers boundless possibilities for further customization and embellishment. You can experiment with different stitch patterns, incorporate colors, or even add additional decorative elements such as tassels or appliques to make your hammock truly one-of-a-kind.
Whether you’ve completed this project as a seasoned crochet enthusiast or as a beginner exploring the craft for the first time, the skills and techniques you’ve learned here will serve as a solid foundation for future crochet endeavors. Don’t be afraid to explore other crochet projects and continue expanding your skills.
Thank you for joining us on this crochet adventure. We hope that this stuffed animal hammock will bring joy and organization to your space, while also igniting a passion for the art of crochet. Happy crocheting!
Frequently Asked Questions about How To Crochet A Stuffed Animal Hammock
Was this page helpful?
At Storables.com, we guarantee accurate and reliable information. Our content, validated by Expert Board Contributors, is crafted following stringent Editorial Policies. We're committed to providing you with well-researched, expert-backed insights for all your informational needs.

0 thoughts on “How To Crochet A Stuffed Animal Hammock”