Home>Garden Essentials>How To Lay Landscaping Block
Garden Essentials
How To Lay Landscaping Block
Modified: August 17, 2024
Learn how to lay landscaping blocks and create a beautiful garden with our step-by-step guide. Enhance your outdoor space with this DIY project today!
(Many of the links in this article redirect to a specific reviewed product. Your purchase of these products through affiliate links helps to generate commission for Storables.com, at no extra cost. Learn more)
Introduction
Welcome to the world of landscaping blocks! If you're looking to transform your outdoor space and create a beautiful and functional garden, landscaping blocks are an excellent option. These versatile blocks can be used for a variety of projects, such as building retaining walls, creating raised flower beds, or constructing pathways.
In this article, we will guide you through the process of laying landscaping blocks, from choosing the right blocks to adding the finishing touches. Whether you're a beginner or have some experience in DIY projects, this step-by-step guide will help you create a stunning landscape that reflects your personal style and enhances the overall appeal of your property.
Before we dive into the details, it's important to remember that safety should always be a top priority. Make sure to wear appropriate protective gear, such as gloves and safety glasses, and use caution when handling heavy materials. If you're unsure about any step of the process, consult with a professional or seek guidance from a reputable source.
Now, let's get started on your journey to creating a beautiful outdoor oasis with landscaping blocks!
Key Takeaways:
- Choose landscaping blocks based on material, size, color, and texture to match your garden’s style and ensure durability and affordability.
- Prepare the area, level the ground, and use proper tools to lay a stable foundation before setting and aligning the blocks for a visually pleasing and sturdy structure.
Read more: How To Lay Landscaping Fabric
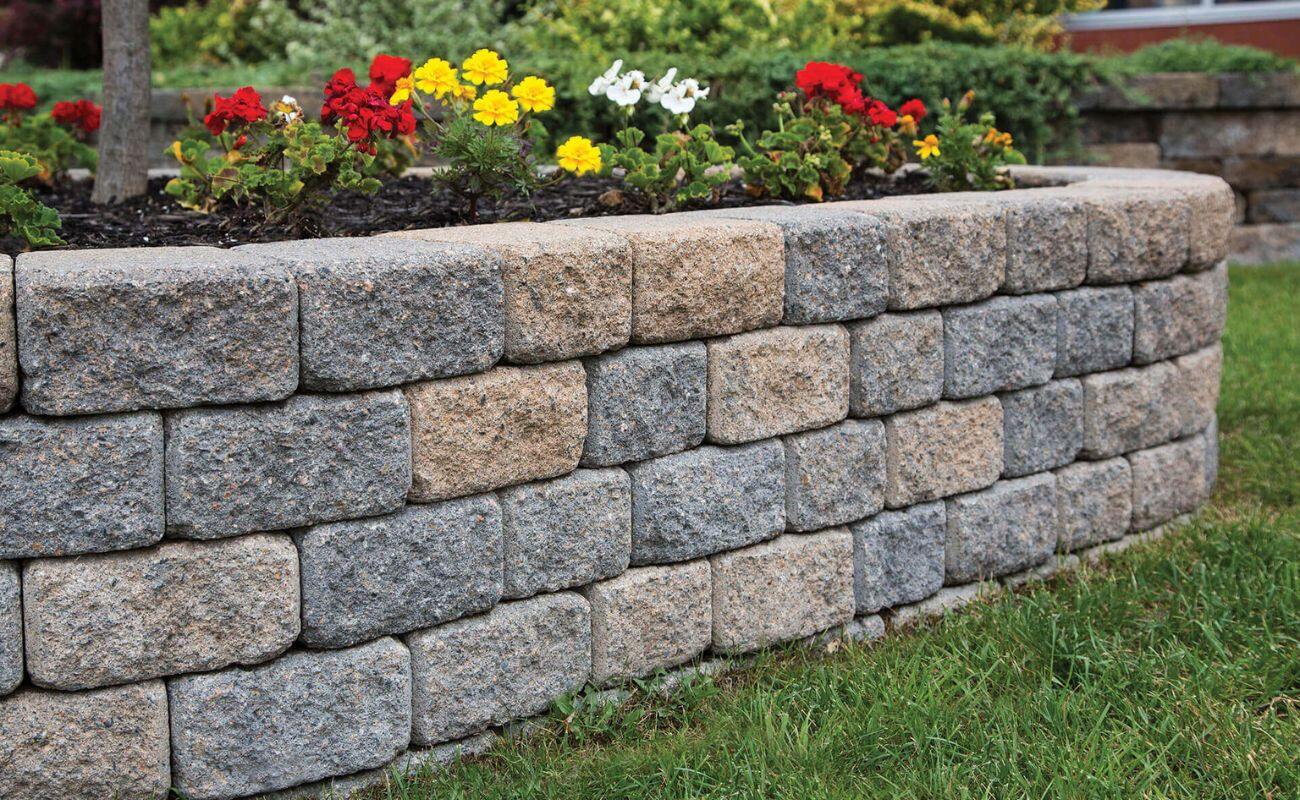
Choosing the Right Landscaping Blocks
When it comes to choosing the right landscaping blocks for your project, there are a few key factors to consider. The type of blocks you select will not only impact the aesthetic appeal of your garden but also its durability and functionality. Here are some points to keep in mind:
- Material: Landscaping blocks can be made from various materials, including concrete, stone, and brick. Concrete blocks are commonly used due to their affordability, durability, and ease of installation. Stone blocks provide a natural and timeless look, while brick blocks add a classic and elegant touch. Consider the overall style and theme of your garden when selecting the material.
- Size and Shape: Landscaping blocks are available in different sizes and shapes to suit different projects. Larger blocks are often used for retaining walls, while smaller blocks are suitable for creating pathways and flower beds. The shape of the blocks can also vary, from rectangular to interlocking designs. Choose a size and shape that complements the scale of your project.
- Color: The color of the landscaping blocks can greatly impact the visual appeal of your garden. Concrete blocks are typically available in a range of colors, allowing you to customize the look of your outdoor space. Consider the existing color palette of your garden and choose a block color that harmonizes with the surroundings.
- Texture: The texture of the blocks can add depth and visual interest to your garden design. Smooth blocks offer a clean and contemporary look, while textured or rough blocks provide a more rustic and natural appearance. Consider the overall style you want to achieve and choose a texture that complements it.
- Budget: Finally, it's essential to consider your budget when selecting landscaping blocks. Prices can vary depending on the material, size, and brand. Take the time to research different options, compare prices, and ensure that the blocks you choose fit within your budget without compromising quality.
By carefully considering these factors and conducting thorough research, you can choose the right landscaping blocks that align with your project goals and personal preferences. Remember, the blocks you select will serve as the foundation for your entire landscaping endeavor, so take your time to make an informed decision.
Preparing the Area for Block Installation
Before you start laying landscaping blocks, it's crucial to prepare the area properly. This will ensure a solid and stable foundation for your project. Follow these steps to prepare the area effectively:
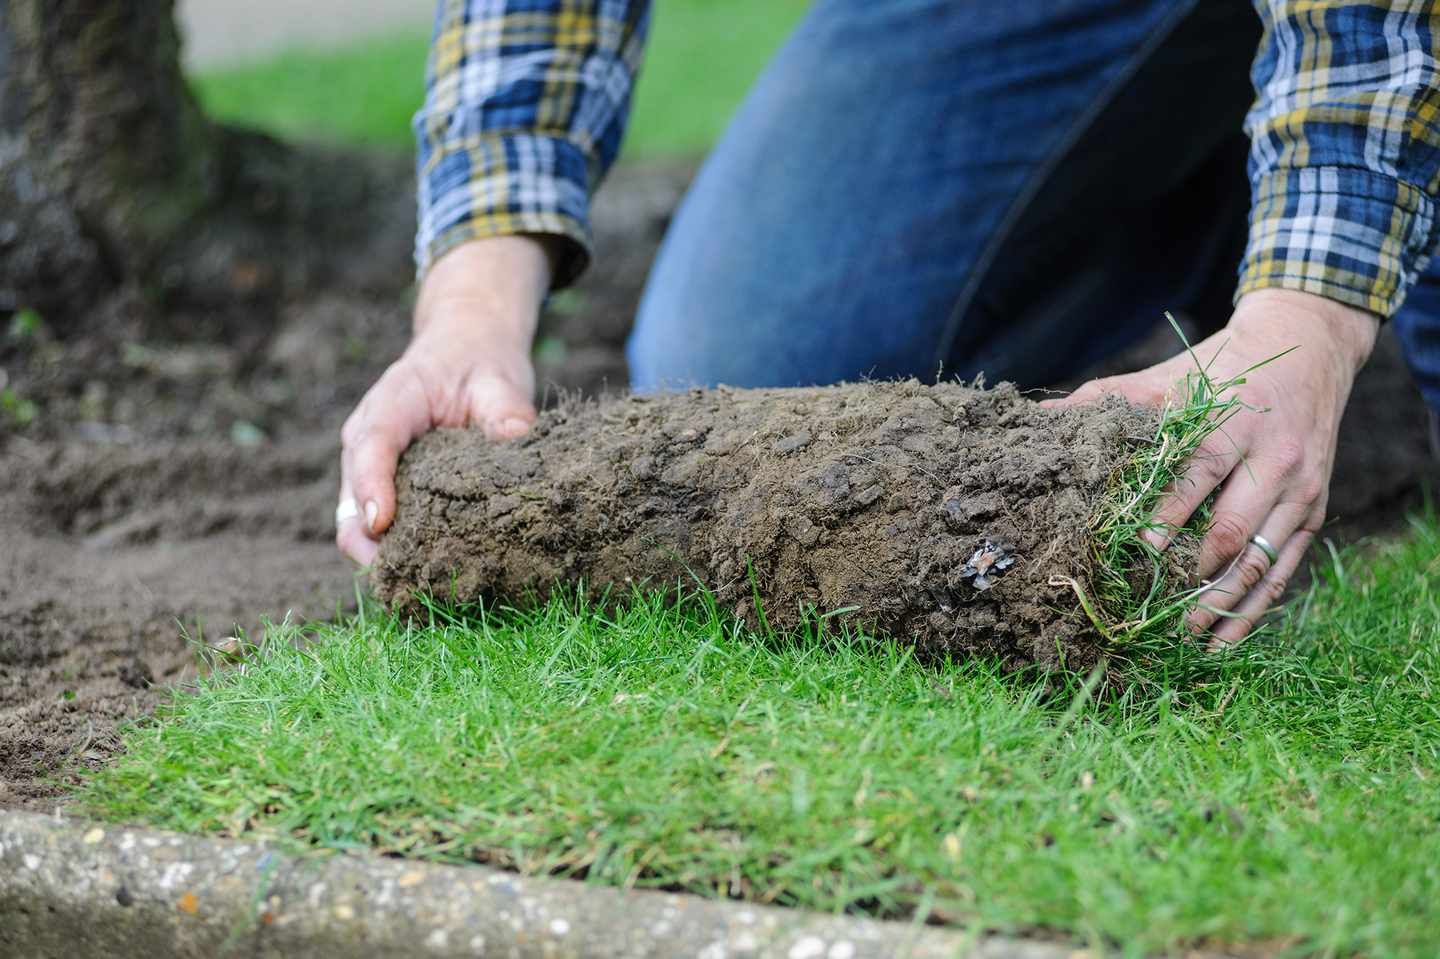
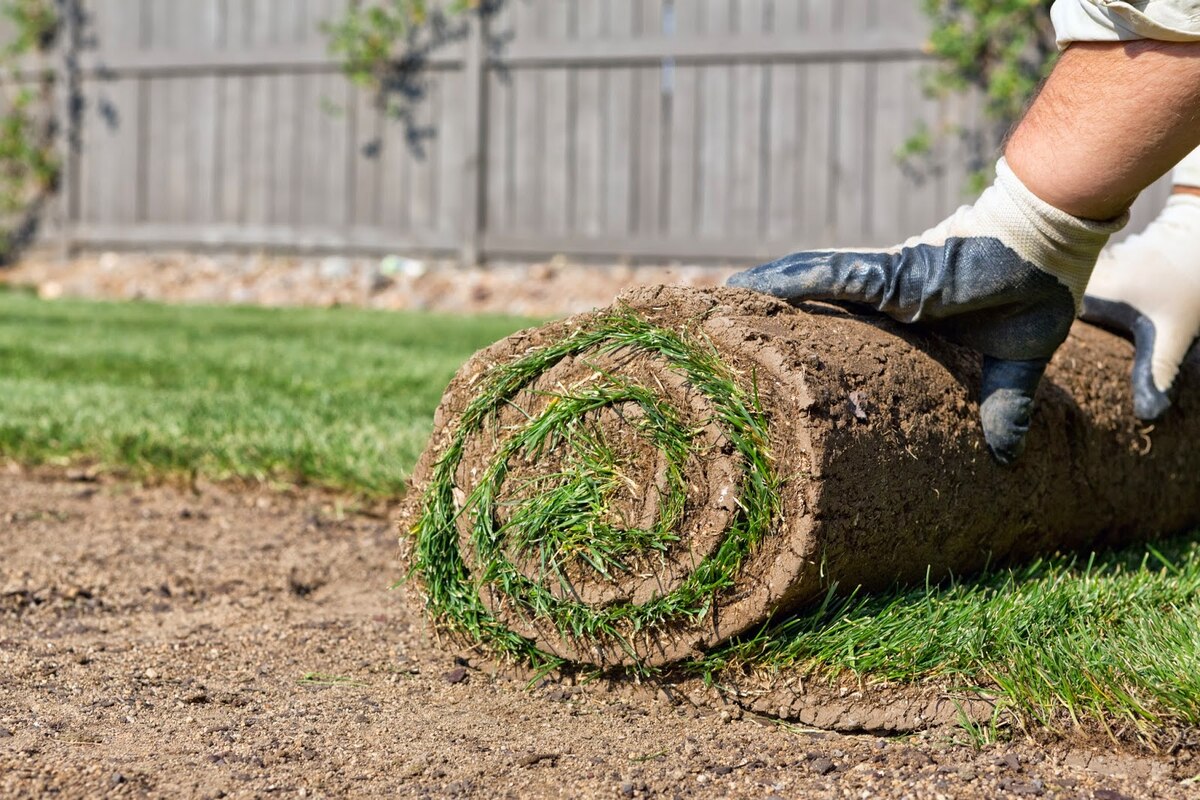
- Clear the Area: Remove any existing vegetation, rocks, or debris from the area where you plan to install the landscaping blocks. Clearing the area will provide a clean slate and make it easier to level the ground.
- Mark the Layout: Use stakes and string to mark the desired layout of your project. This will help you visualize the final result and ensure accurate placement of the landscaping blocks. Take measurements and adjust the layout as needed to ensure everything fits correctly.
- Level the Ground: Use a shovel or a rake to level the ground within the marked area. Remove any protruding roots, rocks, or other obstacles that may interfere with the placement of the landscaping blocks. Ensure that the area is smooth and even as this will contribute to the stability of your project.
- Consider Drainage: Assess the drainage needs of your project. If you're building a retaining wall or creating raised beds, it's essential to ensure proper drainage to prevent water accumulation. Consider installing a perforated drainage pipe or adding a layer of gravel at the base of the project to facilitate water flow.
- Compact the Soil: To further enhance stability, compact the soil within the marked area using a hand tamper or a plate compactor. This will create a more solid base for the landscaping blocks and help prevent shifting or sinking over time.
- Install Edging: If desired, install edging material along the perimeter of your project. This will help define the boundaries and provide clean edges for your landscaping blocks. Edging materials can vary, from plastic or metal strips to natural stone or concrete curbing.
By properly preparing the area before block installation, you'll ensure a solid foundation for your project and minimize the risk of future issues such as shifting or sinking. Take the time to complete these steps accurately, as they will greatly contribute to the overall success and longevity of your landscaping project.
Marking and Laying the Foundation
Once you have prepared the area for block installation, the next step is to mark and lay the foundation. This foundation will provide a stable base for your landscaping blocks and ensure proper alignment. Follow these steps to mark and lay the foundation:
- Measure and Mark: Measure the dimensions of your project and mark the foundation lines using stakes and string. This will help you visualize the layout and ensure accurate placement of the blocks. Use a tape measure and level to ensure straight lines and consistent heights.
- Excavate the Foundation: Use a shovel or a digging tool to excavate the foundation area. The depth will vary depending on the project, but it is typically recommended to dig a trench that is at least 6-8 inches deep. This will allow enough space for the base material and the first row of landscaping blocks.
- Add Base Material: Fill the excavated area with a layer of base material, such as crushed gravel or screenings. This will provide stability and drainage for your project. Spread the base material evenly and use a rake or tamper to level and compact it. Aim for a compacted base that is about 2-3 inches thick.
- Check for Level: Using a level, check the foundation lines to ensure they are level. Adjust the base material as needed to achieve a level surface. Proper leveling is crucial for the stability and appearance of your project.
- Add a Sand Layer: After the base material is level, add a layer of sand on top. This will help create a smooth and even surface for the landscaping blocks. Spread the sand evenly and use a board or a screed to level and compact it. Aim for a sand layer that is about 1 inch thick.
- Check for Level Again: Once the sand layer is in place, recheck the foundation lines to ensure they are still level. Make any necessary adjustments to the sand layer to achieve a level surface.
By accurately marking and laying the foundation, you will establish a solid and level base for your landscaping blocks. This will make the installation process smoother and ensure a visually pleasing and structurally sound final result. Take your time to follow these steps carefully, as they are fundamental to the success of your project.
Setting the First Row of Blocks
Now that you have prepared the foundation, it’s time to start setting the first row of landscaping blocks. This step is crucial as it sets the stage for the rest of your project. Follow these steps to properly set the first row of blocks:
- Apply Adhesive: Start by applying a layer of landscape block adhesive to the base material or sand layer. This adhesive will help secure the blocks in place and prevent shifting over time. Follow the manufacturer’s instructions for the proper application of the adhesive.
- Place the First Block: Carefully place the first landscaping block on top of the adhesive. Ensure that it sits securely and level on the foundation. Gently tap it with a rubber mallet to adjust its position if needed. Double-check the levelness of the block using a level.
- Add the Remaining Blocks: Place the subsequent blocks next to the first block, using a level to ensure they are aligned and level. Most landscaping blocks have interlocking features, so they fit snugly together. Continue adding blocks until the first row is complete, making adjustments as necessary.
- Check for Alignment: As you build the first row, periodically check for alignment along the length and width of the row. Ensure that the blocks are level and evenly spaced. Make any adjustments and tap the blocks gently with a mallet to secure them in place.
- Check for Stability: Once the first row is complete, check for stability by pressing down on each block. Ensure they are firmly in place and do not shift or wobble. The adhesive should hold them securely, but make any necessary adjustments if needed.
Setting the first row of blocks correctly is essential for the overall stability and alignment of your project. Take your time and pay attention to detail while ensuring that the blocks are level and secured in place. Remember to follow the manufacturer’s instructions for the adhesive and make any adjustments needed to achieve a solid foundation for the next steps.
Before laying landscaping blocks, make sure to properly prepare the area by leveling the ground and adding a base of gravel or sand for stability. This will help prevent shifting and settling over time.
Building Subsequent Rows and Making Adjustments
With the first row of blocks securely in place, it’s time to build the subsequent rows and make any necessary adjustments to ensure a sturdy and visually pleasing structure. Follow these steps to build the subsequent rows and make necessary adjustments:
- Apply Adhesive: Before adding the second row, apply a layer of landscape block adhesive to the top surface of the first row. This will help bond the blocks together and provide additional stability.
- Offset the Blocks: For added strength and aesthetic appeal, offset the blocks in the second row from the blocks in the first row. Staggering the blocks will create interlocking joints and add stability to your structure. Refer to the manufacturer’s instructions for the specific offset requirements of your landscaping blocks.
- Level and Adjust: As you add each block, use a level to ensure they are level both horizontally and vertically. Adjust the blocks as necessary and tap them gently with a mallet to ensure a snug fit and proper alignment. Take your time to ensure each block is securely in place before moving on to the next one.
- Make Adjustments: Despite careful planning, you may encounter slight variations or discrepancies as you build the subsequent rows. If you notice any gaps, unevenness, or misalignments, make adjustments as needed. This may involve using a rubber mallet to gently tap blocks into place or adding or removing a small amount of base material or sand to achieve a level surface.
- Check for Stability: Periodically check the stability of your structure as you build each subsequent row. Press down on the blocks to ensure they do not shift or wobble. Adjustments may be necessary to ensure a solid and secure structure. A level and a measuring tape can be useful tools to ensure consistency and accuracy throughout the process.
- Continue Building Rows: Repeat the process of applying adhesive, offsetting the blocks, leveling, adjusting, and checking for stability as you continue building subsequent rows. Take your time and maintain a steady rhythm to ensure a cohesive and high-quality structure.
Building subsequent rows requires patience, attention to detail, and the willingness to make adjustments as needed. Remember to follow the manufacturer’s instructions and take the time to ensure each block is level, aligned, and securely in place. By doing so, you’ll create a visually appealing and structurally sound landscape project.
Cutting Blocks to Fit
While landscaping blocks come in a variety of sizes and shapes, there may be instances where you need to cut blocks to fit a specific area or to accommodate corners, curves, or other unique features in your project. Here are some steps to guide you in cutting blocks to fit:
- Measure and Mark: Measure the area where the block needs to be cut and mark it with a pencil or marker. Double-check your measurements to ensure accuracy and precision.
- Choose the Right Tool: Depending on the material of your landscaping blocks and the complexity of the cuts, you may need different tools. Common options include a masonry saw, a circular saw with a masonry blade, a chisel and hammer, or a block splitter. Choose a tool that is appropriate for the task and follow the manufacturer’s instructions for safe and effective use.
- Wear Protective Gear: Whenever using power tools or handling sharp objects, it’s important to wear appropriate protective gear. This includes safety glasses, gloves, and a dust mask, particularly when using tools that create airborne dust or debris.
- Cut the Block: Use the chosen tool to carefully cut along the marked line. Take steady, controlled motions and maintain proper hand placement to ensure a clean and accurate cut. If using a saw, make sure to guide the blade slowly and smoothly through the block, maintaining a steady pressure.
- Check the Fit: After making the cut, check the block to ensure it fits properly in the designated area. Make any necessary adjustments or additional cuts as needed to achieve the desired fit.
- Smooth the Edges: If the cut edges of the block are rough or uneven, use a coarse sandpaper or a masonry file to smooth them out. This will not only enhance the appearance but also help the blocks fit together more seamlessly.
Cutting landscaping blocks to fit can be challenging, especially if you’re working with a material that is dense or requires specialized tools. If you’re unsure or uncomfortable with the cutting process, it’s always a good idea to seek assistance from a professional or someone with experience in block cutting.
Remember, safety is paramount, so be sure to handle tools carefully and wear appropriate protective gear. With patience and attention to detail, you can achieve clean and accurate cuts that seamlessly integrate the blocks into your landscaping project.
Filling the Gaps and Finishing Touches
As you near the completion of your landscaping block project, it’s time to focus on filling the gaps and adding those finishing touches that will enhance the overall look and function of your outdoor space. Follow these steps to ensure a polished and professional finish:
- Revisit the Foundation: Take a moment to inspect the foundation and ensure that it is still level and stable. Make any necessary adjustments to the base material or sand layer to correct any shifting or settling that may have occurred during the block installation process.
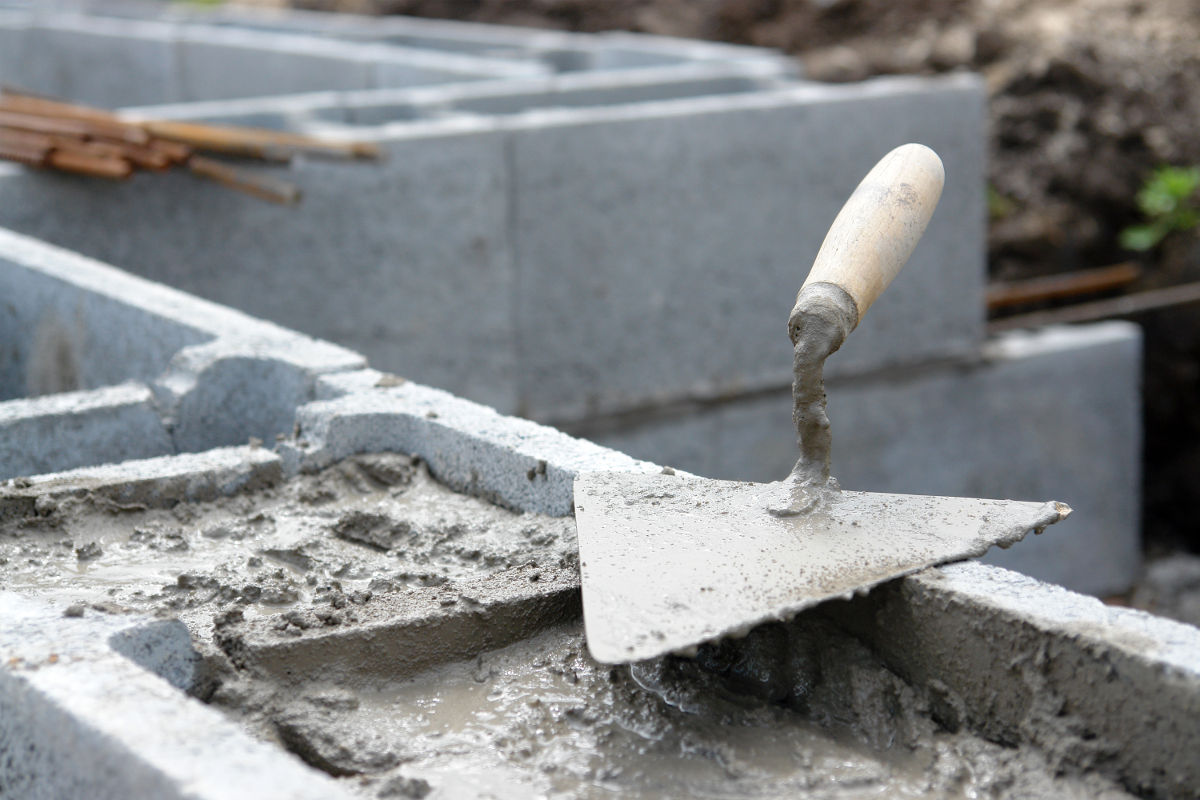
- Fill the Gaps: Use a high-quality landscaping block adhesive to fill the joints between the blocks. This will create a cohesive and sturdy structure. Apply the adhesive generously and use a pointing trowel or a putty knife to smooth it into the gaps. Wipe away any excess adhesive with a damp cloth to maintain a clean appearance.
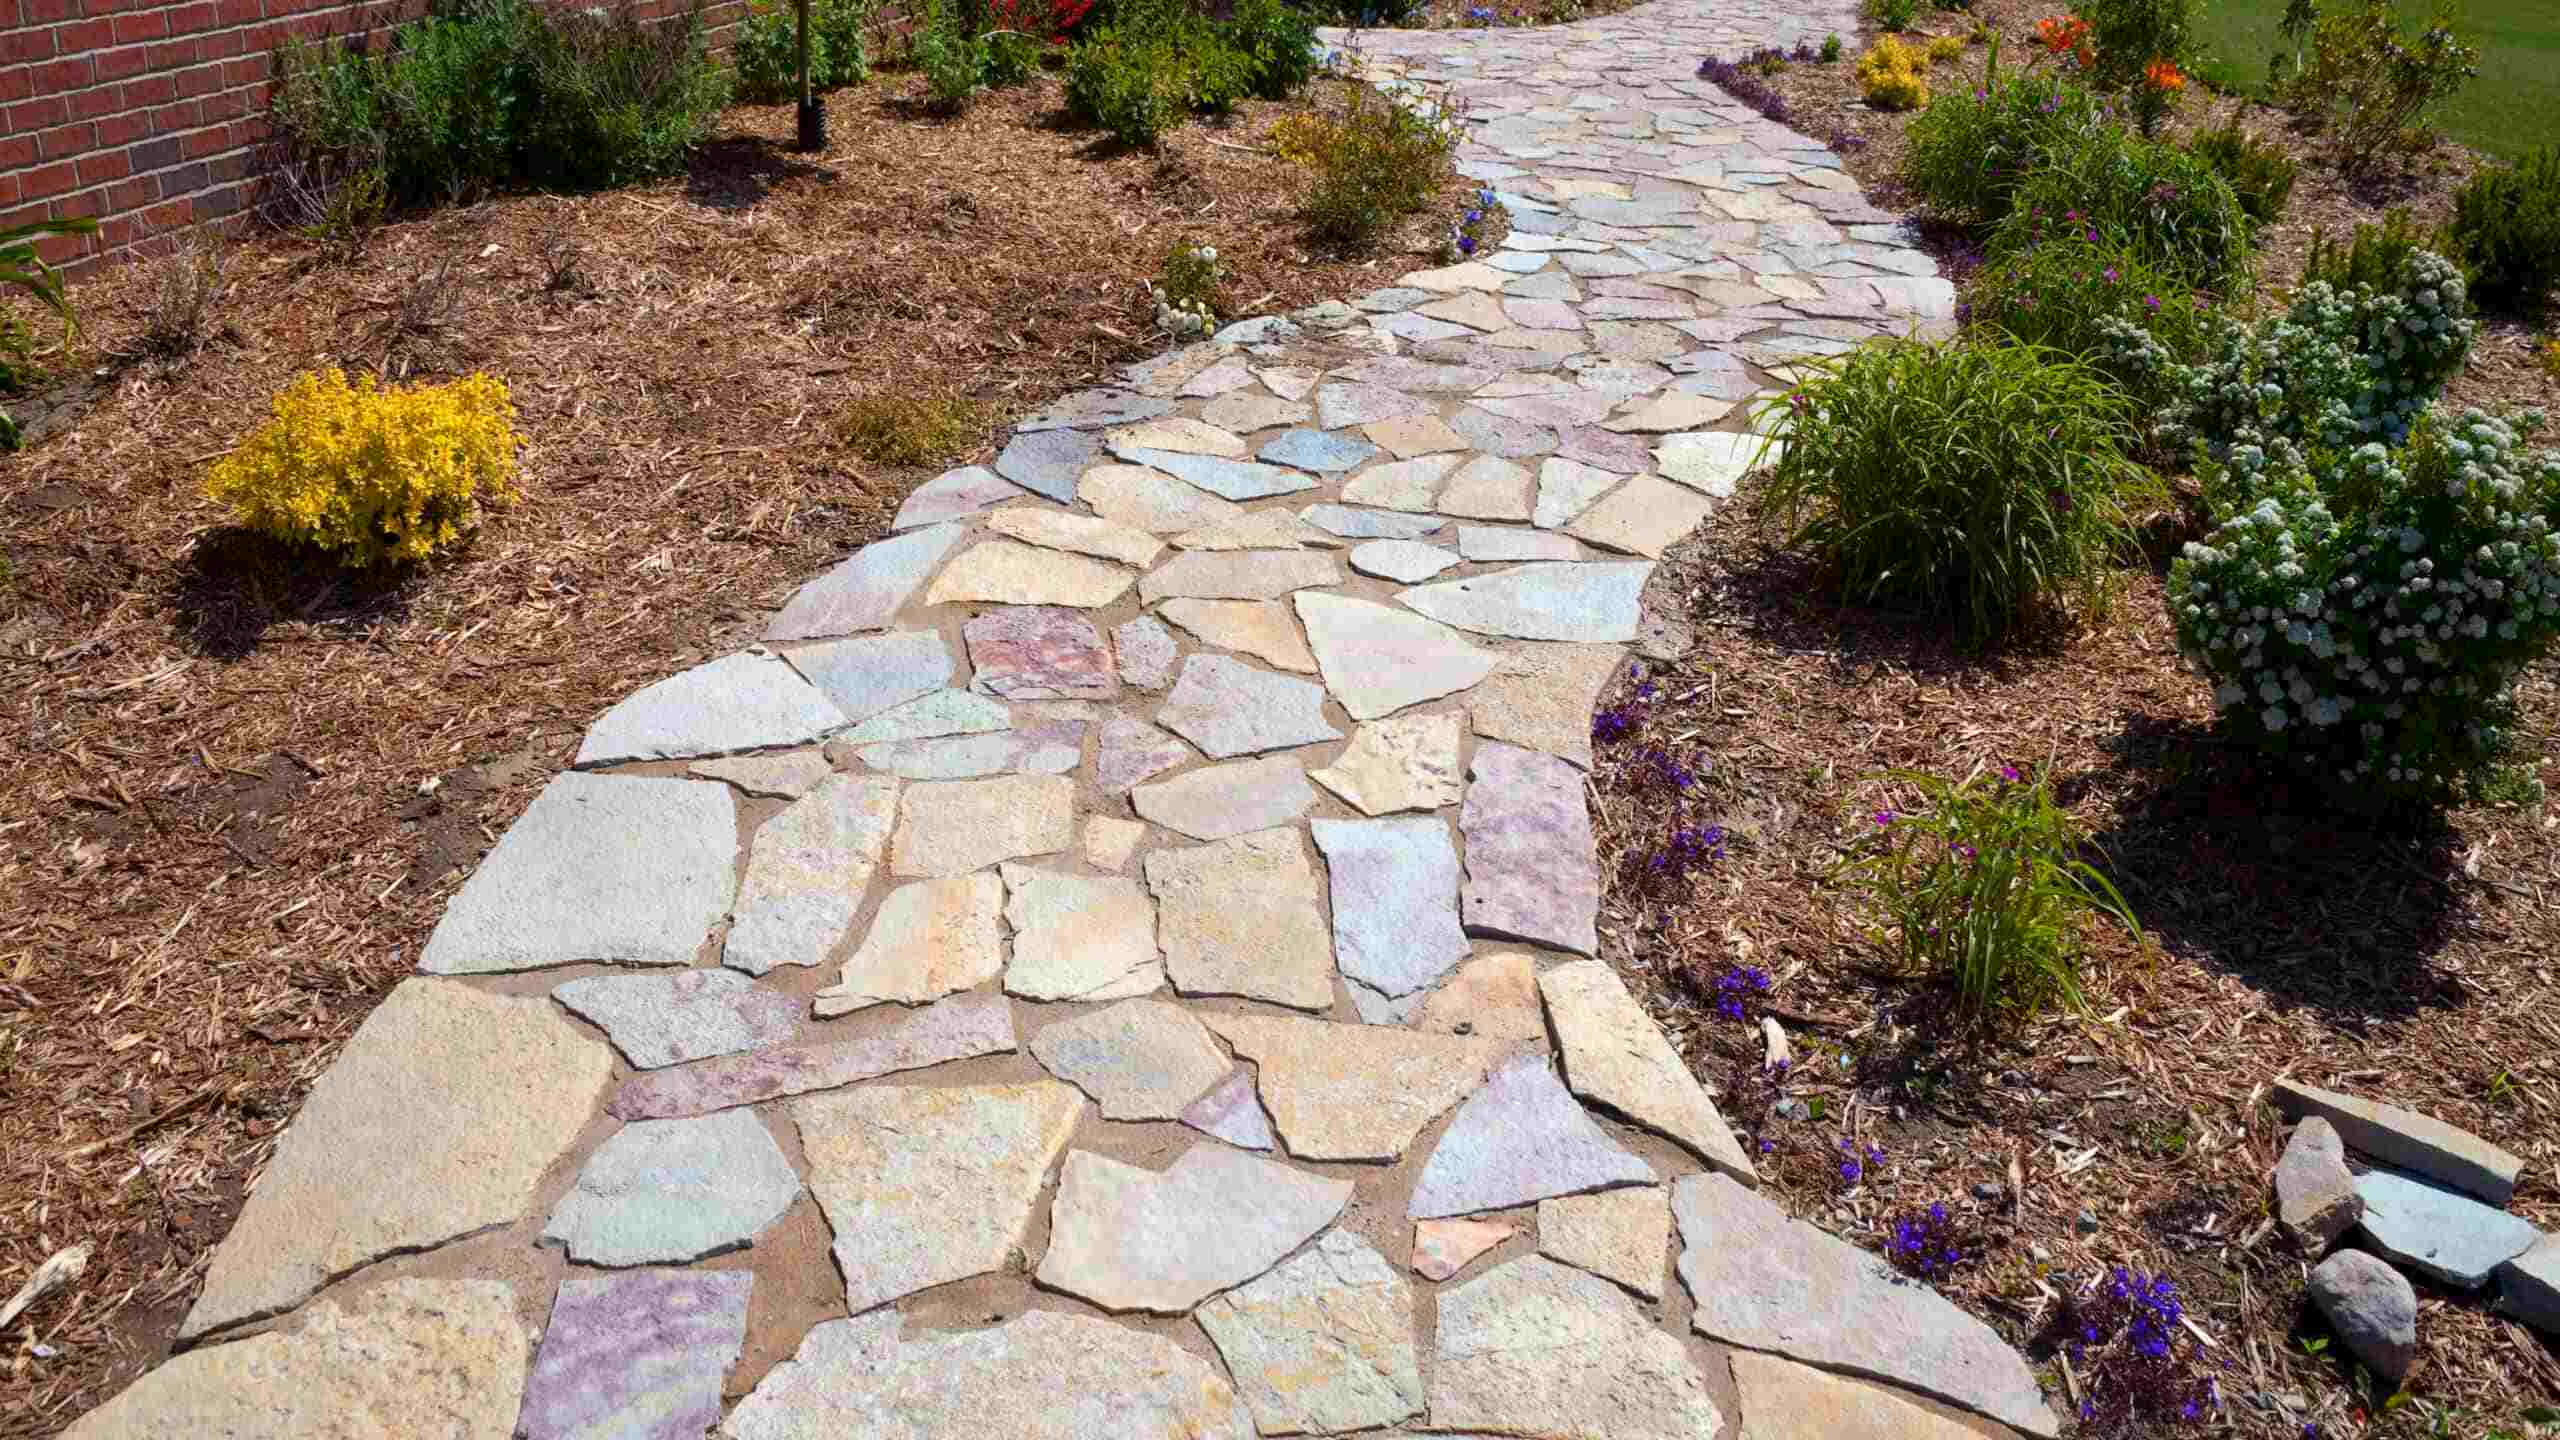
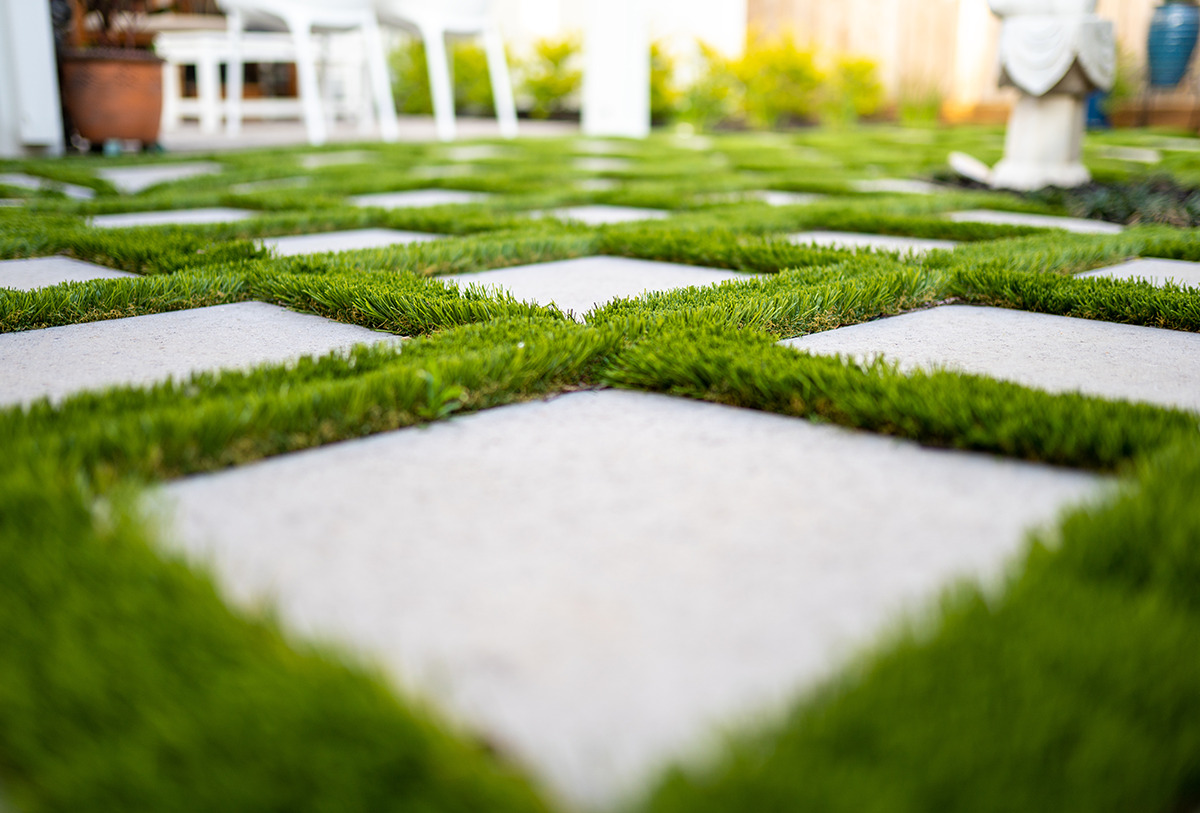
- Add Edging: If you haven’t already, consider adding edging material along the borders of your project. This can help define the space and prevent soil or mulch from spilling over onto your pathways or flower beds. Choose an edging material that complements the style of your landscaping blocks, such as metal, plastic, or natural stone.
- Consider Sealants: Depending on the type of landscaping blocks you’ve used, you may choose to apply a sealant to enhance their durability and appearance. Sealants can help protect the blocks from weathering, staining, and fading. Follow the manufacturer’s instructions for the proper application of the sealant and allow ample time for it to dry or cure before using the area.
- Add Finishing Elements: To add a unique touch and enhance the aesthetic appeal of your project, consider adding finishing elements such as decorative pebbles, mulch, or plants. These elements can be added to the gaps between blocks, around the edges of the project, or in designated planting areas. Choose elements that complement the overall style and theme of your garden.
- Clean and Inspect: After completing all the finishing touches, take the time to clean up any debris or excess materials. Sweep the area thoroughly and remove any tools or equipment that may still be present. Inspect your project from different angles to ensure that everything looks tidy and well-executed.
Filling the gaps and adding those final touches is what truly brings your landscaping block project together. Take pride in your work and pay attention to detail to achieve a professional finish that enhances the beauty and functionality of your outdoor space.
Remember, the specific materials and techniques for finishing touches may vary depending on the type of blocks you’ve used and your personal preferences. Take the time to research and gather ideas, and always follow best practices to ensure the longevity and visual appeal of your project.
Conclusion
Congratulations on successfully completing your landscaping block project! By following the steps outlined in this guide, you have learned how to choose the right landscaping blocks, prepare the area, mark and lay the foundation, set the first row, build subsequent rows, cut blocks to fit, and fill the gaps for a polished finish. Your hard work and attention to detail have transformed your outdoor space into a beautiful and functional garden.
Remember, landscaping blocks are a versatile and durable option for various projects, such as retaining walls, raised flower beds, and pathways. The choices you made in terms of material, size, shape, color, and texture have contributed to the overall aesthetic appeal and functionality of your project.
Throughout the process, safety should always be a priority. Make sure to wear the appropriate protective gear and follow the manufacturer’s instructions for tools, equipment, and adhesives. If you ever felt uncertain about a step or encountered difficulties, don’t hesitate to seek guidance from professionals or reputable sources.
Now that your landscaping block project is complete, take the time to enjoy and appreciate your hard work. Spend time in your newly transformed outdoor space, admiring the beauty and functionality it offers. Whether you’re using it as a peaceful retreat, a gathering space for friends and family, or a showcase for your favorite plants, your garden will bring joy and relaxation for years to come.
Lastly, don’t forget to regularly maintain and care for your landscaping blocks. Clean them as needed and inspect for any signs of damage or wear. By taking proper care of your garden, you’ll ensure its longevity and retain its appeal for years to come.
Thank you for joining us on this journey of laying landscaping blocks. We hope you found this guide informative and inspiring. May your garden continue to flourish and bring you happiness amidst the beauty of nature.
Frequently Asked Questions about How To Lay Landscaping Block
Was this page helpful?
At Storables.com, we guarantee accurate and reliable information. Our content, validated by Expert Board Contributors, is crafted following stringent Editorial Policies. We're committed to providing you with well-researched, expert-backed insights for all your informational needs.


0 thoughts on “How To Lay Landscaping Block”