Articles
How To Build A Block Chimney
Modified: October 20, 2024
Learn the step-by-step process of building a block chimney with our informative articles. Gain valuable knowledge and tips for a successful project.
(Many of the links in this article redirect to a specific reviewed product. Your purchase of these products through affiliate links helps to generate commission for Storables.com, at no extra cost. Learn more)
Introduction
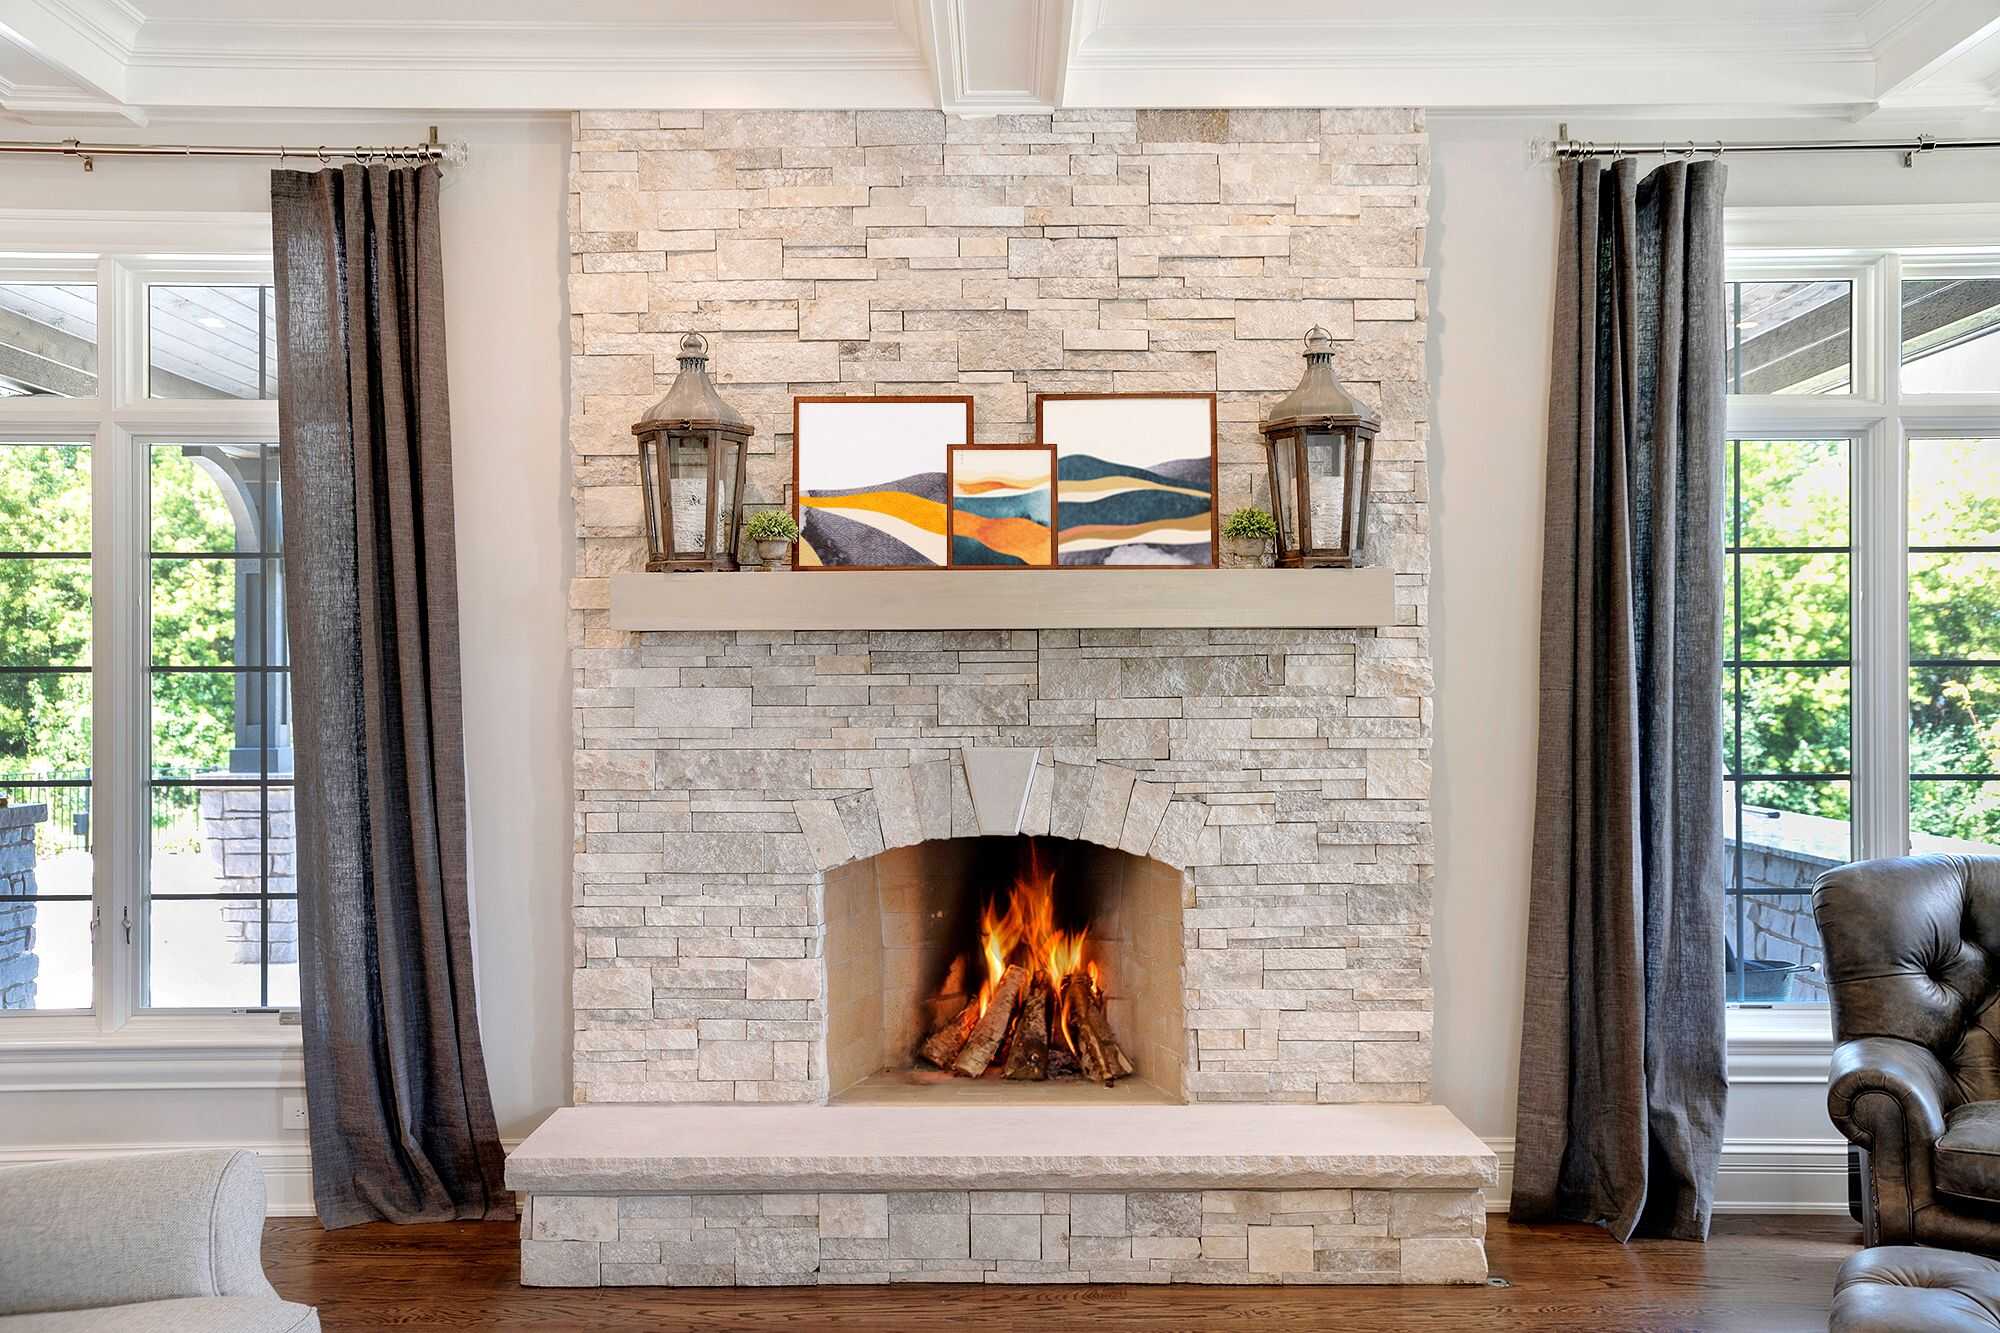
Building a block chimney is a rewarding project that can add both functionality and aesthetic appeal to your home. Whether you’re looking to install a new chimney for a fireplace or a wood-burning stove, constructing a block chimney provides a durable and cost-effective option. With the right materials and tools, as well as a step-by-step approach, you can successfully build your own block chimney.
Before diving into the process, it’s important to note that building a block chimney can be a complex task and may require certain permits or professional assistance depending on your local regulations. Make sure to check with your local authorities and consult a professional if needed.
In this guide, we will outline the step-by-step process of building a block chimney. From gathering the necessary materials and tools to adding the finishing touches, we’ll cover everything you need to know to successfully complete this project. So let’s get started and embark on this rewarding journey of building your own block chimney.
Key Takeaways:
- Building a block chimney requires careful planning, precise execution, and adherence to safety measures. From gathering materials to final inspections, this guide provides a comprehensive roadmap for a successful construction project.
- The construction of a block chimney not only adds functionality and aesthetic appeal to your home but also demands ongoing maintenance and adherence to safety guidelines. Enjoy the warmth and ambiance while prioritizing safety and responsible upkeep.
Read more: How To Block A Chimney Off
Step 1: Gather Materials and Tools
Before you begin building a block chimney, it’s crucial to gather all the necessary materials and tools. This ensures that you have everything you need at hand to complete the project smoothly. Here’s a list of the essential items you’ll need:
- Concrete blocks: Choose high-quality concrete blocks that are suitable for chimney construction. These blocks should be specifically designed for this purpose, as they need to withstand high temperatures.
- Fire bricks: These heat-resistant bricks will be used in the firebox area of the chimney. Make sure to get fire bricks that are compatible with the type of fuel you’ll be using, whether it’s wood, gas, or coal.
- Mortar: Opt for a mortar mix that is suitable for chimney construction. It should have good adhesive properties and be capable of withstanding high temperatures.
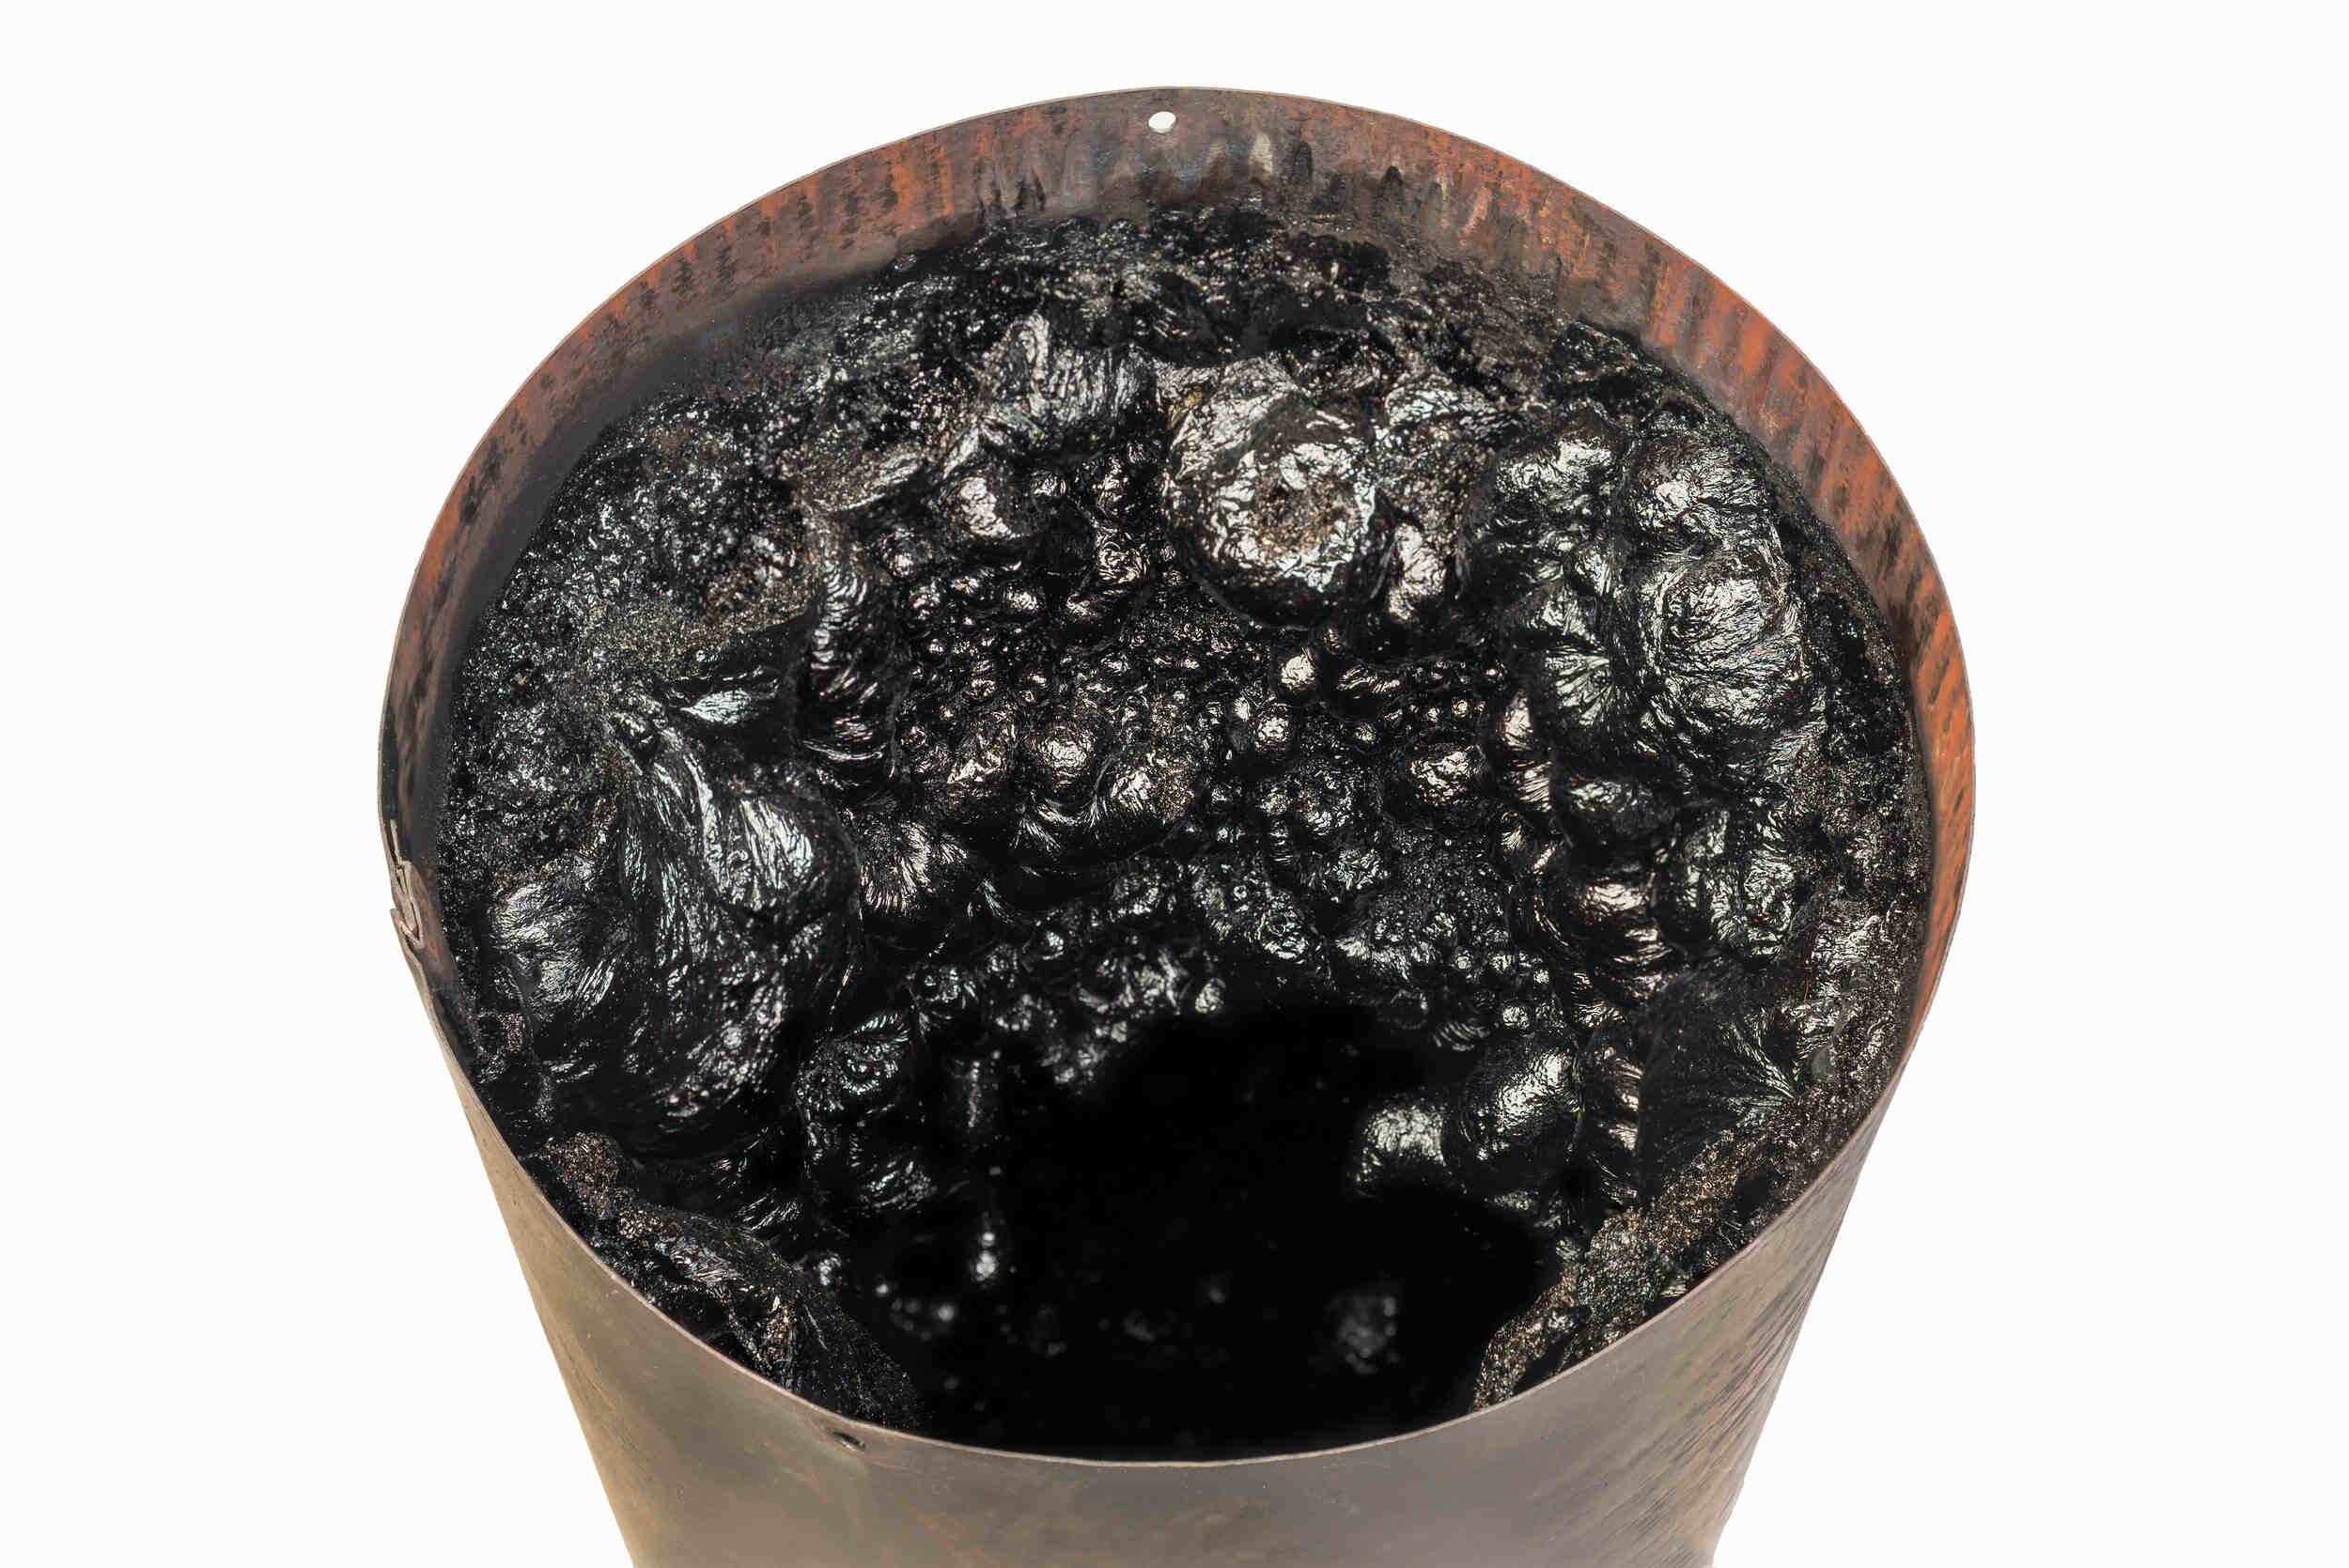
- Chimney liner: A chimney liner helps improve the efficiency and safety of the chimney. It lines the inside of the chimney, protecting the surrounding materials from heat and preventing the buildup of creosote.
- Rebar: Reinforcing bars, also known as rebar, provide structural support to the chimney. This ensures stability and helps prevent any cracking or collapsing.
- Masonry tools: You’ll need a range of masonry tools, including a trowel, jointer, level, masonry hammer, and a masonry saw or grinder for cutting bricks and blocks as needed.
- Safety equipment: Safety should always be a top priority. Make sure to have protective gear such as safety goggles, gloves, a dust mask, and work boots to protect yourself from potential hazards.
Once you have gathered all the necessary materials and tools, you’ll be ready to move on to the next step: preparing the foundation.
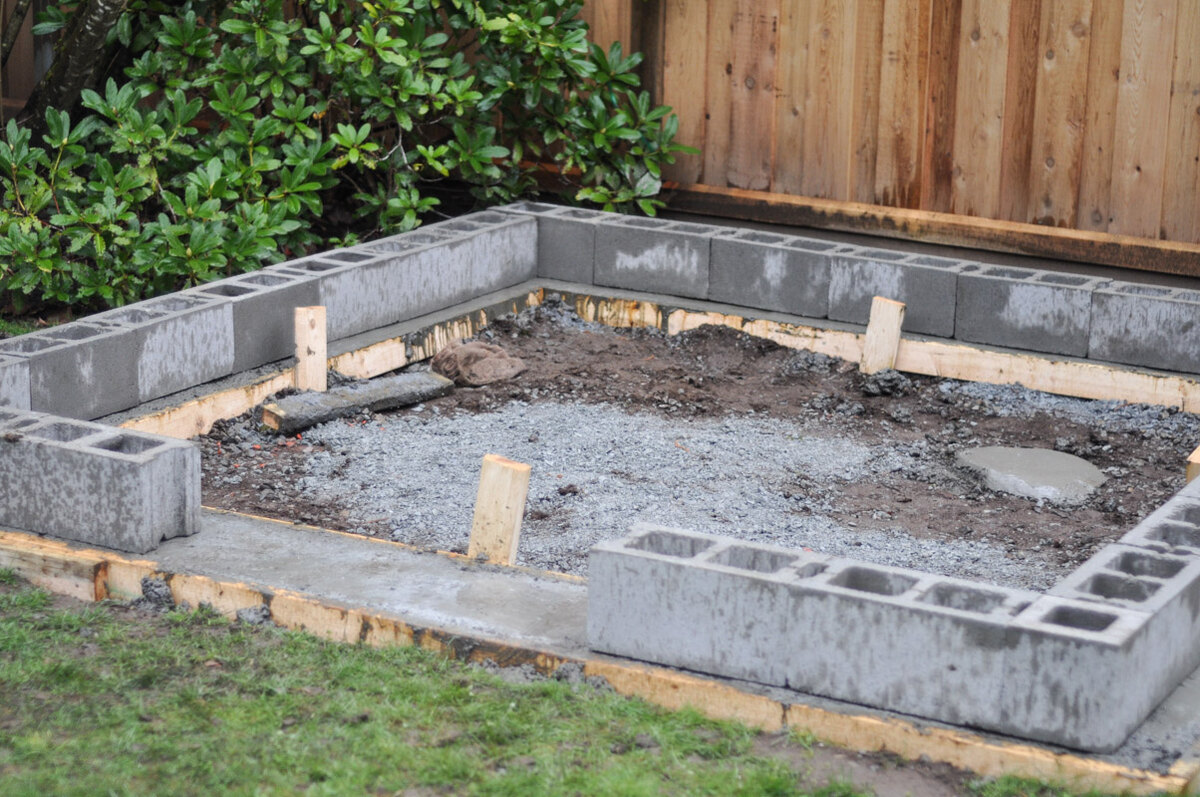
Step 2: Prepare the Foundation
Having a solid foundation is crucial for the stability and longevity of the block chimney. Before you start laying the blocks, you need to prepare a firm and level foundation. Here’s a step-by-step guide on how to prepare the foundation:
- Choose the location: Select the ideal location for your block chimney. It should be away from any combustible materials and provide proper clearance from nearby structures.
- Clear the area: Remove any vegetation, debris, or obstructions from the chosen location. Ensure that the ground is clear and level.
- Excavate the foundation: Dig a hole that is deep enough to accommodate the foundation. The depth will depend on your local building codes, but a typical depth is around 4 to 6 inches.
- Compact the soil: Use a tamper or a plate compactor to compact the soil at the bottom of the foundation hole. This will provide a stable base for the foundation.
- Add a layer of gravel: Lay a layer of crushed gravel or compacted stone over the compacted soil. This will improve drainage and help prevent the foundation from sinking.
- Create a form: Build a wooden form around the excavated area to serve as a mold for the foundation. Make sure the form is level and square.
- Mix and pour concrete: Prepare a batch of concrete according to the manufacturer’s instructions. Pour the concrete into the form, ensuring it fills the entire area evenly.
- Smooth and level the concrete: Use a trowel to smooth and level the surface of the poured concrete. Check for any unevenness and correct it as needed.
- Allow the foundation to cure: Follow the recommended curing time for the concrete, which is typically around 24 to 48 hours. During this time, protect the foundation from any disturbances or extreme weather conditions.
Once the foundation is properly cured and solidified, you’re ready to move on to the next step: laying the first row of blocks.
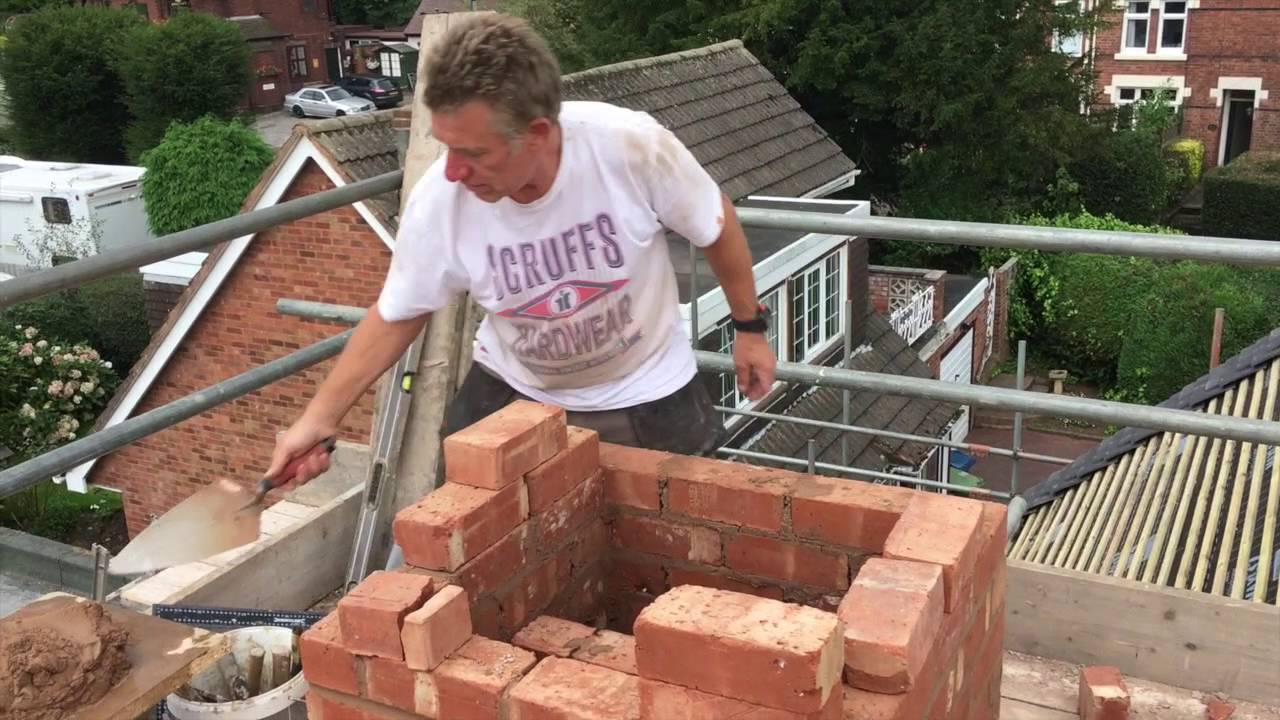
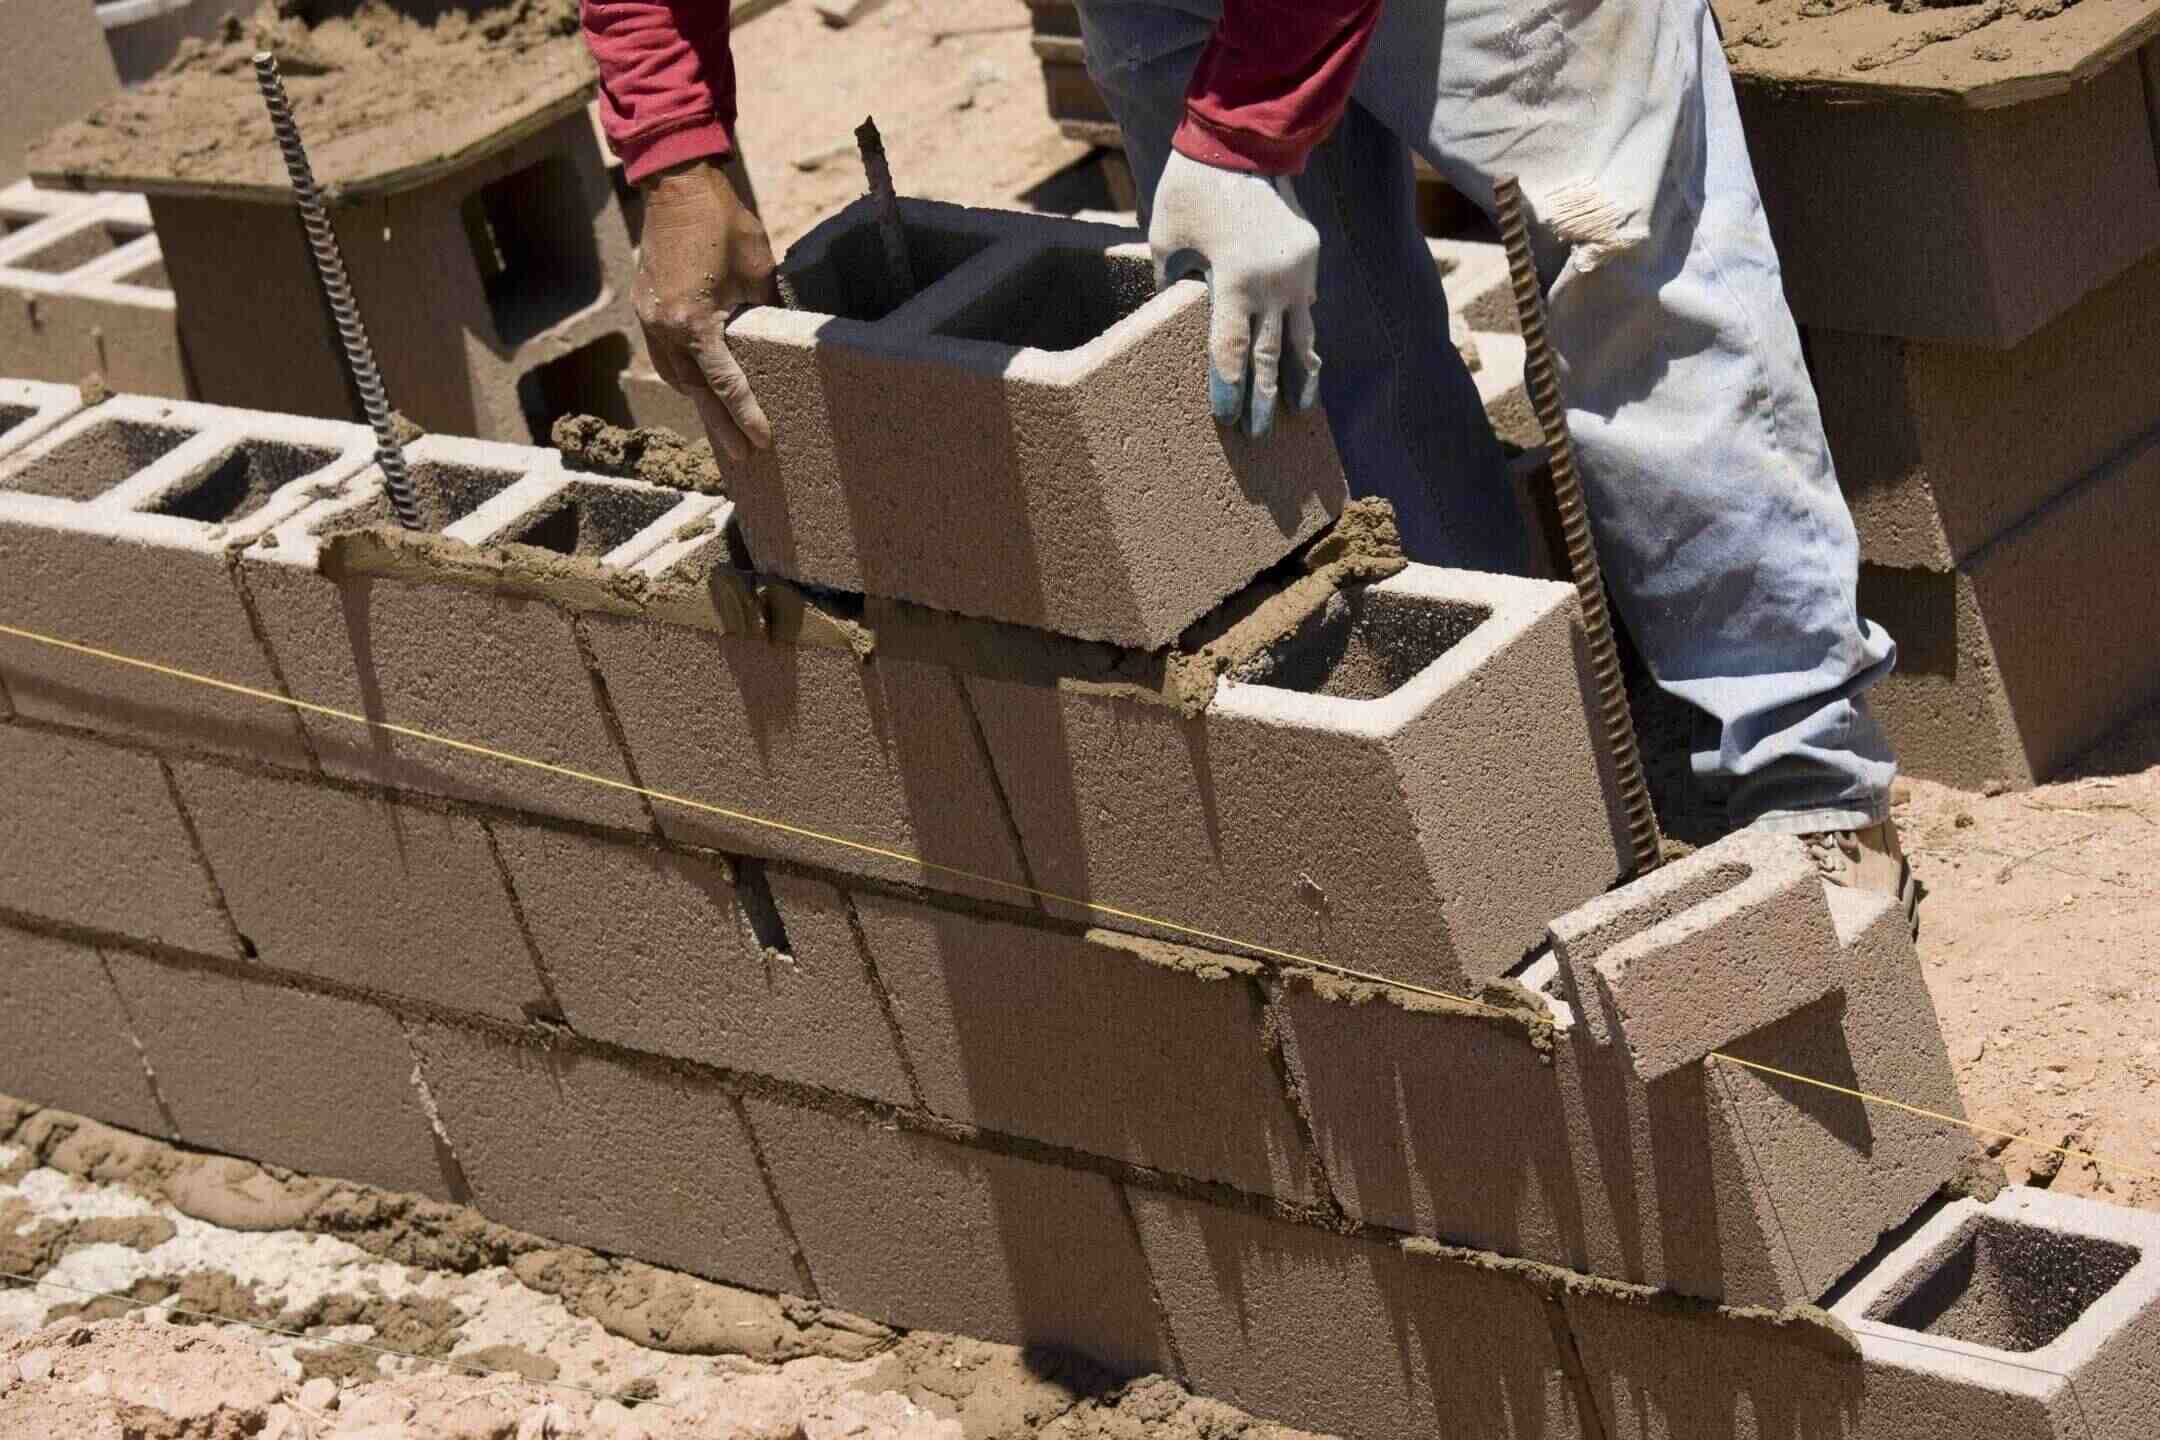
Step 3: Lay the First Row of Blocks
Now that you have prepared a solid foundation, it’s time to start building your block chimney. The first row of blocks is crucial as it sets the foundation for the rest of the structure. Follow these steps to lay the first row of blocks:
- Prepare mortar: Mix the mortar according to the manufacturer’s instructions. Use a trowel to achieve a smooth and workable consistency.
- Apply mortar to the foundation: Use the trowel to apply a layer of mortar along the outer edge of the foundation where the first row of blocks will be placed.
- Place the first block: Carefully place the first concrete block onto the mortar, ensuring it is level and aligns with the corners of the foundation. Press it firmly into the mortar to create a strong bond.
- Add mortar between blocks: Apply a layer of mortar on top of the first block, using the trowel to spread it evenly. This will act as a bed for the next block.
- Continue laying blocks: Repeat the process by placing the next block adjacent to the first one, ensuring a tight fit. Use a level to check for plumb and levelness, adjusting as necessary.
- Fill gaps: If there are any gaps between the blocks, use the trowel to fill them with mortar. This will provide stability and prevent any movement.
- Check alignment: Regularly check the alignment of the blocks horizontally and vertically. Adjust as needed to maintain a straight and level row.
- Use a jointer: Once the first row is complete, run a jointer along the mortar joints to create a smooth and finished look.
Remember to work efficiently and quickly when working with mortar as it tends to dry fast. Take breaks as needed to ensure the mortar stays workable.
With the first row of blocks successfully laid, you are now ready to move on to the next step: installing the firebox.
Step 4: Install the Firebox
The firebox is a crucial component of a block chimney as it houses the fire and ensures proper ventilation. Follow these steps to install the firebox:
- Measure and mark the firebox area: Determine the size of the firebox based on the specifications of your fireplace or wood-burning stove. Use a tape measure to mark the dimensions on the first row of blocks.
- Cut the fire bricks: Using a masonry saw or grinder, carefully cut the fire bricks to the dimensions of the marked area. Ensure accurate and clean cuts.
- Apply mortar: Use a trowel to apply a layer of mortar on the top surface of the first row of blocks within the marked area.
- Place the fire bricks: Carefully place the cut fire bricks onto the mortar, ensuring they fit snugly together. Press them down firmly to create a strong bond.
- Check for levelness: Use a level to check if the fire bricks are level. Adjust as needed by adding or removing mortar underneath the bricks.
- Continue building the chimney: Once the firebox is installed, continue building the chimney by laying additional rows of blocks above it. Alternate the placement of the blocks, ensuring a secure and stable structure.
As you progress with building the chimney, periodically check for plumbness, levelness, and alignment to ensure a straight and structurally sound chimney.
Remember, the firebox is subjected to high temperatures, so make sure to use fire-resistant materials and create a tight seal to prevent heat from escaping into the surrounding blocks.
With the firebox successfully installed, you can now move on to the next step: continuing to build the chimney.
When building a block chimney, be sure to use fire-resistant mortar and follow local building codes. It’s important to have proper ventilation and insulation to prevent fire hazards.
Read more: How To Block Chimney Draft
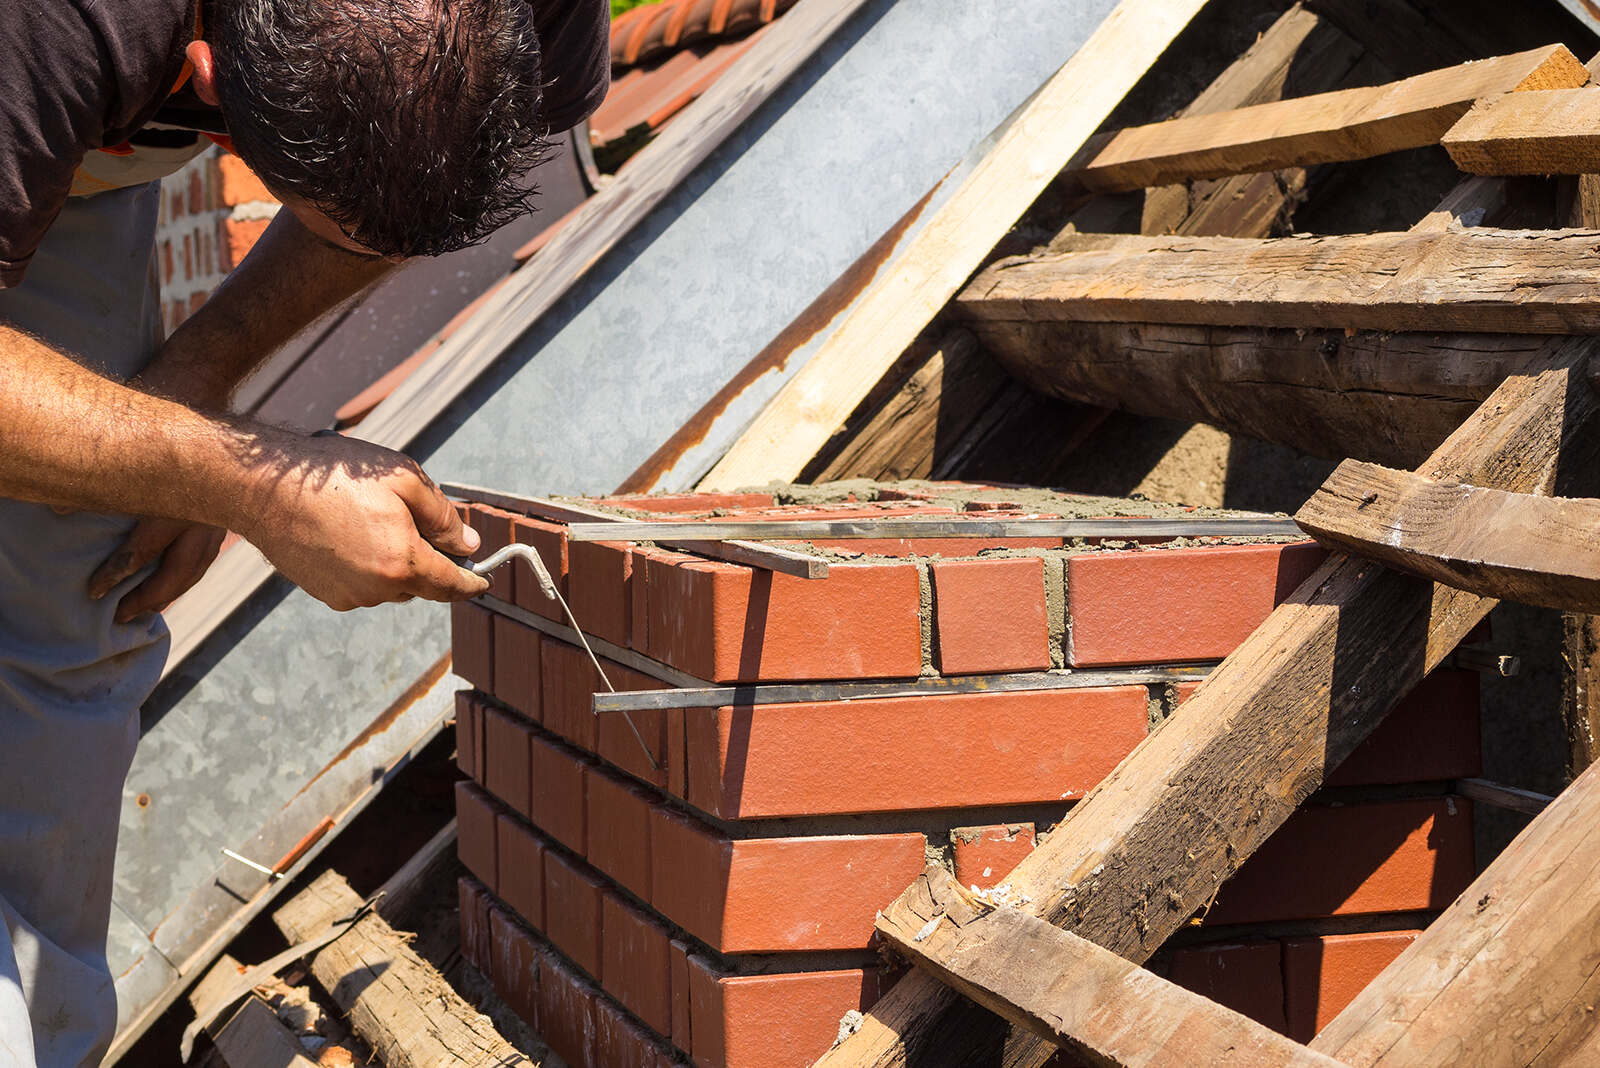
Step 5: Continue Building the Chimney
With the firebox installed, it’s time to continue building the chimney and extending it to the desired height. Follow these steps to complete this phase:
- Apply mortar: Use a trowel to apply a layer of mortar on top of the first row of blocks where the next row will be placed.
- Place blocks: Carefully place the next row of blocks on top of the mortar, ensuring a tight fit and aligning them with the previous rows. Use a level to check for plumb and levelness.
- Add mortar between blocks: Apply mortar between the blocks and use the trowel to spread it evenly. This helps create a strong bond and stabilize the structure.
- Continue building: Repeat the process of adding blocks and mortar, row by row, until you reach the desired height for your block chimney. Ensure each row is level and properly aligned.
- Insert rebar: As you build the chimney, periodically insert rebar vertically into the hollow spaces between the blocks. This provides additional structural support and stability.
- Secure the rebar: Fill the hollow spaces around the rebar with mortar to secure them in place. This helps prevent movement and strengthens the chimney.
- Check alignment: Regularly check the alignment and levelness of the blocks as you continue building. Adjust as necessary to maintain a straight and aesthetically pleasing chimney.
Remember to allow each row of blocks to properly set and cure before adding the next row. Follow the manufacturer’s instructions regarding setting and drying times for the mortar.
As you approach the top of the chimney, it’s important to consider adding a cap and finishing touches, which will be covered in the next step.
Continue building with precision and care, ensuring that your block chimney is structurally sound and visually appealing.
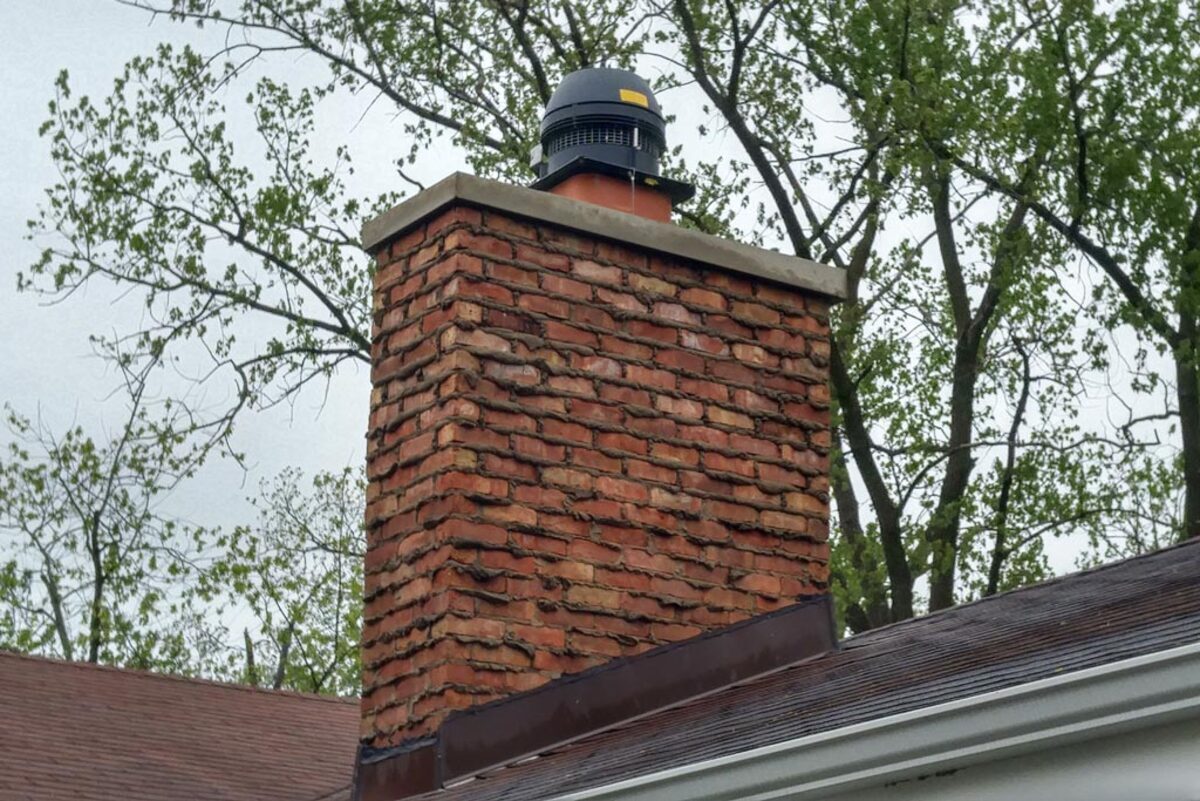
Step 6: Add Cap and Finishing Touches
Adding a cap and finishing touches to your block chimney not only enhances its appearance but also provides protection against the elements. Follow these steps to complete this final stage:
- Select a chimney cap: Choose a chimney cap that is appropriate for your block chimney design and the type of fuel you’ll be using. The cap should prevent rain, debris, and animals from entering the chimney while allowing proper ventilation.
- Measure and mark the placement: Determine the appropriate placement for the chimney cap based on the dimensions of your chimney. Mark the location on the top row of blocks.
- Apply mortar: Use a trowel to apply a layer of mortar on top of the marked area where the chimney cap will sit.
- Place the cap: Carefully place the chimney cap onto the mortar, ensuring it is positioned securely. Press it down gently to create a strong bond.
- Seal the cap: Apply additional mortar around the edges of the chimney cap to create a watertight seal. Smooth out the mortar to achieve a clean and finished look.
- Inspect and clean: Once the chimney cap is in place, inspect the entire chimney for any loose blocks, cracks, or gaps. Repair or fill them with mortar as needed. Clean off any excess mortar or debris from the surface of the chimney.
- Add a weather-resistant coating: Consider applying a weather-resistant coating or sealant to protect the blocks from the elements. This can help prolong the lifespan of your block chimney and maintain its appearance.
By adding a cap and finishing touches, you not only enhance the functionality of your block chimney but also ensure its longevity and visual appeal.
With the cap and finishing touches in place, you have successfully completed the construction of your block chimney. However, there are a few more steps to take to ensure safety and compliance, which will be covered in the next and final step.
Step 7: Final Inspection and Safety Measures
Before putting your block chimney into regular use, it’s important to conduct a final inspection and take necessary safety measures to ensure optimal performance and safety. Follow these steps to complete the project:
- Inspect the entire chimney: Carefully inspect the entire chimney structure, including the blocks, mortar joints, and chimney cap. Look for any signs of damage, cracks, or loose components.
- Repair any issues: If you notice any issues during the inspection, such as loose blocks or cracks, repair them immediately. Use mortar to secure loose blocks and fill in any cracks or gaps.
- Check for proper ventilation: Ensure that there is sufficient airflow and ventilation within the chimney. This helps prevent the buildup of harmful gases and allows for efficient burning of fuel.
- Install smoke and carbon monoxide detectors: It’s crucial to have functional smoke detectors and carbon monoxide detectors installed in the vicinity of your block chimney. These devices alert you in case of a fire or dangerous levels of carbon monoxide.
- Follow local regulations: Familiarize yourself with and adhere to any local regulations, codes, or guidelines related to the installation and use of block chimneys. This ensures compliance and safety.
- Educate yourself about maintenance: Learn about proper maintenance practices for your block chimney, such as regular cleaning, inspection, and removal of creosote buildup. Follow a maintenance schedule to keep your chimney in good condition.
- Exercise caution during use: When using your block chimney, exercise caution and follow safety guidelines. Use proper fuel, maintain a safe clearance from combustible materials, and never leave fires unattended.
Once you have completed the final inspection and implemented necessary safety measures, you can confidently enjoy the warmth and ambiance that your block chimney provides.
Remember, regular maintenance and inspections are essential to ensure the continued safety and efficiency of your block chimney, so make it a priority to stay on top of these tasks.
Congratulations! You have successfully completed the construction of your block chimney and taken important safety precautions. Enjoy the benefits of your hard work and stay warm and cozy throughout the seasons.
Conclusion
Building a block chimney is a rewarding endeavor that can enhance both the functionality and aesthetics of your home. By following the step-by-step process outlined in this guide, you can successfully construct your own block chimney with confidence.
Starting with gathering the necessary materials and tools, preparing a solid foundation, and laying the first row of blocks, you establish a strong base for your chimney. Installing the firebox and continuing to build the chimney ensures a sturdy structure that will withstand the test of time.
Adding a cap and finishing touches not only adds a touch of elegance to the chimney but also provides essential protection against the elements. Following final inspections and safety measures guarantees the optimum performance and safety of your block chimney.
Remember to always prioritize safety by adhering to local regulations, installing smoke and carbon monoxide detectors, and practicing proper maintenance and use. Regular inspections and responsible upkeep will ensure the longevity and efficiency of your block chimney for years to come.
Now that you have completed the construction and safety measures, it’s time to enjoy the warmth and comfort that your new block chimney brings. Gather around the fireplace, create lasting memories, and bask in the cozy ambiance of your home.
So go ahead, embark on this rewarding journey of building your own block chimney, and experience the joy of a functional and visually appealing addition to your home.
Frequently Asked Questions about How To Build A Block Chimney
Was this page helpful?
At Storables.com, we guarantee accurate and reliable information. Our content, validated by Expert Board Contributors, is crafted following stringent Editorial Policies. We're committed to providing you with well-researched, expert-backed insights for all your informational needs.

0 thoughts on “How To Build A Block Chimney”