Home>Articles>Step-by-Step Patio Design Plans For An Outdoor Space You’ll Love

Articles
Step-by-Step Patio Design Plans For An Outdoor Space You’ll Love
Modified: October 20, 2024
Discover step-by-step patio design plans and articles for creating an outdoor space you'll adore. Transform your patio with expert advice and inspiration.
(Many of the links in this article redirect to a specific reviewed product. Your purchase of these products through affiliate links helps to generate commission for Storables.com, at no extra cost. Learn more)
Introduction
Designing the perfect outdoor space for your home is an exciting endeavor. A patio can be the centerpiece of your backyard, providing a comfortable and inviting area for relaxation, entertainment, and quality time with loved ones. Whether you’re starting from scratch or looking to renovate an existing patio, following a step-by-step plan can help you create a space that you’ll love.
When designing your patio, it’s important to consider both aesthetics and functionality. You want a space that reflects your personal style and complements your home’s architecture while also meeting your practical needs. This article will guide you through the process of creating a patio design plan, from assessing the space and determining its purpose to choosing materials, creating a layout, and adding the finishing touches.
By following these steps, you’ll be able to create a patio that not only enhances the beauty of your outdoor area but also adds value to your home. So, let’s get started on designing the outdoor oasis you’ve always dreamed of!
Key Takeaways:
- Designing a patio involves assessing space, determining its purpose, choosing materials, creating a layout, and adding functional and aesthetic elements. It’s a step-by-step process that results in a beautiful and functional outdoor oasis.
- The finishing touches, such as decorative accessories, comfort items, privacy features, and outdoor entertainment options, add personality and functionality to the patio, creating a space for endless joy and relaxation.
Step 1: Assessing Your Space
Before diving into the design process, it’s essential to assess your outdoor space and understand its limitations and potential. Take some time to carefully observe your backyard and consider the following factors:
- Size and Shape: Measure the dimensions of your available space and take note of any irregularities or unique features. This will help you determine the appropriate size and shape for your patio.
- Topography: Observe the natural slope or incline of your backyard. This will affect the levelness and stability of your patio and may require additional preparation.
- Sunlight and Shade: Identify the areas of your outdoor space that receive the most sunlight and shade throughout the day. This will influence the placement of your patio and help you determine seating arrangements and shading options.
- Existing Features: Take note of any existing features in your backyard, such as trees, flower beds, or utility lines. These will need to be accounted for in your design plan to ensure a harmonious integration.
By thoroughly assessing your outdoor space, you will have a better understanding of its dynamics and be able to make informed decisions during the patio design process. It will also help you anticipate any challenges that may arise and plan accordingly.
Once you have a clear idea of your space, it’s time to move on to the next step: determining the purpose of your patio.
Step 2: Determining the Purpose of Your Patio
Every patio serves a specific purpose, and identifying the primary function of your outdoor space will guide your design choices. Here are a few common purposes for a patio:
- Entertainment: If you enjoy hosting gatherings and parties, you may want to prioritize a patio design that accommodates ample seating and space for outdoor dining or a barbecue area.
- Relaxation: If your goal is to create a peaceful retreat where you can unwind and enjoy some quiet time outdoors, focus on incorporating comfortable lounge furniture, cozy lighting, and lush greenery.
- Family Activities: For families with children, a patio can be a versatile space for various activities. Consider including a play area, space for outdoor games, and durable, kid-friendly materials.
- Gardening: If you have a green thumb, you may want to create a patio that integrates well with your gardening interests. Allocate space for potting plants, installing raised beds, or constructing a garden-walled patio.
It’s important to note that your patio can serve multiple purposes. However, knowing the primary function will help you make design choices that prioritize that specific need.
Once you have determined the purpose of your patio, you can move on to the next step: choosing the right materials for your design.
Step 3: Choosing the Right Materials
The materials you choose for your patio will not only impact its aesthetic appeal but also its durability and maintenance requirements. When selecting materials, consider the following factors:
- Climate: Consider the climate in your area. If you experience extreme weather conditions, such as heavy rain or frost, opt for materials that can withstand these challenges, such as concrete, brick, or natural stone.
- Style: Determine the style you want to achieve with your patio. Are you aiming for a modern and sleek look, or a rustic and natural ambiance? Choose materials that align with your desired aesthetic, such as pavers, tiles, or wood decking.
- Maintenance: Consider the level of maintenance you are willing to commit to. Some materials, like concrete or composite decking, require minimal upkeep, while others, like natural wood, may need regular sealing or staining.
- Budget: Set a budget for your patio project and choose materials that fit within your financial constraints. Keep in mind that higher-quality materials may come with a higher price tag but can offer better longevity and visual appeal.
It’s also important to select materials that harmonize with the overall style of your home and surrounding landscape. Consider complementary colors, textures, and patterns to create a cohesive and visually appealing outdoor space.
Once you have chosen the materials, you can proceed to the next step: creating a layout and design plan for your patio.
Step 4: Creating a Layout and Design Plan
Creating a layout and design plan for your patio is crucial for ensuring that the space is both functional and visually pleasing. Follow these steps to create an effective layout:
- Measurements: Use the measurements of your outdoor space to create a scaled drawing. Include any existing features, such as trees or utility lines, as well as the desired patio dimensions.
- Zoning: Divide your patio space into “zones” based on its purpose. For example, you may want separate areas for dining, lounging, and planting. This zoning will help guide the placement of furniture and other elements.
- Furniture and Features: Consider the furniture and features you want to incorporate into your patio. Mark their arrangement on your layout, ensuring that there is adequate space for movement and functionality.
- Traffic Flow: Plan pathways and traffic flow to ensure easy access to different zones of your patio. Consider how people will navigate the space and optimize the layout for convenience.
- Focal Points: Identify focal points or focal areas and design the layout to highlight them. This could be a stunning view, a fireplace, or a beautiful garden bed.
As you create your design plan, don’t forget to consider elements such as lighting, shade structures, and privacy options. These details can greatly enhance the ambiance and functionality of your patio.
Once your layout and design plan are complete, you can move on to the next step: preparing the area for construction.
Step 5: Preparing the Area
Before you start building your patio, it’s essential to properly prepare the area to ensure a solid foundation and long-lasting structure. Follow these steps to prepare the area:
- Clean the space: Remove any plants, debris, or obstacles from the area where your patio will be constructed. This includes rocks, weeds, and old structures that need to be demolished.
- Excavation: If necessary, excavate the area to the desired depth to accommodate the base and paver thickness. This step may involve digging or using heavy machinery to level the ground.
- Leveling: Ensure that the excavated area is level and properly graded to allow for proper drainage. Consider using a laser level or a string level to achieve an even surface.
- Compact the soil: Use a compactor or a plate tamper to compact the soil. This will create a stable base and prevent future settling of the patio surface.
- Add a weed barrier: Lay a weed barrier fabric over the prepared area to prevent weed growth and maintain a cleaner surface over time. Trim the fabric to fit your patio dimensions.
Preparing the area is an essential step that sets the foundation for your patio construction. Taking the time to level the ground, prepare the soil, and install a weed barrier will help ensure the longevity and stability of your patio.
Once the area is prepared, you can move on to the next step: installing the foundation for your patio.
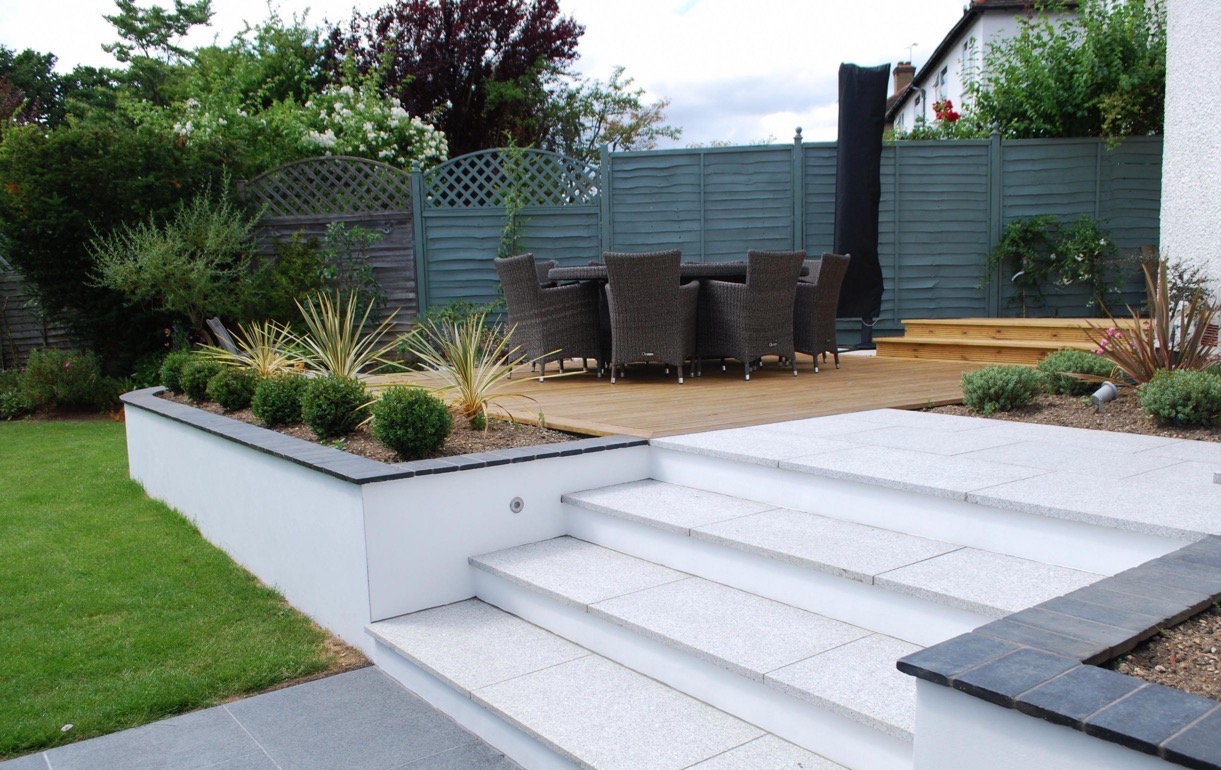
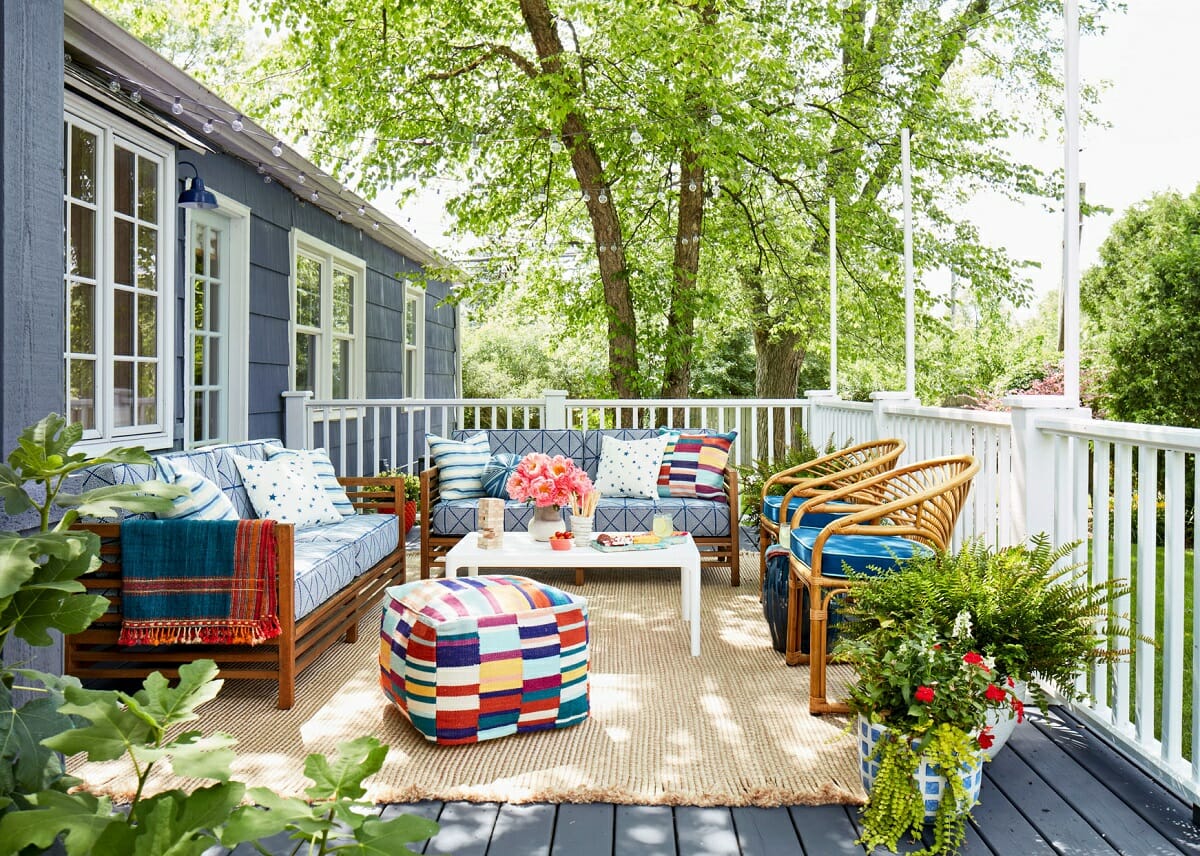
When designing your patio, consider the layout and flow of the space to ensure it meets your needs for dining, lounging, and entertaining. This will help create an outdoor space that you’ll love.
Step 6: Installing the Foundation
The foundation of your patio is crucial for its stability and longevity. It provides a solid base for the patio surface to be installed upon. Follow these steps to install the foundation:
- Base material: Begin by adding a layer of base material, such as crushed stone or gravel, to the excavated area. This will help with drainage and provide a stable foundation.
- Compact the base: Use a plate compactor or hand tamper to compact the base material. This will ensure that it is tightly packed and levelled, creating a sturdy foundation for your patio.
- Edge restraints: Install edge restraints along the perimeter of the patio area. These can be made of plastic, metal, or concrete and help to keep the pavers in place and prevent shifting.
- Layer of sand: Add a layer of sand over the compacted base. This will provide a smooth and even surface for laying the pavers. Use a screed board or a rake to evenly distribute the sand.
- Level the sand: Use a long straight board or a screed to level the layer of sand. Move the screed back and forth in a sawing motion to create a flat and even surface.
Installing a solid foundation is vital for the proper installation of your patio. Taking the time to ensure a level and compacted base will prevent future settling and maintain the integrity of your patio surface.
With the foundation in place, you can now move on to the next step: building the patio surface.
Step 7: Building the Patio Surface
With the foundation prepared, it’s time to start building the surface of your patio. The choice of materials and the installation method will depend on your design plan and personal preferences. Follow these steps to build the patio surface:
- Layout: Start by laying the first row of pavers or tiles along one edge of the patio. Ensure that they are aligned straight and level before proceeding.
- Interlocking pavers: If you’re using interlocking pavers, continue laying the pavers row by row, interlocking them together. Use a rubber mallet to tap them into place and ensure they are level.
- Concrete pavers: If you’re using concrete pavers, lay them tightly together in the desired pattern, leaving a small gap between each paver for jointing material.
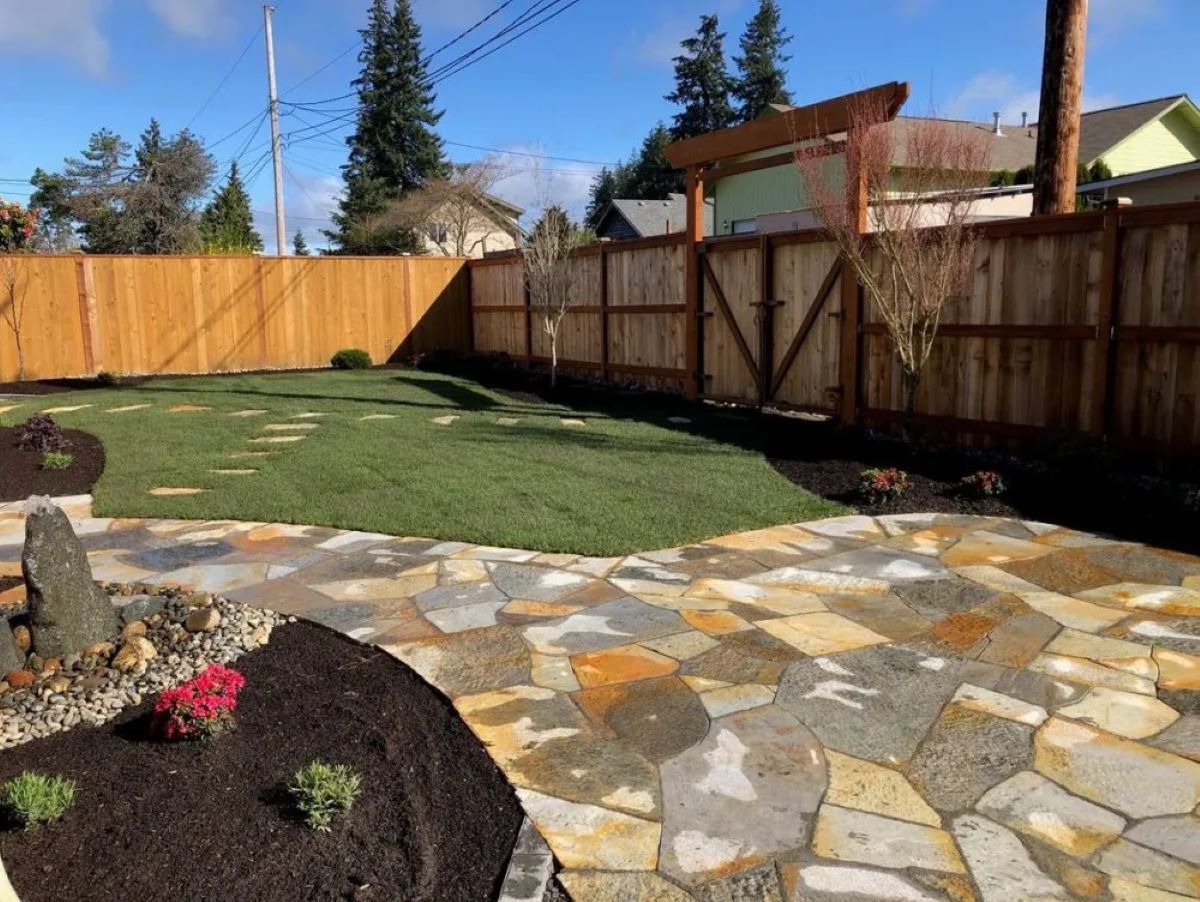
- Tiles or natural stone: If you’re using tiles or natural stone, follow the manufacturer’s instructions for installation. Apply mortar or adhesive to the prepared surface and set the tiles or stones in place.
- Grouting: For interlocking pavers and some types of tiles, apply jointing sand or grout between the pavers or tiles. This will stabilize them and prevent weed growth. Sweep off any excess sand or grout.
As you build the patio surface, regularly check for levelness and adjust as necessary. Take your time to ensure that each paver or tile is securely and evenly placed to achieve a professional and visually appealing result.
After completing the patio surface, you can move on to the next step: adding functional elements to your outdoor space.
Step 8: Adding Functional Elements
Adding functional elements to your patio will enhance its usability and make it more enjoyable for you and your guests. Consider these functional elements to incorporate into your outdoor space:
- Seating: Choose comfortable and weather-resistant furniture that suits your needs and design aesthetic. Options include lounge chairs, dining sets, benches, and hammocks.
- Shade: Install a patio umbrella or awning to provide shade during hot sunny days. Alternatively, consider building a pergola or installing a retractable canopy to create a shaded area.
- Outdoor Kitchen: If you enjoy cooking and entertaining outdoors, consider adding an outdoor kitchen. Include a grill, countertop space, a sink, and storage for cooking utensils and supplies.
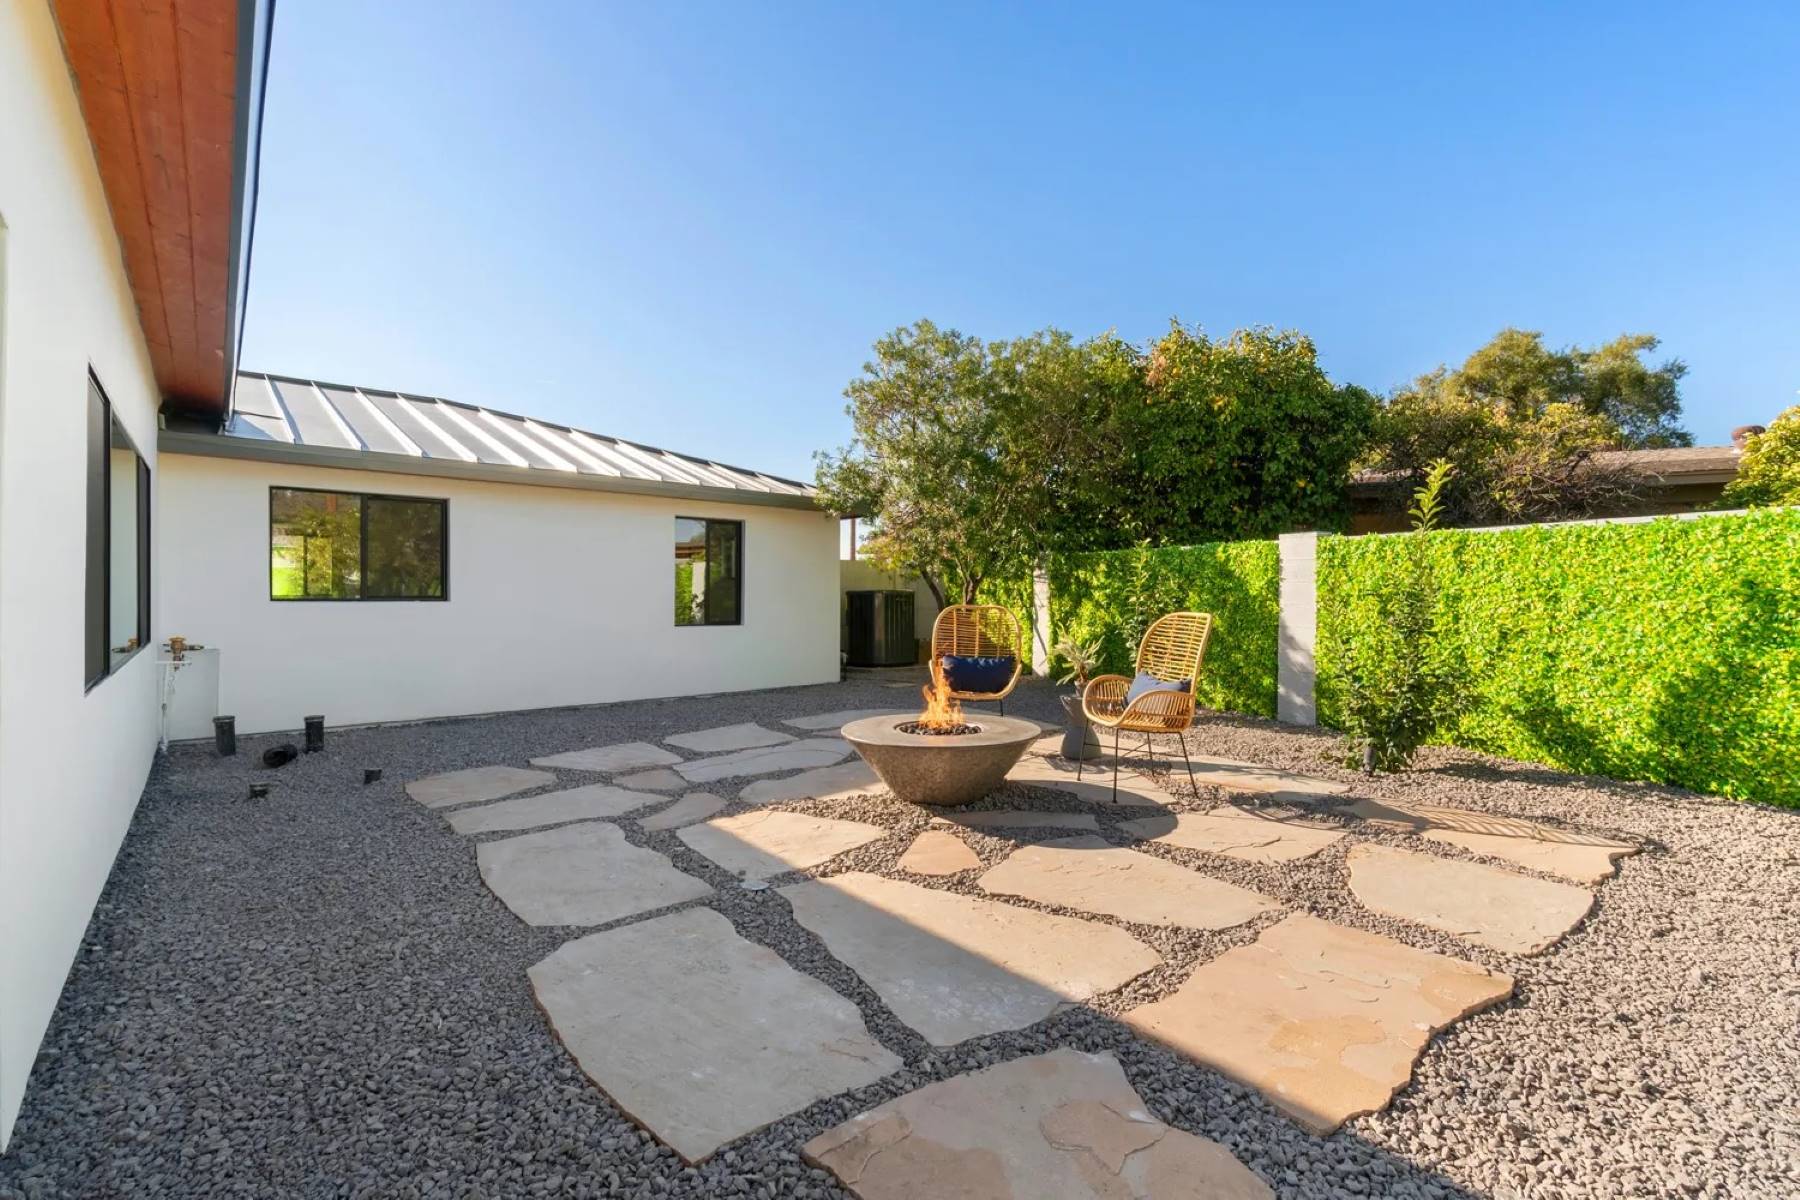
- Firepit or Fireplace: Create a cozy ambiance and extend the use of your patio into cooler evenings by adding a firepit or fireplace. This will provide warmth and a focal point for gathering.
- Lighting: Install outdoor lighting to illuminate your patio and create a welcoming atmosphere during nighttime. Options include string lights, lanterns, spotlights, and pathway lighting.
Don’t forget to consider the functional elements that align with your patio’s purpose, whether it’s for entertaining, relaxation, or family activities. These elements will make your patio a versatile and inviting space for various activities.
With the addition of functional elements, you can now focus on enhancing the aesthetics of your patio. This brings us to the next step: step 9 – enhancing the aesthetics of your outdoor space.
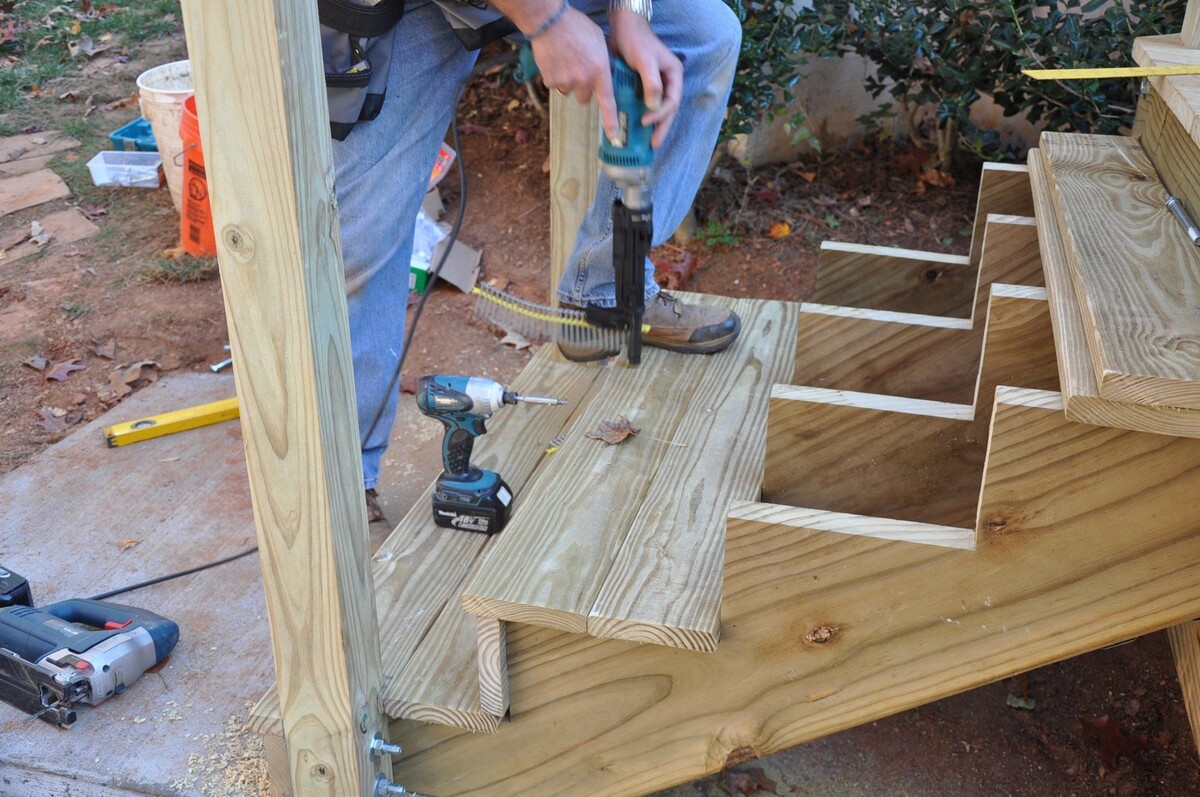
Read more: How To Build A Step On A Patio
Step 9: Enhancing the Aesthetics
Enhancing the aesthetics of your patio involves adding decorative elements and personal touches that reflect your style and create a visually appealing outdoor space. Consider the following ideas to enhance the aesthetics of your patio:
- Plants and Greenery: Incorporate plants and greenery to add a touch of nature to your patio. Choose a variety of potted plants, hanging baskets, and flower beds to create a vibrant and lively atmosphere.
- Outdoor Art and Decor: Hang artwork or decorative pieces on the walls or fences surrounding your patio. Install outdoor sculptures or wind chimes for an artistic and unique touch.
- Color Scheme: Choose a color scheme that complements your home’s exterior and creates a cohesive look. Coordinate the colors of your furniture, cushions, and decorative accessories to achieve a harmonious design.
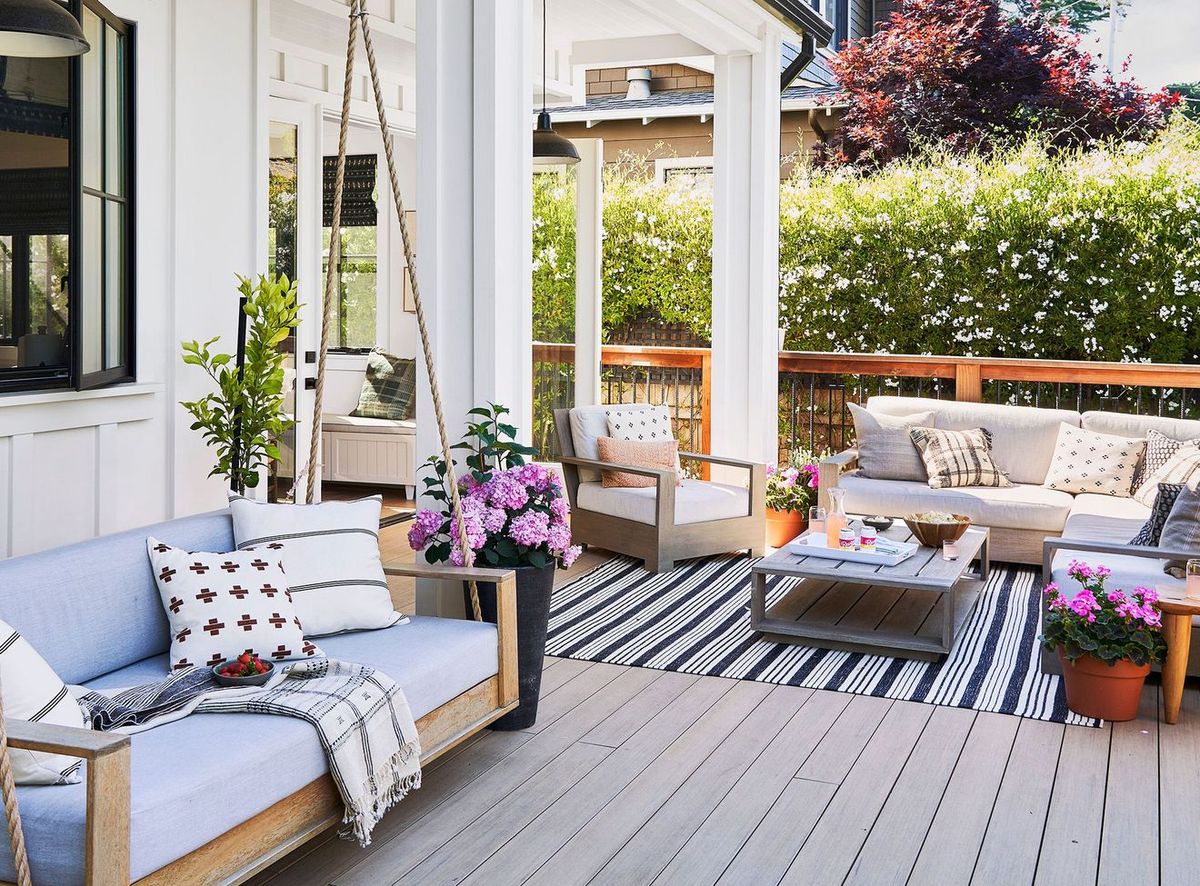
- Outdoor Rugs and Pillows: Add comfort and style with outdoor rugs and pillows. Opt for weather-resistant materials and patterns that suit your design preference.
- Water Features: Install a small water fountain, pond, or a wall-mounted water feature to create a calming and tranquil atmosphere. The sound of trickling water adds a soothing element to your patio.
By incorporating these aesthetic elements, you can transform your patio into a visually stunning and inviting outdoor space. Remember to choose elements that align with your personal style and preferences to create a patio that feels like an extension of your home.
Once you’ve enhanced the aesthetics of your patio, you can move on to the final step: step 10 – adding the finishing touches.
Step 10: Finishing Touches
The finishing touches are the final details that pull the whole patio design together and make it feel complete. These small additions can make a big difference in the overall look and feel of your outdoor space. Consider these finishing touches for your patio:
- Accessorize: Add decorative accessories such as lanterns, candleholders, and outdoor rugs to enhance the ambiance and create a cozy atmosphere.
- Comfort: Incorporate cushions, throws, and outdoor curtains to add comfort and make your patio an inviting space for relaxation and leisure.
- Privacy: Install privacy screens, trellises, or bamboo shades to create a sense of seclusion and enhance the privacy of your patio.
- Outdoor Entertainment: Consider adding a sound system, outdoor speakers, or a television to create an entertainment hub for outdoor movie nights or music-filled gatherings.
- Outdoor Kitchen Accessories: Enhance your outdoor kitchen by adding a mini-fridge, a bar area, or a built-in ice cooler to elevate your entertaining capabilities.
These finishing touches will add personality, functionality, and comfort to your patio, making it a space that you and your guests will truly enjoy spending time in.
With the finishing touches in place, your patio design plans are complete. You’ve followed a step-by-step process to assess your space, determine its purpose, choose materials, create a layout, prepare the area, install the foundation, build the patio surface, add functional elements, enhance aesthetics, and add the finishing touches.
Now it’s time to sit back, relax, and enjoy your beautifully designed outdoor space. Whether you’re gathering with friends and family, hosting a summer barbecue, or simply basking in the tranquility of your own backyard, your carefully planned patio will provide endless moments of joy and relaxation.
Congratulations on creating your dream outdoor patio!
Conclusion
Designing and creating a patio that you love is a rewarding and fulfilling process. By following the step-by-step plan outlined in this article, you have learned how to assess your space, determine the purpose of your patio, choose the right materials, create a layout and design plan, prepare the area, install the foundation, build the patio surface, add functional elements, enhance aesthetics, and add the finishing touches.
Throughout this process, you have considered factors such as size, shape, climate, style, and budget to make informed decisions. You have carefully planned the layout, selected materials that align with your vision, and incorporated elements that enhance both functionality and aesthetics.
Your patio is now a beautiful and functional space that reflects your style and meets your needs. Whether it’s a place for entertaining, relaxation, or family activities, your patio creates an outdoor oasis that extends the living space of your home.
Remember to continuously maintain and care for your patio to ensure its longevity. Regular cleaning, upkeep, and occasional repairs will keep your patio looking its best and ready to enjoy for years to come.
Now it’s time to sit back, unwind, and appreciate the fruits of your labor. Enjoy the company of friends and family, create memories, and relish in the joy of having a patio that truly reflects your personal style and enhances your outdoor living experience.
Congratulations on successfully designing and creating a patio you’ll love!
Frequently Asked Questions about Step-by-Step Patio Design Plans For An Outdoor Space You'll Love
Was this page helpful?
At Storables.com, we guarantee accurate and reliable information. Our content, validated by Expert Board Contributors, is crafted following stringent Editorial Policies. We're committed to providing you with well-researched, expert-backed insights for all your informational needs.





0 thoughts on “Step-by-Step Patio Design Plans For An Outdoor Space You’ll Love”