Home>Furniture>Outdoor Furniture>How To Build Patio Steps From Pavers
Outdoor Furniture
How To Build Patio Steps From Pavers
Modified: August 20, 2024
Looking to build patio steps from pavers? Discover step-by-step instructions and expert tips for creating beautiful outdoor furniture.
(Many of the links in this article redirect to a specific reviewed product. Your purchase of these products through affiliate links helps to generate commission for Storables.com, at no extra cost. Learn more)
Introduction
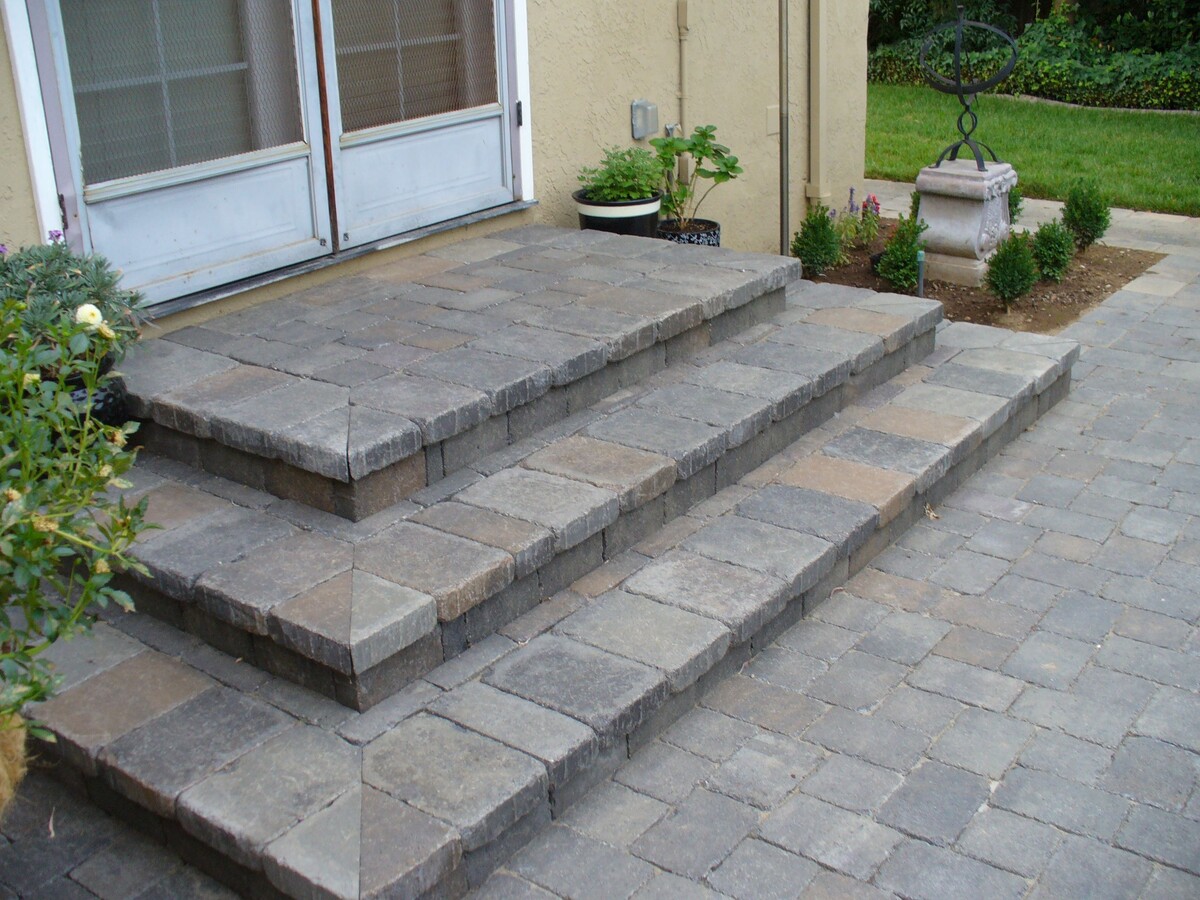
Welcome to the world of outdoor living! Whether you have a spacious backyard, a cozy patio, or a charming balcony, having the right furniture can transform your outdoor space into a haven of relaxation and entertainment. One essential piece of outdoor furniture that can enhance both the functionality and aesthetics of your outdoor area is patio steps.
Patio steps not only provide convenient access to different levels of your outdoor space, but they also add a touch of elegance and sophistication. While there are various types of patio steps available in the market, building your own steps from pavers can be a rewarding and cost-effective project. In this article, we will guide you through the step-by-step process of building patio steps from pavers.
Before we dive into the details, it’s important to note that building patio steps requires some DIY skills and basic tools. However, with careful planning and following our instructions, you’ll be able to create beautiful patio steps that will enhance the overall ambiance of your outdoor space.
So, let’s get started and turn your outdoor area into a stunning oasis of comfort and style!
Key Takeaways:
- Building patio steps from pavers is a rewarding DIY project that can enhance the functionality and beauty of your outdoor space. It requires careful planning, precise measurements, and attention to detail.
- The step-by-step process of building patio steps involves gathering materials, preparing the area, measuring and marking the steps, digging trenches, leveling the ground, laying gravel and pavers, and adding finishing touches. Each step is crucial for creating sturdy and visually pleasing patio steps.
Read more: How To Build A Step On A Patio
Step 1: Gather Materials and Tools
Before you begin building patio steps from pavers, it’s essential to gather all the necessary materials and tools. Having everything ready will save you time and ensure a smooth construction process. Here is a list of the materials and tools you will need:
- Pavers: Choose the type and style of pavers that best match your outdoor decor and personal preferences. Measure the dimensions of your steps to determine the number of pavers needed.
- Gravel: This will be used as the base layer for your steps. Calculate the amount of gravel based on the dimensions of your steps.
- Sand: You will need sand to fill in the gaps between the pavers and provide stability.
- Adhesive: Select a strong adhesive that is designed for outdoor use to secure the pavers together.
- Shovel: A sturdy shovel is necessary for digging out the trenches for the steps.
- Tape Measure: Accurate measurements are crucial for a successful project, so make sure you have a tape measure at hand.
- Level: A level will help ensure that your steps are even and properly aligned.
- Tamping Tool: This tool is used to compact the base layer of gravel.
- Rubber Mallet: A rubber mallet is essential for gently tapping the pavers into place without damaging them.
- Broom: You’ll need a broom to sweep the sand between the pavers and achieve a clean and finished look.
Once you have gathered all the necessary materials and tools, you’re ready to move on to the next step: preparing the area for your patio steps.
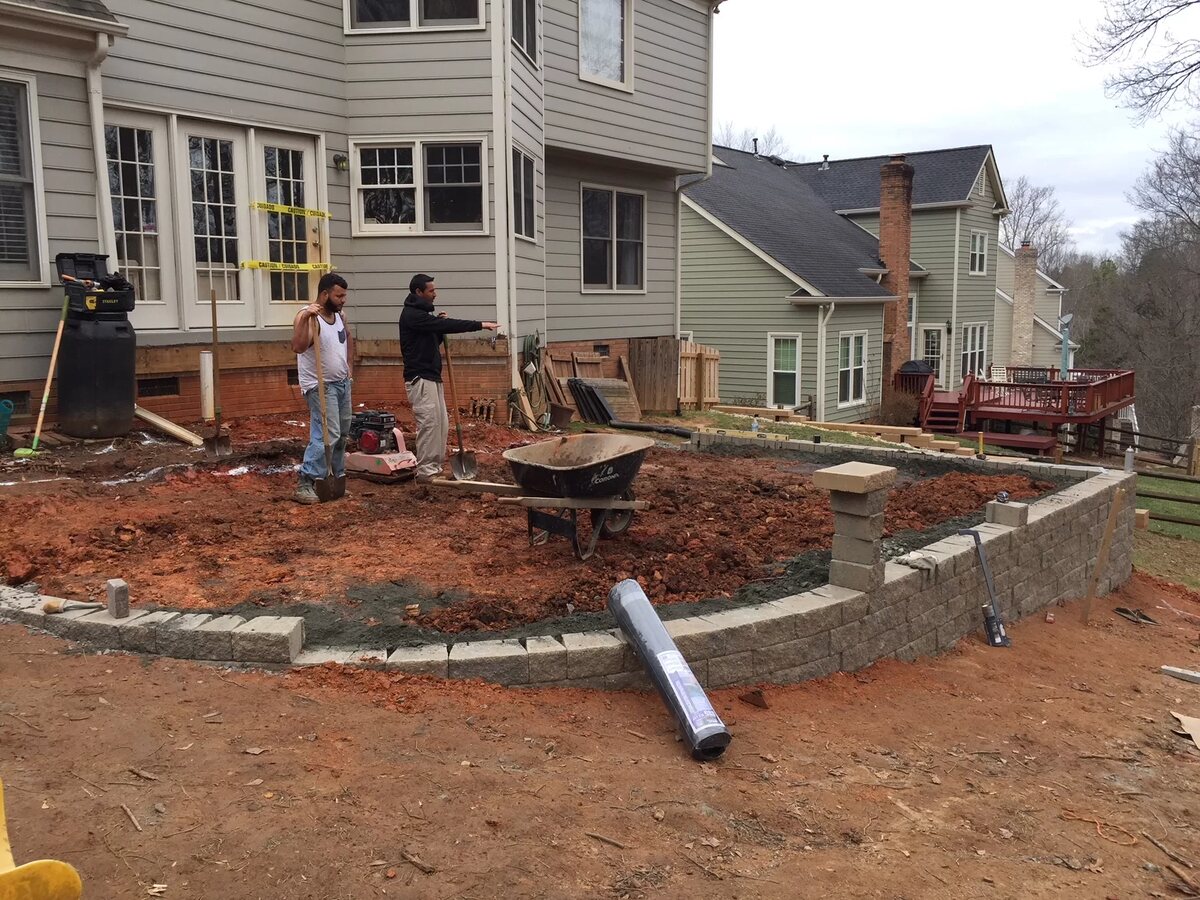
Step 2: Prepare the Area
Now that you have all your materials and tools ready, it’s time to prepare the area where your patio steps will be constructed. Here’s what you need to do:
- Clear the Area: Remove any plants, debris, or obstacles from the area where your steps will be located. This will ensure a clean and accessible workspace.
- Mark the Step Locations: Use a tape measure and stakes to mark the exact locations where each step will be placed. Make sure the measurements are accurate and the steps are spaced evenly.
- Measure the Depth: Determine how deep the trenches for your steps need to be. This will depend on the height of each step and the thickness of the pavers you’re using.
- Excavate the Trenches: Use a shovel to dig out the trenches according to your measurements. Remove the soil and create a level surface for the base layer of gravel.
- Check the Slope: Ensure that the slope of the trenches is slightly angled away from your house or any other structure. This will prevent water from pooling and causing damage in the future.
By properly preparing the area, you are setting the foundation for a stable and long-lasting set of patio steps. Once you have completed these steps, you’re ready to move on to measuring and marking the steps.
Step 3: Measure and Mark the Steps
Measuring and marking the steps is a crucial step in building patio steps from pavers. This will ensure that your steps are evenly spaced and have consistent dimensions. Follow these steps to measure and mark your steps:
- Start at the bottom of the trench and measure the desired rise for each step. The rise is the height from one step to the next.
- Divide the total height by the rise measurement to determine the number of steps needed. Remember to account for the thickness of the paver that will be used as the top surface of each step.
- Measure the width of each step. This will depend on how wide you want your steps to be and the dimensions of the pavers you’re using.
- Use a tape measure and a chalk line to mark the dimensions of each step. Start from the bottom and work your way up, ensuring that each step is evenly spaced and aligned.
- Double-check your measurements and adjustments before proceeding to the next step. It’s crucial to have accurate measurements to ensure a seamless installation.
Marking the steps will serve as your guide throughout the construction process. It will help you maintain consistency and ensure that your patio steps are aesthetically pleasing and functional. Once you have measured and marked the steps, you’re ready to move on to the next step: digging out the trenches.
Step 4: Dig Out the Trenches
With your measurements and markings in place, it’s time to dig out the trenches for your patio steps. This step is crucial as it will provide the foundation for your steps and ensure their stability. Follow these steps to dig out the trenches:
- Using your shovel, start digging at the lowest point of the marked area. Dig down to the desired depth for each step, making sure to follow the slope you established during the area preparation stage.
- As you dig, periodically check the depth of the trenches using a tape measure or a level. This will ensure that each trench is consistent throughout the entire set of steps.
- Remove any excess soil or debris from the trenches, making sure to create a clean and even surface for the next steps of the construction process.
- Take your time during this step to ensure that the trenches are dug accurately and to the proper depth. This will provide a stable base for your steps and ensure the longevity of your project.
Once you have finished digging out the trenches, you’re ready to move on to the next step: leveling the ground.
Read more: How To Build Patio Paver Stairs
Step 5: Level the Ground
After digging out the trenches for your patio steps, it’s important to level the ground to ensure a solid and even foundation. A level surface will help prevent any unevenness or instability in your steps. Follow these steps to level the ground:
- Using your shovel or a rake, smooth out the bottom of each trench to create an even surface. Remove any large rocks, roots, or debris that may interfere with the leveling process.
- Place a long board or a level across the length of the trench and adjust the soil until it is level. This will help you identify any high or low spots that need to be addressed.
- Add or remove soil as needed to achieve a level surface. Use the board or level to check the accuracy of your leveling adjustments.
- Repeat this process for each trench, ensuring that all areas are leveled and free from any irregularities.
- Take your time in this step to ensure that the ground is properly leveled. This will provide a sturdy base for your steps and prevent any potential issues down the line.
Once you have leveled the ground, you’re ready to move on to the next step: laying the base layer of gravel.
Step 6: Lay the Base Layer of Gravel
Now that the ground is leveled, it’s time to lay the base layer of gravel for your patio steps. The gravel layer will provide stability and drainage for your steps. Follow these steps to lay the base layer:
- Spread a layer of gravel evenly across the bottom of each trench. The gravel should be about 2-3 inches thick.
- Use a rake or a tamping tool to compact the gravel firmly. This will ensure that the base layer is solid and stable.
- Continue adding gravel and compacting it until the entire bottom of each trench is covered and level.
- Check the levelness of the gravel layer using a board or a level. Make any necessary adjustments to ensure an even and stable base for your steps.
By laying down the base layer of gravel, you are creating a solid foundation for your patio steps. The compacted gravel will provide stability and support for the pavers. Once you have completed this step, you’re ready to move on to the next step: compacting the base layer.
When building patio steps from pavers, make sure to properly compact the base material and use a level to ensure each paver is even and stable. This will create a sturdy and safe set of steps for your patio.
Step 7: Compact the Base Layer
After laying the base layer of gravel, it’s important to properly compact it to ensure a stable and durable foundation for your patio steps. Compacting the base layer will help prevent settling and shifting of the pavers over time. Follow these steps to compact the base layer:
- Using a tamping tool or a compactor, go over the entire base layer of gravel, applying even pressure. Start from the back of the trench and work your way towards the front.
- Make multiple passes over the gravel, ensuring that it is firmly compacted. Pay extra attention to the edges and corners of the trenches.
- Check the levelness of the compacted base layer by placing a board or a level across it. Make any necessary adjustments to achieve a smooth and even surface.
- Continue compacting until the base layer feels solid and there are no loose areas or gaps.
By properly compacting the base layer, you are ensuring that your patio steps have a strong foundation. This will help prevent any future issues such as sinking or shifting. Once you have completed this step, you’re ready to move on to adding the first layer of pavers.
Step 8: Add the First Layer of Pavers
Now that you’ve prepared the base layer, it’s time to start building your patio steps by adding the first layer of pavers. This step will set the initial level and structure for your steps. Follow these steps to add the first layer of pavers:
- Start at the bottom of the trench and position the first paver in place. Gently tap it into the gravel using a rubber mallet to ensure it is secure and level.
- Continue placing the pavers one by one, making sure they are tightly packed and evenly aligned. Use a level to check the horizontal and vertical alignment of each paver.
- If necessary, adjust the height of each paver by adding or removing gravel beneath it. This will help achieve a consistent and level surface.
- Leave a small gap of about 1/4 inch between each paver for the sand that will be added later to fill in the gaps.
- Continue adding pavers until the entire first layer is complete. Take your time to ensure that each paver is securely in place and level with the others.
Adding the first layer of pavers is an exciting step as you start to see your patio steps taking shape. Make sure to pay attention to the alignment and levelness of each paver to ensure a professional and visually pleasing result. Once you have completed this step, you’re ready to move on to filling in the gaps with sand.
Read more: How To Build A Raised Paver Patio
Step 9: Fill in the Gaps with Sand
Filling in the gaps between the pavers with sand is an important step in the construction of your patio steps. The sand will provide stability and prevent the pavers from shifting over time. Follow these steps to fill in the gaps with sand:
- Use a broom to sweep off any debris or excess gravel from the surface of the pavers.
- Spread a thin layer of sand evenly over the paver surface, making sure to fill in the gaps between the pavers.
- Using a stiff broom or a brush, sweep the sand back and forth, allowing it to settle into the gaps. This will help level the sand and ensure a tight fit between the pavers.
- Continue adding sand and sweeping until all the gaps are filled. You may need to add additional sand as it settles.
- Gently mist the surface with water to help the sand settle further and secure the pavers in place. Avoid soaking the area, as excessive water can wash away the sand.
Filling the gaps with sand not only provides stability to your patio steps but also gives them a finished and polished look. Take your time during this step to ensure that the sand is evenly distributed and properly settled. Once you have completed this step, you’re ready to add the second layer of pavers.
Step 10: Add the Second Layer of Pavers
As you near the completion of your patio steps, it’s time to add the second layer of pavers. This layer will add height and structure to your steps, creating a visually appealing and functional design. Follow these steps to add the second layer of pavers:
- Start at the bottom of the steps and position the first paver of the second layer on top of the first layer. Ensure it aligns with the underlying paver and sits securely.
- Continue adding pavers one by one, making sure they are tightly packed and aligned with the first layer. Use a level to check the horizontal and vertical alignment of each paver.
- Adjust the height of each paver by adding or removing sand beneath it. This will help create an even and level surface for your steps.
- As you add each paver, gently tap it into place with a rubber mallet to ensure it sits firmly on the layer below.
- Continue adding pavers until the second layer is complete. Take your time to ensure that each paver is securely in place and level with the others.
Adding the second layer of pavers brings your patio steps to their final height and completes the structural integrity of your design. Make sure to pay attention to the alignment and levelness of each paver, just like in the previous steps. Once you have completed this step, you’re ready to secure the steps with adhesive.
Step 11: Secure the Steps with Adhesive
Securing your patio steps with adhesive is an essential step to ensure the stability and longevity of your construction. Adhesive will help bond the pavers together, preventing them from shifting or becoming loose over time. Follow these steps to secure the steps with adhesive:
- Using a caulking gun, apply a generous amount of outdoor adhesive to the gaps between the pavers in each layer. Ensure that the adhesive covers the entire gap and creates a strong bond.
- Press the pavers firmly together, allowing the adhesive to spread and create a seamless connection.
- Wipe off any excess adhesive that may have squeezed out from the gaps using a damp cloth or a scraper. This will help achieve a clean and professional finish.
- Allow the adhesive to fully cure according to the manufacturer’s instructions before putting any weight or pressure on the steps. This will ensure a strong bond between the pavers.
Securing the steps with adhesive adds an extra layer of strength and stability to your patio steps. It ensures that the pavers stay firmly in place, even with regular use and exposure to the elements. Once the adhesive has fully cured, you can move on to adding the finishing touches to complete your patio steps.
Step 12: Add Finishing Touches
As you reach the final step of building your patio steps, it’s time to add the finishing touches to complete the project. These final touches will not only enhance the appearance of your steps but also ensure their functionality and safety. Follow these steps to add the finishing touches:
- Clean the Surface: Use a broom or a brush to sweep off any remaining debris or loose sand from the surface of the steps. This will create a clean and inviting look.
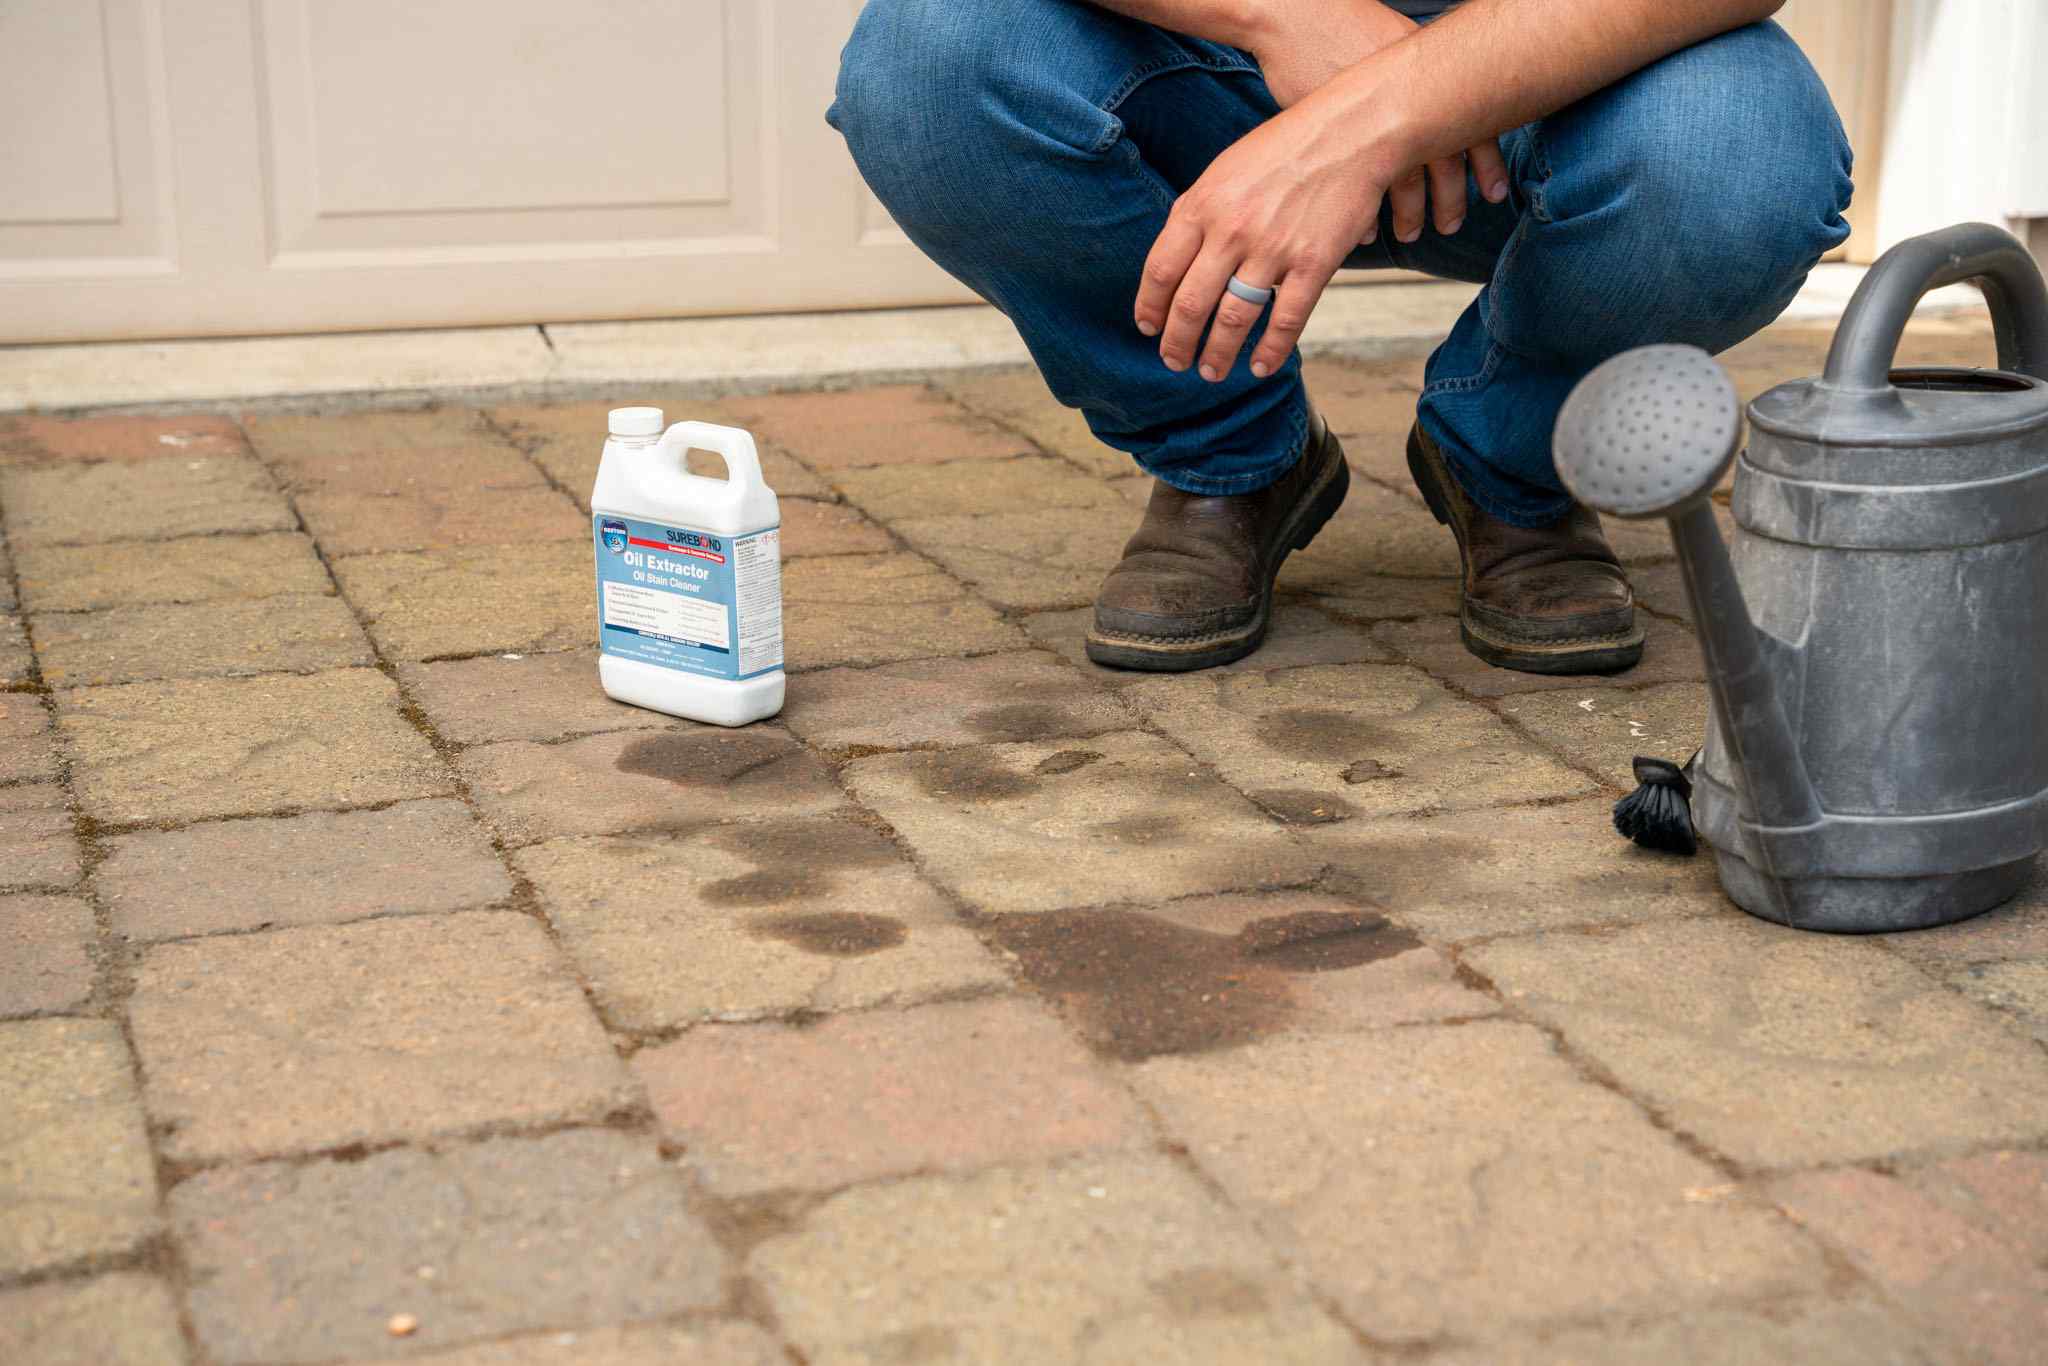
- Seal the Pavers: Consider applying a sealer to the pavers. This will protect them from stains and weathering, extending their lifespan and enhancing their appearance. Follow the manufacturer’s instructions for proper application.
- Add Lighting: Install outdoor lighting fixtures to illuminate the steps at night. This will not only provide a beautiful ambient glow but also enhance safety and visibility in the dark.
- Add Handrails: If necessary, install handrails on the sides of the steps for added safety and support. Choose handrails that complement the style of your outdoor space and ensure they are securely attached.
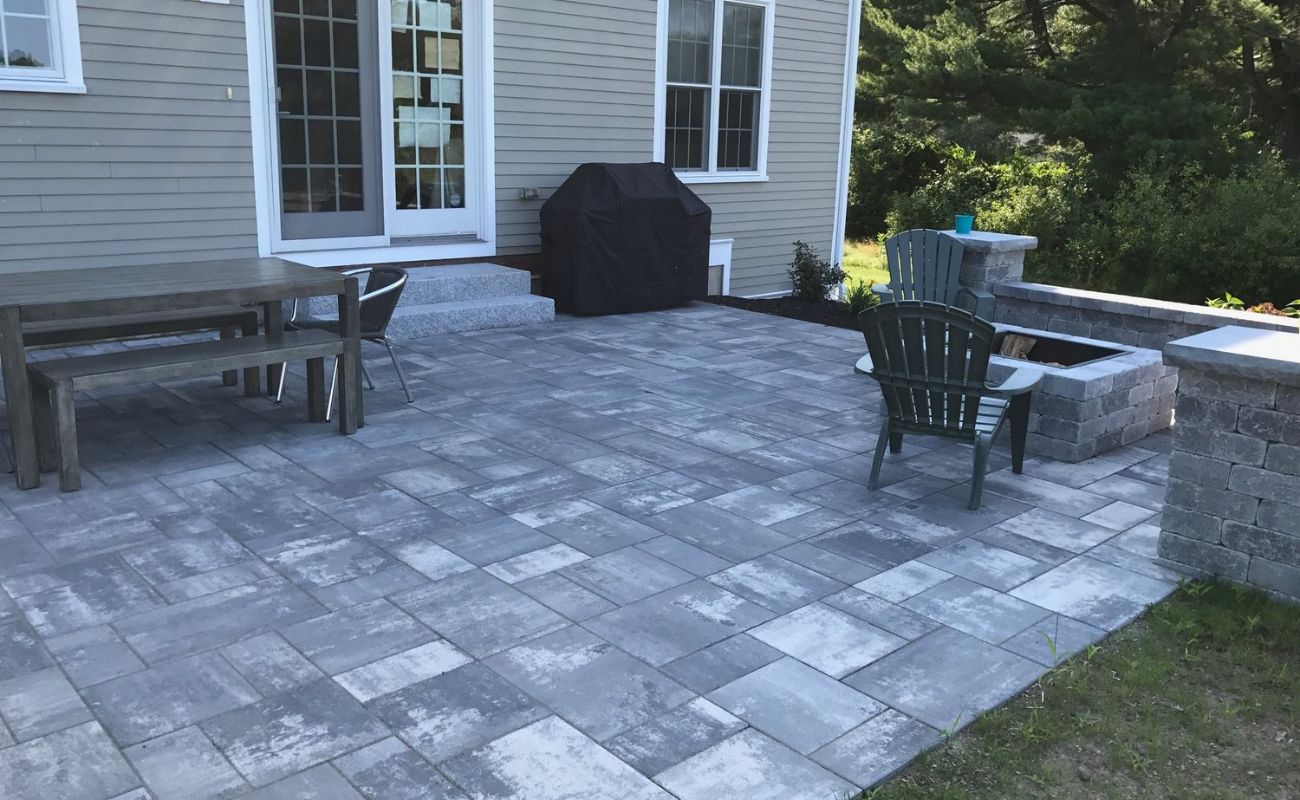
- Landscaping: Enhance the overall look of your patio steps by adding landscaping elements such as flower beds, potted plants, or decorative stones around the steps. This will create a visually appealing and cohesive outdoor space.
Adding these finishing touches will transform your patio steps into a standout feature of your outdoor area. Whether it’s cleaning, sealing, adding lighting, or incorporating landscaping elements, these final steps will ensure that your patio steps are not only functional but also an attractive addition to your outdoor space.
With the completion of these steps, your patio steps are now ready to be enjoyed. Take a moment to admire your hard work and enjoy the convenience and beauty of your newly constructed outdoor steps. Remember to regularly maintain and clean your patio steps to keep them in optimal condition for years to come.
Congratulations on successfully building your patio steps from pavers and creating a stunning addition to your outdoor living area!
Read more: How To Build A Paver Patio For A Hot Tub
Conclusion
Building patio steps from pavers is a fulfilling project that can transform your outdoor space into a functional and visually appealing area. By following the step-by-step process outlined in this article, you have gained the knowledge and skills to create beautiful and durable patio steps.
From gathering the materials and tools to adding the finishing touches, each step plays a crucial role in constructing sturdy and visually pleasing steps. By carefully measuring, leveling, and securing the pavers, you can ensure the long-term stability and safety of your steps.
Remember to take your time during each step, paying attention to detail and regularly checking measurements and alignments. This will result in a professional-looking final product that will enhance both the functionality and aesthetics of your outdoor space.
Once your patio steps are complete, you can enjoy the convenience and beauty they provide. Whether it’s accessing different levels of your outdoor area, creating a focal point for gatherings, or simply adding an elegant touch, your patio steps will be a valuable addition to your outdoor furniture ensemble.
Don’t forget to regularly maintain and clean your patio steps to keep them in optimal condition. Clear debris, sweep the surface, and periodically reapply sealer to protect the pavers and ensure their longevity.
Now that you’re equipped with the knowledge and skills to build patio steps from pavers, it’s time to turn your outdoor space into a breathtaking oasis. Get started on your project, enjoy the process, and prepare to be amazed by the transformation of your outdoor living area!
Now that you've mastered building patio steps from pavers, why not tackle more DIY outdoor projects to spruce up your home's exterior? Our guide on creative outdoor enhancements offers easy-to-follow plans that promise to boost your property's visual appeal significantly. Whether you're looking to transform your backyard into a serene retreat or simply want to impress neighbors and passersby, these inventive ideas are sure to inspire and fulfill your crafting desires.
Frequently Asked Questions about How To Build Patio Steps From Pavers
Was this page helpful?
At Storables.com, we guarantee accurate and reliable information. Our content, validated by Expert Board Contributors, is crafted following stringent Editorial Policies. We're committed to providing you with well-researched, expert-backed insights for all your informational needs.


0 thoughts on “How To Build Patio Steps From Pavers”