Home>Furniture>Outdoor Furniture>How To Build A Step On A Patio

Outdoor Furniture
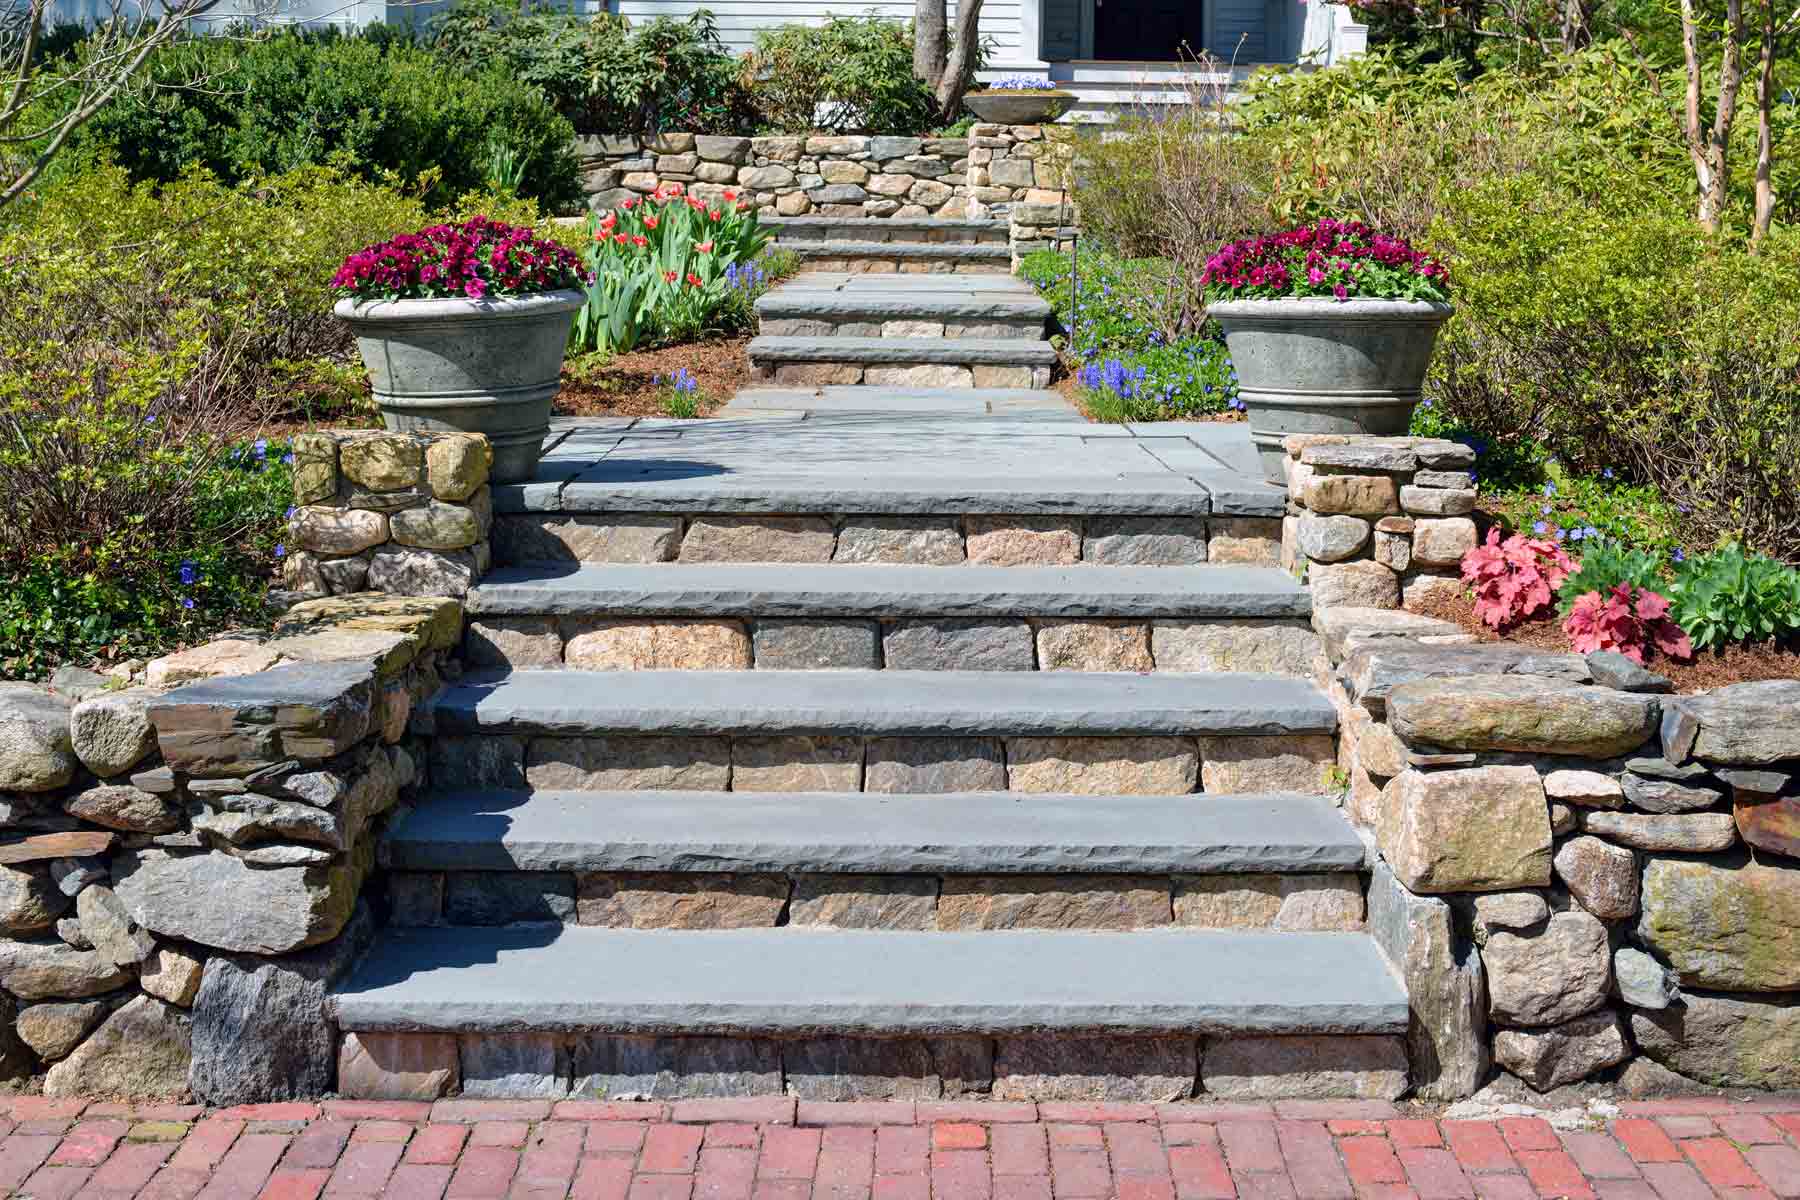
How To Build A Step On A Patio
Modified: August 20, 2024
Learn how to build a step on your patio and enhance your outdoor space with our step-by-step guide. Find the perfect outdoor furniture for your patio project.
(Many of the links in this article redirect to a specific reviewed product. Your purchase of these products through affiliate links helps to generate commission for Storables.com, at no extra cost. Learn more)
Introduction
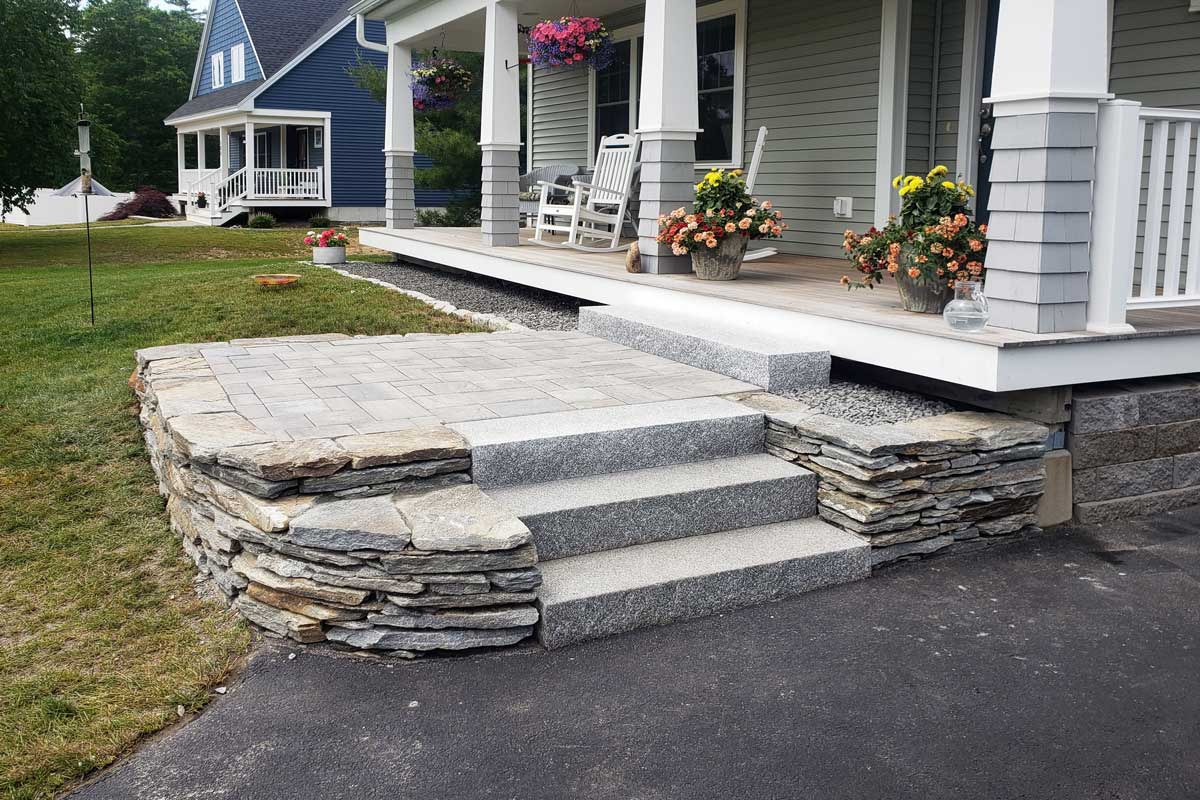
Welcome to our complete guide on how to build a step on a patio. Adding steps to your patio not only enhances its functionality but also adds a touch of style and elegance. Whether you want to create a welcoming entrance or provide easy access to different levels of your outdoor space, building steps on your patio is a great DIY project that can be accomplished with some basic tools and materials.
In this guide, we will take you through the step-by-step process of building a step on your patio. We will provide you with detailed instructions, tips, and tricks to ensure that your project is a success. Let’s dive in!
Key Takeaways:
- Building steps on your patio is a DIY project that enhances functionality and style. Careful planning, precise measurements, and attention to detail are crucial for creating a sturdy and safe staircase.
- Adding finishing touches and regular maintenance will ensure that your patio steps remain visually appealing and functional for years to come. Enjoy the beauty and convenience that your new patio steps bring to your outdoor space.
Read more: How To Build Patio Steps From Pavers
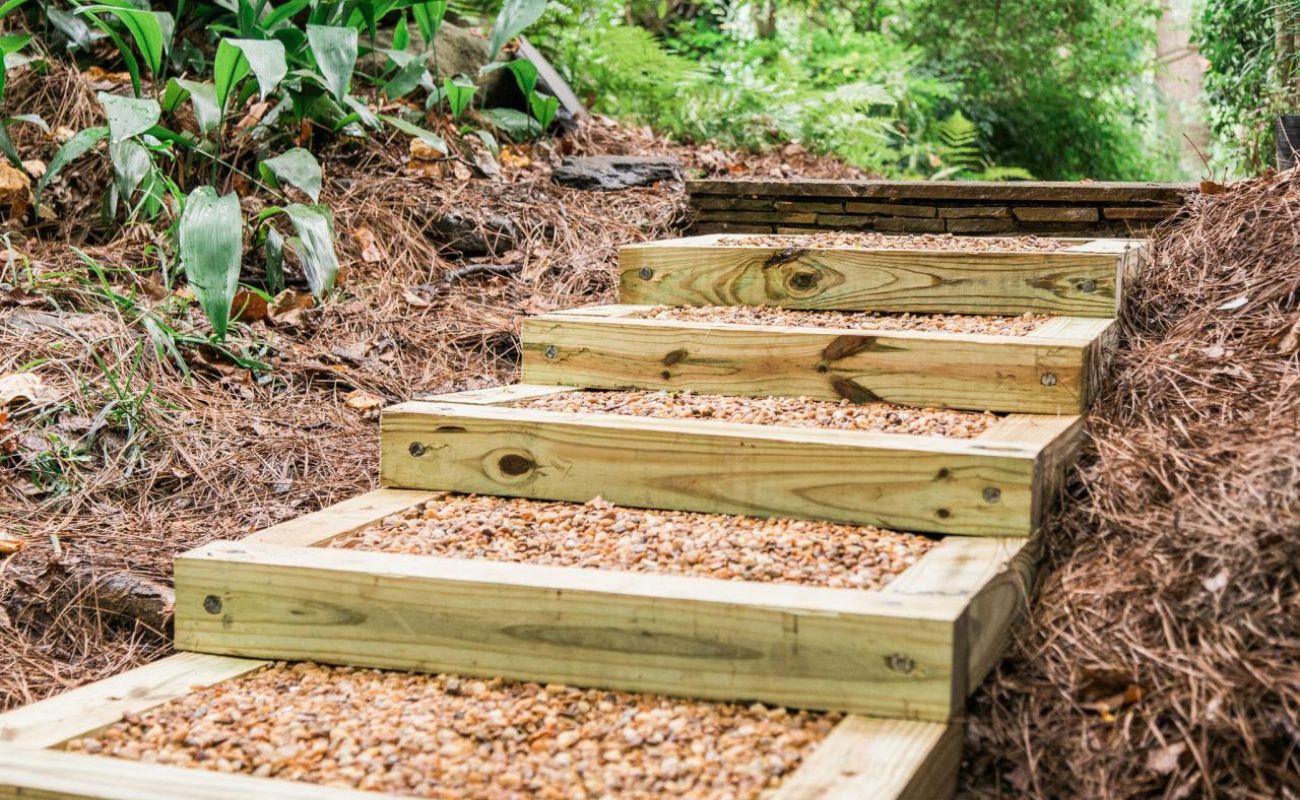
Step 1: Gather Materials
Before you begin building the steps on your patio, it’s important to gather all the necessary materials. Here’s a list of what you’ll need:
- Concrete blocks or pavers
- Gravel
- Sand
- 2×4 boards
- Level
- Tape measure
- Spade or shovel
- Rubber mallet
- Hand tamper
- Gloves
- Safety goggles
Make sure you have all the materials on hand before you start the construction process. This will help you work efficiently and prevent any unnecessary delays.
Step 2: Measure and Mark
Once you have gathered all the materials, it’s time to start the building process. The first step is to measure and mark the area where you want to install the steps on your patio.
Begin by determining the desired height and width of each step. This will depend on the overall height of your patio and the number of steps you want to create. As a general guideline, each step should have a rise of around 6 to 8 inches and a run (or depth) of about 12 to 16 inches.
Using a tape measure and a can of marking paint, carefully measure and mark the dimensions of each step on your patio. Make sure to mark the center of each step as well. This will help you align the blocks or pavers during the installation process.
Once you have marked the step dimensions, use a string line or a straight edge to connect the marks and create straight and level lines for your steps. This will serve as a guide during the installation process and ensure that your steps are level and well-aligned.
Remember to take into account the slope or gradient of your patio. If your patio has a slope, you may need to adjust the height of each step to create a smooth and even staircase.
By taking the time to measure and mark the area, you will ensure that your steps are properly aligned and provide a comfortable and safe transition between different levels of your patio.
Step 3: Prepare the Base
With the area measured and marked, it’s time to prepare the base for your patio steps. A solid and stable base is crucial to ensure the longevity and stability of your steps.
Start by clearing the area of any debris, plants, or obstructions. Use a spade or shovel to remove any grass, weeds, or excess soil. Ensure that the area is level and smooth.
Next, you’ll need to create a base layer for your steps. This will provide stability and prevent the blocks or pavers from sinking into the ground over time.
First, spread a layer of gravel over the entire area where the steps will be installed. The gravel will act as a drainage layer, allowing water to seep away and prevent the base from becoming waterlogged.
After the gravel layer, spread a thin layer of sand over it. The sand will help level the surface and provide a stable base for the steps. Use a hand tamper or the back of a shovel to compact the gravel and sand layers, ensuring they are firm and even.
Take your time to ensure that the base is level and properly compacted. Use a level to check that the surface is flat horizontally and vertically. Adjust the base as needed to ensure it is even and well-prepared.
By creating a solid and level base, you are setting the foundation for your patio steps. This will help prevent shifting or sinking over time and ensure that your steps remain sturdy and secure for years to come.
Step 4: Lay the First Course
Now that the base is prepared, it’s time to start laying the first course of blocks or pavers for your patio steps. This initial layer will serve as the foundation for the rest of the steps.
Begin by placing the first block or paver at the bottom of the staircase, aligning it with the marked lines. Make sure it is level and flush with the ground. Use a rubber mallet to tap it into place if necessary.
Continue laying the blocks or pavers, ensuring that each one is properly aligned and level. Use the markings and reference points you made earlier to guide you. Take your time with this step, as it will determine the stability and appearance of your stairs.
If using concrete blocks, you may need to use a masonry saw or chisel to cut them to size. This will allow you to fit the blocks tightly and create a seamless transition between each step.
As you lay the first course, periodically check that the blocks or pavers are level both side-to-side and front-to-back. Adjust the base if necessary to ensure a level surface.
Ensure that there is an even amount of space between each block or paver for stability and aesthetic appeal. Use a spacer or your fingers as a guide to maintain consistent spacing.
At the end of the first course, check that the last block or paver is level and flush with the previous one. If needed, adjust the position or add/subtract sand beneath it to achieve the desired alignment.
Once the first course is in place, step back and examine the alignment and levelness of the blocks or pavers. Make any necessary adjustments before proceeding to the next step.
Laying the first course is a critical step in building your patio steps. It sets the foundation for the rest of the construction and ensures a solid and level staircase.
When building a step on a patio, make sure to use sturdy materials like bricks or concrete blocks. Measure and level the area before laying the base and securing the step in place. Always follow local building codes and regulations.
Read more: How To Build Brick Steps
Step 5: Level the Stones
With the first course laid, it’s time to focus on leveling the stones or blocks to ensure a stable and safe set of steps.
Begin by using a level to check the horizontal and vertical alignment of each block or paver. Place the level across the width and length of each step to confirm that they are perfectly level in both directions.
If you find any areas where the stones or blocks are not level, you can use sand or small shims to adjust their height. Add or remove materials as necessary to achieve a level surface.
As you make adjustments, make sure that each block or paver is firmly in place. Use a rubber mallet to tap lightly on any uneven stones or blocks to bring them into alignment.
Continue the process of checking and adjusting the levelness of each step throughout the entire staircase. Pay close attention to the edges and corners, as they can be more prone to unevenness.
Take your time during this step to ensure that each step is level and stable. A well-leveled staircase not only looks visually appealing but also ensures safety for anyone using it.
Remember to periodically step back and assess the overall appearance and alignment of the steps. This will help you identify any areas that need further adjustment before moving on to the next step.
By taking the time to level each stone or block, you are creating a sturdy and secure set of steps that will withstand the test of time.
Step 6: Continue Building
With the first course leveled, it’s time to continue building your patio steps by adding additional courses. This will create the desired height for your staircase and provide a seamless progression from one step to the next.
Start by placing the first block or paver of the second course directly on top of the last block of the first course. Make sure it is aligned and level with the previous step. Adjust the base or add/subtract sand beneath the block if needed.
Continue adding blocks or pavers for the second course, making sure they are properly aligned both horizontally and vertically. Use a level to check the levelness of each step as you progress.
As you build each course, stagger the placement of the blocks or pavers. This will create a stronger and more visually appealing set of steps. Make sure to overlap the joints between blocks or pavers for added stability.
Continue building additional courses until you reach the desired height for your patio steps. Take breaks between courses to step back and assess the overall alignment and levelness of the staircase.
If necessary, make adjustments to individual blocks or pavers to ensure that each step is level and aligned with the rest of the staircase. Use a rubber mallet to tap lightly on any uneven stones or blocks to bring them into place.
Remember to periodically check the levelness of the entire staircase, both horizontally and vertically. Adjust the base or add/subtract sand as needed to maintain a level surface.
By continuing to build and level each course of blocks or pavers, you are creating a cohesive and stable set of patio steps that will enhance the functionality and beauty of your outdoor space.
Step 7: Fill the Gaps
After completing the construction of your patio steps, it’s time to fill in the gaps between the blocks or pavers to ensure a finished and polished look.
Start by pouring sand onto the surface of the steps. Use a broom or a brush to sweep the sand into the gaps between the blocks or pavers. Make sure to fill the gaps completely, ensuring that the sand is evenly distributed.
Once the gaps are filled with sand, use a hand tamper to gently compact the sand down. This will help settle the sand and ensure that it fills all the nooks and crannies between the blocks or pavers.
After compacting the sand, add more sand if necessary to fill any remaining gaps. Continue sweeping and tamping until all gaps are filled and the surface is level and smooth.
Next, use a broom to sweep off any excess sand from the surface of the steps. This will give your steps a clean and tidy appearance.
If desired, you can also use a garden hose to lightly mist the steps. This will help settle the sand and further solidify the gaps between the blocks or pavers.
Allow the sand to fully dry and set before using the steps. This may take a day or two depending on the weather conditions.
By filling the gaps with sand, you are not only enhancing the appearance of your patio steps but also creating stability and preventing debris from getting trapped between the blocks or pavers.
Step 8: Finishing Touches
With the construction and filling of the gaps complete, it’s time to add the finishing touches to your patio steps. These final steps will add aesthetic appeal and ensure that your steps are safe and functional.
Start by inspecting the entire staircase for any loose or unstable blocks or pavers. If you notice any, use a rubber mallet to tap them gently into place and ensure they are firmly secured.
Next, check the edges and corners of the steps. If desired, you can use stone adhesive or construction adhesive to bond the blocks or pavers together for added stability.
If your steps have exposed edges, consider adding edge stones or pavers to give them a finished and polished look. These edge stones will provide a smooth transition from the steps to the surrounding patio area.
Additionally, you can use landscaping or decorative stones to create borders or accents along the sides of the steps. This will add a touch of visual interest and further enhance the overall look of your patio steps.
Finally, take the time to clean and maintain your patio steps regularly. Sweep away any dirt, leaves, or debris that may accumulate on the surface. As necessary, give your steps a thorough cleaning using a mild detergent and a scrub brush.
Additionally, consider applying a sealant or masonry sealer to protect the blocks or pavers from staining and weather damage. Follow the manufacturer’s instructions for application, and reapply the sealant as recommended.
By adding these finishing touches and providing regular maintenance, you will ensure that your patio steps remain not only functional but also visually appealing for years to come.
Read more: How To Build An Angled Deck Step-by-Step
Conclusion
Congratulations! You have successfully completed the process of building steps on your patio. By following this comprehensive guide, you have transformed your outdoor space into a functional and visually appealing area that provides easy access to different levels.
Throughout this guide, you learned the step-by-step process of constructing patio steps. From gathering the necessary materials to measuring, marking, and leveling, each step played a crucial role in creating a sturdy and safe staircase.
Remember that building patio steps requires careful planning, precise measurements, and attention to detail. Take the time to align and level each block or paver, and ensure that the gaps are filled with sand for a polished finish.
Once your steps are complete, don’t forget to give them the finishing touches they deserve. Check for any loose or unstable blocks, add edge stones for a clean look, and consider incorporating decorative stones for added visual interest.
Maintaining your patio steps is also important. Regular cleaning and sealing will help preserve their appearance and durability, allowing you to enjoy them for years to come.
Building steps on your patio not only increases its functionality but also adds value and enhances the overall aesthetics of your outdoor space. Whether you’re creating a grand entrance or linking different levels together, a well-built set of steps will make a lasting impression.
Take pride in your accomplishment and enjoy the beauty and convenience that your new patio steps bring. Now, sit back, relax, and fully immerse yourself in the inviting and welcoming atmosphere of your outdoor haven.
Frequently Asked Questions about How To Build A Step On A Patio
Was this page helpful?
At Storables.com, we guarantee accurate and reliable information. Our content, validated by Expert Board Contributors, is crafted following stringent Editorial Policies. We're committed to providing you with well-researched, expert-backed insights for all your informational needs.


0 thoughts on “How To Build A Step On A Patio”