Articles
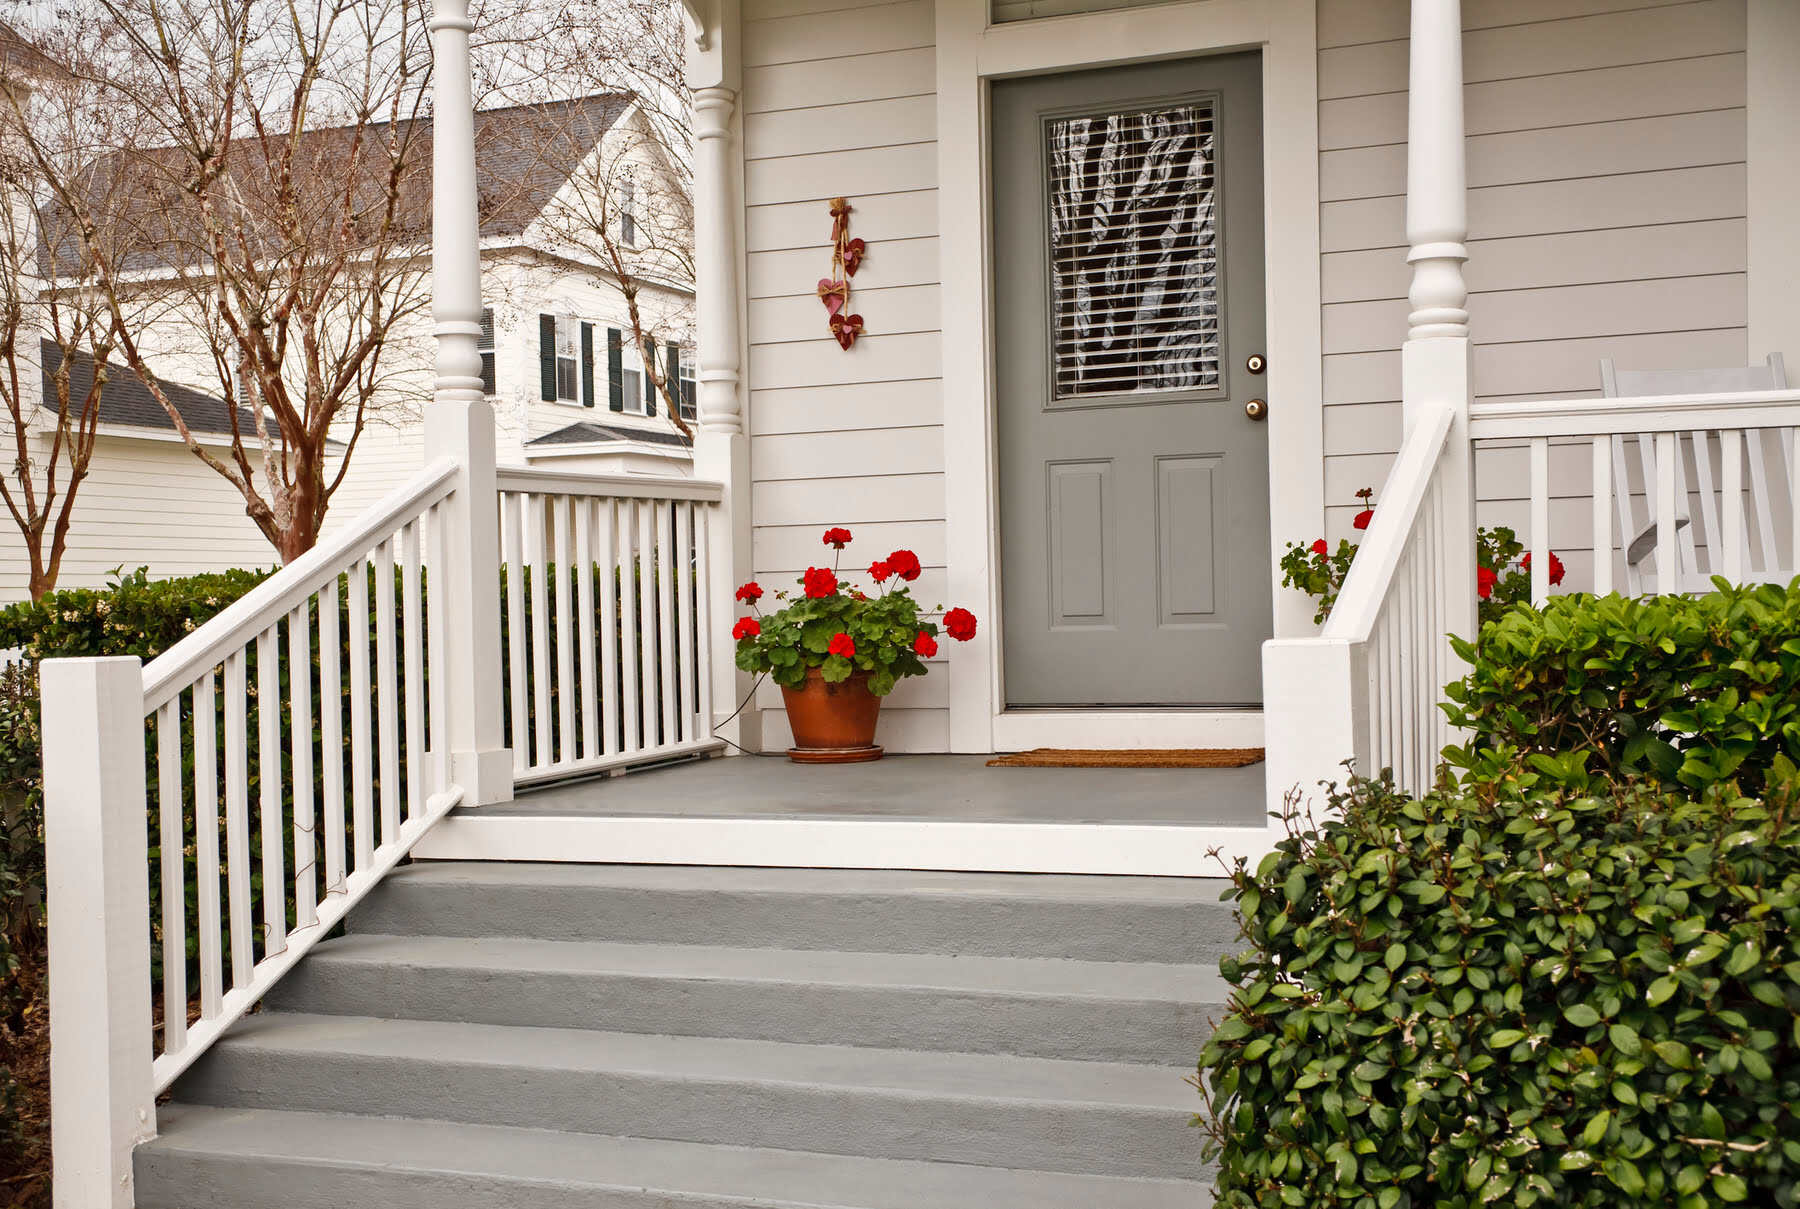
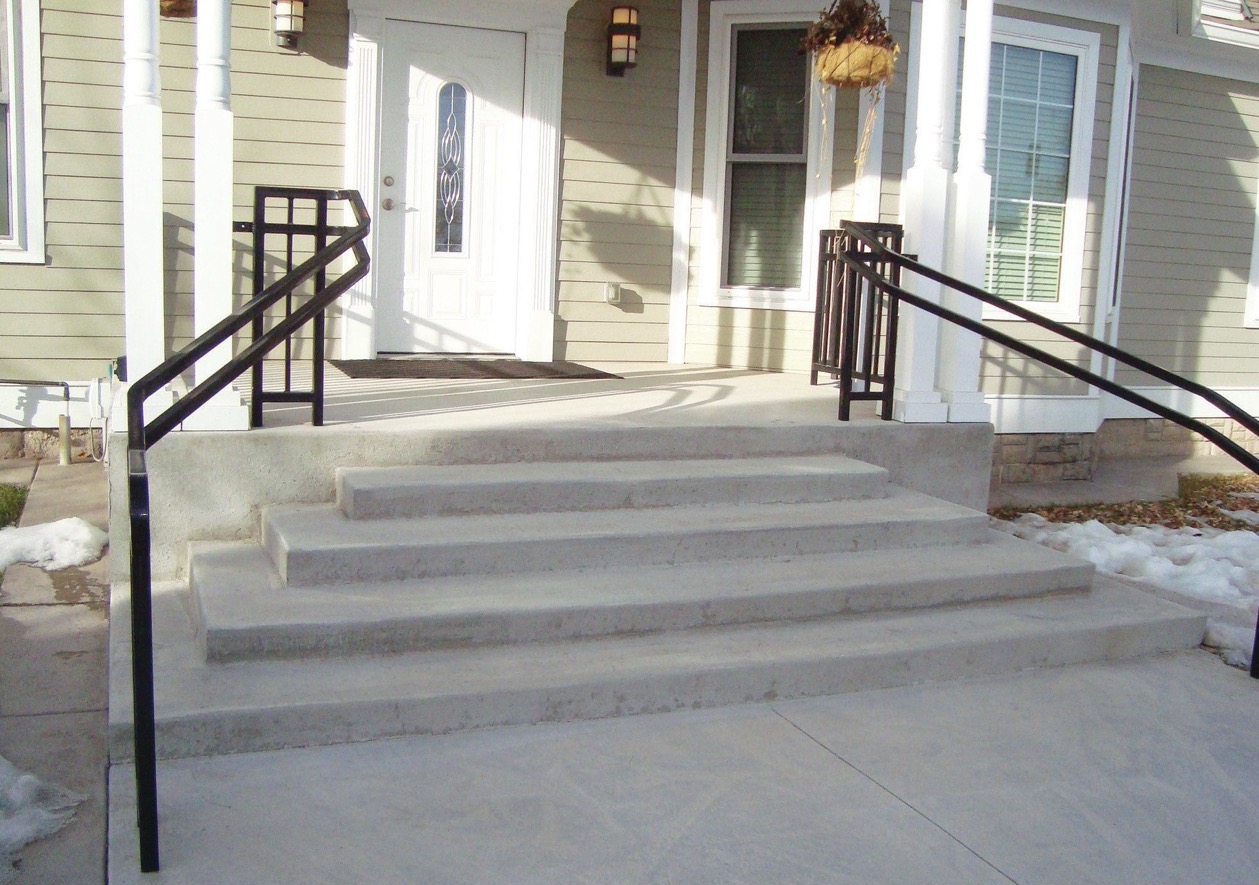
How To Fix Porch Steps
Modified: December 7, 2023
Learn how to fix porch steps with step-by-step articles. Get expert advice and tips to ensure your porch steps are sturdy and safe.
(Many of the links in this article redirect to a specific reviewed product. Your purchase of these products through affiliate links helps to generate commission for Storables.com, at no extra cost. Learn more)
Introduction
Porches are wonderful spaces that add value and charm to any home. They provide a place to relax, entertain, and enjoy the outdoors. However, over time, porch steps can become worn, damaged, or unsafe. Whether your porch steps are cracked, rotting, or just in need of a refresh, fixing them can be a rewarding DIY project that enhances both the functionality and aesthetics of your porch.
In this article, we will guide you through the step-by-step process of fixing porch steps. From assessing the damage to installing new steps, we will provide you with the necessary information and tips to successfully complete the project. So, grab your tools and let’s get started!
Before we begin, it’s important to note that the level of difficulty and techniques involved in fixing porch steps may vary depending on the specific construction and materials used. It’s always recommended to consult professional advice or local building codes if you’re unsure about any aspect of the project.
Now, let’s take a look at the materials you’ll need to have on hand before diving into the step-by-step process of fixing porch steps.
Key Takeaways:
- Revitalize your porch steps by following a step-by-step process, from assessing damage to adding finishing touches. Prioritize safety, gather tools, and enjoy the rewarding DIY project to enhance your outdoor space.
- Ensure the longevity and safety of your porch steps by meticulously measuring, cutting, and securing new steps. Add non-slip treads for safety and regularly maintain the steps for a functional and visually appealing porch.
Read more: How To Build Stone Porch Steps
Materials Needed
Before you start fixing your porch steps, gather the following materials:
- Measuring tape
- Pry bar
- Hammer
- Power drill
- Saw (hand saw or circular saw)
- Screws or nails
- Level
- Wood filler or epoxy
- Sanding block or sandpaper
- Paint or stain
- Brush or roller
- Protective gloves
- Safety glasses
Make sure you have all the necessary tools and materials ready before you begin the project. This will help ensure a smooth and efficient process. If you don’t have any of these materials, you can find them at your local hardware store or home improvement center.
Once you have all the materials ready, you’re one step closer to fixing your porch steps. The next step is to assess the damage and determine the best course of action. Read on to learn more about assessing the damage and taking measurements for your new steps.
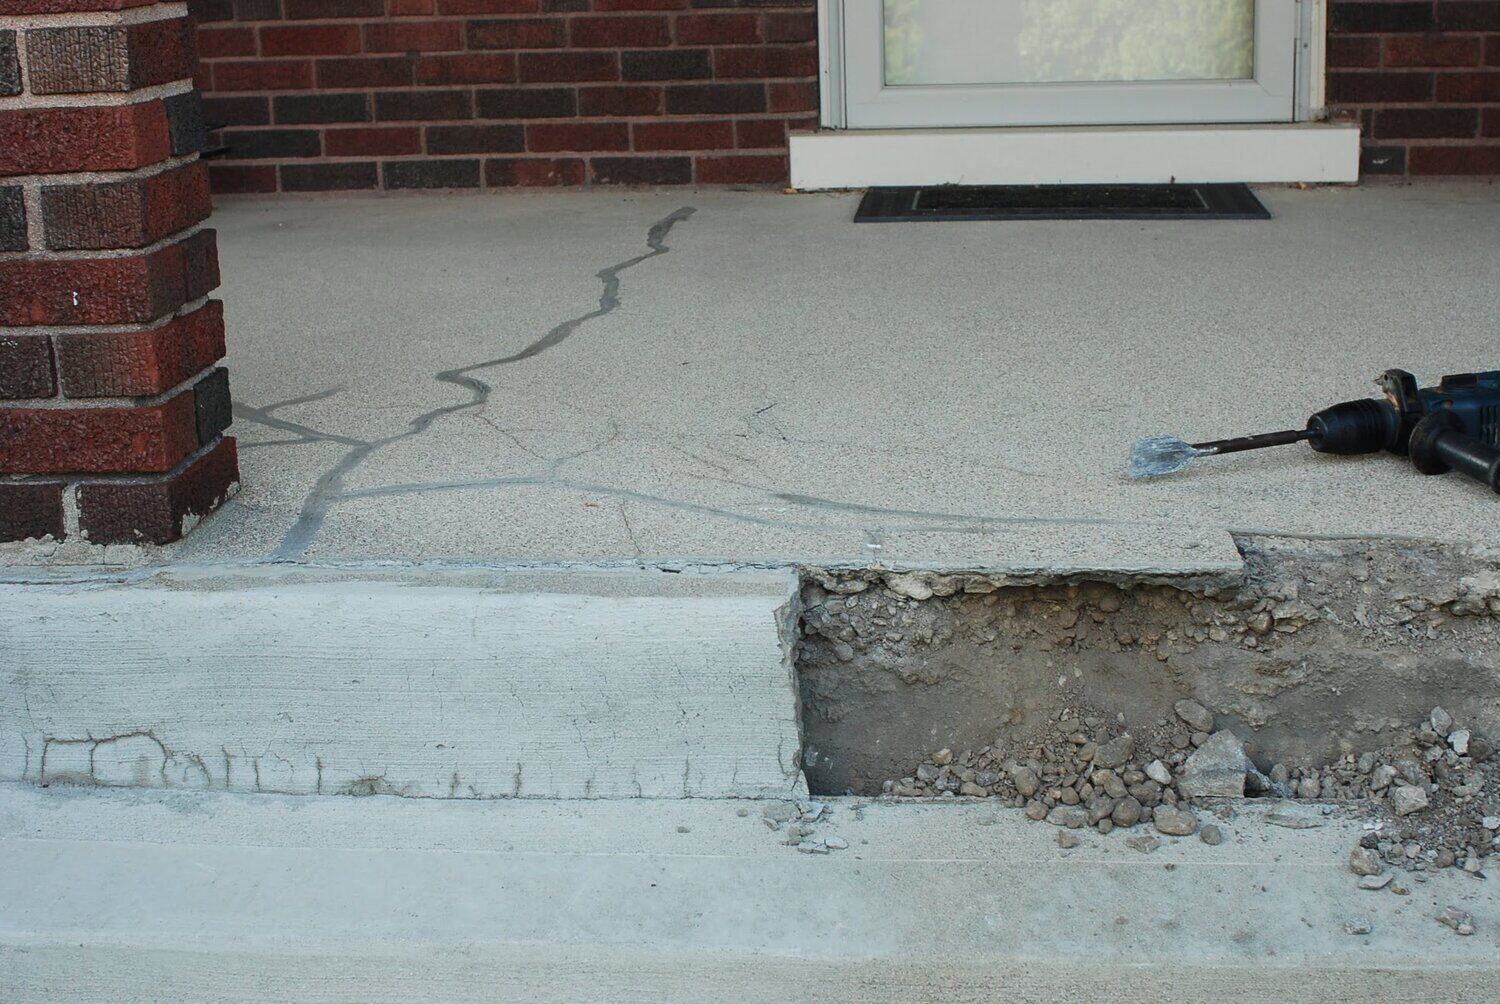
Step 1: Assessing the Damage
Before you can start fixing your porch steps, you need to assess the extent of the damage. Take a close look at each step and identify any cracks, rotting wood, loose boards, or other issues that may compromise the structural integrity or safety of the steps.
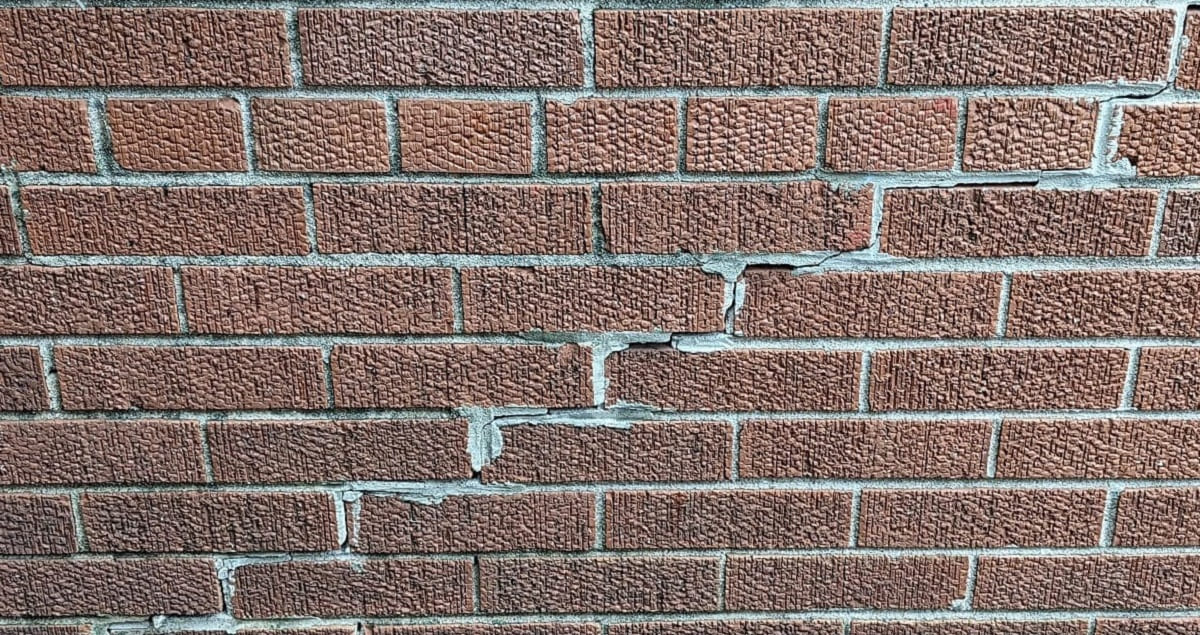
If you notice any significant damage, such as large cracks or severe rot, you may need to consider replacing the entire step or even the entire set of steps. However, if the damage is minor or localized, you might be able to repair the steps instead.
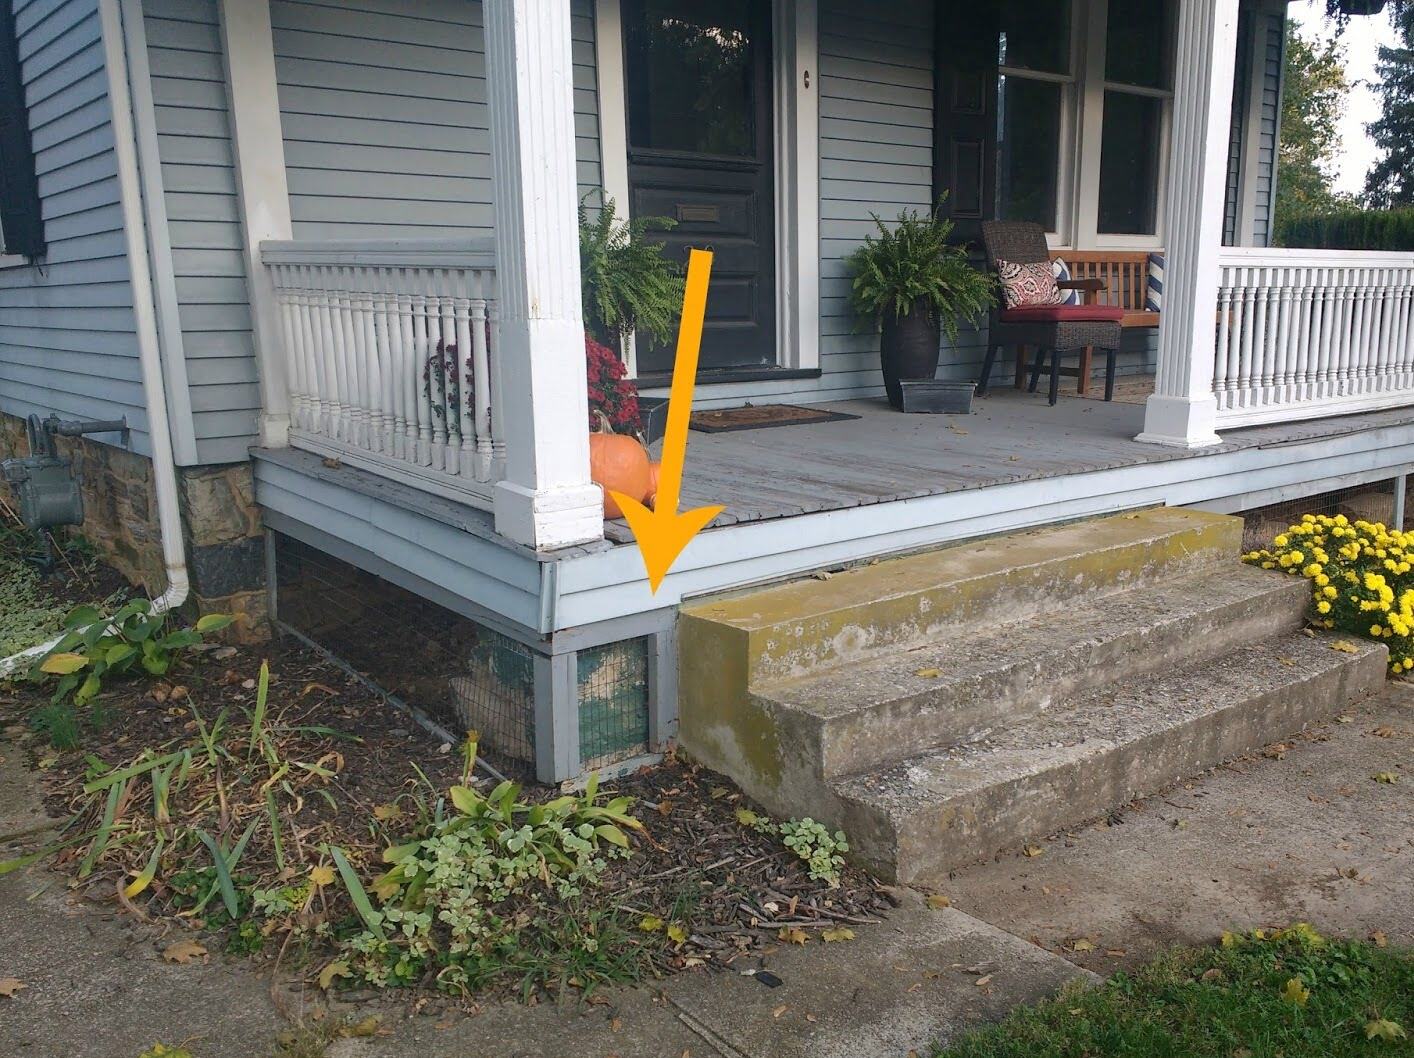
During the assessment, pay attention to the supporting structure beneath the steps as well. Make sure there are no signs of decay or instability, as this can affect the longevity and stability of your new steps.
Once you have identified the areas that need to be addressed, take accurate measurements of the dimensions of the steps and record them. This will be crucial for the next step, where you will be cutting and installing new steps.
Remember, safety should always be your top priority. If you suspect that the damage is beyond your expertise or if you have any concerns about the structural integrity of the steps, it’s best to consult a professional before proceeding.
Now that you have assessed the damage and have a clear understanding of the condition of your porch steps, it’s time to gather your tools and begin the repair process. Let’s move on to the next step: gathering your tools.
Step 2: Gathering Tools
Before you can start fixing your porch steps, it’s essential to gather all the necessary tools. Having the right tools at hand will make the repair process smoother and more efficient. Here are the tools you’ll need:
- Measuring tape: Used to take accurate measurements of the dimensions of the steps.
- Pry bar: Used to remove any old or damaged boards.
- Hammer: Used for various tasks, such as removing nails or securing new boards.
- Power drill: Necessary for drilling pilot holes and inserting screws.
- Saw (hand saw or circular saw): Used for cutting new boards to the required length.
- Screws or nails: Used to secure the new boards in place.
- Level: Ensures that the steps are straight and even.
- Wood filler or epoxy: Used to fill any cracks or holes in the steps.
- Sanding block or sandpaper: Helps smooth the surface of the steps before painting or staining.
- Paint or stain: Used to enhance the appearance and protect the steps from the elements.
- Brush or roller: Used to apply the paint or stain evenly.
- Protective gloves: Essential for hand protection during the repair process.
- Safety glasses: Protects your eyes from debris or flying particles.
Once you have gathered all the necessary tools, you’re ready to move on to the next step: removing the old steps. Having the right tools at your disposal will ensure that the repair process goes smoothly and efficiently.
Remember to follow safety guidelines and wear protective gear when using tools. Now let’s proceed to step 3: removing the old steps.
Step 3: Removing Old Steps
With your tools ready, it’s time to remove the old steps. Removing the old steps is an important step to ensure a clean and solid foundation for your new steps. Here’s how to do it:
- Start by using a pry bar to loosen and remove any old or damaged boards on the steps. Gently insert the pry bar between the boards and the supporting structure and apply pressure to detach them.
- As you remove the old boards, be careful not to damage the underlying structure or any neighboring boards that are still in good condition.
- If there are any stubborn nails or screws, use a hammer or power drill to remove them. Make sure all the fasteners are removed before proceeding.
- Once you have removed all the old boards, inspect the supporting structure for any signs of damage. Reinforce or repair any weakened or rotted areas as needed.
- After removing the old steps and ensuring the supporting structure is in good condition, clean the area thoroughly. Remove any debris, dirt, or dust that may hinder the installation of the new steps.
Removing the old steps requires some physical effort and caution. Be mindful of your surroundings, especially if you’re working at a height. Take breaks as needed, and don’t rush the process to ensure safety.
Now that the old steps are out of the way, you’re ready to move on to step 4: measuring and cutting the new steps. This is a crucial step as it will determine the size and fit of your new steps. Let’s continue to the next step!
Read more: How To Build A Concrete Porch With Steps
Step 4: Measuring and Cutting New Steps
Now that you have a clean slate after removing the old steps, it’s time to measure and cut the new steps. This step is crucial to ensure that your new steps fit perfectly and provide a sturdy foundation. Here’s how to do it:
- Using a measuring tape, carefully measure the dimensions of the space where the new steps will be installed. Measure the length, width, and height of each step.
- Take note of these measurements and transfer them onto the new boards or material you’ll be using to construct the steps. Double-check your measurements to ensure accuracy.
- If you’re using wood, mark the cutting lines on each board based on your measurements. Use a saw (hand saw or circular saw) to cut the boards along the marked lines. Make sure to follow proper safety precautions when using saws.
- If you’re using other materials like concrete or composite decking, follow the manufacturer’s instructions for cutting and sizing the steps.
- After cutting the new steps, place them in their intended positions to ensure a proper fit. Make any necessary adjustments or trim the boards to achieve the desired fit.
- Once you’re satisfied with the measurements and fit of the new steps, set them aside temporarily as you prepare the area for installation.
Accurate measurements and precise cutting are essential to ensure that the new steps fit seamlessly into your porch. Take your time during this step to avoid any mistakes that could compromise the final result.
Now that you have measured and cut the new steps, it’s time to move on to step 5: preparing the area for installation. This step involves creating a solid and stable base for your new steps. Let’s proceed!
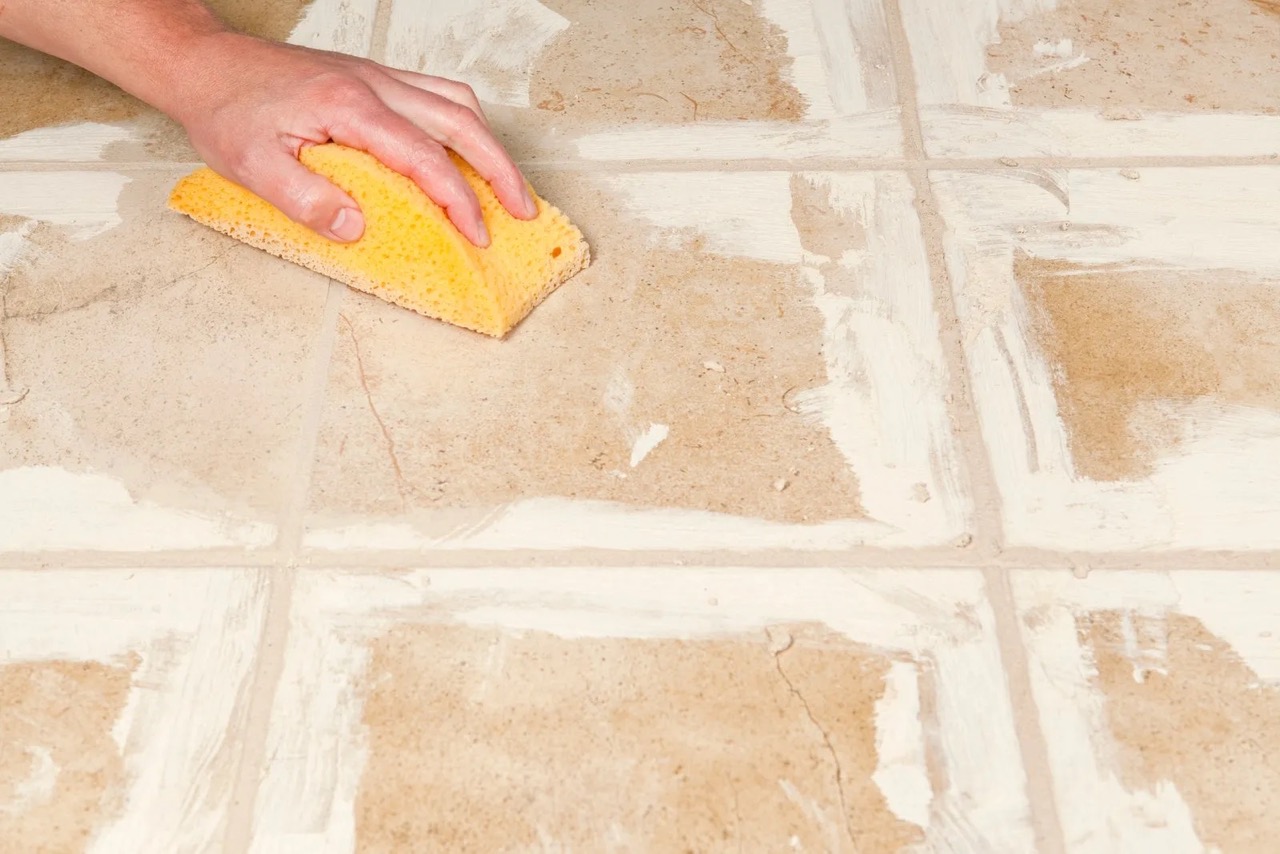
Inspect the condition of the steps and identify any loose or damaged areas. Use a hammer and chisel to remove any loose or deteriorated concrete. Then, clean the area thoroughly before applying a concrete patch to fill in any holes or cracks.
Step 5: Preparing the Area
Now that you have the new steps cut to the desired measurements, it’s time to prepare the area for their installation. Proper preparation ensures a stable and long-lasting foundation for your new steps. Here’s how to prepare the area:
- Start by cleaning the area where the new steps will be installed. Remove any debris, dirt, or old adhesive from the surface.
- If the underlying structure is made of wood, inspect it for any signs of damage or rot. Replace any damaged or rotted portions and reinforce weak areas as needed.
- Next, ensure that the area is level and even. Use a level tool to check for any slopes or unevenness. If necessary, adjust the ground or supporting structure to create a level surface.
- If you’re installing the steps onto a concrete surface, consider using concrete anchors or adhesive to secure the steps in place.
- Apply a waterproofing membrane or primer to the area to protect the steps from moisture and ensure their longevity.
- Depending on your porch design, you may need to install a riser board between the steps and the porch itself. Measure and cut the riser board to the appropriate dimensions, and secure it in place using screws or nails.
Proper preparation is essential to ensure the stability and durability of your new steps. Taking the time to prepare the area correctly will result in a solid foundation and a successful installation.
With the area fully prepared, you’re ready to move on to step 6: installing the new steps. This is the exciting part where you’ll see your hard work come to life. Let’s proceed to the next step!
Step 6: Installing New Steps
With the area prepared, it’s time to install the new steps. This step brings your porch renovation one step closer to completion. Follow these guidelines to properly install the new steps:
- Starting with the bottom step, place it in its designated position on the prepared area. Ensure that it aligns with the riser board, if applicable.
- Use a level to ensure that the step is perfectly horizontal. Make any necessary adjustments by adding or removing soil or sand beneath the step until it is level.
- Once the first step is level, secure it in place using screws or nails. Use a power drill to create pilot holes before inserting screws to prevent splitting the wood. The number of screws or nails will depend on the size and thickness of the step.
- Repeat the process for each step, ensuring that they are evenly spaced and level. Double-check the alignment and levelness of each step before securing them in place. Take your time to ensure accuracy.
- If you’re using multiple boards to construct each step, apply wood glue to the mating surfaces before joining them together. This will provide added strength and stability.
- Once all the steps are installed and secured, give them a final check to ensure that they are all level and aligned properly.
Remember to consult any manufacturer guidelines or recommendations for specific installation instructions, especially if you’re using pre-fabricated steps or specialized materials.
Now that the new steps are installed, it’s time to move on to step 7: securing the steps. This step ensures that the steps are firmly in place and safe for use. Let’s proceed to the next step!
Step 7: Securing the Steps
Securing the steps is an important step to ensure their stability and safety. By properly securing the steps, you can prevent any potential movement or accidents. Follow these steps to secure your newly installed porch steps:
- Inspect each step to ensure that it is securely fastened to the underlying structure. Check for any loose screws or nails and tighten them if necessary.
- If you notice any areas where the steps feel wobbly or unstable, add additional screws or nails to reinforce those spots. Make sure to use screws or nails that are appropriate for outdoor use and can withstand weather conditions.
- If you’re using wooden steps, consider using construction adhesive to further enhance the attachment between the steps and the supporting structure. Apply the adhesive to the contact points before securing the steps.
- If your porch design allows for it, you may also consider using metal brackets or braces to further reinforce the steps. Install the brackets or braces according to the manufacturer’s instructions.
- Double-check the alignment and levelness of each step after securing them. Use a level to ensure they are still horizontal and make any necessary adjustments if needed.
- If you’re using multiple boards to construct each step, secure them together using extra screws or nails to prevent any shifting or separation.
Securing the steps will provide peace of mind and ensure that they withstand regular use and the elements. Take the necessary time to make sure each step is properly secured, paying attention to any areas that may need extra reinforcement.
With the steps securely in place, it’s time to move on to step 8: adding the finishing touches. This step will enhance the appearance and longevity of your newly fixed porch steps. Let’s proceed to the final step!
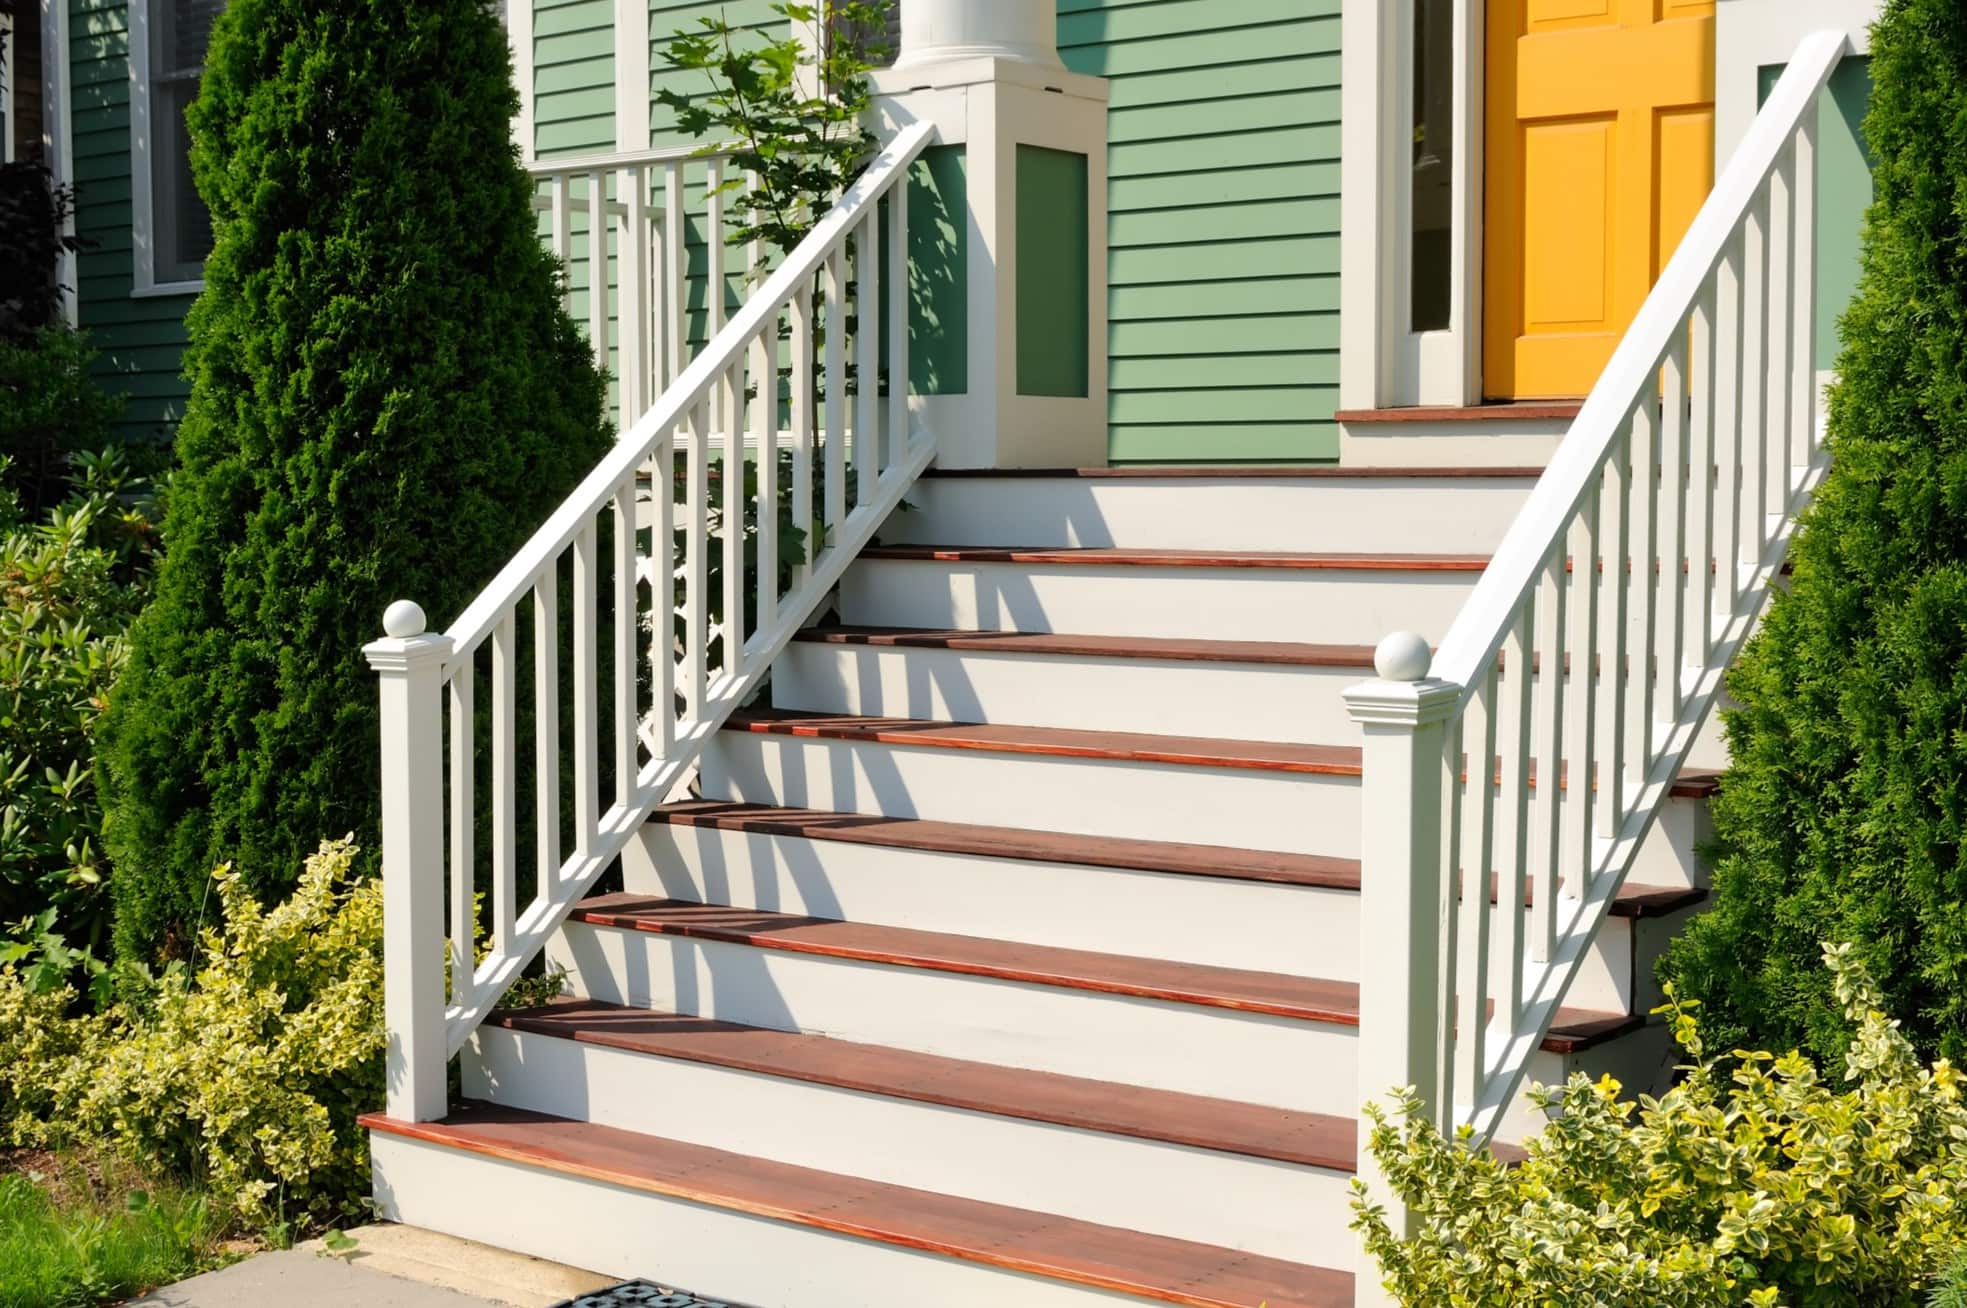
Step 8: Finishing Touches
Adding the finishing touches is the final step in fixing your porch steps. This step focuses on enhancing the appearance and longevity of the steps. Follow these steps to complete your project:
- If there are any cracks, holes, or imperfections on the surface of the steps, use wood filler or epoxy to fill them. Follow the manufacturer’s instructions for mixing and applying the filler or epoxy. Allow it to dry completely before moving on.
- After the filler or epoxy has dried, use a sanding block or sandpaper to smooth the surface of the steps. This will remove any rough edges or uneven areas and create a smooth finish.
- If desired, apply a coat of paint or stain to the steps. Choose a paint or stain that is suitable for outdoor use and complements the style of your porch. Apply the paint or stain evenly using a brush or roller, following the manufacturer’s instructions for drying times and additional coats.
- Allow the paint or stain to dry completely before using the steps. This will ensure a durable and long-lasting finish.
- Consider adding non-slip treads or adhesive strips to the steps for added safety, especially if your porch is prone to becoming slippery when wet.
- Regularly inspect and maintain the steps to ensure their longevity. Keep them clean, repair any damage promptly, and consider applying a fresh coat of paint or stain every few years.
Adding the finishing touches will not only enhance the appearance of your porch steps but also protect them against the elements and everyday use. Take pride in your work, and enjoy the beauty and functionality of your newly fixed porch steps!
With the finishing touches complete, you have successfully fixed your porch steps. Congratulations on completing this rewarding DIY project! Remember to admire your hard work and take the time to enjoy your porch to the fullest.
If you found this guide helpful, don’t hesitate to share it with others who may benefit from it. Happy porch stepping!
Note: The information in this article is for general informational purposes only and should not be considered as professional advice. Always consult with a qualified professional for any specific questions or concerns regarding your porch steps or home improvement projects.
Conclusion
Fixing porch steps can be a rewarding DIY project that not only improves the functionality and safety of your porch but also adds to its overall aesthetic appeal. By following the step-by-step process outlined in this article, you have learned how to assess the damage, gather the necessary tools and materials, remove old steps, measure and cut new steps, prepare the area, install and secure the new steps, and add the finishing touches.
Throughout the project, it’s important to prioritize safety and accuracy. Take the time to assess the damage and consult professionals if needed. Use the recommended tools and follow proper installation techniques to ensure the steps are secure and stable. Additionally, consider adding non-slip treads or adhesive strips for added safety.
By meticulously completing each step, you have transformed worn and damaged porch steps into a functional and visually appealing feature of your home. Don’t forget to maintain and regularly inspect your steps to ensure their longevity and safety.
Remember, every porch is unique, and the specific steps and materials required may vary. Always refer to manufacturer instructions and consult professional advice when needed. Safety should always be a priority, and if you have any concerns about the complexity of the project, it’s best to seek assistance from a qualified professional.
Now that you have successfully fixed your porch steps, take the time to admire your work and enjoy the improved appearance and functionality of your porch. Sit back, relax, and soak in the beauty of your revitalized outdoor space.
Thank you for joining us on this porch-step-fixing journey. We hope this article has provided you with the knowledge and confidence to tackle your own porch step repair project. Happy porch dwelling!
Frequently Asked Questions about How To Fix Porch Steps
Was this page helpful?
At Storables.com, we guarantee accurate and reliable information. Our content, validated by Expert Board Contributors, is crafted following stringent Editorial Policies. We're committed to providing you with well-researched, expert-backed insights for all your informational needs.


0 thoughts on “How To Fix Porch Steps”