Home>Furniture>Outdoor Furniture>How To Reseal Patio Pavers
Outdoor Furniture
How To Reseal Patio Pavers
Modified: March 7, 2024
Discover the best way to reseal your patio pavers and protect your outdoor furniture. Follow our step-by-step guide for long-lasting results.
(Many of the links in this article redirect to a specific reviewed product. Your purchase of these products through affiliate links helps to generate commission for Storables.com, at no extra cost. Learn more)
Introduction
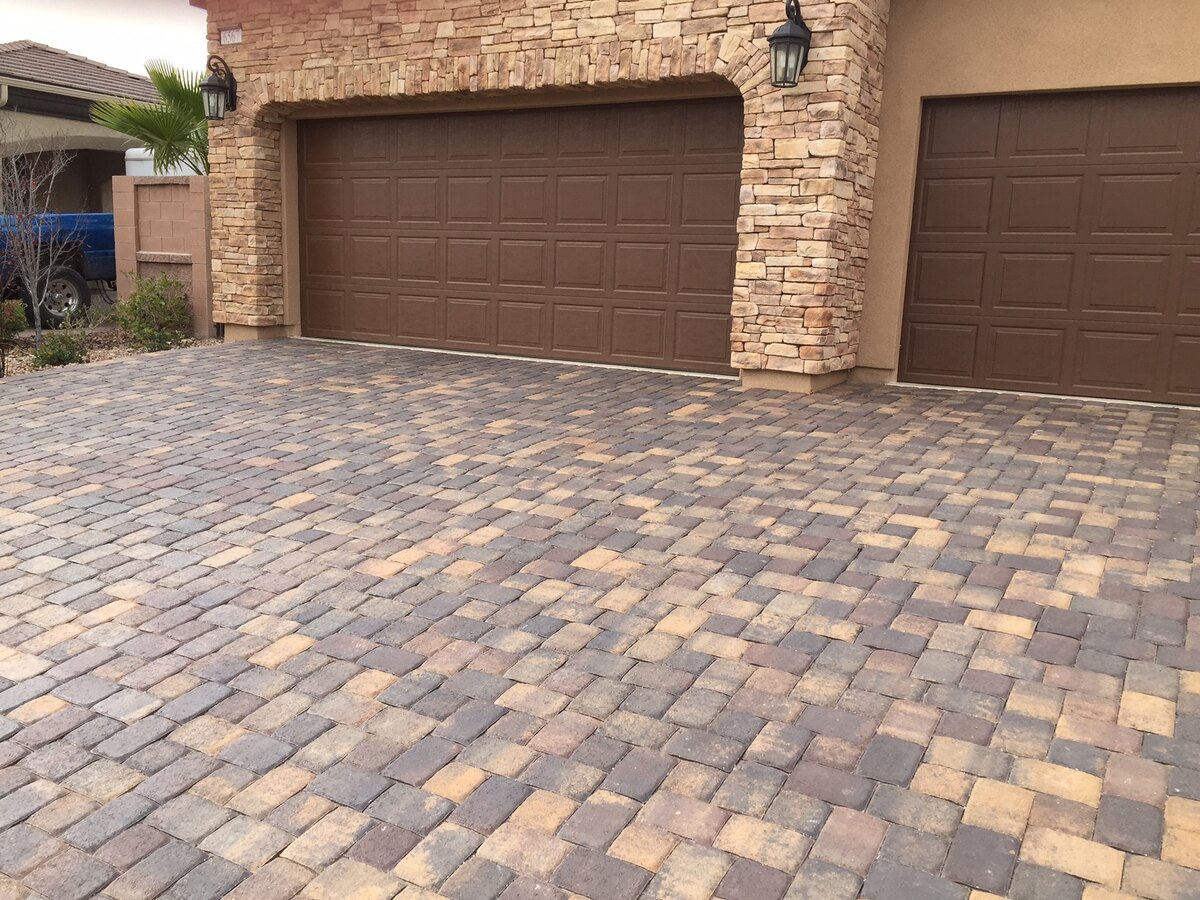
Having a patio is a fantastic way to enjoy the outdoors and create a comfortable space for relaxation and entertainment. But over time, patio pavers can become worn and lose their original beauty. This is where resealing comes in. Resealing patio pavers not only restores their appearance but also helps protect them from the elements, preventing cracks and erosion.
In this article, we will guide you through the process of resealing patio pavers, so you can enjoy a beautiful and long-lasting outdoor area. We will provide step-by-step instructions and helpful tips for each stage of the process, ensuring that you achieve professional-quality results.
Before we dive into the practical steps, let’s talk about the benefits of resealing your patio pavers. First and foremost, resealing helps to maintain the color and vibrancy of the pavers. It acts as a protective barrier against UV rays, preventing fading and discoloration caused by prolonged sun exposure.
In addition to enhancing the aesthetics, resealing also plays a crucial role in preventing water damage. By creating a waterproof seal, the pavers become more resilient to moisture and are less prone to cracks, efflorescence, and mold growth. Resealing also helps to repel stains from spills, making it easier to clean and maintain your patio area.
Now that you understand the importance of resealing and its benefits, let’s move on to the first step: gathering the necessary supplies.
Key Takeaways:
- Resealing patio pavers protects them from fading, water damage, and stains, while also enhancing their appearance. It’s a crucial step to maintain a beautiful and long-lasting outdoor space.
- By following the steps to gather supplies, clean the pavers, remove old sealant, apply new sealant, and allow it to cure, you can revitalize your patio and enjoy it for years to come.
Read more: What Are Pavers For Patio
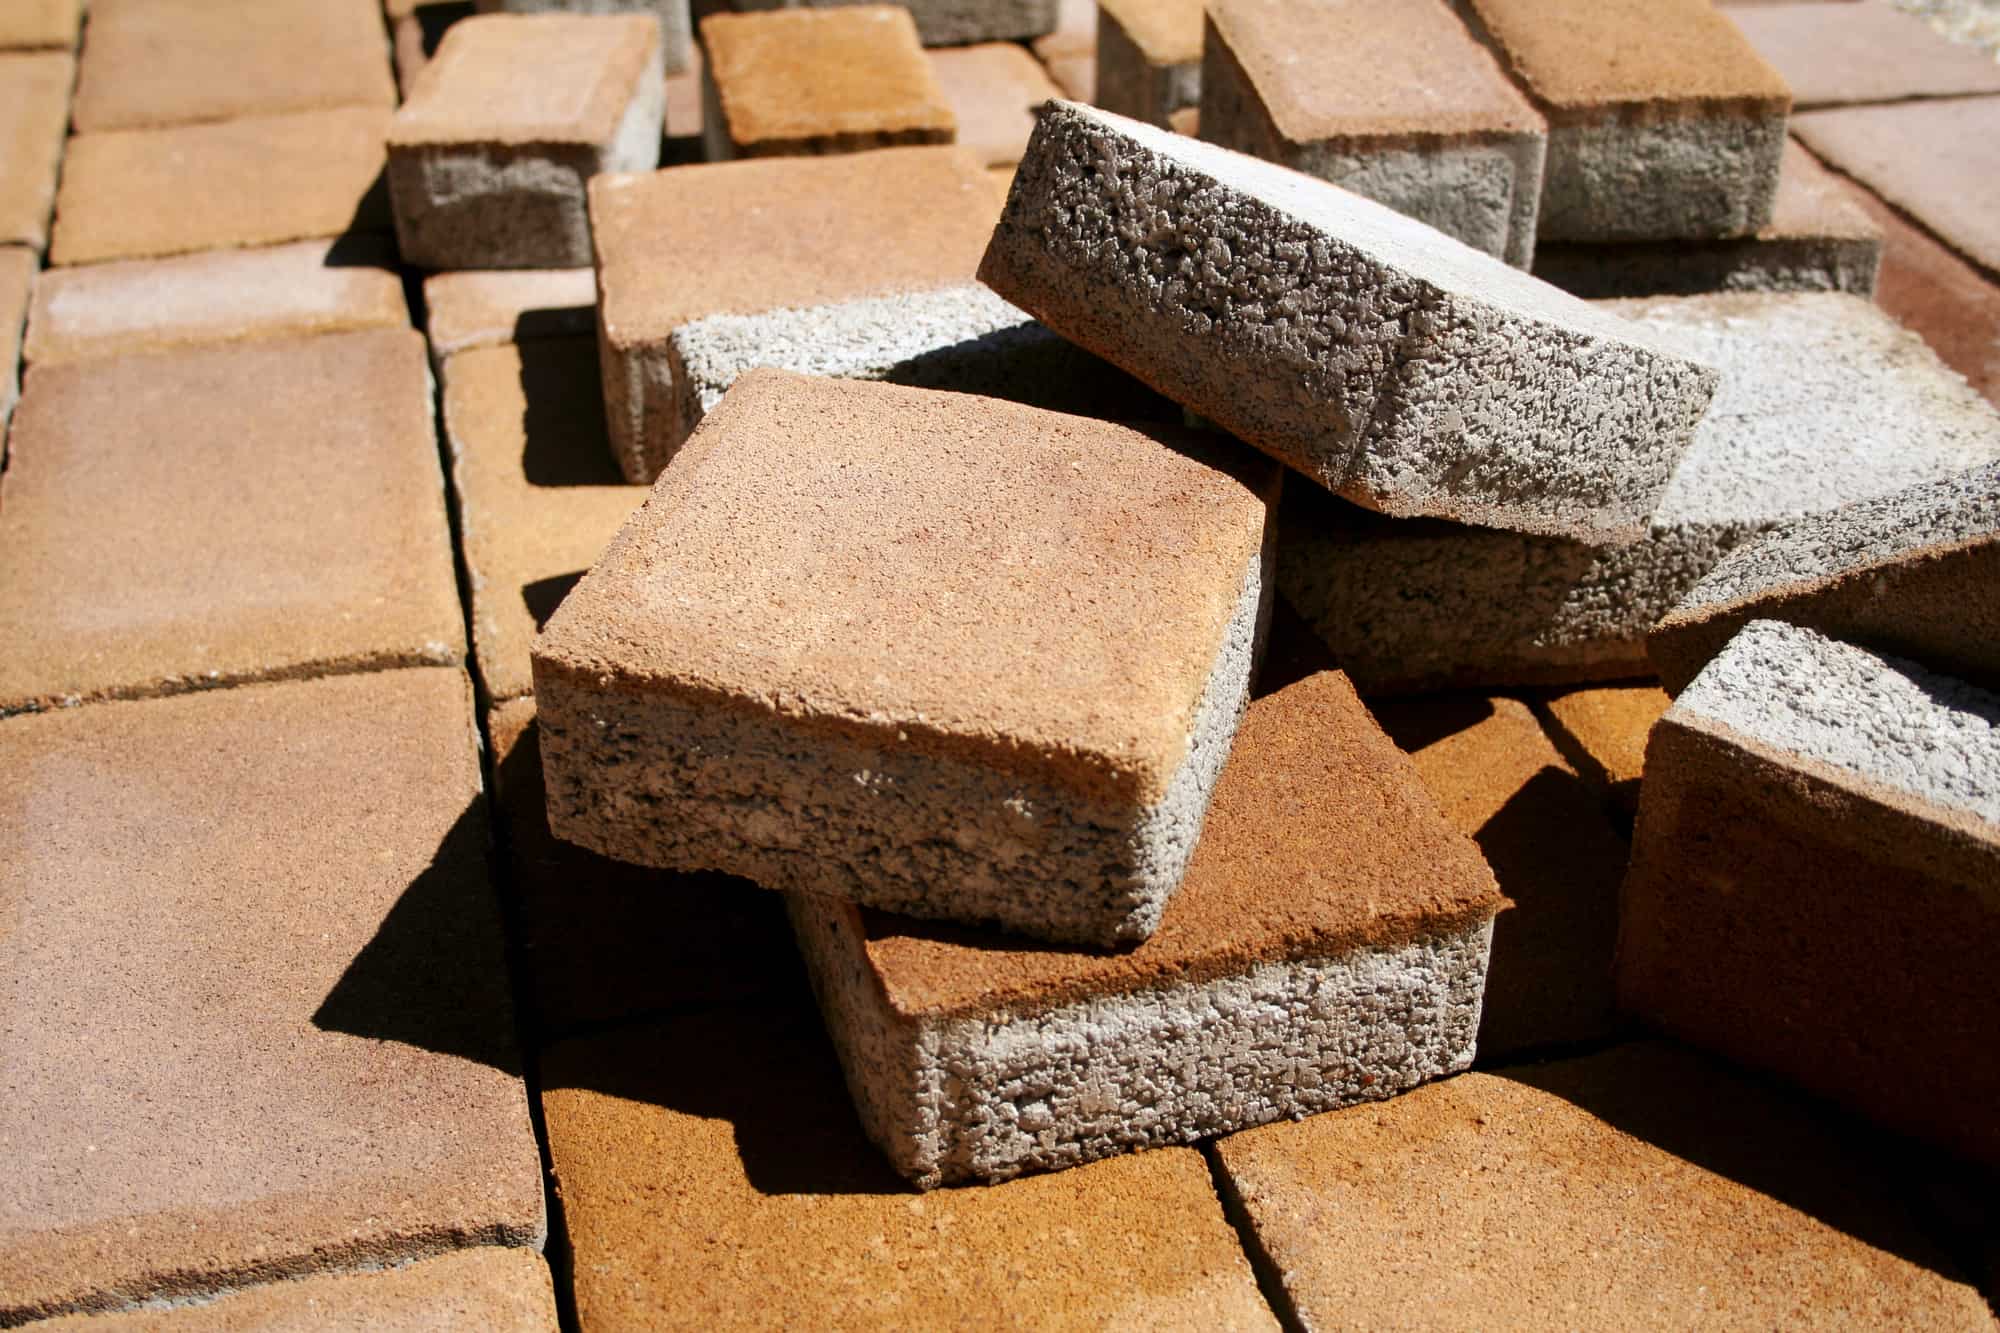
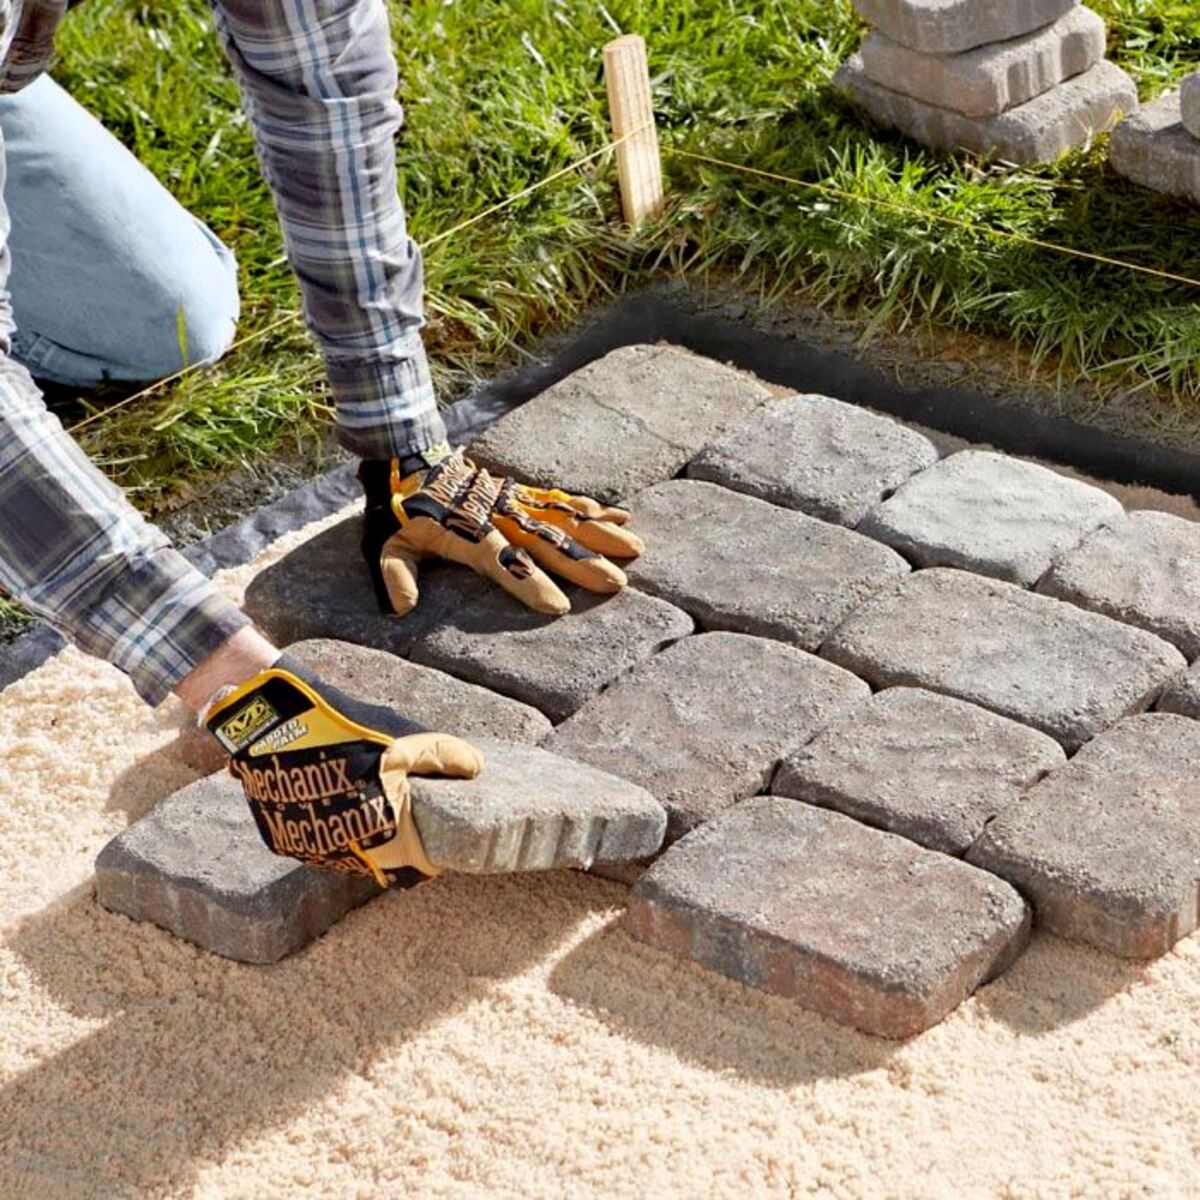
Step 1: Gather Supplies
Before you begin the resealing process, you will need to gather the necessary supplies. Having everything you need on hand will ensure a smooth and efficient workflow. Here are the essential supplies you will need:
- Paver Cleaner: Look for a cleaner specifically designed for pavers. This will help remove dirt, grime, and any previous sealant.
- Weed Killer: If you notice any weeds or vegetation growing between the pavers, a weed killer will be necessary to eliminate them and prevent regrowth.
- Scrub Brush: A sturdy scrub brush with tough bristles will be needed to thoroughly clean the pavers.
- Sealant: Choose a high-quality paver sealant that suits the type of pavers you have. There are various options available, including acrylic-based and solvent-based sealants.
- Paint Roller or Sprayer: Depending on personal preference, you can use a paint roller or sprayer to apply the sealant.
- Protective Gear: It is essential to protect yourself during the resealing process. Wear goggles, gloves, and a face mask to shield yourself from any chemicals or debris.
Once you have gathered all the necessary supplies, you are ready to move on to the next step: cleaning the pavers.
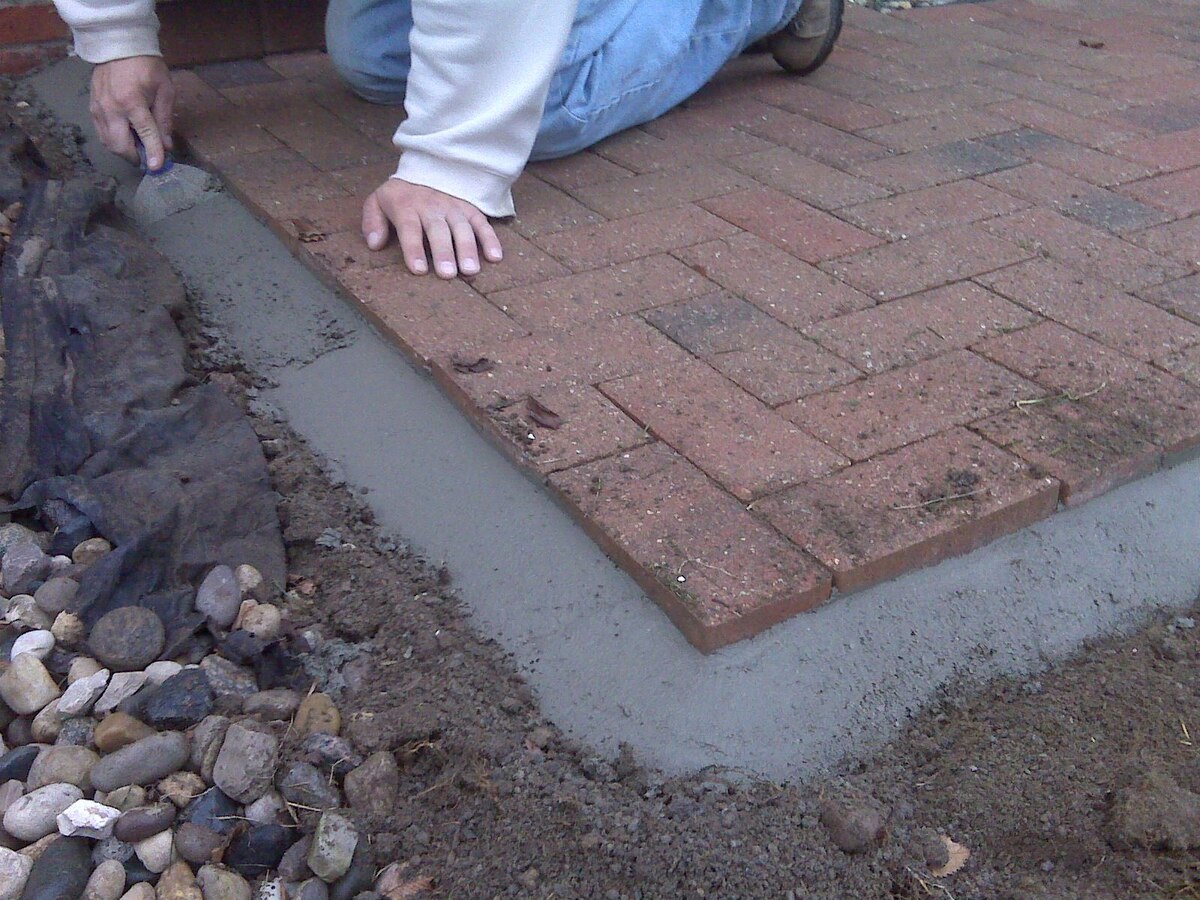
Step 2: Clean the Pavers
Before resealing your patio pavers, it is crucial to ensure that they are clean and free of any dirt, debris, or previous sealant. Cleaning the pavers will allow the new sealant to adhere properly and provide optimal protection. Here’s how you can clean the pavers:
- Remove any large debris: Start by clearing the patio area of any leaves, sticks, or loose dirt. Use a broom or leaf blower to make sure the surface is free from larger debris.
- Apply a paver cleaner: Follow the instructions on the paver cleaner product and apply it to the surface of the pavers. Use a sprayer or a watering can to distribute the cleaner evenly.
- Scrub the pavers: Use a scrub brush with stiff bristles to scrub the pavers, focusing on any heavily soiled or stained areas. Apply pressure to remove dirt, grime, and any previous sealant that may be present.
- Rinse the pavers: Once you have scrubbed the pavers, use a garden hose or a pressure washer to thoroughly rinse away the cleaner and any loosened debris. Make sure to remove all residue, ensuring a clean surface for the new sealant.
- Let the pavers dry: Allow the pavers to dry completely before moving on to the next step. This will typically take 24-48 hours, depending on the weather conditions.
By thoroughly cleaning the pavers, you create a fresh canvas for the new sealant application. This ensures that the sealant bonds properly and provides the desired protection. Now that the pavers are clean and dry, it’s time to move on to the next step: removing old sealant (if necessary).
Step 3: Remove Old Sealant
If you notice that your patio pavers still have remnants of old sealant, it is crucial to remove it before applying a new coat. Removing old sealant will ensure proper adhesion of the new sealant and prevent any unevenness or peeling. Here’s how you can remove old sealant from your patio pavers:
- Assess the condition of the old sealant: Take a close look at the pavers and determine the extent of the old sealant present. If it is minimal or in good condition, you can proceed with the resealing process. However, if the old sealant is peeling or uneven, it is necessary to remove it.
- Use a sealant stripper or solvent: Choose a commercial sealant stripper or solvent that is suitable for your pavers. Follow the manufacturer’s instructions on how to use the product properly.
- Apply the sealant stripper: Apply the sealant stripper or solvent to the pavers in manageable sections. Use a brush or roller to ensure even coverage. Allow the product to sit on the surface for the recommended time as stated on the product instructions.
- Scrape off the old sealant: Once the old sealant has had time to loosen, use a scraper or putty knife to gently remove it from the surface of the pavers. Be careful not to damage the pavers during this process.
- Clean and rinse the pavers: After removing the old sealant, clean and rinse the pavers thoroughly to remove any remaining residue or chemicals. Allow the pavers to dry completely before proceeding to the next step.
By removing the old sealant, you ensure a clean and smooth surface for the new sealant application. This step is essential to achieve proper adhesion and ensure that your patio pavers look their best. Now that the old sealant has been removed, it’s time to move on to Step 4: applying the new sealant.
Clean the pavers thoroughly before resealing to remove any dirt, debris, and old sealant. Use a pressure washer or a stiff brush and soapy water to ensure a clean surface for the new sealant to adhere to.
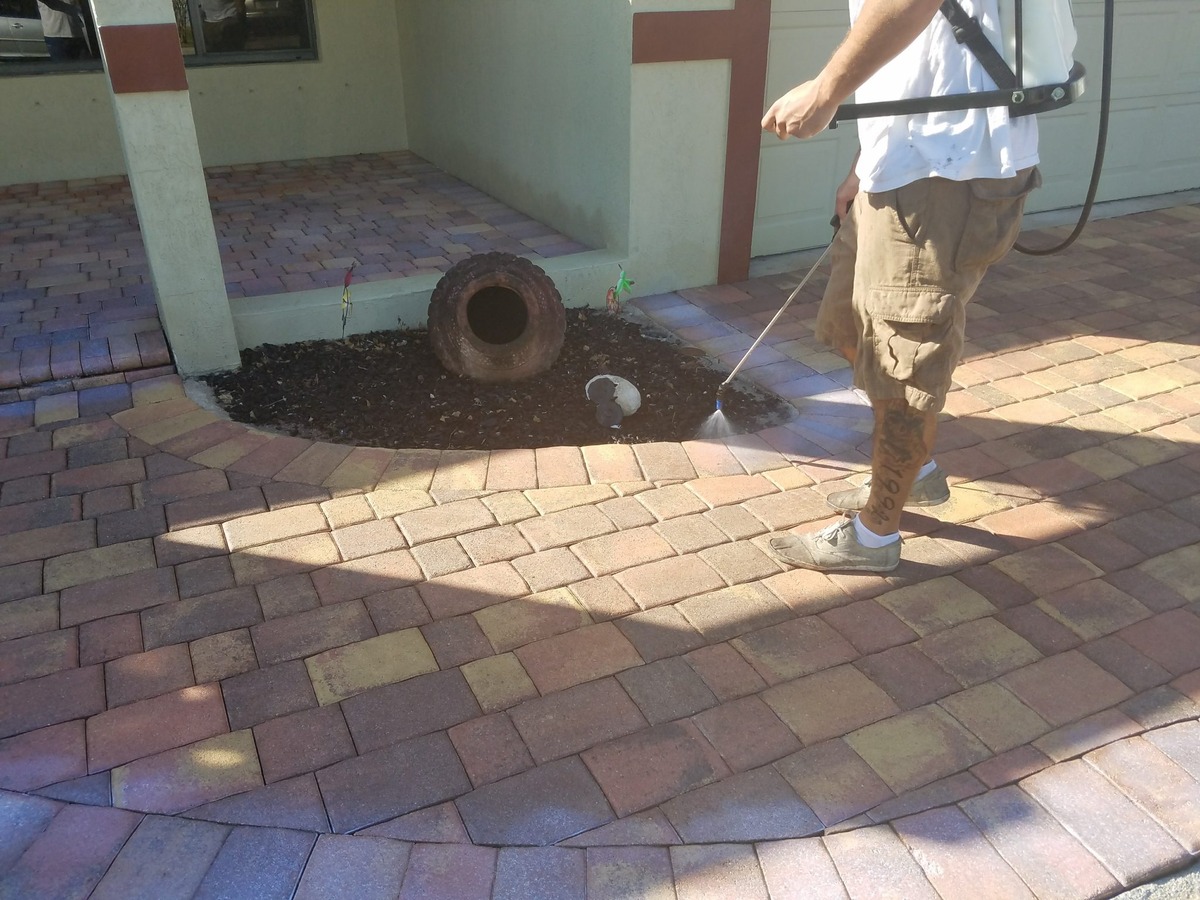
Step 4: Apply New Sealant
With the old sealant removed and your patio pavers clean and dry, it’s time to apply the new sealant. Applying a fresh coat of sealant will not only enhance the appearance of your pavers but also provide protection against the elements. Follow these steps to apply the new sealant:
- Choose the right sealant: Select a high-quality sealant that is specifically designed for the type of pavers you have. Consider factors such as the type of finish you desire and long-term durability.
- Prepare the sealant: Follow the manufacturer’s instructions to properly prepare the sealant for application. This may involve stirring or shaking the product to ensure a consistent mixture.
- Start with a small test area: Before applying the sealant to the entire patio, start with a small test area to ensure you are satisfied with the finish. This will allow you to make any adjustments if needed.
- Apply the sealant: Use a paint roller or sprayer to apply the sealant to the pavers. Begin at one corner of the patio and work your way across, ensuring even coverage. Be cautious not to make the sealant too thick, as it may result in an uneven finish.
- Work in small sections: Divide the patio into manageable sections and work on one section at a time. This will help ensure that the sealant does not dry before you are able to spread it evenly.
- Apply multiple coats if necessary: Depending on the specific product and desired level of protection, you may need to apply multiple coats of sealant. Follow the manufacturer’s instructions regarding the recommended number of coats and drying time between each application.
- Allow the sealant to dry: After applying the final coat, allow the sealant to dry completely according to the manufacturer’s instructions. This may take a few hours or even a couple of days depending on the weather conditions.
By applying a new coat of sealant, you provide a layer of protection that will enhance the lifespan of your patio pavers. The sealant will help prevent moisture penetration, UV damage, and other elements that can cause deterioration. Once the sealant has dried, it’s time to move on to the next step: allowing the sealant to cure.
Read more: What Is A Paver Patio
Step 5: Allow Sealant to Cure
After applying the new sealant to your patio pavers, it is essential to allow it to cure properly. Curing is the process of allowing the sealant to harden and achieve its maximum protective properties. Follow these steps to ensure that the sealant cures effectively:
- Read the manufacturer’s instructions: Every sealant product will have specific instructions regarding curing time. Read and follow these instructions carefully to ensure the best results.
- Avoid foot traffic: During the curing period, it is important to keep foot traffic to a minimum on the newly sealed pavers. This will prevent any accidental damage or disruption to the curing process.
- Stay off the patio: It is recommended to avoid using the patio and placing any furniture or heavy objects on the newly sealed pavers until the sealant has completely cured. This can take anywhere from 24 to 48 hours, depending on the product and weather conditions.
- Protect from water exposure: Additionally, avoid exposing the newly sealed pavers to water or rain during the curing period. This can interfere with the curing process and compromise the effectiveness of the sealant.
- Observe drying time: Pay attention to the drying time specified by the manufacturer. This refers to the time it will take for the sealant to become touch-dry, but it may take longer for the sealant to fully harden and provide optimal protection.
- Monitor weather conditions: Be mindful of the weather during the curing period. Rain or high humidity can affect the curing process, so it is best to seal your patio pavers when the weather forecast predicts a few consecutive days of good weather.
By allowing the sealant to cure properly, you ensure that it develops its maximum protective properties and durability. This step is crucial in maintaining the longevity and appearance of your patio pavers. Once the sealant has fully cured, it’s time to enjoy your newly resealed patio pavers.
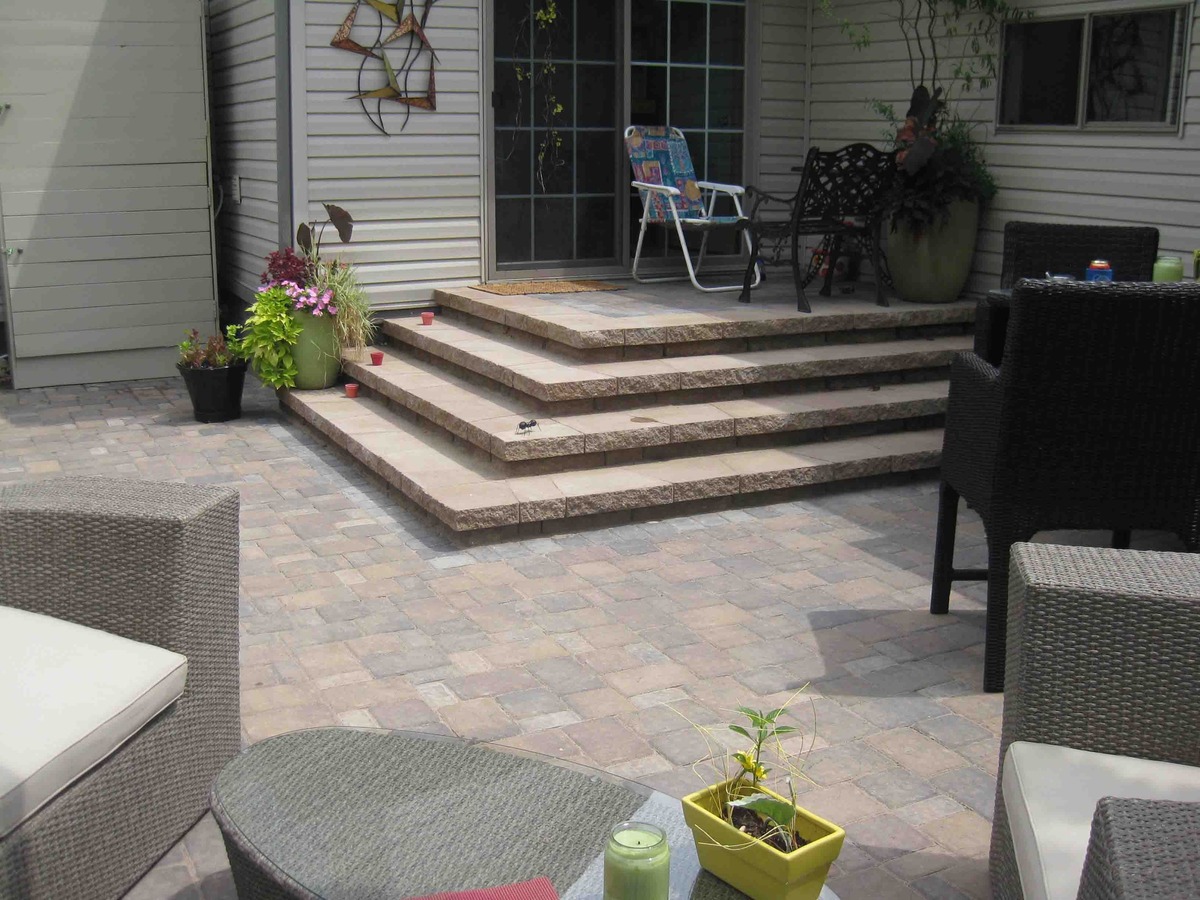
Step 6: Enjoy Your Resealed Patio Pavers
After following all the steps to reseal your patio pavers, it’s time to sit back, relax, and enjoy the results of your hard work. Your resealed patio pavers are now revitalized, protected, and ready for all your outdoor activities. Here are a few tips to help you fully enjoy your newly resealed patio pavers:
- Add furniture and décor: Place outdoor furniture, such as chairs, tables, and loungers, on your patio to create a comfortable and inviting space. Consider adding decorative elements like potted plants, cushions, and lighting to enhance the ambiance.
- Maintain regular cleaning: To keep your patio pavers looking their best, establish a regular cleaning routine. Sweep away debris, remove any stains promptly, and consider giving the pavers an occasional gentle wash with water and mild soap.
- Protect against heavy traffic or sharp objects: While resealing provides added protection, it’s still important to take precautions. Avoid dragging heavy objects or sharp items across the surface to prevent scratches or damage.
- Monitor for any signs of wear: Over time, the sealant may start to wear off due to foot traffic, weather exposure, or other factors. Keep an eye on the condition of the sealant and plan to reseal as needed to maintain optimal protection.
- Show off your outdoor space: Invite friends, family, and neighbors to enjoy your newly resealed patio pavers. Host outdoor gatherings, meals, or simply spend quiet moments enjoying the beauty of your revamped outdoor area.
By taking these steps and implementing proper maintenance, you can enjoy your resealed patio pavers for years to come. Whether it’s lounging in the sun, hosting a barbeque, or simply relishing the tranquility of the outdoors, your patio will serve as a welcoming and enjoyable space for all.
Resealing your patio pavers is a worthwhile investment to protect and enhance the beauty of your outdoor space. With the proper supplies, cleaning, and application techniques, you can achieve professional-quality results. So go ahead, take pride in your resealed patio pavers, and make the most of your outdoor oasis!
Conclusion
Resealing your patio pavers is a crucial step in maintaining their beauty, durability, and longevity. By following the steps outlined in this guide, you can successfully reseal your patio pavers and ensure they remain protected from the elements for years to come.
From gathering the necessary supplies to allowing the sealant to cure, each step is essential in achieving professional-quality results. Cleaning the pavers thoroughly, removing any old sealant, and applying a fresh coat of sealant will not only enhance the appearance of your outdoor space but also provide important protection against UV rays, water damage, and other elements.
Remember to choose the right sealant for your pavers and follow the manufacturer’s instructions for application and curing. Be patient during the curing process, avoiding foot traffic and water exposure. Once the sealant has fully cured, you can enjoy your beautiful and revitalized patio pavers.
Maintain your patio pavers by keeping them clean and addressing any issues promptly. Regular cleaning and periodic resealing, as needed, will help ensure the longevity of your patio and keep it looking its best year after year.
So go ahead, transform your outdoor space into a welcoming and stylish haven by resealing your patio pavers. Bring new life to your patio and create a space where you can relax, entertain, and make lasting memories with family and friends.
Remember, with the right supplies, proper cleaning, and careful application, you can achieve professional-quality results and enjoy the benefits of resealed patio pavers for years to come. Happy resealing!
Frequently Asked Questions about How To Reseal Patio Pavers
Was this page helpful?
At Storables.com, we guarantee accurate and reliable information. Our content, validated by Expert Board Contributors, is crafted following stringent Editorial Policies. We're committed to providing you with well-researched, expert-backed insights for all your informational needs.


0 thoughts on “How To Reseal Patio Pavers”