Articles
How To Remove Tile Mortar From Concrete Floor
Modified: May 6, 2024
Learn effective techniques for removing stubborn tile mortar from concrete floors with our informative articles.
(Many of the links in this article redirect to a specific reviewed product. Your purchase of these products through affiliate links helps to generate commission for Storables.com, at no extra cost. Learn more)
Introduction
Removing tile mortar from a concrete floor can be a daunting task, but with the right tools and techniques, it can be accomplished efficiently and effectively. Whether you are planning to install new tiles or just want to restore the concrete floor to its original state, this article will guide you through the step-by-step process of removing tile mortar from a concrete floor.
Before diving into the process, it is essential to gather all the necessary tools and materials. Having the right equipment will streamline the removal process and ensure less damage to the concrete surface.
The tools and materials you will need include:
- Heavy-duty gloves
- Safety goggles
- Dust mask
- Chisel
- Hammer
- Putty knife
- Tile scraper
- Scrub brush
- Masonry brush
- Bucket
- Vinegar
- Water
- Optional: Chemical mortar remover
Now that you have all the necessary tools and materials, let’s move on to preparing the area before removing the tile mortar.
Key Takeaways:
- Proper preparation, including gathering the right tools, softening the mortar, and using safe techniques, is essential for effectively removing tile mortar from a concrete floor while minimizing damage to the surface.
- After successfully removing the tile mortar, thorough cleaning, finishing touches such as filling gaps and applying sealant, and considering decorative treatments will enhance the appearance and protection of the concrete floor for future use and enjoyment.
Read more: How To Remove Tile From Concrete Floor
Tools and Materials Needed
Before you embark on the task of removing tile mortar from a concrete floor, it’s important to have the right tools and materials at your disposal. Here is a list of everything you will need to successfully complete the job:
- Heavy-Duty Gloves: Protect your hands from sharp edges and debris.
- Safety Goggles: Shield your eyes from flying debris or particles.
- Dust Mask: Prevent inhalation of dust and mortar particles.
- Chisel: Use a chisel to loosen and remove larger pieces of mortar.
- Hammer: A hammer is necessary for striking the chisel and breaking up the mortar.
- Putty Knife: Use a putty knife to scrape away any remaining mortar from the surface.
- Tile Scraper: A tile scraper with a sharp blade will help remove stubborn mortar.
- Scrub Brush: Use a stiff-bristle scrub brush to clean the concrete after mortar removal.
- Masonry Brush: A masonry brush is useful for sweeping away loose debris.
- Bucket: Have a bucket nearby to collect mortar remnants.
- Vinegar: Mixing vinegar with water creates a natural cleaner for the concrete surface.
- Water: Water is used in combination with vinegar for cleaning.
- Optional: Chemical Mortar Remover: If the mortar is particularly stubborn, a chemical mortar remover may be necessary. Always follow the manufacturer’s instructions and use in a well-ventilated area.
Having these tools and materials readily available will ensure that you can tackle the task with ease and efficiency. It’s important to prioritize safety, so make sure to wear protective gear such as gloves, goggles, and a dust mask throughout the entire process. With the necessary tools in hand, you’re ready to move on to the next step: preparing the area.
Preparing the Area
Before you begin removing the tile mortar, it’s essential to prepare the area properly. This includes taking a few precautions to protect yourself and the surrounding environment. Follow these steps to ensure a safe and efficient process:
- Clear the area: Remove any furniture, rugs, or objects that may obstruct your workspace. This will prevent any accidental damage or tripping hazards.
- Open windows or use fans: Proper ventilation is crucial when working with chemicals or creating dust. Open windows or use fans to circulate fresh air and minimize exposure to dust or fumes.
- Protect nearby surfaces: Cover nearby surfaces, such as walls or baseboards, with plastic sheets or drop cloths to shield them from debris or damage.
- Wear personal protective equipment (PPE): Put on heavy-duty gloves, safety goggles, and a dust mask to protect yourself from sharp objects, dust, and potential respiratory irritants.
By following these steps, you’ll create a safe and clear workspace, minimizing any potential hazards. Now that you’ve taken the necessary precautions, it’s time to move on to softening the tile mortar.
Softening the Mortar
The next step in removing tile mortar from a concrete floor is softening the mortar. Softening the mortar will make it easier to remove and reduce the risk of damaging the concrete surface. Follow these steps:
- Moisten the mortar: Using a spray bottle or a damp cloth, lightly moisten the mortar. This will help break down the adhesive properties and make it easier to remove.
- Let it sit: Allow the moisture to penetrate the mortar for about 15-20 minutes. This will give the water time to loosen the adhesive bond between the mortar and the concrete.
Once the mortar has had time to soften, you’re ready to move on to the next step: scraping the mortar.
NOTE: If you’re dealing with particularly stubborn or thick mortar, you may need to repeat the moistening process and let it sit for a longer period of time.
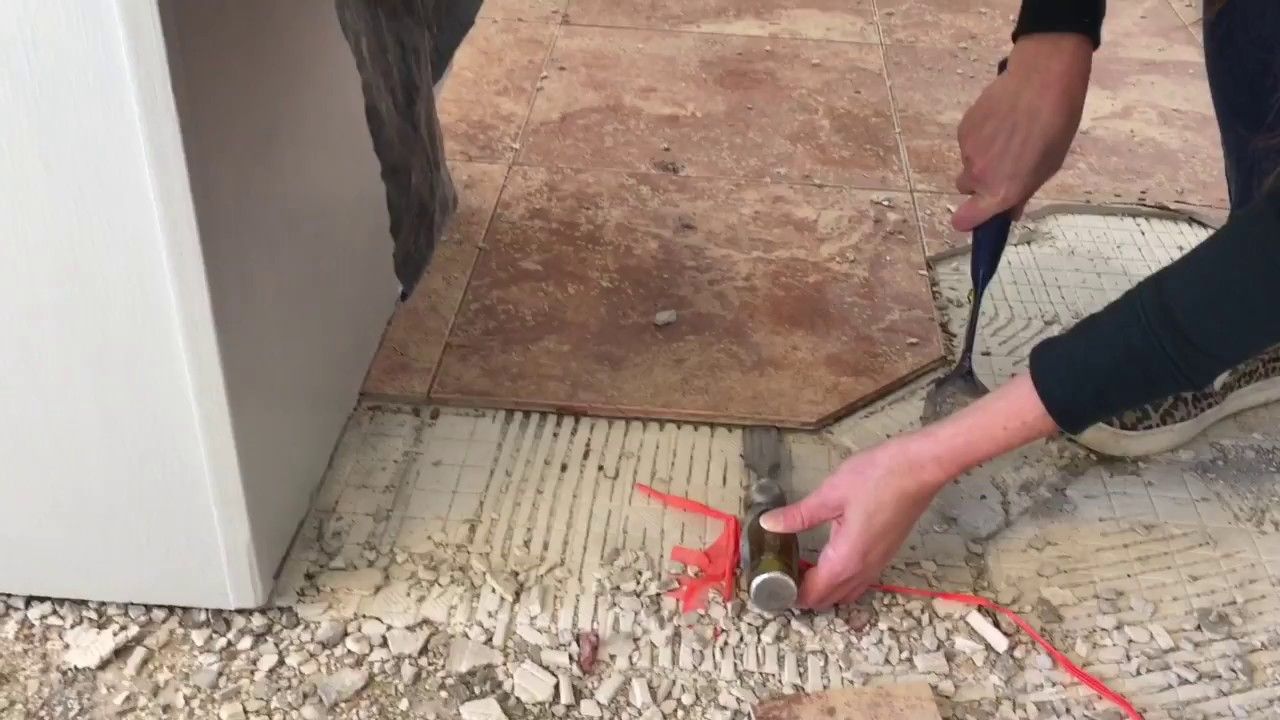
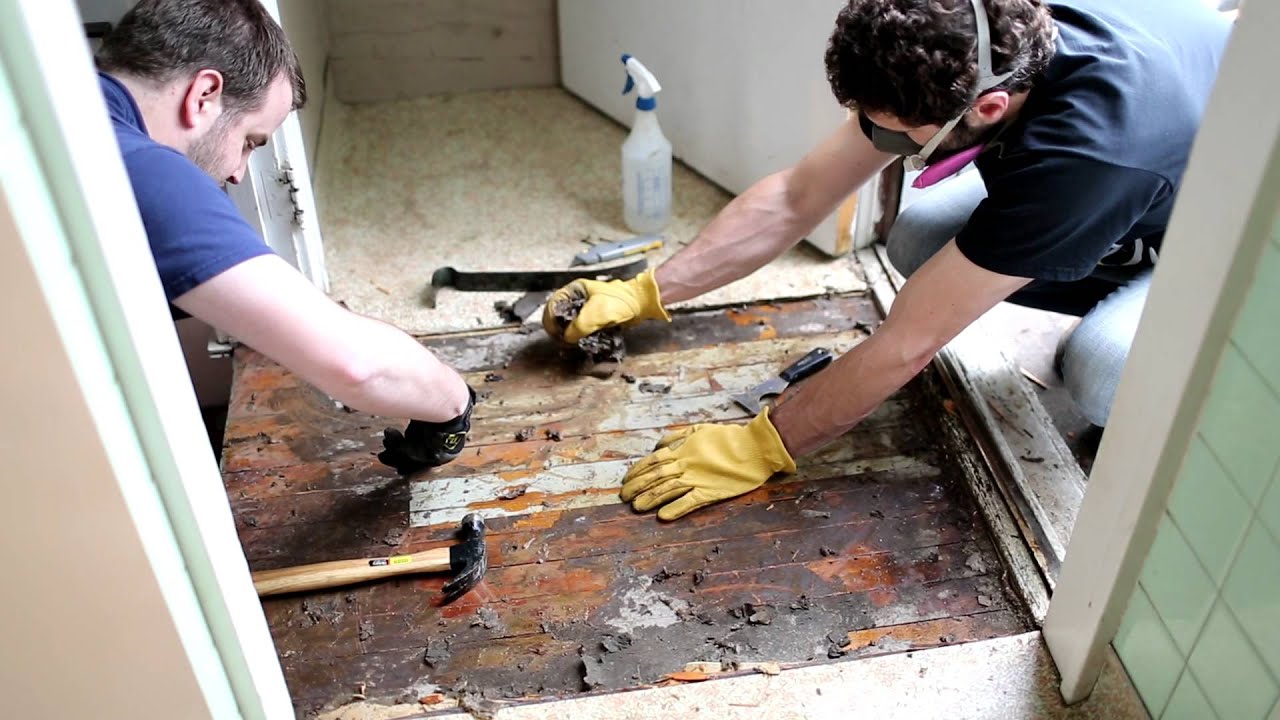
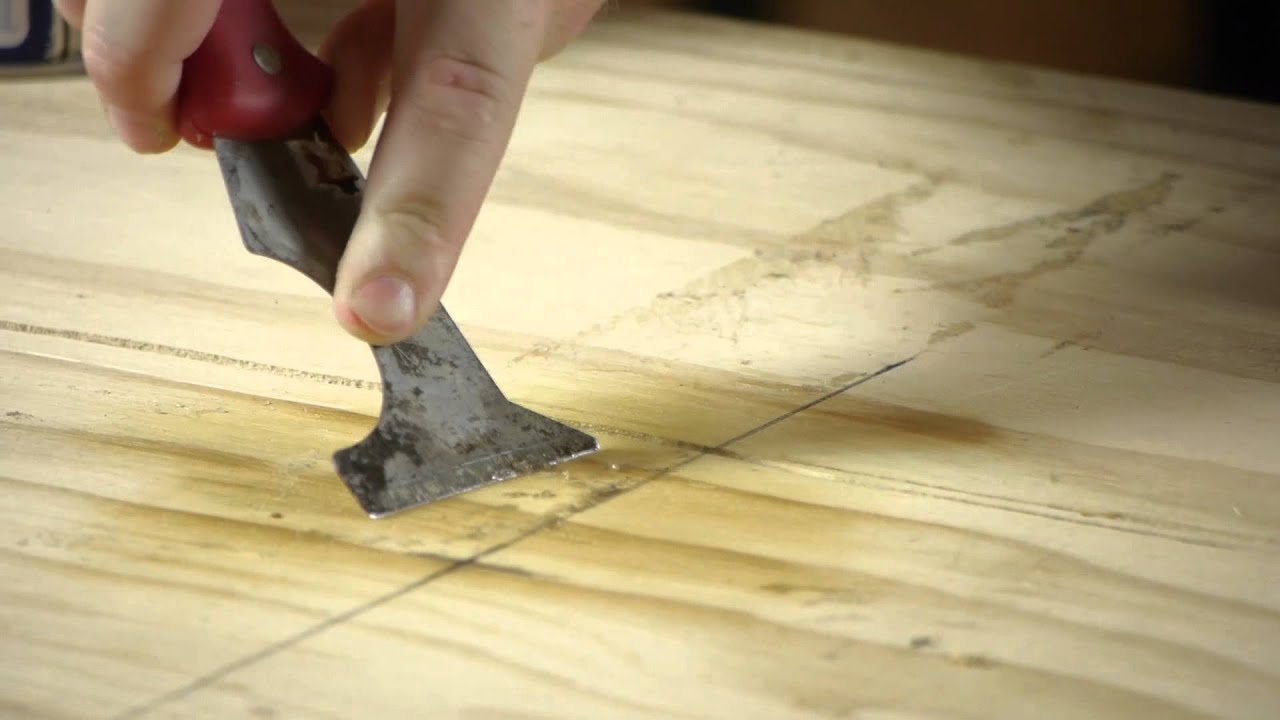
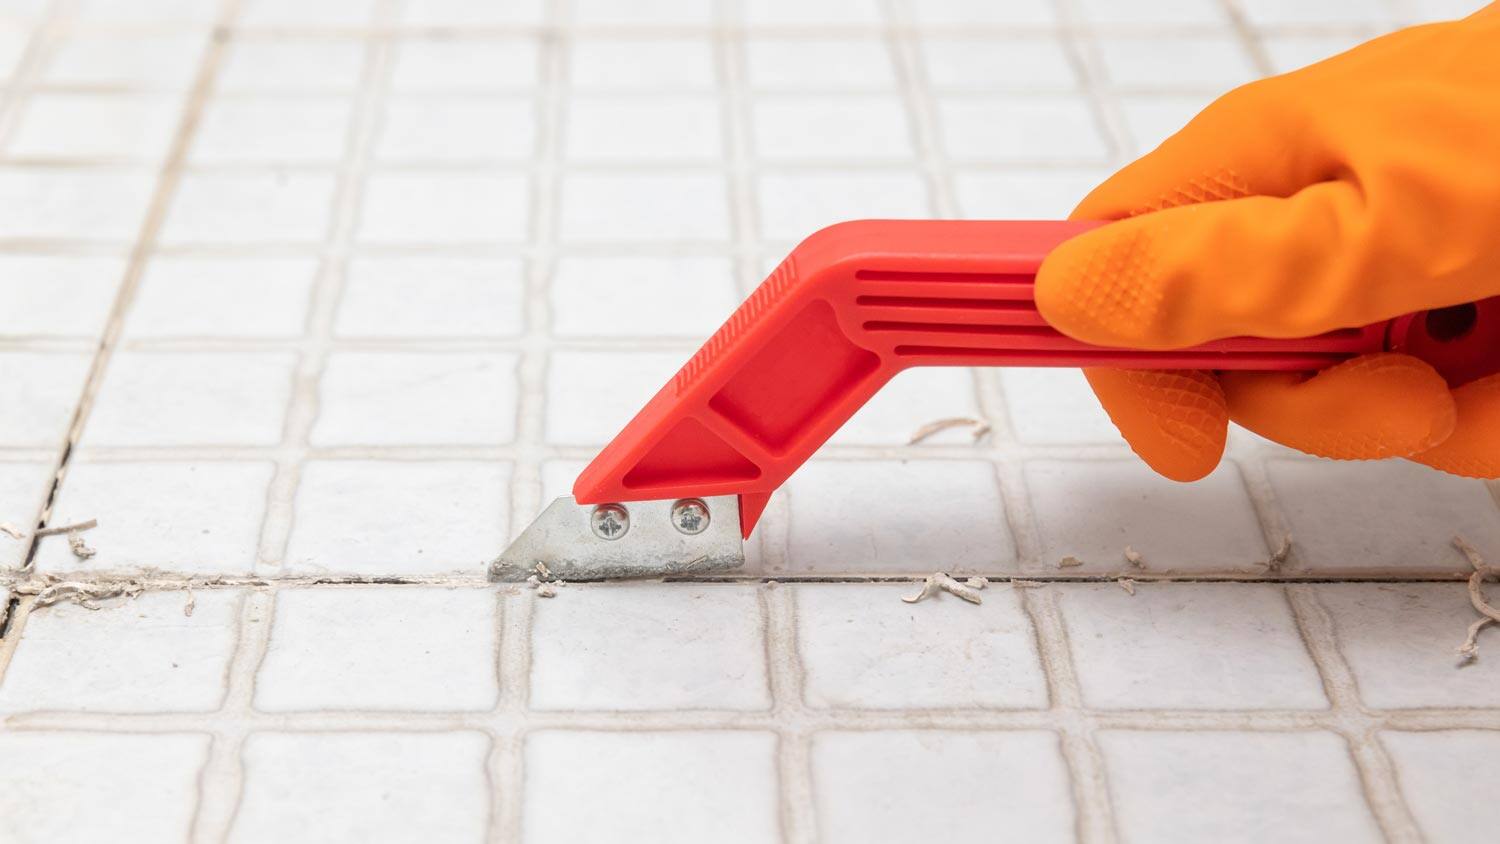
Scraping the Mortar
With the tile mortar softened, it’s time to start scraping it off the concrete floor. This step requires a bit of manual effort, but if done carefully, it can effectively remove the majority of the mortar. Follow these steps:
- Start with a chisel: Begin by using a chisel and a hammer to gently tap and loosen larger pieces of mortar. Position the chisel at a low angle and strike it with the hammer to break up the mortar. Be careful not to strike too hard, as this could damage the concrete beneath.
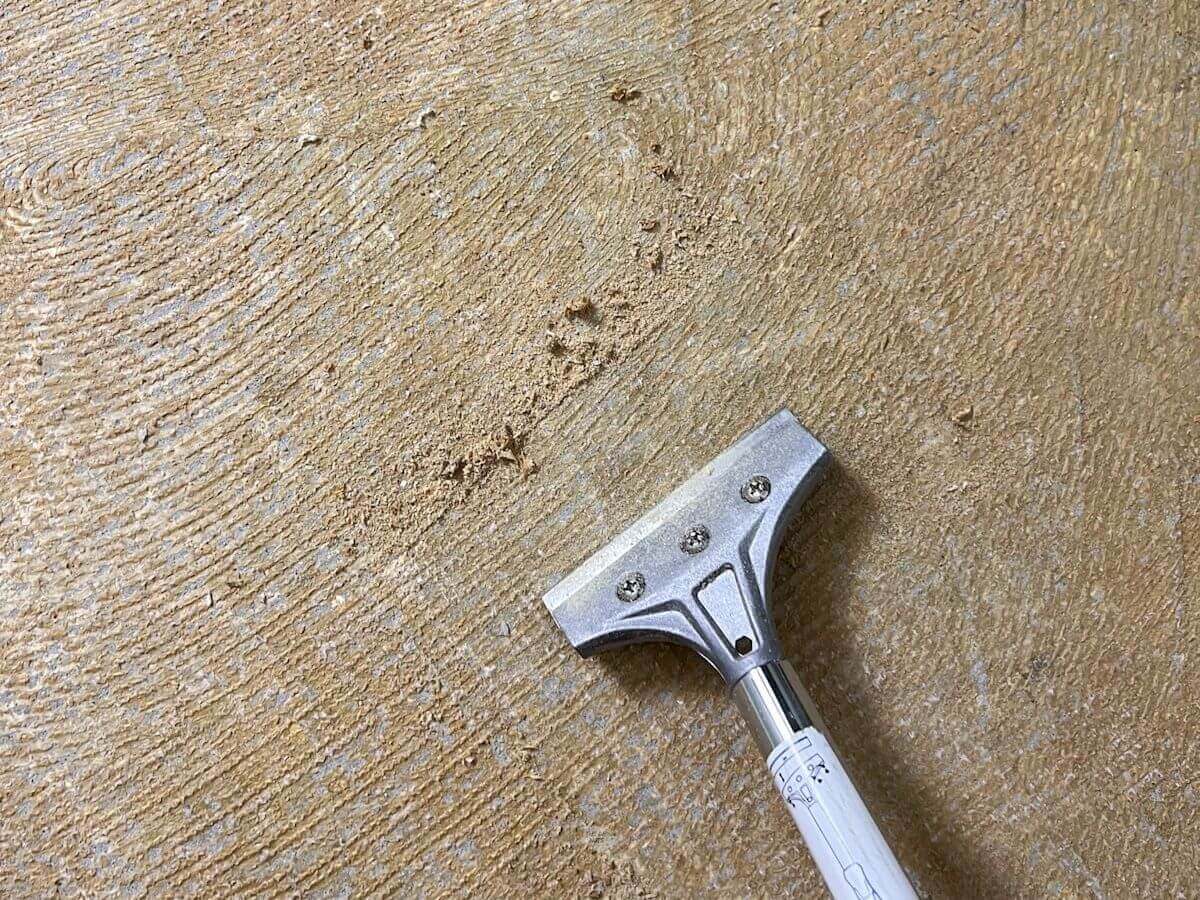
- Use a putty knife or tile scraper: Once you’ve loosened the larger pieces, switch to a putty knife or tile scraper to remove the remaining mortar. Hold the tool at a low angle and slide it under the mortar, applying steady pressure to scrape it off the concrete surface. Work in small sections, removing one area of mortar before moving on to the next.
- Remove any residue: After scraping off the mortar, inspect the surface for any stubborn residue. Use the sharp edge of the putty knife or tile scraper to carefully scrape away any remaining mortar remnants. Be gentle to avoid scratching or damaging the concrete.
Continue this process, section by section, until you have removed all visible mortar from the concrete floor. You may need to take breaks periodically to rest your arms and reposition yourself for optimal scraping.
Next, we will discuss an optional step that involves the use of chemicals to remove stubborn or hard-to-reach mortar.
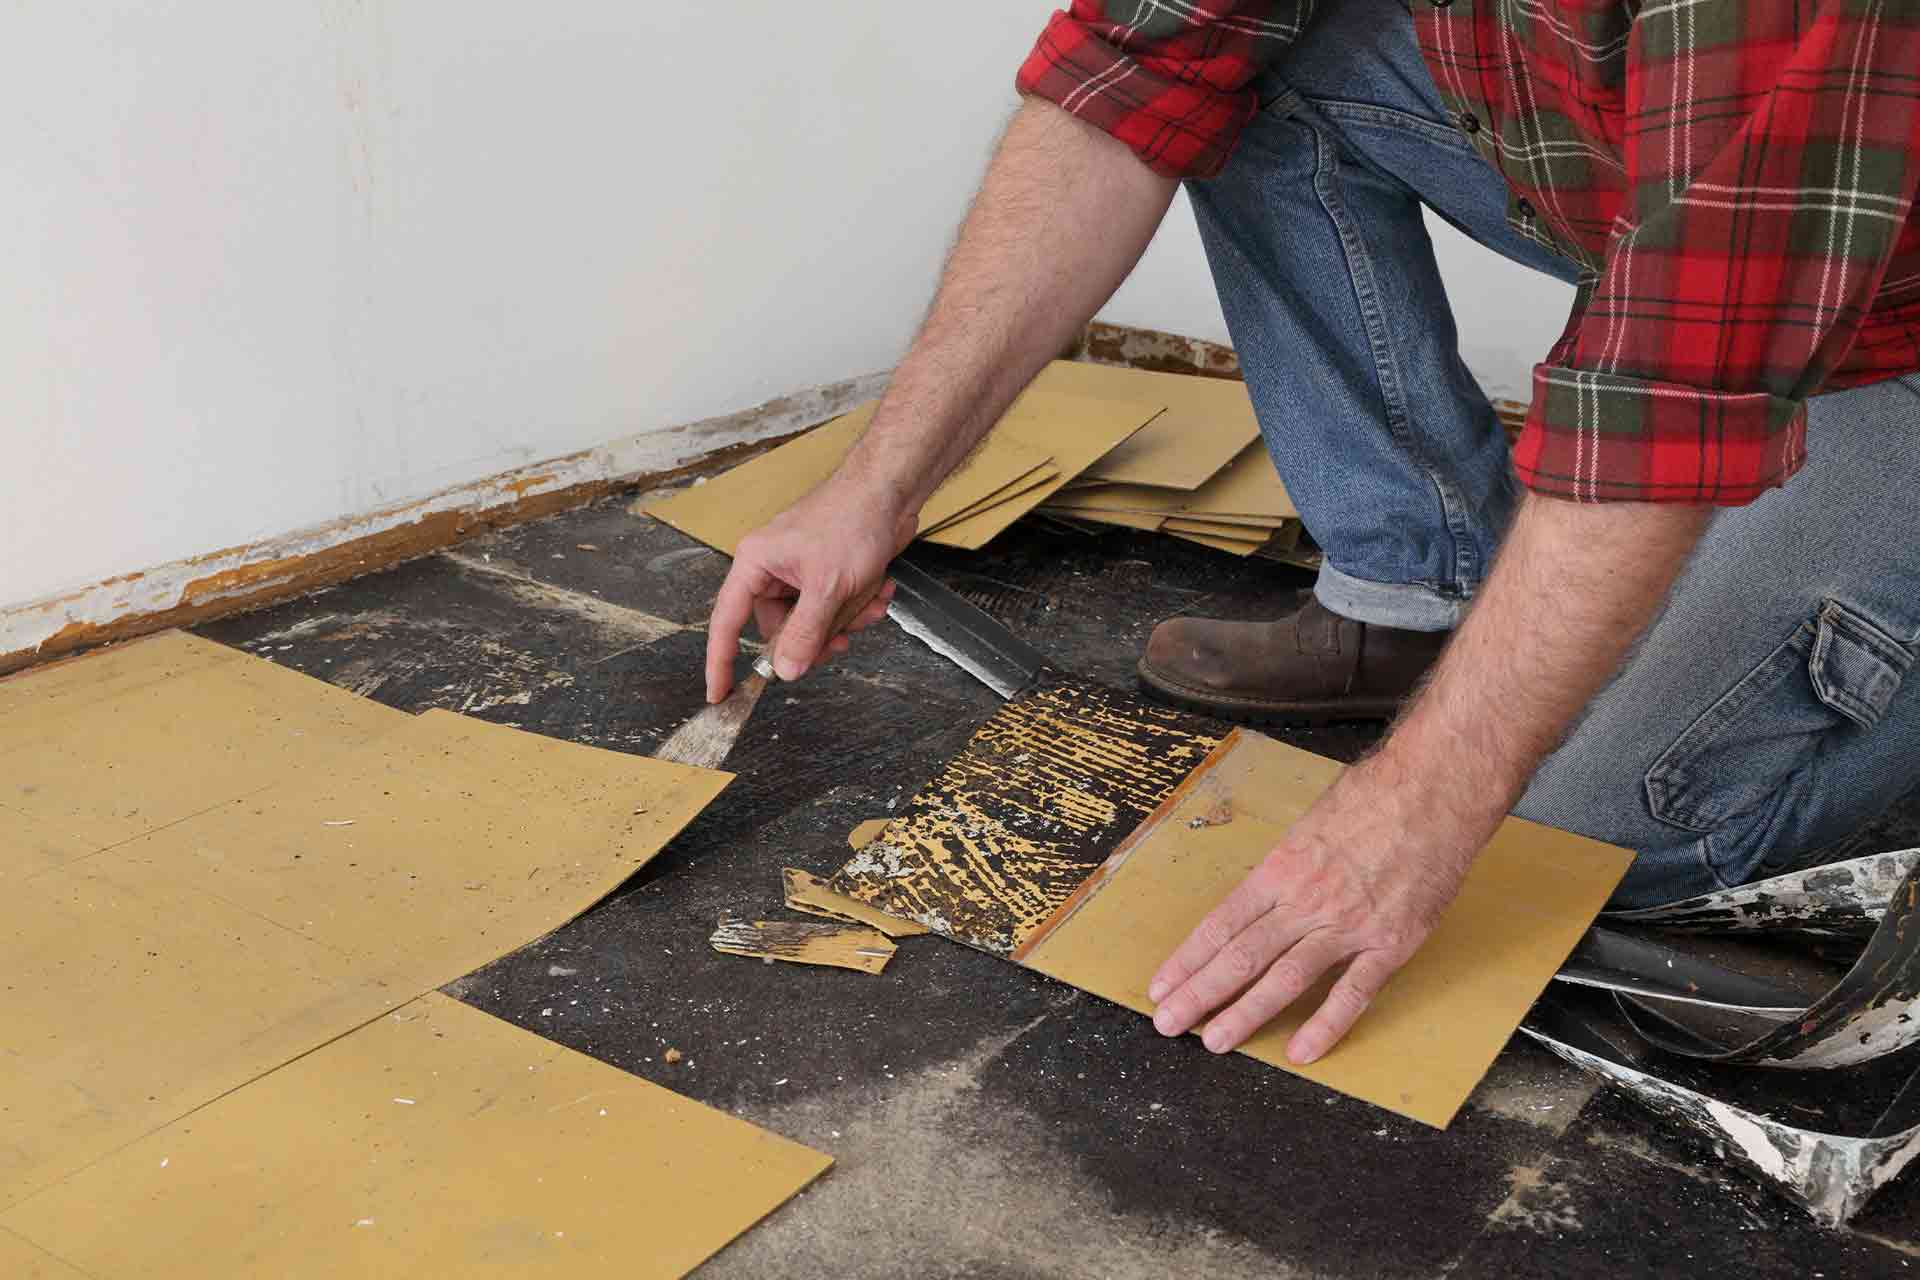
Use a chisel and hammer to carefully chip away the tile mortar from the concrete floor. Work in small sections and wear protective eyewear and gloves. After removing the majority of the mortar, use a wire brush to clean off any remaining residue.
Read more: How To Remove Hairspray From Tile Floor
Using Chemicals (Optional)
If you’re dealing with particularly stubborn or hard-to-reach tile mortar, you may consider using a chemical mortar remover to aid in the removal process. Chemical removers are designed to break down the adhesive properties of the mortar, making it easier to scrape off. Before using any chemicals, it’s important to follow these guidelines:
- Read and follow the manufacturer’s instructions: Different chemical removers may have specific instructions for application, safety precautions, and recommended dwell time.
- Work in a well-ventilated area: Chemical removers may emit fumes or have strong odors. Ensure proper ventilation by opening windows or using fans. You may also consider wearing a respirator mask for added respiratory protection.
- Test on a small, inconspicuous area: Before applying the chemical remover to the entire floor, test it on a small section to ensure compatibility with your concrete surface. This will help you determine if any discoloration or damage occurs.
- Apply the chemical remover: Use a brush or sprayer to apply the remover evenly over the mortar. Follow the recommended application technique provided by the manufacturer.
- Allow for dwell time: Give the chemical remover enough time to work on the mortar. This dwell time may vary, so refer to the product instructions for guidance. Avoid letting the remover dry on the surface.
- Scrape off the softened mortar: Once the dwell time is up, use a putty knife or scraper to gently remove the softened mortar. Be careful not to apply excessive force, as this may damage the concrete.
When using chemical removers, be cautious and make sure to protect yourself by wearing gloves, safety goggles, and a dust mask. Follow all safety guidelines provided by the manufacturer to minimize any risks associated with the chemicals.
After removing the mortar, it’s time to clean the concrete floor to ensure a smooth and pristine finish.
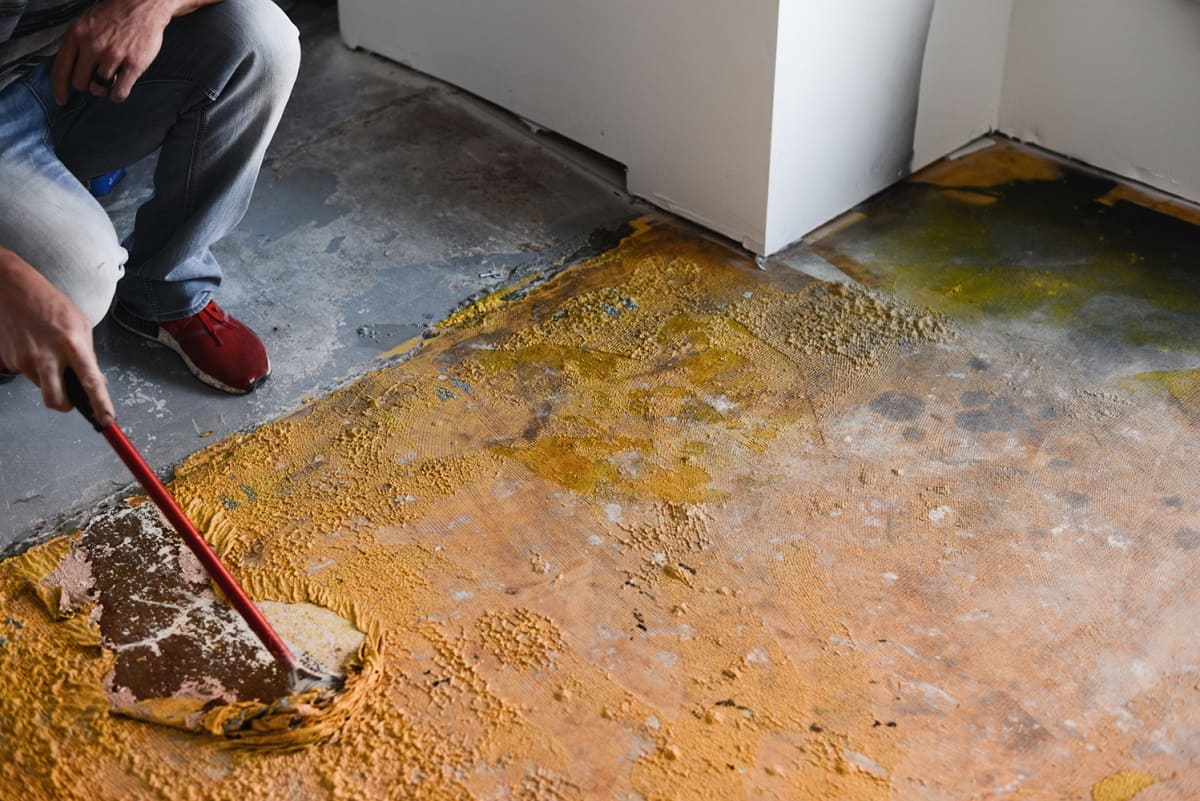
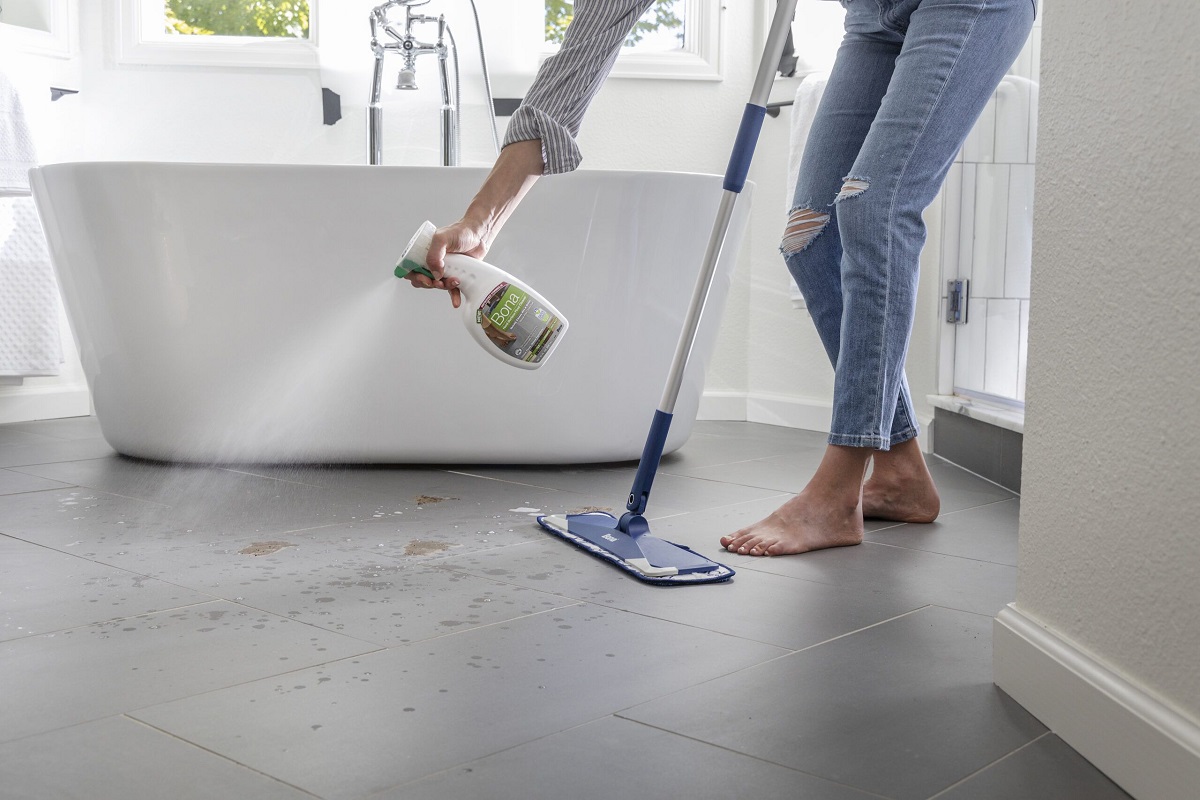
Cleaning the Concrete Floor
Once you have successfully removed the tile mortar from the concrete floor, it’s important to give it a thorough cleaning. This will help remove any residue, dust, or debris left behind from the mortar removal process. Follow these steps to clean the concrete floor:
- Remove loose debris: Use a stiff-bristle brush or masonry brush to sweep away any loose debris from the surface of the concrete. This will help prepare the floor for cleaning.
- Create a cleaning solution: Mix a solution of equal parts vinegar and water in a bucket. Vinegar is a natural cleaner that can effectively remove any remaining mortar residue and leave the concrete sparkling clean.
- Scrub the floor: Dip a scrub brush into the vinegar and water solution and scrub the concrete floor in circular motions. Pay attention to any areas where mortar residue may still be present. Apply more solution if needed.
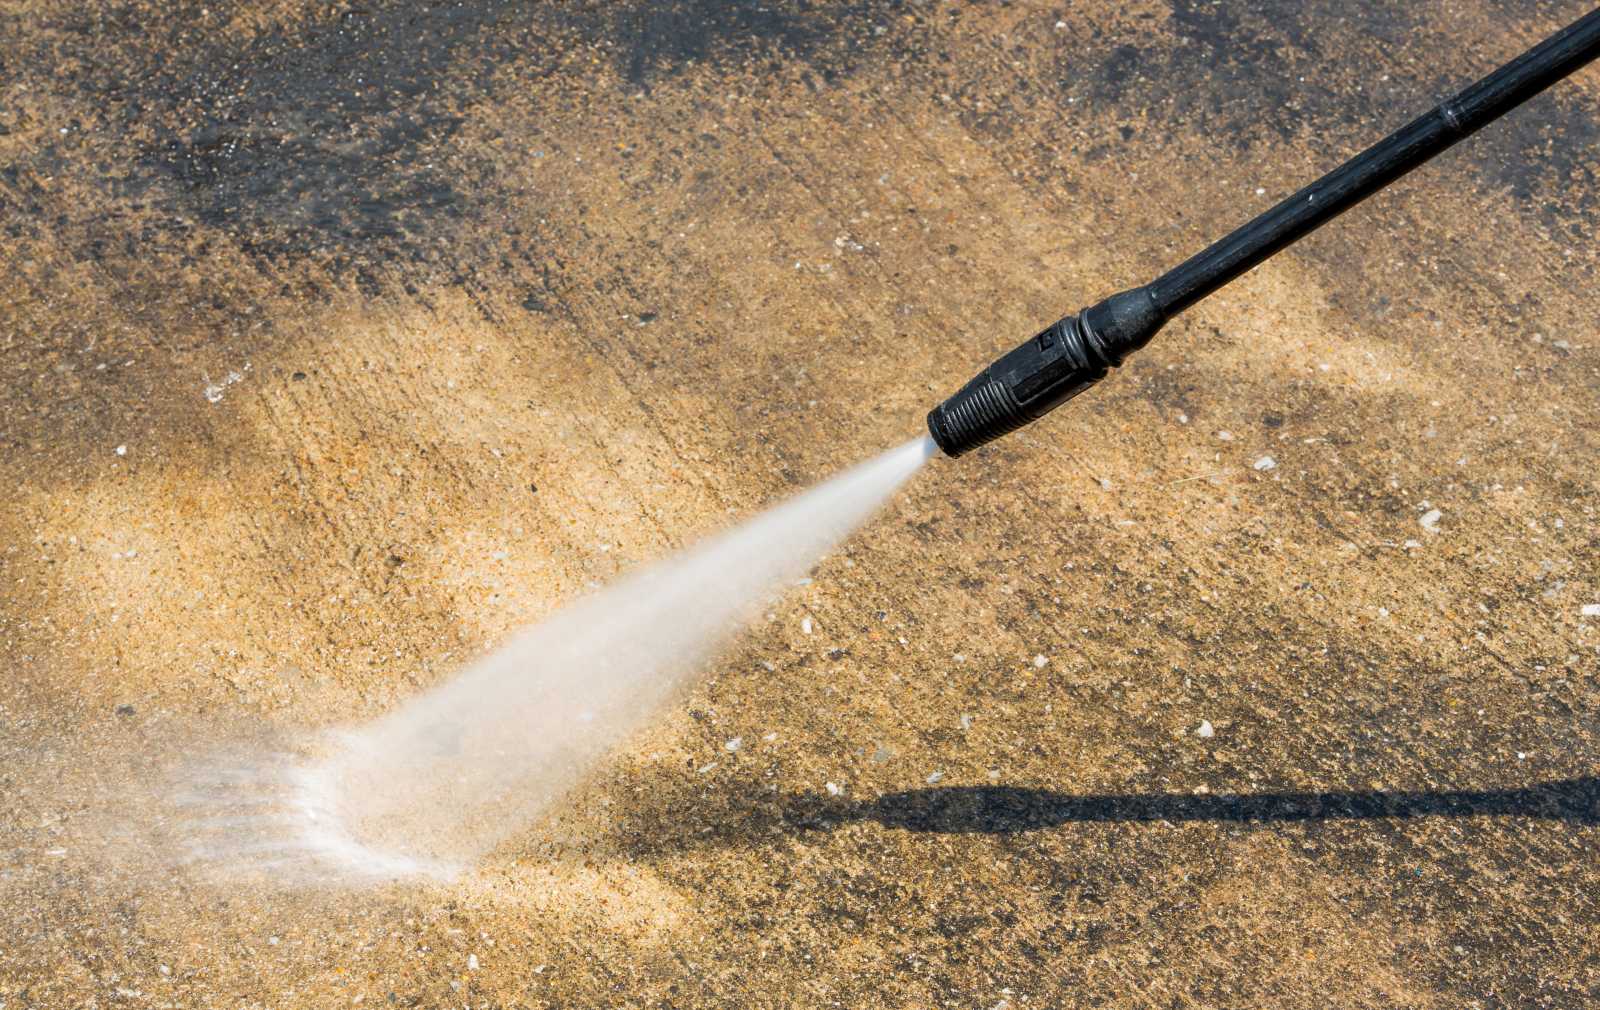
- Rinse with water: Once you have thoroughly scrubbed the concrete floor, rinse it with clean water. Use a mop or sponge to remove any excess cleaning solution and rinse away any remaining debris.
- Dry the floor: Allow the concrete floor to air dry naturally or use a clean towel or mop to remove any excess moisture. Make sure the floor is completely dry before moving on to the next step.
By following these cleaning steps, you will ensure that the concrete floor is free from any leftover mortar residue or dirt. A clean surface will also provide a better foundation for any future flooring installations or treatments.
After cleaning, take a moment to inspect the concrete floor and ensure that you have achieved the desired level of cleanliness. If necessary, repeat the cleaning process in specific areas until you are satisfied with the results.
Now that the concrete floor is clean and ready, let’s move on to the finishing touches.
Finishing Touches
After removing the tile mortar and cleaning the concrete floor, there are a few final steps you can take to ensure a polished and finished look. These finishing touches will help enhance the appearance of the floor and protect it for years to come. Consider implementing the following:
- Fill any gaps or cracks: Inspect the concrete floor for any gaps or cracks that may have been revealed during the mortar removal process. Fill them with a concrete patching compound to create a smooth and even surface.
- Sand the surface (if necessary): If the concrete surface feels rough or uneven after mortar removal, you may consider sanding it to create a smoother texture. Use a floor sander or handheld sanding block with medium-grit sandpaper to achieve the desired result.
- Add a sealant or coating (optional): Applying a sealant or coating to the concrete floor can provide added protection against stains, moisture, and wear. Choose a product specifically designed for concrete floors and follow the manufacturer’s instructions for application.
- Consider a floor finish or treatment: If you prefer a more decorative or polished look, there are various floor finishes and treatments available. This includes options like epoxy coatings, concrete stains, or decorative overlays. Research and choose a treatment that aligns with your desired aesthetic and follow the recommended application steps.
- Place rugs or mats: To add warmth and comfort to the concrete floor, consider placing rugs or mats in high-traffic areas or designated sections. This will not only enhance the visual appeal but also protect the floor from scratches and reduce noise.
By incorporating these finishing touches, you can transform your concrete floor into a visually appealing and functional space. It’s important to note that the choice of sealants, coatings, or floor treatments will depend on the specific needs and preferences of your project. Take your time to research and select the best options for your concrete floor.
With the finishing touches complete, you have successfully removed tile mortar from a concrete floor and prepared it for further use or enjoyment. Last but not least, let’s conclude the article.
Conclusion
Removing tile mortar from a concrete floor may seem like a challenging task, but with the right tools, techniques, and a little bit of patience, it can be accomplished effectively. By following the step-by-step process outlined in this article, you can successfully remove tile mortar and restore your concrete floor to its original state.
Remember to gather all the necessary tools and materials before beginning the process. Wear appropriate safety gear, such as heavy-duty gloves, safety goggles, and a dust mask, to protect yourself from potential hazards. Preparing the area by clearing furniture and protecting nearby surfaces will create a safe and smooth working environment.
Softening the mortar by moistening it and letting it sit will make the removal process easier. Using tools like a chisel, hammer, putty knife, and tile scraper, you can scrape away the mortar from the concrete floor. If needed, you can use a chemical mortar remover to tackle stubborn mortar remnants, following the instructions provided by the manufacturer.
Once the mortar is removed, it’s important to clean the concrete floor thoroughly. Sweeping away loose debris and using a vinegar and water solution to scrub the surface will ensure a clean and polished result. The finishing touches, such as filling gaps or cracks, sanding the surface, applying a sealant or coating, and considering decorative floor treatments or rugs, will enhance the overall appearance and protection of the concrete floor.
By following these steps and taking the time to properly remove tile mortar from a concrete floor, you can achieve a smooth, clean, and visually appealing surface. Whether you’re preparing for a new flooring installation or simply restoring the concrete floor, this process will leave you with a solid foundation for future use and enjoyment.
Remember to adjust the techniques and materials based on the specific requirements of your project. Always prioritize safety, follow manufacturer instructions, and consider seeking professional assistance if needed. With dedication and attention to detail, your concrete floor will be free of tile mortar and ready for its next transformation.
Now that you've mastered removing tile mortar from your concrete floor, consider taking your home renovation further. Delve into our detailed guide on selecting top options for your living spaces. This article offers essential insights perfect for anyone planning to upgrade their flooring. A new set of hardwood floors can dramatically refresh any room, making the entire home feel more welcoming and stylish. Don't miss out on learning about the best choices that could transform your living environment!
Frequently Asked Questions about How To Remove Tile Mortar From Concrete Floor
Was this page helpful?
At Storables.com, we guarantee accurate and reliable information. Our content, validated by Expert Board Contributors, is crafted following stringent Editorial Policies. We're committed to providing you with well-researched, expert-backed insights for all your informational needs.


0 thoughts on “How To Remove Tile Mortar From Concrete Floor”