Home>Furniture>Outdoor Furniture>How To Stamp And Stain A Concrete Patio
Outdoor Furniture
How To Stamp And Stain A Concrete Patio
Modified: March 7, 2024
Learn how to transform your outdoor patio with stamped and stained concrete, creating a stylish and durable surface for your outdoor furniture.
(Many of the links in this article redirect to a specific reviewed product. Your purchase of these products through affiliate links helps to generate commission for Storables.com, at no extra cost. Learn more)
Introduction
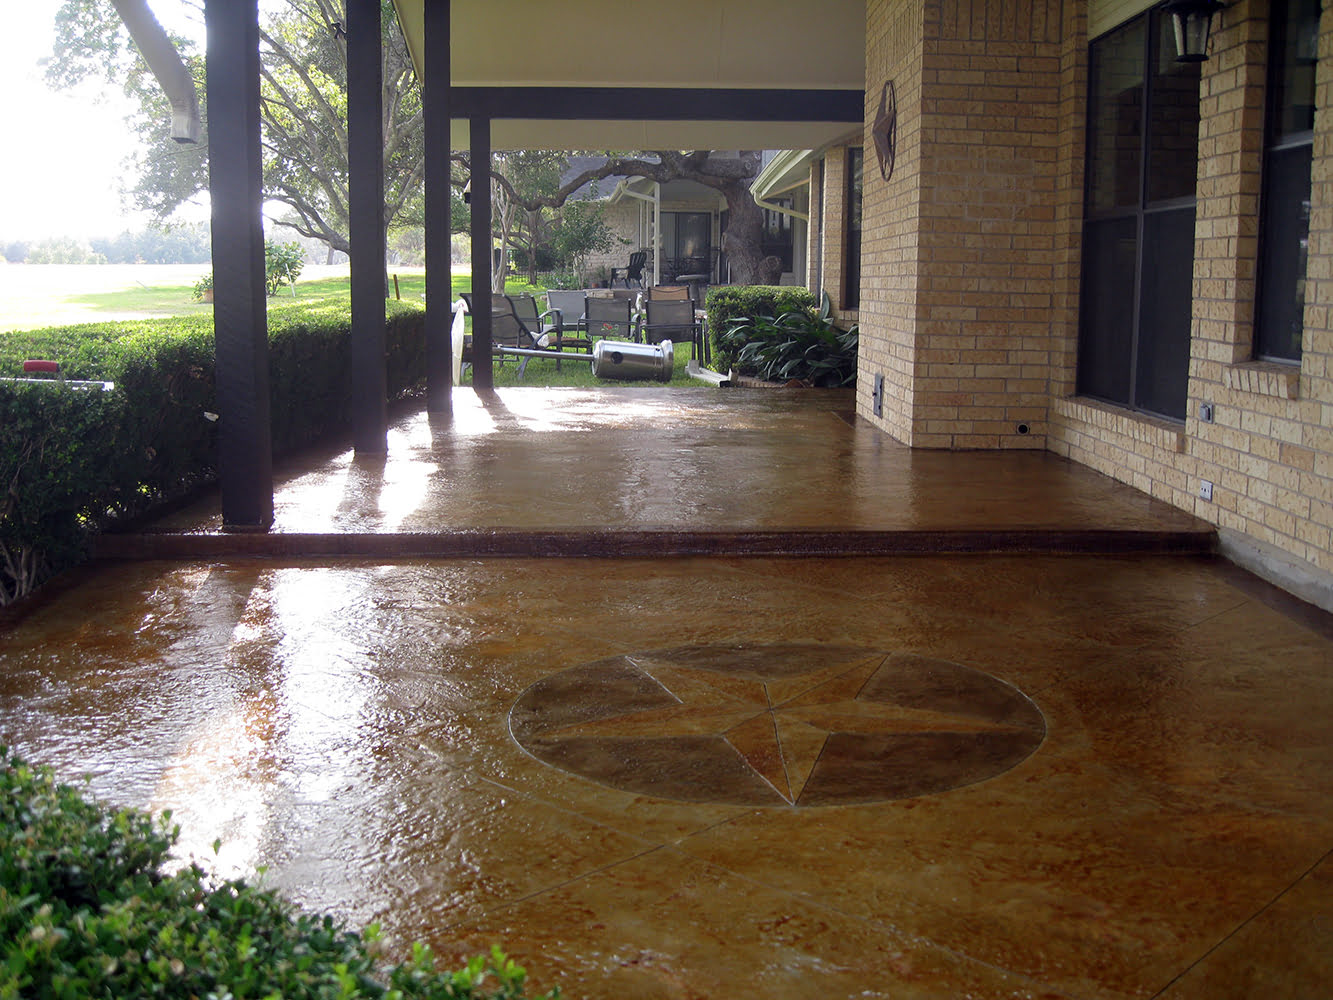
Creating a beautiful outdoor space to relax and entertain is a dream for many homeowners. One way to enhance the aesthetics of your outdoor area is by upgrading your concrete patio. Rather than settling for a plain and dull surface, you can transform it into a stunning focal point by stamping and staining the concrete.
Stamping and staining a concrete patio not only adds visual appeal but also increases its durability and longevity. This process involves using special tools and materials to create realistic textures and patterns on the surface of the concrete while adding color through staining. The result is a unique and customized patio that resembles natural stone or pavers, but at a fraction of the cost.
In this article, we will guide you through the step-by-step process of stamping and staining your concrete patio to achieve a beautiful and durable outdoor space. We will cover everything from the materials needed to the curing and maintenance of your newly transformed patio. So, let’s dive in!
Key Takeaways:
- Transform your concrete patio into a stunning focal point by stamping and staining it. This process adds visual appeal, durability, and a personalized touch to your outdoor space at a fraction of the cost of natural stone or pavers.
- Gather the necessary materials and follow the step-by-step process to achieve a beautiful and durable stamped and stained concrete patio. From preparing the surface to applying the stain, stamping the patterns, and sealing the patio, each step is crucial to creating a unique outdoor space.
Read more: How Much For A Stamped Concrete Patio
Materials Needed
Before starting the stamping and staining process, it’s important to gather all the necessary materials. Here’s a list of items you’ll need:
- Concrete cleaner: To prepare the surface for staining and remove any dirt or debris.
- Concrete stain: Choose a high-quality concrete stain in your desired color. Stains come in various shades and can be used to achieve a natural stone or solid color look.
- Concrete stamping mats: These are flexible rubber mats with textured patterns that will be used to imprint the design onto the concrete.
- Concrete release agent: This acts as a lubricant, preventing the stamping mats from sticking to the concrete and creating a clean release.
- Concrete sealer: A sealer is used to protect the stamped and stained concrete from wear, stains, and weather damage. Choose a sealer specifically made for use on stamped concrete surfaces.
- Paint roller or sprayer: Depending on your preference, you can use a paint roller or sprayer to apply the concrete stain and sealer.
- Concrete trowel or float: These tools will be used to apply the stain and sealer evenly onto the concrete surface.
- Protective gear: It’s essential to protect yourself during the process. Wear gloves, safety goggles, and a respirator mask to avoid contact with chemicals.
- Pressure washer: If your concrete patio is heavily soiled or has existing coatings, you may need a pressure washer to clean the surface thoroughly.
- Brushes and rollers: These will be used to apply the concrete cleaner and release agent onto the concrete.
- Drop cloths: Cover any nearby plants, furniture, or surfaces to protect them from stains or spills.
Make sure to gather all the materials before starting the project to ensure a smooth and efficient process. Additionally, read and follow the instructions provided with each product to achieve the best results.
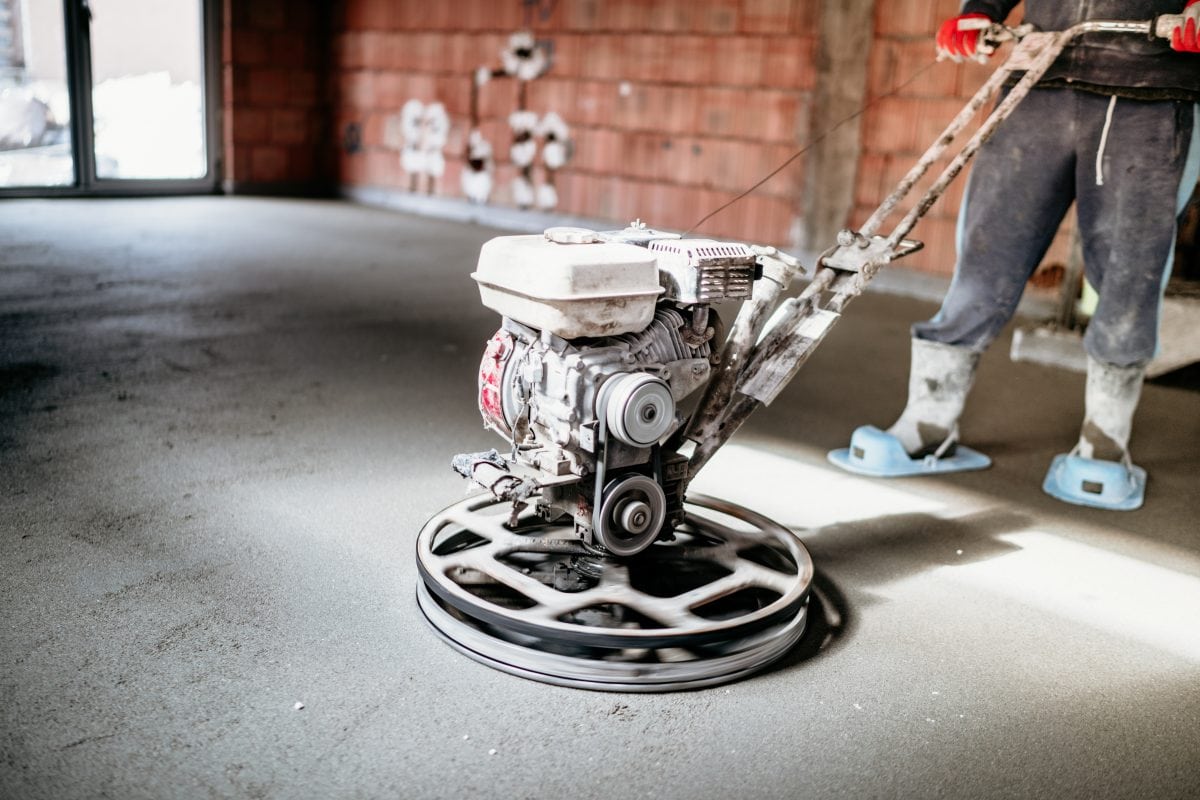
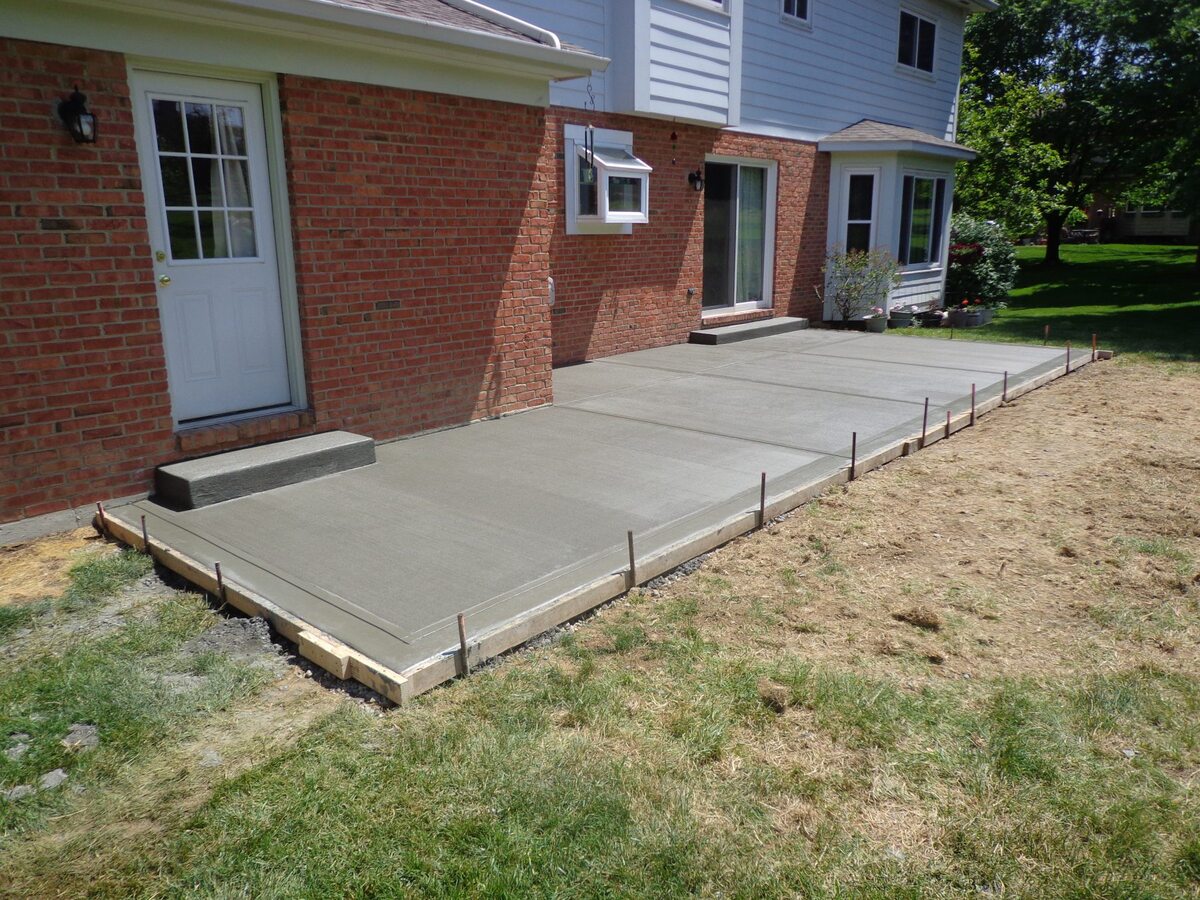
Preparing the Concrete Patio
Before you can begin the stamping and staining process, you’ll need to prepare your concrete patio. Here are the steps to follow:
- Clean the surface: Start by thoroughly cleaning the patio surface to remove any dirt, oil, or grease. Use a concrete cleaner and follow the instructions on the label. You may need to scrub the surface with a brush or use a pressure washer for stubborn stains or coatings.
- Repair any damage: Inspect the concrete for any cracks, chips, or uneven areas. Repair any damages using a concrete patching compound and allow it to dry completely.
- Test the absorbency: Sprinkle water onto the concrete surface. If it absorbs quickly, you’re ready for staining. If it beads up or doesn’t absorb, you may need to etch the surface with a concrete etching solution to allow better penetration of the stain.
- Protect the surrounding areas: Use drop cloths or plastic sheets to cover nearby plants, furniture, and any surfaces you want to keep clean.
- Apply concrete release agent: Before stamping the concrete, apply a thin and even layer of concrete release agent onto the surface. This will prevent the stamping mats from sticking to the concrete and ensure a clean release.
Once these preparations are complete, you’re ready to move on to the next step: applying the concrete stain.
Note: It’s important to carefully read and follow the instructions provided with the concrete cleaner, patching compound, etching solution, and release agent to achieve the desired results and ensure your safety.
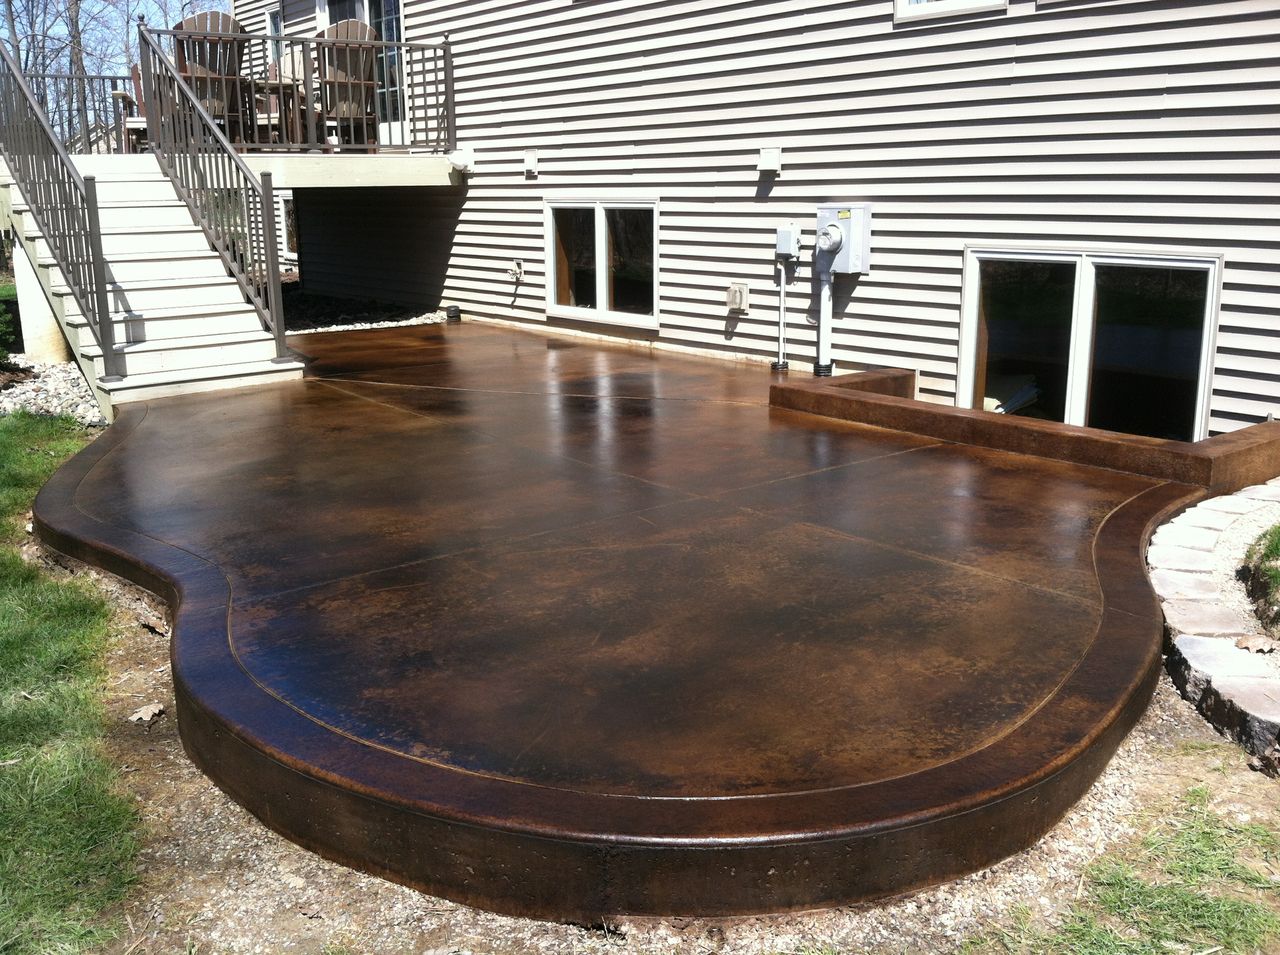
Applying the Concrete Stain
Now that your concrete patio is clean and prepared, it’s time to apply the concrete stain. Follow these steps to achieve a beautiful and even color:
- Choose the right stain: Select a high-quality concrete stain in your desired color. Consider the look you want to achieve – whether it’s a subtle, translucent effect or a solid, opaque color.
- Mix the stain: If your stain requires mixing, follow the instructions provided. Ensure that the stain is well-blended before application.
- Start from a corner: Begin applying the stain from a corner of the patio, working your way across the surface. Use a paint roller or sprayer to evenly distribute the stain. Work in small sections to maintain consistency.
- Apply multiple coats: Depending on the desired color intensity, you may need to apply multiple coats of stain. Allow each coat to dry completely before applying the next one. Follow the manufacturer’s instructions regarding drying times.
- Blend the edges: As you move from one section to another, make sure to blend the edges of the stain to create a seamless look. This can be achieved by overlapping the strokes or feathering the stain with a brush.
- Consider variation: If you want to create a more natural and textured look, consider using multiple shades of stain or diluting the stain with water to create subtle variations in color.
- Allow for drying time: Once you have finished applying the stain, allow it to dry completely according to the manufacturer’s instructions. This typically takes at least 24-48 hours.
Remember to work carefully and methodically during the staining process to ensure an even distribution of color. Take breaks as needed, and protect the newly stained surface from foot traffic or any other potential disturbances.
Note: Always wear protective gear, such as gloves and a respirator mask, when working with concrete stain. Follow the manufacturer’s instructions regarding proper handling and disposal of the stain.
Before stamping and staining a concrete patio, make sure to thoroughly clean and prepare the surface. Use a high-quality concrete sealer to protect the patio from wear and tear.
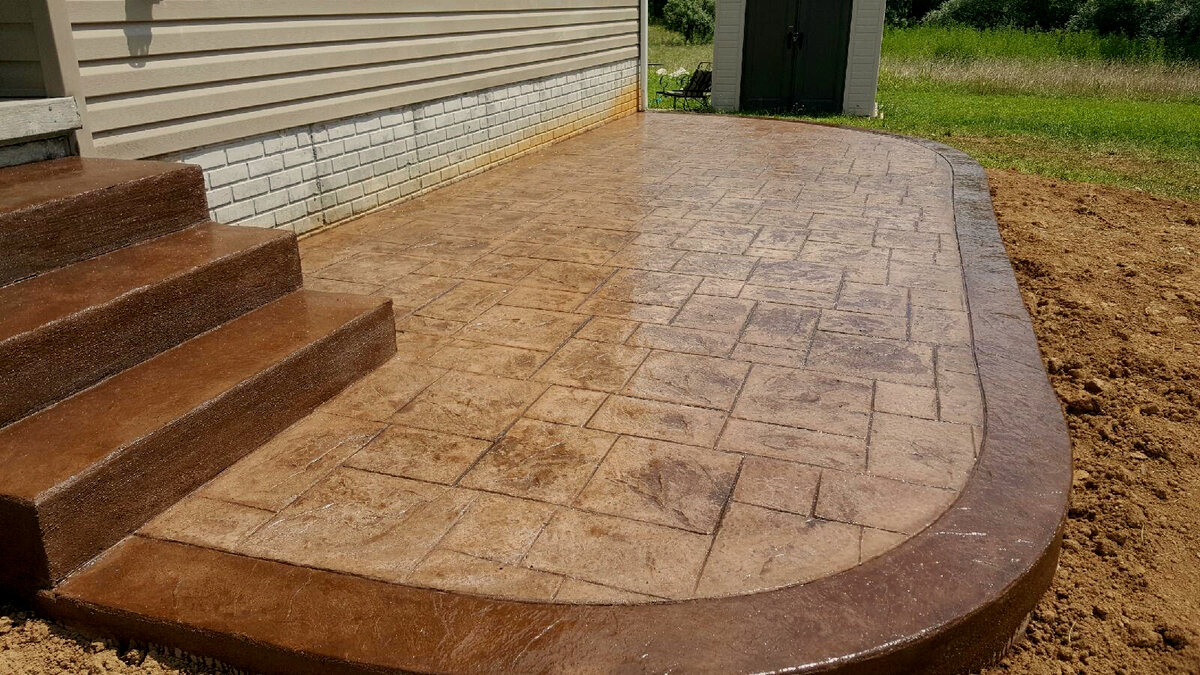
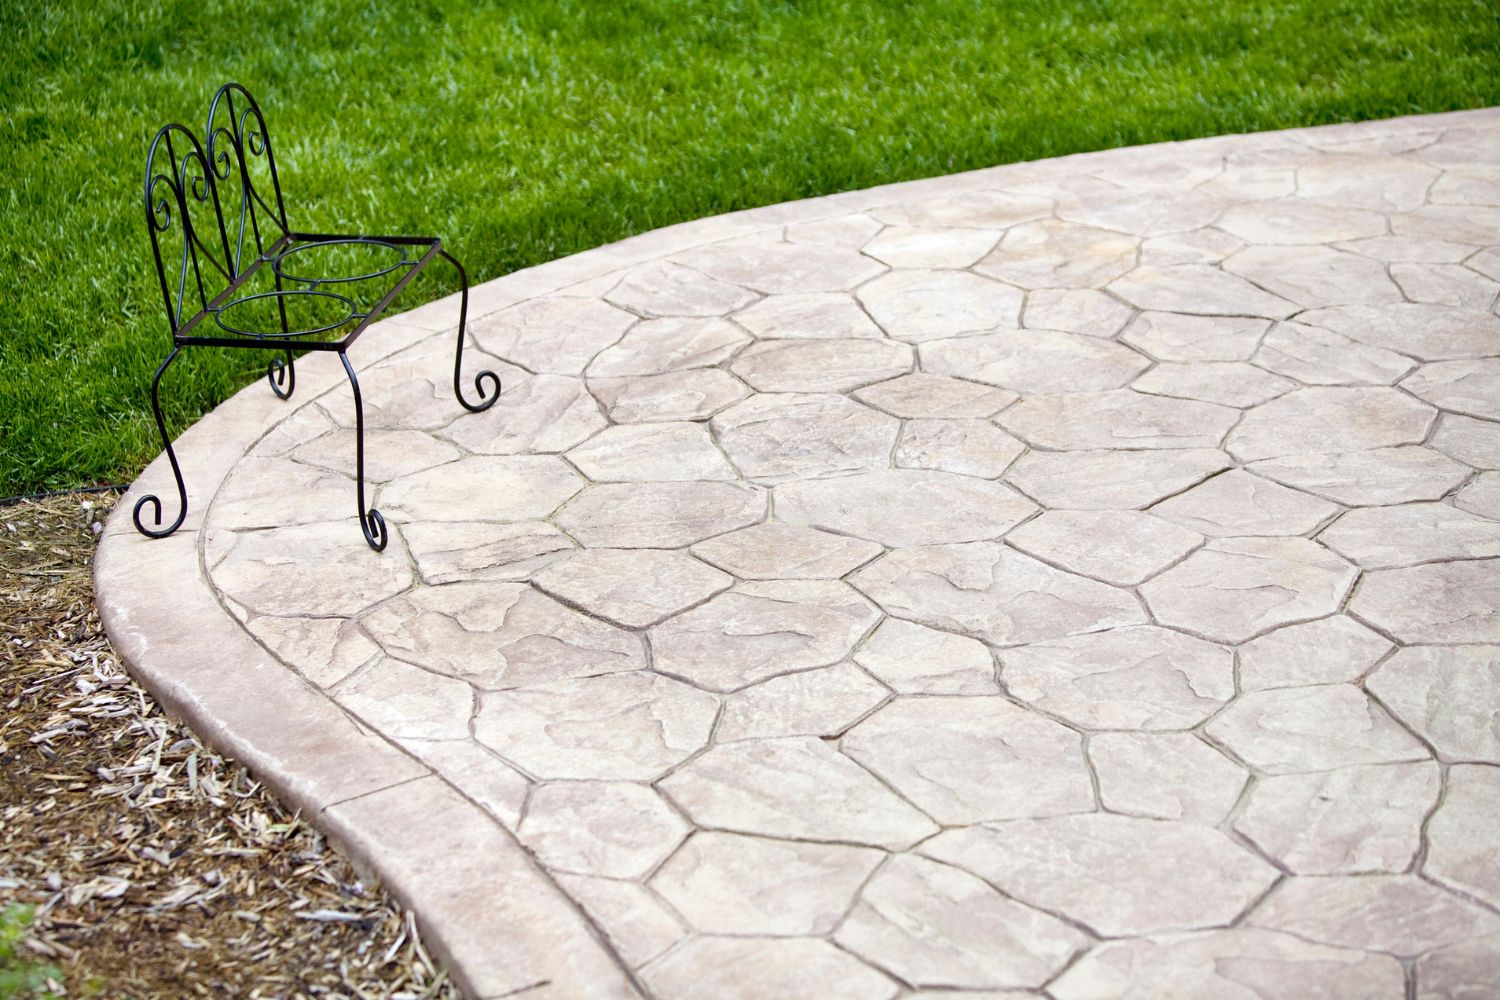
Stamping the Concrete
After applying the concrete stain and allowing it to dry, it’s time to create the textured and patterned look by stamping the concrete. Follow these steps to achieve the desired effect:
- Prepare the stamping mats: Ensure that the concrete surface is clean and free of any debris or excess stain. Spray a thin layer of concrete release agent onto the surface and onto the stamping mats to prevent sticking.
- Start from a corner: Begin stamping the concrete from a corner of the patio, working your way across the surface. Press the stamping mat firmly onto the stained concrete, making sure to apply even pressure. Wiggle and twist the mat slightly to imprint the texture and pattern. Continue this process, overlapping the stamped areas, until the entire patio is stamped.
- Use different stamping mats: To achieve a more natural and realistic look, consider using different stamping mats with varying textures and patterns. This will add depth and visual interest to your patio surface.
- Fill in gaps: After stamping the majority of the patio, you may encounter areas where the stamping mat cannot fit. In these instances, use a small hand tool or a trowel to manually create the pattern and texture, matching it to the surrounding stamped areas.
- Make adjustments: As you’re stamping, periodically step back and assess the overall appearance and consistency. Make any necessary adjustments to the stamping mats or techniques to ensure a cohesive and balanced look.
- Allow for curing time: Once you’ve completed the stamping process, allow the newly stamped concrete to cure according to the manufacturer’s instructions. This typically takes a minimum of 48-72 hours.
Stamping the concrete requires precision and attention to detail. Take your time during this step to ensure that the patterns and textures are aligned and visually appealing. Remember to protect the stamped surface from any disturbances or foot traffic until it has fully cured.
Note: Follow the manufacturer’s instructions provided with the stamping mats and the release agent to achieve the best results. Wear gloves and proper protective gear during the stamping process.
Read more: When To Seal Stamped Concrete Patio
Sealing the Stamped and Stained Concrete Patio
Once the stamped and stained concrete patio has fully cured, it’s essential to seal the surface to protect it from wear, stains, and weather damage. Follow these steps to effectively seal your patio:
- Clean the surface: Before sealing, make sure the stamped concrete surface is clean and free of any dust, dirt, or debris. Use a broom or leaf blower to remove any loose particles.
- Choose the right sealer: Select a high-quality concrete sealer that is specifically formulated for use on stamped concrete surfaces. Consult with a professional at your local home improvement store or follow the recommendations of the stain manufacturer.
- Apply the sealer: Start by pouring the sealer into a paint tray or bucket. Use a paint roller or sprayer to evenly apply the sealer onto the surface. Work in small, manageable sections to ensure thorough coverage. Apply multiple thin coats rather than one thick coat to avoid a milky or uneven appearance.
- Fill in imperfections: While applying the sealer, pay attention to any imperfections or air bubbles that may appear. Use a paintbrush to smooth out these areas and ensure a consistent finish.
- Allow for drying time: After applying the sealer, follow the manufacturer’s instructions regarding drying time. Typically, the sealer will need at least 24-48 hours to dry, but it may take longer depending on weather conditions.
- Apply multiple coats (optional): Depending on the level of protection you desire, you may choose to apply multiple coats of sealer. This can provide additional durability and enhance the color and texture of the stamped concrete.
Sealing the stamped and stained concrete patio is a crucial step in the process that should not be skipped. It helps to prolong the life of the surface and keeps it looking vibrant and beautiful for years to come.
Note: Follow the manufacturer’s instructions provided with the concrete sealer for proper handling, application, and drying times. It’s important to seal the patio during a period of dry weather to ensure optimal results.
Curing and Maintaining the Patio
After completing the sealing process, it’s important to allow the patio to cure properly before exposing it to heavy foot traffic or placing furniture on it. Here are the steps to ensure proper curing and ongoing maintenance of your stamped and stained concrete patio:
- Curing time: After sealing the patio, follow the manufacturer’s instructions for the recommended curing time. Typically, it takes about 7-14 days for the sealer to fully cure. During this period, avoid any heavy use or intense cleaning to allow the sealer to set and harden.
- Regular cleaning: To maintain the beauty of your stamped and stained concrete patio, regularly clean it using a mild detergent and water. Avoid using harsh chemicals or abrasive cleaning tools that could damage the sealer or the concrete surface. A soft-bristle brush or mop can be used to gently scrub away dirt or stains.
- Protective measures: Place furniture pads or coasters under heavy objects to prevent them from scratching or damaging the sealed surface. Avoid dragging or sliding furniture across the patio, as it can cause scratches or wear down the sealer.
- Remove stains promptly: If you notice any spills or stains on the surface, clean them up immediately. Use a mild cleaning solution or a specialized concrete stain remover to treat the area before it has a chance to penetrate the sealer.
- Regular inspections: Periodically inspect the patio for any signs of wear or damage, such as cracks or chipping. If you spot any issues, repair them as soon as possible to prevent further damage and maintain the integrity of the stamped and stained surface.
- Reapplication of sealer: Over time, the sealer on your stamped concrete patio may wear down due to foot traffic, weather exposure, and general use. It’s recommended to reapply a new coat of sealer every 2-3 years to maintain protection and prolong the life of your patio.
By following these curing and maintenance practices, you can ensure that your stamped and stained concrete patio remains in excellent condition for many years to come. Regular cleaning and preventative measures will help preserve its beauty and durability.
Note: If you’re unsure about any maintenance or repair tasks, it’s recommended to consult with a professional concrete contractor to provide guidance and assistance.
Conclusion
Transforming your concrete patio into a stunning and personalized outdoor space is within reach with the process of stamping and staining. By following the steps outlined in this article, you can create a beautiful and durable patio that mimics the appearance of natural stone or pavers at a fraction of the cost.
From preparing the concrete surface to applying the stain, stamping the patterns, and sealing the patio, each step is crucial to achieving the desired results. Take your time and ensure proper curing and maintenance to keep your stamped and stained concrete patio looking its best for years to come.
Remember to gather all the necessary materials, including concrete cleaner, stain, stamping mats, release agent, sealer, and protective gear, before beginning the project. Follow the instructions provided with each product and seek professional advice if needed.
With the right tools, techniques, and a bit of creativity, you can create a unique outdoor space that not only enhances the aesthetics of your home but also provides a functional area for relaxation and entertaining.
So why settle for a plain and dull concrete patio when you can have a beautiful stamped and stained surface? Get started on your project today and enjoy the benefits of a customized and visually appealing outdoor space.
Frequently Asked Questions about How To Stamp And Stain A Concrete Patio
Was this page helpful?
At Storables.com, we guarantee accurate and reliable information. Our content, validated by Expert Board Contributors, is crafted following stringent Editorial Policies. We're committed to providing you with well-researched, expert-backed insights for all your informational needs.


0 thoughts on “How To Stamp And Stain A Concrete Patio”