Home>Furniture>Outdoor Furniture>How To Replace Screen On A Sliding Patio Door
Outdoor Furniture
How To Replace Screen On A Sliding Patio Door
Modified: March 7, 2024
Learn how to replace the screen on your sliding patio door with our step-by-step guide. Keep your outdoor furniture protected and enjoy a bug-free space all summer long.
(Many of the links in this article redirect to a specific reviewed product. Your purchase of these products through affiliate links helps to generate commission for Storables.com, at no extra cost. Learn more)
Introduction
Welcome to our comprehensive guide on how to replace the screen on a sliding patio door. A sliding patio door is a popular choice for homeowners who want to enjoy the beauty of their outdoor spaces while still maintaining easy access to the indoors. However, over time, the screen on a sliding patio door can become worn, torn, or damaged, compromising its functionality and aesthetic appeal.
Replacing the screen on your sliding patio door is a relatively simple and cost-effective solution that can breathe new life into your outdoor space. In this guide, we will walk you through each step of the process, from gathering the necessary tools and materials to installing the new screen.
Before we dive into the step-by-step instructions, it’s important to note that this guide assumes you have a basic understanding of DIY projects and have access to common tools. If you feel uncomfortable or unsure about any of the steps, it’s always recommended to consult a professional or seek additional guidance.
So, let’s get started on transforming your sliding patio door into a functional and visually appealing feature of your outdoor living area!
Key Takeaways:
- Enjoy a seamless outdoor experience by replacing your sliding patio door screen with our easy DIY guide. Keep bugs out and fresh air in for a rejuvenated outdoor living space!
- With the right tools and a little patience, you can transform your sliding patio door with a new screen. Follow our step-by-step guide for a functional and visually appealing upgrade.
Read more: How To Replace A Screen Patio Door
Step 1: Gather necessary tools and materials
Before you begin replacing the screen on your sliding patio door, it’s essential to gather all the necessary tools and materials to ensure a smooth and efficient process. Here’s a list of items you’ll need:
- Utility knife or scissors
- Spline roller tool
- Screen spline (appropriate thickness for your door)
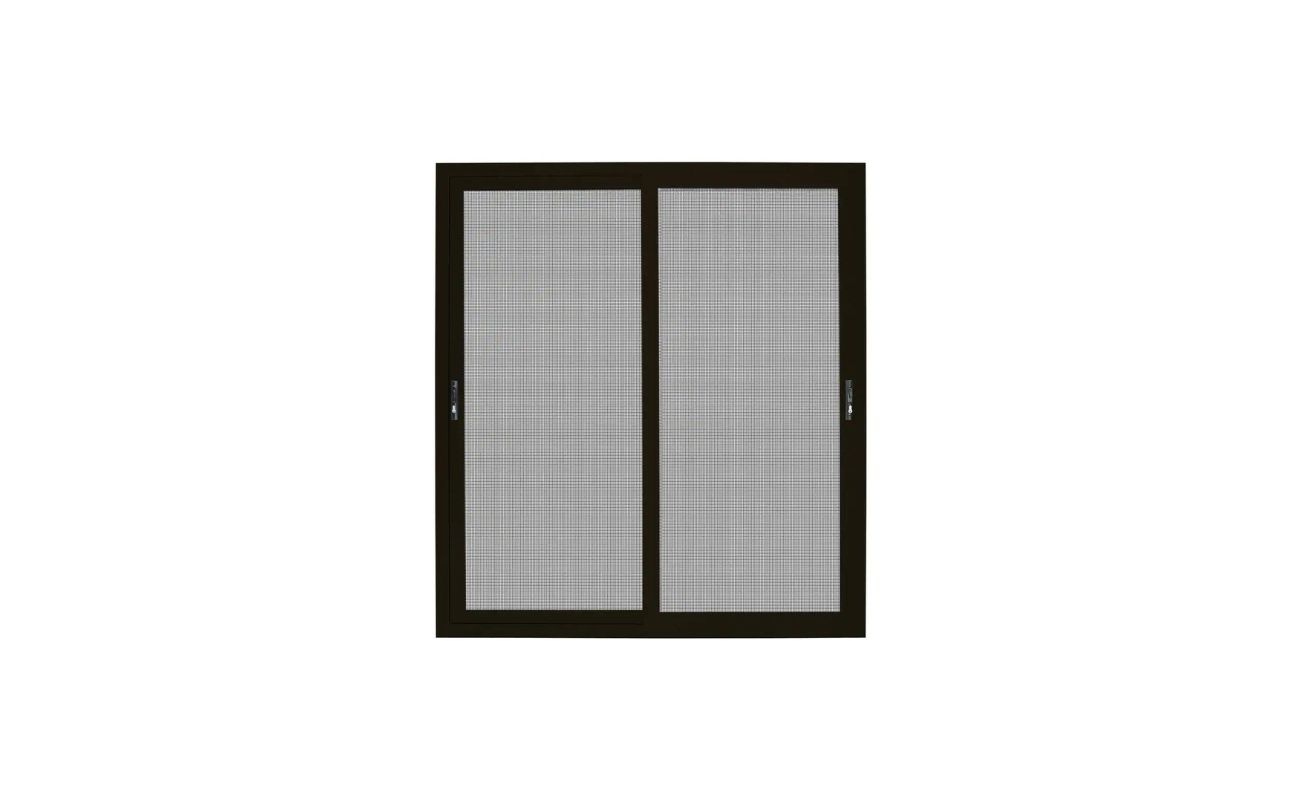
- New screen material (fiberglass or aluminum)
- Measuring tape
- Screwdriver
- Staple gun
- Replacement screws (if needed)
- Protective gloves
- Safety glasses
By having these tools and materials ready, you’ll be able to move through the replacement process efficiently without interruption. It’s crucial to ensure the correct dimensions and materials are chosen to guarantee a proper fit and longevity of your new screen.
Additionally, take note of any specific recommendations from the manufacturer of your sliding patio door. They may have specific instructions or special tools required for the replacement process.
Once you have gathered all the necessary tools and materials, you’re ready to proceed to the next step: removing the old screen. Remember to work in a well-ventilated area and take necessary safety precautions throughout the process.
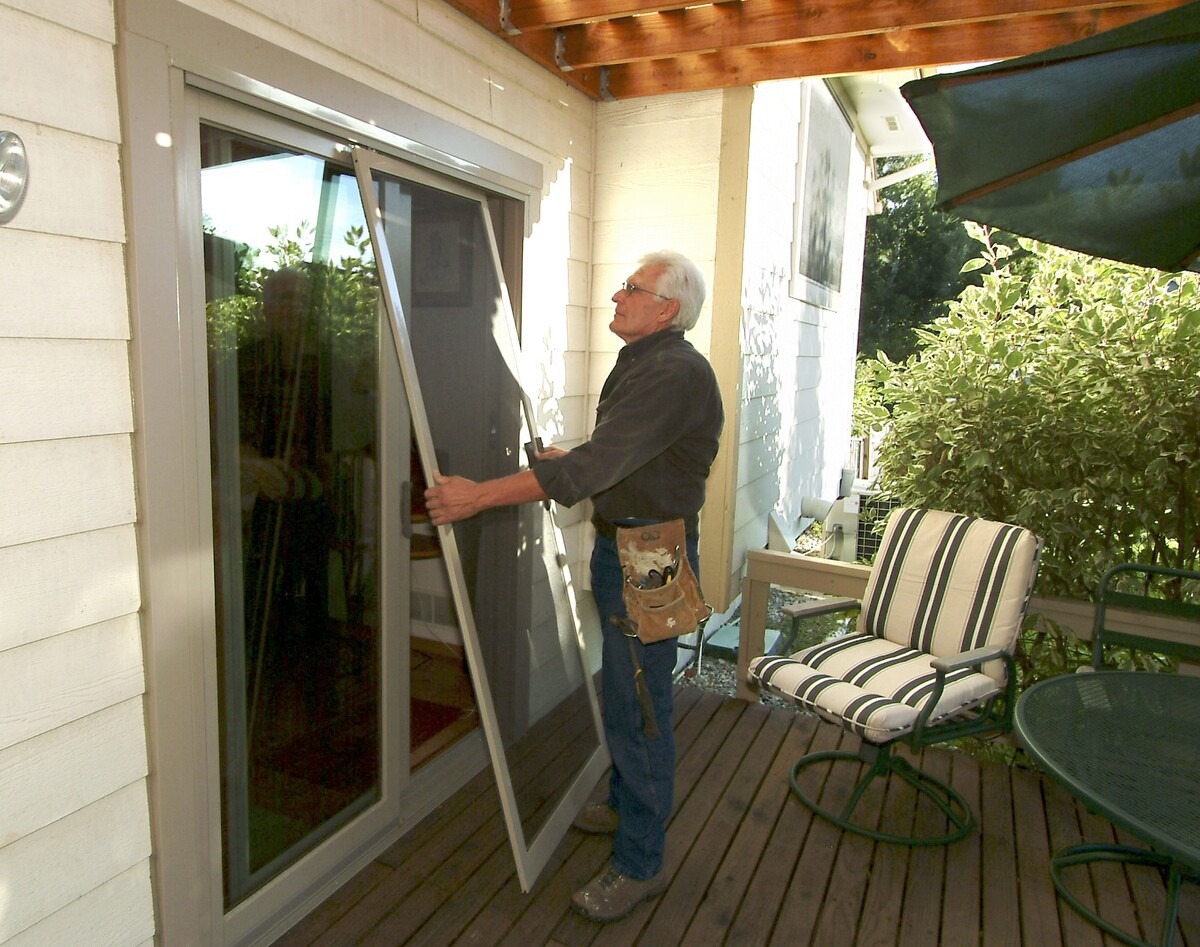
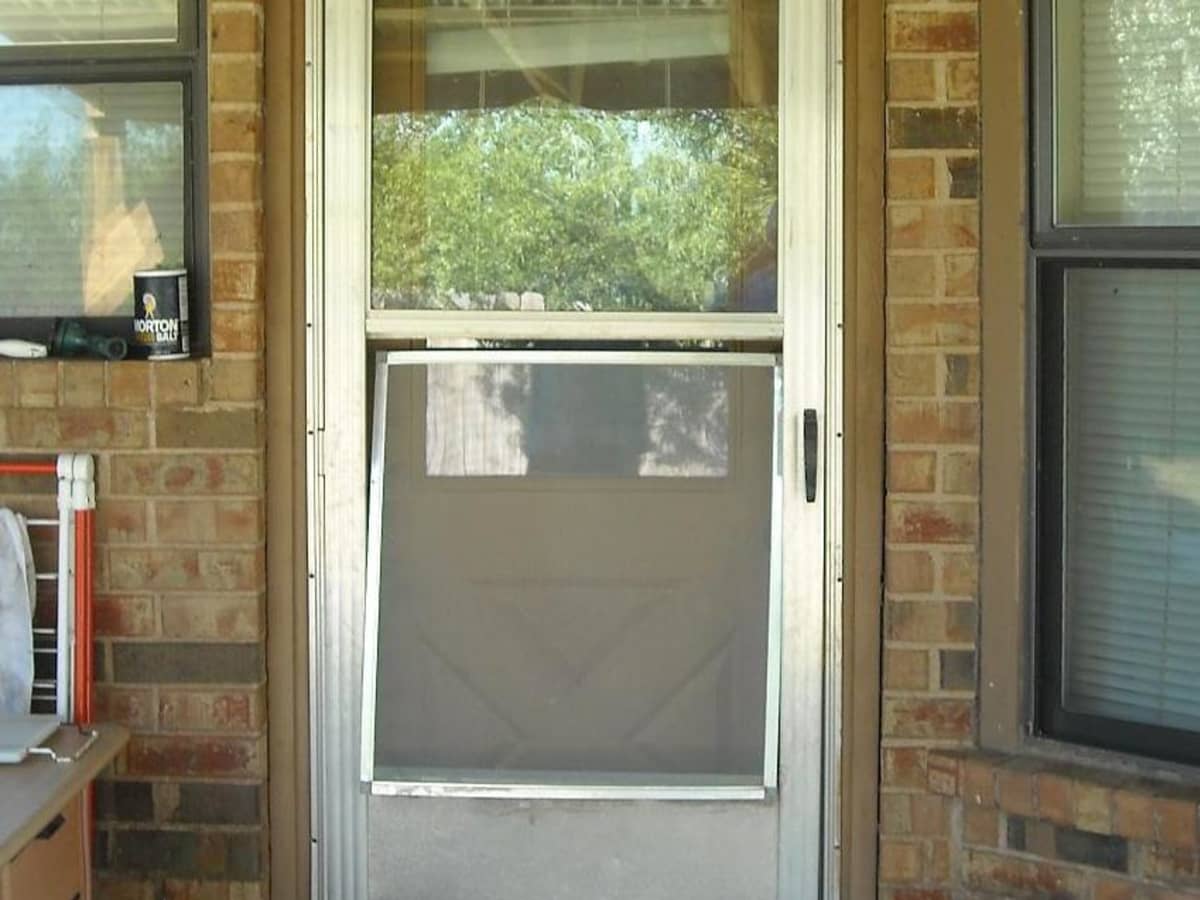
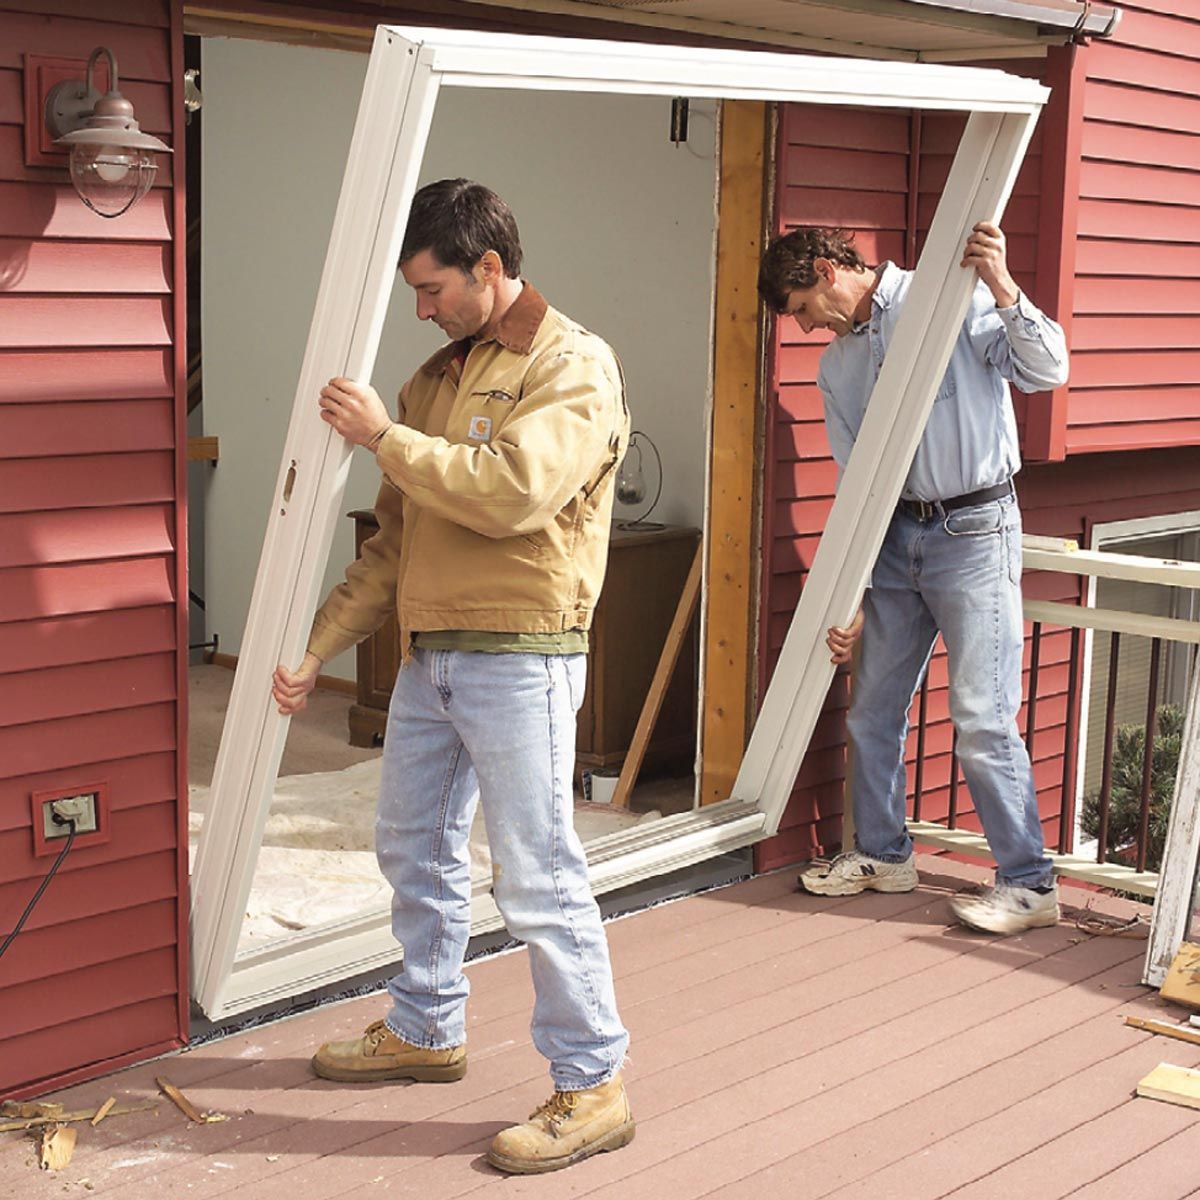
Step 2: Remove the old screen
Now that you have all the necessary tools and materials, it’s time to remove the old screen from your sliding patio door. Follow these steps:
- Start by opening the sliding patio door fully to gain better access to the screen and frame.
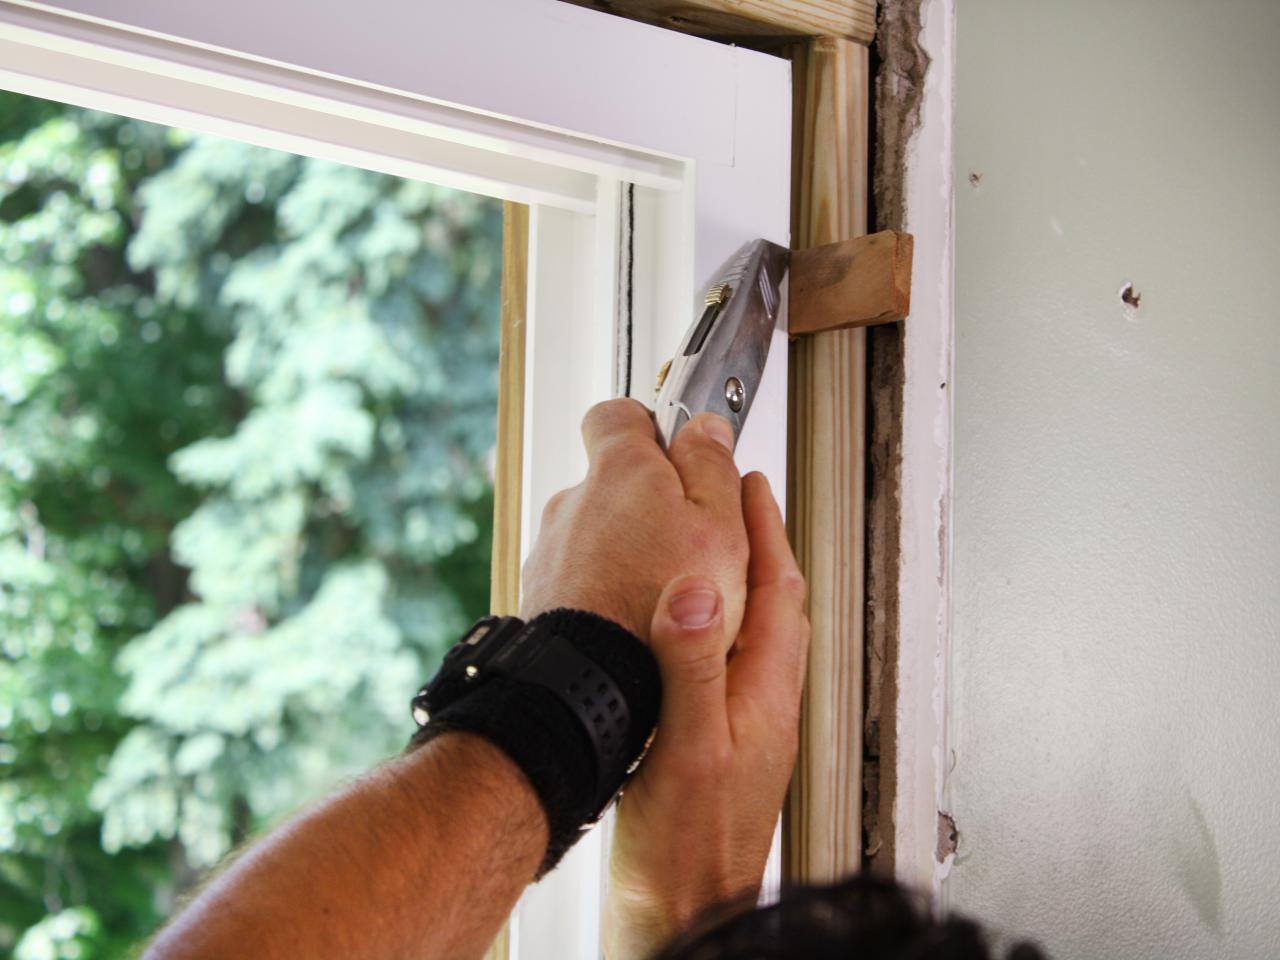
- Inspect the frame of the sliding patio door and identify the type of screen attachment it has. Most screens are held in place by either screws, spline, or a combination of both.
- If your screen is attached with screws, use a screwdriver to carefully remove them from the frame. Place the screws in a safe location to avoid losing them.
- If your screen is secured with spline, locate the spline groove along the edges of the frame. Gently lift the existing spline out of the groove using a utility knife or scissors.
- Once the spline is removed, you can easily lift the old screen material away from the frame. Dispose of the old screen material properly.
- Inspect the frame for any signs of damage or debris. If necessary, clean the frame using a mild detergent and water solution to ensure a smooth surface for the new screen installation.
Removing the old screen may require some patience and caution, especially if the screen is tightly secured or the frame is in delicate condition. Take your time to avoid damaging the frame or injuring yourself during this process.
Once you have successfully removed the old screen and cleaned the frame, you can proceed to the next step: measuring and cutting the new screen material.
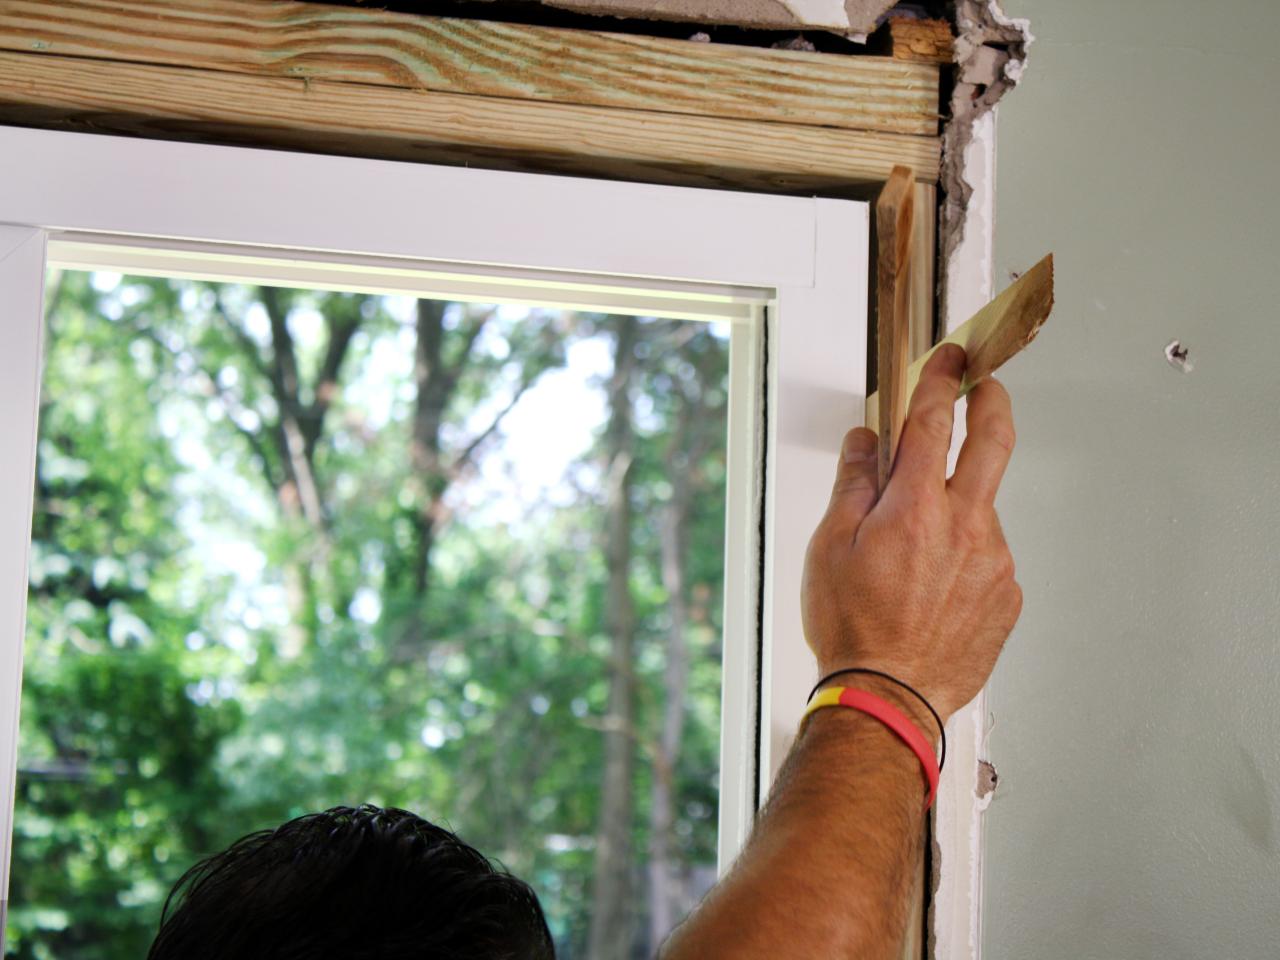
Step 3: Measure and cut the new screen
With the old screen removed and the frame cleaned, it’s time to measure and cut the new screen material. Follow these steps:
- Start by measuring the dimensions of your sliding patio door frame. Use a measuring tape to determine the width and height of the frame accurately.
- Add a few inches to each measurement to ensure you have enough screen material to cover the entire frame with some overlap.
- Roll out the new screen material on a flat surface and use your measurements to mark the appropriate size using a utility knife or scissors. Double-check your measurements and markings to avoid any mistakes.
- Carefully cut the screen material along the marked lines. Take your time to ensure clean and accurate cuts.
- Once the new screen material is cut to size, place it over the frame to verify that it fits properly. Make any necessary adjustments if the screen is slightly larger than the frame.
Remember to wear protective gloves and safety glasses during this step to avoid any injuries or accidents while handling sharp tools.
Measuring and cutting the new screen material accurately is crucial for a proper fit and a seamless replacement. Take your time and be precise to ensure a successful installation.
Once you have measured and cut the new screen material, you’re ready to move on to the next step: installing the new screen.
When replacing the screen on a sliding patio door, make sure to measure the dimensions accurately before purchasing a replacement. Use a screen rolling tool to press the new screen into the frame for a secure fit.
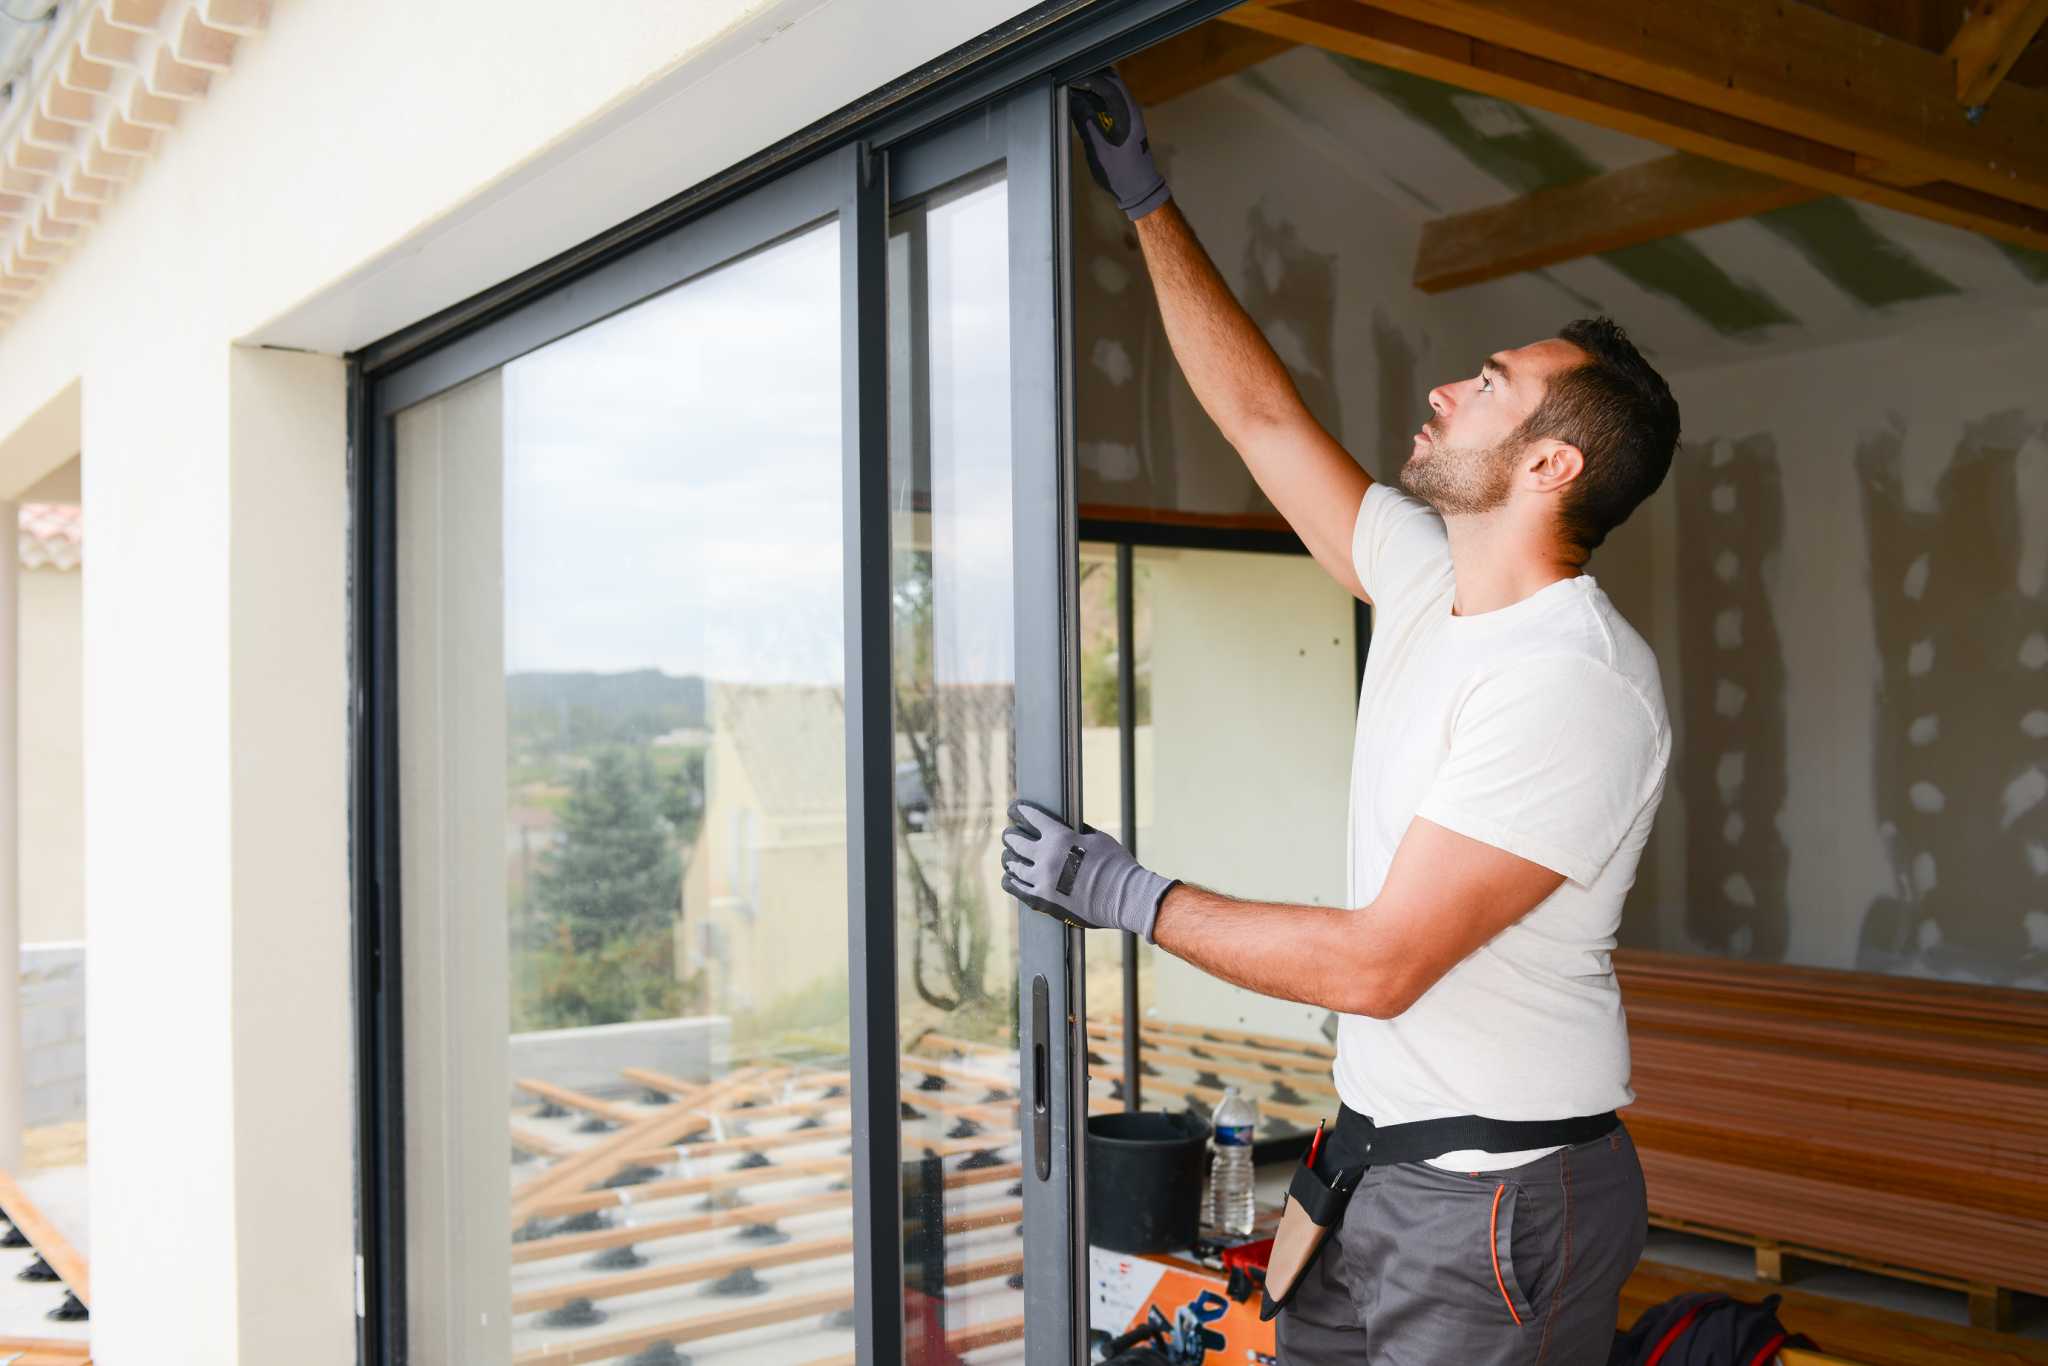
Step 4: Install the new screen
Now that you have the new screen material cut to size, it’s time to install it into the frame of your sliding patio door. Follow these steps:
- Begin by positioning the new screen material over the frame, ensuring that it covers the entire area with a slight overlap on all sides.
- If your sliding patio door frame has channels for spline, use a spline roller tool to press the screen material into the channel, starting at one corner.
- Slowly and carefully work your way along each side of the frame, using the spline roller tool to press the screen material into the channel and secure it in place. This will create a tight and secure fit.
- If your sliding patio door frame uses screws to secure the screen, start by aligning the new screen material with the frame and secure it in place using a staple gun or screws.
- If using a staple gun, make sure to staple the screen material evenly along the frame, spacing the staples approximately every 2-3 inches.
- If using screws, ensure they are the appropriate length to avoid damaging the frame. Place the screws evenly along the frame, securing the screen material in place.
- Continue working your way along each side of the frame, ensuring the screen material is taut and evenly secured.
- Once the new screen material is fully installed and secured, trim off any excess material using a utility knife or scissors.
Take your time during the installation process to ensure the screen material is properly aligned, taut, and secure. This will help prevent any sagging or loose sections of the screen.
Once you have successfully installed the new screen material into the frame, you’re ready for the final step: testing the sliding patio door to ensure smooth operation.
Read more: How To Replace A Sliding Patio Door Lock
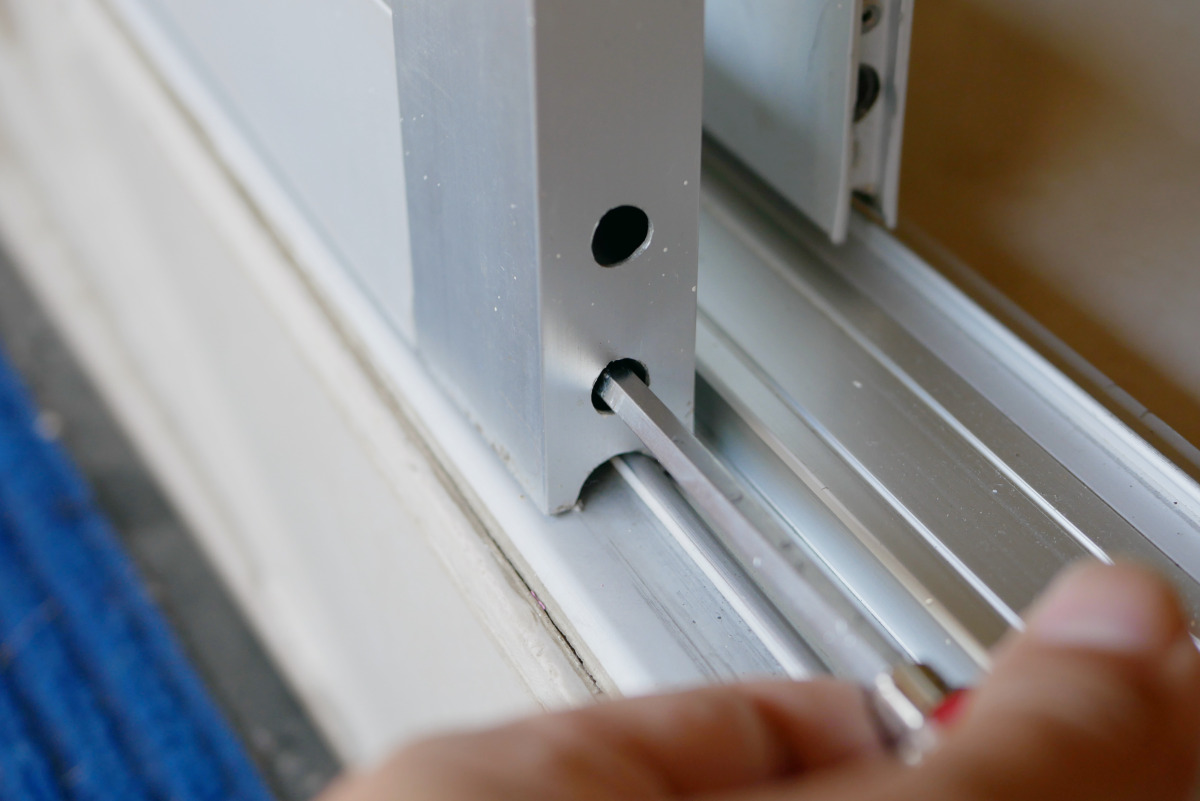
Step 5: Test the sliding patio door
After installing the new screen material, it’s crucial to test the sliding patio door to confirm that it operates smoothly and without any issues. Follow these steps:
- Carefully slide the door back and forth to ensure it moves along the track smoothly.
- Pay attention to any resistance or sticking points during the operation of the door.
- Check for any areas where the newly installed screen material may be interfering with the movement of the door. Trim any excess material if necessary.
- Inspect the screen closely to ensure there are no visible gaps or areas where the screen is not properly secured in the frame.
- Test the door’s locking mechanism to ensure it engages properly and provides adequate security.
- If you notice any issues or concerns during the testing process, make the necessary adjustments or consult a professional if needed.
By thoroughly testing the sliding patio door, you can ensure that the new screen installation has been successful and that the door functions optimally.
Congratulations! You have successfully replaced the screen on your sliding patio door. With a new screen in place, you can now enjoy the outdoors while keeping unwanted bugs and debris out of your living space.
Remember to maintain and clean your new screen regularly to prolong its lifespan and maximize its effectiveness. Follow the manufacturer’s guidelines for cleaning and maintenance to ensure proper care of your sliding patio door screen.
Thank you for reading our comprehensive guide on how to replace the screen on a sliding patio door. We hope this information has been helpful in guiding you through the process and achieving a successful replacement. Now, sit back, relax, and enjoy the fresh air through your newly installed screen!
Conclusion
Congratulations on successfully replacing the screen on your sliding patio door! You have taken an important step in enhancing both the functionality and aesthetic appeal of your outdoor living space. By following the step-by-step guide in this article, you have ensured a seamless replacement process and a proper fit for your new screen material.
Remember that maintaining your newly replaced screen is crucial for its longevity and effectiveness. Regularly cleaning the screen and inspecting it for any signs of damage will help prolong its lifespan and ensure it continues to serve its purpose.
Replacing the screen on a sliding patio door is a great DIY project that can be accomplished with the right tools and a little patience. However, if you are ever unsure or uncomfortable with any step of the process, it’s always recommended to seek professional assistance.
We hope that this comprehensive guide has provided you with the necessary knowledge and confidence to tackle this project. Enjoy your newly replaced screen and take pleasure in the fresh air and unobstructed view it brings to your outdoor space.
Thank you for reading, and may your sliding patio door screen replacement be a success!
Frequently Asked Questions about How To Replace Screen On A Sliding Patio Door
Was this page helpful?
At Storables.com, we guarantee accurate and reliable information. Our content, validated by Expert Board Contributors, is crafted following stringent Editorial Policies. We're committed to providing you with well-researched, expert-backed insights for all your informational needs.


0 thoughts on “How To Replace Screen On A Sliding Patio Door”