Home>Furniture>Outdoor Furniture>How To Repaint Cast Aluminum Patio Furniture
Outdoor Furniture
How To Repaint Cast Aluminum Patio Furniture
Modified: August 17, 2024
Looking to give your outdoor furniture a fresh new look? Learn the step-by-step process of repainting cast aluminum patio furniture for a vibrant and durable finish.
(Many of the links in this article redirect to a specific reviewed product. Your purchase of these products through affiliate links helps to generate commission for Storables.com, at no extra cost. Learn more)
Introduction
When it comes to outdoor furniture, cast aluminum is a popular choice for its durability and timeless appeal. However, over time, the paint on your cast aluminum patio furniture may start to show signs of wear and tear. Instead of replacing the furniture altogether, repainting it can bring new life to your outdoor space.
In this article, we will guide you through the process of repainting your cast aluminum patio furniture. Whether you want to change the color or simply refresh the existing paint, these steps will help you achieve a professional-looking finish.
Before we dive into the details, it’s important to note that the specific steps and materials required may vary depending on the condition of your furniture and the type of paint you choose. Always follow the instructions provided by the manufacturer of the paint and any other products you use.
Now, let’s get started on transforming your cast aluminum patio furniture into a beautiful focal point for your outdoor living space.
Key Takeaways:
- Reviving your cast aluminum patio furniture with a fresh coat of paint is a cost-effective way to breathe new life into your outdoor space, allowing you to customize its look to match your outdoor decor.
- Proper preparation, including cleaning, priming, and applying the right type of paint and clear coat, is essential for achieving a professional-looking finish and ensuring the longevity of your repainted furniture.
Read more: How To Repaint Wrought Iron Patio Furniture
Step 1: Preparing the Furniture
The first step in repainting your cast aluminum patio furniture is to properly prepare it. This involves removing any cushions or accessories and ensuring that the surface is clean and free from debris.
Start by taking off any cushions, fabric, or accessories from the furniture. These can often be cleaned separately and will ensure that you have unrestricted access to the metal surface.
Next, use a brush or a vacuum to remove any loose debris, dirt, or cobwebs from the furniture. Pay special attention to crevices and hard-to-reach areas. This will provide a clean surface for the paint to adhere to.
Once you’ve removed as much debris as possible, use a mild soap solution and a soft cloth or sponge to clean the entire surface of the furniture. This will remove any dirt, grime, or grease that may have accumulated over time. Rinse thoroughly with clean water and allow the furniture to dry completely.
Inspect the furniture for any signs of rust or damage. If you notice any rust spots, use a wire brush or sandpaper to gently remove them. Smooth out any rough edges or imperfections by sanding the surface with a fine-grit sandpaper.
Finally, wipe down the entire surface of the furniture with a tack cloth or a lint-free cloth to remove any remaining dust or particles. This will ensure a smooth and clean surface for the paint to adhere to.
Once you’ve prepared your cast aluminum patio furniture, you’re ready to move on to the next step: removing the old paint.
Step 2: Removing the Old Paint
Before you can apply a fresh coat of paint, it’s important to remove the old paint from your cast aluminum patio furniture. This will ensure that the new paint adheres properly and provides a smooth and even finish.
There are several methods you can use to remove the old paint, depending on the type and condition of the existing paint. Here are a few options:
1. Chemical Paint Stripper: Chemical paint strippers can be effective in removing multiple layers of paint. Follow the instructions provided by the manufacturer and be sure to use protective gloves and eyewear. Apply the paint stripper to the furniture and let it sit for the recommended amount of time. Use a scraper or a wire brush to gently scrape off the softened paint. Repeat the process as necessary until all the old paint is removed.
2. Heat Gun: A heat gun can be used to soften the old paint, making it easier to scrape off. Hold the heat gun a few inches away from the painted surface, moving it back and forth to avoid overheating. Once the paint starts to bubble and lift, use a scraper or a wire brush to remove it. Be careful not to apply too much heat, as it can damage the metal surface.
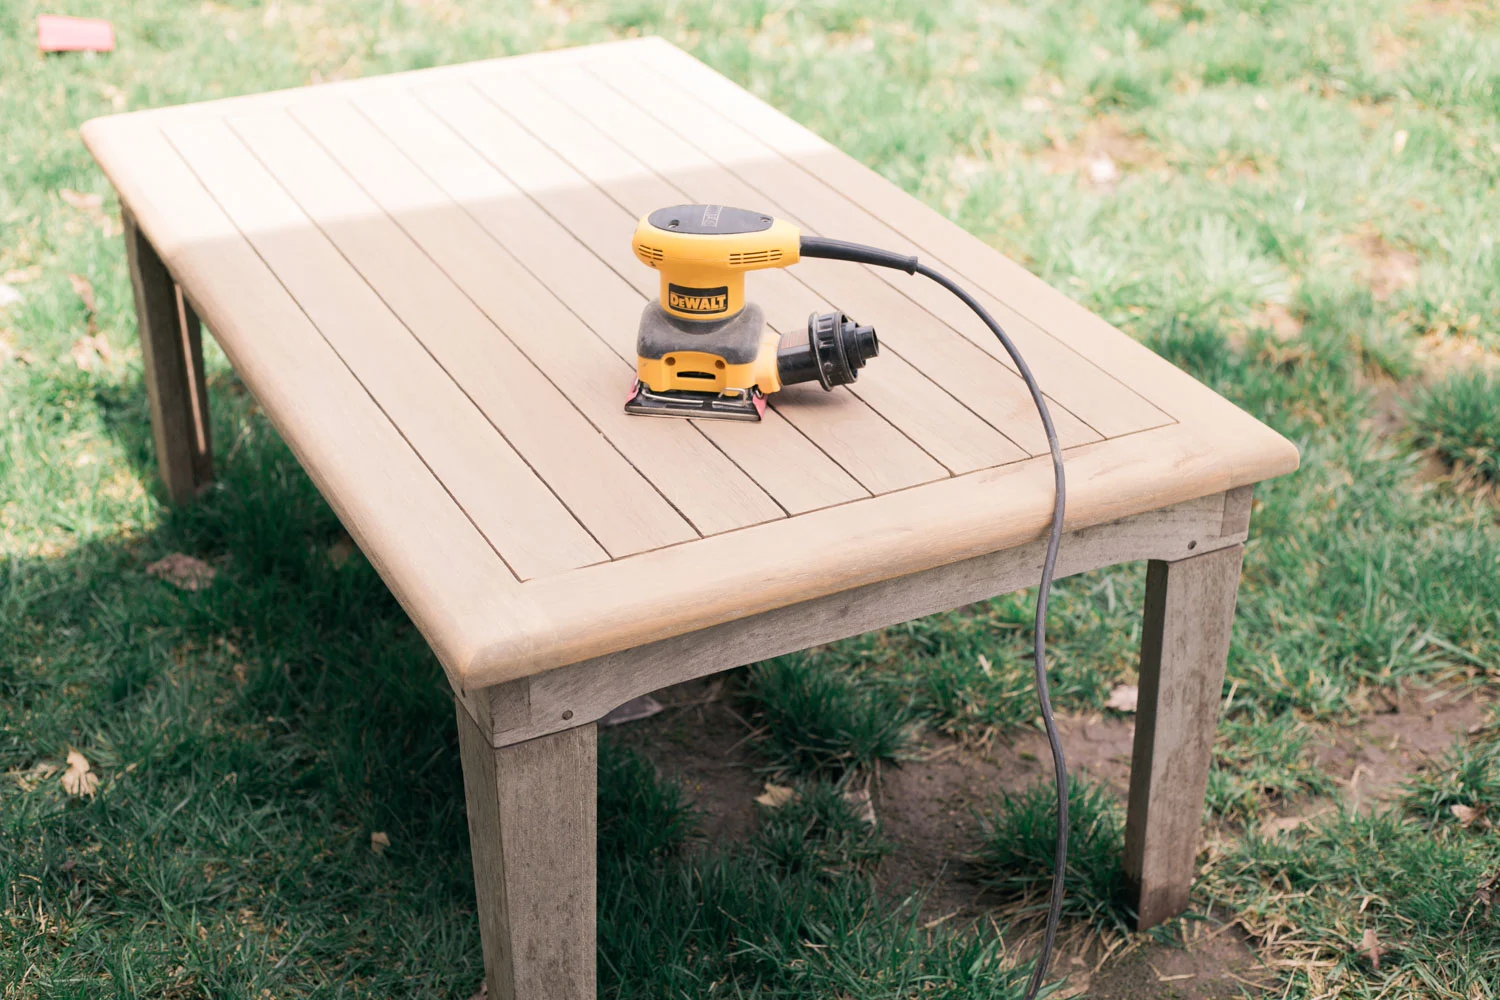
3. Sanding: If the old paint is in relatively good condition, you can opt for sanding. Start with a coarse-grit sandpaper to remove the bulk of the paint. Gradually switch to a finer-grit sandpaper to smooth out the surface. Make sure to sand in the direction of the grain to avoid leaving visible scratches.
Regardless of the method you choose, be thorough in removing all traces of the old paint. This will ensure that the new paint adheres properly and provides a long-lasting finish.
Once you’ve successfully removed the old paint, it’s time to move on to the next step: cleaning the surface.
Step 3: Cleaning the Surface
After removing the old paint, it’s crucial to clean the surface of your cast aluminum patio furniture to ensure optimal adhesion and a smooth finish for your new paint.
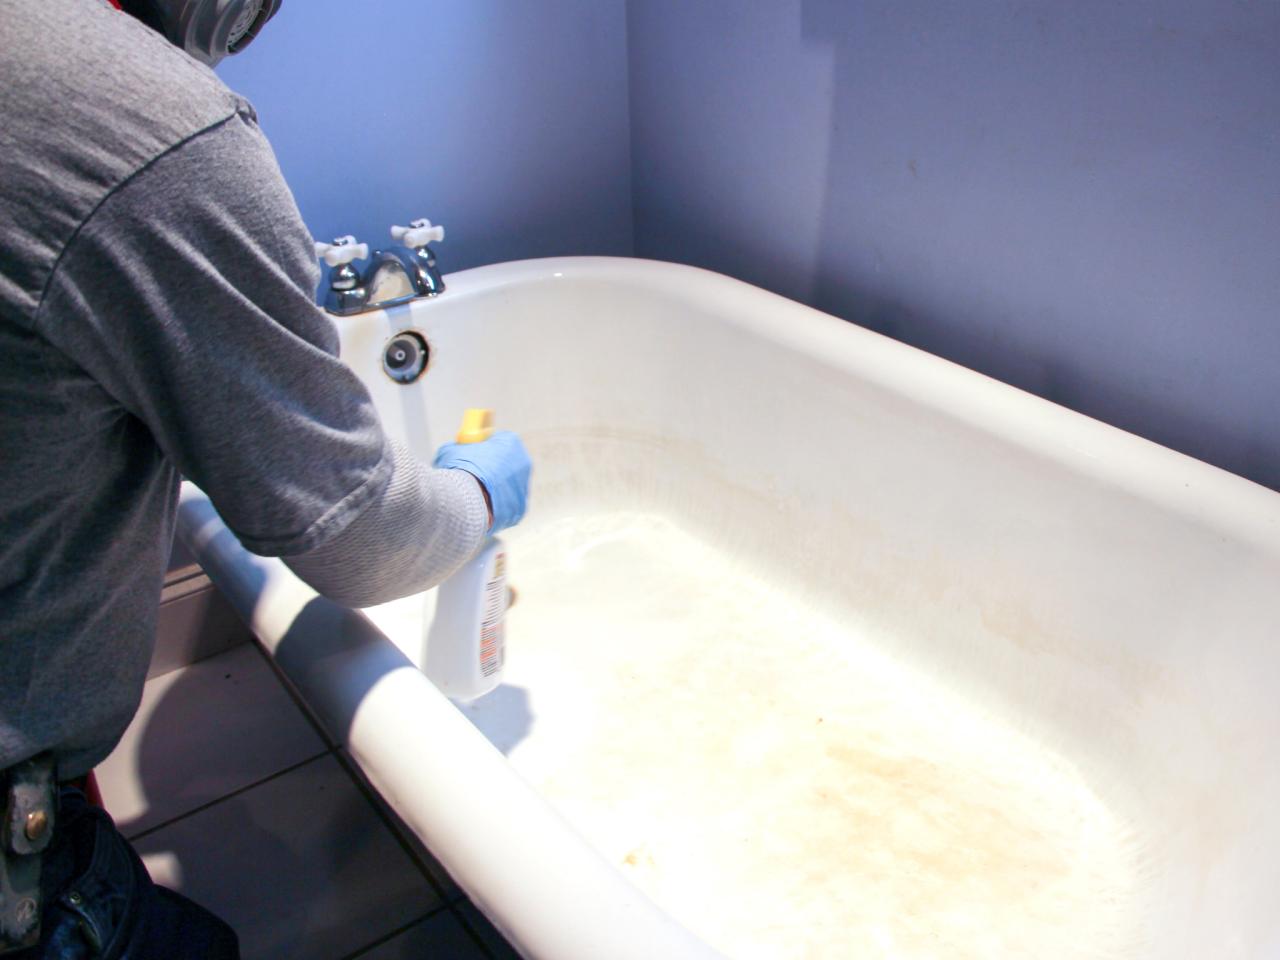
Begin by wiping down the entire surface with a clean cloth or sponge dampened with warm water and a mild detergent. This will remove any residual paint particles, dust, or dirt left behind from the previous step. Rinse the furniture thoroughly with clean water to remove any soap residue.
For tougher stains or stubborn dirt, you may need to use a stronger cleaning solution. Mix equal parts of vinegar and water, or use a commercial aluminum cleaner, and apply it to the surface using a soft brush or sponge. Scrub gently and rinse thoroughly.
After cleaning the surface, inspect the furniture for any remaining imperfections or rough spots. Use fine-grit sandpaper to smooth out any rough edges or uneven areas. This will ensure a seamless finish when you apply the new paint.
Once the surface is clean and smooth, make sure to remove any traces of cleaning solution or residue by rinsing the furniture with clean water. Allow it to dry completely before proceeding to the next step.
It’s important to note that if your cast aluminum furniture has any intricate or detailed patterns, use a soft brush or toothbrush to clean those hard-to-reach areas. This will ensure that all surfaces are thoroughly cleaned and ready for the painting process.
Now that the surface is clean and prepped, you’re ready to move on to the next step: applying primer.
Step 4: Applying Primer
Before painting your cast aluminum patio furniture, it’s essential to apply a primer. Primer helps create a smooth and even surface for the paint to adhere to, and it also improves the durability and longevity of the paint job.
Choose a high-quality primer that is specifically formulated for use on metal surfaces. Look for a primer that is designed to bond well with aluminum to ensure maximum adhesion and long-lasting results.
Start by stirring the primer thoroughly to ensure that it is well-mixed. Apply a thin, even coat of primer to the entire surface of the furniture using a paintbrush or a sprayer. Make sure to cover all areas, including hard-to-reach spots and intricate details.
If using a brush, apply the primer in smooth, even strokes, following the direction of the grain. Work in small sections to maintain control and avoid excessive drips or pooling. Take care to achieve a consistent coverage, allowing the primer to dry between coats if recommended by the manufacturer.
If using a sprayer, follow the instructions provided by the manufacturer for optimal coverage. Apply the primer in a light and even mist, moving the sprayer in a controlled motion to avoid over-spraying or uneven application.
Allow the primer to dry completely according to the manufacturer’s instructions. This typically takes a few hours, but it’s essential to ensure that it is thoroughly dry before proceeding to the next step.
Once the primer is dry, inspect the furniture for any imperfections or areas that may require additional priming. If necessary, apply a second coat of primer to ensure complete coverage and an even surface.
After applying the primer, you’re now ready to move on to the next step: painting the furniture.
Before repainting cast aluminum patio furniture, make sure to clean the surface thoroughly with a mild detergent and water. Then, use a primer specifically designed for metal surfaces before applying the paint to ensure better adhesion and durability.
Step 5: Painting the Furniture
Now that you’ve prepared the surface and applied the primer, it’s time to paint your cast aluminum patio furniture. Choosing the right paint and applying it correctly will give your furniture a fresh and vibrant look.
When selecting paint, opt for a high-quality outdoor paint that is specifically formulated for use on metal surfaces. Look for a paint that provides good adhesion, durability, and resistance to weathering and UV damage.
Before you begin painting, stir the paint thoroughly to ensure it is well-mixed. If necessary, dilute the paint according to the manufacturer’s instructions, especially if you are using a sprayer.
Start by applying a thin, even coat of paint to the furniture using a paintbrush or sprayer. Work in small sections, applying smooth and even strokes. Follow the direction of the grain for a professional-looking finish.
If using a brush, take your time to ensure proper coverage, paying attention to all surfaces and details. Apply multiple thin coats, allowing each coat to dry before applying the next. This will help build up the color and provide a more even and durable finish.
If using a sprayer, follow the manufacturer’s instructions for optimal coverage and technique. Apply the paint in light and even layers, moving the sprayer in a controlled motion to avoid drips or over-spraying.
Allow the first coat of paint to dry completely, according to the manufacturer’s instructions. This will typically take a few hours. Inspect the furniture for any areas that may require additional touch-ups or a second coat of paint.
Apply additional coats of paint as needed, ensuring each coat is dry before moving on to the next. Be patient and meticulous during the painting process to achieve a smooth and beautiful finish.
Once you’ve painted the furniture to your desired color and coverage, allow it to dry completely before moving on to the next step.
Now that you’ve successfully painted your cast aluminum patio furniture, you’re ready for the next step: applying a clear coat.
Step 6: Applying a Clear Coat
After you’ve painted your cast aluminum patio furniture, applying a clear coat is highly recommended. A clear coat provides an additional layer of protection, enhancing the durability and longevity of your paint job.
Choose a clear coat that is specifically formulated for outdoor use and compatible with the type of paint you’ve used. Look for a clear coat with UV protection to prevent fading and yellowing over time.
Before you begin, make sure the painted surface is completely dry. Stir the clear coat thoroughly to ensure it is well-mixed.
Using a clean paintbrush or sprayer, apply a thin and even coat of clear coat to the entire surface of the furniture. Work in small sections, following the direction of the grain. Take care to cover all areas, including intricate details and hard-to-reach spots.
If using a brush, apply the clear coat in smooth and even strokes. Pay attention to achieving a consistent coverage, avoiding excessive pooling or drips. Allow the clear coat to dry according to the manufacturer’s instructions.
If using a sprayer, follow the manufacturer’s instructions for optimal coverage and technique. Apply the clear coat in a light and even mist, moving the sprayer in a controlled motion to avoid over-spraying or uneven application. Allow the clear coat to dry completely.
Inspect the furniture and assess if a second coat of clear coat is necessary. Apply additional coats as needed, ensuring each coat is dry before applying the next.
Allow the clear coat to cure fully according to the manufacturer’s instructions. This may take several hours or even a few days. During this time, avoid using or placing any objects on the furniture to prevent any damage to the freshly applied clear coat.
Applying a clear coat will not only protect your freshly painted surface but also enhance its overall appearance. The clear coat adds a glossy finish, making your cast aluminum patio furniture look even more beautiful and professional.
With the clear coat applied and fully cured, you’re now ready for the final step: adding any finishing touches and maintaining your repainted furniture.
Step 7: Final Touches and Maintenance
With your cast aluminum patio furniture repainted and protected, it’s time to add the final touches and establish a maintenance routine to keep your furniture looking its best for years to come.
Start by inspecting the furniture for any imperfections or areas that may require touch-ups. If you notice any spots where the paint or clear coat needs fixing, use a small brush to apply touch-up paint or clear coat as needed.
Once any touch-ups have been made, take a step back and admire your newly repainted furniture. It’s now ready to be placed back in your outdoor space and enjoyed to the fullest.
To maintain the appearance of your repainted cast aluminum patio furniture, regular maintenance is key. Here are a few tips:
- Clean the furniture regularly using mild soap and water, and a soft brush or cloth. This will remove dirt, debris, and any environmental buildup that can dull the appearance of the paint.
- Avoid using abrasive cleaners or brushes, as they can scratch or damage the paint and clear coat.
- Inspect the furniture periodically for any signs of wear or damage. Address any issues promptly to prevent further damage and maintain the longevity of your repainted furniture.
- Consider applying a fresh coat of clear coat every few years to ensure continued protection and enhance the appearance of the paint job.
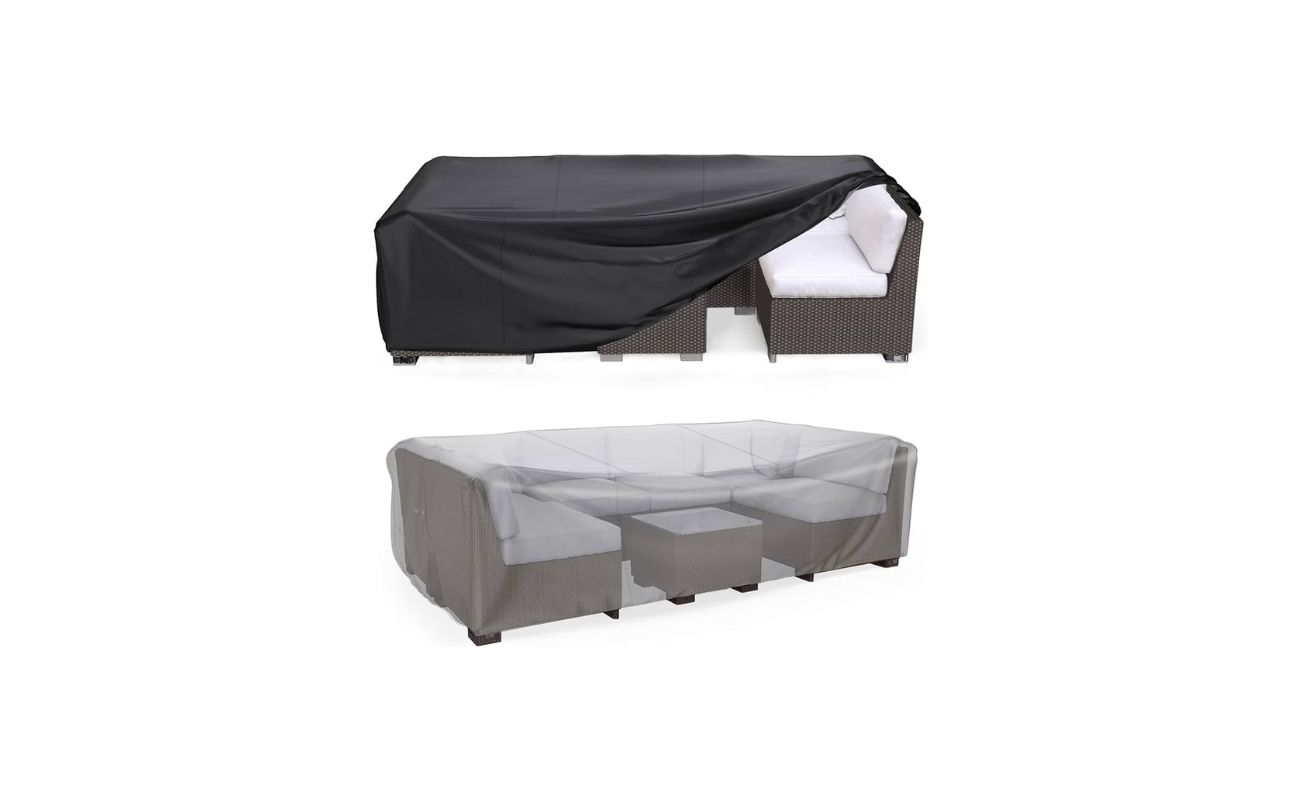
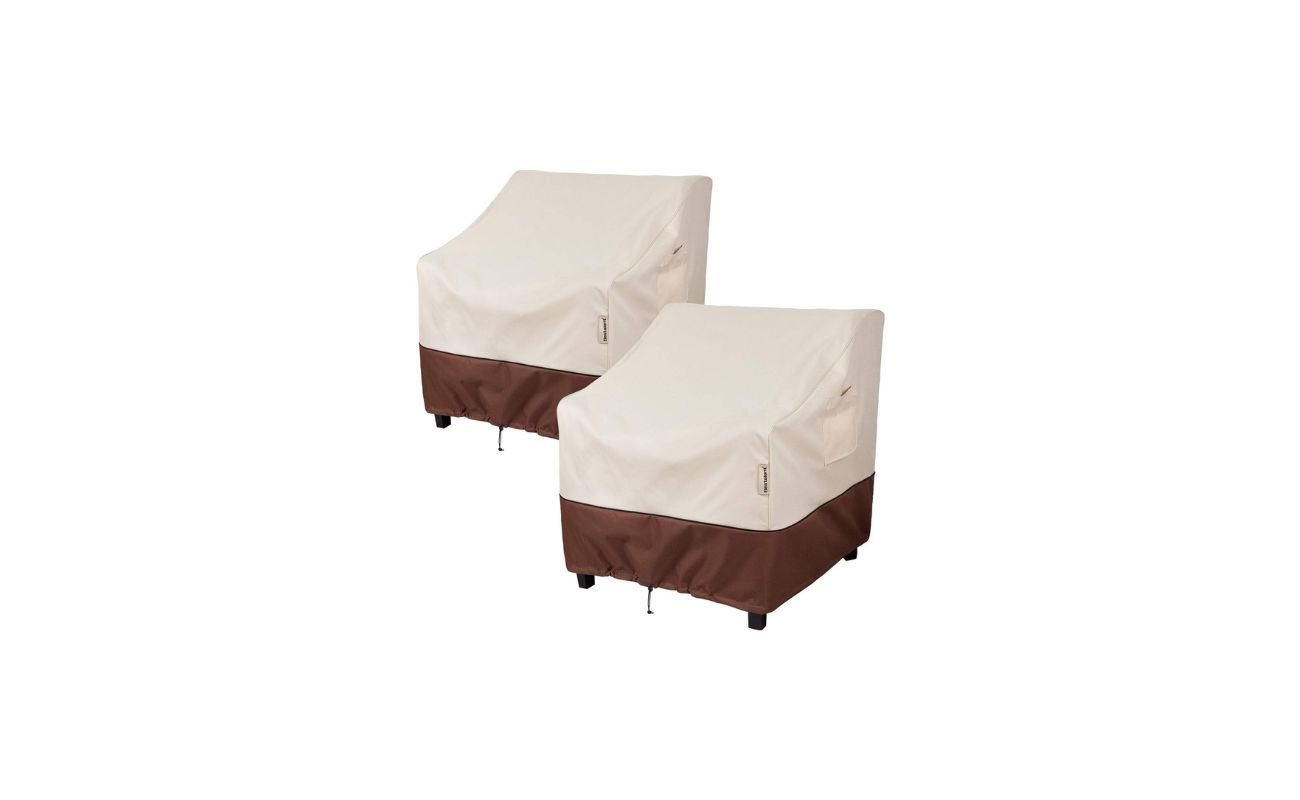
- During harsh weather conditions, consider covering or storing your furniture to protect it from the elements and prolong its lifespan.
By following these maintenance tips, your repainted cast aluminum patio furniture will continue to look its best and provide you with many years of enjoyment.
Congratulations! You’ve successfully repainted your cast aluminum patio furniture and transformed it into a beautiful and vibrant piece for your outdoor space. With proper care and maintenance, your repainted furniture will continue to be a focal point of relaxation and enjoyment for years to come.
Thank you for reading, and we hope you found this guide helpful in your outdoor furniture restoration project!
Conclusion
Repainting your cast aluminum patio furniture is a cost-effective and rewarding way to breathe new life into your outdoor space. By following the steps outlined in this guide, you can achieve a professional-looking finish and extend the lifespan of your furniture.
Remember, proper preparation is essential for a successful paint job. Take the time to clean and prepare the surface, removing any old paint and ensuring a smooth and clean surface. Applying a primer and choosing the right type of paint and clear coat will help protect your furniture from weathering and ensure long-lasting results.
Throughout the process, pay attention to detail and take your time. Apply thin and even coats of paint and clear coat, allowing each layer to dry before applying the next. This will ensure a smooth and durable finish.
Once your furniture is repainted, maintain its appearance by cleaning it regularly and addressing any touch-ups or repairs as needed. By following a maintenance routine, you can enjoy the beauty of your repainted cast aluminum patio furniture for years to come.
Repainting your cast aluminum patio furniture not only restores its aesthetic appeal but also allows you to customize its look to match your outdoor décor. Whether you’re going for a timeless and classic finish or a bold and vibrant color, the possibilities are endless.
We hope this guide has provided you with valuable insights and guidance for repainting your cast aluminum patio furniture. Remember to always follow the instructions provided by the manufacturers of the products you use for the best results, and enjoy the transformation of your outdoor space.
Now it’s time to gather your materials, roll up your sleeves, and embark on the journey of reviving your cast aluminum patio furniture. Get creative, have fun, and create a stunning outdoor oasis that reflects your personal style and enhances your outdoor living experience.
Frequently Asked Questions about How To Repaint Cast Aluminum Patio Furniture
Was this page helpful?
At Storables.com, we guarantee accurate and reliable information. Our content, validated by Expert Board Contributors, is crafted following stringent Editorial Policies. We're committed to providing you with well-researched, expert-backed insights for all your informational needs.


0 thoughts on “How To Repaint Cast Aluminum Patio Furniture”