Home>Furniture>Outdoor Furniture>How To Build An Aluminum Patio Cover
Outdoor Furniture
How To Build An Aluminum Patio Cover
Modified: March 7, 2024
Looking to enhance your outdoor space? Learn how to build an aluminum patio cover to protect your outdoor furniture and create a stylish, functional area.
(Many of the links in this article redirect to a specific reviewed product. Your purchase of these products through affiliate links helps to generate commission for Storables.com, at no extra cost. Learn more)
Introduction
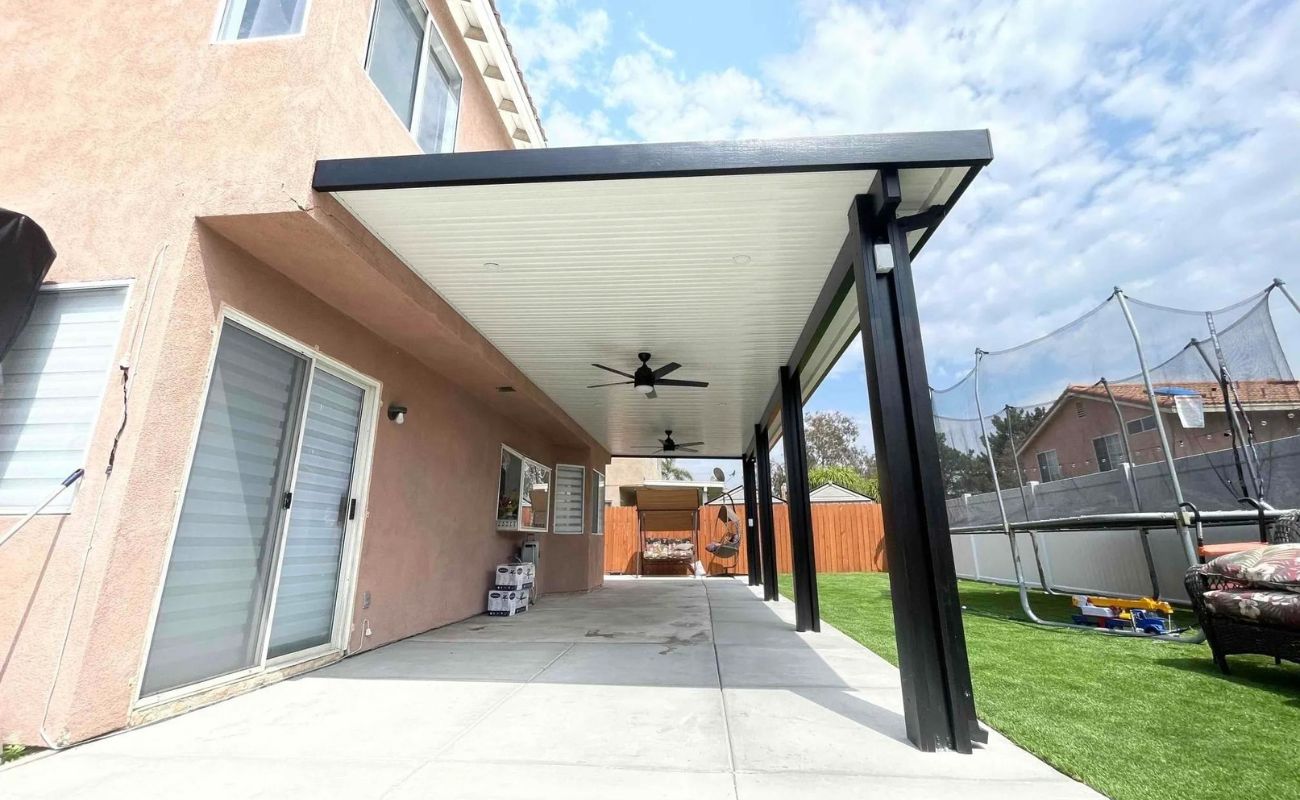
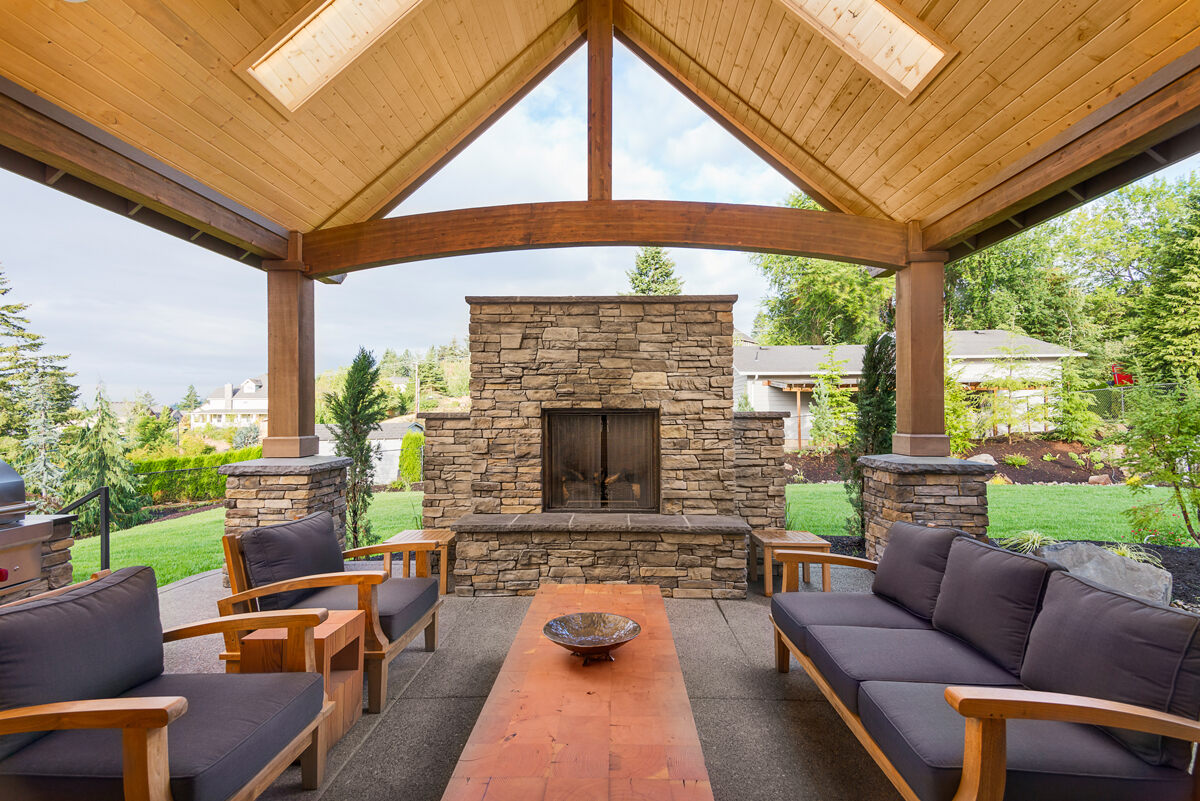
Are you looking to enhance your outdoor living space and create a comfortable and stylish area to relax and entertain? Building an aluminum patio cover can be a great solution. Not only does it provide shade and protection from the elements, but it also adds value and aesthetic appeal to your home. Whether you want to create a cozy spot for your morning coffee or a spacious outdoor dining area, an aluminum patio cover offers versatility and durability.
In this article, we will guide you through the step-by-step process of building your own aluminum patio cover. You don’t need to be an expert handyman to tackle this project, but having some basic DIY skills and the right tools will certainly come in handy. So, let’s dive in and get started on creating a beautiful and functional addition to your outdoor space!
Key Takeaways:
- Building an aluminum patio cover involves measuring, planning, gathering materials, and installing support beams and panels. It’s a rewarding DIY project that adds value and comfort to your outdoor space.
- Adding finishing touches like sealing gaps, installing lighting, and adding furniture completes the patio cover. With proper care, it provides years of enjoyment and enhances the functionality of your home.
Read more: How To Clean Aluminum Patio Cover Gutters
Step 1: Measure and plan
The first step in building an aluminum patio cover is to accurately measure your outdoor space and carefully plan out the design. This will ensure that you have the right amount of materials and that your patio cover fits perfectly in your desired area.
Begin by measuring the dimensions of the space where you want to install the patio cover. Take into account the length, width, and height of the area. Consider any existing structures or landscaping features that may impact the placement and design of your cover.
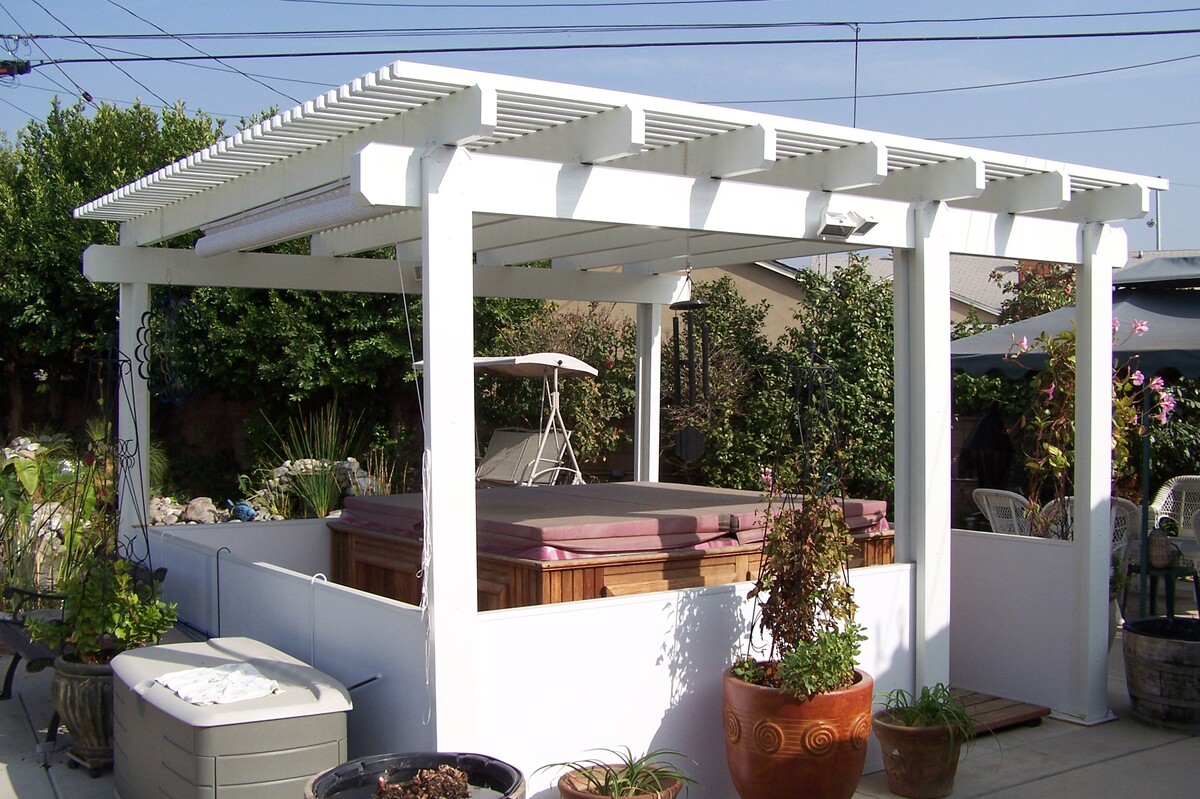
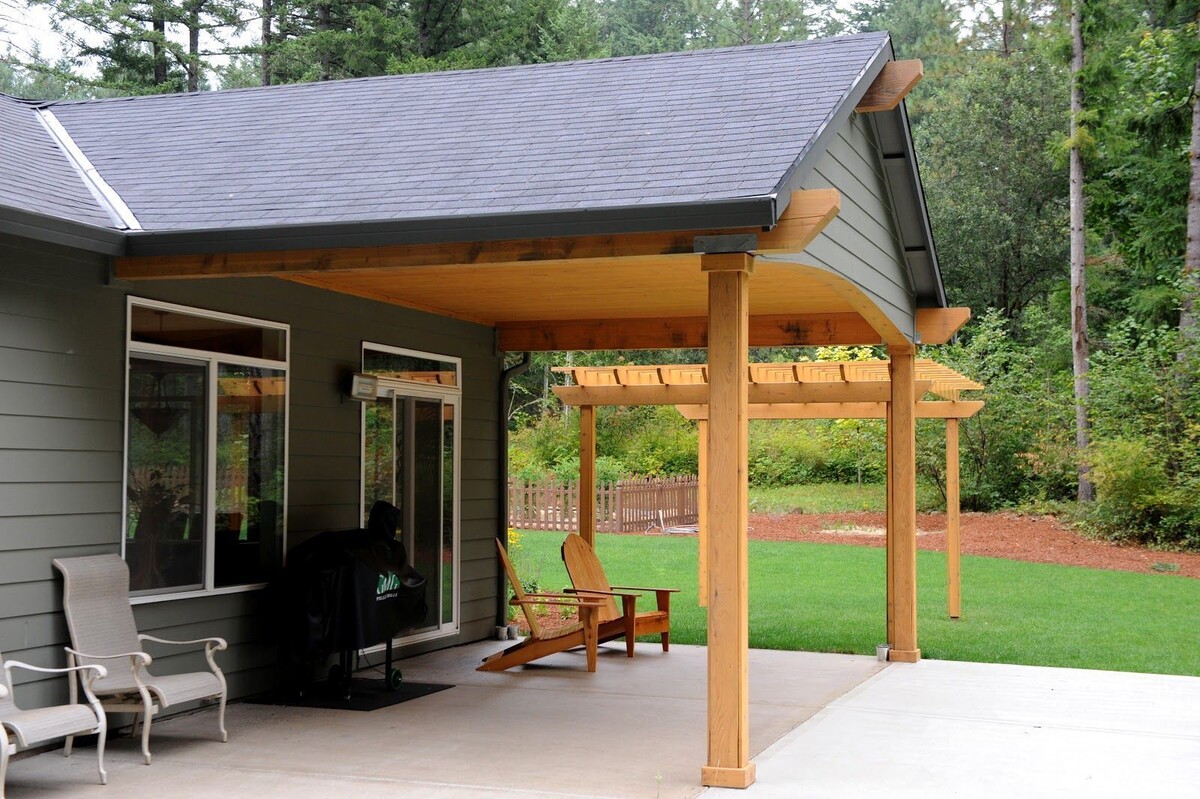
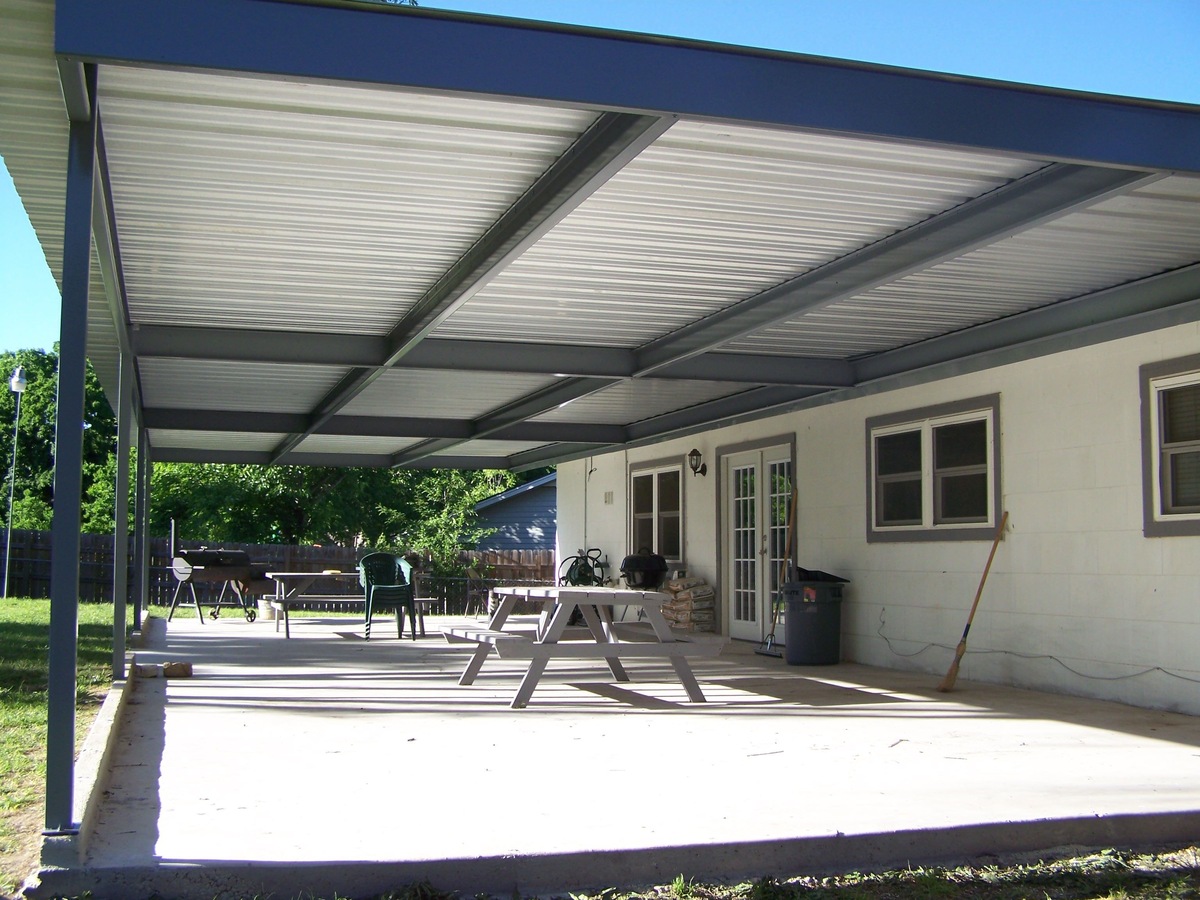
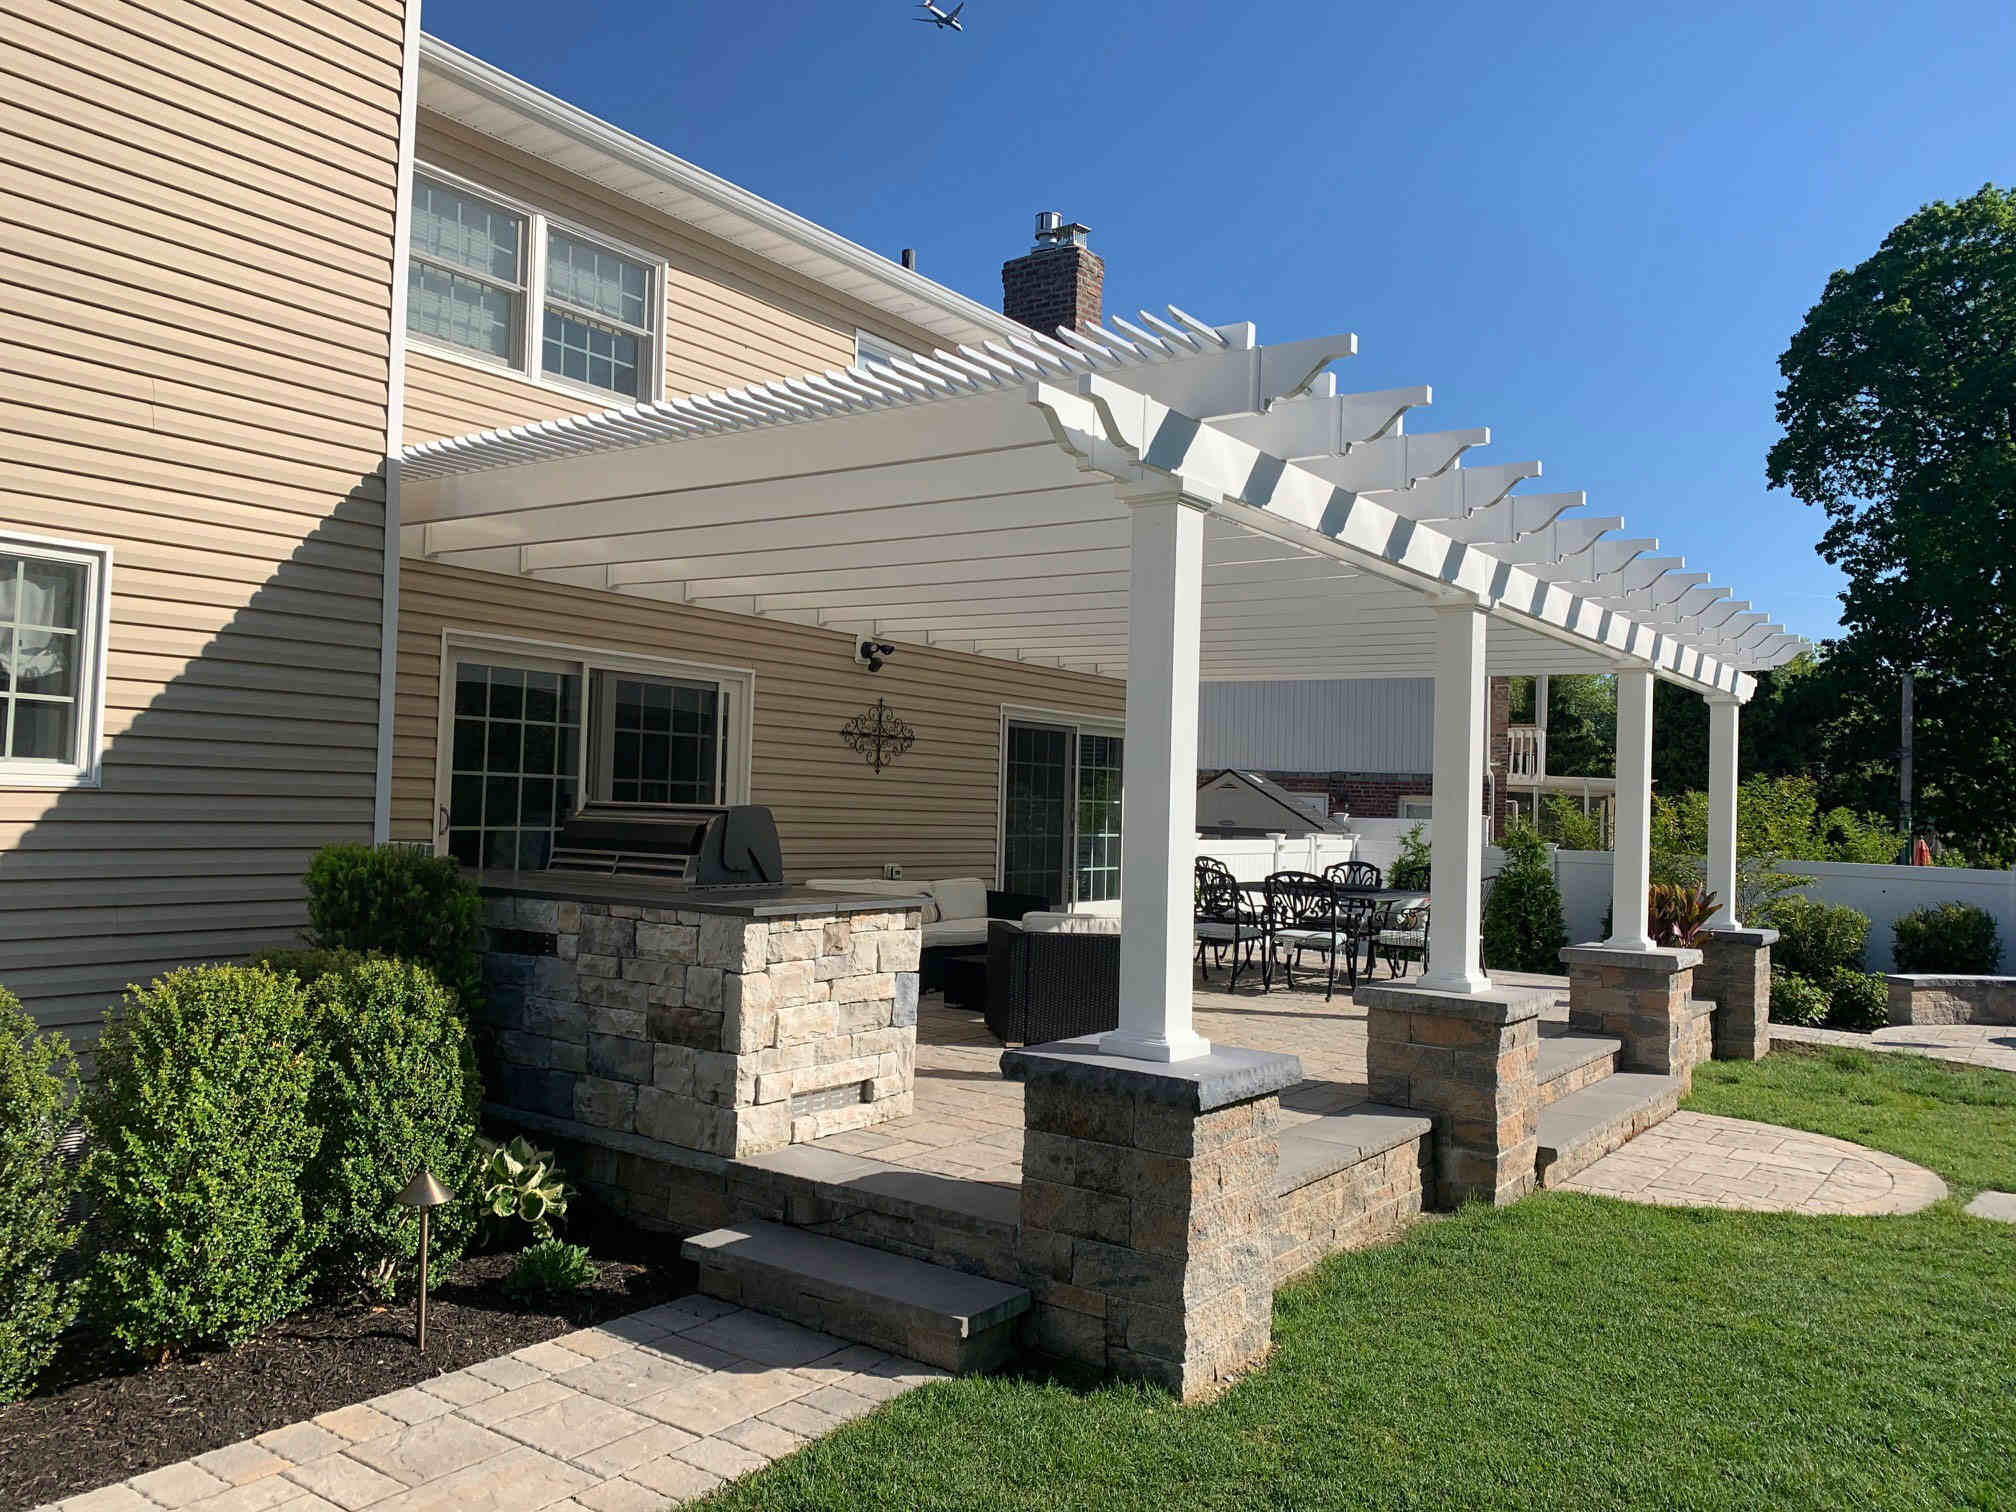
Next, determine the style and design of your aluminum patio cover. Consider factors such as the overall aesthetic of your home, your personal preferences, and the intended use of the space. Do you want a simple flat roof design or a more elaborate gabled roof? Will your cover attach directly to the house or be freestanding?
Once you have a clear idea of your desired design, it’s time to create a detailed plan. This should include measurements, a layout of the support beams and panels, and any additional features or accessories you want to incorporate. A detailed plan will serve as your blueprint throughout the construction process, helping you stay organized and on track.
If you’re uncertain about the design or need some inspiration, consider consulting with a professional or researching online for patio cover designs. There are numerous resources available that can provide ideas and guidance for creating a patio cover that suits your style and needs.
Remember to check with your local building codes and regulations before starting the project. Some areas may require permits or have specific guidelines for constructing patio covers. It’s important to adhere to these requirements to ensure the safety and legality of your patio cover.
Once you have your measurements and plan in place, you’re ready to move on to the next step: gathering materials and tools.
Step 2: Gather materials and tools
Now that you have your plan in place, it’s time to gather all the materials and tools you’ll need to build your aluminum patio cover. Having everything ready before you start will help streamline the construction process and prevent any delays.
Here’s a list of the materials you’ll typically need for building an aluminum patio cover:
- Aluminum panels and support beams
- Roof panels (such as polycarbonate or aluminum)
- Fasteners (screws, bolts, or nails)
- Sealing tape or caulk
- Waterproofing membrane
- Concrete footings
- Post anchors or brackets
- Tools:
- Tape measure
- Level
- Drill
- Saw (if cutting panels or beams)
- Screwdriver or impact driver
- Wrench
- Hammer
- Caulking gun
- Ladder or scaffolding
- Safety equipment (gloves, safety glasses, etc.)
When purchasing the materials, make sure to choose high-quality aluminum panels and beams that are designed for outdoor use. Look for materials that are weather-resistant and have a durable finish. Consider the dimensions and color of the panels to match your desired design. For the roof panels, you can choose between translucent polycarbonate sheets or aluminum panels, depending on the level of natural light you want to allow through.
In addition to the materials, having the right tools is essential for a smooth and efficient construction process. Make sure you have access to all the necessary tools listed above. If you don’t own some of the tools, consider borrowing or renting them to avoid any unnecessary expenses.
Once you have gathered all the materials and ensured that you have the required tools, you’re ready to move on to the next step: preparing the area for construction.
Step 3: Prepare the area
Before you start building your aluminum patio cover, it’s important to properly prepare the area where it will be installed. This step involves clearing and leveling the ground, ensuring proper drainage, and making any necessary adjustments to existing structures.
Here are the key steps to prepare the area:
- Clear the space: Remove any furniture, plants, or debris from the area where the patio cover will be installed. This will give you a clean and clear workspace.
- Level the ground: Use a shovel or a rake to level the ground. Ensure that the area is even and smooth, as this will provide a solid foundation for your patio cover.
- Mark the layout: Use stakes and string to mark the outline of the patio cover and its support beams. This will help you visualize the final placement and ensure accuracy during the installation process.
- Check for proper drainage: Assess the slope of the ground and ensure that it allows for proper water drainage. You want to avoid any pooling or flooding around your patio cover.
- Make necessary adjustments: If your patio cover will be attached to an existing structure, such as your house or a wall, check for any repairs or adjustments that need to be made. Make sure the surface is stable and suitable for installation.
Additionally, if you plan on adding concrete footings or using post anchors, you’ll need to dig holes at designated points along the layout. These holes should be deep enough to provide a stable base for the support beams.
By properly preparing the area, you’ll ensure a solid foundation and a smooth construction process. Once the area is prepped, you can move on to the next step: installing the support beams.
Step 4: Install the support beams
With the area prepared, it’s time to start building the framework for your aluminum patio cover. This step involves installing the support beams that will provide stability and structural integrity to your cover.
Here’s a breakdown of the process:
- Measure and cut the beams: Using your measurements, cut the support beams to the appropriate length. Ensure that they are straight and level.
- Attach the beams to existing structures: If your patio cover will be attached to a wall or an existing structure, use brackets or anchors to secure the beams in place. Make sure they are aligned with the layout you marked earlier.
- Anchor the beams in the ground: If your patio cover will be freestanding, use post anchors or drive the beams directly into the ground. Ensure they are firmly anchored and leveled.
- Check for stability: Once all the beams are installed, check for stability and make any necessary adjustments. Use a level to ensure that the beams are straight and even.
- Secure the beams: Once you’re satisfied with the alignment and stability, secure the beams in place using screws or bolts. Make sure they are tightly fastened for added support.
As you install the beams, it’s important to follow your plan and double-check your measurements. Accuracy is crucial in this step to ensure that your aluminum patio cover is properly supported and will withstand the elements.
Remember to consider the spacing between the support beams, as it will determine the placement of the aluminum panels later on. You may need to adjust the distance between the beams to accommodate the dimensions of your panels and achieve the desired aesthetic.
Once the support beams are securely in place, you’re ready to move on to the next step: attaching the aluminum panels.
When building an aluminum patio cover, make sure to carefully measure and plan the layout before starting. This will help ensure a smooth and accurate installation process.
Step 5: Attach the aluminum panels
Now that the support beams are installed, it’s time to move on to attaching the aluminum panels to create the roof of your patio cover. These panels will provide shade and protection from the elements, while adding a sleek and modern look to your outdoor space.
Here are the steps to follow:
- Measure and cut the panels: Measure the length and width needed for each panel according to your plan. Use a saw or cutting tool to trim the panels to the correct size, if necessary.
- Position the first panel: Start by positioning the first aluminum panel at one end of the patio cover, flush against the support beams. Ensure that the panel is aligned and level.
- Secure the panel: Using appropriate fasteners such as screws or nails (depending on the design of your patio cover and the manufacturer’s recommendations), attach the panel to the support beams. Place the fasteners evenly along the edges of the panel.
- Continue with the remaining panels: Move along the patio cover, attaching each subsequent panel to the support beams in the same manner. Ensure that each panel is properly aligned and overlapping the previous one to create a seamless roof.
- Trim panels, if needed: In some cases, you may need to trim the last panel to fit the space. Measure and cut the panel accordingly, making sure it fits snugly.
Throughout this process, be mindful of the spacing between the panels to ensure proper water drainage. It’s important to provide a slight slope to allow rainwater to run off the roof without pooling.
As you attach the aluminum panels, take care to avoid over-tightening the fasteners, as this may damage the panels. Follow the manufacturer’s recommendations for installation and use the appropriate tools for the job.
Once all the panels are securely attached, you’re ready to move on to the next step: installing the roof panels.
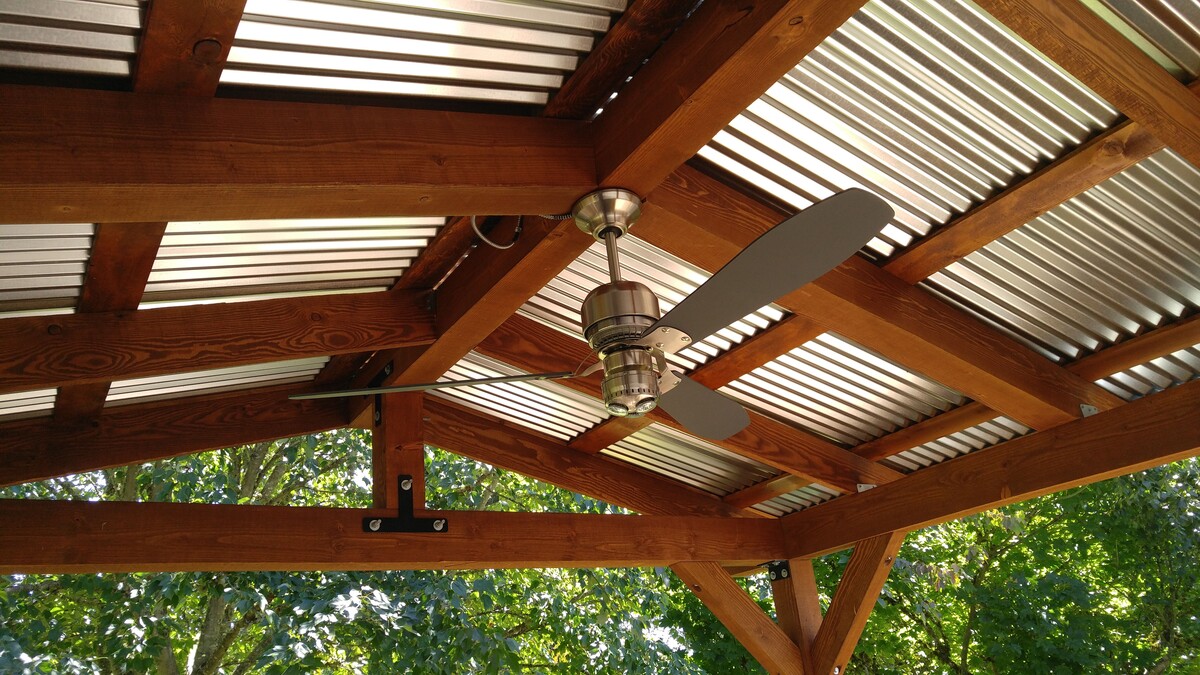
Step 6: Install the roof panels
With the aluminum panels in place, it’s time to install the roof panels for your patio cover. The roof panels serve as the final layer of protection against the elements, ensuring that your outdoor space remains comfortable and weather-resistant.
Here’s how to install the roof panels:
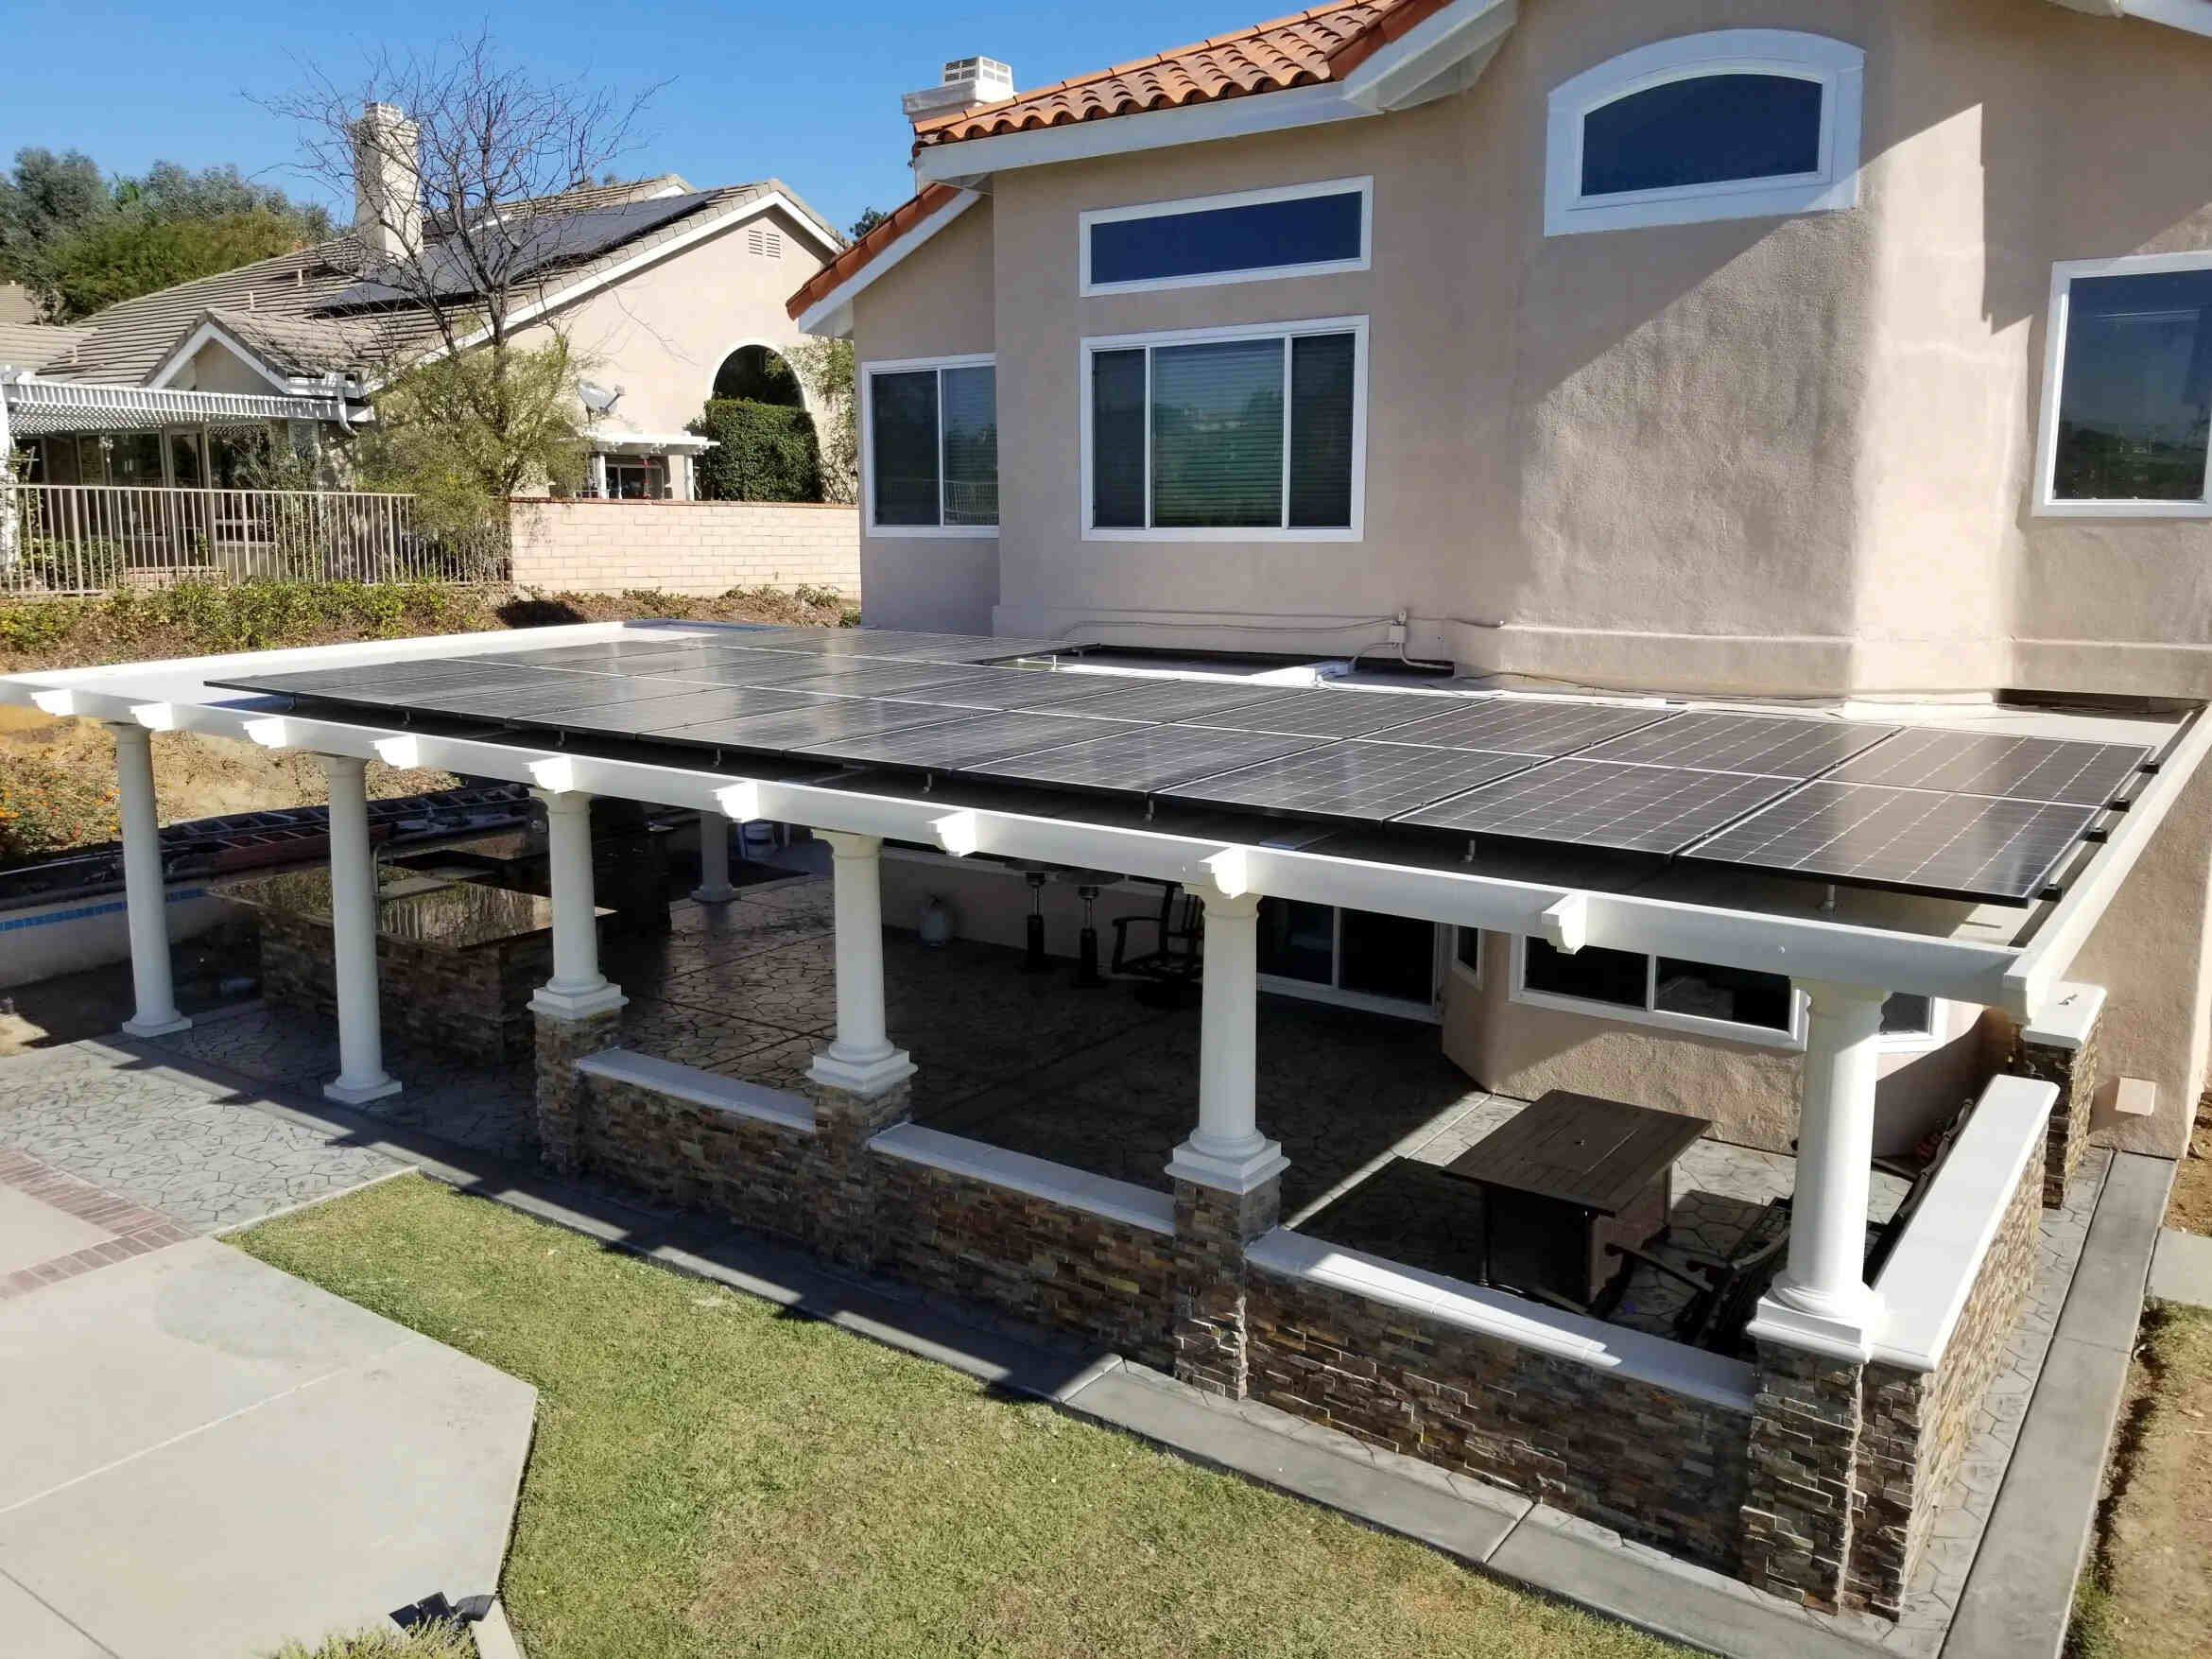
- Select the type of roof panels: Depending on your design preferences and the level of natural light you desire, choose between translucent polycarbonate sheets or solid aluminum panels for the roof.
- Measure and cut the roof panels: Measure the dimensions required for each roof panel and cut them to size, ensuring an accurate fit.
- Position the first roof panel: Start from one end of the patio cover and position the first roof panel on top of the aluminum panels. Make sure it is aligned with the support beams and covers the entire span of the patio cover.
- Secure the roof panel: Use the appropriate fasteners, such as screws or clips, to secure the roof panel to the support beams and the aluminum panels beneath. Follow the manufacturer’s guidelines for the specific panel type you are using.
- Continue installing the remaining roof panels: Move along the patio cover, installing each subsequent roof panel in the same manner. Ensure that each panel overlaps the previous one to create a watertight seal and proper drainage.
- Trim panels, if needed: If the last roof panel does not fit perfectly, measure and trim it accordingly for a proper fit.
As you install the roof panels, be mindful of maintaining a slight slope to allow rainwater to easily drain off the roof. This will prevent any accumulation or potential damage caused by excessive water buildup.
Take care to follow the manufacturer’s instructions for installation, as different panel types may require specific techniques or hardware. Ensure that the panels are securely attached and provide a seamless covering for your patio area.
With the roof panels in place, your aluminum patio cover is almost complete. The final step involves adding some finishing touches, which will be covered in the next step.
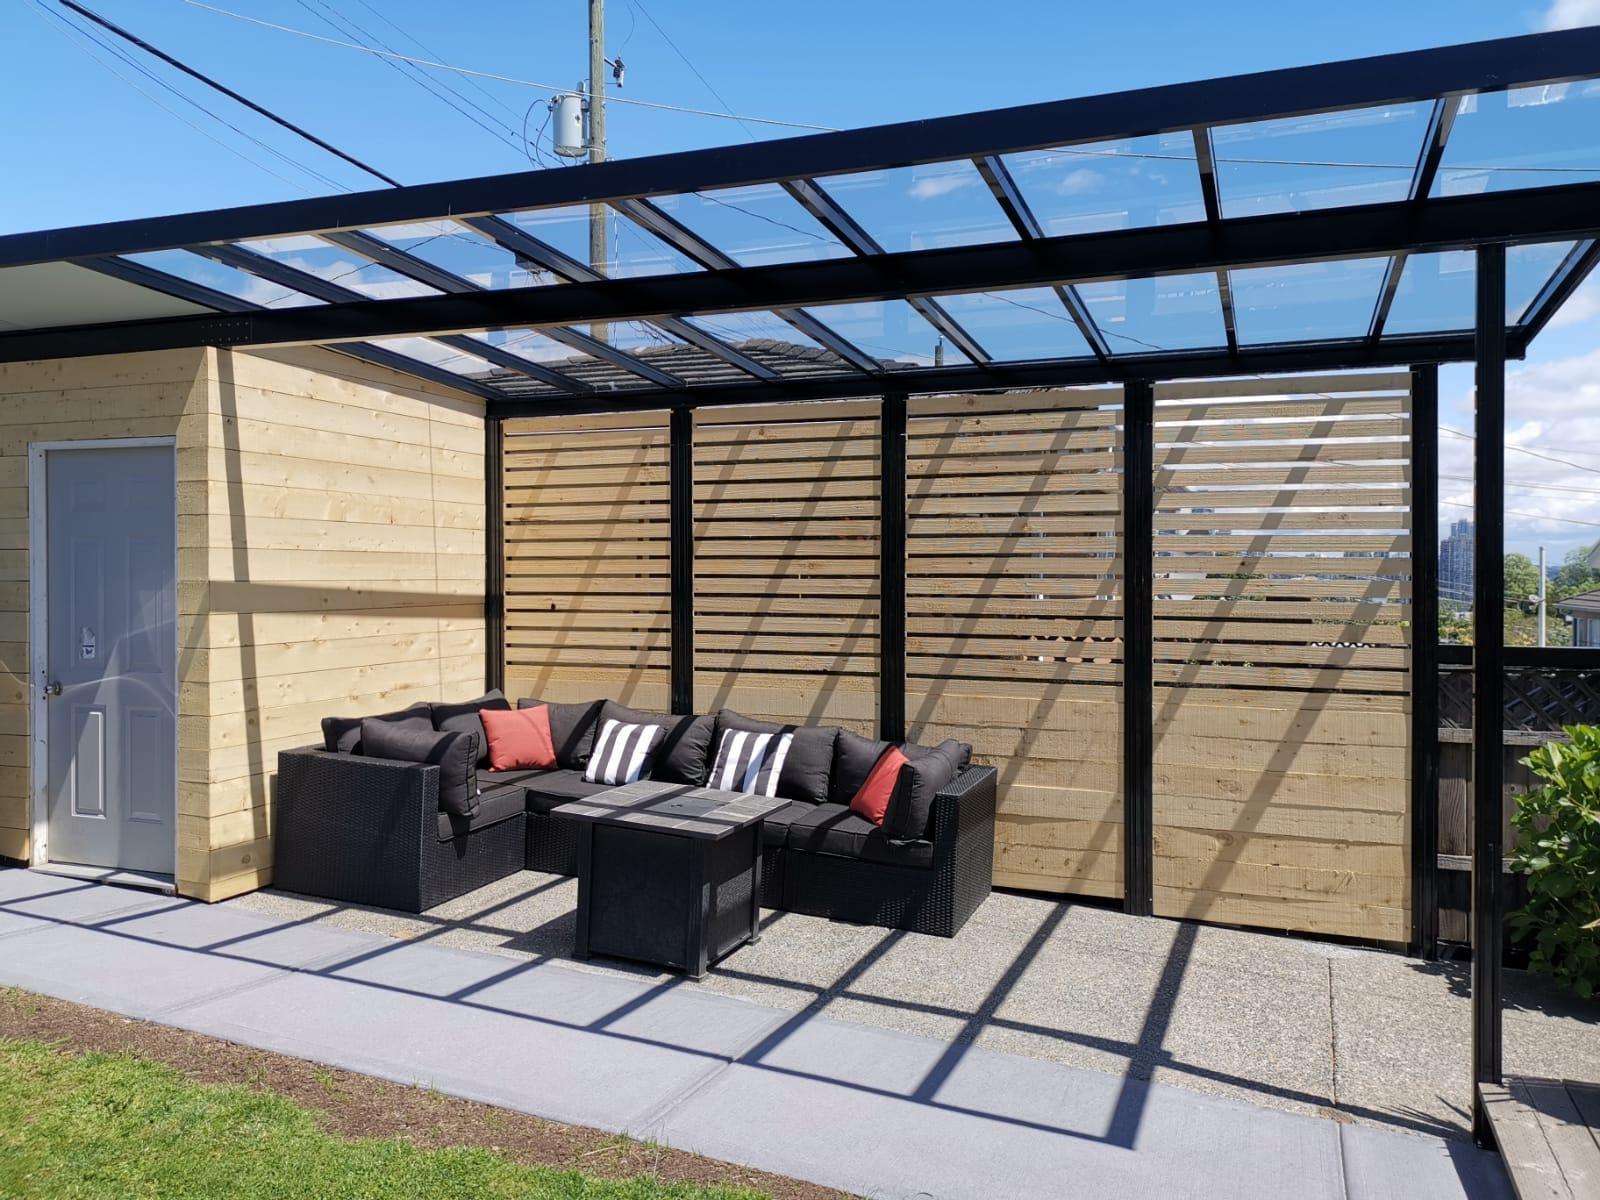
Step 7: Add finishing touches
Congratulations! You’re in the final step of building your aluminum patio cover. Now it’s time to add those finishing touches that will enhance the functionality, aesthetics, and durability of your outdoor space.
Here are some additional touches you can consider:
- Seal and waterproof: Apply a sealing tape or caulk to any gaps or joints between the aluminum panels and the roof panels. This will help prevent leaks and improve the overall weather resistance of your patio cover.
- Add gutters: If you want to direct rainwater away from the patio area, consider installing gutters along the edges of your patio cover. This will ensure proper drainage and prevent water from pooling around the structure.
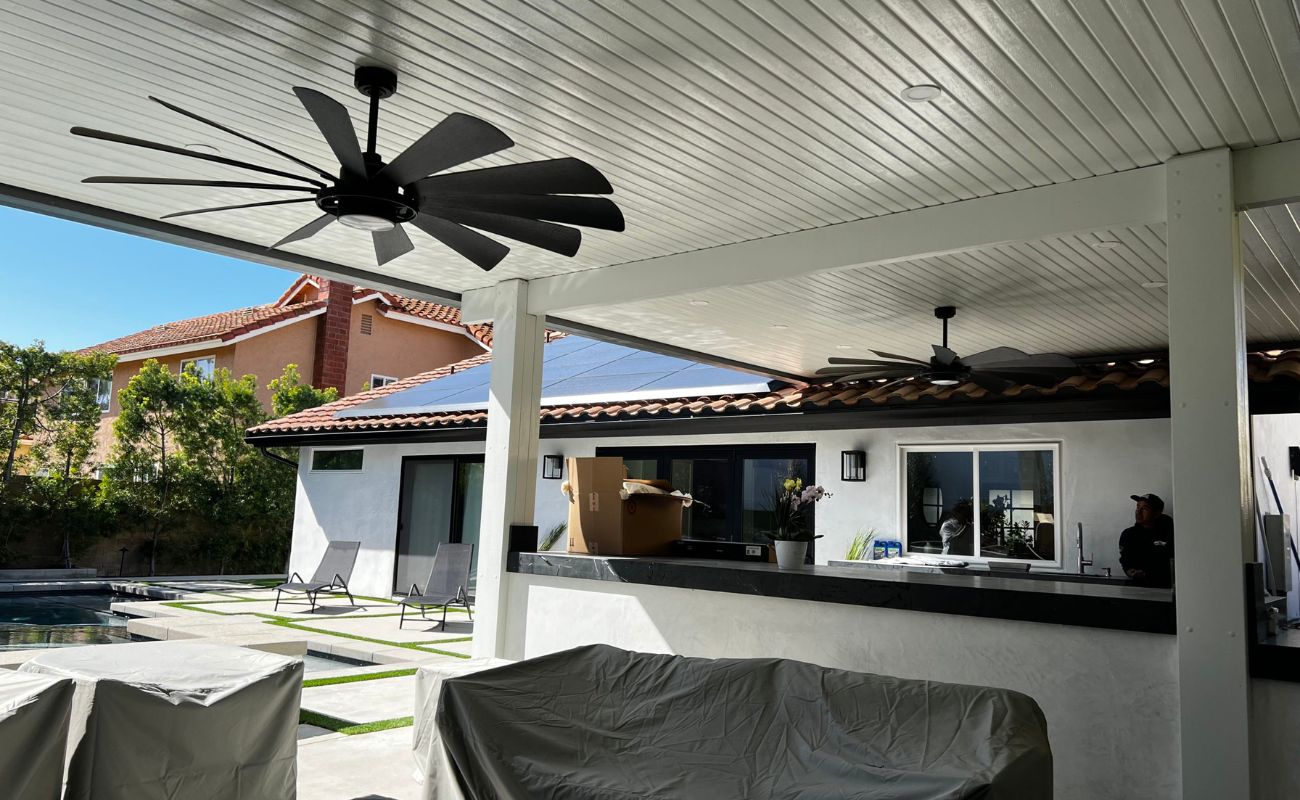
- Install lighting: Enhance the ambiance of your outdoor space by incorporating lighting into your patio cover. You can choose from various options such as string lights, recessed lighting, or even solar-powered fixtures.
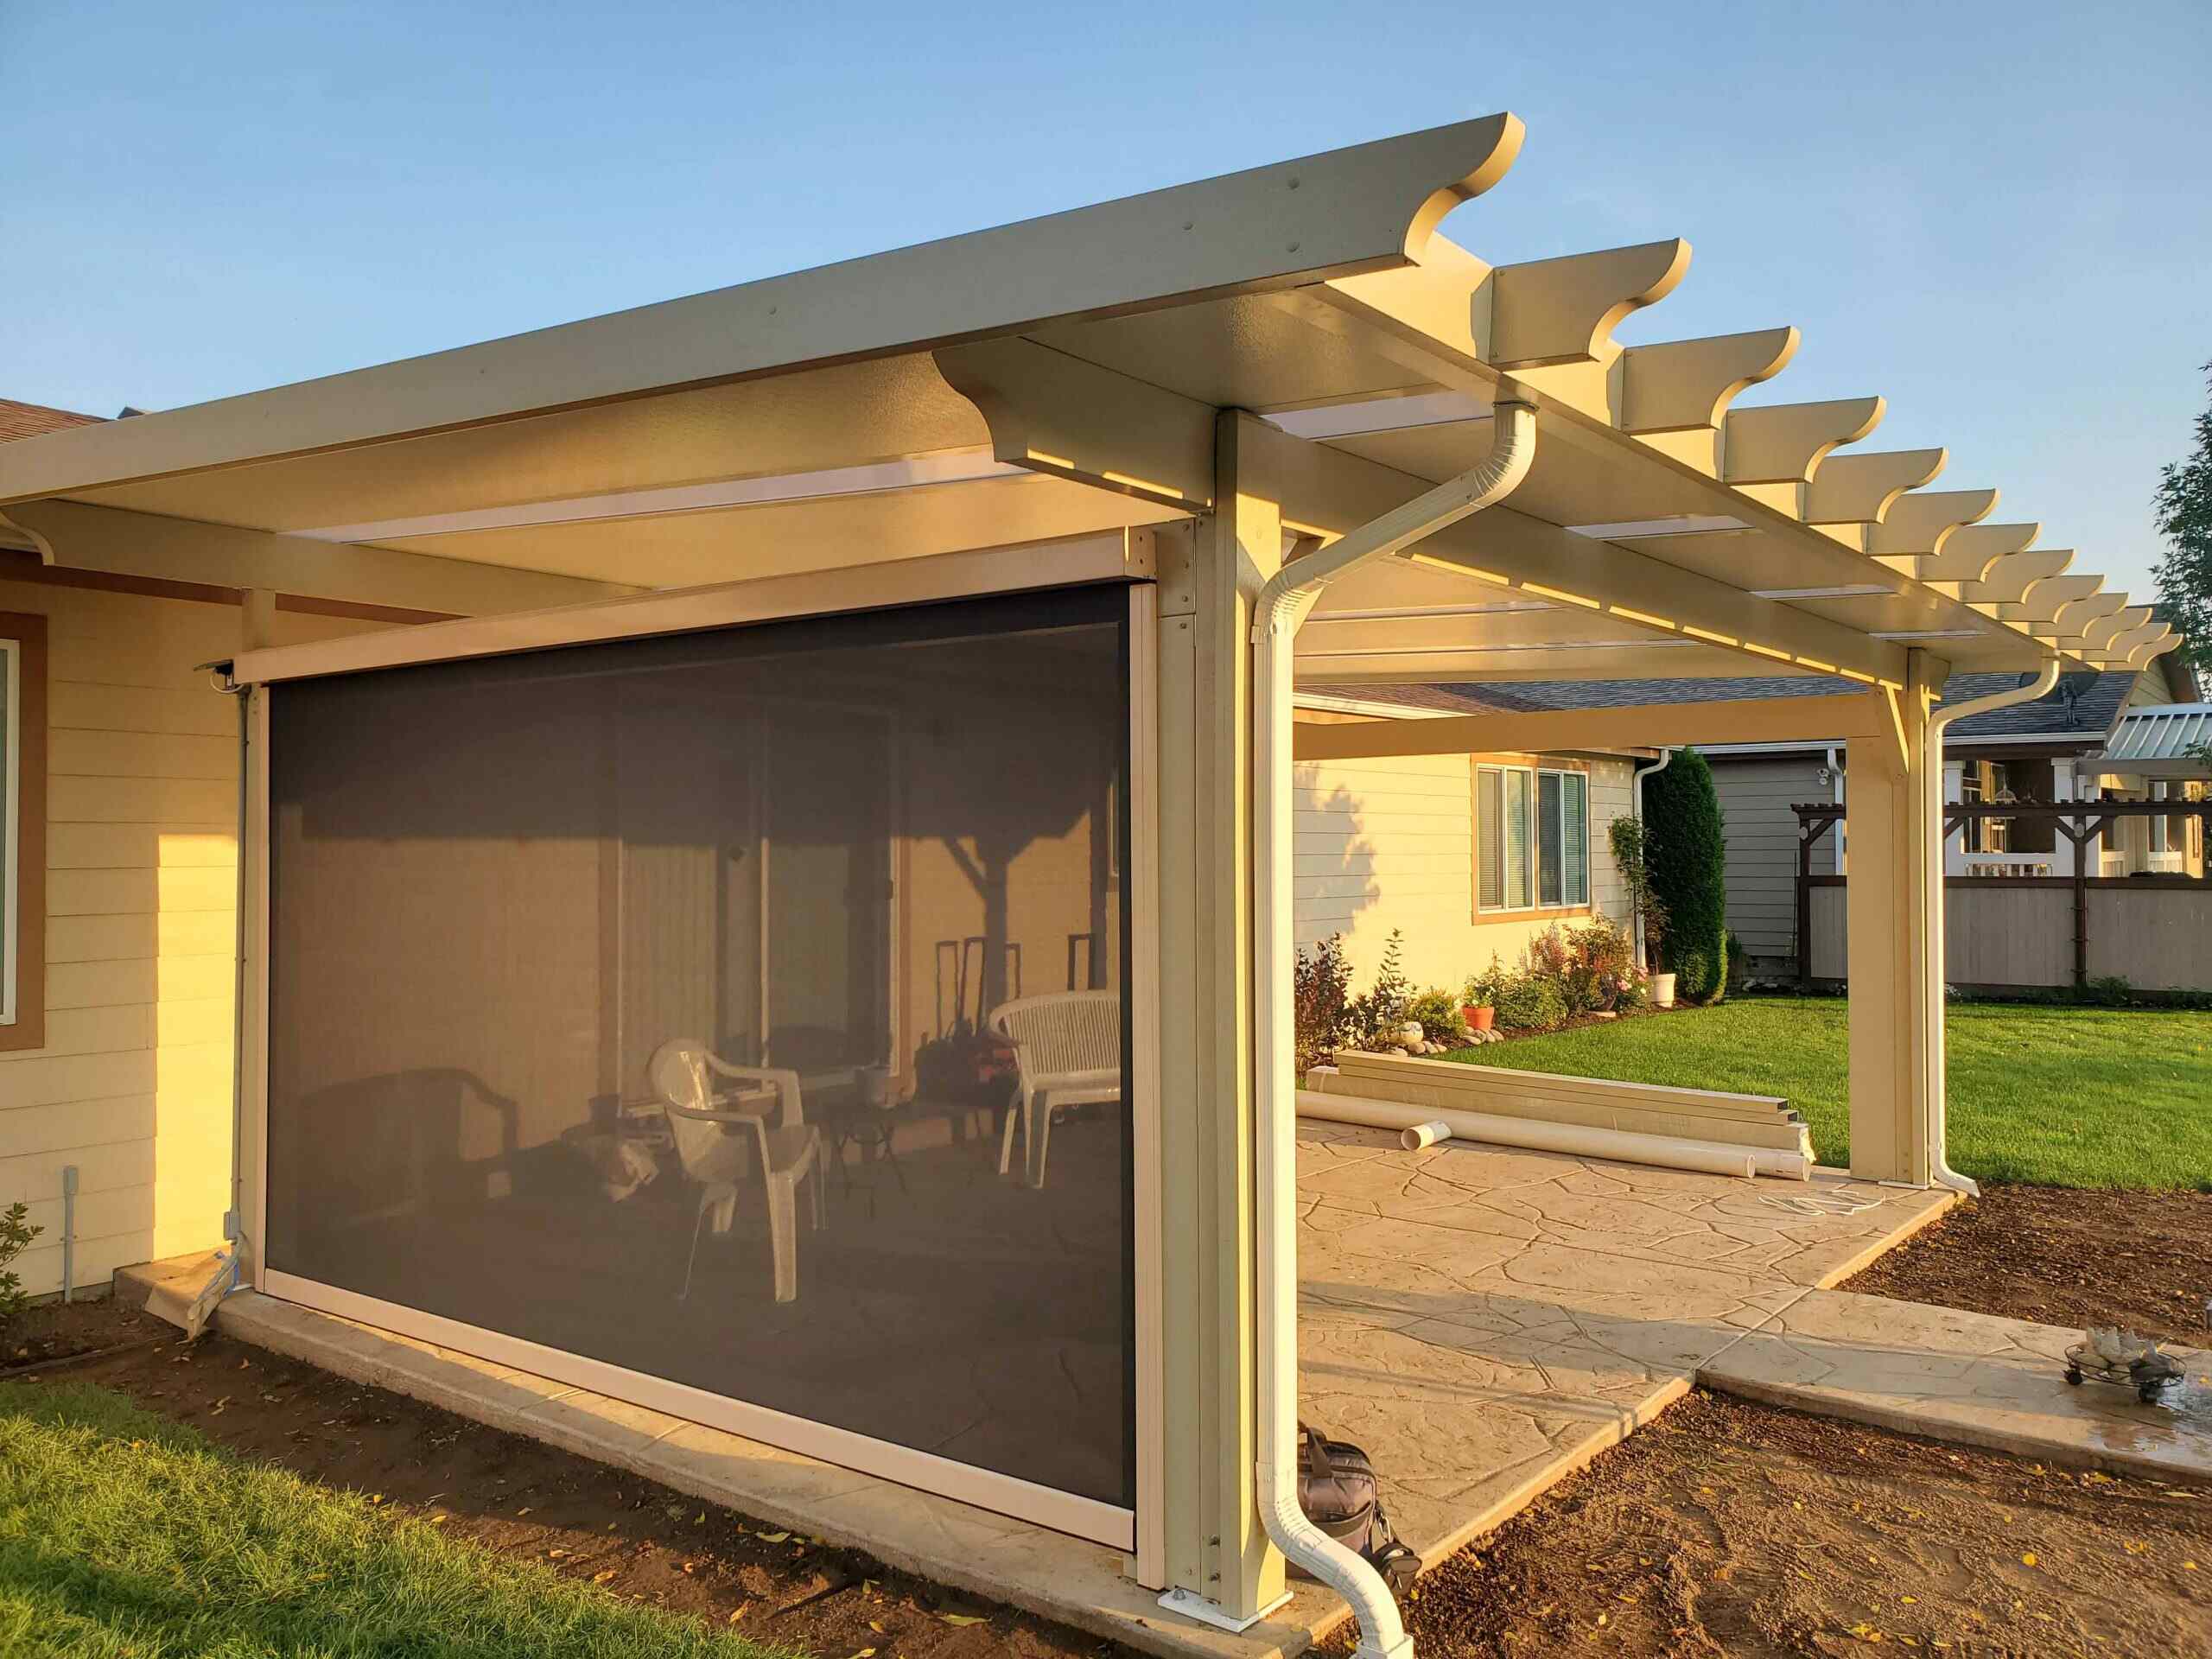
- Consider additional elements: Depending on your preferences and budget, you may want to add additional elements to your patio cover, such as ceiling fans, curtains, or decorative trims. These can further personalize and enhance the functionality of your outdoor space.
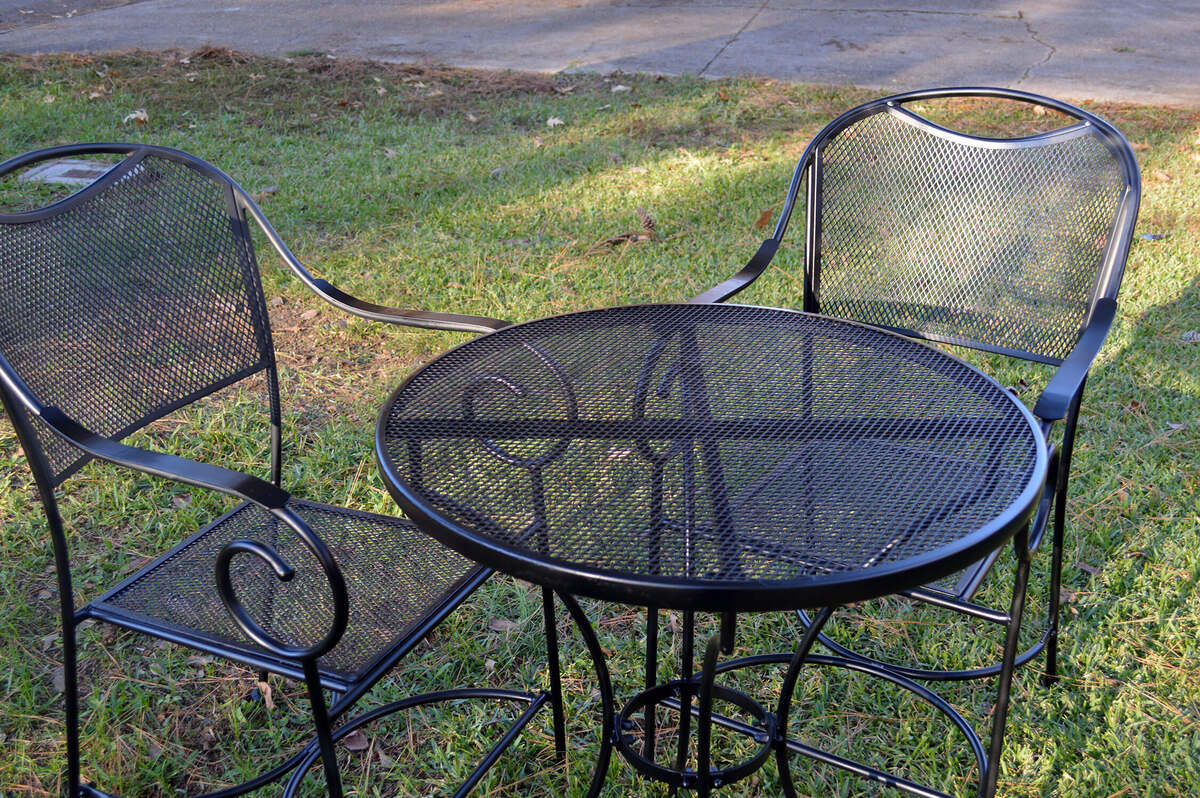
- Add furniture and decor: Complete your patio cover by adding furniture, plants, and decor that suit your style and intended use of the space. Consider comfortable seating, outdoor rugs, and potted plants to create a welcoming atmosphere.
Remember to follow any necessary safety precautions when working with electricity or installing accessories. Consider consulting with a professional if you’re unsure about any specific installation or wiring procedures.
Once you’ve added these finishing touches, step back and admire your completed aluminum patio cover. Not only have you created a functional and stylish outdoor space, but you’ve also added value to your home and provided a comfortable area to enjoy throughout the year.
With proper care and maintenance, your aluminum patio cover will provide years of enjoyment and protection for your outdoor living space.
Enjoy your newly built aluminum patio cover and make lasting memories with family and friends in your beautiful outdoor oasis!
Conclusion
Building an aluminum patio cover is a rewarding DIY project that can transform your outdoor space into a functional and stylish retreat. By following the steps outlined in this guide, you can create a beautiful addition to your home that provides shade, protection from the elements, and a comfortable area for relaxation and entertainment.
From measuring and planning to gathering materials, preparing the area, installing support beams, attaching aluminum panels, installing roof panels, and adding finishing touches, each step plays a crucial role in the construction process. Remember to consider your design preferences, local building codes, and the quality of materials to ensure a durable and visually appealing patio cover.
Throughout the project, it’s important to maintain accuracy, ensure stability, and follow manufacturer’s instructions for installation. Adhering to proper construction techniques will guarantee a safe and long-lasting patio cover that withstands various weather conditions.
Once your aluminum patio cover is complete, don’t forget to personalize the space with lighting, furniture, and decor. These finishing touches will add comfort, style, and create an inviting atmosphere for you, your family, and your guests.
Finally, remember to prioritize safety during the construction process. Use appropriate safety equipment, follow recommended guidelines, and consult professionals when needed.
Enjoy the benefits of your new aluminum patio cover, whether it’s hosting outdoor gatherings, lounging in the shade, or simply appreciating the beauty of your outdoor surroundings. With regular maintenance and care, your patio cover will provide years of enjoyment, enhancing the value and functionality of your home.
Frequently Asked Questions about How To Build An Aluminum Patio Cover
Was this page helpful?
At Storables.com, we guarantee accurate and reliable information. Our content, validated by Expert Board Contributors, is crafted following stringent Editorial Policies. We're committed to providing you with well-researched, expert-backed insights for all your informational needs.


0 thoughts on “How To Build An Aluminum Patio Cover”