Home>Furniture>Outdoor Furniture>How To Install A Ceiling Fan On An Aluminum Patio
Outdoor Furniture
How To Install A Ceiling Fan On An Aluminum Patio
Modified: October 20, 2024
Learn how to install a ceiling fan on your aluminum patio and enhance your outdoor furniture experience. Discover easy step-by-step instructions and expert tips.
(Many of the links in this article redirect to a specific reviewed product. Your purchase of these products through affiliate links helps to generate commission for Storables.com, at no extra cost. Learn more)
Introduction
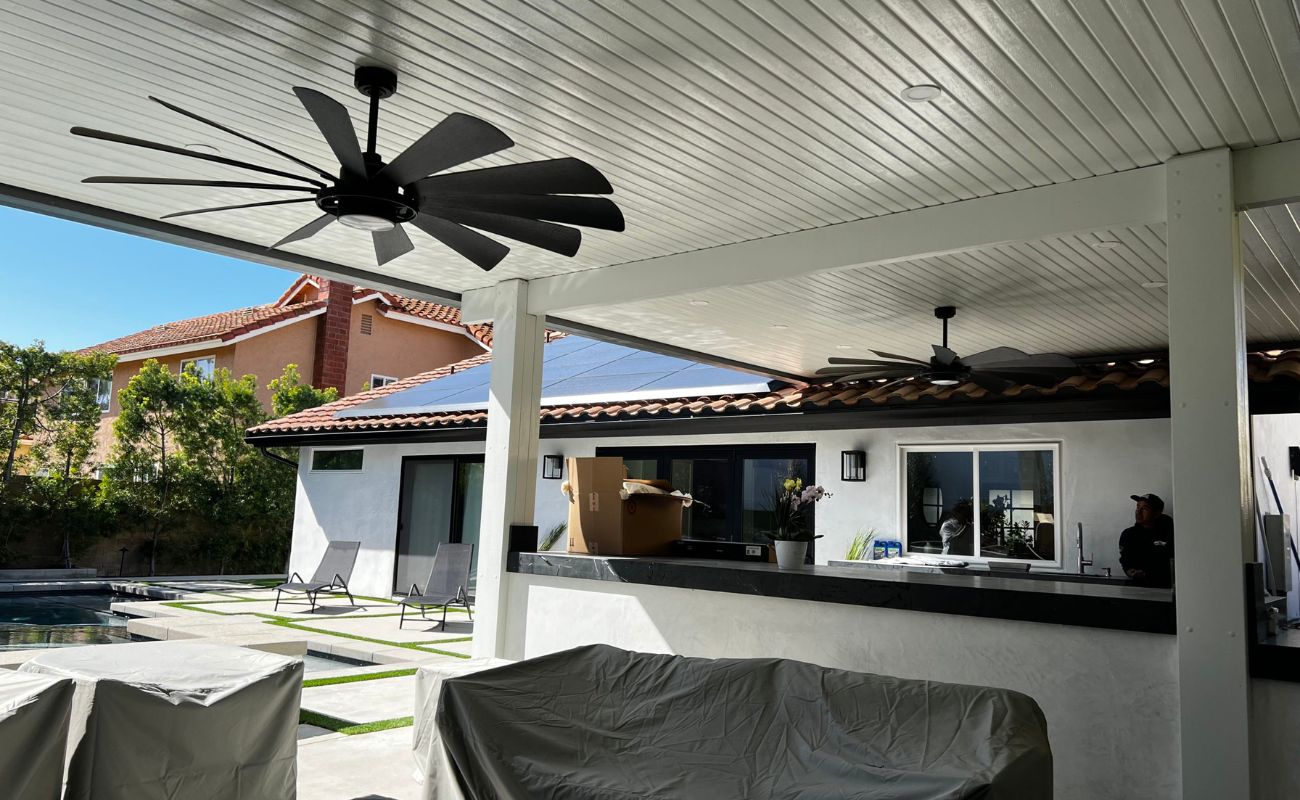
Welcome to our comprehensive guide on how to install a ceiling fan on an aluminum patio! Adding a ceiling fan to your outdoor space is a great way to enhance both the aesthetics and functionality of your patio. The gentle breeze created by a ceiling fan can provide much-needed relief during hot summer days and create a more comfortable environment for outdoor activities and gatherings.
In this article, we will walk you through the step-by-step process of installing a ceiling fan on an aluminum patio. We will cover everything from gathering the necessary tools and materials to testing the fan’s operation. So let’s dive in and get started!
Key Takeaways:
- Enhance your outdoor space by installing a ceiling fan on your aluminum patio for a refreshing breeze and improved ambiance, creating a comfortable environment for outdoor activities and gatherings.
- Prioritize safety and thorough planning when installing a ceiling fan on your aluminum patio, from assessing structural compatibility to securing wiring and components, to ensure a successful and enjoyable outdoor experience.
Read more: How To Clean Aluminum Patio Ceiling
Step 1: Gather the necessary tools and materials
Before you begin the installation process, it’s important to gather all the tools and materials you will need. This will ensure a smooth and efficient installation process. Here are the tools and materials you should have on hand:
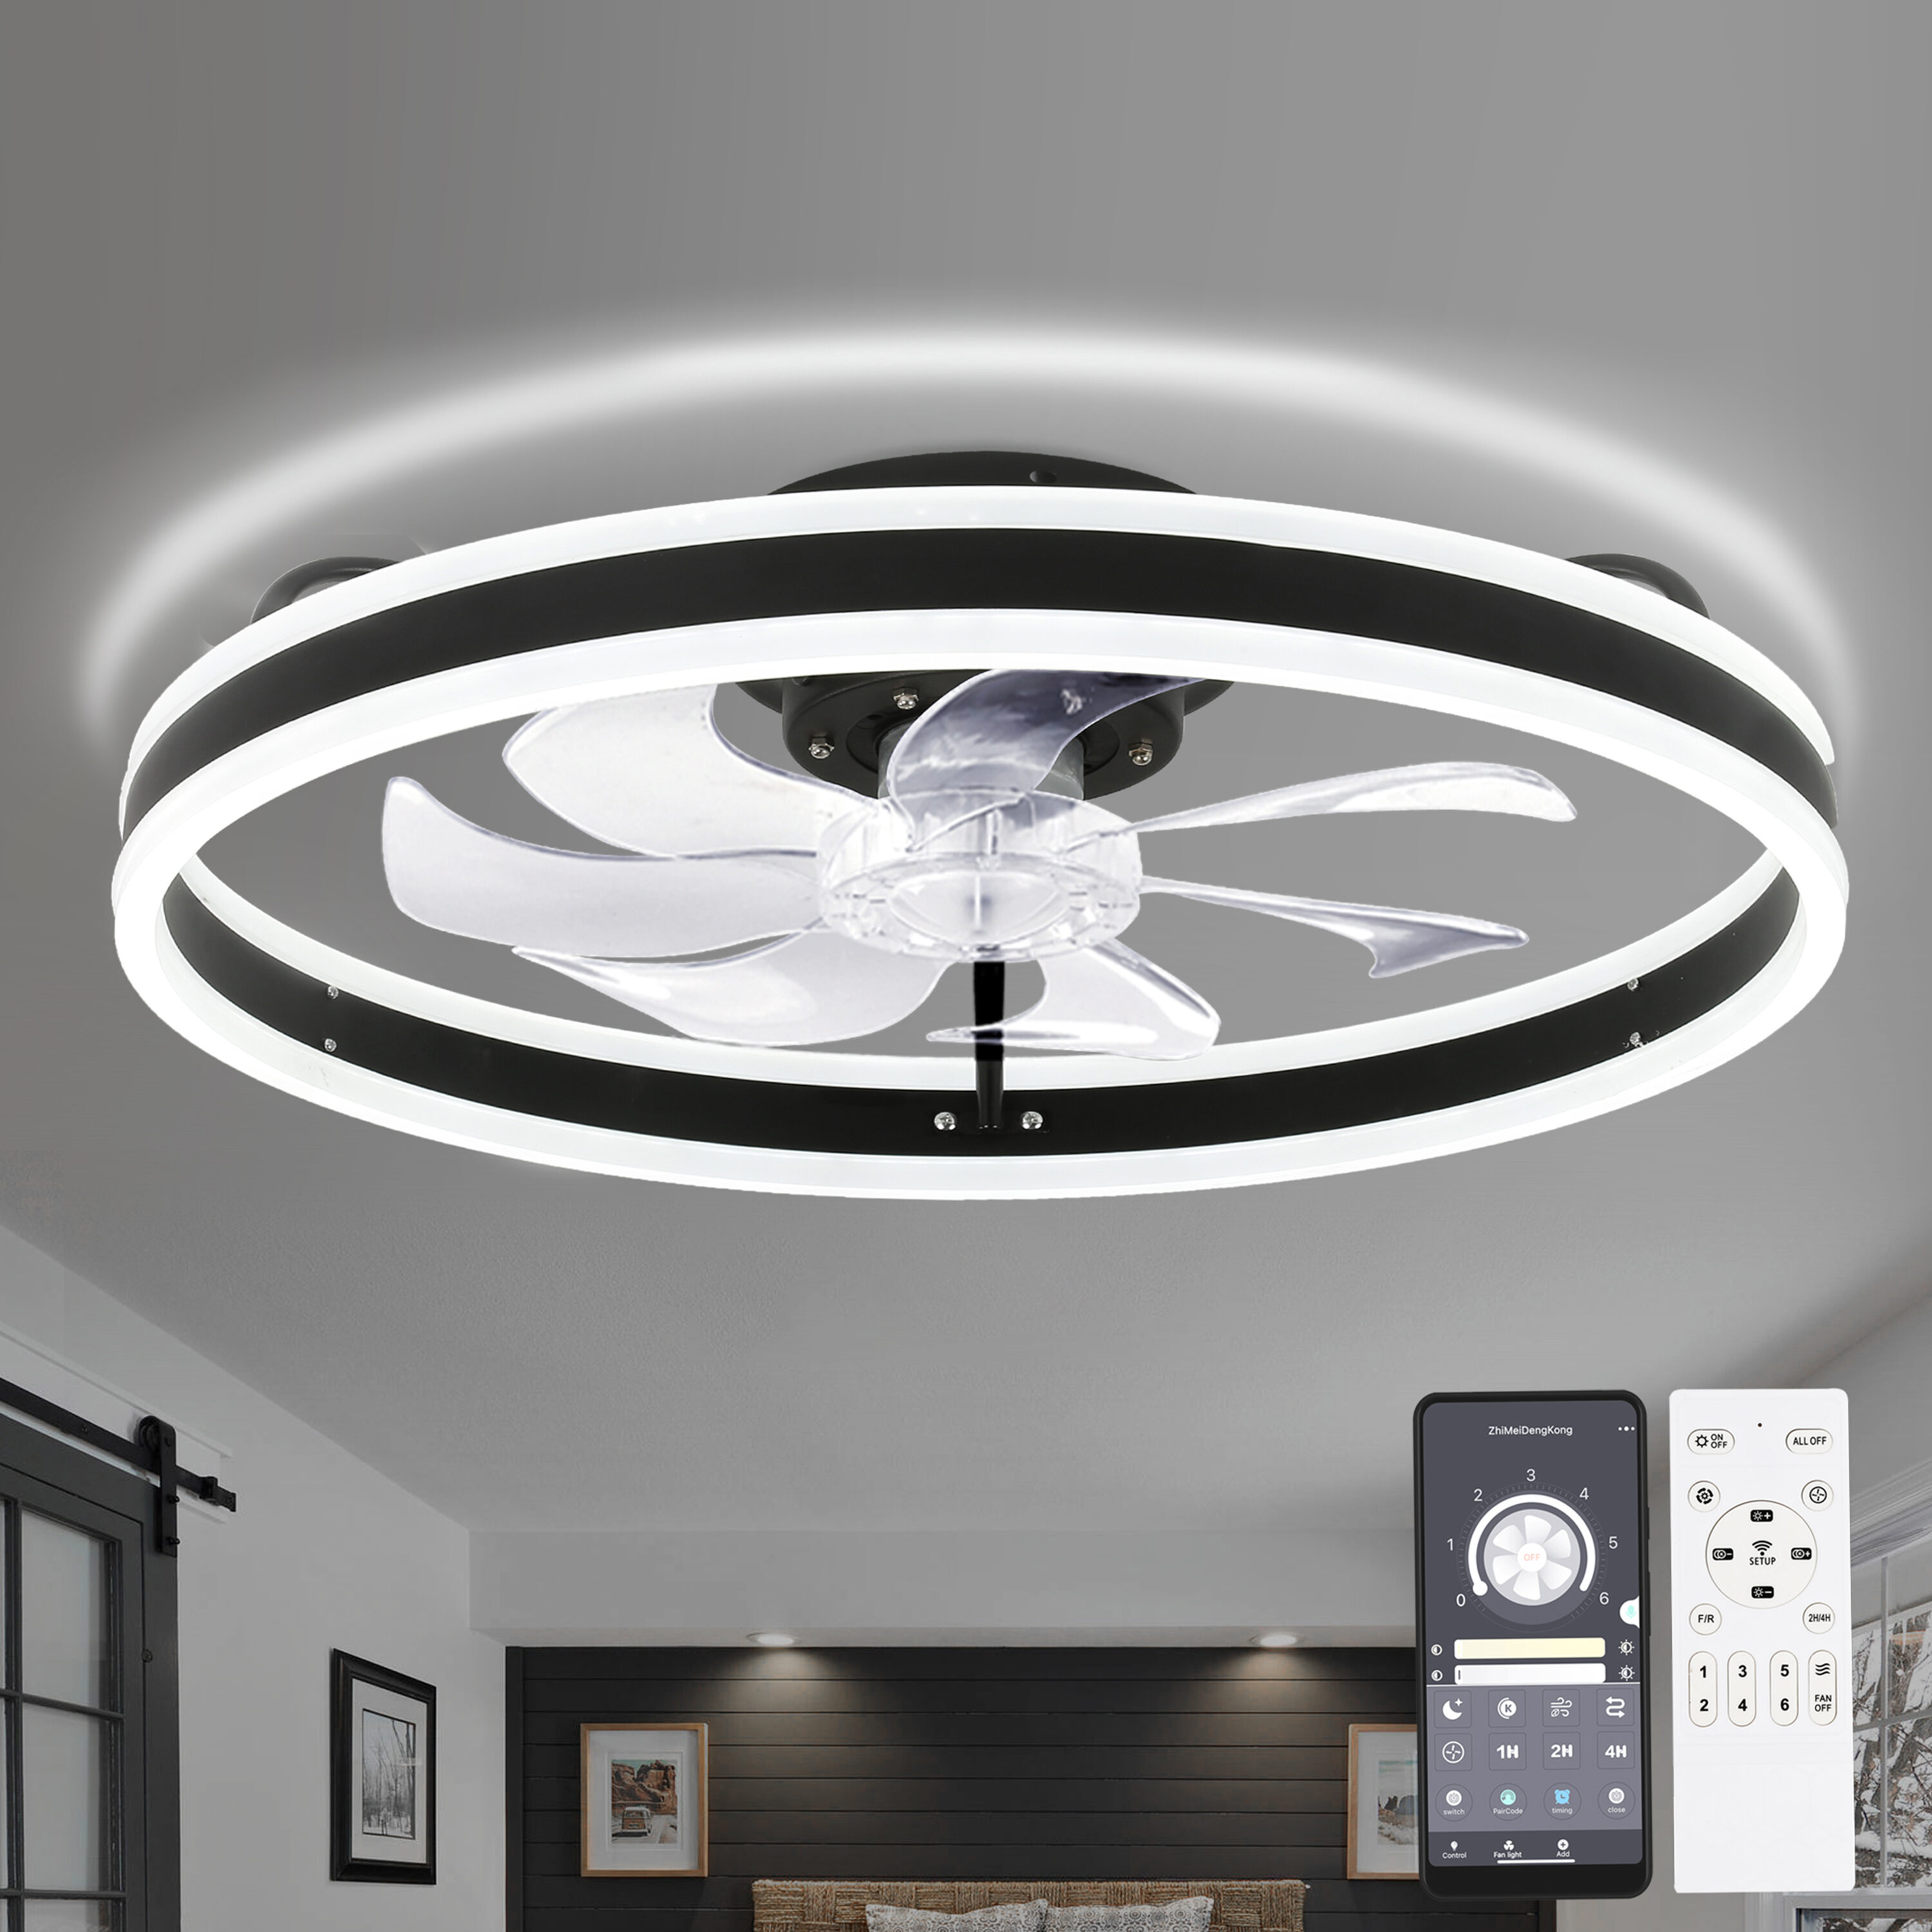
- Ceiling fan kit (including motor housing, fan blades, canopy, and mounting bracket)
- Step ladder
- Screwdriver
- Adjustable wrench
- Wire strippers
- Wire connectors
- Electrical tape
- Electrical tester
- Aluminum-rated electrical box
- Cable clamps
- Wire nuts
- Mounting hardware (screws, anchors, etc.)
Ensure that you have all the necessary tools and materials before you begin the installation process. This will prevent any unnecessary delays or trips to the hardware store.
Additionally, it’s important to follow all safety precautions while working with electrical components. Make sure to turn off the power to the patio area at the circuit breaker and use proper safety equipment, such as gloves and goggles, to protect yourself during the installation process.
Step 2: Check the patio structure for compatibility
Before installing a ceiling fan on your aluminum patio, it’s crucial to assess the structural integrity and compatibility of the patio. This step will help ensure that the patio can safely support the weight and movement of a ceiling fan.
Start by examining the ceiling of your patio. Look for any visible signs of damage or weakness, such as cracks, sagging, or water damage. If you notice any structural issues, it’s advisable to consult with a professional before proceeding with the installation.
Next, check if your patio has an existing electrical wiring system. Ideally, there should be an electrical box or conduit in the ceiling that can accommodate the wiring for the ceiling fan. If there is no existing wiring, you may need to hire an electrician to install the necessary wiring before proceeding with the installation.
It’s also essential to consider the clearance between the patio’s ceiling and any overhead structures or furniture. Ensure that there is adequate space for the ceiling fan to rotate without obstruction. Additionally, make sure that the patio’s ceiling is strong enough to support the weight of the ceiling fan and any additional accessories, such as light fixtures or remote control units.
If you are unsure about any aspect of the patio’s compatibility, it’s best to consult with a professional or contact the manufacturer of the ceiling fan for guidance. They will be able to provide specific recommendations based on your patio’s unique specifications.
By thoroughly checking the patio structure for compatibility, you will ensure a safe and successful installation process and enjoy the benefits of a ceiling fan on your aluminum patio for years to come.
Step 3: Determine the fan location
Choosing the right location for your ceiling fan on your aluminum patio is crucial for maximizing its effectiveness and aesthetic appeal. Here are a few key factors to consider when determining the fan’s location:
- Airflow: The primary purpose of a ceiling fan is to provide a comfortable breeze. To achieve this, position the fan in an area that allows for optimal airflow throughout the patio. Consider the size and layout of your patio, as well as any potential obstructions such as beams or overhead structures.
- Distance from walls and furniture: Ensure that there is enough clearance between the fan blades and any surrounding walls, furniture, or decorative elements. A general recommendation is to have a minimum of 18 inches of space between the fan and any obstruction.
- Lighting: If your ceiling fan has integrated lighting, you may want to consider positioning it in a way that provides sufficient illumination to the patio area. This could be especially beneficial for evening gatherings or when additional lighting is desired.
- Accessibility: Keep in mind the ease of access for maintenance and cleaning. Choose a location that allows for convenient reach to the fan’s controls, light switches, and any potential maintenance needs.
Once you have considered these factors, take measurements and mark the desired location for the fan on the aluminum patio ceiling. Use a pencil or masking tape to create a visible outline of the fan’s placement. This will serve as a guide during the installation process.
If you are uncertain about the optimal fan location or have any specific concerns, it’s always a good idea to consult the manufacturer’s instructions or seek assistance from a professional. They can provide valuable advice based on your patio’s layout and requirements.
By taking the time to carefully determine the fan’s location, you can ensure optimal airflow, functionality, and visual appeal for your aluminum patio ceiling fan installation.
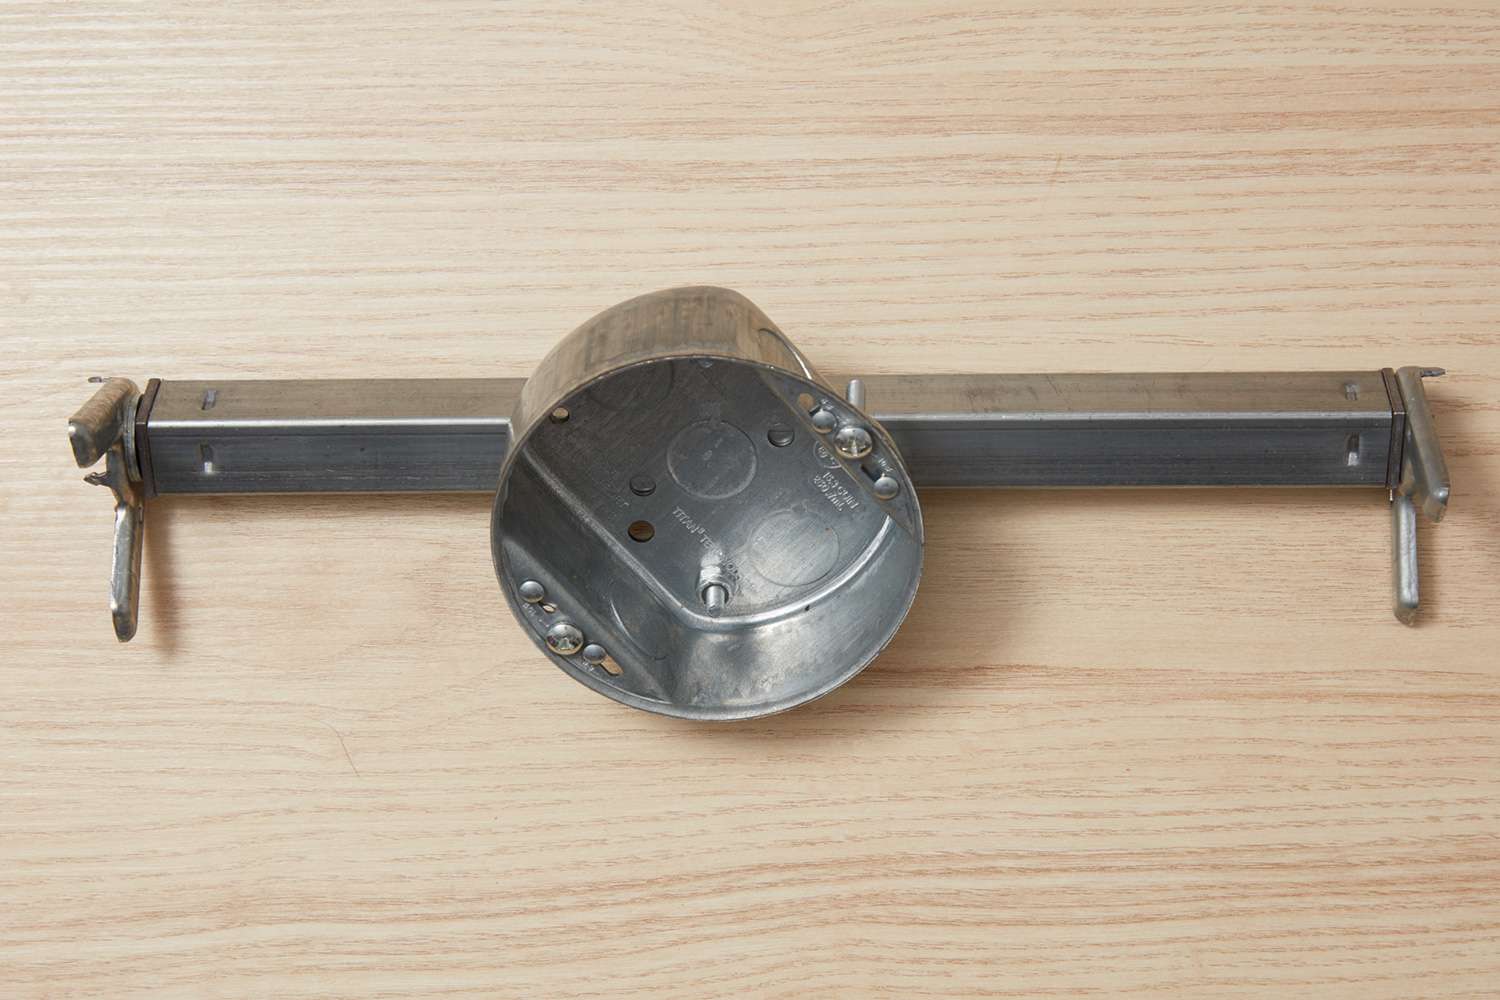
Step 4: Mount the ceiling fan bracket
Mounting the ceiling fan bracket is a crucial step in the installation process. The bracket serves as the foundation that holds the fan securely to the aluminum patio ceiling. Follow these steps to mount the bracket:
- Refer to the manufacturer’s instructions to determine the specific installation requirements for your ceiling fan bracket.
- Using a step ladder, position the bracket at the marked location on the aluminum patio ceiling. Ensure that it is aligned with the electrical box or conduit, if applicable.
- Mark the screw hole locations on the ceiling through the holes in the bracket using a pencil or marker.
- Drill pilot holes into the marked locations. The size of the pilot holes should correspond to the size of the screws provided with the bracket.
- Align the bracket with the pilot holes and attach it to the aluminum patio ceiling using the appropriate screws. Use an adjustable wrench or screwdriver to securely tighten the screws.
- Double-check the stability of the bracket by gently shaking it. It should be firmly attached to the ceiling without any wobbling.
If your ceiling fan bracket requires additional support, such as a crossbar or mounting plate, make sure to follow the manufacturer’s instructions for proper installation.
Once the ceiling fan bracket is securely mounted, you are one step closer to enjoying a cool breeze on your aluminum patio. In the next step, we will discuss the wiring and electrical connections for your ceiling fan installation.
Read more: How Install Ceiling Fan
Step 5: Wiring and electrical connections
Proper wiring and electrical connections are crucial for a safe and functional ceiling fan installation on your aluminum patio. Follow these steps for wiring and electrical connections:
- Ensure that the power to the patio area is turned off at the circuit breaker for safety.
- If there is an existing electrical box or conduit on the aluminum patio ceiling, remove the cover to access the wiring inside.
- Using wire strippers, carefully strip the insulation from the ends of the existing wires, exposing approximately ¾ inch of bare wire.
- Refer to the ceiling fan’s manufacturer instructions to identify the specific wiring colors and connections for your model.
- Connect the corresponding wire colors from the ceiling fan to the existing wires. Typically, this involves connecting black to black (hot), white to white (neutral), and green or bare copper wire to the grounding wire.
- Secure the connections with wire connectors and use electrical tape to wrap around the connectors for added protection.
- Insert the connected wires into the electrical box or conduit and secure them with cable clamps.
- Attach the ceiling fan motor housing to the mounting bracket, following the manufacturer’s instructions for your specific model.
- Double-check the wiring connections to ensure they are properly secured and insulated.
After completing the wiring and electrical connections, turn on the power to the patio area at the circuit breaker and test the functionality of the ceiling fan. Use the fan’s controls to adjust the speed and ensure that it is operating smoothly.
If you are uncertain about any aspect of the wiring or electrical connections, it is advisable to consult a licensed electrician. They can ensure that the installation meets all safety standards and regulations.
In the next step, we will discuss how to install the ceiling fan blades for your aluminum patio installation.
When installing a ceiling fan on an aluminum patio, make sure to use a fan rated for outdoor use and follow the manufacturer’s instructions carefully to ensure proper installation and safety.
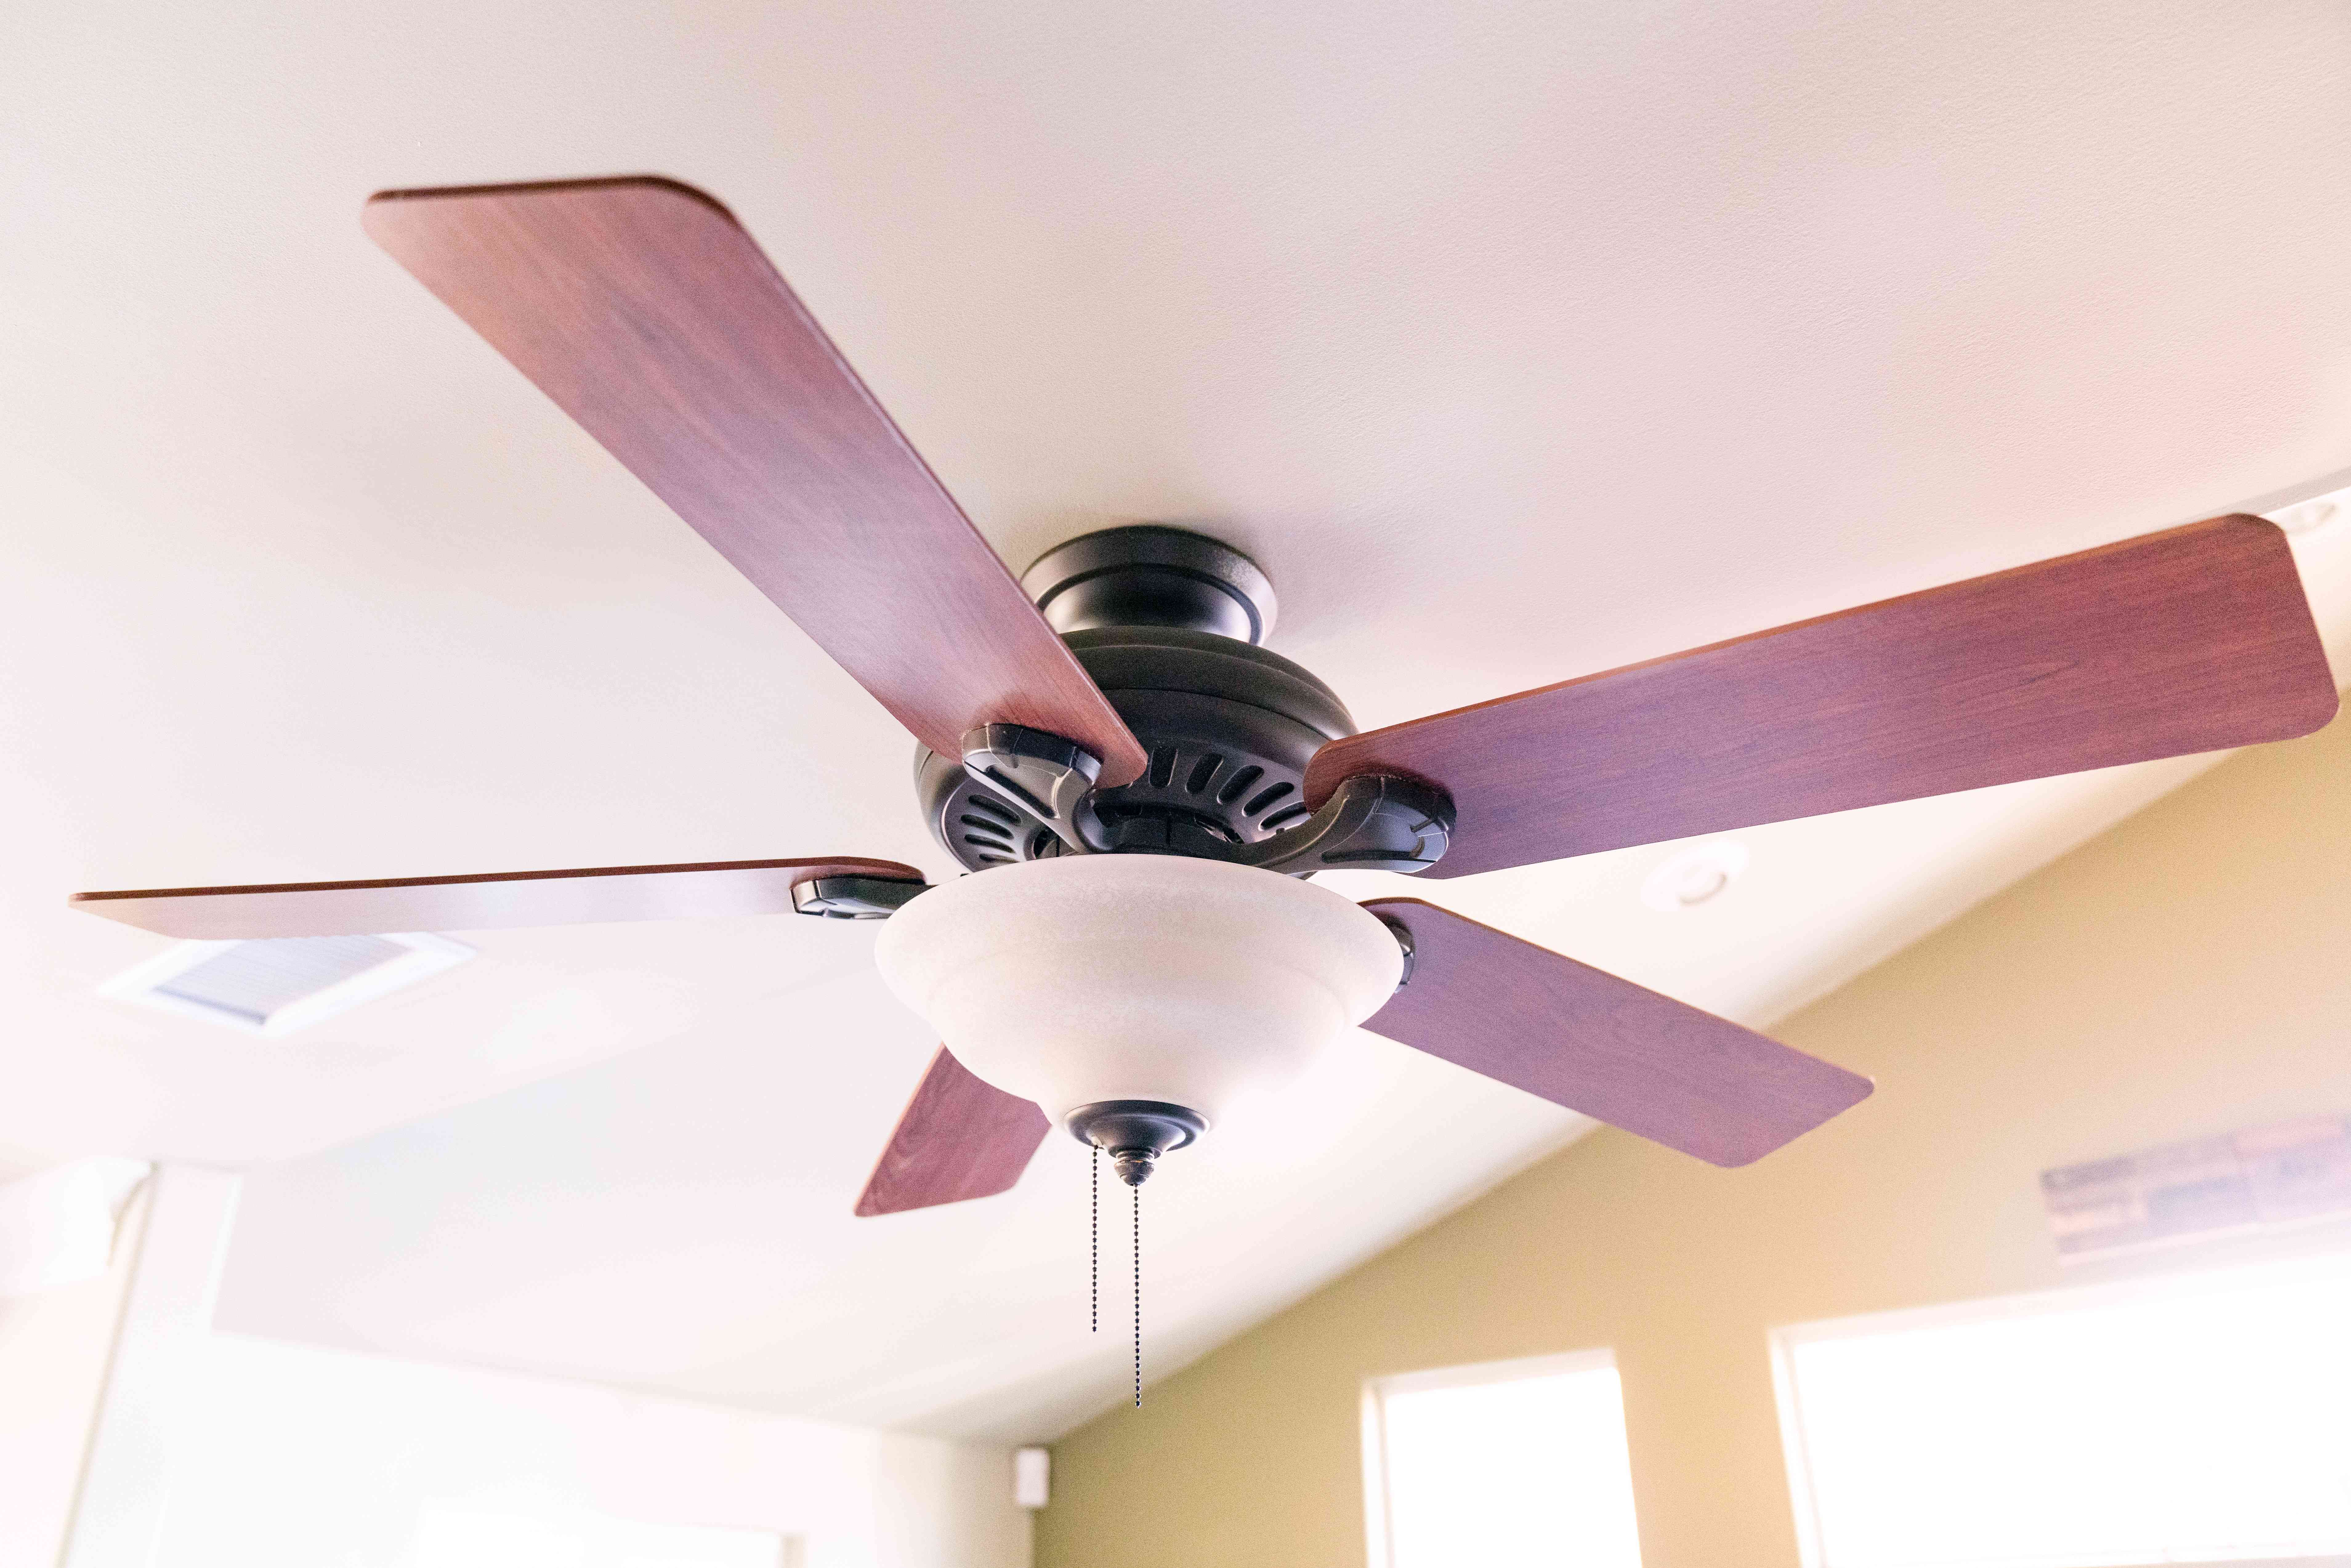
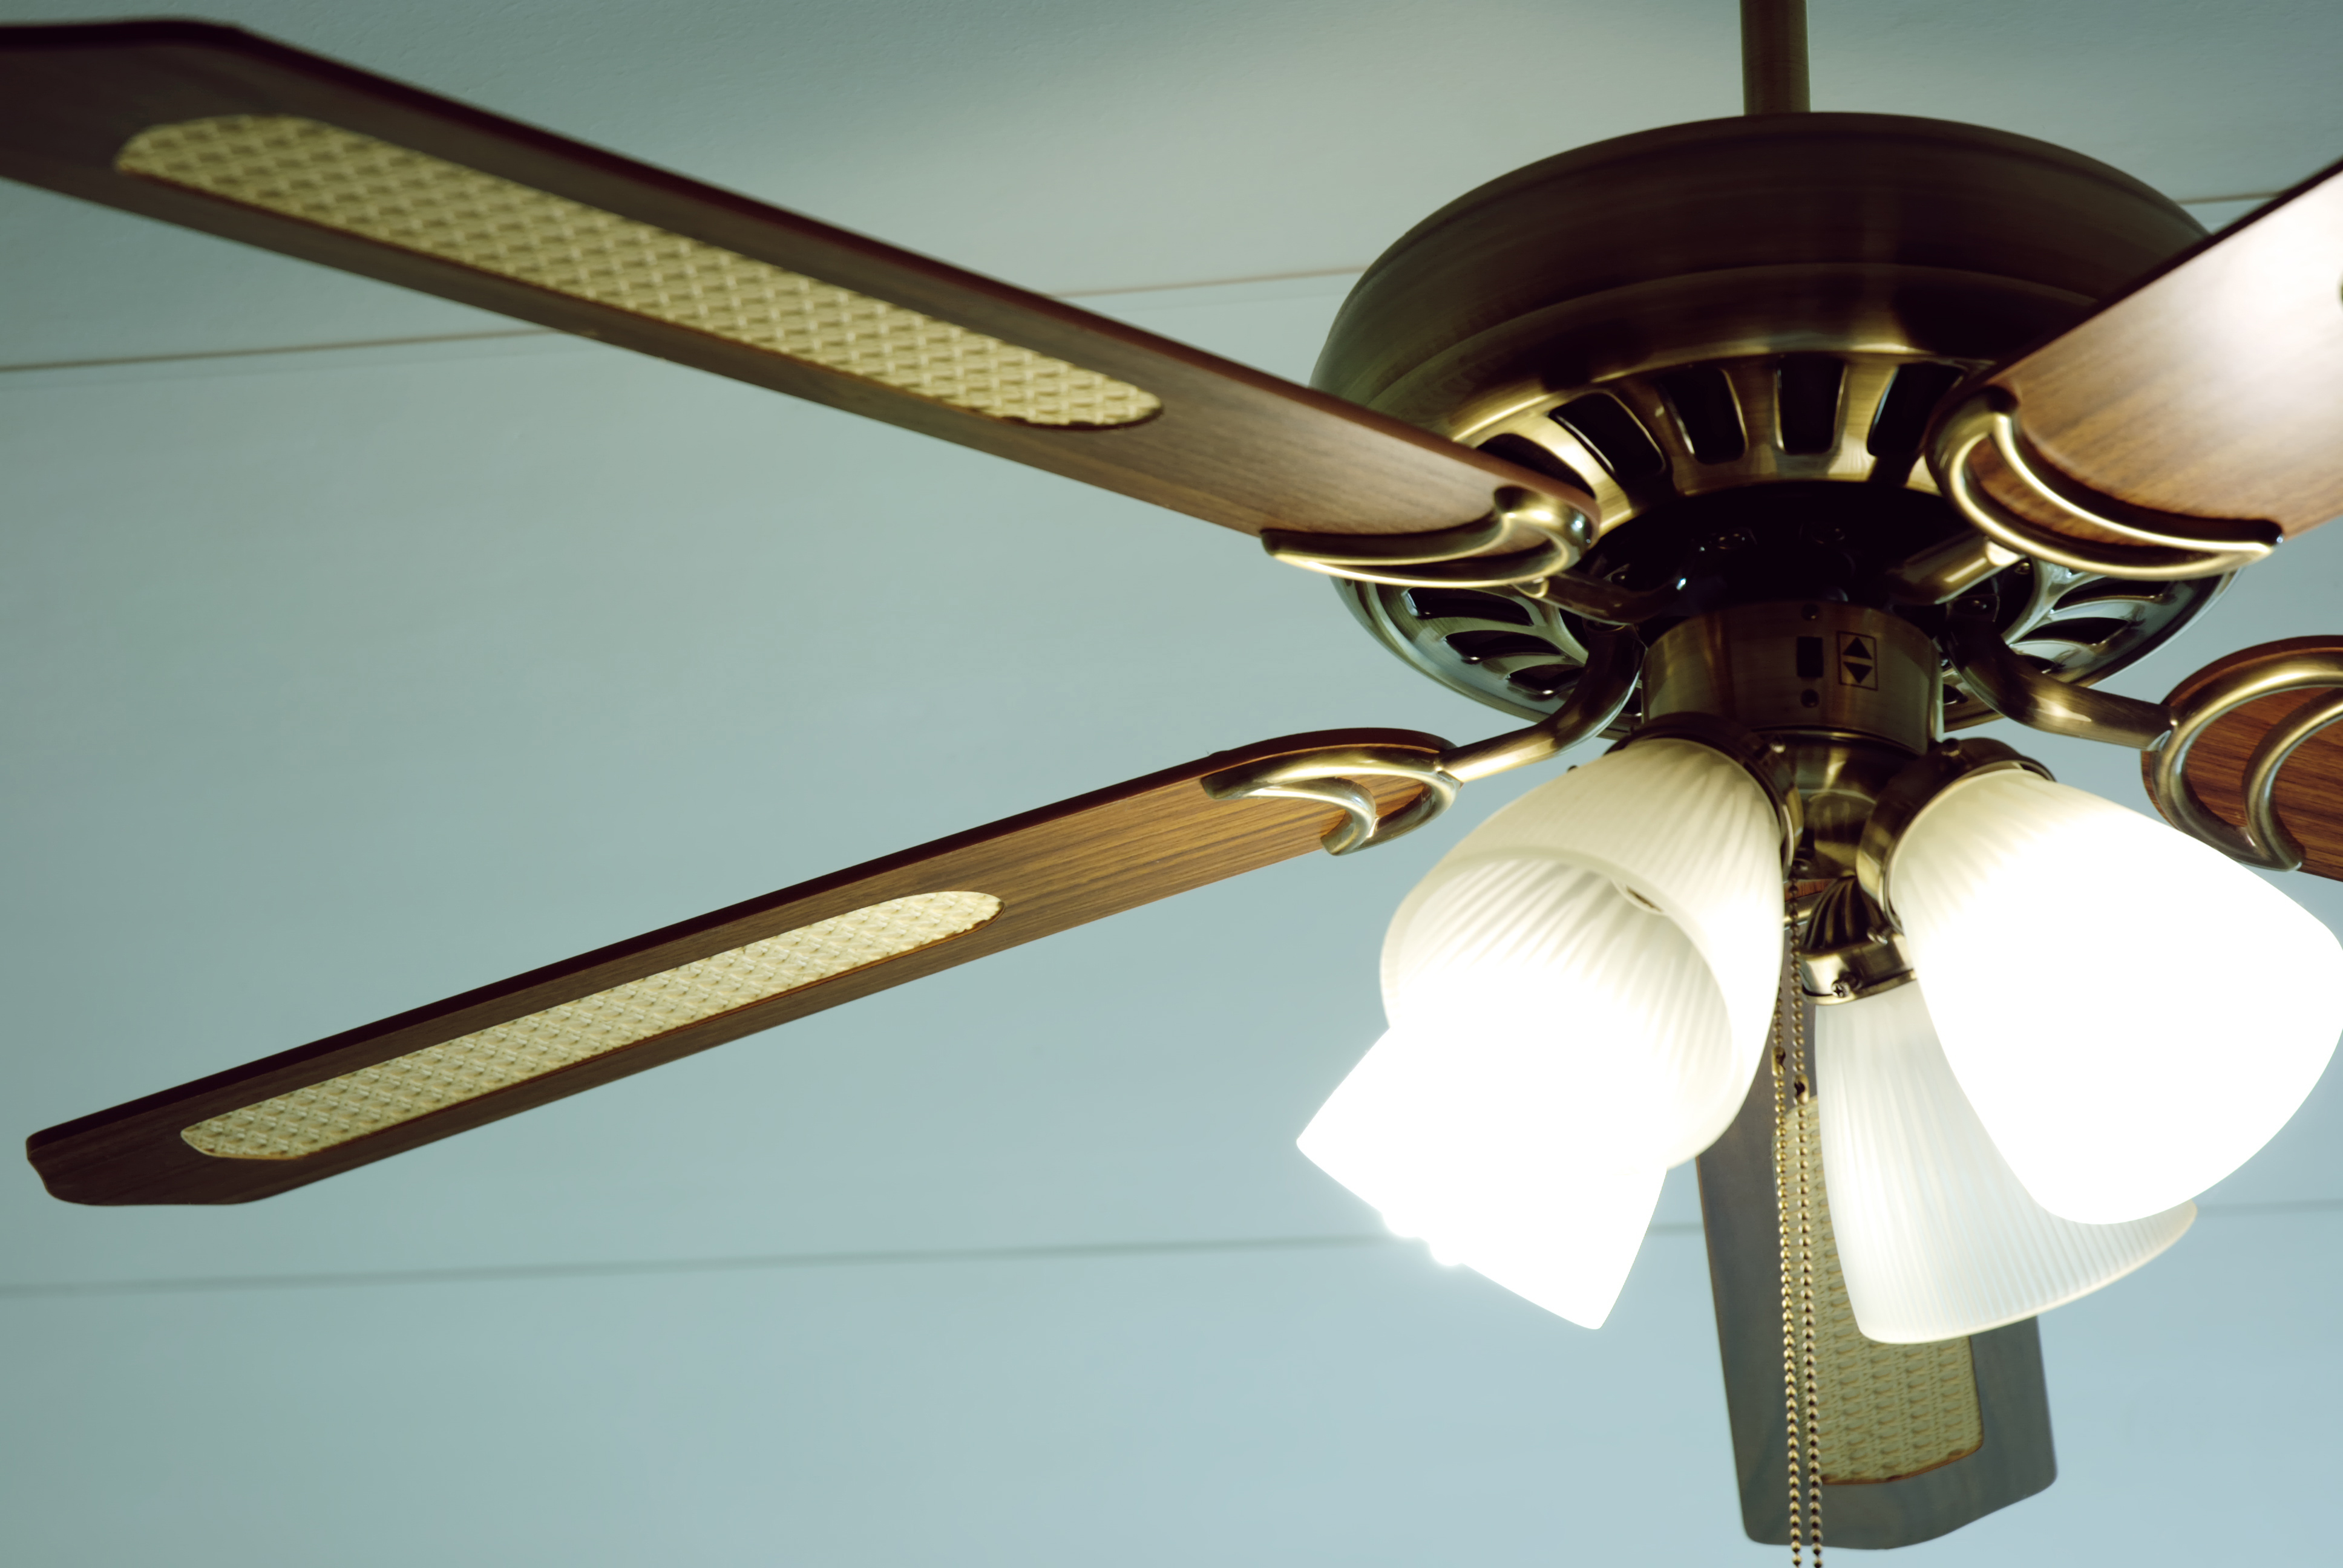
Step 6: Install the ceiling fan blades
Installing the ceiling fan blades is the next step in the process of completing your aluminum patio installation. Follow these steps to properly install the blades:
- Refer to the manufacturer’s instructions to determine the specific installation method and sequence for your ceiling fan blades.
- Lay out the fan blades in the order specified, ensuring that you match the correct blade with its corresponding bracket or slot on the fan motor.
- Align the pre-drilled holes on each blade with the corresponding holes on the motor housing or blade brackets.
- Using the screws provided, attach each blade to the motor housing or brackets. Start by loosely tightening the screws and then gradually tighten them in a diagonal pattern to ensure even pressure.
- Double-check the alignment and positioning of each blade, making sure they are all securely attached.
Take care not to overtighten the screws on the ceiling fan blades, as this can cause warping or damage to the blades. Ensure that all screws are securely tightened without excessive force.
Once all the fan blades are installed and properly aligned, give them a gentle spin to test their smooth rotation. If any blade appears unbalanced or wobbly, carefully adjust the attachment screws until the blades spin smoothly and evenly.
With the installation of the ceiling fan blades complete, you are one step closer to enjoying the benefits of a cool and comfortable aluminum patio. In the next step, we will discuss how to attach the fan canopy and motor housing.
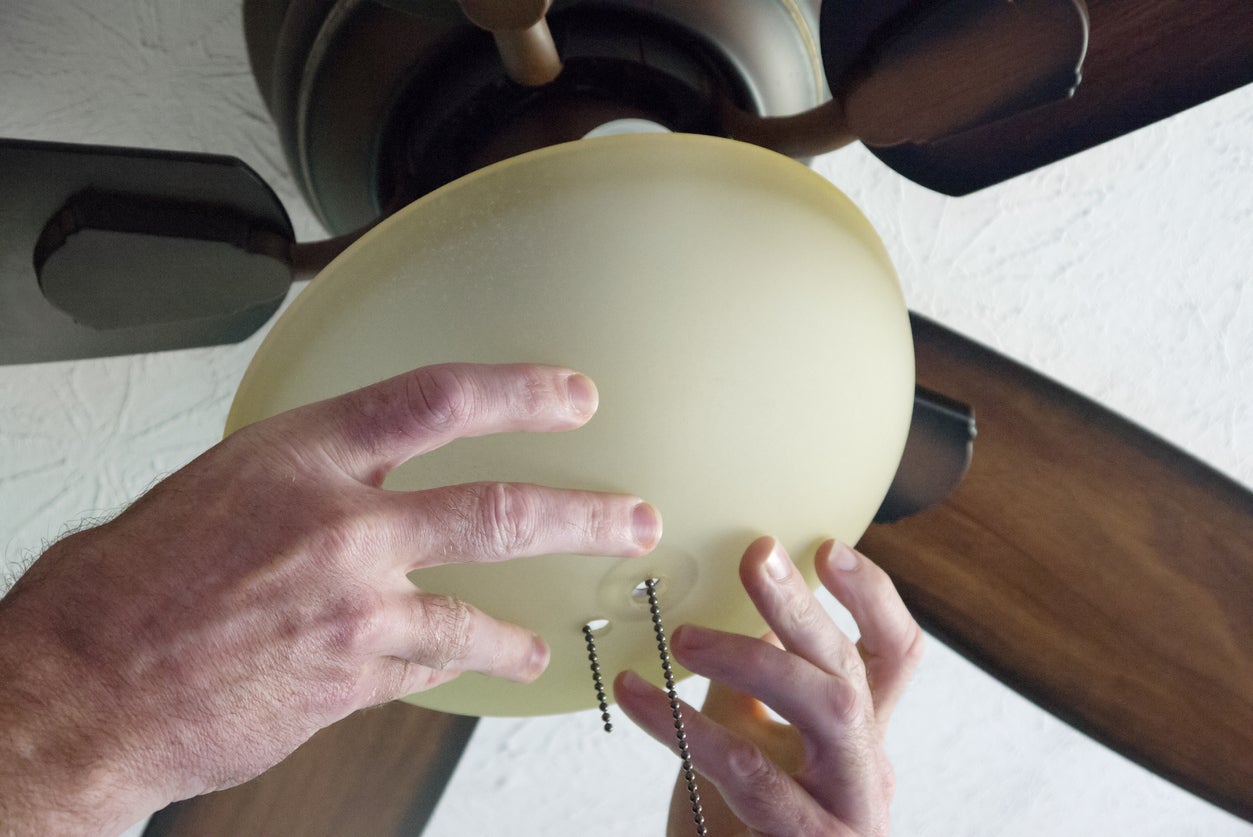
Step 7: Attach the fan canopy and motor housing
Attaching the fan canopy and motor housing is the next step in completing the installation of your ceiling fan on the aluminum patio. Follow these steps to properly attach them:
- Refer to the manufacturer’s instructions to understand the specific method for attaching the fan canopy and motor housing for your model.
- Start by removing any screws or fasteners on the canopy cover of the fan motor housing.
- Align the canopy cover with the corresponding slots or grooves on the motor housing.
- Slowly rotate the canopy cover in a clockwise direction until it is securely locked in place. Use a screwdriver or wrench if necessary to tighten any screws or fasteners that secure the canopy to the motor housing.
- Ensure that the canopy and motor housing are flush against the ceiling and there are no gaps or unevenness.
Double-check all the screws and fasteners to ensure they are securely tightened. This will prevent any unwanted movement or vibrations during the operation of the ceiling fan.
Once the fan canopy and motor housing are properly attached, turn on the power to the patio area and test the functionality of the fan. Use the fan’s controls to adjust the speed and verify that it is operating smoothly.
If you notice any unusual noises or vibrations during the operation of the fan, it may indicate an issue with the installation. In such cases, consider consulting the manufacturer’s troubleshooting guide or seeking assistance from a professional to address any potential problems.
With the fan canopy and motor housing securely attached, your ceiling fan installation on the aluminum patio is almost complete. In the next step, we will discuss how to test the fan’s operation.
Step 8: Test the ceiling fan operation
Testing the operation of your ceiling fan is a crucial step to ensure it is functioning properly and to identify any potential issues. Follow these steps to test the fan’s operation:
- Ensure that the power to the patio area is turned on at the circuit breaker.
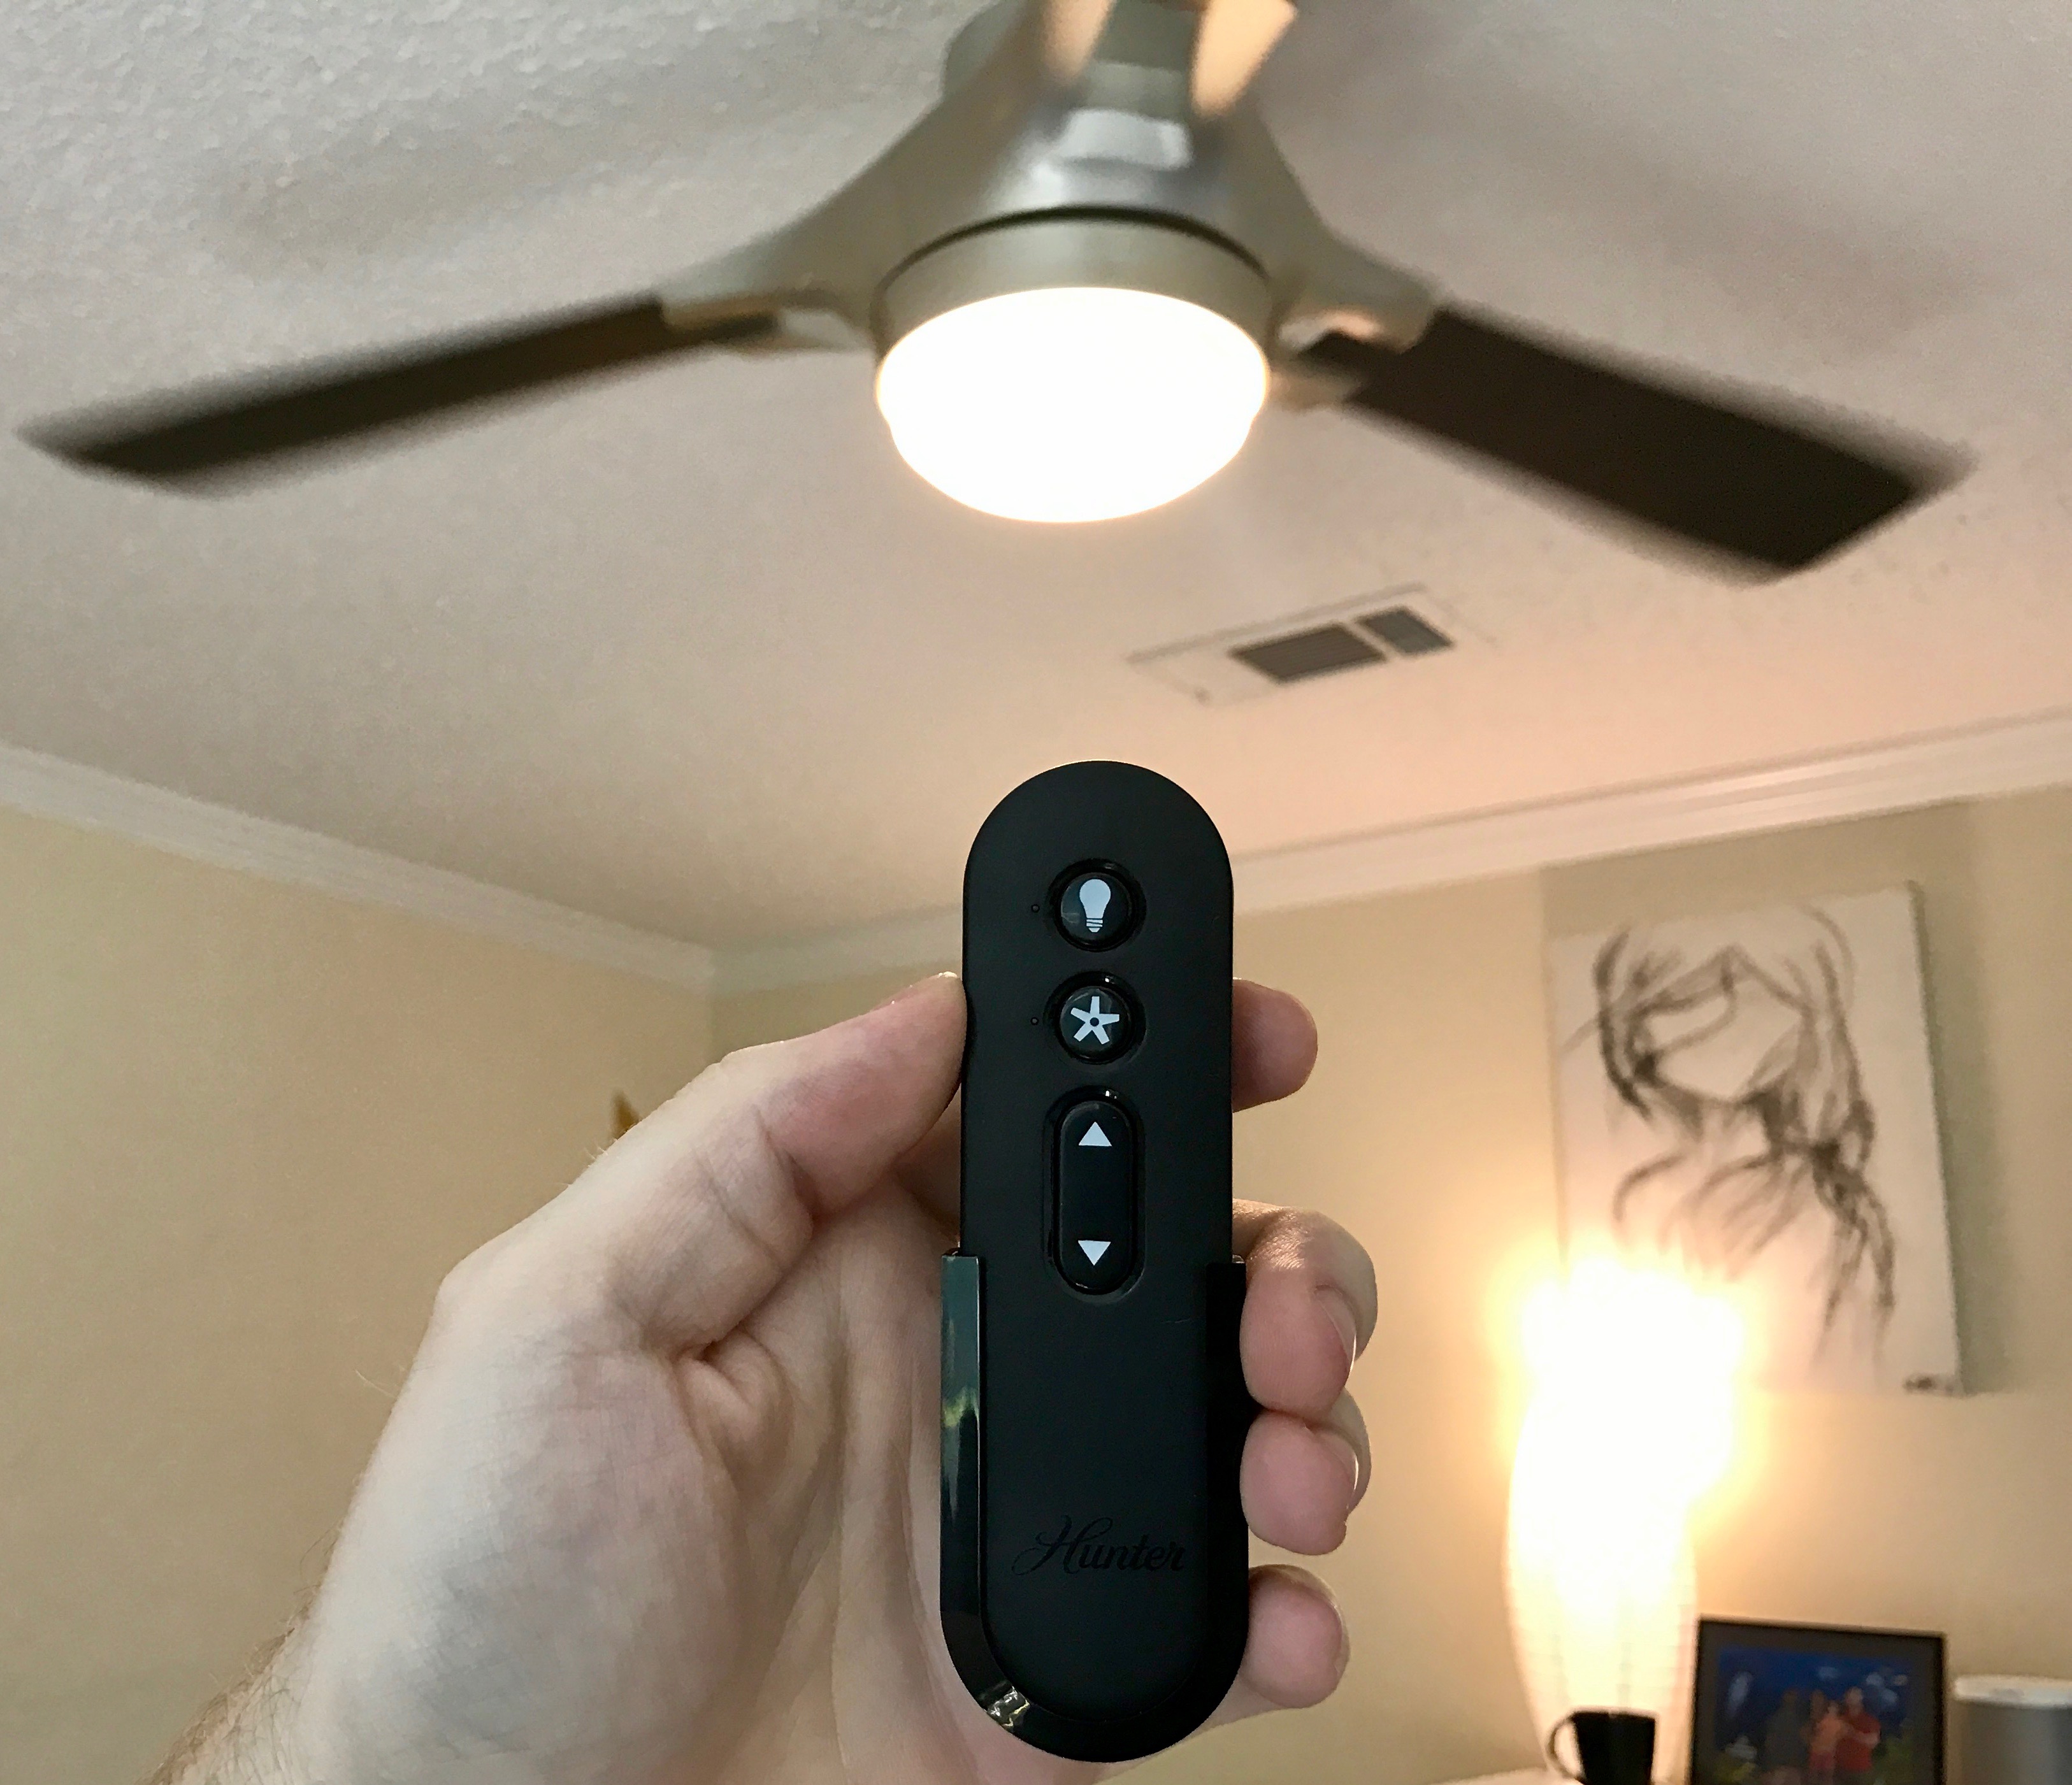
- Use the fan’s controls, such as the pull chains or remote control, to turn on the fan.
- Verify that the fan blades are rotating smoothly and evenly. You should not notice any wobbling or excessive noise.
- Test the different speed settings of the fan to ensure they are functioning correctly.
- If your ceiling fan has a lighting feature, test the light to ensure it turns on and off properly.
- Check for any unusual noises, vibrations, or issues with the fan’s operation. If you notice any problems, consider consulting the manufacturer’s troubleshooting guide or seeking assistance from a professional.
During the testing phase, it’s important to pay attention to any potential safety hazards. Ensure that there are no loose wires, components, or visible signs of damage. If you notice any safety concerns, immediately turn off the power to the patio area and address the issue before continuing to use the fan.
By thoroughly testing the ceiling fan’s operation, you can identify and address any issues early on, ensuring a safe and enjoyable experience on your aluminum patio.
Once you are satisfied with the fan’s operation, you can move on to the final step of securing any loose wiring or components.
Read more: Who Installs Ceiling Fans
Step 9: Secure any loose wiring or components
In the final step of the ceiling fan installation on your aluminum patio, it’s important to check for any loose wiring or components and secure them properly. Follow these steps to ensure the installation is safe and secure:
- Inspect the wiring connections and ensure they are tight and secure. Check for any loose wire nuts or exposed wires.
- Use electrical tape to secure and insulate any loose wiring or exposed connections. This will prevent any potential electrical hazards.
- Check all the screws and fasteners throughout the fan assembly to ensure they are tightened securely. This includes screws on the fan blades, motor housing, canopy, and mounting bracket.
- Verify that there are no loose or protruding wires near the fan or on the patio ceiling. If you notice any, use cable clamps or wire clips to secure them safely out of the way.
- Inspect the fan blades to ensure they are properly attached and there are no signs of instability or wobbling. Tighten any screws if necessary.
Once you have secured any loose wiring or components, give the entire ceiling fan assembly a final inspection to ensure everything is in order.
It’s important to periodically check the fan’s wiring connections and components to ensure they remain secure over time. Regular maintenance and inspections will help prevent any potential issues and ensure the continued safe and optimal functioning of your ceiling fan on the aluminum patio.
Congratulations! You have successfully completed the installation process for your ceiling fan on the aluminum patio. Now, it’s time to sit back, relax, and enjoy the cool breeze and enhanced ambiance of your outdoor space.
As a final reminder, always follow the manufacturer’s instructions and consult a professional if you have any doubts or concerns during the installation process.
Thank you for using our comprehensive guide, and we hope you enjoy your new ceiling fan on your aluminum patio for many years to come!
Conclusion
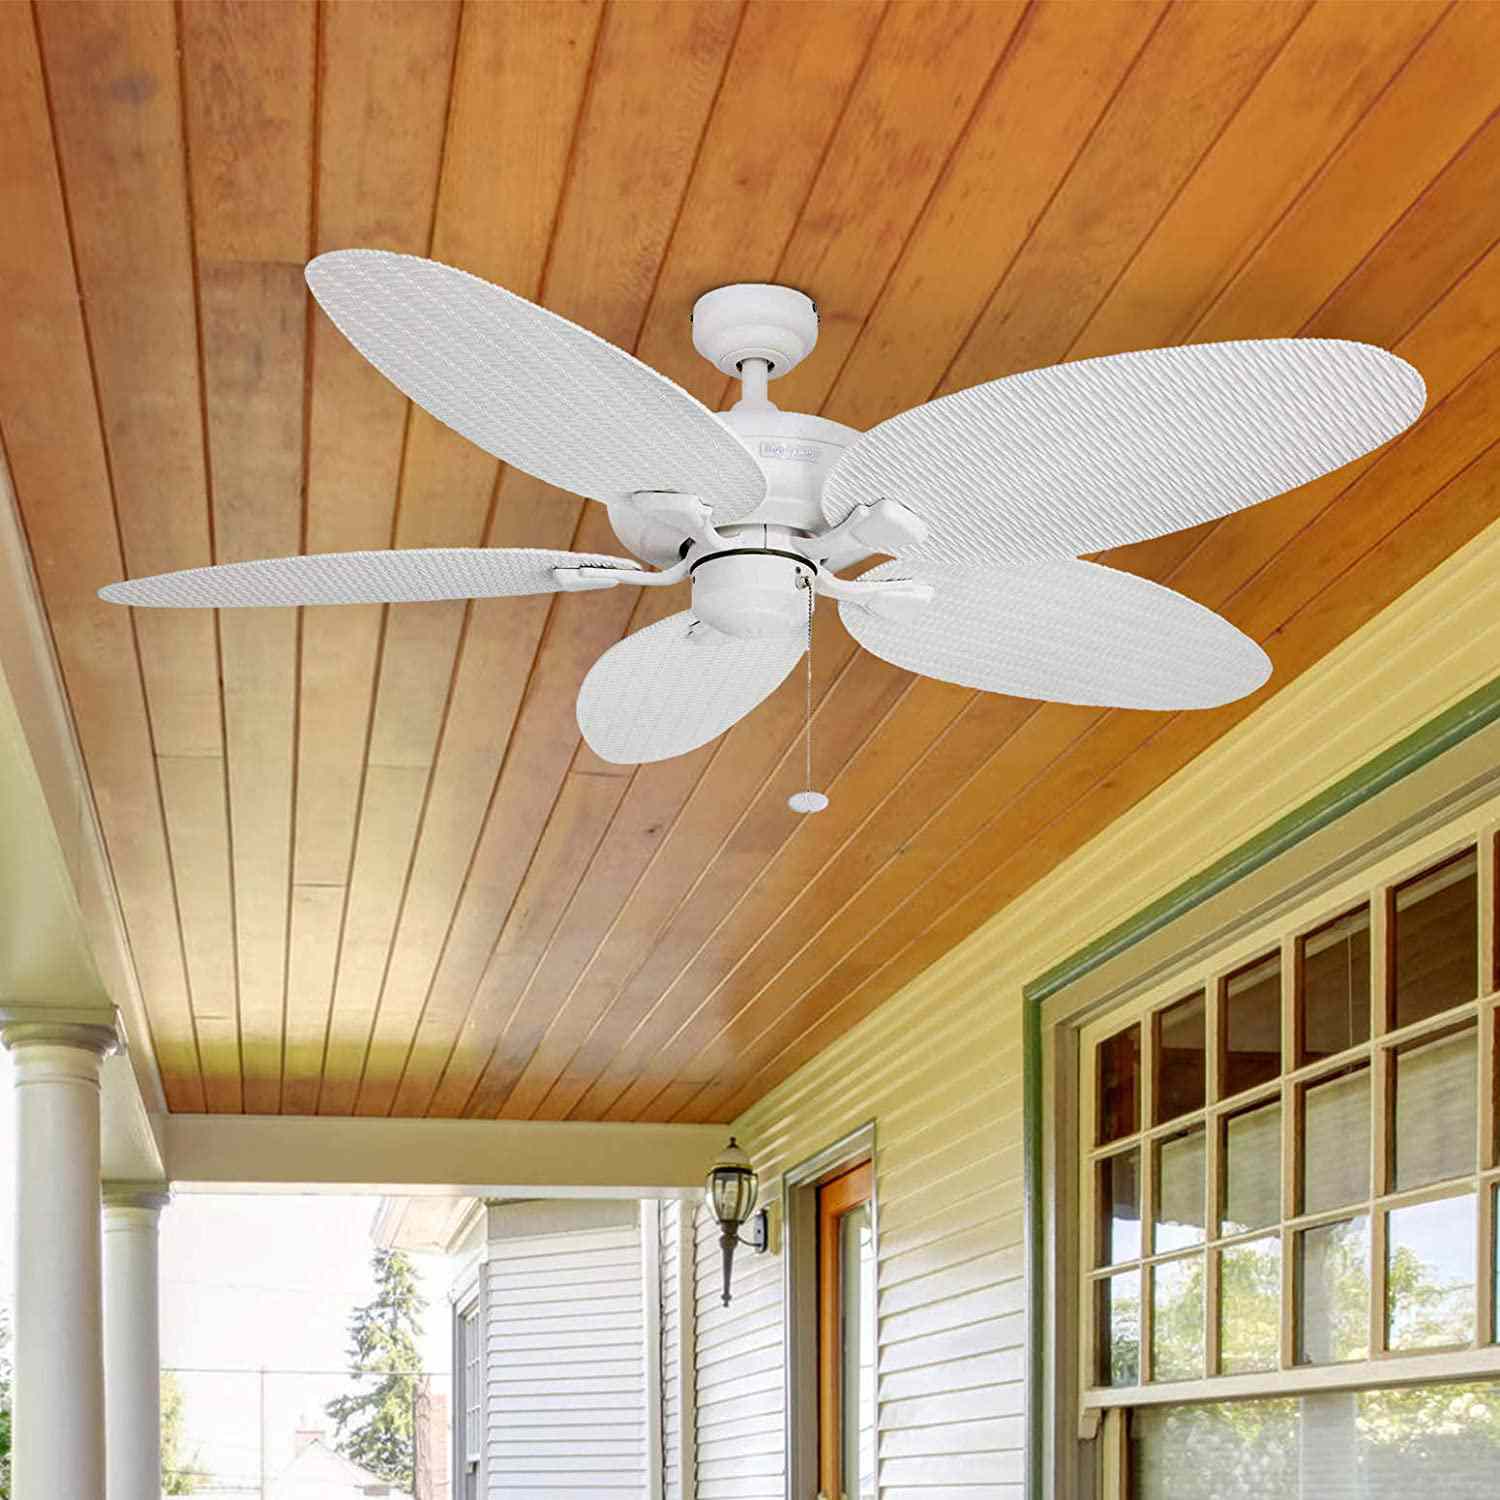
Installing a ceiling fan on your aluminum patio is a rewarding project that can greatly enhance your outdoor living experience. From providing a refreshing breeze on hot summer days to adding a decorative touch to your patio, a ceiling fan brings both functionality and style.
In this comprehensive guide, we have covered the step-by-step process of installing a ceiling fan on an aluminum patio. From gathering the necessary tools and materials to securing any loose wiring or components, each step is important to ensure a safe and successful installation.
Remember to always follow the manufacturer’s instructions and consult a professional if you have any doubts or concerns during the installation process. It’s crucial to prioritize safety and adhere to electrical regulations.
By taking the time to assess the patio structure, determine the fan location, mount the ceiling fan bracket, wire and make electrical connections, install the fan blades, attach the fan canopy and motor housing, and test the fan’s operation, you can enjoy the cool comfort and ambiance of your patio for years to come.
We hope this guide has provided you with valuable insights and guidance for your ceiling fan installation on an aluminum patio. Sit back, relax, and enjoy the gentle breeze as you create unforgettable moments in your outdoor oasis!
Frequently Asked Questions about How To Install A Ceiling Fan On An Aluminum Patio
Was this page helpful?
At Storables.com, we guarantee accurate and reliable information. Our content, validated by Expert Board Contributors, is crafted following stringent Editorial Policies. We're committed to providing you with well-researched, expert-backed insights for all your informational needs.


0 thoughts on “How To Install A Ceiling Fan On An Aluminum Patio”