Home>Garden Essentials>How To Grow Broccoli Seeds
Garden Essentials
How To Grow Broccoli Seeds
Modified: August 17, 2024
Learn how to grow broccoli seeds in your garden with our step-by-step guide. Start growing delicious and nutritious broccoli right at home!
(Many of the links in this article redirect to a specific reviewed product. Your purchase of these products through affiliate links helps to generate commission for Storables.com, at no extra cost. Learn more)
Introduction
Welcome to the wonderful world of gardening! If you’re looking to add some nutritional goodness and vibrant greenery to your backyard, growing broccoli from seeds is an excellent choice. Not only does it offer a rewarding experience, but it also ensures a bountiful harvest of this nutritious vegetable.
Broccoli, belonging to the cabbage family, is packed with essential vitamins, minerals, and antioxidants that promote good health. By growing your own broccoli from seeds, you can have full control over the entire growing process, ensuring that no harmful chemicals or pesticides are used. Plus, it’s a great way to engage in a fulfilling and productive hobby.
In this comprehensive guide, we will take you through the step-by-step process of growing broccoli seeds. From selecting the right seeds to harvesting the broccoli heads, we’ll cover every aspect of the journey. So let’s dig in and uncover the secrets to successfully growing your very own broccoli patch!
Key Takeaways:
- Growing broccoli from seeds involves selecting the right seeds, preparing the soil, and providing proper care. It’s a rewarding journey that allows you to enjoy the delicious and nutritious rewards of your hard work.
- Harvesting homegrown broccoli requires patience and timing. By following the steps outlined in the guide, you can enjoy a continuous supply of fresh broccoli throughout the growing season.
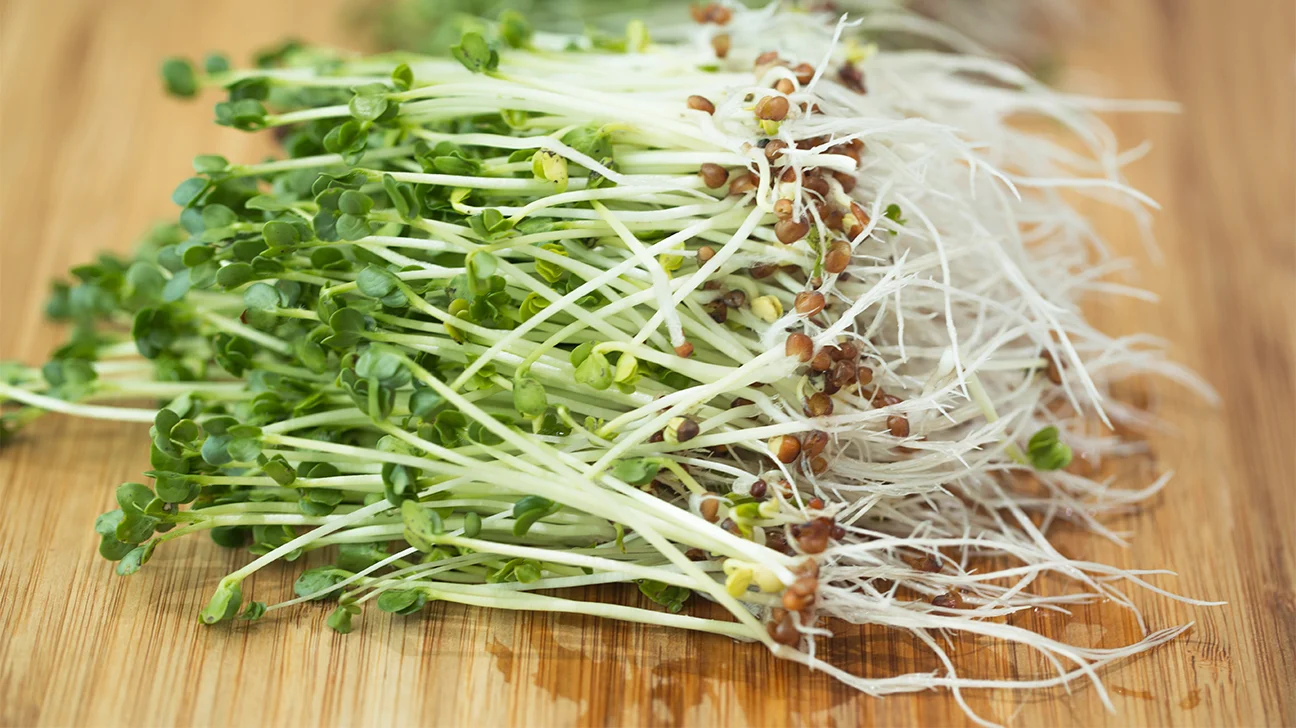
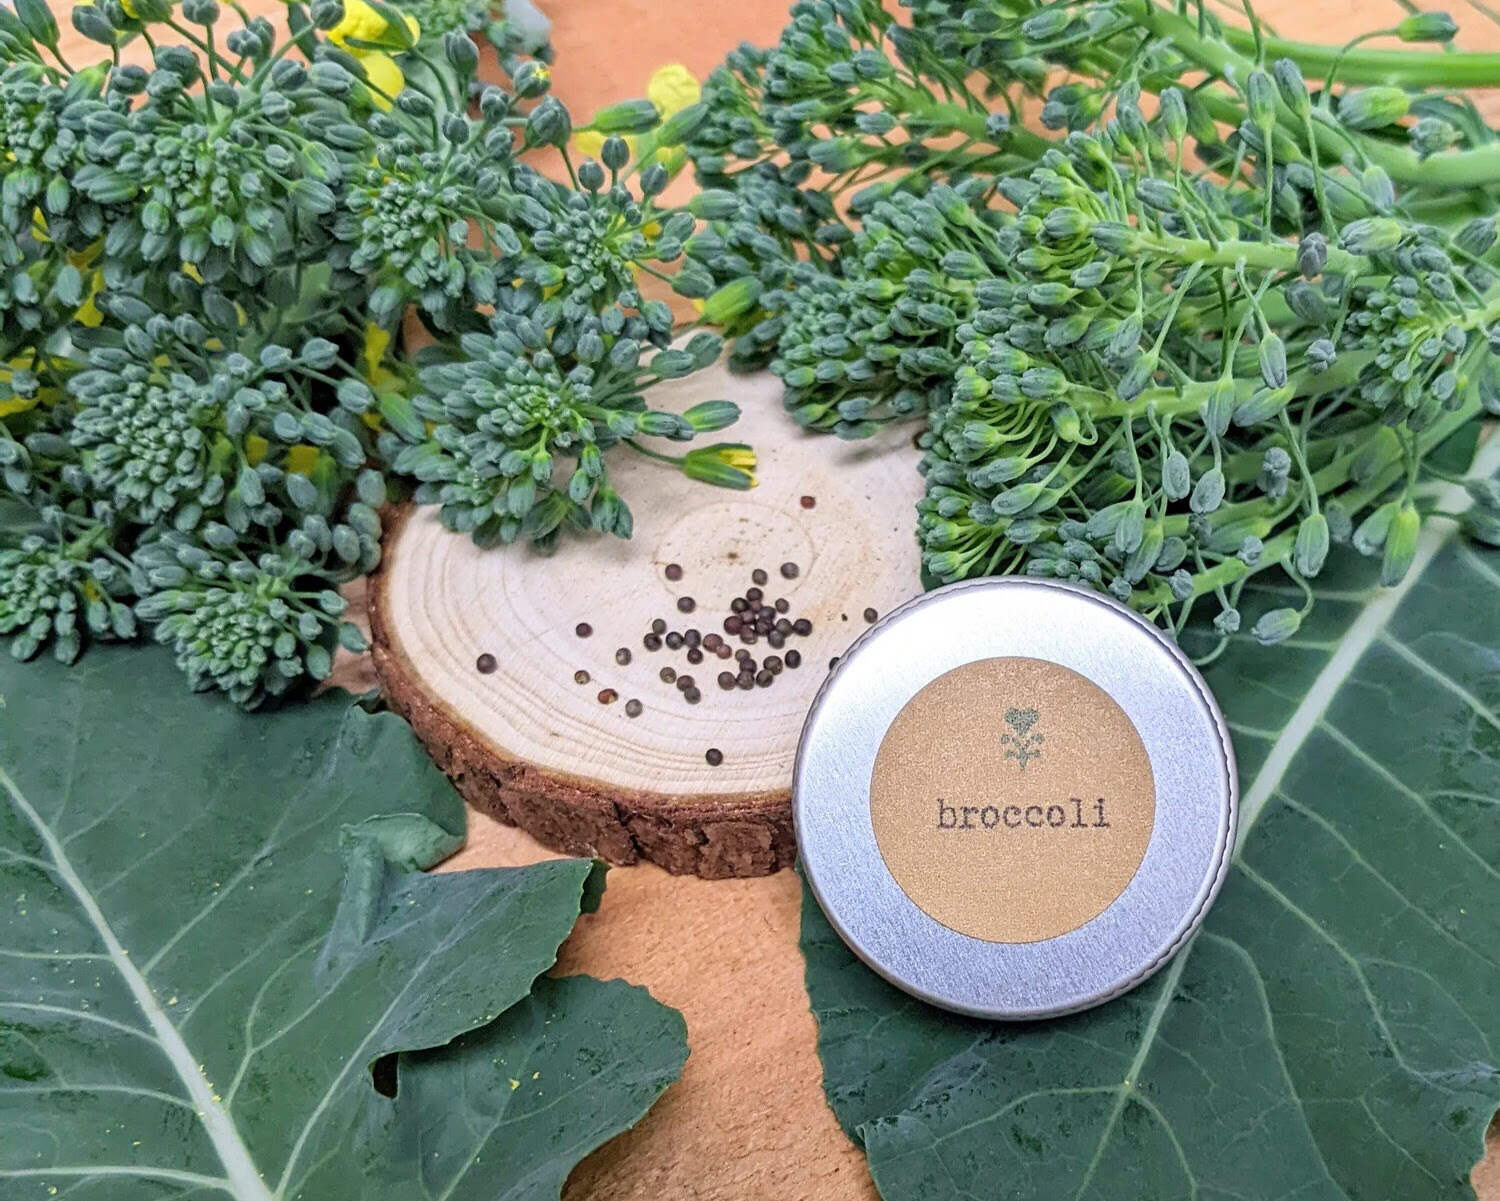
Step 1: Selecting the Right Seeds
Choosing the right seeds is crucial for a successful broccoli growing journey. Here are a few key factors to consider when selecting your broccoli seeds:
- Variety: There are several different varieties of broccoli available, each with its own unique characteristics. Consider factors such as maturity time, head size, and heat tolerance to determine which variety is best suited for your climate and preferences.
- Quality: Always purchase high-quality seeds from a reputable source. Look for seeds that are certified organic or non-GMO to ensure that you’re starting off with the best possible foundation for your plants.
- Planting season: Take note of your region’s climate and growing season to determine the appropriate planting time for your broccoli seeds. Broccoli is a cool-season crop and thrives in temperatures between 60°F and 70°F.
- Spacing requirements: Consider the available space you have for planting. Some varieties of broccoli require more space between plants than others, so make sure to choose seeds that are suitable for the size of your garden or containers.
- Succession planting: If you want to have a continuous supply of broccoli throughout the season, consider selecting varieties with different maturity times. This way, you can stagger your plantings and enjoy a steady harvest.
Once you have considered these factors, it’s time to purchase your broccoli seeds. Don’t be afraid to experiment and try different varieties to see which ones thrive in your specific garden conditions. Now that you have the right seeds in your hands, let’s move on to preparing the soil for planting!
Step 2: Preparing the Soil
Creating the perfect environment for your broccoli seeds to grow starts with preparing the soil. Here’s how you can ensure the ideal soil conditions for your broccoli plants:
- Choose a sunny location: Broccoli plants thrive in full sun, so select a spot in your garden that receives at least six hours of direct sunlight each day.
- Clear the area: Remove any existing vegetation, rocks, or debris from the planting area. This will help create a clean and nutrient-rich soil bed for your broccoli seeds.
- Loosen the soil: Use a garden fork or tiller to loosen the soil to a depth of about 12 inches. This will improve drainage and allow the roots to penetrate easily.
- Amend the soil: Broccoli prefers slightly acidic soil with a pH between 6 and 7. If your soil is too alkaline, add organic matter like compost or well-rotted manure to lower the pH. This will also improve soil fertility and structure.
- Test the soil: Consider conducting a soil test to determine its nutrient levels. Based on the results, you can add the necessary amendments or fertilizer to ensure that your broccoli plants receive the right balance of nutrients.
- Work in organic matter: Mix in a generous amount of organic matter, such as compost or leaf mold, into the soil. This will enhance moisture retention, improve drainage, and provide a steady supply of nutrients for the growing plants.
- Level the soil: Smooth out the soil surface using a rake, making sure it’s even and free from large clumps. This will create a suitable planting bed for your broccoli seeds.
By taking the time to prepare the soil properly, you’re setting the stage for healthy root development and vigorous growth. Once the soil is well-prepared, you’re ready to move on to the next step: planting the broccoli seeds!
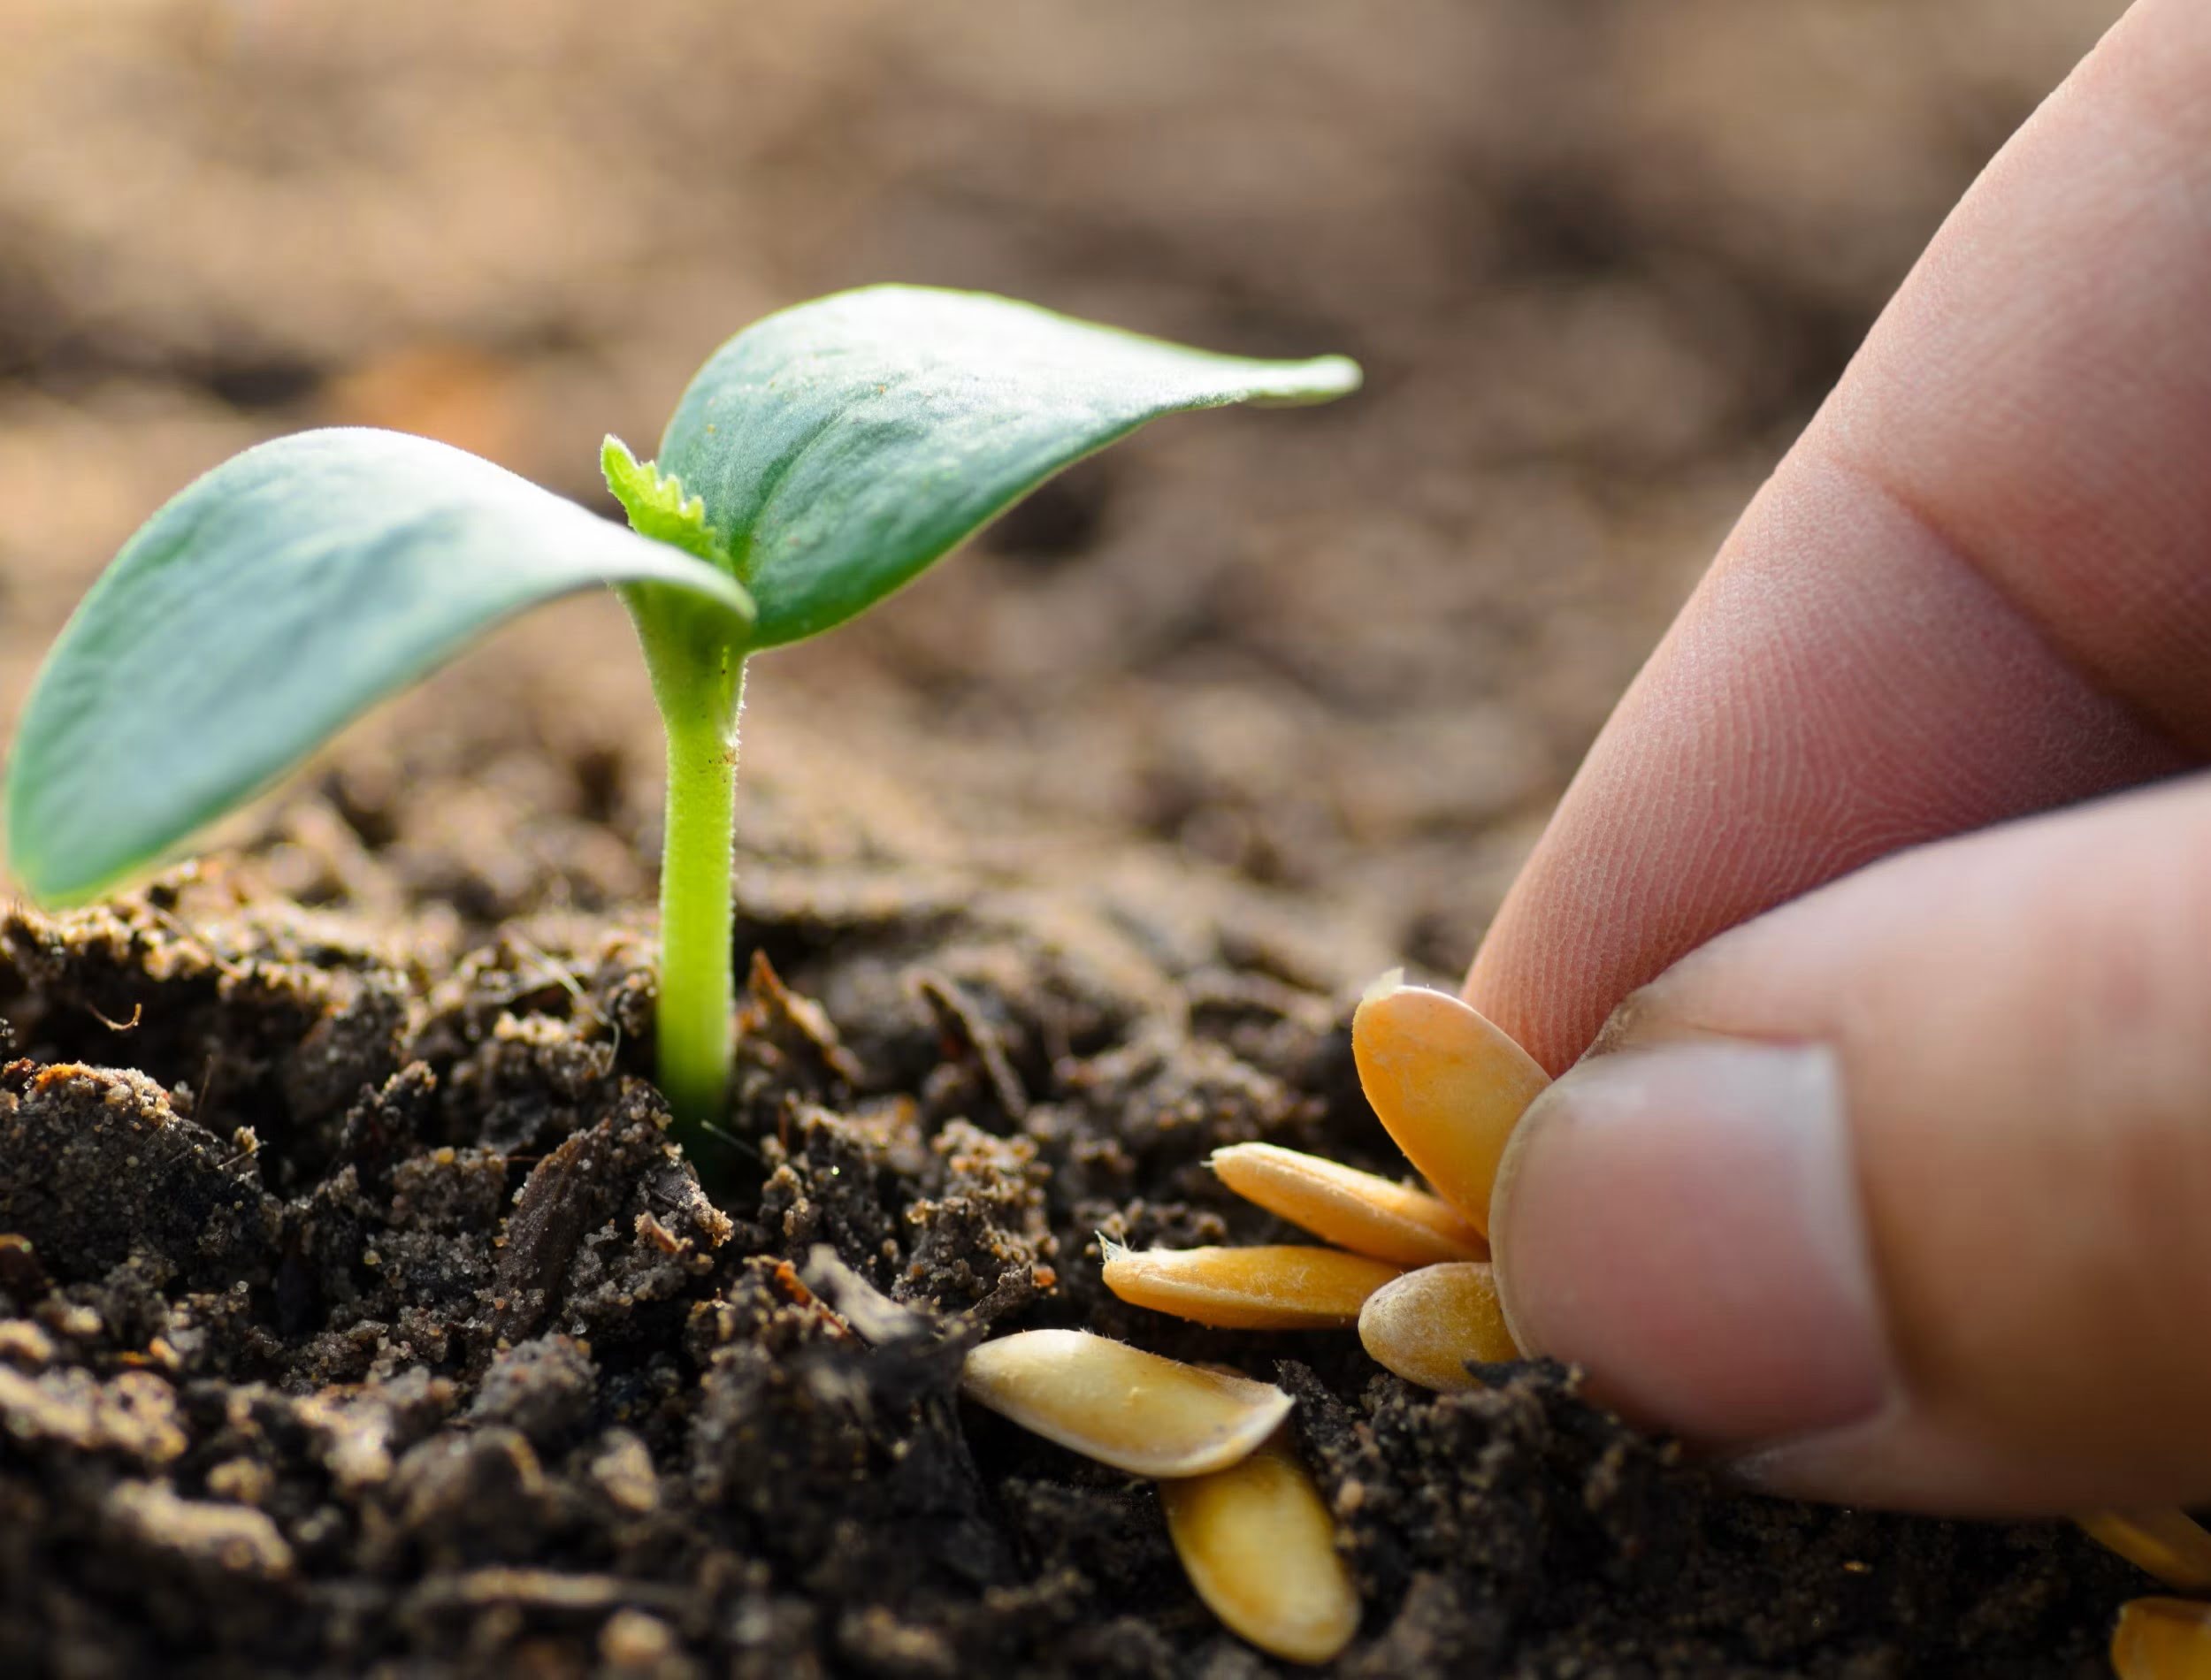
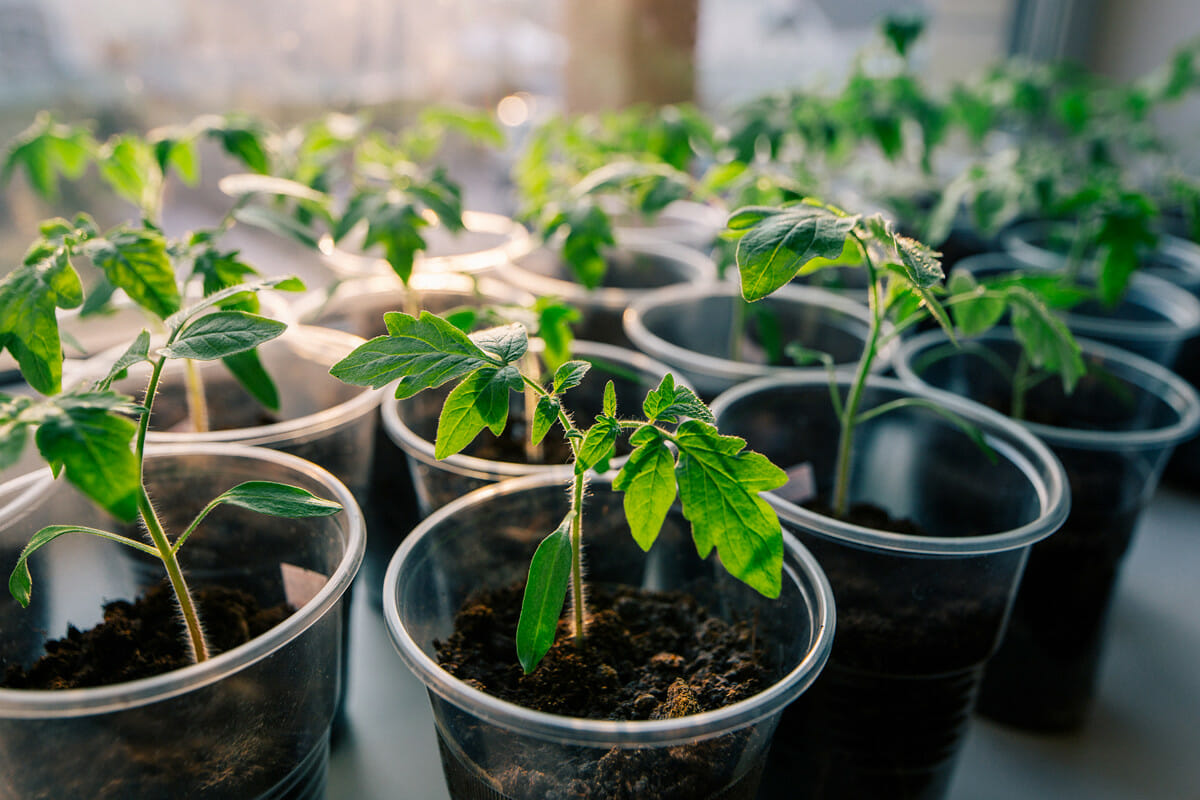
Step 3: Planting the Seeds
Now that you have your soil prepared, it’s time to sow your broccoli seeds. Follow these steps to ensure successful planting:
- Spacing: Space your broccoli seeds according to the specific recommendations for the variety you have chosen. Generally, allow around 18 to 24 inches between each plant to give them room to grow and spread.
- Planting depth: Sow the broccoli seeds about a quarter to a half inch deep into the soil. Avoid planting them too deep, as this can hinder germination.
- Rows or raised beds: Plant your broccoli seeds in rows or raised beds, making sure to leave sufficient space between each row for easy access and airflow.
- Watering: After planting the seeds, gently water the soil to ensure it is evenly moist. Avoid overwatering, as it can lead to waterlogged conditions that may cause the seeds to rot.
- Labeling: Place plant markers or labels in the soil near each row to indicate the variety and planting date. This will help you keep track of your plants as they grow.
- Protective measures: If there is a risk of frost or chilly temperatures, consider using row covers or cloches to protect your young broccoli plants until they are more established.
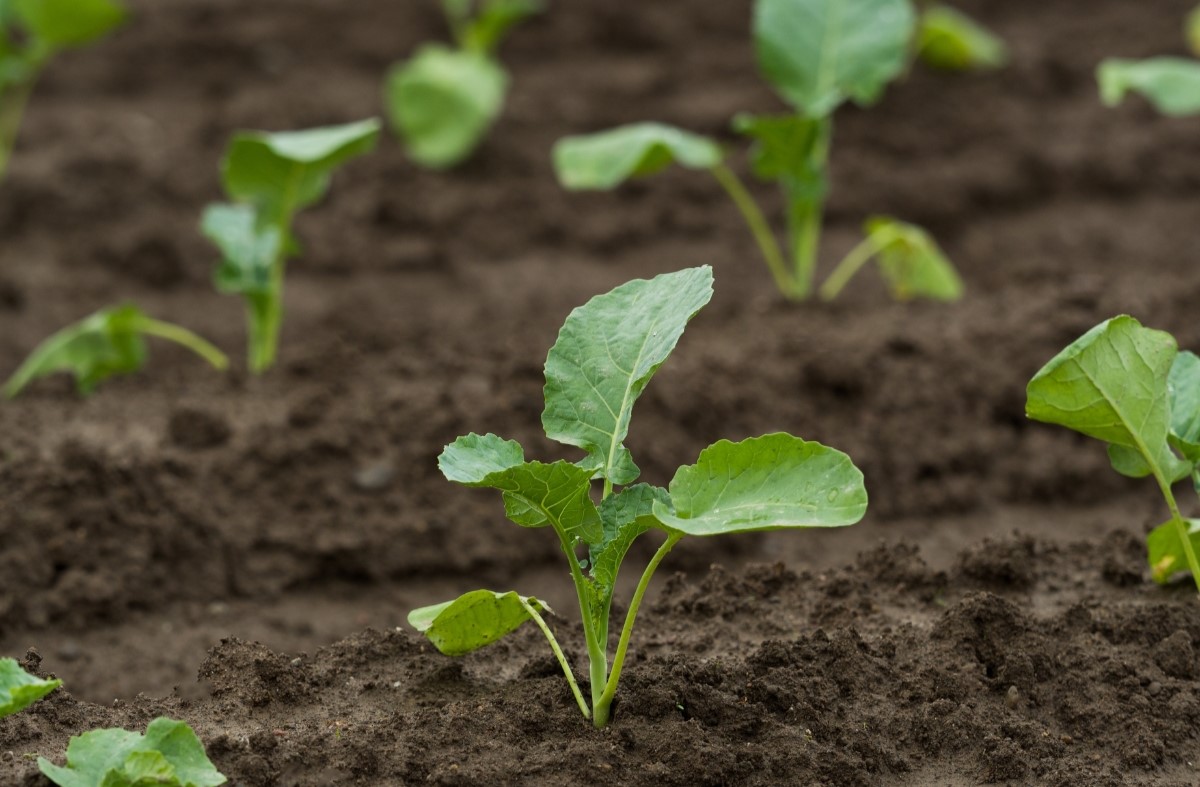
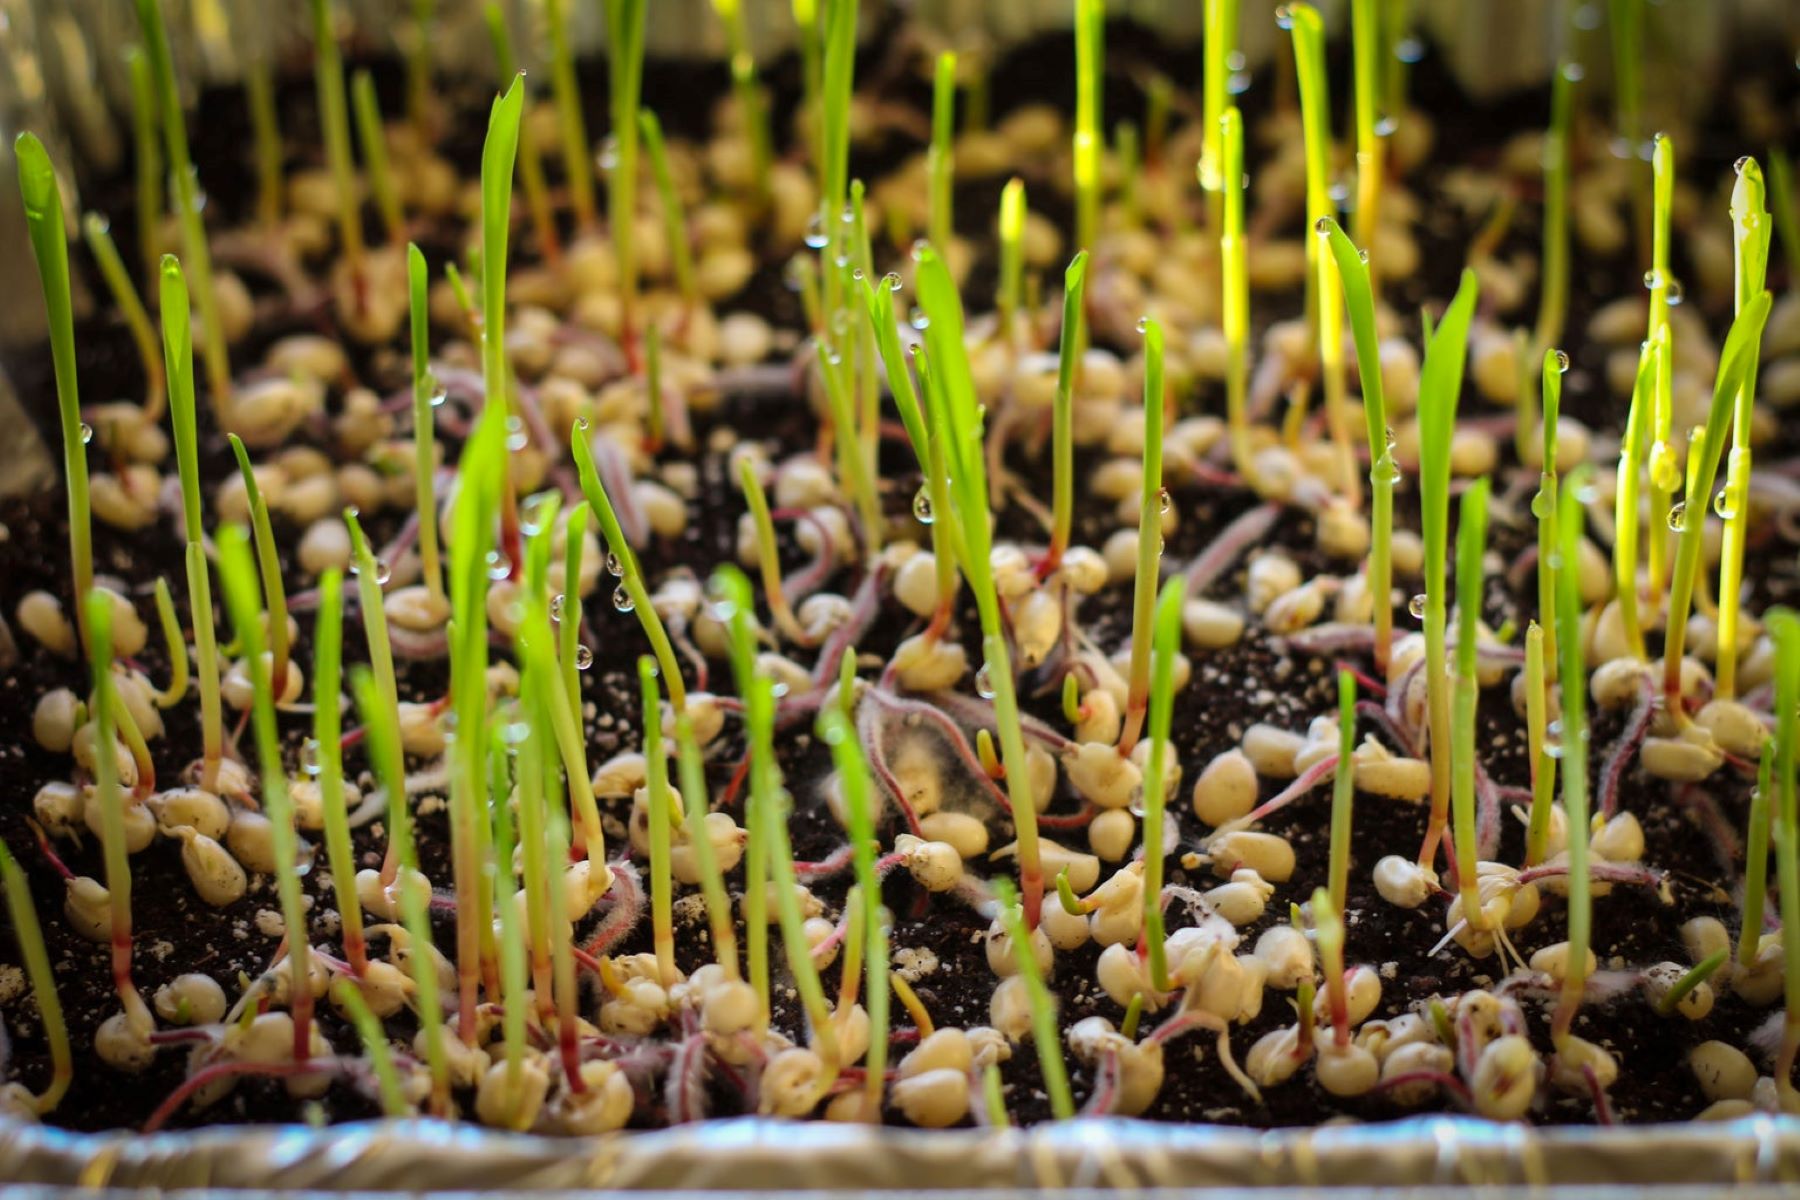
- Thinning: Once the seedlings emerge and grow a few inches tall, thin them out by removing the weaker ones, leaving only the strongest plants at the desired spacing.
Remember to water your newly planted seeds regularly to keep the soil consistently moist but not overly saturated. As your broccoli plants start to grow, they will require additional care, including proper watering and sunlight exposure. In the next steps, we will cover these essential aspects to ensure the successful growth and development of your broccoli plants.
Step 4: Providing Proper Watering
Watering is a vital aspect of growing healthy broccoli plants. Here’s how you can ensure that your plants receive proper hydration:
- Consistent moisture: Broccoli plants require consistent moisture to thrive. Water them regularly, especially during dry spells or hot weather. Aim to keep the soil evenly moist but not waterlogged.
- Deep watering: When you water, ensure that the water reaches the root zone of the plants. Deep watering encourages the roots to grow deeper into the soil, resulting in stronger and more resilient plants.
- Watering frequency: The frequency of watering depends on various factors, including weather conditions, soil type, and the stage of plant growth. Generally, it’s recommended to water broccoli plants at least 1 to 1.5 inches per week. Adjust the frequency based on the moisture level of the soil.
- Morning watering: Water your broccoli plants in the morning to allow the foliage to dry before evening. This helps prevent fungal diseases and reduces the risk of moisture-related issues.
- Mulching: Apply a layer of organic mulch, such as straw or wood chips, around the base of the plants. Mulching helps retain soil moisture, suppresses weed growth, and regulates soil temperature.
- Monitor for signs of overwatering or underwatering: Pay attention to the condition of your plants. Overwatering can lead to root rot and fungal diseases, while underwatering can result in stunted growth and reduced crop yield. Adjust your watering routine accordingly.
- Rainwater harvesting: Consider collecting rainwater to use for watering your broccoli plants. Rainwater is naturally pH-balanced and contains beneficial nutrients, making it an ideal choice for irrigation.
By providing proper watering, you will ensure that your broccoli plants stay healthy and productive. Remember to observe your plants and adjust your watering schedule as needed. In the next step, we will explore the importance of providing adequate sunlight for your broccoli plants.
When growing broccoli seeds, make sure to plant them in well-drained soil with plenty of sunlight. Keep the soil consistently moist and fertilize regularly to promote healthy growth.
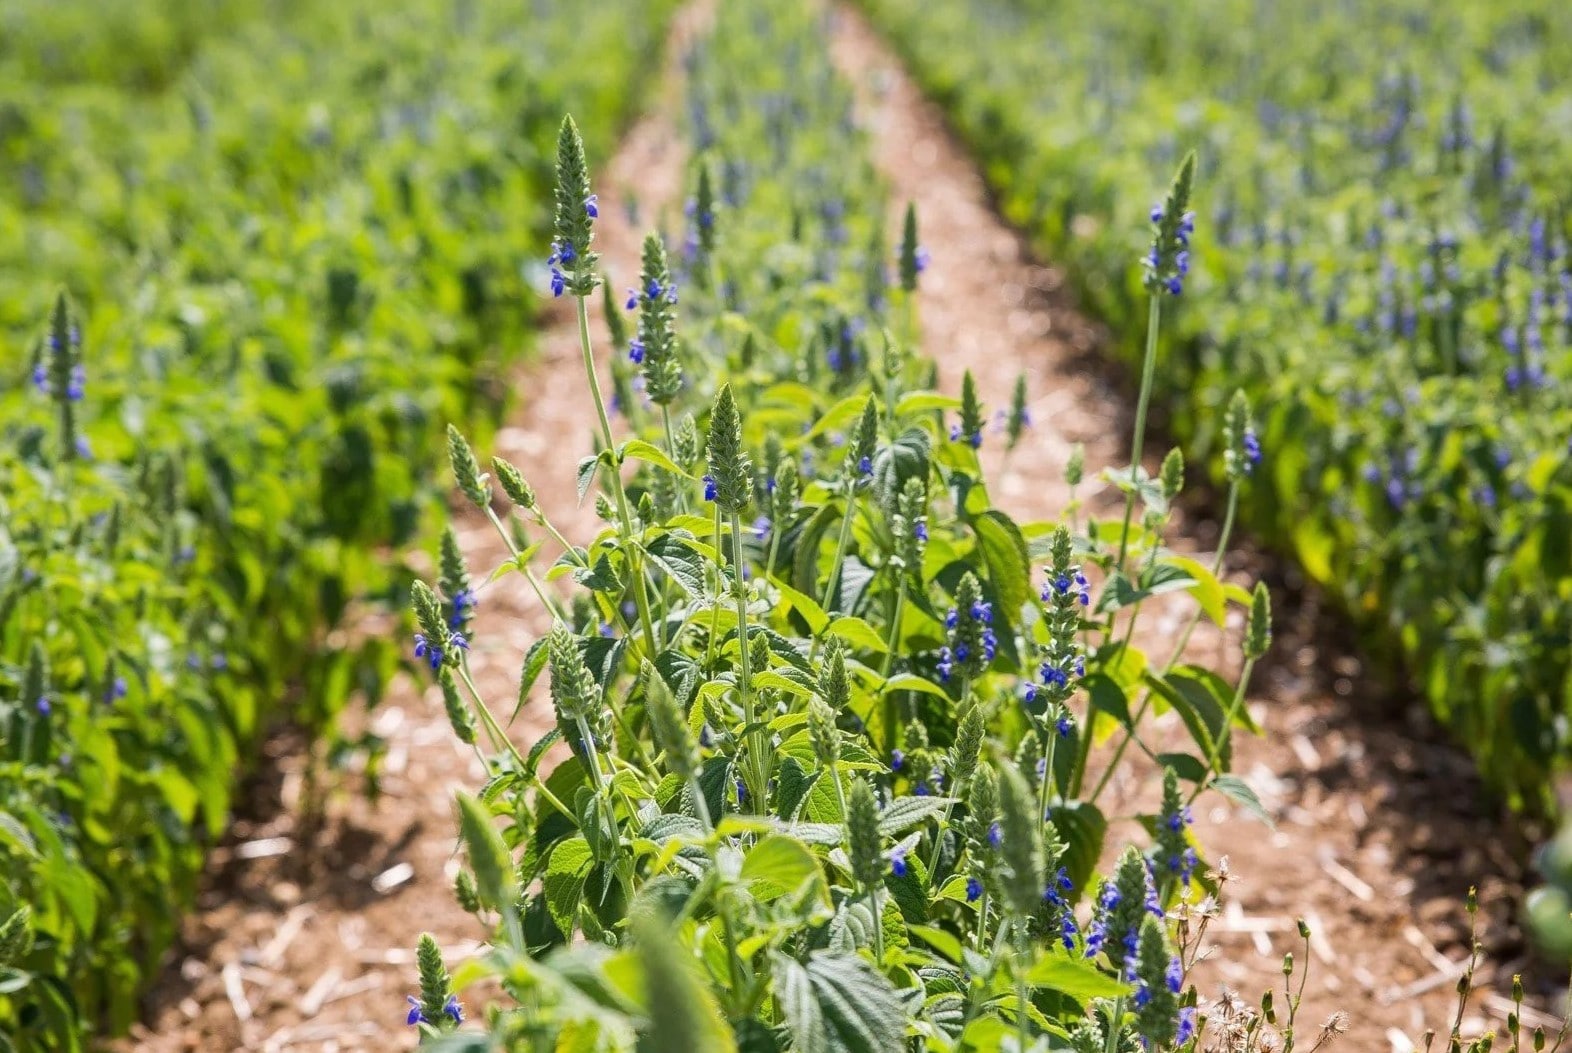
Step 5: Providing Adequate Sunlight
Proper sunlight exposure is vital for the growth and development of your broccoli plants. Follow these guidelines to ensure they receive adequate sunlight:
- Full sun: Choose a location for your broccoli plants that receives at least six hours of direct sunlight each day. Full sun is essential for healthy growth and the development of a robust broccoli head.
- Site selection: Prioritize a spot in your garden that is free from shade caused by nearby trees, buildings, or tall structures. This will ensure that your plants receive the maximum amount of sunlight throughout the day.
- Monitor shade patterns: Observe your garden throughout the day to identify any areas that may experience temporary shade due to the movement of the sun. Avoid planting your broccoli in these shaded areas as it can stunt their growth.
- Rotate your crops: If you’re planting broccoli in the same spot as previous years, consider practicing crop rotation. This involves changing the location of the crops each year to prevent the buildup of pests and diseases while optimizing sunlight exposure.
- Reflective surfaces: Enhance sunlight availability by placing reflective surfaces, such as aluminum foil or white plastic, around your broccoli plants. This helps redirect and amplify the sunlight, ensuring that the plants receive maximum light exposure.
- Artificial lighting: If you’re growing broccoli indoors or in a location with limited sunlight, consider using artificial grow lights. LED or fluorescent lights can provide the necessary light spectrum for the plants to thrive.
- Frequent monitoring: Regularly assess your broccoli plants for signs of inadequate sunlight, such as elongated stems or pale green foliage. If such signs are observed, consider adjusting their location to a sunnier spot or providing additional supplemental lighting.
By providing adequate sunlight, you are ensuring that your broccoli plants can photosynthesize and produce the energy they need for healthy growth and the formation of delicious heads. In the next step, we will discuss how to effectively control pests and diseases that may affect your broccoli plants.
Step 6: Controlling Pests and Diseases
Pests and diseases can pose a threat to the health and productivity of your broccoli plants. Here are some effective strategies to help you control and prevent these issues:
- Integrated Pest Management (IPM): Implement an IPM approach by combining different control methods to manage pests. This includes a combination of cultural, physical, biological, and chemical controls.
- Inspect regularly: Regularly check your broccoli plants for any signs of pests or diseases. Early detection allows for quicker intervention and prevents the issue from spreading.
- Handpicking pests: If you notice any pests such as caterpillars or aphids, remove them by hand and dispose of them properly. This can help reduce the population and minimize damage.
- Beneficial insects: Encourage beneficial insects, such as ladybugs and lacewings, in your garden. These natural predators feed on common pests and help keep their populations in check.
- Neem oil: Use neem oil, an organic insecticide, to control a wide range of pests, including aphids, caterpillars, and beetles. Follow the instructions on the product label for application guidelines and safety precautions.
- Cultural practices: Implement good cultural practices, such as proper spacing, adequate air circulation, and regular weeding, to minimize the risk of pests and diseases.
- Disease-resistant varieties: Choose disease-resistant broccoli varieties to reduce the risk of common diseases such as clubroot and black rot. Check seed catalogs or consult with local experts for recommendations.
- Crop rotation: Rotate your crops every year to prevent the buildup of pests and diseases in the soil. Avoid planting brassicas, including broccoli, in the same spot for consecutive years.
- Organic sprays: Utilize organic sprays, such as garlic or chili pepper sprays, to deter pests and protect your broccoli plants. These natural repellents can be effective against certain insects.
By implementing these pest and disease control measures, you can maintain the health and productivity of your broccoli plants. Regular observation and prompt action are key to keeping these potential threats at bay. Now, let’s move on to the final step: harvesting the delicious rewards of your hard work!
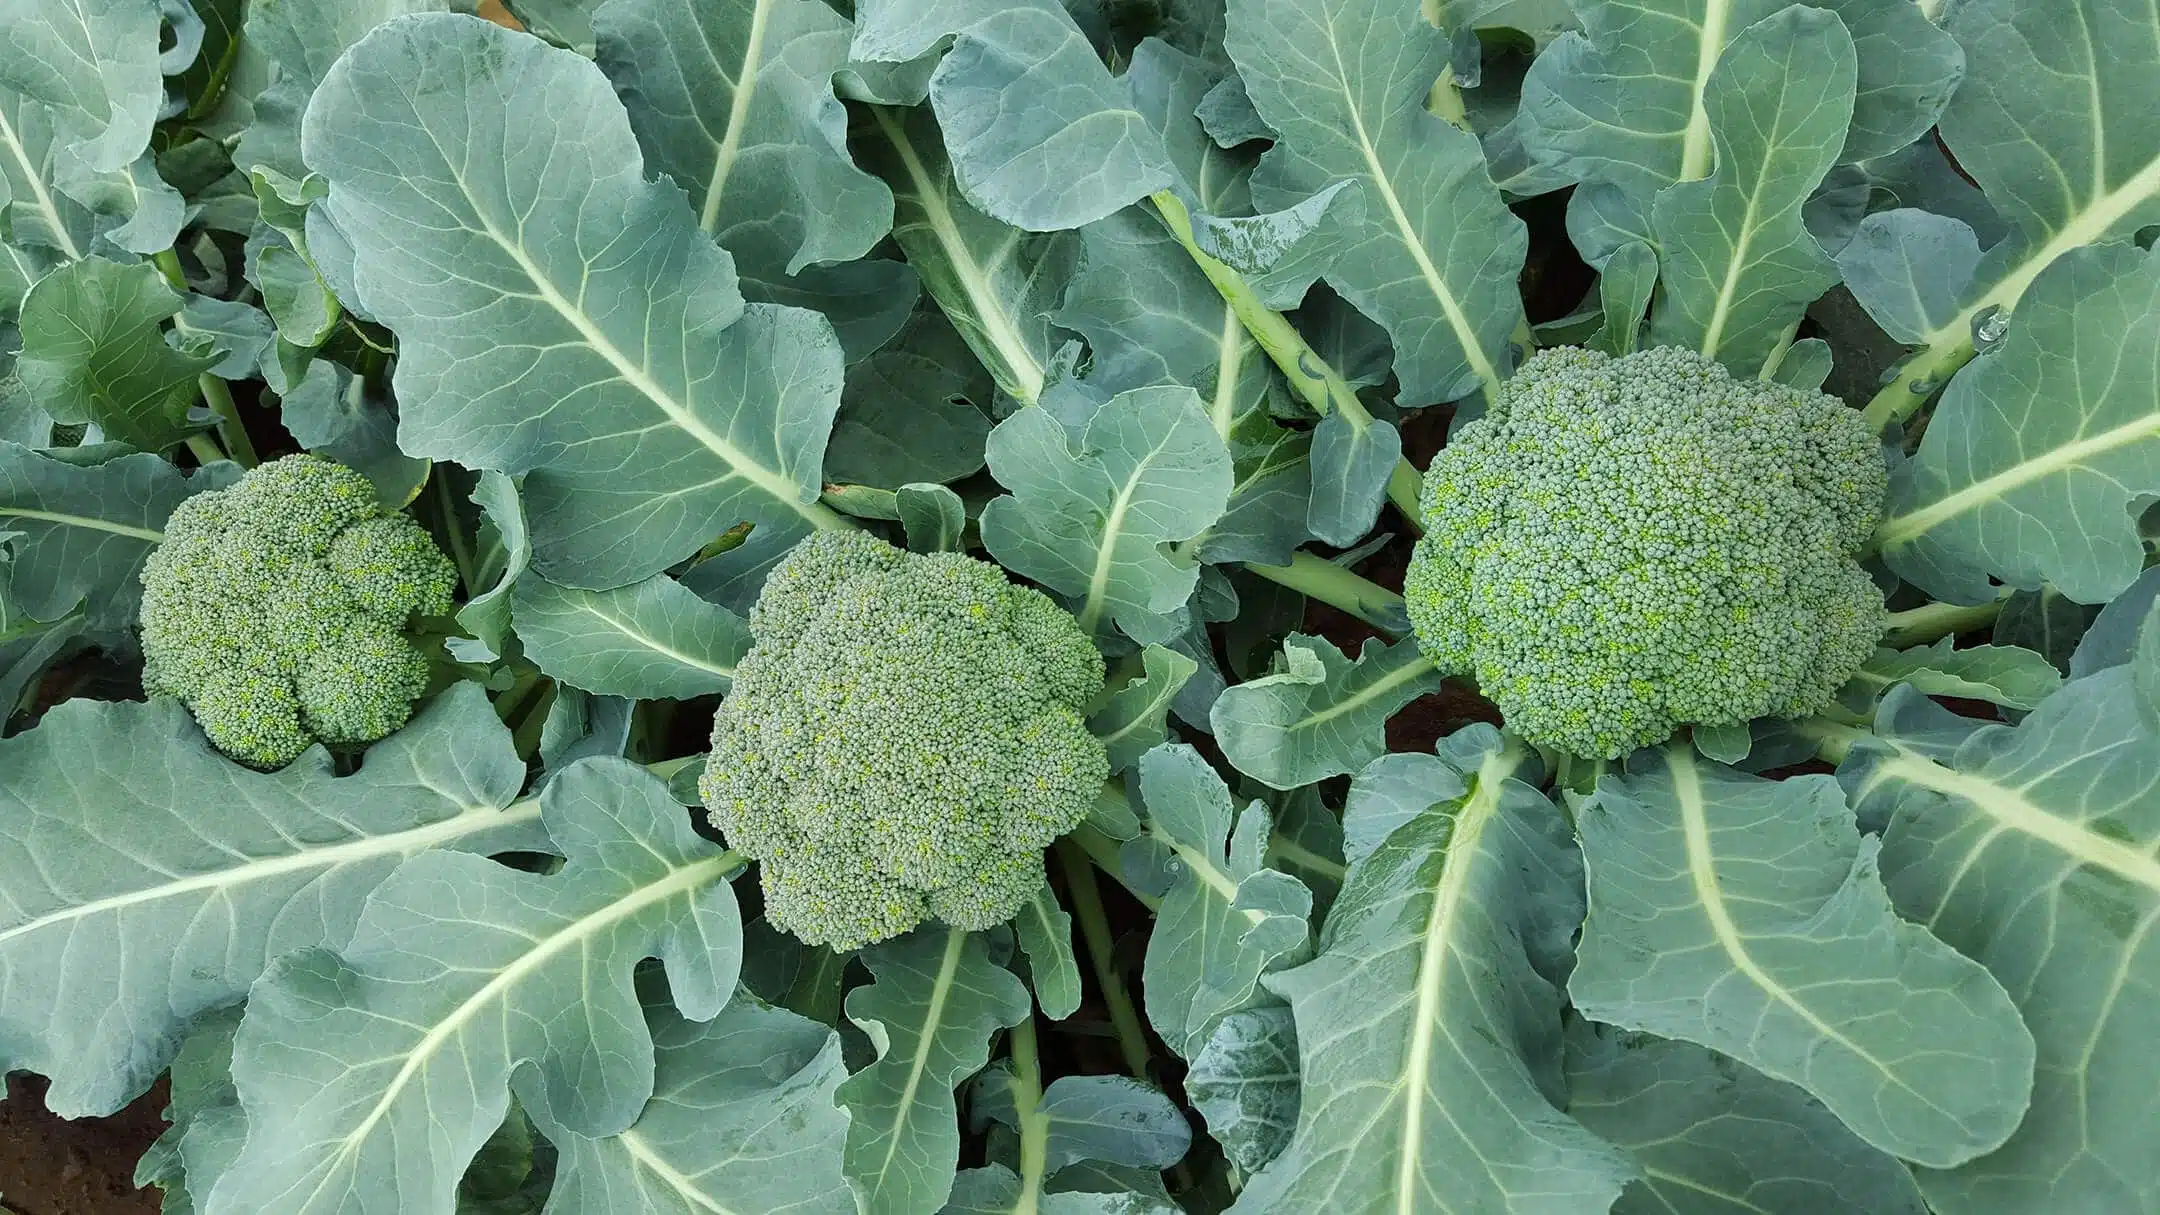
Step 7: Harvesting the Broccoli
Congratulations! After weeks of nurturing and caring for your broccoli plants, it’s time to enjoy the fruits of your labor. Here’s how to properly harvest your homegrown broccoli:
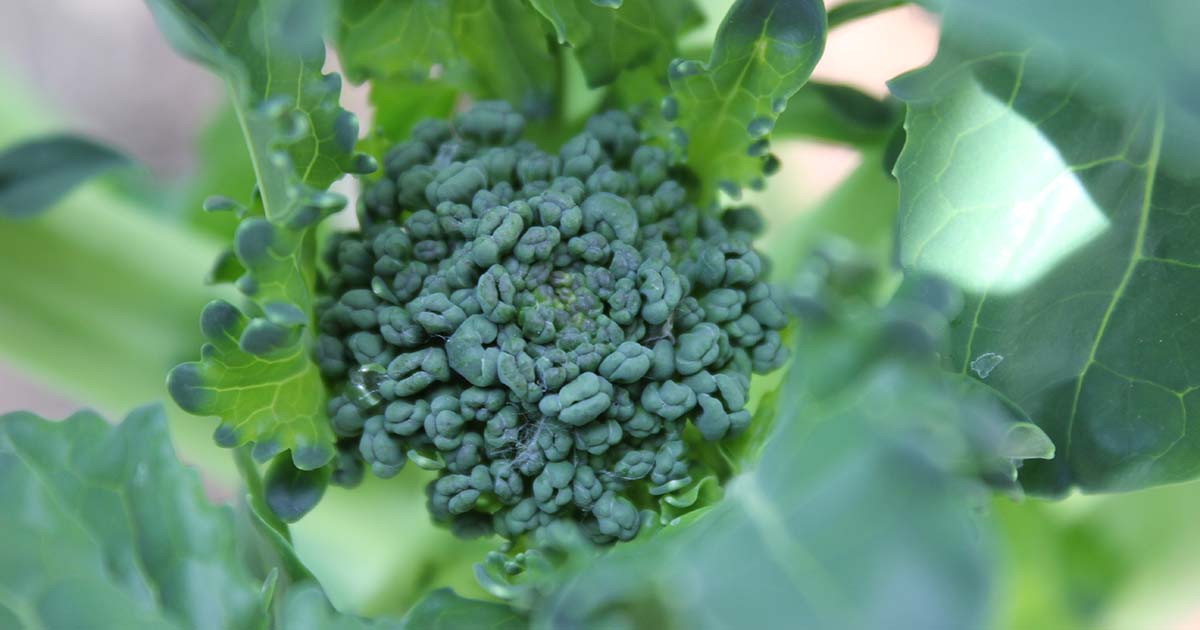
- Timing: Harvesting broccoli requires patience and proper timing. Begin the harvest when the central head of the plant is fully formed, tight, and compact. Typically, this occurs when the head reaches a diameter of around 4 to 6 inches.
- Central head: Start by cutting the central head off the plant, using a sharp and clean knife or garden scissors. Make a diagonal cut, removing the head approximately 5 inches below the base.
- Side shoots: After harvesting the central head, keep an eye on your plants for several weeks. This is when the broccoli plants will produce smaller side shoots that can be harvested individually. Harvest these side shoots when they reach a desirable size, typically 2 to 4 inches in diameter.
- Staggered harvest: By harvesting the central head first and allowing the side shoots to grow, you can enjoy a continuous supply of fresh broccoli throughout the growing season. This is known as staggered or successive harvest.
- Inspect for pests and diseases: Before consuming your harvested broccoli, inspect the heads and shoots for any signs of pests or diseases. Remove any damaged or compromised parts and discard them properly.
- Store or consume: Freshly harvested broccoli can be stored in the refrigerator for up to a week. To maintain freshness, store it in a plastic bag or airtight container. Enjoy your homegrown broccoli by steaming, sautéing, roasting, or adding it to your favorite recipes.
Remember, harvesting at the right time and properly storing your broccoli will ensure the best flavor and nutritional value. Harvesting your own homegrown vegetables is a rewarding experience, and you’ll surely enjoy the taste of the freshest broccoli straight from your garden.
Now that you’ve learned all the steps to successfully grow and harvest broccoli, it’s time to put your knowledge into practice and enjoy the bounty of this delicious and nutritious vegetable. Happy gardening!
Conclusion
Congratulations on completing your journey to grow broccoli from seeds! By following the steps outlined in this guide, you have learned the essential techniques to successfully cultivate this nutritious and delicious vegetable right in your own backyard.
From selecting the right seeds and preparing the soil to planting, watering, and providing adequate sunlight, you have taken the necessary steps to create an optimal growing environment for your broccoli plants. Additionally, you have learned how to control pests and diseases, ensuring the health and productivity of your plants.
As you patiently waited for your broccoli to mature, you have witnessed the transformation from small seeds to thriving plants. And finally, the time has come to reap the rewards of your efforts and harvest your homegrown broccoli. Whether enjoying it fresh or incorporating it into your favorite recipes, you can relish the taste of your success.
Remember, gardening is a continuous learning process. Each season brings new challenges and opportunities to expand your knowledge and skills. As you gain experience, you can experiment with different broccoli varieties, cultivation techniques, and even explore companion planting to maximize your garden’s productivity.
Growing your own broccoli from seeds not only provides you with a bountiful harvest, but it also offers a sense of accomplishment and a deeper connection to the food you consume. It allows you to have full control over the growing process and ensures that you’re providing your family with fresh, organic produce.
So, grab your gardening tools and get ready for another rewarding growing season. Whether you’re a seasoned gardener or just starting out, growing broccoli from seeds is a fulfilling and enjoyable activity that will not only nourish your body but also nurture your love for gardening.
Now it’s time to put your green thumb to work and embark on your own broccoli-growing adventure. Happy gardening!
Frequently Asked Questions about How To Grow Broccoli Seeds
Was this page helpful?
At Storables.com, we guarantee accurate and reliable information. Our content, validated by Expert Board Contributors, is crafted following stringent Editorial Policies. We're committed to providing you with well-researched, expert-backed insights for all your informational needs.


0 thoughts on “How To Grow Broccoli Seeds”