Home>Garden Essentials>How Do You Grow Onions From Seed

Garden Essentials
How Do You Grow Onions From Seed
Modified: August 28, 2024
Learn how to grow onions from seed in your garden and enjoy homegrown onions all year round. Follow our step-by-step guide to get started today.
(Many of the links in this article redirect to a specific reviewed product. Your purchase of these products through affiliate links helps to generate commission for Storables.com, at no extra cost. Learn more)
Introduction
Welcome to the world of gardening! If you’re a budding gardener or a seasoned pro looking to expand your garden repertoire, growing onions from seed is a fantastic choice. Not only are onions a versatile and flavorful addition to any kitchen, but growing them from seed can be a rewarding and enjoyable experience. In this article, we will explore the process of growing onions from seed, providing you with the knowledge and tips you need to succeed.
Before we dive into the details, let’s take a moment to appreciate the humble onion. Onions are a staple in cuisines around the world, and they come in a variety of colors, flavors, and sizes. Whether you prefer the sharpness of a red onion, the sweetness of a Vidalia onion, or the pungency of a yellow onion, growing your own allows you to have a fresh, flavorful supply at your fingertips.
There are several advantages to growing onions from seed rather than using sets or transplants. Firstly, seeds offer a wider range of onion varieties to choose from, allowing you to experiment with different tastes and textures. Additionally, starting from seed is more cost-effective, as onion sets can be quite expensive. Finally, growing from seed gives you greater control over the growing process, ensuring that your onions are free from any pesticide residues or diseases.
However, it’s important to note that growing onions from seed requires patience and time. Onions are a cool-season crop and have a longer growing period compared to many other vegetables. Depending on the variety you choose, it can take anywhere from 80 to 120 days from planting to harvesting.
So, if you’re ready to embark on a flavorful journey and learn how to grow onions from seed, let’s dig in!
Key Takeaways:
- Growing onions from seed allows for a wide variety of flavors and sizes, but requires patience due to their longer growing period. Proper soil preparation and care are essential for a successful harvest.
- Harvesting and storing onions at the right time and in the right conditions is crucial for preserving their quality and flavor. Curing, trimming, and proper storage help maximize shelf life.
Read more: How Long To Grow Onions From Seed
Choosing the Right Onion Seeds
When it comes to choosing onion seeds, there are a few factors to consider. First and foremost, you’ll want to select a variety that suits your taste preferences and growing conditions. Onions come in various shapes, sizes, and colors, each with its own unique flavor profile. Some popular onion varieties include Yellow Sweet Spanish, Red Burgundy, and Walla Walla Sweet.
It’s also essential to choose onion seeds that are well-suited to your climate. Onions are classified into three main types based on their day-length requirements: short day, intermediate day, and long day onions. Short day onions require less daylight hours to bulb and are ideal for southern regions, while long day onions need more daylight and are best suited to northern areas. Intermediate day onions fall somewhere in between, making them suitable for moderate climates.
When purchasing onion seeds, opt for high-quality seeds from reputable seed suppliers. Look for seeds that are fresh, viable, and have a high germination rate. It’s worth investing in organic or heirloom varieties if you prefer to grow your onions using sustainable and non-GMO practices.
Consider the size of the onion you’d like to grow as well. Onions can range from small bulbs perfect for pickling or adding to salads, to large bulbs that are better suited for cooking and storing. Keep in mind that larger onions typically require more time to mature.
Lastly, take into account your available garden space and the desired yield. Some onion varieties are better suited for growing in containers or raised beds, while others thrive in traditional garden beds. If you’re tight on space, consider growing smaller-sized onions or utilizing vertical gardening techniques to maximize your harvest.
By considering these factors, you can select onion seeds that are well-matched to your taste preferences, growing conditions, and gardening goals. Once you have your chosen seeds, you’re ready to prepare your soil and get started on your onion-growing adventure!
Preparing the Soil
Before planting your onion seeds, it’s crucial to ensure that your soil is properly prepared. Onions prefer loose, well-draining soil with a pH level between 6 and 7.5. Taking the time to prepare your soil properly will provide a solid foundation for healthy onion growth and maximize your chances of a successful harvest.
Start by clearing the planting area of any weeds, rocks, or debris. Onions thrive in full sun, so choose a location in your garden that receives at least six hours of direct sunlight per day.
Next, loosen the soil using a garden fork or tiller to a depth of about 8 to 10 inches. This will help improve drainage and aerate the soil, allowing the onion roots to penetrate easily. If your soil is heavy or compacted, you can amend it with organic matter such as compost or well-rotted manure. This will enhance the soil’s fertility, structure, and moisture-retaining capabilities.
Onions have shallow root systems, so it’s important to ensure that the soil is free from clumps, rocks, and other obstacles that could impede root growth. Use a rake to remove any remaining debris and create a smooth, level surface.
Once the soil is prepared, it’s a good idea to perform a soil test to determine its nutrient levels. This will help you identify if any additional fertilizer is needed to optimize onion growth. Follow the recommendations from your soil test results and apply any necessary amendments, such as nitrogen-rich fertilizer, according to the package instructions.
Lastly, consider incorporating organic matter, such as well-decomposed compost or aged manure, into the soil. This will contribute valuable nutrients, improve soil structure, and promote microbial activity. Spread a layer of organic matter over the prepared bed and work it into the top few inches of soil using a garden fork or tiller.
By properly preparing your soil, you’ll create an ideal environment for your onion seeds to thrive. The loose, well-draining soil will allow for proper root development, prevent waterlogging, and facilitate nutrient uptake. With the right soil foundation, you’re now ready to start your onion seeds indoors.
Starting Seeds Indoors
To get a head start on the growing season, many gardeners choose to start their onion seeds indoors. Starting seeds indoors allows you to control the environment and provide optimal conditions for germination and seedling growth.
The first step in starting onion seeds indoors is to sow them in trays or small pots filled with seed starting mix. Seed starting mix is a lightweight and sterile growing medium specially formulated to provide the ideal conditions for seed germination. It promotes good drainage and aeration, reducing the risk of seedling damping off disease.
Before sowing the seeds, moisten the seed starting mix to a damp consistency. Fill the trays or pots with the moistened mix, leaving a small gap at the top for watering. Then, carefully sprinkle the onion seeds evenly over the surface of the mix. Onion seeds are small and should be sown thinly to ensure proper spacing between seedlings.
After sowing the seeds, gently press them into the surface of the soil mix using the palm of your hand. This will help ensure good seed-to-soil contact for germination. Cover the trays or pots with a clear plastic dome or plastic wrap to create a greenhouse-like environment and retain moisture.
Place the trays or pots in a warm location where the temperature is around 70°F (21°C) for optimal germination. It’s important to note that onions germinate best with bottom heat, so consider using a heat mat underneath the trays to provide consistent warmth. Keep the soil consistently moist, but not waterlogged, by misting it with water or using a spray bottle.
Once the onion seedlings emerge, remove the plastic cover to prevent excess moisture and promote air circulation. Place them in a brightly lit area, such as a south-facing window or under grow lights, ensuring they receive at least 12-14 hours of light per day. Rotate the trays periodically to prevent seedlings from leaning towards the light.
As the onion seedlings grow, it’s essential to provide adequate care. Keep the soil consistently moist by watering from the bottom, allowing the excess water to drain away. This will encourage the roots to grow deeper into the soil. Avoid overwatering, as onion seedlings are prone to rotting if the soil remains too wet.
At around six to eight weeks old, the onion seedlings should be strong enough to be transplanted outdoors. But before doing so, it’s crucial to harden off the seedlings gradually. Hardening off involves gradually exposing them to outdoor conditions, such as cooler temperatures and increased sunlight, over a period of one to two weeks. This helps the seedlings adjust to the changes and minimize transplant shock.
Starting onion seeds indoors gives you a head start on the growing season and allows for a longer harvest period. By following these steps and providing the necessary care, you’ll have healthy onion seedlings ready for transplanting into your garden beds.
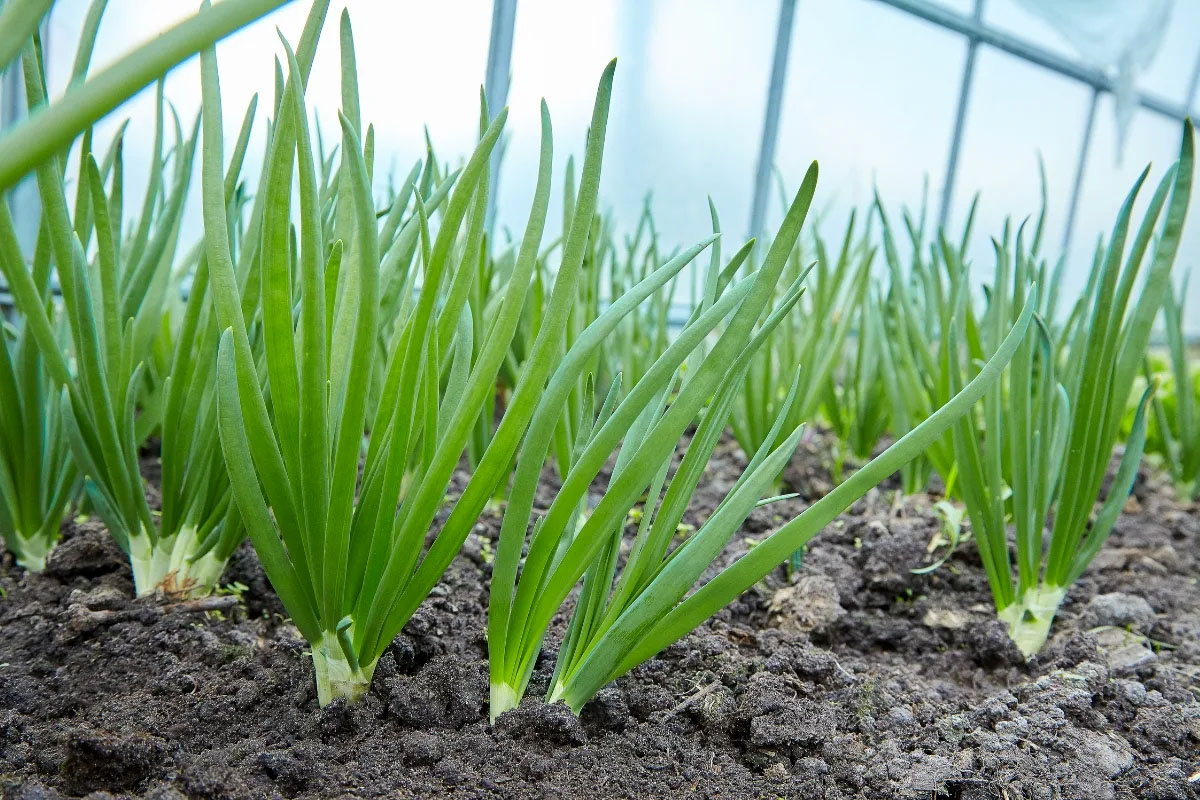
Transplanting Seedlings
After nurturing your onion seedlings indoors, it’s time to transplant them into your garden beds. Transplanting is a critical step in the onion growing process, as it determines the success of your plants’ establishment and future growth.
Before transplanting, choose a suitable location in your garden with well-prepared soil that receives full sun. Onions thrive in loose, well-draining soil with a pH level between 6 and 7.5. It’s important to ensure that any potential frost or freezing conditions have passed before transplanting, as onions are sensitive to cold temperatures.
Before removing the seedlings from their trays or pots, water the soil thoroughly to ensure it’s moist. This will make it easier to lift the seedlings without causing damage to their delicate roots. Gently grasp each seedling by the base and carefully lift it from the tray, taking care not to pull or tug on the tender stem.
When transplanting onion seedlings, spacing is crucial for healthy bulb development. Onions should be spaced about 4 to 6 inches apart in rows, with rows spaced approximately 12 to 18 inches apart. Dig shallow holes in the garden bed, making sure they are deep enough to accommodate the roots without bending or coiling them.
Place each seedling into its respective hole, making sure the roots are fully submerged and the bottom of the bulb is level with the soil surface. Gently backfill the hole, firming the soil around the seedling to eliminate any air pockets. Do not bury the seedlings too deeply, as this can inhibit bulb formation.
After transplanting, water the newly planted seedlings thoroughly to help settle the soil around the roots. This will promote immediate root growth and establishment. Avoid overwatering, as soggy soil can lead to root rot.
It’s important to note that onion seedlings may experience some shock after transplanting. To minimize this shock, you can use a diluted seaweed extract or transplant fertilizer solution to provide a boost of nutrients and encourage root development.
Throughout the growing season, ensure your transplanted onion seedlings receive adequate water, especially during dry periods. Keep the soil consistently moist, but not waterlogged. Onions have shallow root systems, so regular irrigation is essential to support their growth.
By transplanting your onion seedlings with care and providing them with the necessary growing conditions, you set the stage for healthy onion plants that will produce robust bulbs. With each passing day, your onion plants will grow stronger and closer to the exciting moment of harvest.
Start onion seeds indoors 8-10 weeks before the last frost. Use a seed starting mix and keep the soil moist. Once the seedlings have 3-4 leaves, transplant them into the garden, spacing them 4-6 inches apart. Onions need full sun and well-drained soil.
Read more: How Do You Grow A Lemon Tree From A Seed
Caring for Onion Plants
Once your onion plants are successfully transplanted into the garden, it’s important to provide them with proper care to ensure healthy growth and a bountiful harvest. Here are some essential tips for caring for your onion plants:
Watering: Onions need consistent moisture to thrive. Water your plants regularly, aiming to provide about 1 inch of water per week. Deep watering is essential to encourage the roots to grow deeper into the soil. Avoid overwatering, as it can lead to rotting and other root diseases. Mulching around the plants can help retain moisture and control weed growth.
Weed Control: Keep the area around your onion plants free from weeds, as they can compete for nutrients and water. Regularly inspect the garden bed and remove any weeds by hand or use shallow cultivation tools to prevent damaging the shallow onion roots.
Fertilizing: Onions are heavy feeders and require regular fertilization to promote healthy growth. Apply a balanced fertilizer high in nitrogen every few weeks during the early stages of growth. Once the bulbs start forming, switch to a fertilizer with less nitrogen and higher phosphorus and potassium to support bulb development. Follow the instructions on the fertilizer package for application rates.
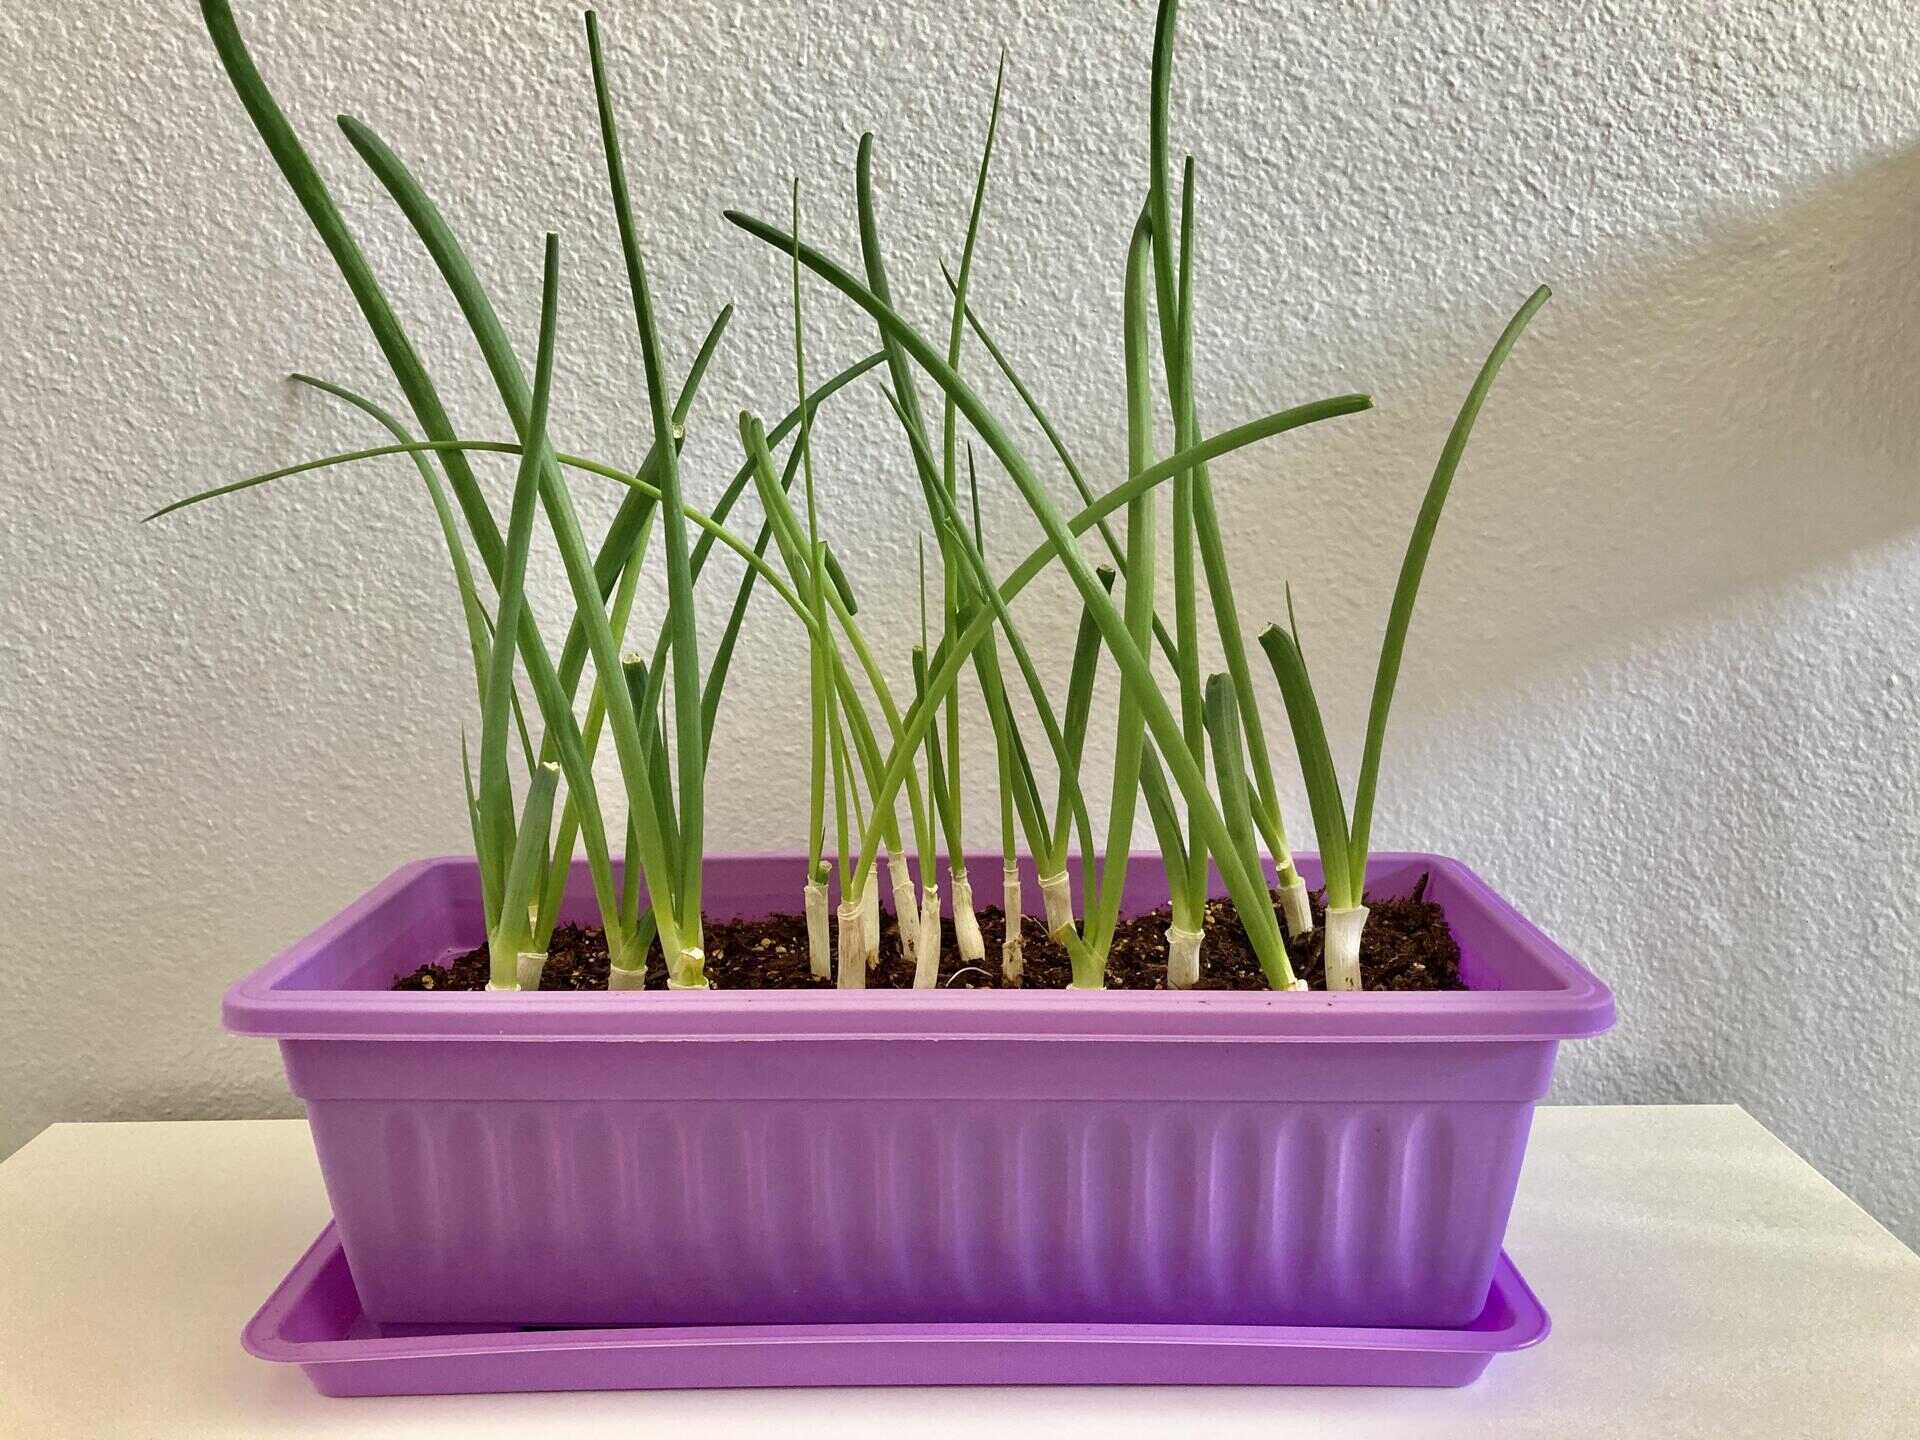
Thinning: As your onion plants grow, they may become crowded. To ensure proper bulb development, thin the plants when they are about 6 inches tall. Remove weaker or overcrowded seedlings, leaving space between each plant according to the recommended spacing for the variety you are growing. This will allow the remaining plants to have sufficient room to grow into larger bulbs.
Pest and Disease Control: Onions are generally resistant to pests and diseases, but they can occasionally be affected by onion thrips, onion maggots, and fungal diseases such as onion rust and downy mildew. Monitor your plants regularly and take immediate action at the first sign of trouble. Use organic pest control methods, such as introducing beneficial insects or using insecticidal soaps, and practice crop rotation to reduce the risk of disease.
Support: Some onion varieties may benefit from additional support as they grow. Consider using stakes or cages to prevent the plants from flopping over. This can be especially helpful if you’re growing long-day varieties that produce larger, heavier bulbs.
Harvesting: Harvest time will depend on the variety of onions you’re growing. Typically, onions are ready for harvest when the tops start to turn yellow and fall over. Gently loosen the soil around the bulbs, being careful not to damage them, and lift the bulbs from the ground. Allow the onions to dry in a well-ventilated area until the tops are completely dry and the outer skin is papery.
By providing proper care to your onion plants, you’ll ensure their health and vigor, leading to robust and flavorful bulbs. With a little time and attention, you’ll soon be reaping the rewards of your hard work and enjoying homegrown, delicious onions.
Harvesting and Storing Onions
Harvesting your onions at the right time and storing them properly is essential to preserve their quality and flavor. Here’s how to harvest and store your onions:
Timing: Onions are typically ready for harvest when the tops start to yellow and fall over. This is an indication that the plants have reached maturity and the bulbs have fully developed. Depending on the variety, this usually occurs around 100 to 120 days after planting.
Harvesting: To harvest your onions, gently loosen the soil around the bulbs using a garden fork or trowel. Be careful not to damage the bulbs in the process. Lift the onions from the ground, keeping the foliage attached. Avoid pulling or twisting the tops, as this can cause damage to the bulb.
Curing: After harvesting, it’s important to cure the onions before storage. This process helps to dry out the outer skins, preventing them from rotting and increasing their shelf life. Lay the onions in a single layer on a well-ventilated surface, such as a wire rack, in a warm and dry location. Allow them to cure for about two to three weeks until the necks are completely dry and the outer skin becomes papery.
Trimming: Once the onions are cured, remove any dry or dead foliage from the bulbs. Trim the roots, leaving about half an inch attached to the bottom of each bulb. Be careful not to cut into the onion flesh, as this can increase the risk of spoilage during storage.
Storage: Proper storage is crucial to keeping onions fresh for an extended period. Store cured onions in a cool, dry, and well-ventilated area. Ideally, the temperature should be around 32 to 40°F (0 to 4°C), with humidity levels between 60% and 70%. Avoid storing onions near fruits like apples and pears, as they release ethylene gas, which can cause onions to spoil more quickly.
Options for Storage: There are a few storage options to consider. You can hang onions in mesh bags or store them in shallow trays or boxes, allowing for good airflow around the bulbs. Alternatively, you can braid the dried foliage together and hang the onions in a well-ventilated area. This not only provides proper storage but also adds a decorative touch to your kitchen.
Checking for Spoilage: Regularly inspect your stored onions for any signs of softness, mold, or decay. Remove any affected onions promptly to prevent the spread of spoilage. Properly stored onions can last for several months, allowing you to enjoy your homegrown harvest well into the winter.
By harvesting and storing your onions correctly, you’ll maximize their shelf life and maintain their quality. Whether you use them in your favorite recipes or share them with friends and family, your homegrown onions will add a flavorful touch to any dish.
Troubleshooting Common Onion Problems
While onions are relatively low-maintenance plants, they can occasionally encounter a few problems. Here are some common onion issues and tips on how to troubleshoot them:
Fungal Diseases: Onion plants can be susceptible to fungal diseases such as onion rust and downy mildew. To prevent these diseases, provide adequate spacing between plants to promote air circulation, avoid overwatering, and refrain from working with the plants when they are wet. If fungal diseases do appear, remove and destroy infected plants to prevent further spread. Applying a fungicide approved for use on onions may also help control the problem.
Pests: Onion thrips and onion maggots are two common pests that can affect onion plants. Thrips are tiny insects that suck the sap from the leaves, resulting in silvering or bronzing of the foliage. They can be controlled by introducing beneficial insects like ladybugs or by using organic insecticidal soaps. Onion maggots are small, white larvae that feed on the roots or bulbs of onion plants, causing wilting and rotting. To prevent infestations, practice crop rotation and remove any affected plants.
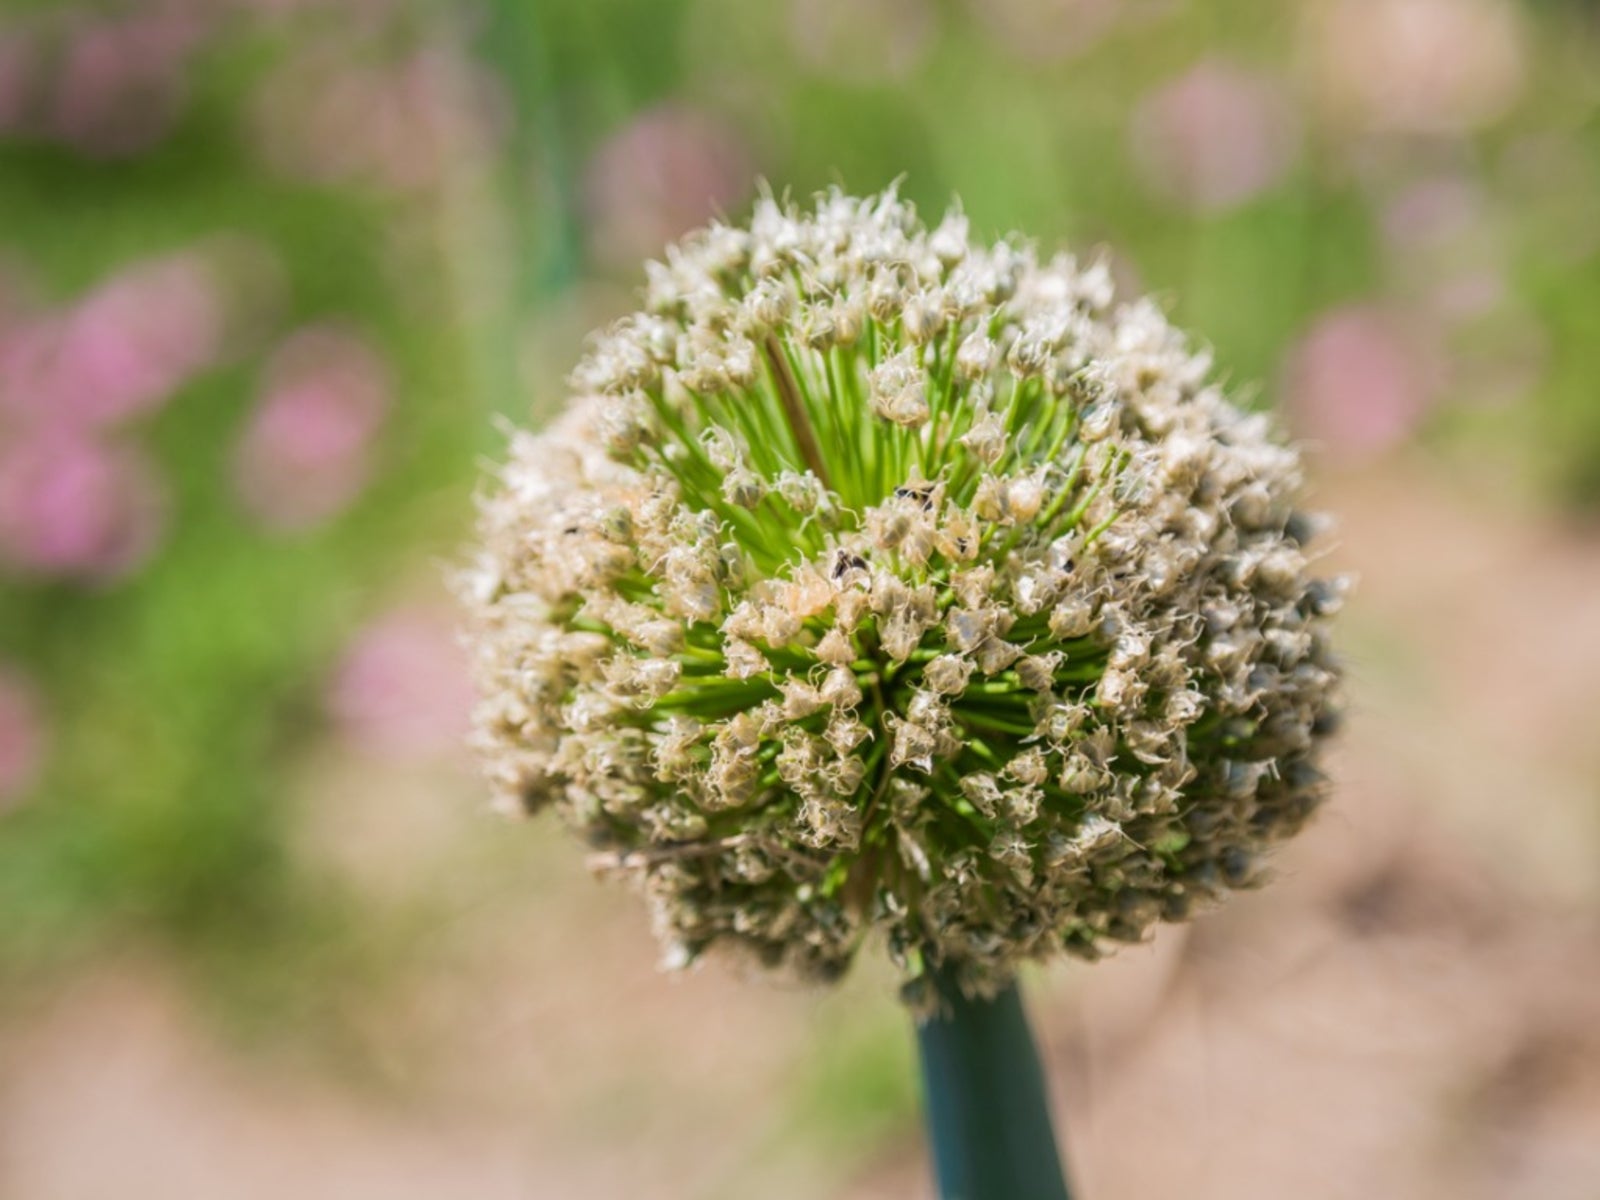
Bolting: Bolting refers to when onions prematurely send up flower stalks. This can be caused by various factors, including high temperatures, excessive nitrogen fertilization, and day length. To prevent bolting, choose varieties that are known for their resistance to bolting and avoid high nitrogen fertilization. Harvest any onions that bolt promptly, as the bulb quality can deteriorate once the flower stalk starts to grow.
Yellowing Leaves: If your onion leaves start turning yellow prematurely, it could be a sign of overwatering, poor drainage, or nutrient deficiencies. Ensure that your plants are receiving adequate water without being waterlogged, and verify that your soil has good drainage. Check the nutrient levels in your soil and supplement with appropriate fertilizers as needed.
Thin Necks: Onions with thin necks are more prone to rotting during storage. To prevent this issue, avoid over-watering and ensure that the onions are properly cured before storage. Proper spacing during planting and adequate fertilization can also promote thicker neck development.
Size and Bulb Formation: If you notice that your onion bulbs are not reaching the desired size, it could be due to insufficient nutrients, overcrowding, or planting the wrong variety for your climate. Ensure proper spacing between plants, adjust fertilization based on soil test results, and choose varieties suitable for your growing conditions.
By being proactive and addressing these common onion problems, you can help your plants thrive and maximize your onion harvest. Remember to monitor your plants regularly and take necessary steps to prevent and control any issues that may arise. With a little care and attention, you’ll be rewarded with healthy, flavorful onions you can enjoy throughout the year.
Conclusion
Congratulations! You have now learned the ins and outs of growing onions from seed. By choosing the right onion seeds, preparing the soil, starting seeds indoors, transplanting seedlings, caring for the plants, and harvesting and storing the bulbs, you can enjoy a bountiful and flavorful onion harvest.
Growing onions from seed allows you to explore a wide range of varieties, ensuring you have the perfect onions for your culinary creations. Selecting the right seeds, whether short day, intermediate day, or long day onions, will ensure they thrive in your specific climate. With careful preparation, loose and well-draining soil, and the right nutrients and care, your onion plants will grow vigorously.
Remember to provide the necessary care, including regular watering, weed control, fertilization, and pest management, to keep your onion plants healthy and disease-free. Transplanting seedlings requires patience and attention to detail, ensuring your onions are properly spaced for optimal bulb development.
As your onions mature, you’ll know it’s time for harvest when the tops yellow and fall over. After curing, you can safely store your onions in a cool, dry, and well-ventilated area. Regularly inspect your stored onions for any signs of spoilage to maintain their quality.
While you may encounter some common onion problems, such as fungal diseases, pests, bolting, yellowing leaves, or thin necks, remember that with proper care and troubleshooting, you can overcome these challenges and ensure a successful onion harvest.
Growing your own onions from seed not only provides you with a fresh and flavorful supply, but also allows you to connect with nature and experience the joy of gardening. From the satisfaction of watching the tiny seeds germinate into seedlings to the excitement of harvesting your homegrown onions, the journey is filled with delight and rewards.
So, get your gardening gloves on, gather your onion seeds, and embark on this green-fingered adventure. With the knowledge and tips you’ve gained, your garden will soon be flourishing with rows of beautiful onion plants, ready to be enjoyed in a variety of delectable dishes. Happy gardening and happy onion growing!
Frequently Asked Questions about How Do You Grow Onions From Seed
Was this page helpful?
At Storables.com, we guarantee accurate and reliable information. Our content, validated by Expert Board Contributors, is crafted following stringent Editorial Policies. We're committed to providing you with well-researched, expert-backed insights for all your informational needs.


0 thoughts on “How Do You Grow Onions From Seed”