Articles
How To Fix Electrical Box Sticking Out
Modified: May 6, 2024
Learn helpful tips and tricks with our articles on how to fix electrical boxes that are sticking out.
(Many of the links in this article redirect to a specific reviewed product. Your purchase of these products through affiliate links helps to generate commission for Storables.com, at no extra cost. Learn more)
Introduction
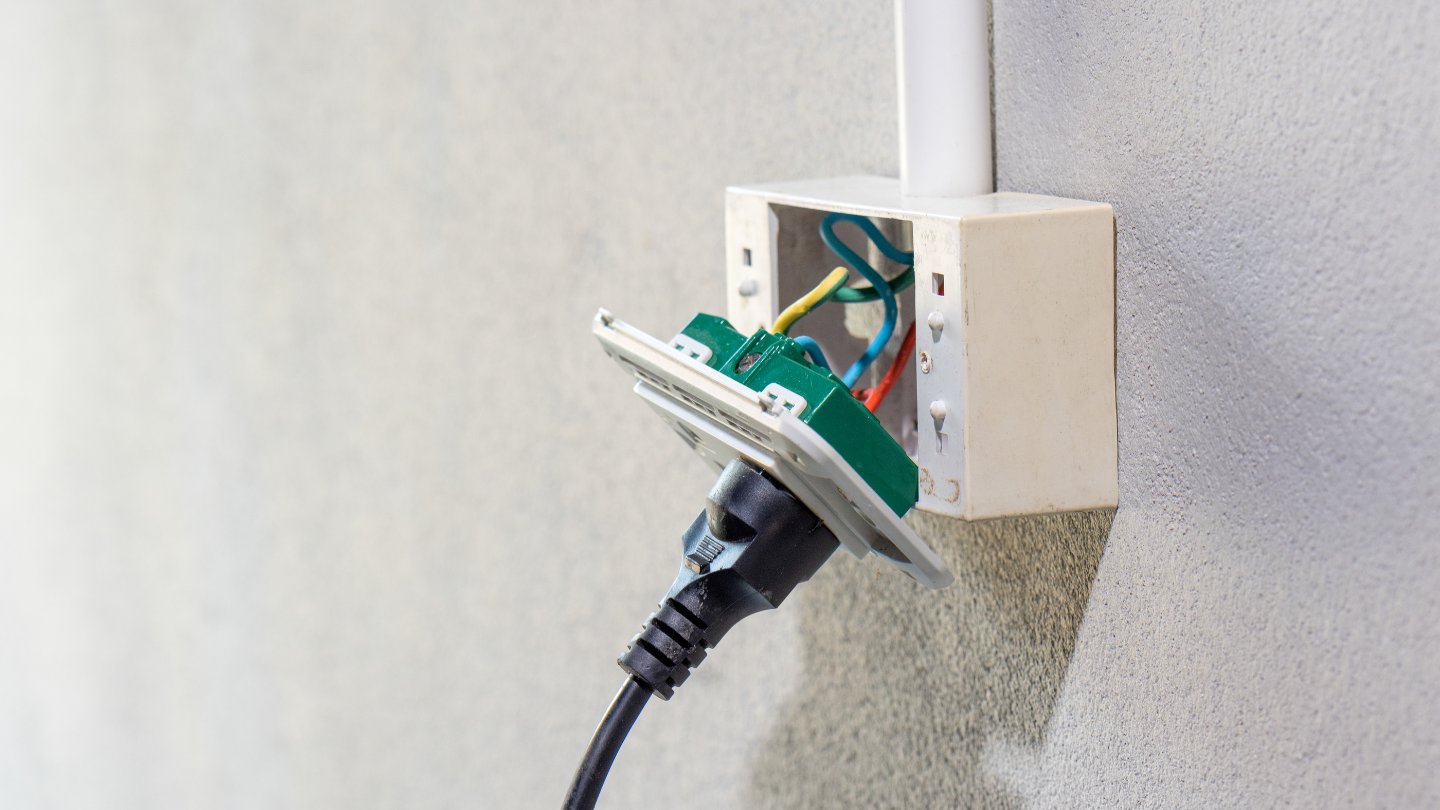
Having an electrical box sticking out can not only be an eyesore but also pose potential safety hazards. Whether it’s due to poor installation or shifting walls, a protruding electrical box can be a headache. Fortunately, with a few simple steps, you can fix the issue and restore a clean and tidy look to your walls.
In this article, we will guide you through the process of fixing an electrical box that is sticking out. From assessing the situation to tightening the mounting screws, we will cover each step in detail to ensure a smooth and successful repair.
Before we begin, it’s important to note that electrical work can be dangerous if not done correctly. Always prioritize safety, and if you’re not familiar or uncomfortable with any part of the process, it’s best to consult a licensed electrician.
Now, let’s get started on fixing that electrical box and improving the aesthetics and safety of your space!
Key Takeaways:
- Safely and effectively fix protruding electrical boxes by assessing, gathering tools, turning off power, adjusting position, and restoring functionality. Prioritize safety and enjoy a visually pleasing and functional space.
- Address protruding electrical boxes with confidence using the right tools and step-by-step guidance. Improve aesthetics, reduce hazards, and ensure a secure and visually appealing environment.
Read more: How To Punch Out Electrical Box
Step 1: Assess the Situation
The first step in fixing an electrical box that is sticking out is to assess the situation. Take a close look at the box and surrounding area to determine the cause of the protrusion. Here are a few factors to consider:
- Wall Shifting: If your electrical box is sticking out, it could be due to the shifting of walls. Over time, walls can settle or move, causing the box to become misaligned.
- Poor Installation: In some cases, a protruding electrical box may be the result of improper installation. If the box was not securely mounted or the hole was cut too large, it can cause the box to jut out.
- Wiring Issues: Another possibility is that there are wiring issues behind the box, causing it to push forward. In this case, it’s important to identify and address any electrical problems before fixing the box itself.
Once you have assessed the situation and determined the cause of the protrusion, you will have a better understanding of the steps needed to correct the problem. If you’re unsure or need help identifying the issue, it’s recommended to consult a professional electrician.
Now that you have assessed the situation, let’s move on to the next step: gathering the required tools.
Step 2: Gather the Required Tools
Before you start fixing the electrical box that is sticking out, it’s important to gather all the necessary tools. Having the right tools on hand will make the process easier and more efficient. Here are the tools you’ll need:
- Screwdriver: A screwdriver is essential for loosening and tightening the mounting screws on the electrical box.
- Adjustable Wrench: An adjustable wrench may be needed to adjust any additional brackets or hardware that are securing the box in place.
- Level: A level will help you ensure that the box is properly aligned and straight before tightening the mounting screws.
- Pliers: Pliers can be handy for gripping and maneuvering any wires or cables that may be in the way.
- Flashlight: A flashlight will come in handy for better visibility if the area behind the electrical box is dimly lit.
- Safety Equipment: It’s important to prioritize safety, so wearing safety glasses and insulated gloves is recommended when working with electrical components.
Having these tools readily available will save you time and frustration during the repair process. Ensure that you have a good quality screwdriver that fits the mounting screws on your electrical box. Additionally, having a variety of screwdriver sizes and an adjustable wrench will help you adapt to different scenarios.
Now that you have gathered the necessary tools, you’re ready to move on to the next step: turning off the power.
Step 3: Turn Off the Power
Before you begin any work on the electrical box, it’s crucial to turn off the power to eliminate the risk of electric shock. Here’s how you can safely disconnect the power:
- Locate the Electrical Panel: Find the electrical panel in your home. It is usually located in the basement, garage, or utility room.
- Identify the Correct Circuit Breaker: Look for the circuit breaker that corresponds to the area where the electrical box is located. This may be labeled on the panel door or the breaker itself.
- Switch Off the Circuit Breaker: Flip the appropriate circuit breaker to the “Off” position. This will cut off power to the area and ensure your safety during the repair.
- Verify the Power is Off: To be certain that the power is off, use a voltage tester or plug in a lamp to the nearest outlet to check if it works. If the power is properly disconnected, the lamp should not turn on.
It’s important to double-check that the power is off before proceeding with any work. Never assume that the power is off based solely on flipping the circuit breaker. By using a voltage tester or testing a nearby outlet, you can ensure that the electrical box is not energized.
Turning off the power eliminates the risk of electric shock and allows you to work on the electrical box safely. Once you are confident that the power is off, you can move on to the next step: loosening the mounting screws.
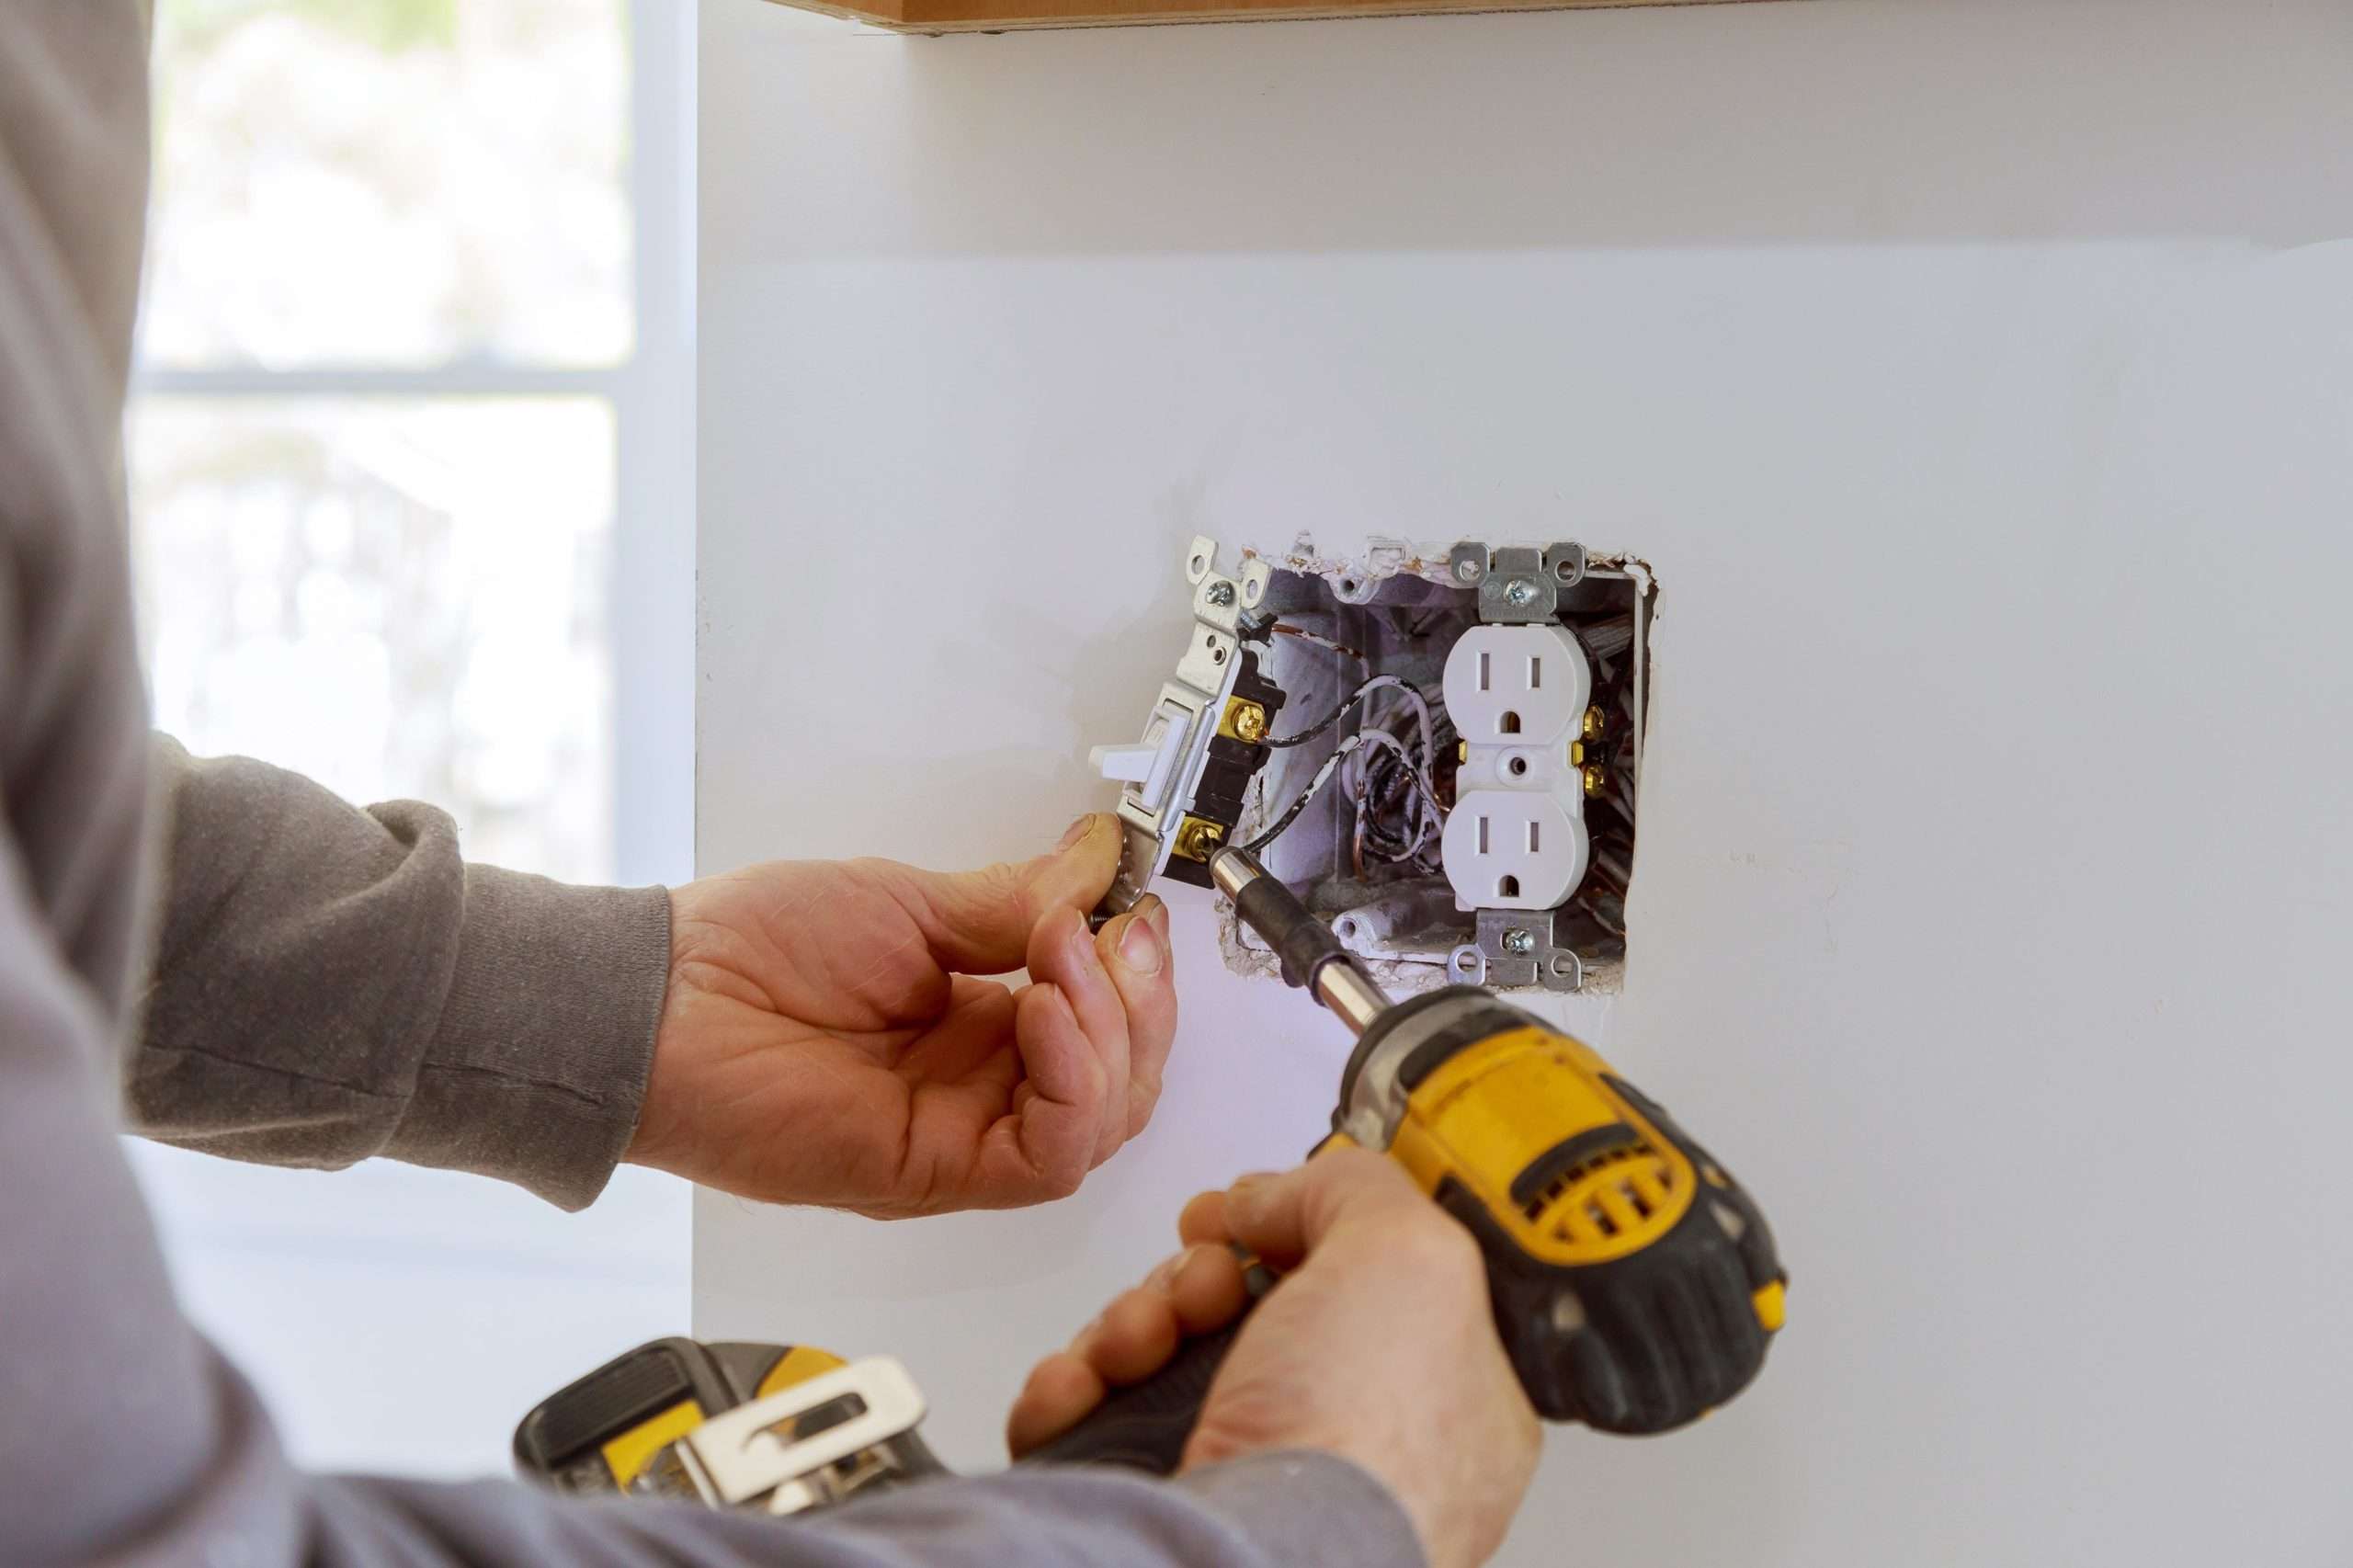
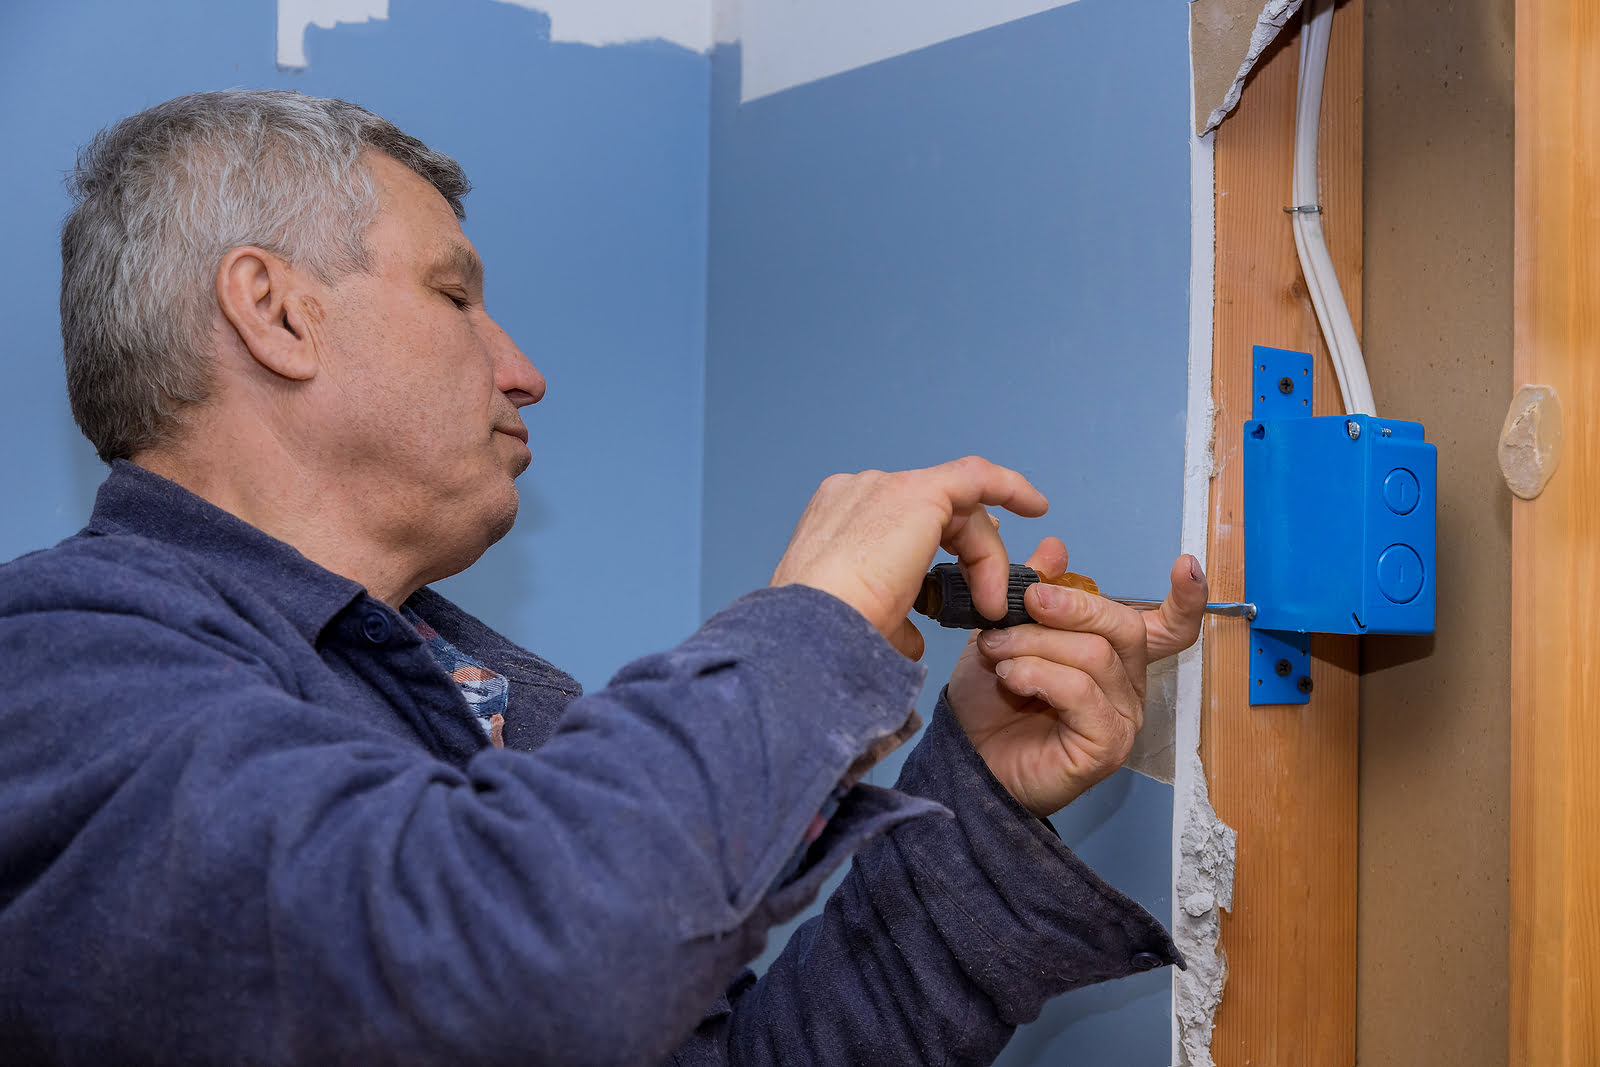
Step 4: Loosen the Mounting Screws
With the power turned off, it’s time to start loosening the mounting screws of the electrical box. Loosening these screws will allow you to adjust the position of the box and fix the protrusion. Follow these steps:
- Locate the Mounting Screws: The electrical box will be secured to the wall with mounting screws. These screws are typically located at the top and bottom of the box.
- Use the Screwdriver: Grab your screwdriver and start loosening the mounting screws by turning them counterclockwise. Loosen them just enough to allow for movement but not completely remove them.
- Gently Pull the Box Forward: With the mounting screws loosened, you can gently pull the electrical box forward. This will give you the freedom to adjust the position and fix the protrusion.
While loosening the mounting screws, inspect their condition. If any screws are damaged or stripped, it’s advisable to replace them with new ones for a secure fit. Additionally, if there are any additional brackets or hardware securing the box, use an adjustable wrench to loosen them if necessary.
Remember to handle the electrical box with care as you loosen the mounting screws. Avoid putting excessive force on the box or pulling the wires connected to it. By following these steps, you are now ready to adjust the position of the box in the next step.
When fixing an electrical box sticking out, turn off the power, remove the cover plate, and use spacers or an extender ring to bring the box flush with the wall. Always follow safety precautions when working with electricity.
Read more: How To Fix Loose Electrical Box
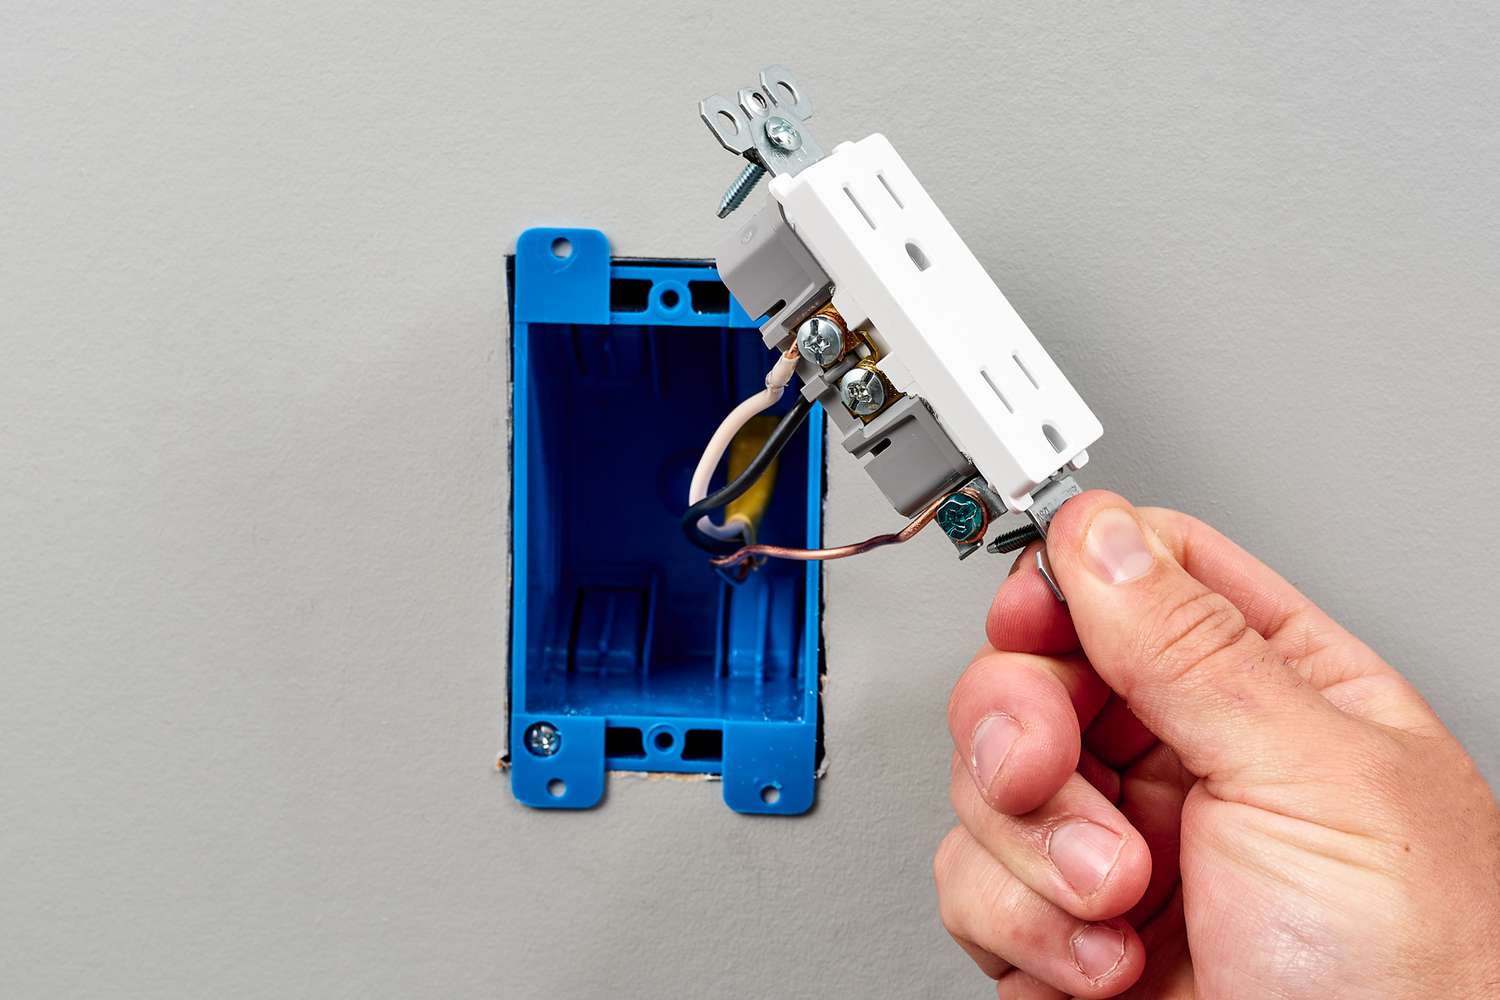
Step 5: Adjust the Box Position
Now that the mounting screws are loosened, you can proceed to adjust the position of the electrical box. This step will allow you to fix the protrusion and ensure the box is properly aligned with the wall. Follow these guidelines:
- Align with the Wall: Gently push or pull the electrical box to adjust its position. Align it with the wall, ensuring that it is flush and not sticking out.
- Check for Level: Use a level to ensure that the box is straight and not tilted. Adjust the position accordingly until it is level.
- Ensure Proper Clearance: Make sure there is enough clearance for any wires or cables inside the box. Ensure they are not pinched or obstructed when the box is in its adjusted position.
Take your time during this step to ensure the box is correctly positioned. It’s important to have a clean and professional-looking finish. Before moving on to the next step, visually inspect the box and make any necessary adjustments to achieve the desired position.
Once you are satisfied with the adjusted position, it’s time to move on to the next step: tightening the mounting screws.
Step 6: Tighten the Mounting Screws
After adjusting the position of the electrical box, it’s time to securely fasten it in place by tightening the mounting screws. Follow these steps to ensure a stable and secure installation:
- Grab the Screwdriver: Take your screwdriver and begin tightening the mounting screws. Turn them clockwise until they are snug against the box and the wall.
- Be Careful Not to Over-Tighten: While it’s important to tighten the screws, avoid over-tightening them. Applying excessive force can damage the box or strip the screws, compromising the integrity of the installation.
- Check for Stability: After tightening the screws, check the stability of the electrical box. Give it a gentle tug to ensure it is securely fastened in place.
Make sure to tighten all the screws evenly to maintain balance and prevent the box from leaning or tilting. If you encounter any resistance while tightening the screws, consider using a different screwdriver or replacing the screws if they are worn or damaged.
By securely tightening the mounting screws, you ensure that the electrical box remains in its adjusted position, eliminating any protrusion from the wall. Now that the box is securely in place, it’s time to proceed to the final step: restoring power and testing.
Step 7: Restore Power and Test
Now that you have properly adjusted and tightened the electrical box, it’s time to restore power and test the functionality. Follow these steps to ensure everything is working as it should:
- Return to the Electrical Panel: Make your way back to the electrical panel where you initially turned off the power.
- Switch On the Circuit Breaker: Locate the circuit breaker that corresponds to the area where the electrical box is located. Flip the breaker back to the “On” position to restore power.
- Verify Power Restoration: To confirm that power has been restored to the electrical box, test a nearby outlet or use a voltage tester to check for current.
- Check Box Functionality: Once power has been restored, test the outlets or switches connected to the electrical box to ensure they are functioning correctly. If everything is working as expected, you have successfully fixed the protruding box.
During this step, pay close attention to any signs of electrical issues, such as sparks, odd noises, or flickering lights. If you notice any abnormalities, turn off the power immediately and consult a professional electrician to address the problem.
With the power restored and the functionality of the box confirmed, you can now enjoy a neatly installed electrical box that no longer sticks out from the wall.
Note: If after following these steps the protrusion persists or you encounter any difficulties during the process, it is recommended to seek the assistance of a professional electrician.
Congratulations on successfully fixing the electrical box that was sticking out! With careful attention to detail and the right tools, you’ve improved both the aesthetics and safety of your space.
Conclusion
Fixing an electrical box that is sticking out doesn’t have to be a daunting task. With the right knowledge and tools, you can restore the neatness and safety of your walls. By following the steps outlined in this guide, you’ve learned how to assess the situation, gather the necessary tools, turn off the power, loosen and tighten the mounting screws, adjust the box position, and finally, restore power and test for functionality.
Throughout the process, safety should always be a top priority. If at any point you feel unsure or uncomfortable with the tasks involved, it is wise to consult a licensed electrician who can provide expert assistance.
By addressing the protruding electrical box, you not only improve the aesthetics of your space but also reduce potential hazards. With a neatly installed electrical box, you can enjoy a visually pleasing environment while ensuring the proper functioning of the electrical system.
We hope this guide has been helpful in guiding you through the steps required to fix an electrical box that is sticking out. Remember to take your time, follow the instructions carefully, and always prioritize safety. With a little effort and attention to detail, you can successfully tackle this repair project and enjoy a more visually appealing and functional space.
Ready to take on more home projects? Don't miss our guide on DIY home improvement, where you'll pick up valuable skills and smart tricks for enhancing your living space. For those looking into safely setting up their spaces, our detailed guide on electrical box installation will ensure you handle electrical projects with confidence. Both articles offer practical advice and step-by-step instructions to elevate your DIY expertise.
Frequently Asked Questions about How To Fix Electrical Box Sticking Out
Was this page helpful?
At Storables.com, we guarantee accurate and reliable information. Our content, validated by Expert Board Contributors, is crafted following stringent Editorial Policies. We're committed to providing you with well-researched, expert-backed insights for all your informational needs.


0 thoughts on “How To Fix Electrical Box Sticking Out”