Home>Garden Essentials>How To Grow Blackberries From Seed
Garden Essentials
How To Grow Blackberries From Seed
Modified: March 21, 2024
Learn how to grow blackberries from seed in your garden and enjoy fresh, juicy berries right at home! Discover the step-by-step process and expert tips to ensure a successful harvest.
(Many of the links in this article redirect to a specific reviewed product. Your purchase of these products through affiliate links helps to generate commission for Storables.com, at no extra cost. Learn more)
Introduction
Growing blackberries from seed can be a rewarding and fulfilling experience for any gardening enthusiast. Not only do blackberries offer delicious fruits for you to enjoy, but they also add beauty and variety to your garden with their vibrant colors and delicate flowers. While it may seem daunting at first, with the right knowledge and preparation, you can successfully grow blackberries from seed and watch them flourish.
In this article, we will guide you through the process of growing blackberries from seed, step by step. From selecting the right seeds to nurturing the seedlings and finally harvesting the juicy blackberries, we will cover everything you need to know to ensure a successful harvest.
Before we delve into the details, it is important to note that growing blackberries from seed requires patience and dedication. It may take a couple of years before you can enjoy a bountiful harvest. However, the process itself is immensely satisfying and gives you a deeper appreciation for the wonders of nature.
Now, let’s get started on our journey to grow blackberries from seed and bring forth a fruitful and vibrant addition to your garden.
Key Takeaways:
- Growing blackberries from seed is a patient and rewarding journey, from selecting the right seeds to harvesting the delicious fruits. It’s a delightful way to connect with nature and enjoy the fruits of your labor.
- Embrace the beauty of nature and the joy of gardening as you grow blackberries from seed. Each step, from planting to harvesting, offers a chance to nurture, learn, and connect with the world around you.
Read more: How To Grow Blackberries From Seeds
Step 1: Choosing the right blackberry seeds
Choosing the right blackberry seeds is crucial to ensure a successful growing process. There are several factors you should consider when selecting your seeds:
- Variety: Blackberries come in different varieties, each with its own unique characteristics. Consider factors such as taste, size, and growth habit when selecting the variety that suits your preferences. Popular blackberry varieties include Chester, Triple Crown, and Marion.
- Quality: Opt for high-quality blackberry seeds from reputable suppliers or nurseries. Look for seeds that are fresh, plump, and without any signs of damage or decay.
- Climate suitability: Blackberries thrive in specific climates, so choose seeds that are best suited for your region. Research the ideal temperature and growing conditions for the blackberry variety you have chosen, and make sure it aligns with your local climate.
- Propagation method: Blackberry seeds can be purchased, or you can collect them from mature blackberry fruits. If you decide to collect seeds from mature fruits, ensure they are fully ripe and have been properly cleaned and dried.
Once you have determined the variety and quality of the blackberry seeds you want to plant, it’s time to move on to the next step of preparing the planting materials.
Step 2: Preparing the planting materials
Before planting your blackberry seeds, it’s essential to prepare the right planting materials. Follow these steps to ensure optimal conditions for germination:
- Soil preparation: Blackberries prefer well-drained soil with a pH level between 5.5 and 6.5. Amend the soil by incorporating organic matter such as compost or aged manure to improve its fertility and drainage. Remove any weeds or debris from the planting area to provide a clean environment for the seeds to grow.
- Seed starting containers: Choose containers that are at least 3-4 inches deep and have sufficient drainage holes. Fill the containers with a high-quality seed starting mix, which provides a light and airy texture conducive to germination.
- Moisture management: Blackberry seeds require consistent moisture to germinate. Water the soil in the containers until it is evenly moist but avoid overwatering, as this can lead to rot. Use a spray bottle or misting system to provide a gentle and even distribution of water.
- Temperature and light requirements: Place the containers in a warm location that receives indirect sunlight or use a grow light to provide the necessary warmth and light for germination. Blackberry seeds typically require temperatures between 60-70°F (15-21°C) to germinate successfully.
Once your planting materials are prepared, it’s time to move on to the exciting part: planting the blackberry seeds!
Step 3: Planting the blackberry seeds
With your planting materials prepared, it’s time to plant the blackberry seeds. Follow these steps to ensure successful seed planting:
- Seed placement: Make small indentations or holes in the seed starting mix, approximately ¼ inch deep. Place one or two blackberry seeds in each hole, ensuring they are evenly spaced apart.
- Seed covering: After placing the seeds, lightly cover them with a thin layer of seed starting mix or vermiculite. This helps to protect the seeds and keep them moist during the germination process.
- Watering: Gently water the planted seeds using a spray bottle or a watering can with a fine rose attachment. Ensure the soil is moist but not waterlogged. Be careful not to displace the seeds with excessive water pressure.
- Labeling: It’s essential to keep track of the varieties you have planted. Use labels or markers to identify the seeds and their planting date. This way, you can monitor their progress and adjust care accordingly.
- Covering and humidity: Place a plastic dome or a clear plastic bag over the containers to create a greenhouse-like environment. This helps retain moisture and create ideal conditions for germination. Remove the cover once the seeds have sprouted.
It’s important to keep the soil consistently moist during the germination process. Check the moisture level regularly and water as needed to ensure the seeds do not dry out.
Now that you have planted the blackberry seeds, it’s time to move on to Step 4: providing proper care and maintenance.
To grow blackberries from seed, start by collecting ripe berries and removing the seeds. Plant the seeds in well-draining soil, keep them moist, and place them in a sunny spot. Germination can take several weeks, so be patient and keep the soil consistently moist.
Step 4: Providing proper care and maintenance
Once the blackberry seeds have sprouted, they require proper care and maintenance to ensure healthy growth. Here are some essential tips to follow:
- Watering: Blackberry plants need consistent moisture, especially during their early growth stages. Water them regularly to keep the soil evenly moist, but avoid overwatering, as it can lead to root rot. As the plants mature, water deeply but less frequently.
- Fertilization: Feed your blackberry plants with a balanced fertilizer during the growing season. Apply a slow-release fertilizer or a liquid fertilizer according to the manufacturer’s instructions. This will provide the necessary nutrients for vigorous growth and a bountiful harvest.
- Weeding and Mulching: Keep the area around your blackberry plants free from weeds, as they can compete for nutrients and water. Apply a layer of organic mulch around the plants to suppress weed growth, retain moisture, and regulate soil temperature.
- Pruning: Blackberries require regular pruning to promote fruit production and maintain plant health. Prune in late winter or early spring by removing any dead, damaged, or diseased canes. Additionally, thin out overcrowded canes to allow better air circulation and sunlight penetration.
- Support: As blackberry plants grow, they can become top-heavy and require support to prevent them from bending or breaking. Install trellises or stakes to provide support and train the canes to grow upright.
- Pest and Disease Control: Keep an eye out for common pests like aphids, spider mites, and raspberry fruitworm. Use organic pest control methods or consult with local experts on appropriate treatments. Monitor for any signs of diseases such as cane blight or powdery mildew and take prompt action if needed.
By providing proper care and maintenance, you will ensure that your blackberry plants grow strong and healthy, setting the stage for a successful harvest. Now, let’s move on to Step 5: transplanting the seedlings.
Read more: How To Remove Seeds From Blackberries
Step 5: Transplanting the seedlings
Once your blackberry seedlings have grown to a suitable size, it’s time to transplant them into their permanent growing location. Follow these steps for successful transplantation:
- Timing: Transplant the seedlings outdoors when all risk of frost has passed and the soil temperature has warmed up. This is usually in the spring or early summer.
- Site selection: Choose a sunny location with well-drained soil for your blackberry plants. Avoid areas prone to waterlogging, as excessive moisture can lead to root rot.
- Preparing the planting hole: Dig a hole wide and deep enough to accommodate the seedling’s root ball. Loosen the soil in the hole and remove any weeds or rocks.
- Transplanting: Gently remove the seedling from its container or the seed starting tray. Handle the seedling by the leaves or root ball to avoid damaging the delicate stem. Place it in the planting hole and backfill with soil, ensuring the seedling is at the same depth it was previously planted.
- Watering: After transplanting, water the seedlings thoroughly to help settle the soil around the roots. This will provide a good start for their growth in their new location.
- Spacing: Proper spacing is essential to allow proper air circulation and prevent overcrowding. Space the blackberry plants at least 3 to 5 feet apart, depending on the variety, to ensure they have enough room to grow and spread.
- Continue care: Once the seedlings are transplanted, continue providing care and maintenance, including regular watering, mulching, and fertilizing, as outlined in Step 4.
Transplanting your blackberry seedlings allows them to establish themselves in their permanent location, where they will continue to grow and develop. Now, let’s move on to the final step: harvesting the delectable blackberries from your plants.
Step 6: Harvesting blackberries from your plants
After months of patience and care, it’s finally time to reap the rewards of your efforts by harvesting the delicious blackberries from your plants. Here’s what you need to know about harvesting blackberries:
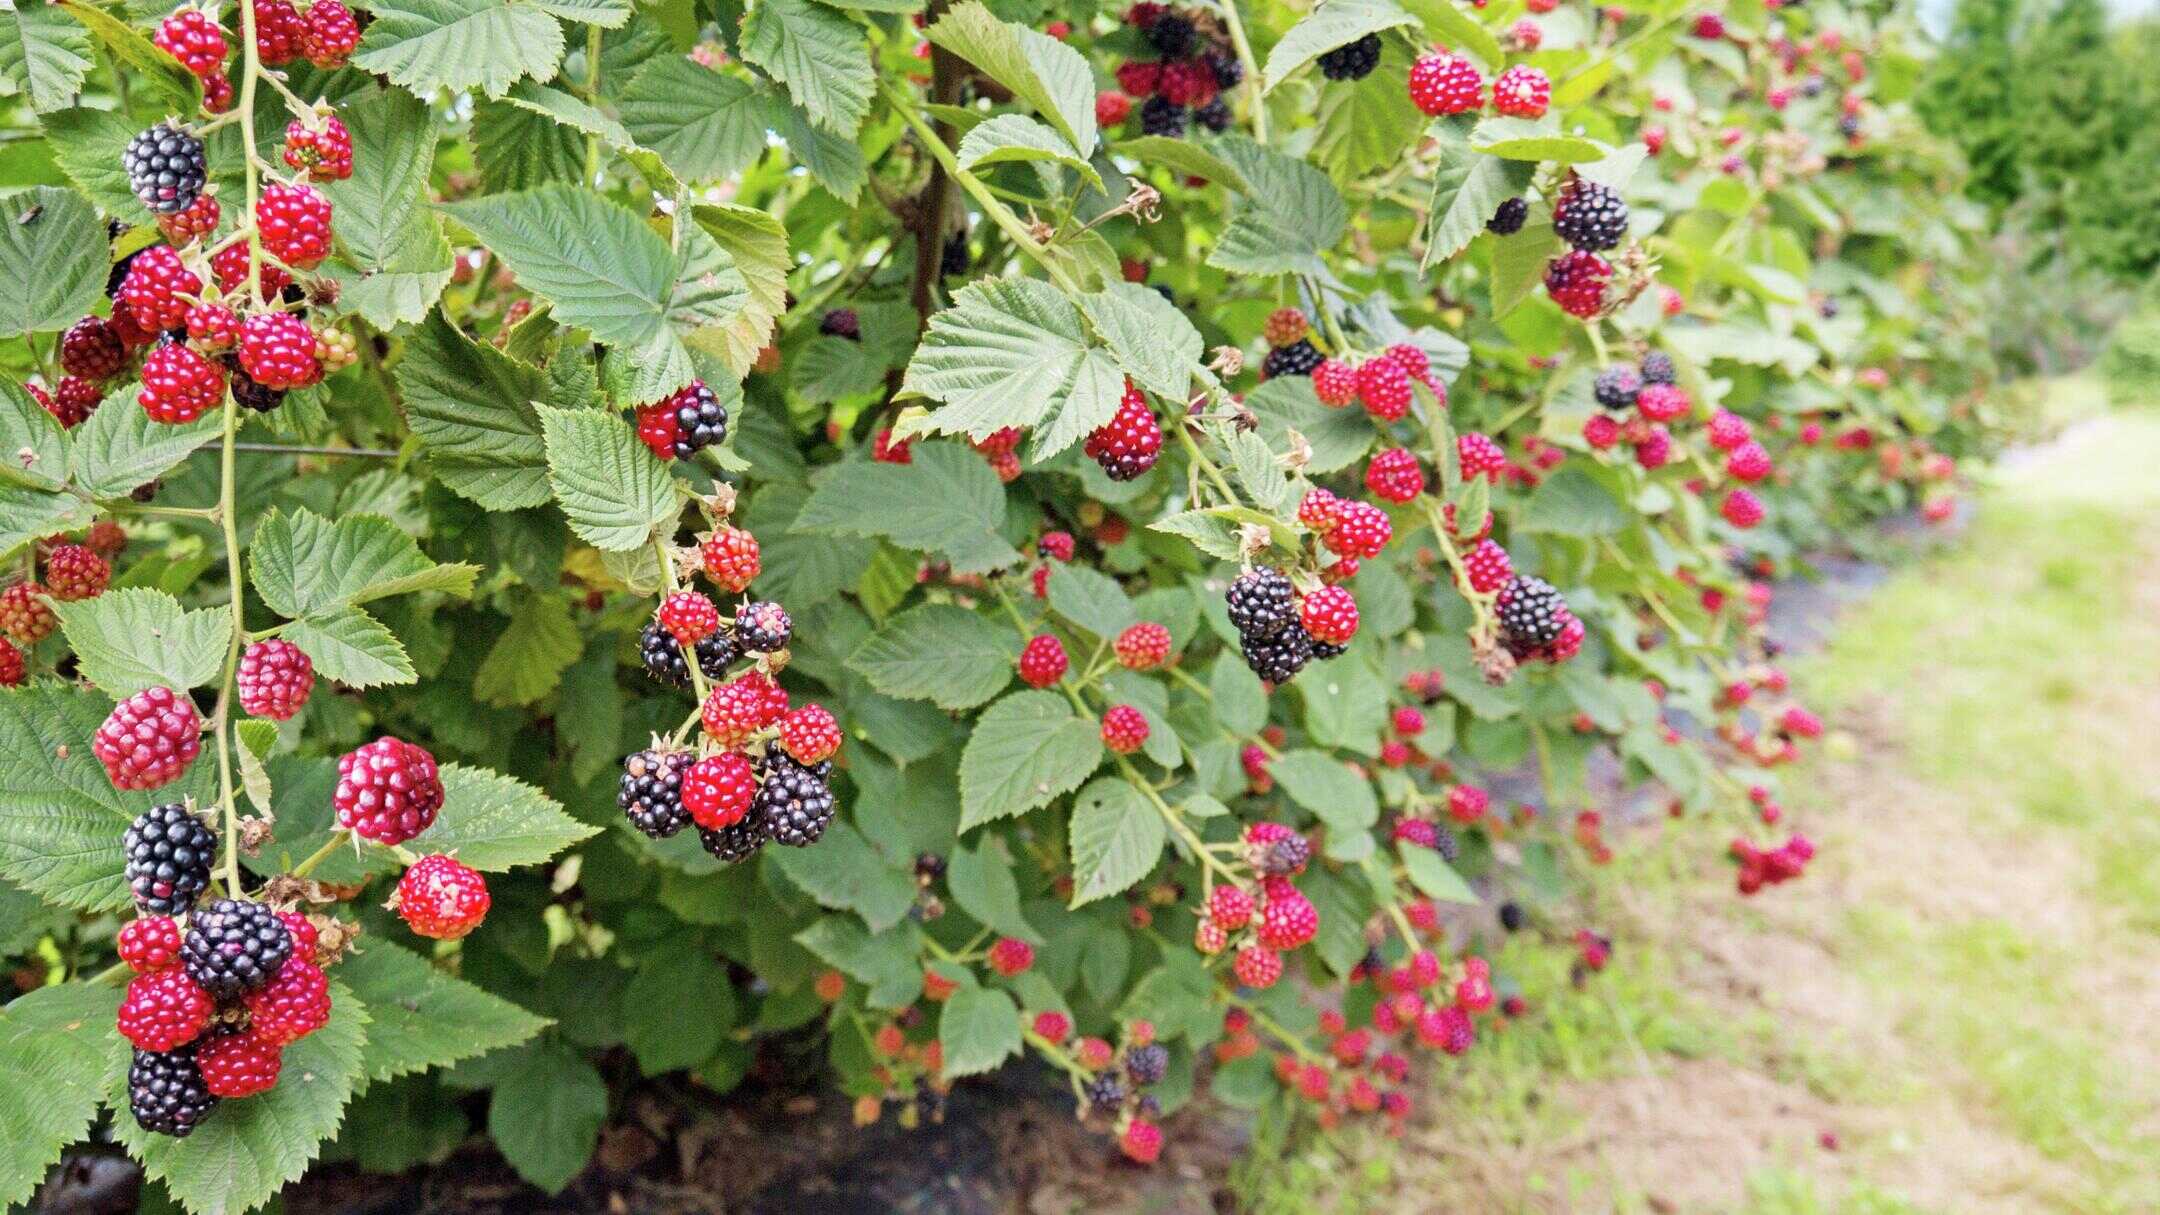
- Ripeness: Blackberries are ready to be harvested when they are fully ripe. Look for berries that are plump, glossy, and have a deep, dark color. Ripe blackberries will easily detach from the plant when gently pulled.
- Picking technique: Use a gentle twisting motion to pick blackberries. Hold the berry between your thumb and index finger and twist it off the stem to avoid damaging the plant or surrounding berries.
- Frequency: Blackberries ripen over a period of several weeks, so check your plants regularly for ripe berries. Harvest mature berries every few days to ensure you don’t miss the peak of their sweetness.
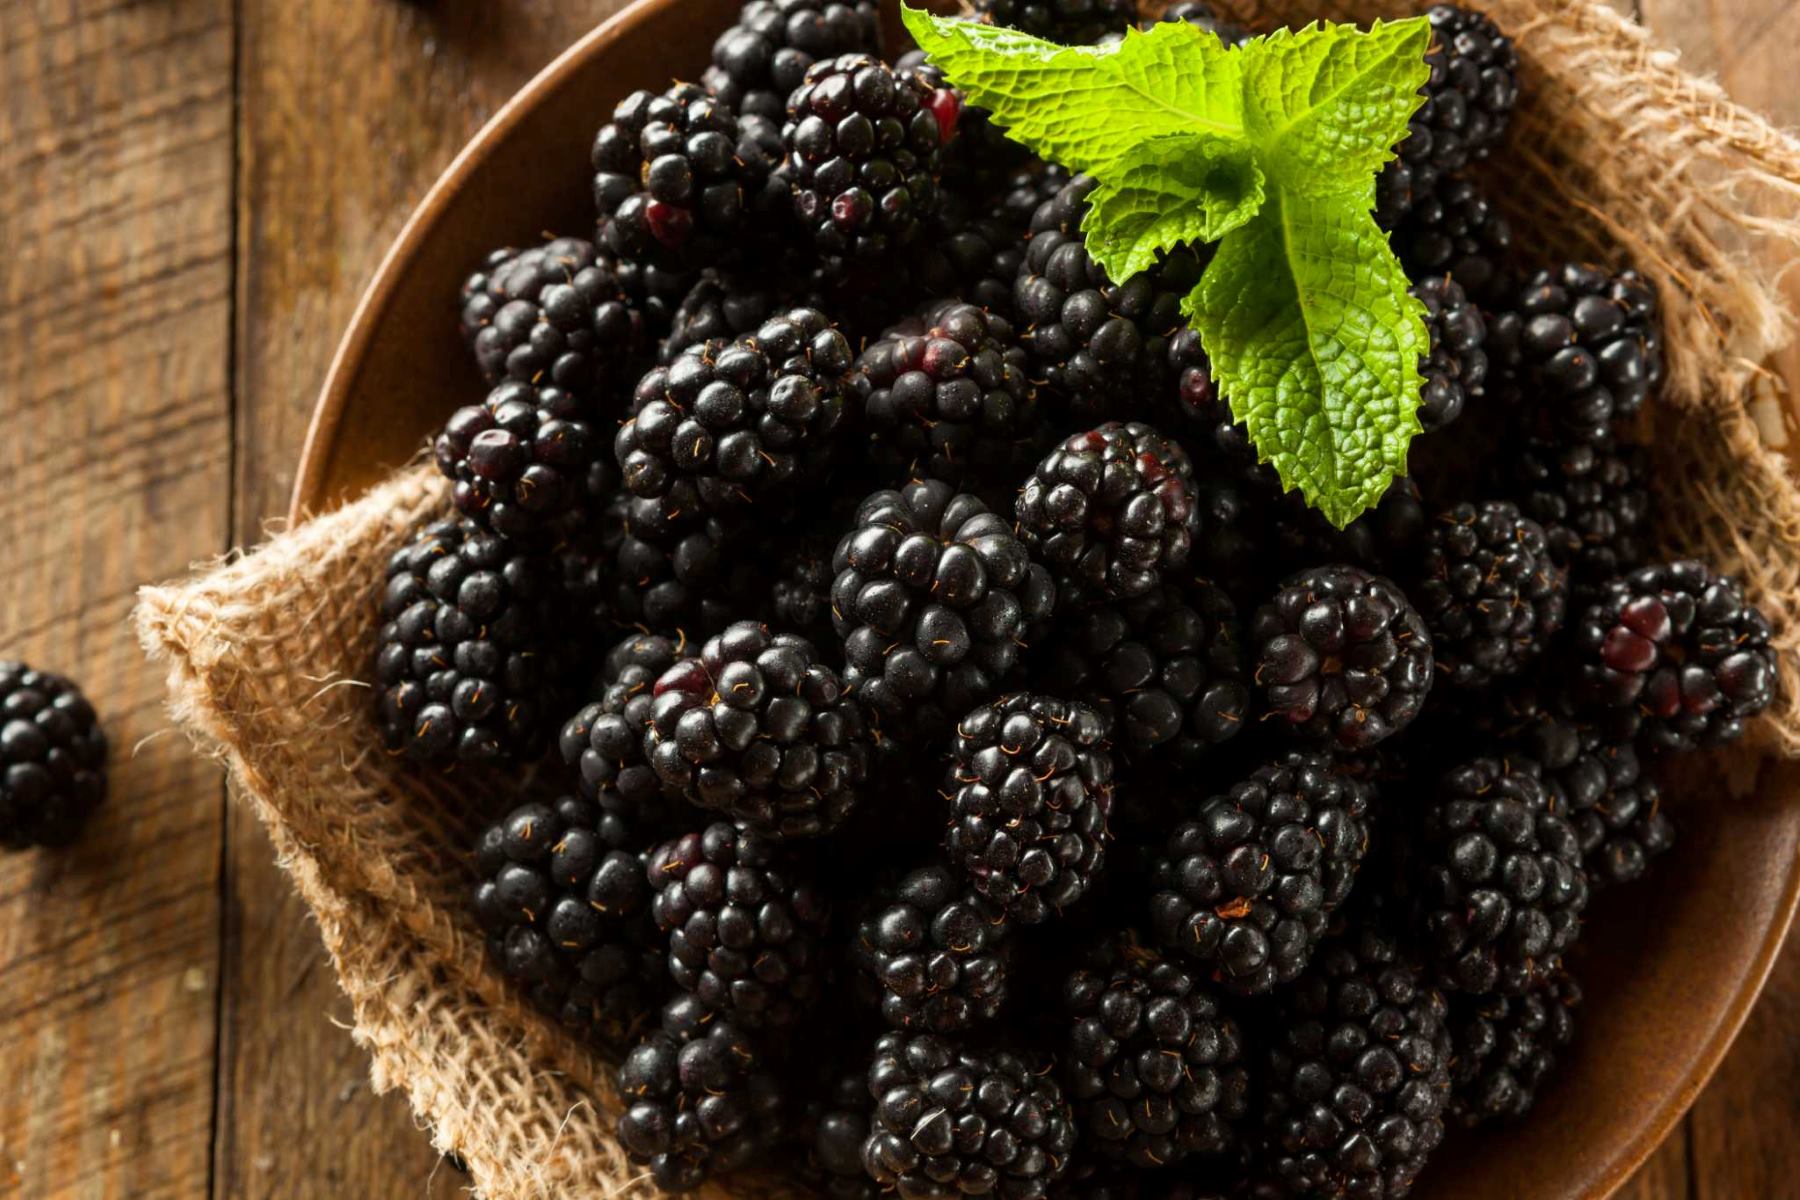
- Refrigeration: Blackberries are delicate and perishable, so it’s best to refrigerate them immediately after picking. Store the berries in a shallow container lined with paper towels to absorb excess moisture and maintain their freshness. Avoid washing the berries until you’re ready to use them.
- Enjoyment: Blackberries can be enjoyed fresh, eaten as a snack, or used in a variety of culinary creations. Experiment with blackberry pies, jams, jellies, smoothies, or add them to salads and desserts for a burst of flavor.
Remember, blackberries are highly perishable, so consume them as soon as possible for the best flavor and texture. If you have an abundance of blackberries, you can also freeze them for later use.
With proper harvesting techniques, you can enjoy the sweet and juicy rewards of your hard work and watch as your blackberry plants continue to bear fruit in future seasons.
Congratulations on successfully growing blackberries from seed! We hope this guide has provided you with the knowledge and inspiration to embark on your blackberry-growing journey. Enjoy the fruits of your labor and the beauty they bring to your garden!
Now that you have successfully harvested your blackberries, it’s time to step back and admire the bountiful rewards of your gardening efforts. Whether you choose to enjoy the blackberries fresh, incorporate them into delicious recipes, or share them with friends and family, the satisfaction of growing and harvesting your own fruit is unparalleled.
Remember, growing blackberries from seed requires patience, dedication, and proper care. As you continue your gardening journey, don’t forget to reflect on the lessons learned and use them to fuel your future horticultural endeavors.
With each step, from choosing the right seeds to transplanting the seedlings and finally harvesting the blackberries, you have honed your gardening skills and deepened your connection to nature. The joy of witnessing nature’s wonders unfold in your own backyard is truly a remarkable experience.
Congratulations on your successful blackberry growing journey! May your garden continue to flourish and bring you endless delight season after season.
Conclusion
Growing blackberries from seed is a journey that combines patience, knowledge, and a love for gardening. From selecting the right seeds to harvesting the delicious fruits, every step contributes to the joy and satisfaction of watching your blackberry plants thrive.
By choosing the right blackberry seeds and preparing the planting materials, you set the foundation for healthy growth. Proper care and maintenance, including watering, fertilization, and pruning, ensure that your plants reach their full potential.
Transplanting the seedlings into their permanent location allows them to establish themselves and continue to flourish. And finally, the sweet reward comes when you harvest plump, ripe blackberries from your plants.
Throughout this process, it’s important to embrace the beauty of nature and the lessons it teaches us about patience and growth. Gardening is not just about the final harvest, but also about the journey itself – the joy of nurturing, learning, and connecting with the world around us.
So, whether you have a small garden or a spacious backyard, growing blackberries from seed offers the opportunity to create a thriving ecosystem, attract pollinators, and enjoy the fruits of your labor.
Take pride in your blackberry-growing adventure and share your knowledge and experiences with fellow gardeners. Together, we can create a community of green thumbs who appreciate the wonders of nature and the rewards it brings.
As you reflect on your journey, remember that gardening is a continuous learning process. Each year presents new challenges and opportunities to further develop your skills and expand your garden. Embrace the journey, experiment, and never stop growing.
So go ahead, grab your gardening tools, choose the perfect variety of blackberry seeds, and embark on this wonderful journey. May your blackberry plants thrive, and may the taste of freshly picked blackberries bring you pure delight for years to come.
Frequently Asked Questions about How To Grow Blackberries From Seed
Was this page helpful?
At Storables.com, we guarantee accurate and reliable information. Our content, validated by Expert Board Contributors, is crafted following stringent Editorial Policies. We're committed to providing you with well-researched, expert-backed insights for all your informational needs.


0 thoughts on “How To Grow Blackberries From Seed”